Project Paddy A Long And Slow Rebuild.
#601

Posted 29 September 2016 - 01:48 PM
#602

Posted 29 September 2016 - 03:48 PM
Very nice work. Like the lighting.
#603

Posted 29 September 2016 - 06:52 PM
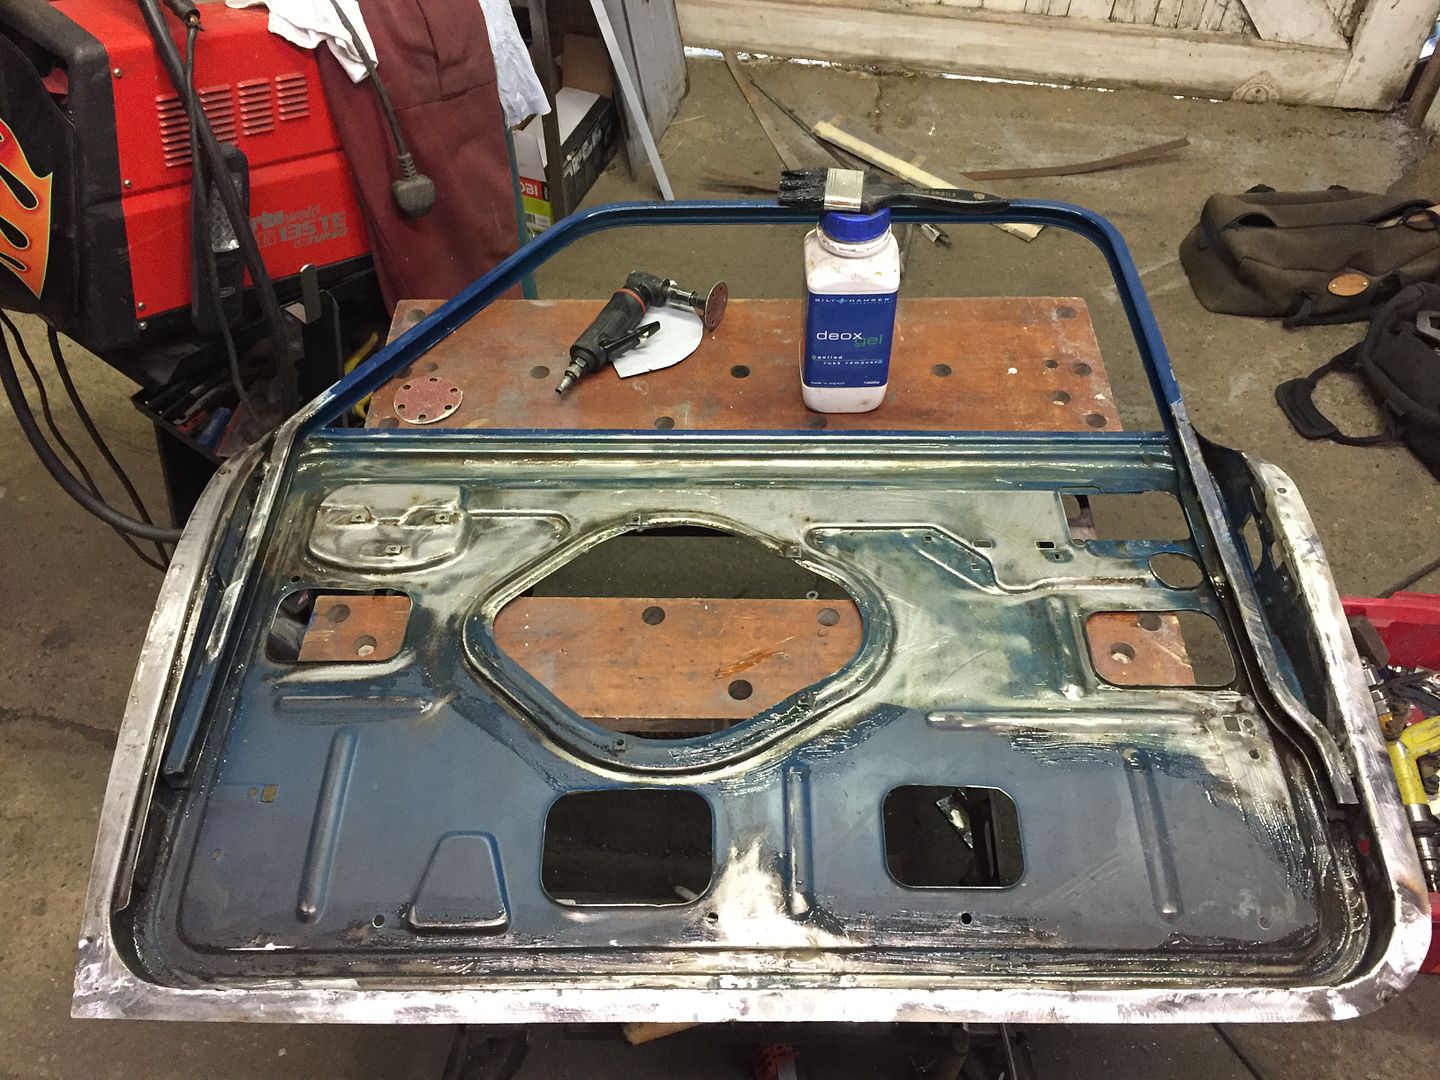
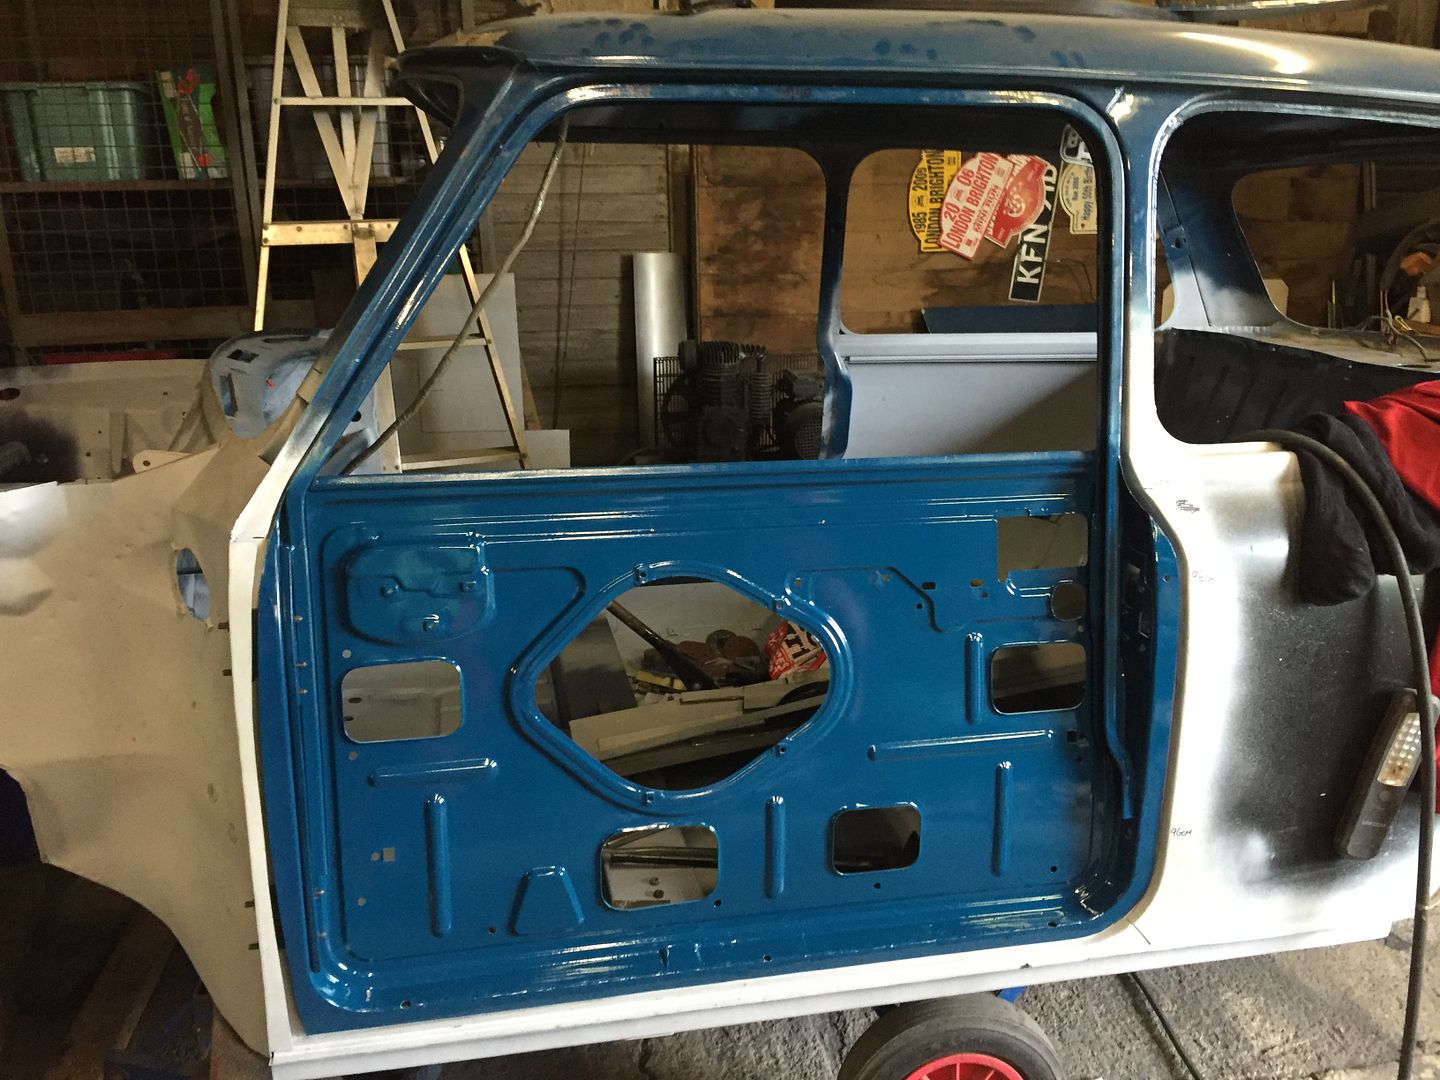
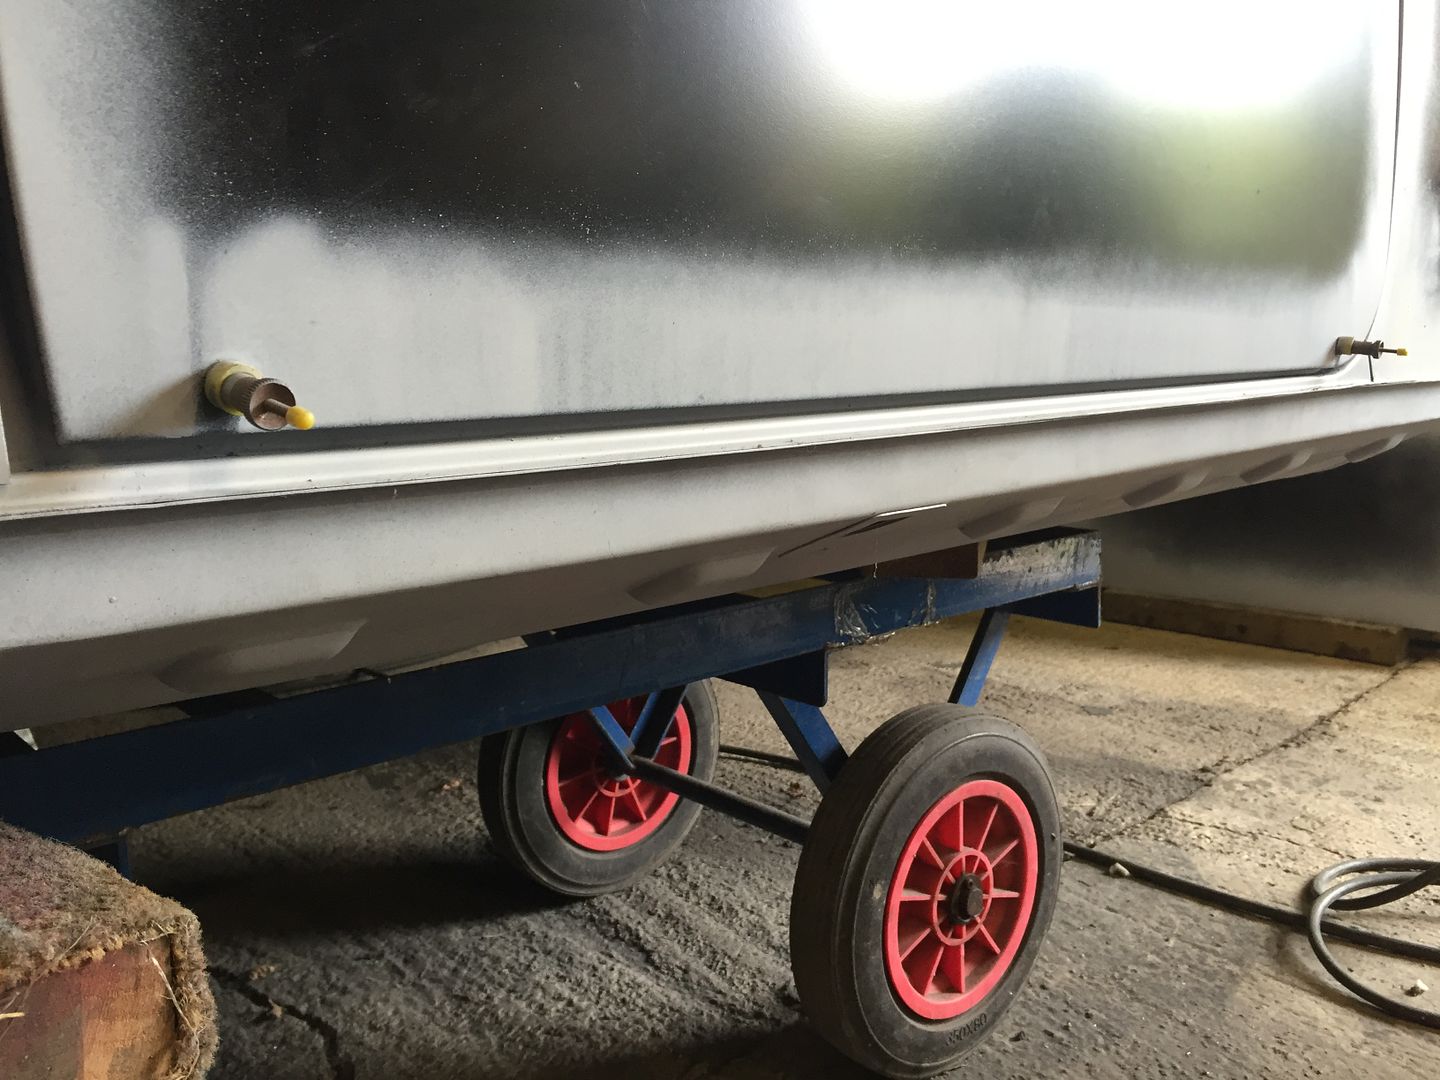
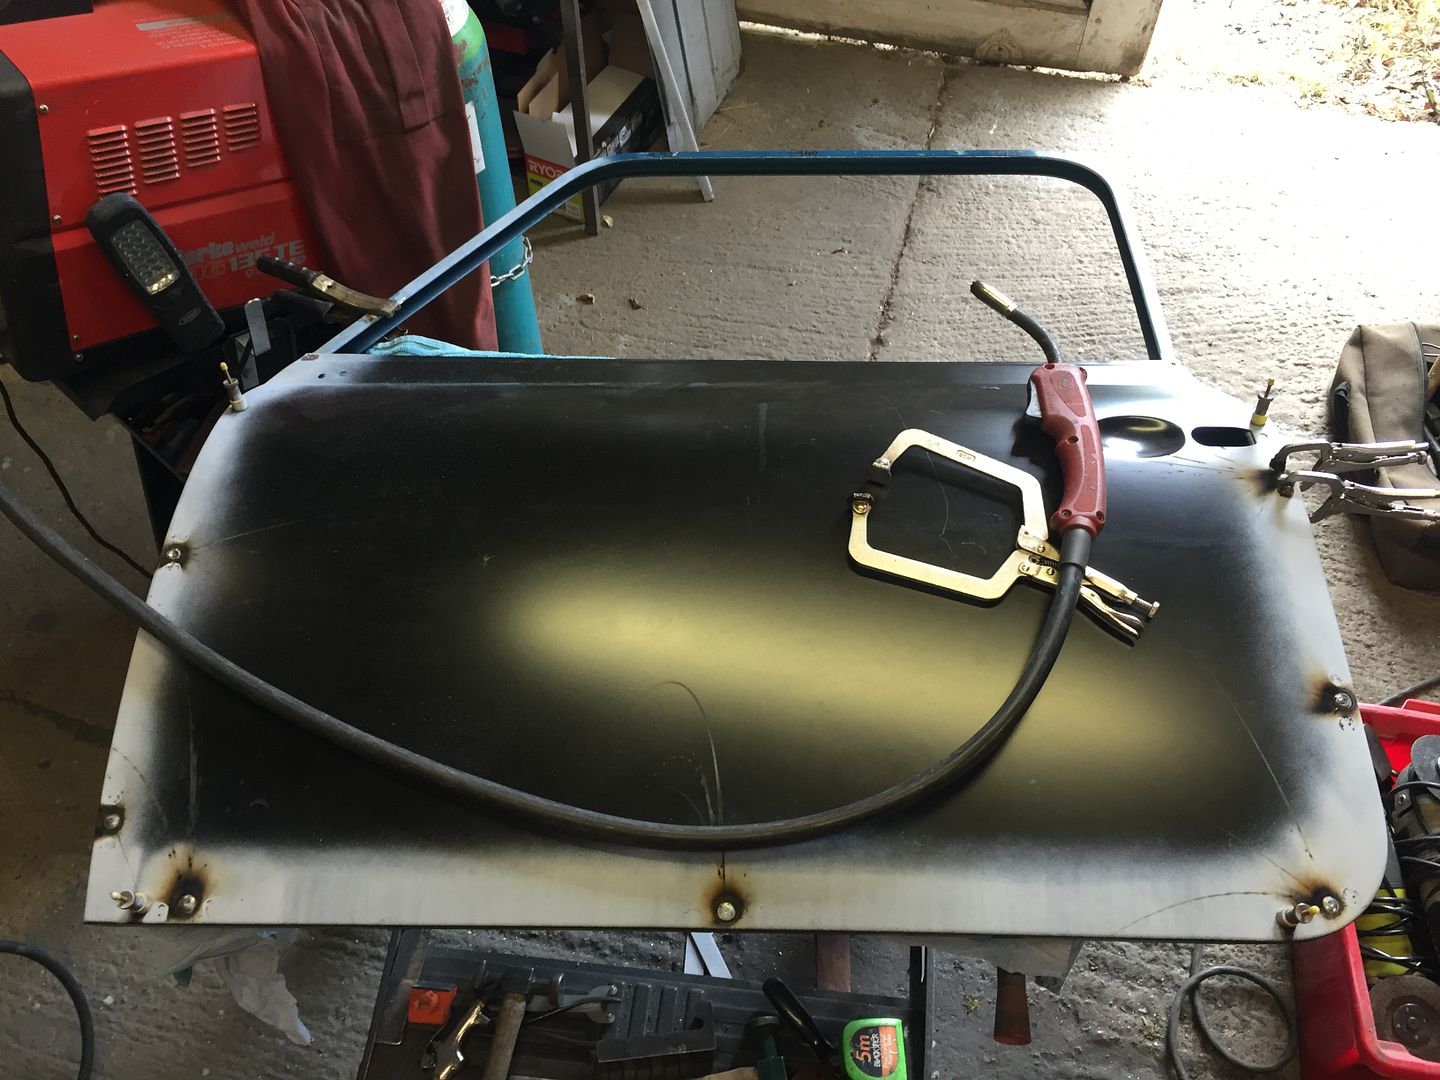
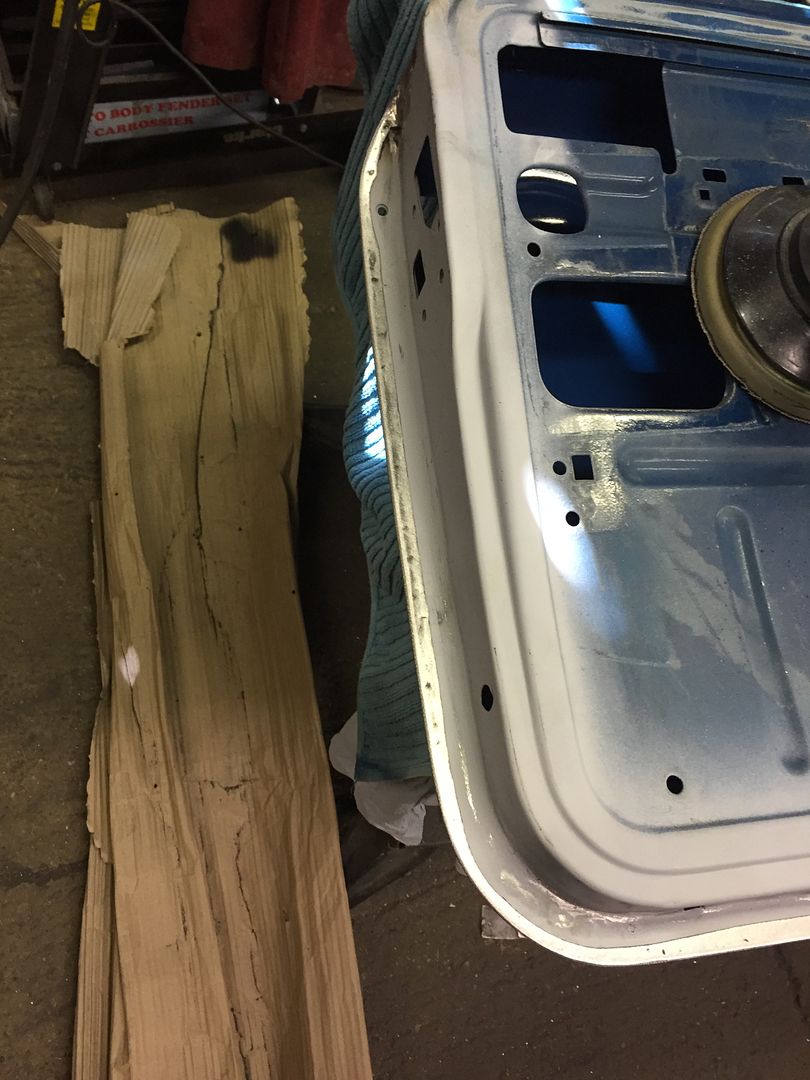
More door work, treated with Deox
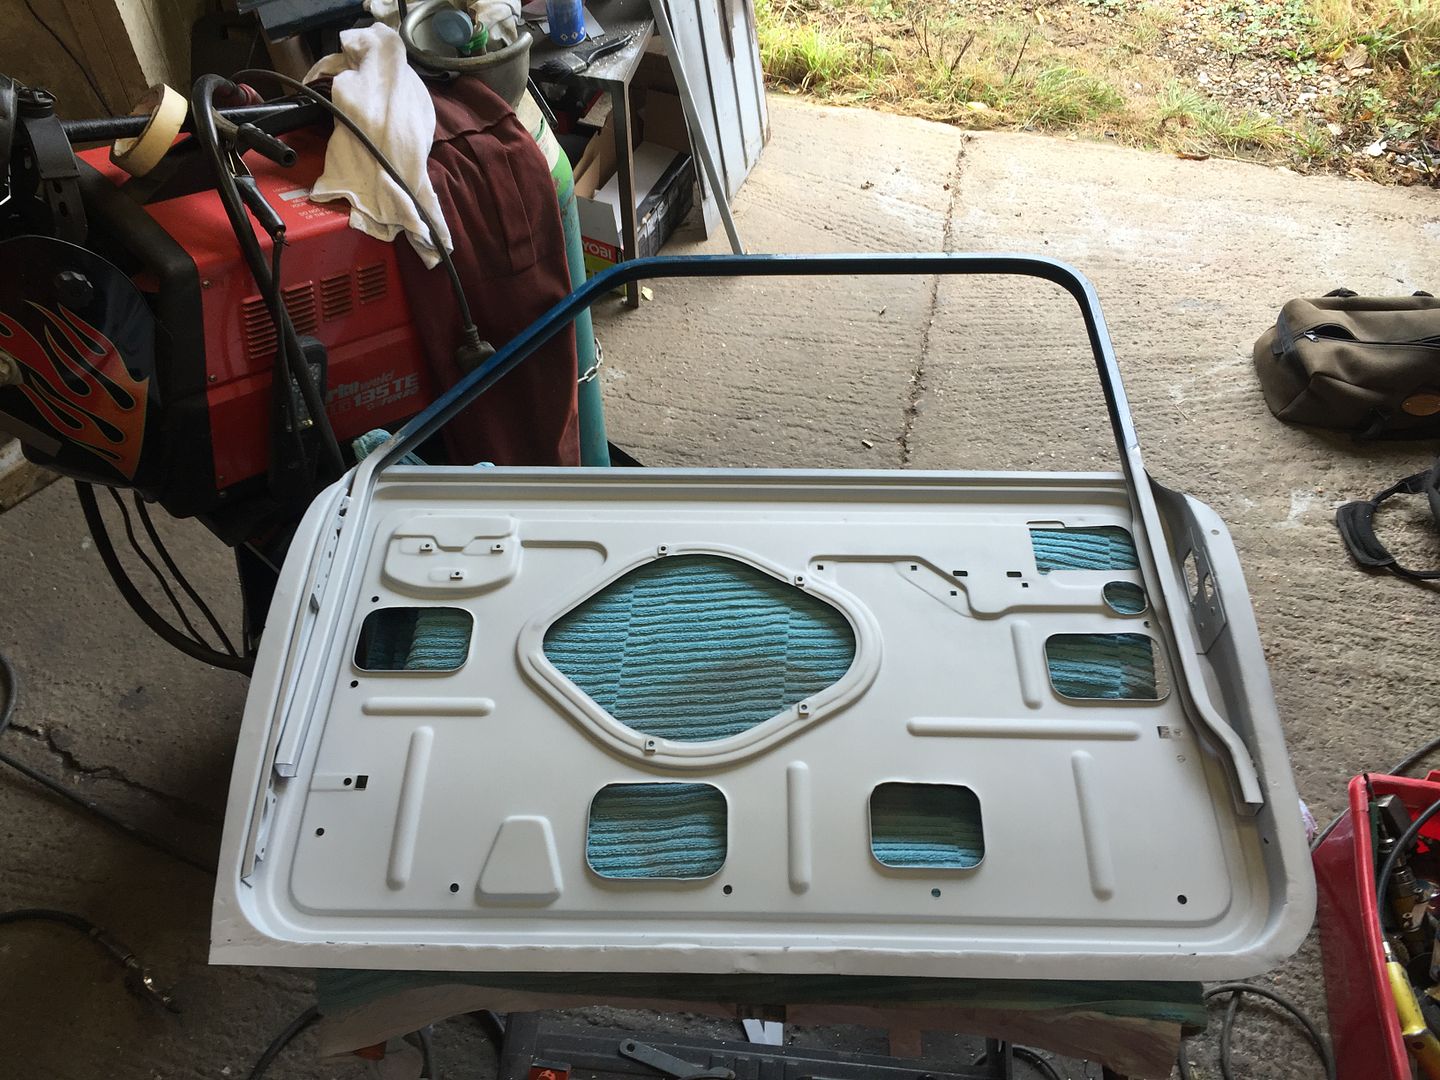
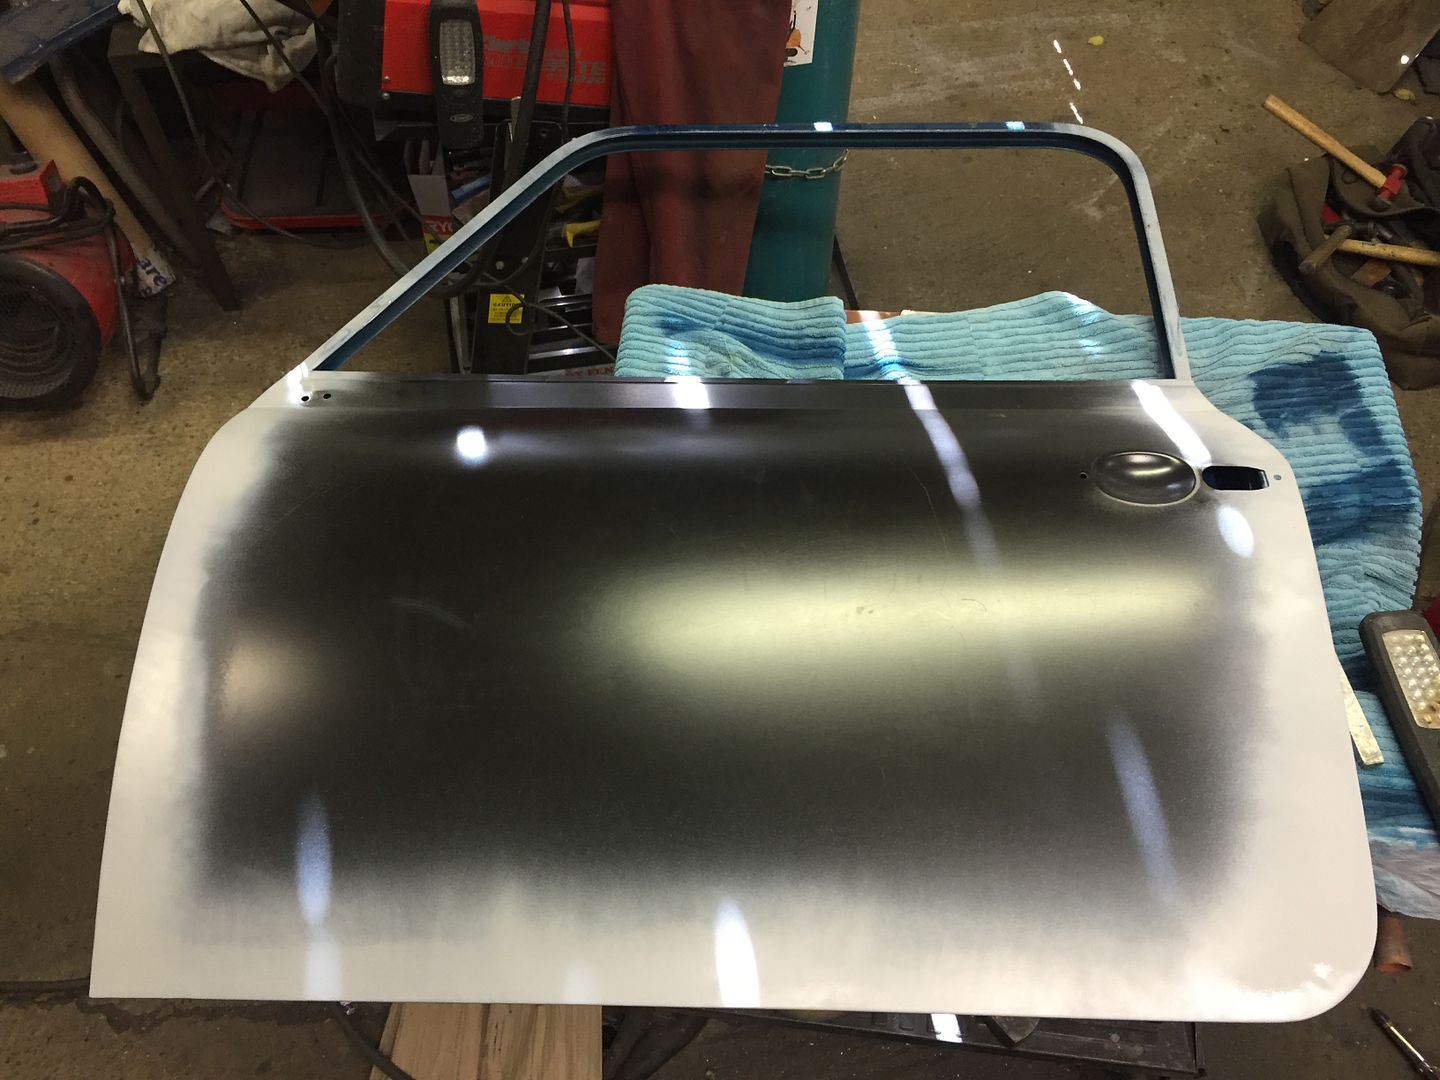
Primed
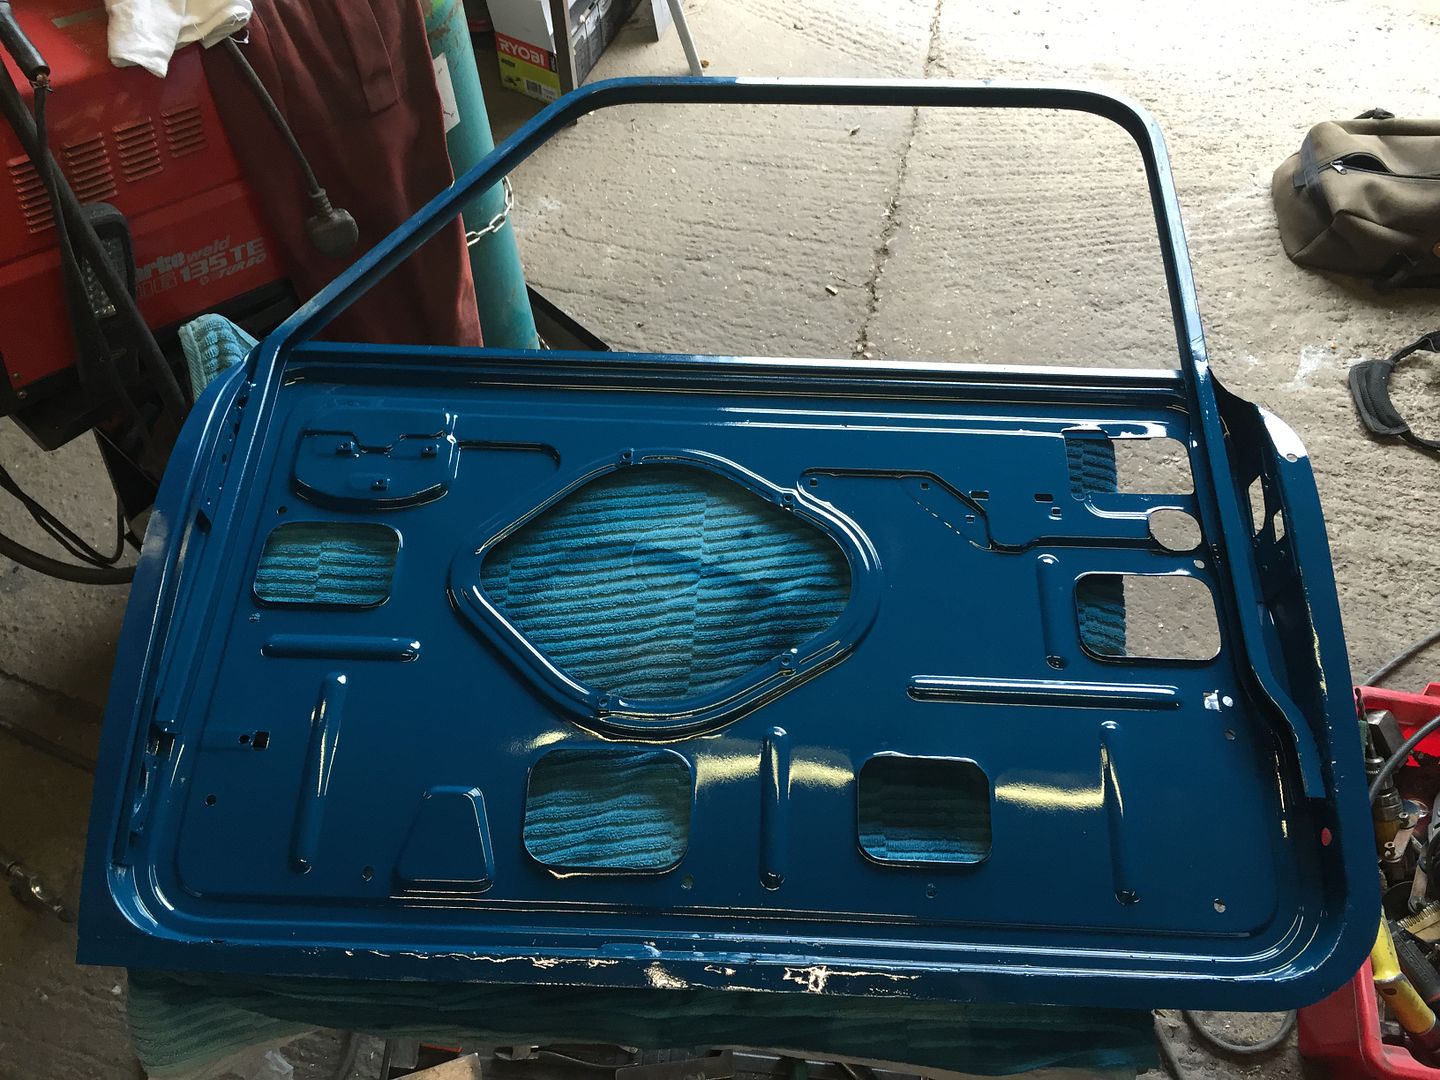
and topcoated
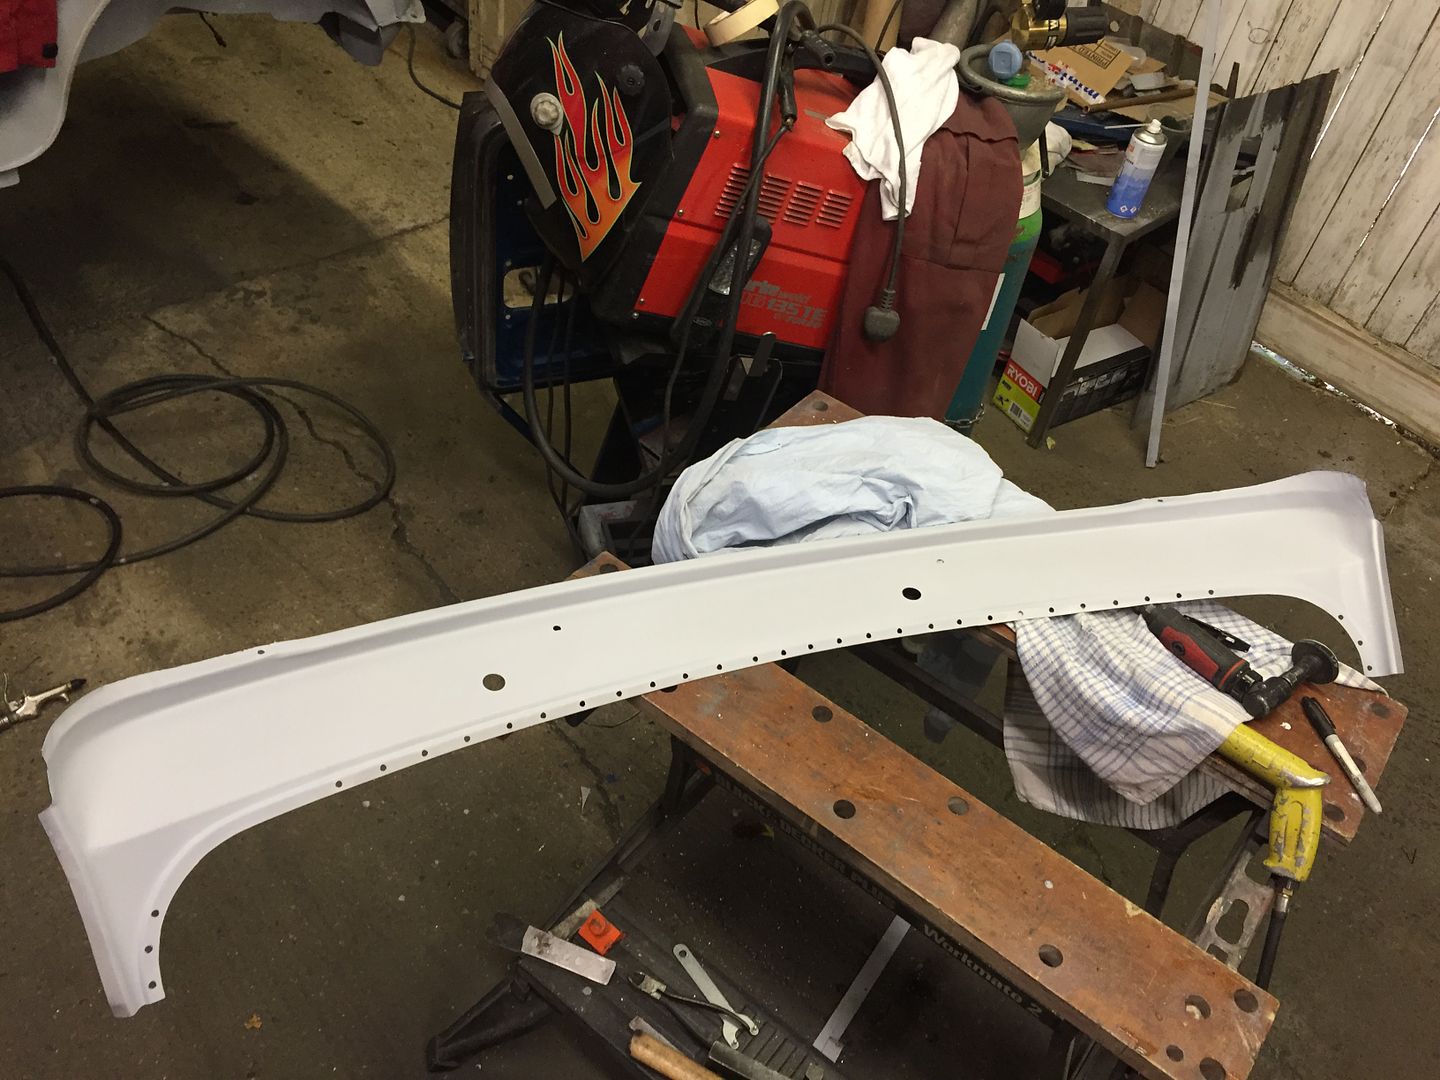
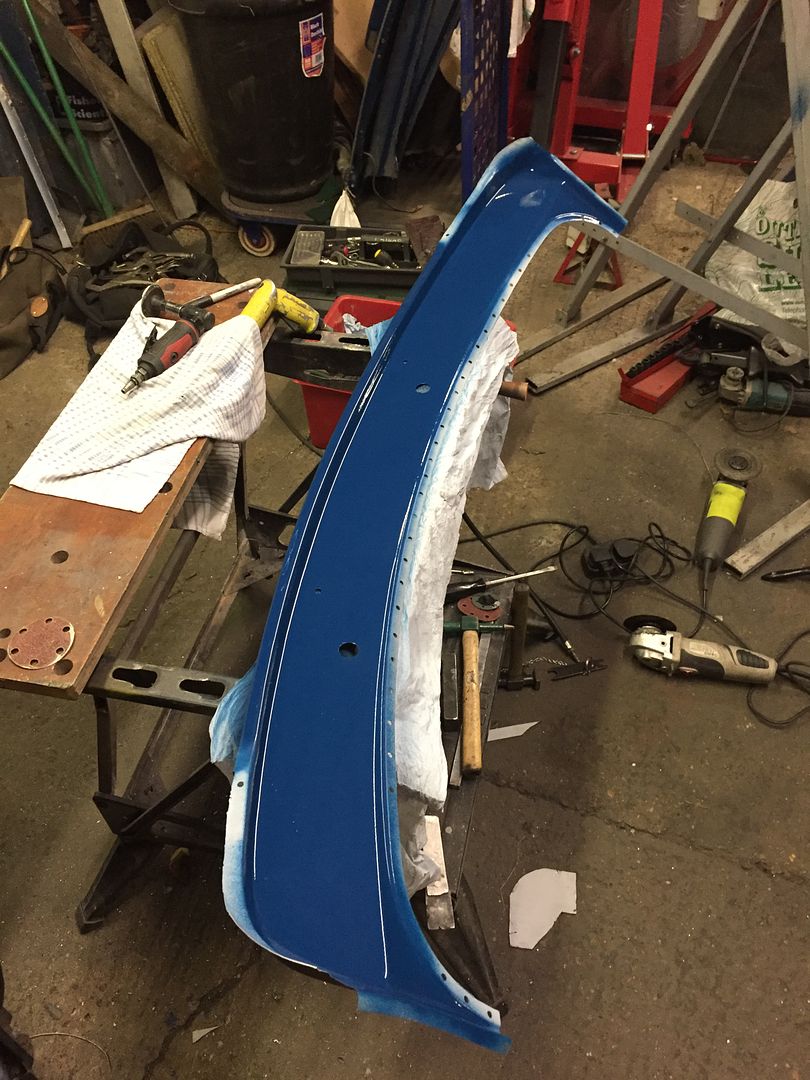
and while i was waiting for paint to dry i prepped the replacement scuttle
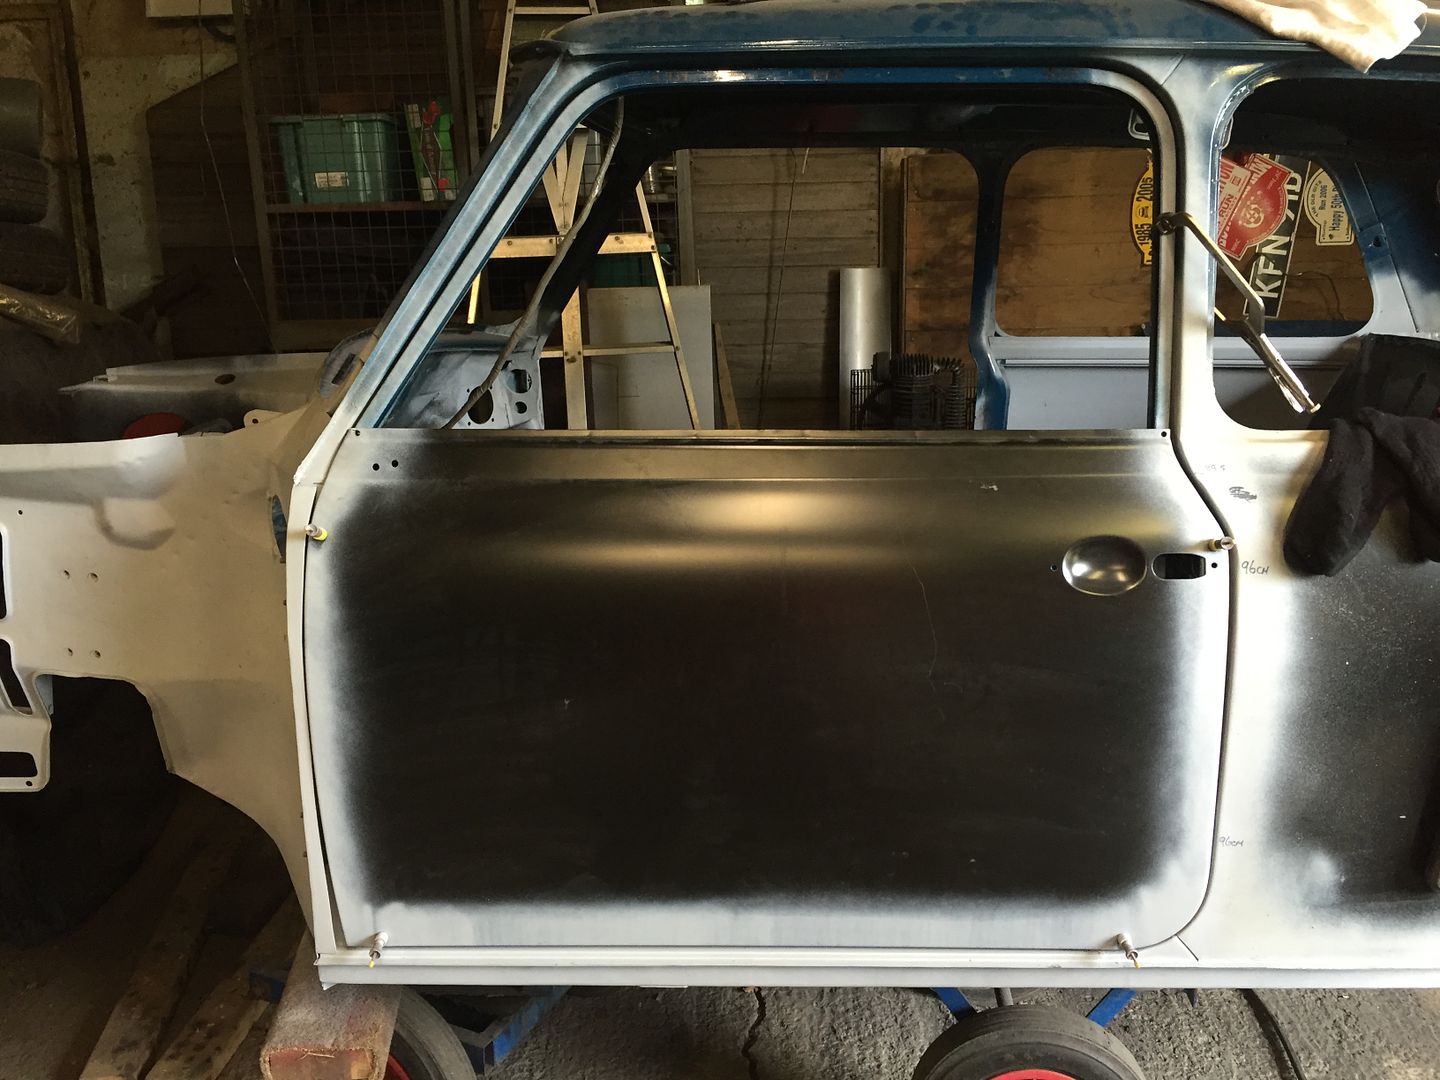
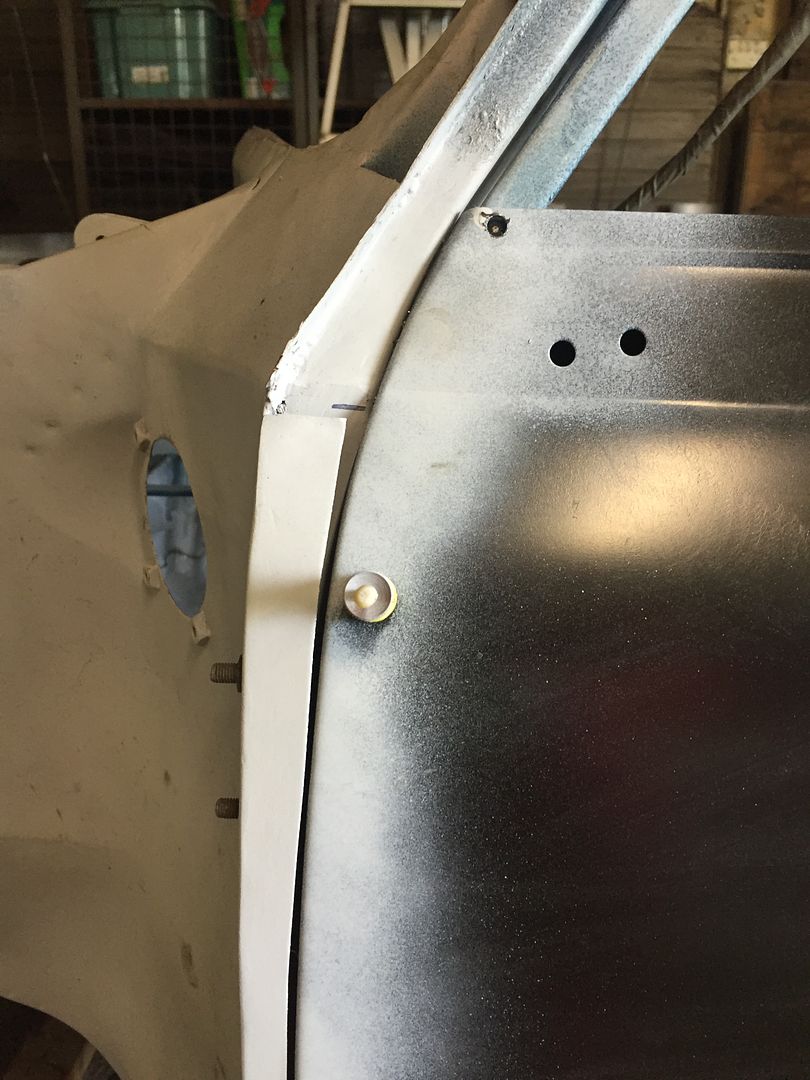
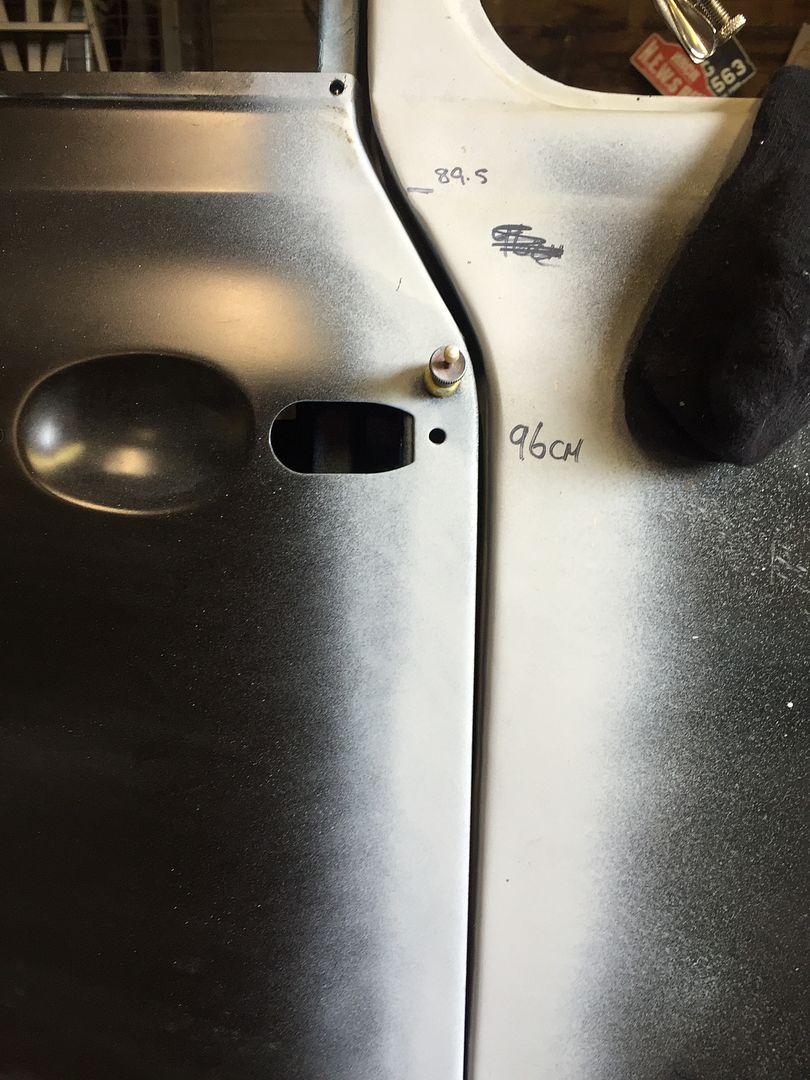
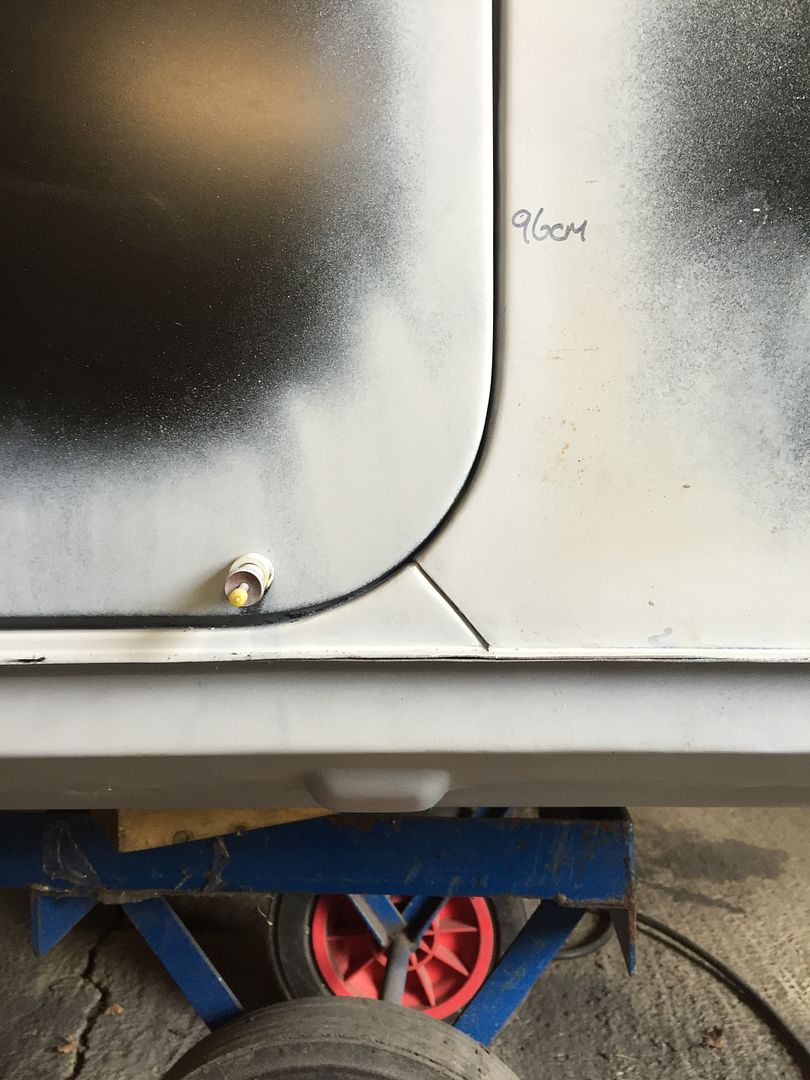
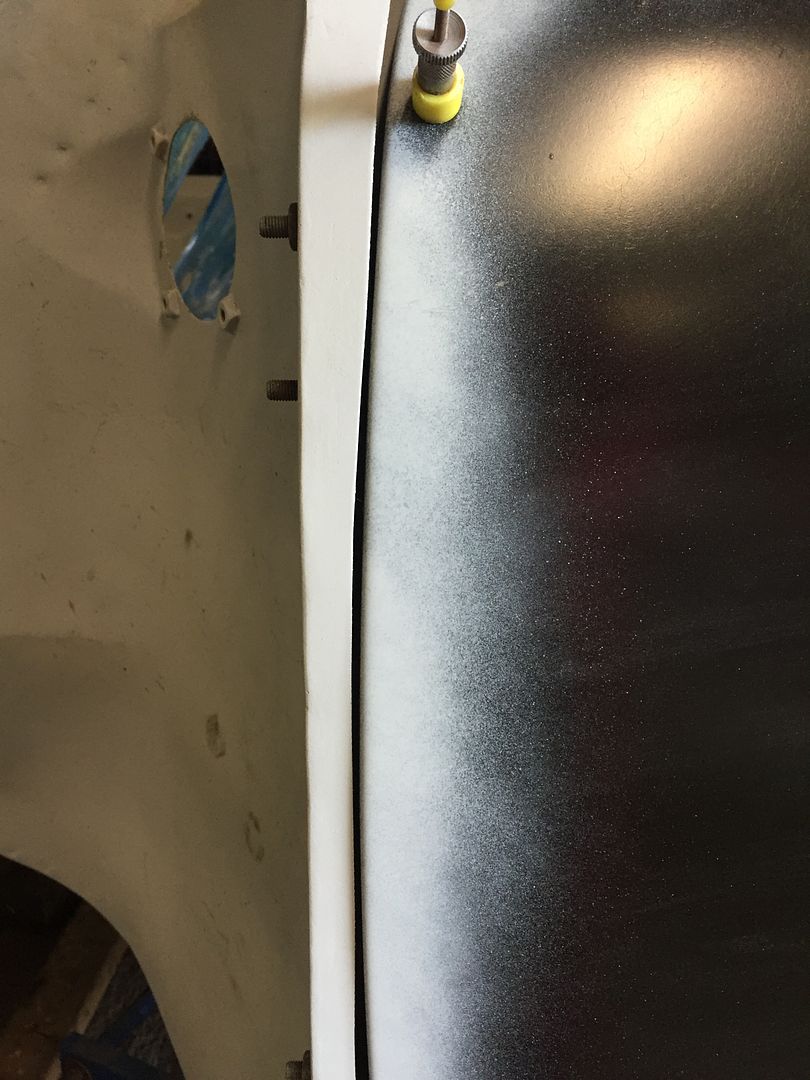
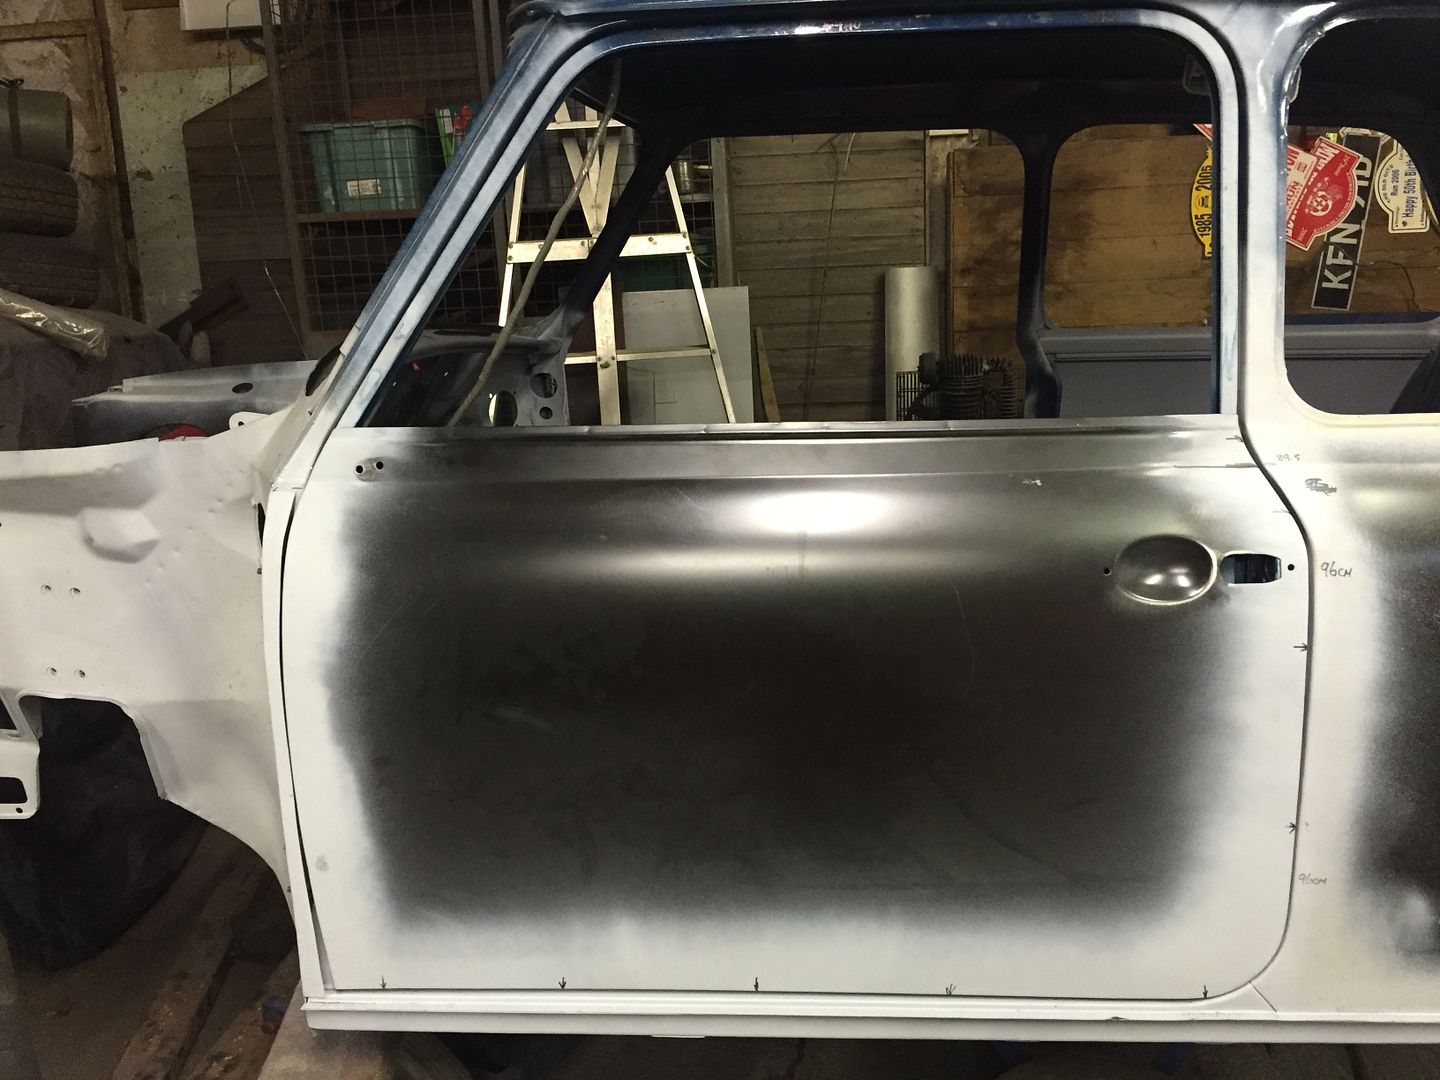
Then it was back to trial fitting the door and skin
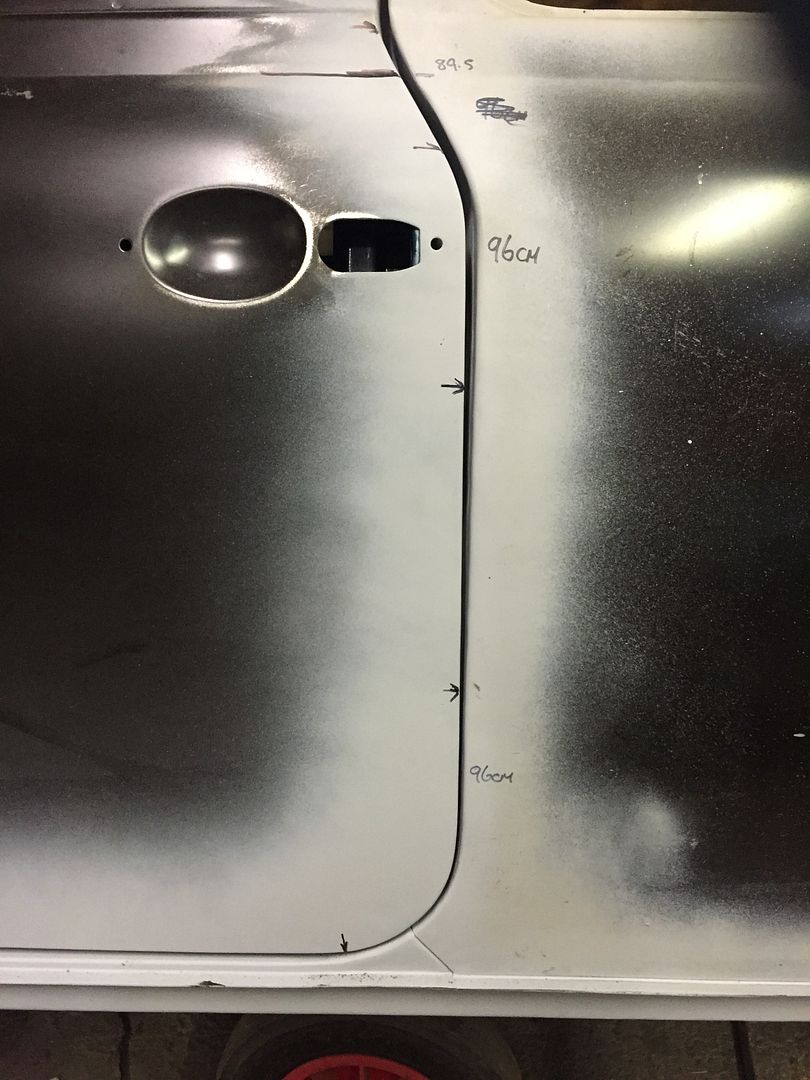
Its not bad but the gaps need to be adjusted
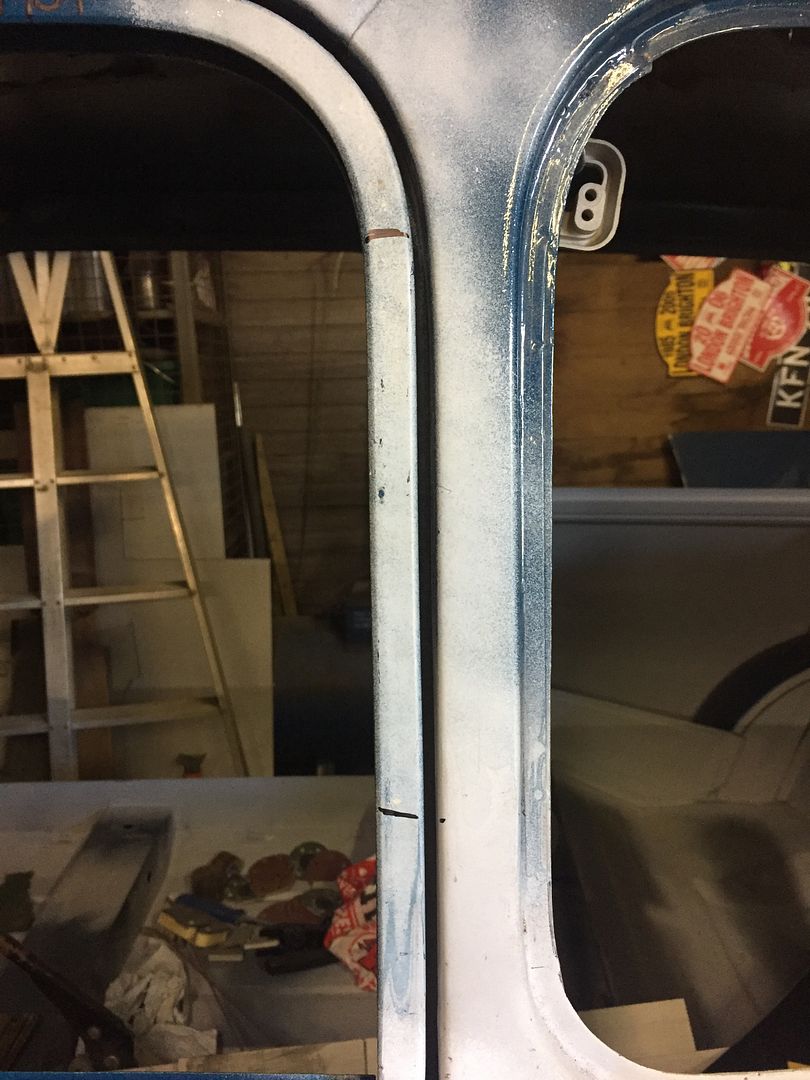
The A panel wont fit this gap so some more tweaking will be needed
and i think i will be adding some metal along the bottom as well.
#604

Posted 30 September 2016 - 06:51 PM
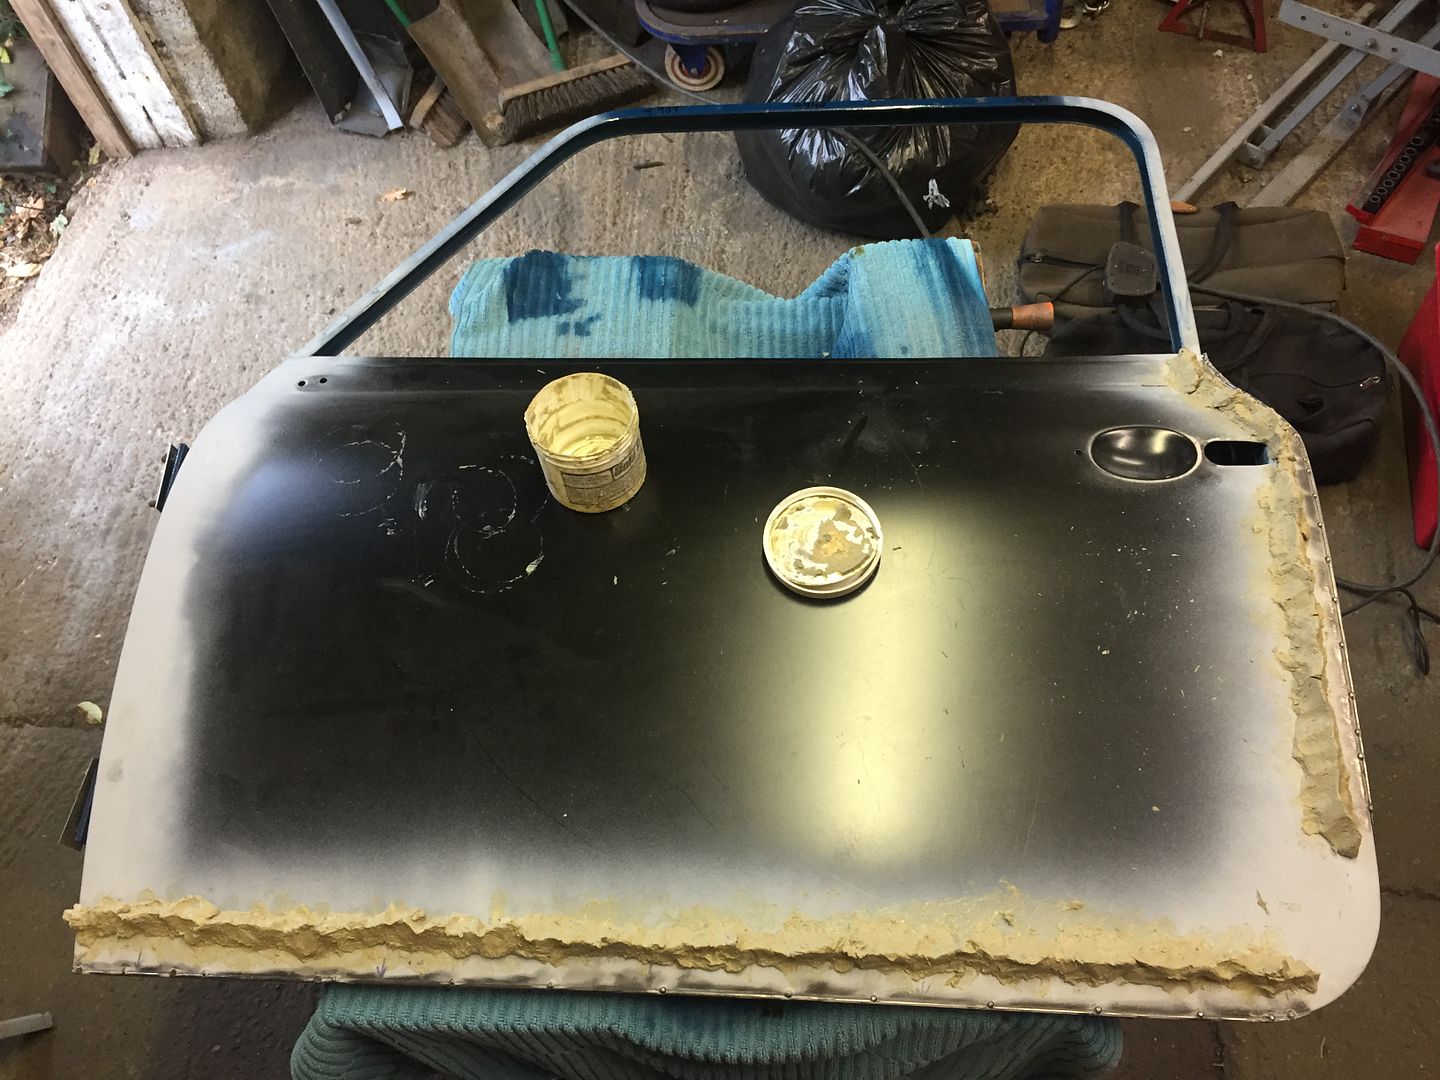
On with the skin, so first job was to plug weld it on then fill the skin pin holes
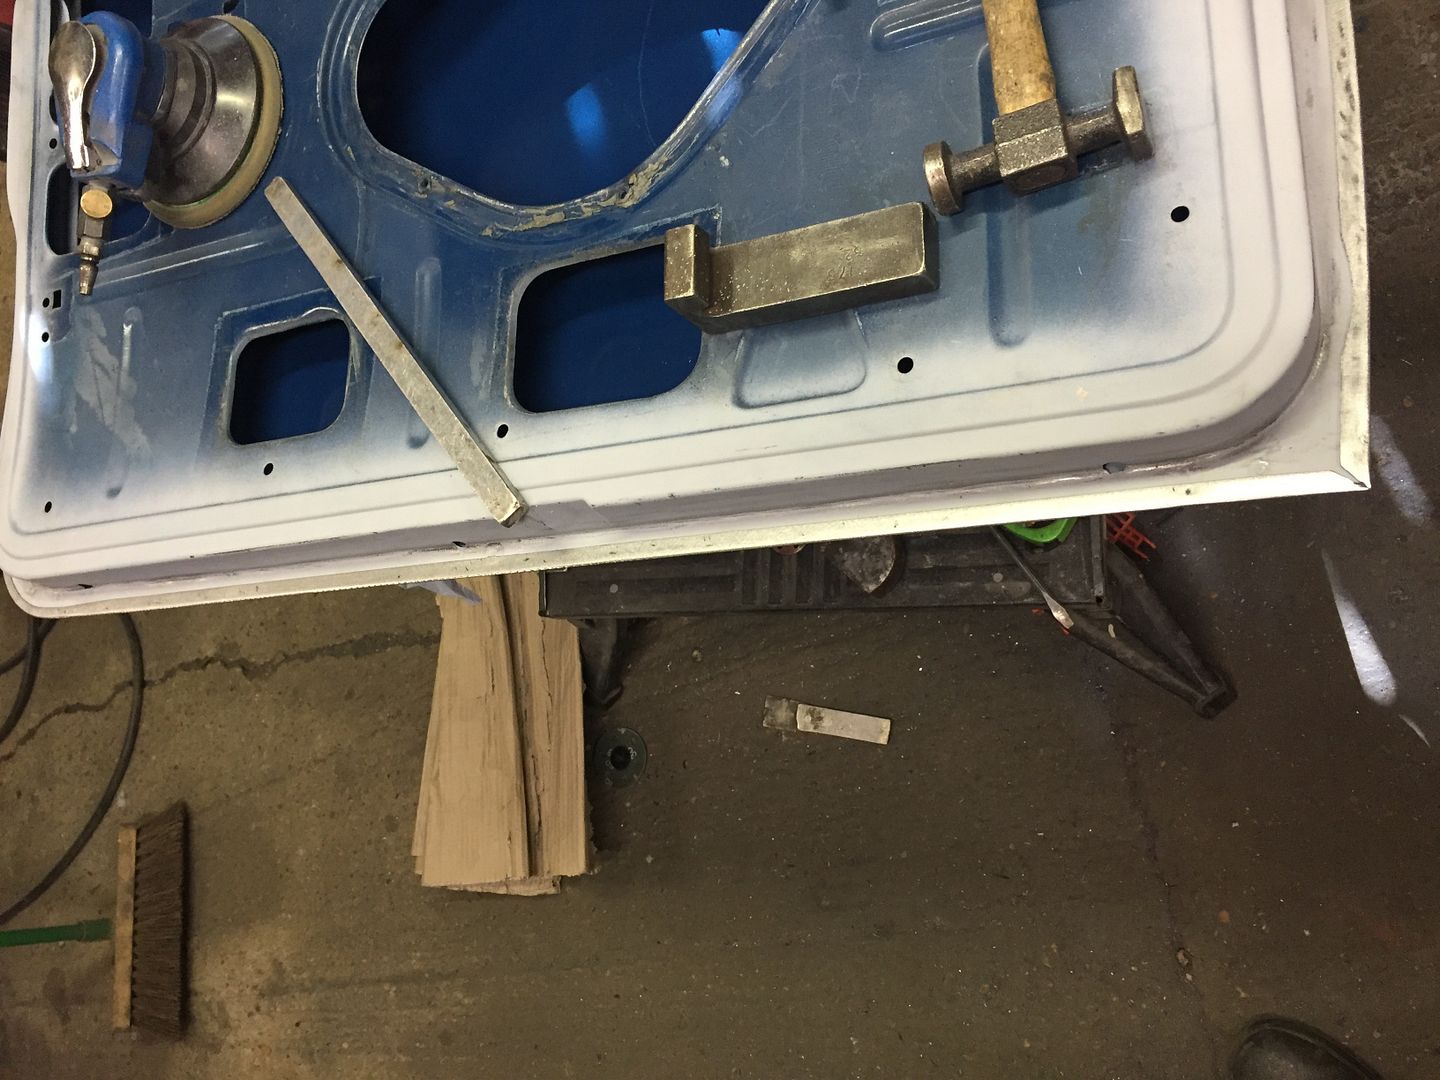
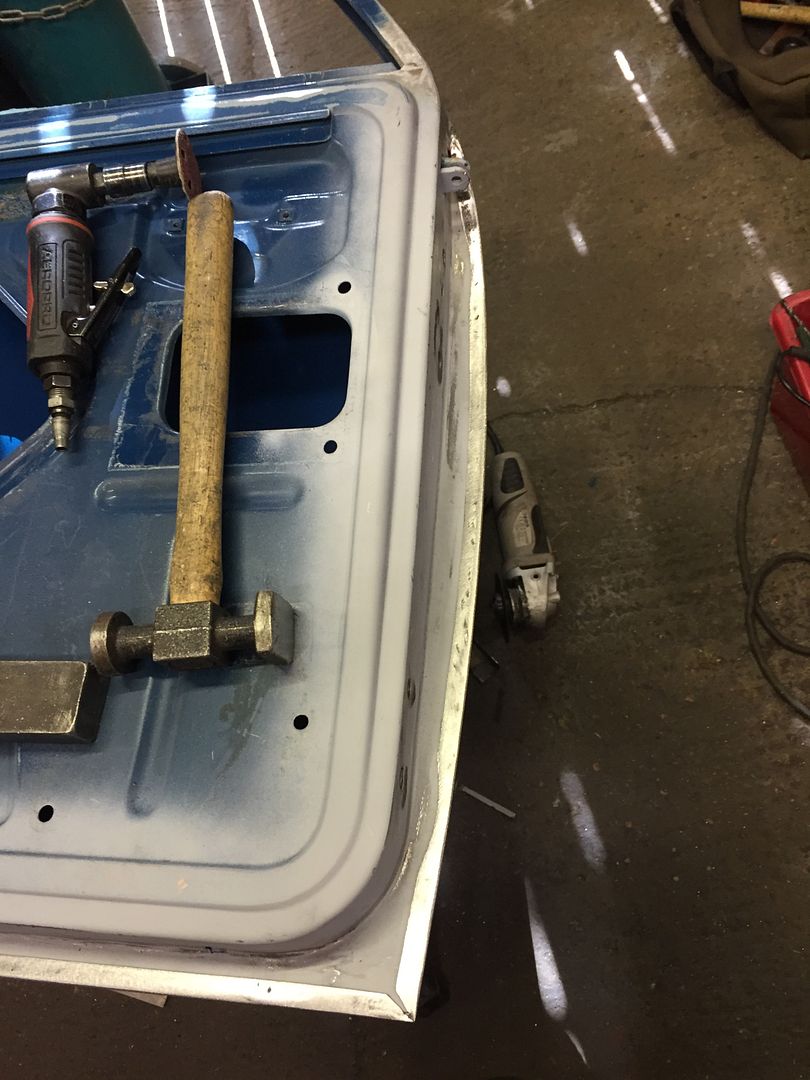
Then on with the folding
With the top edges all welded and ground flush it was back in the hole to see what it looked like
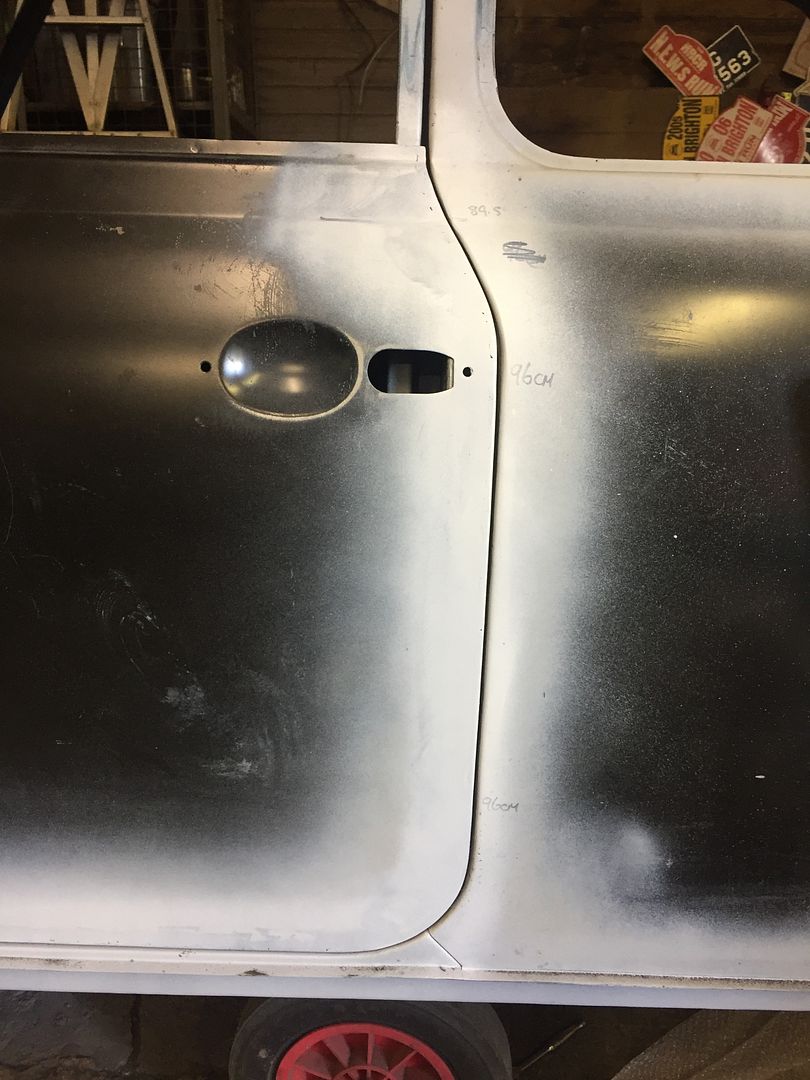
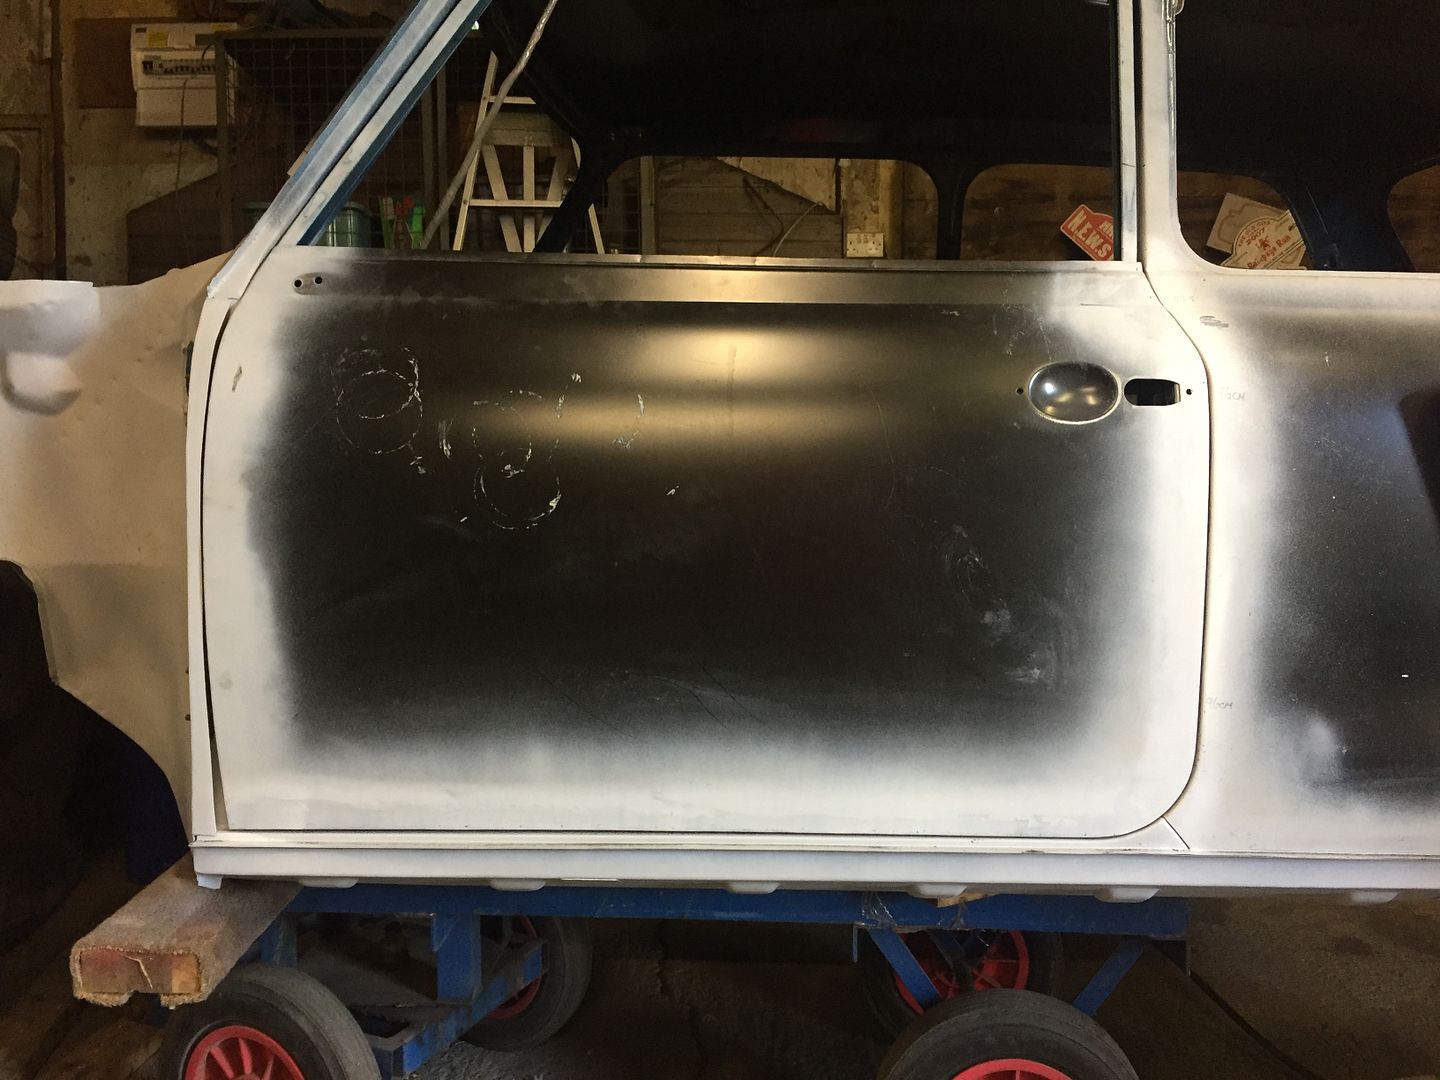
I had already enlargened the hinge holes for a bit more leeway and that plus a bit of timber had the door sitting reasonably well, certainly from a window frame perspective.
But the gaps were not all that good so some marking later
it was time to add some metal
A lot better so this lot will get pulse welded and ground flush in a couple of weeks time.
#605

Posted 03 October 2016 - 12:13 PM
I've said it before, but you make it look easy! Just looking at your pictures of door fitting gives me the anxiety.
I finally got around to putting the painted doors back on mine this weekend, and (massive sigh of relief) they actually still fit. :)
#606

Posted 15 October 2016 - 07:26 PM
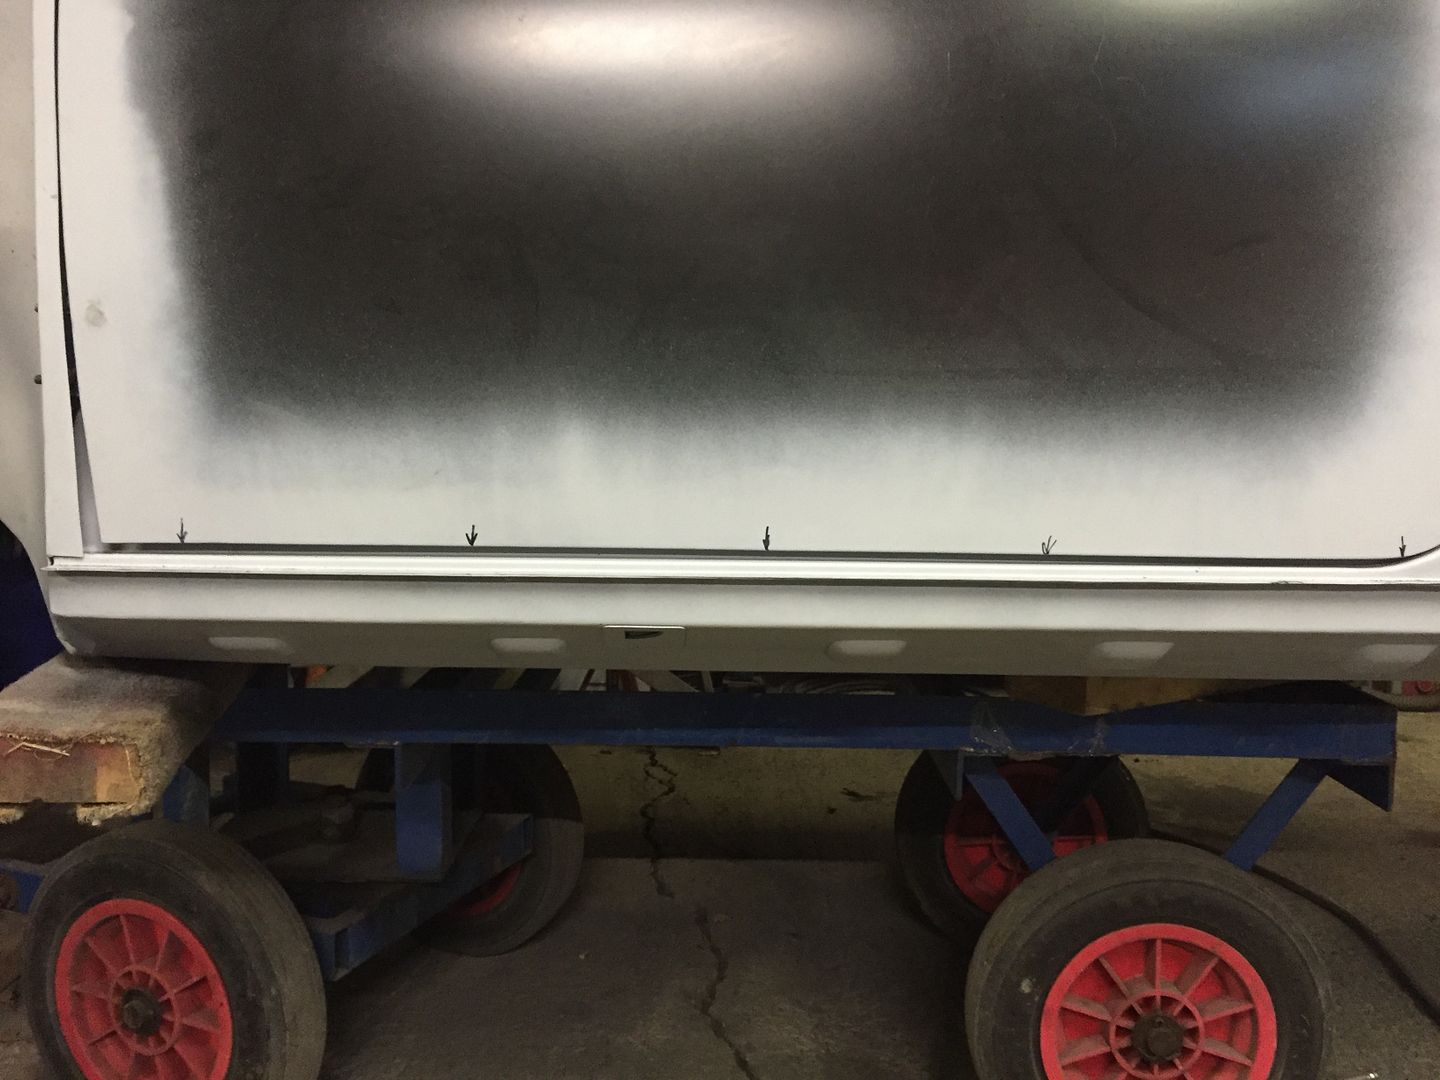
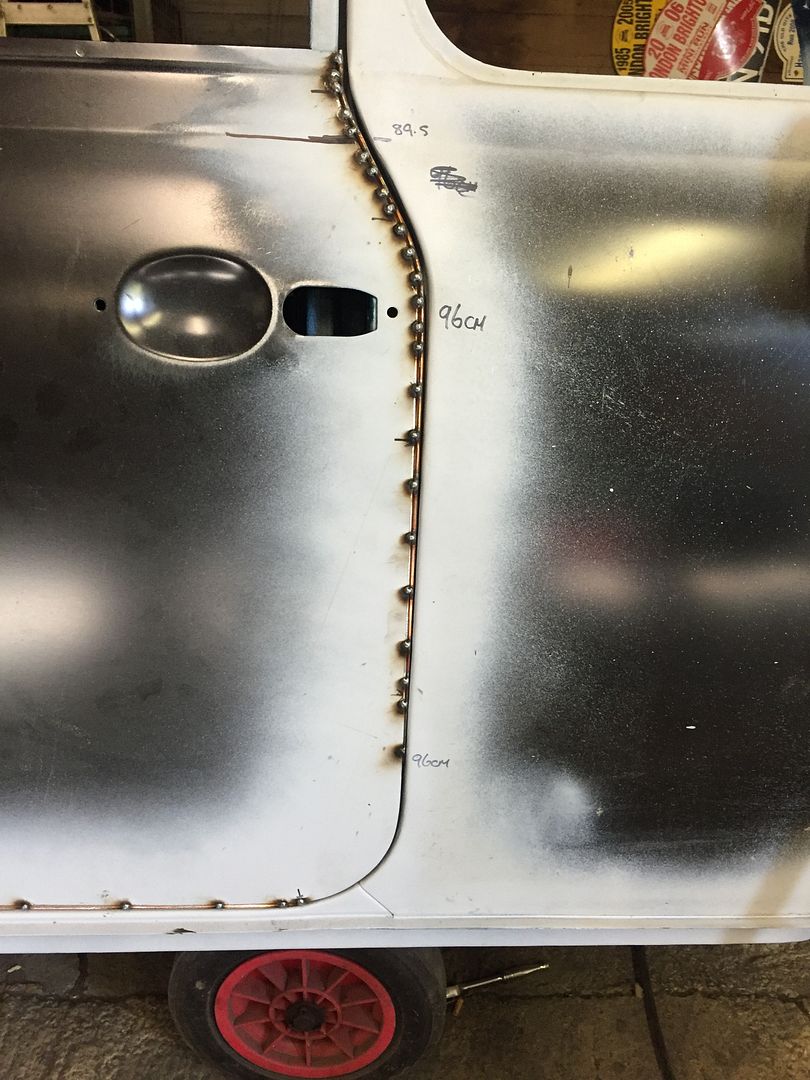
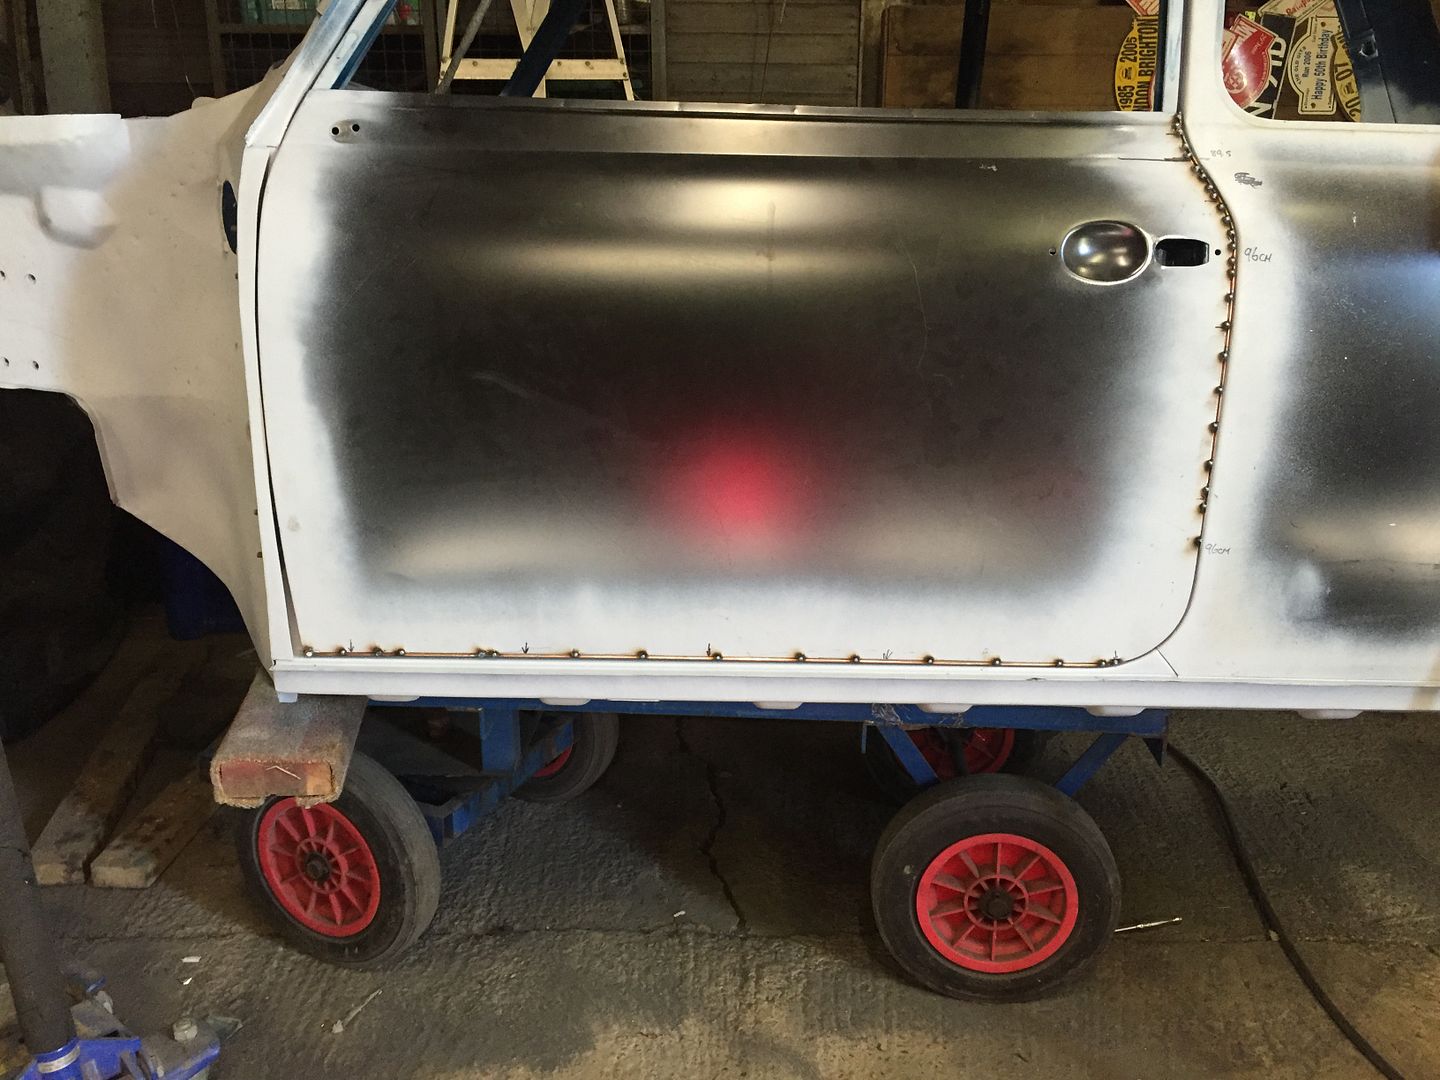
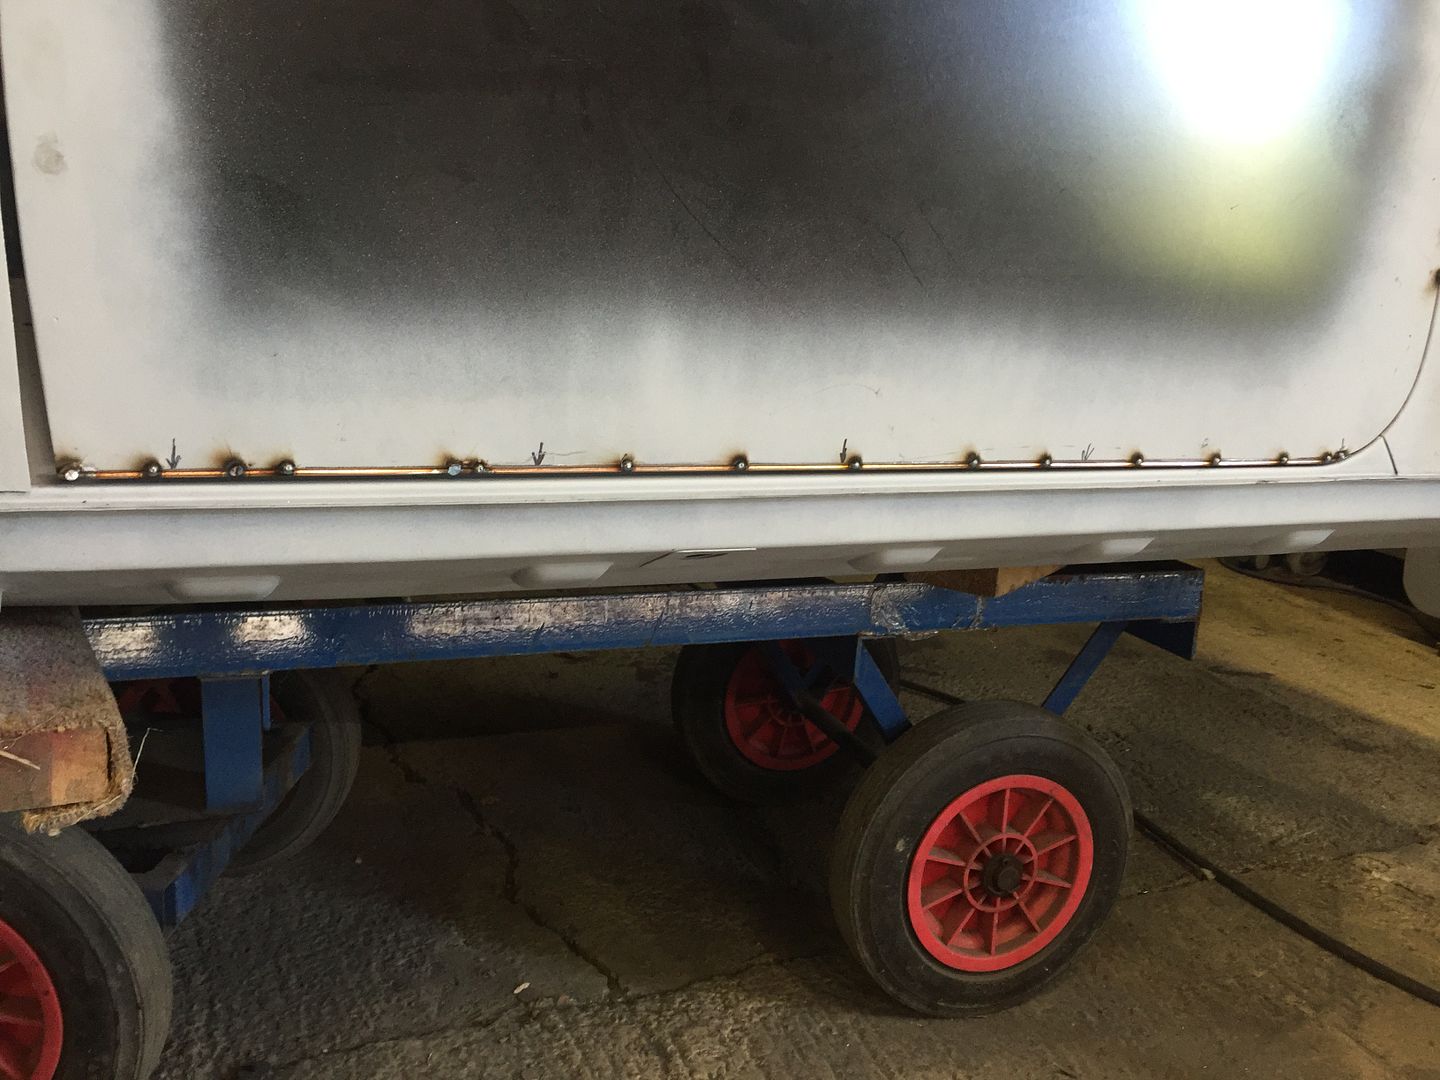
More progress with the door today, so on with Frosts Cold Front.
and after a lot of welding and grinding later i ended up with this
well happy with that BUT the Cold Front obviously had a moment and i have a dirty great ripple in the skin so not bloody happy at all. I will give it a tickle to reduce it but considering how much heat i generated along the bottom and that ominous click/creak i heard i should have stopped. Bugger!!!!!!!!!
So some more filler work than i would have liked but such is life. The other issue i found was the contour of the flitch/A panel return. It was too shallow so some cutting and welding later i got the right curve in place so at least something went right.
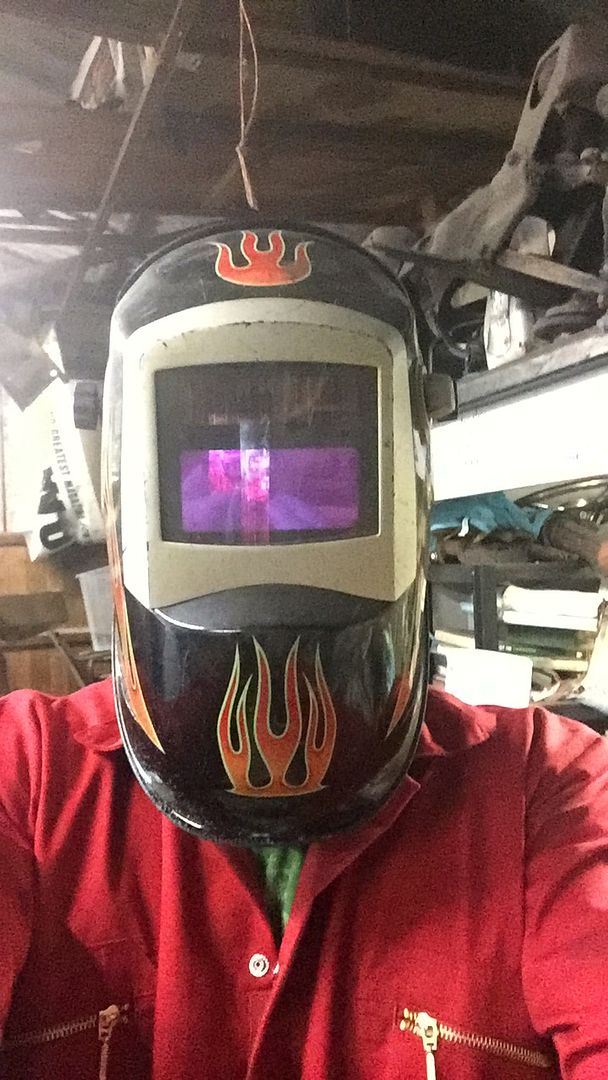
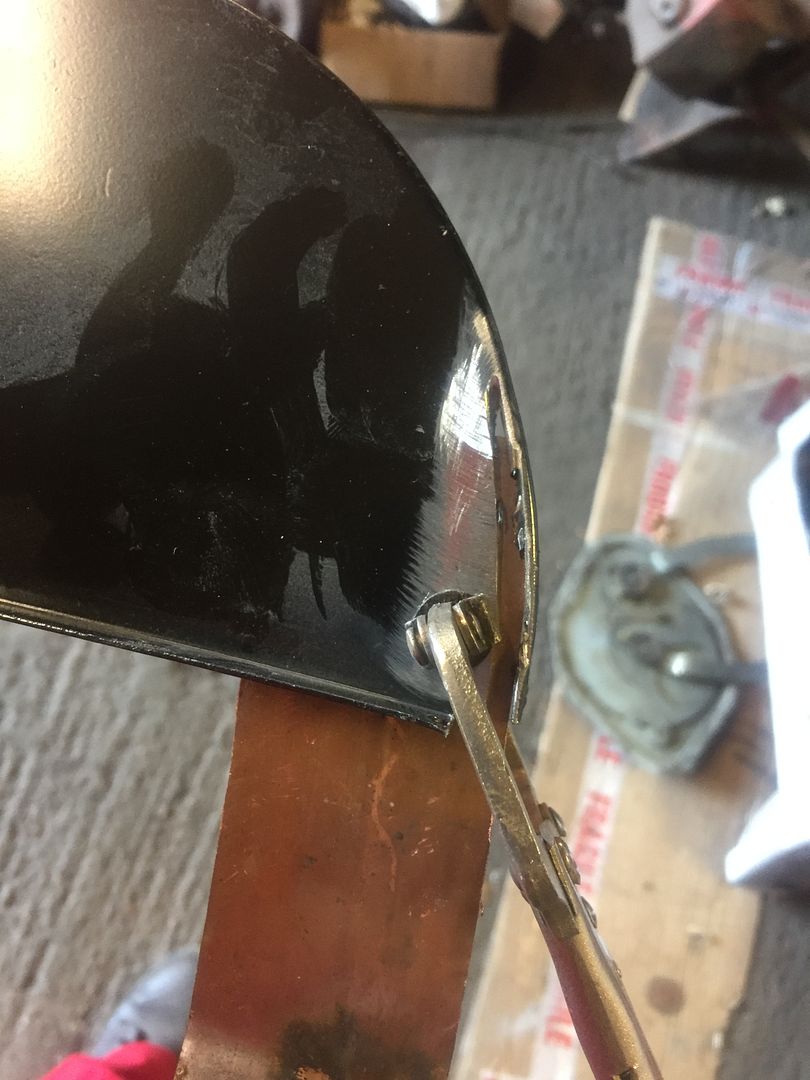
But looking good in my helmet
Oh and have to sort the slight bow in the window frame at the back
#607

Posted 22 October 2016 - 07:05 PM
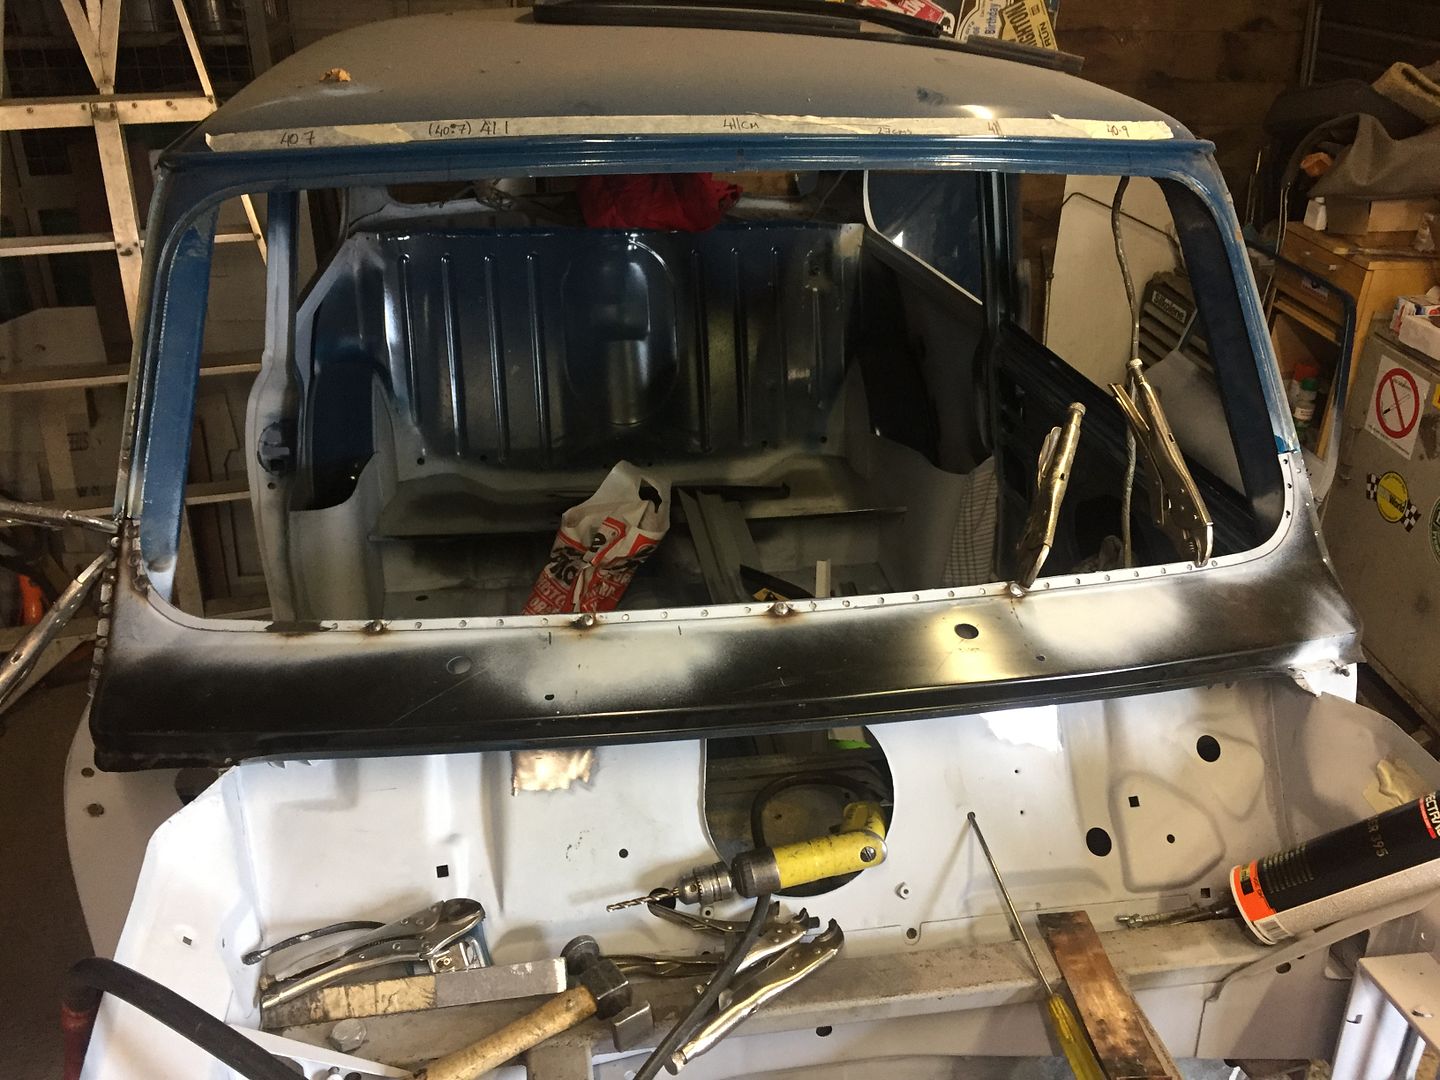
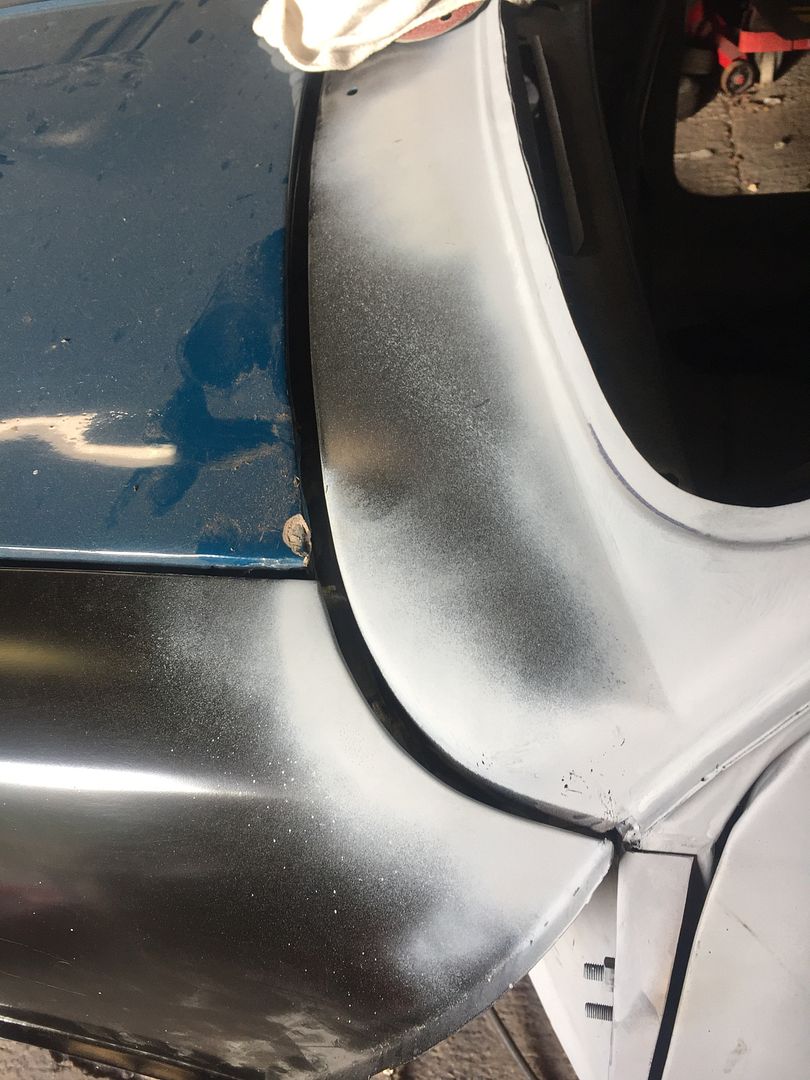
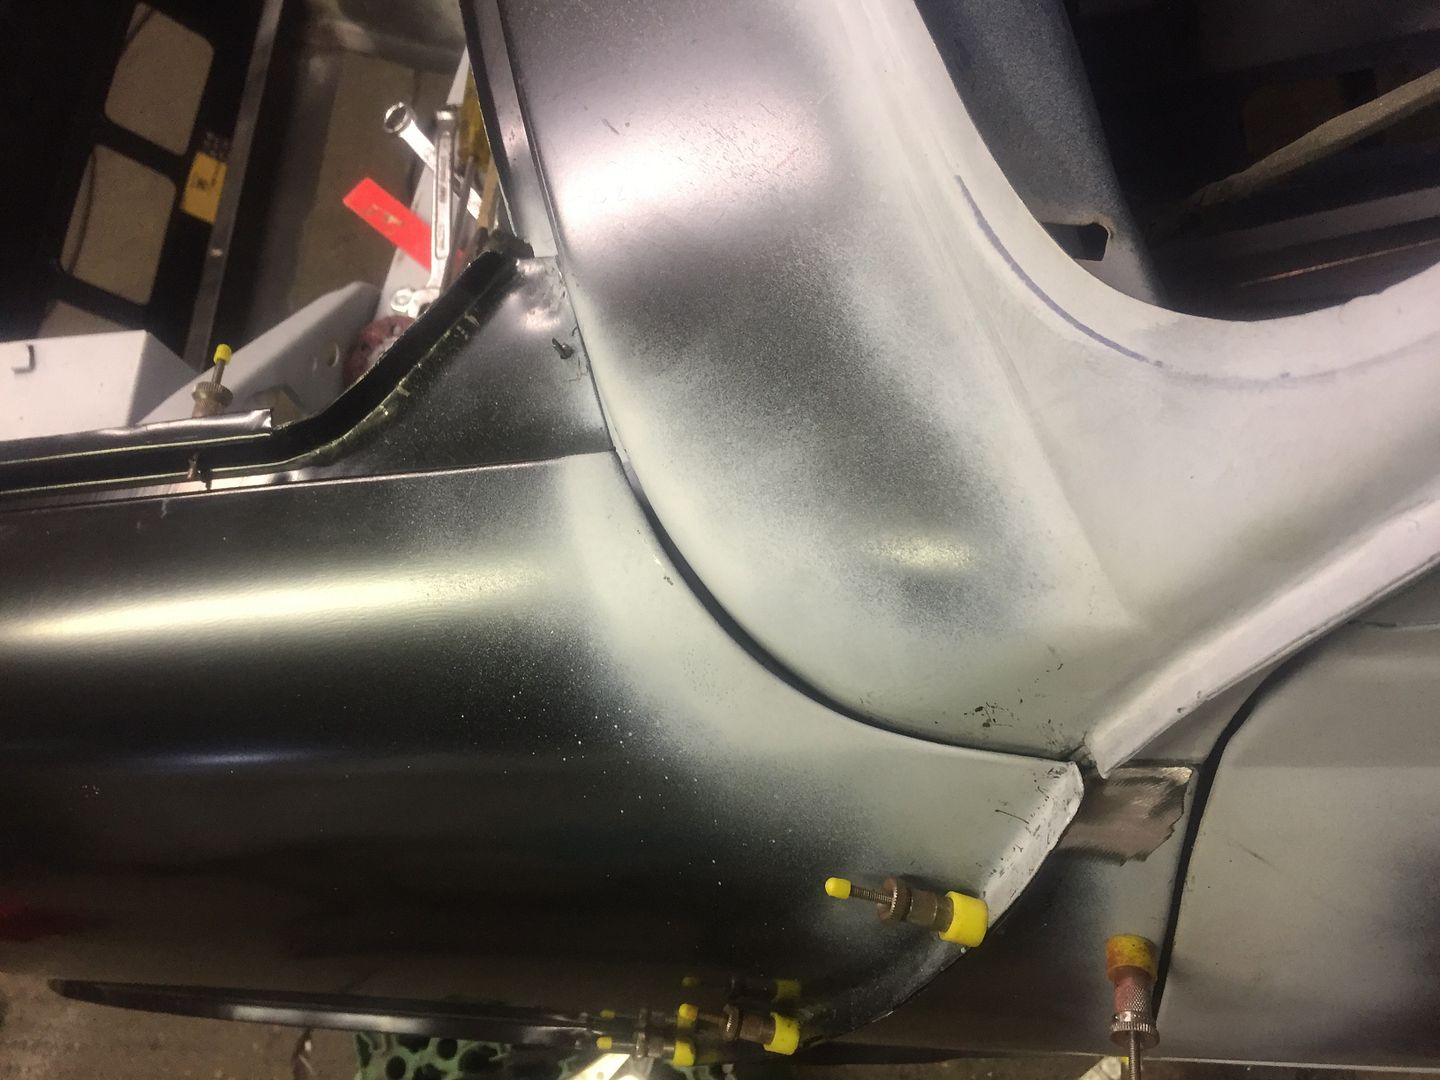
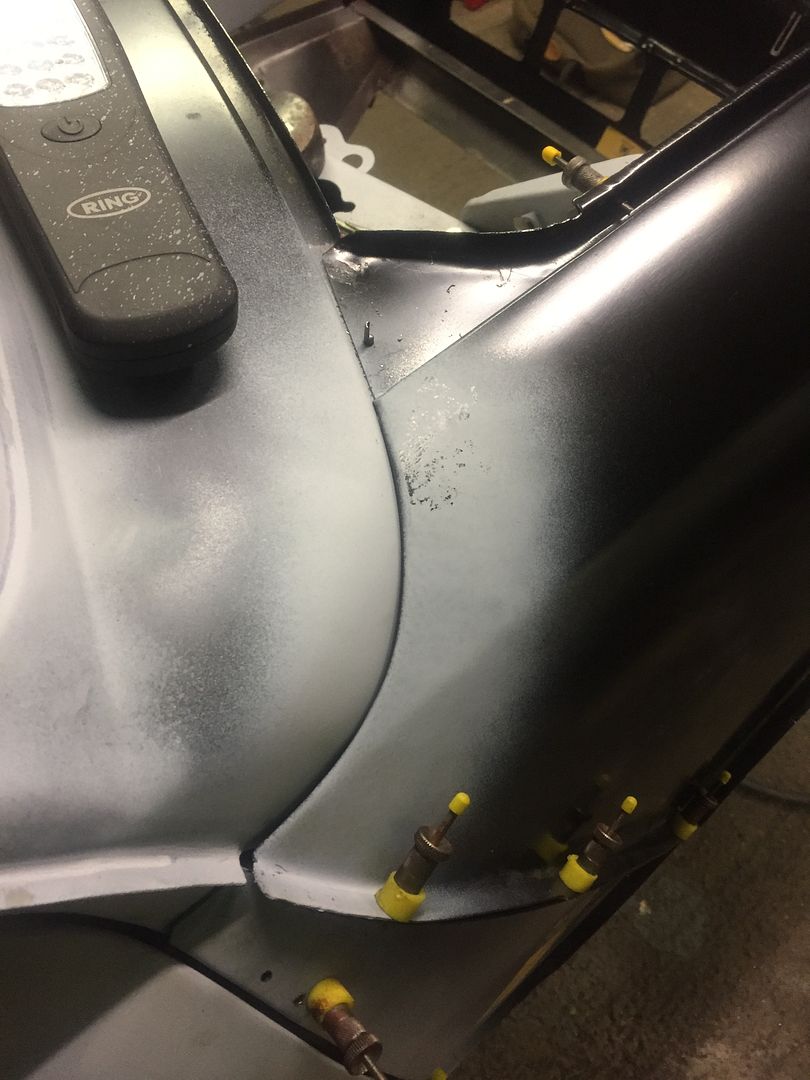
Scuttle is on, shame i did not notice the dent in the l/h end which is causing a few issues. I still have to weld the gaps up but the closeouts are in as well
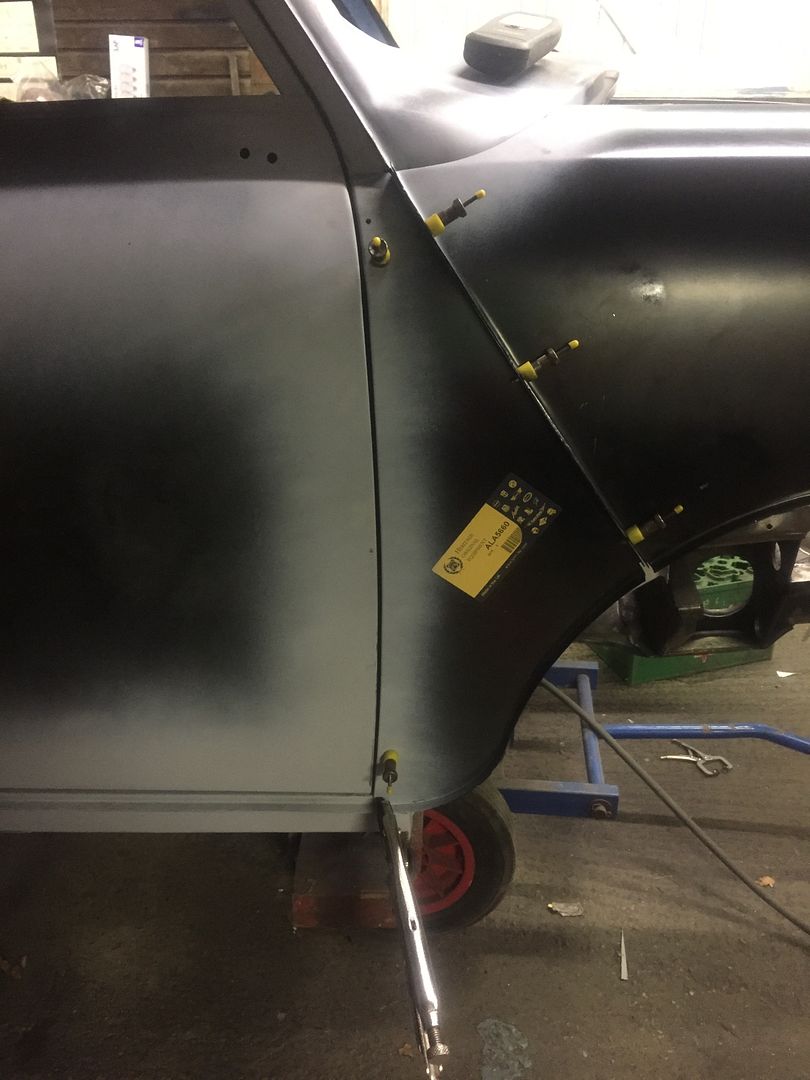
Then it was try the wing time and its not the best but once the A panel issue is sorted then it will fit BUTTTTTT as you will see in a minute there are bigger issues,
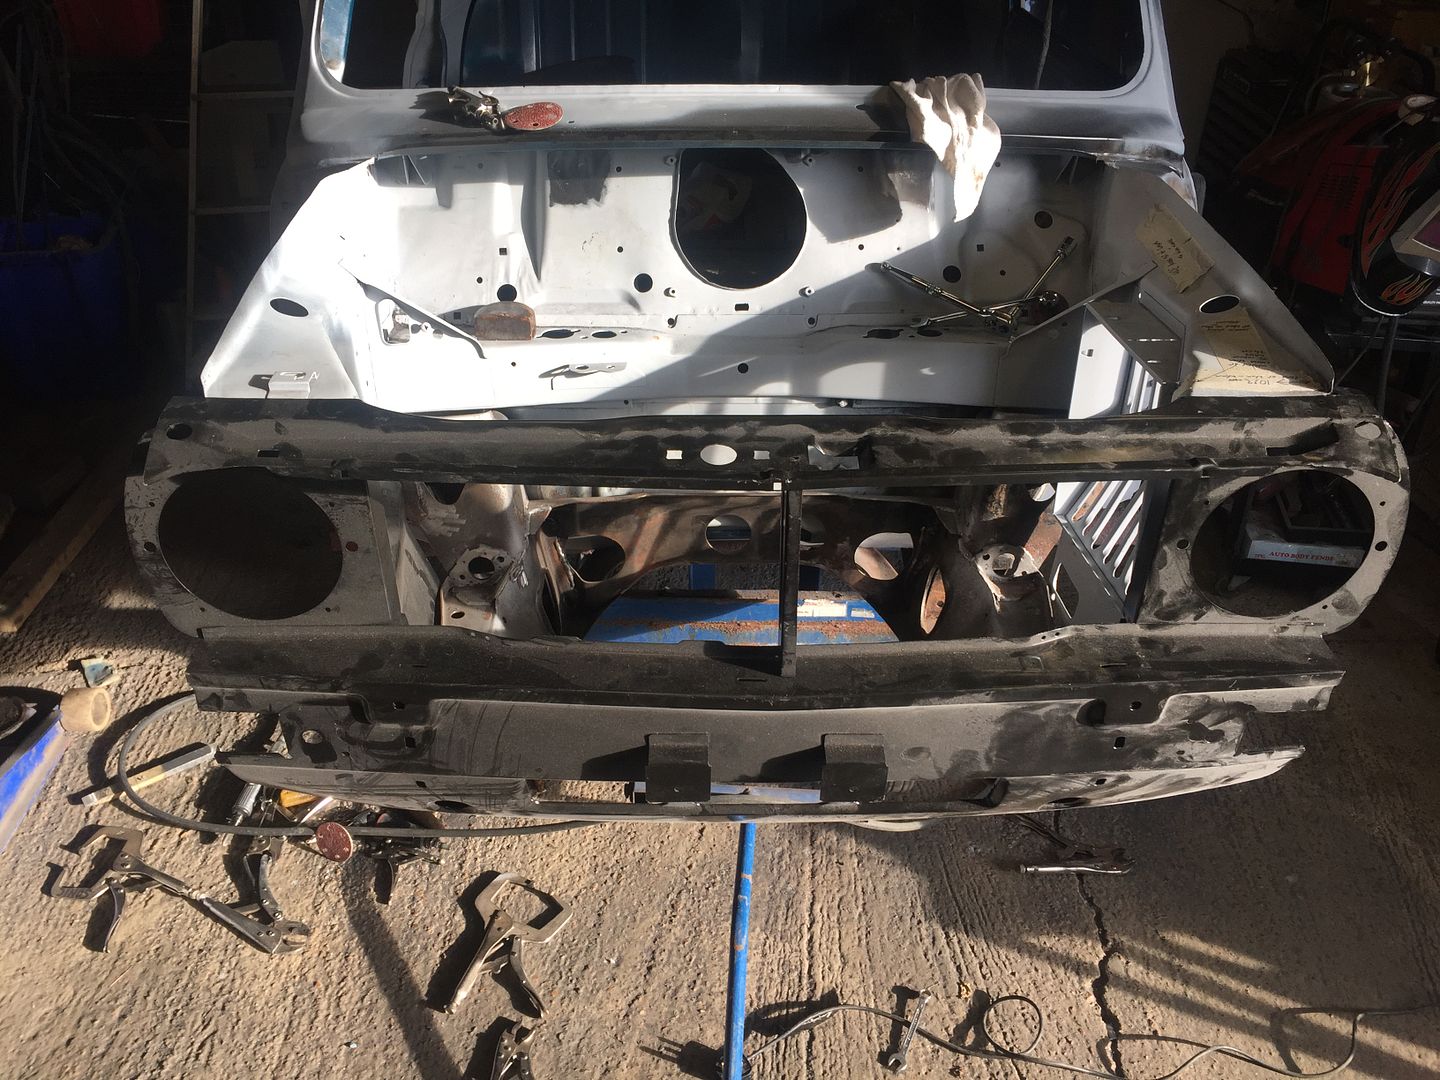
Front panel in place
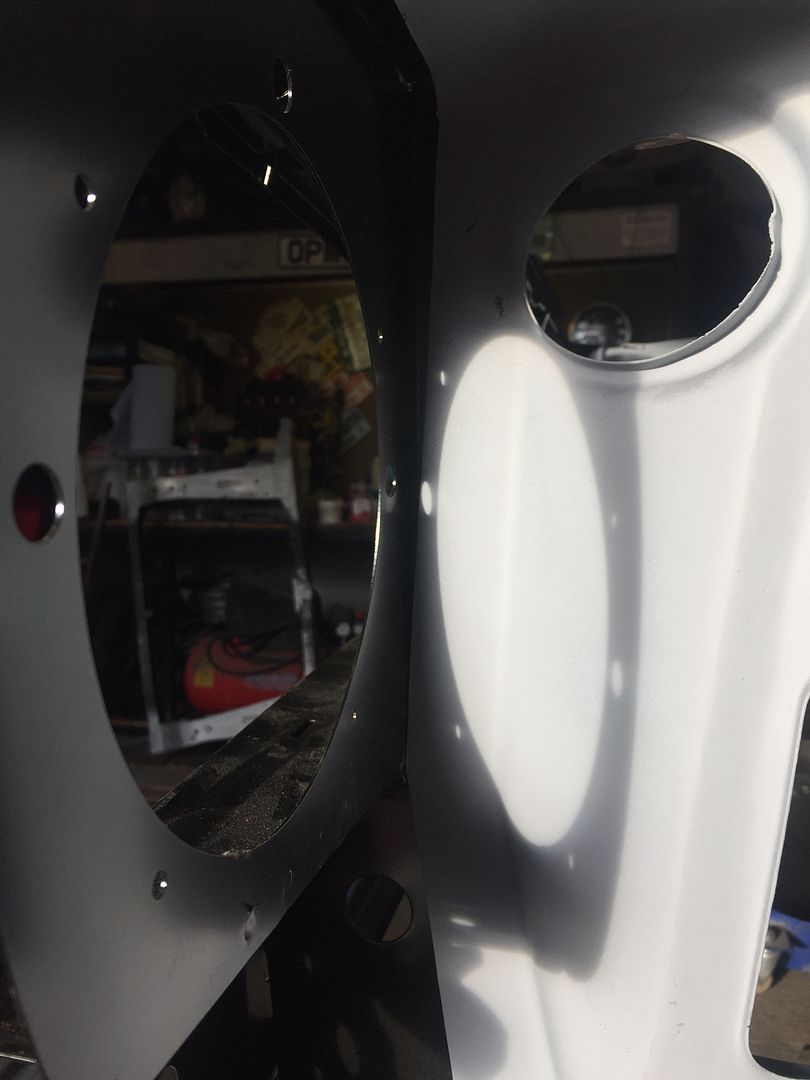
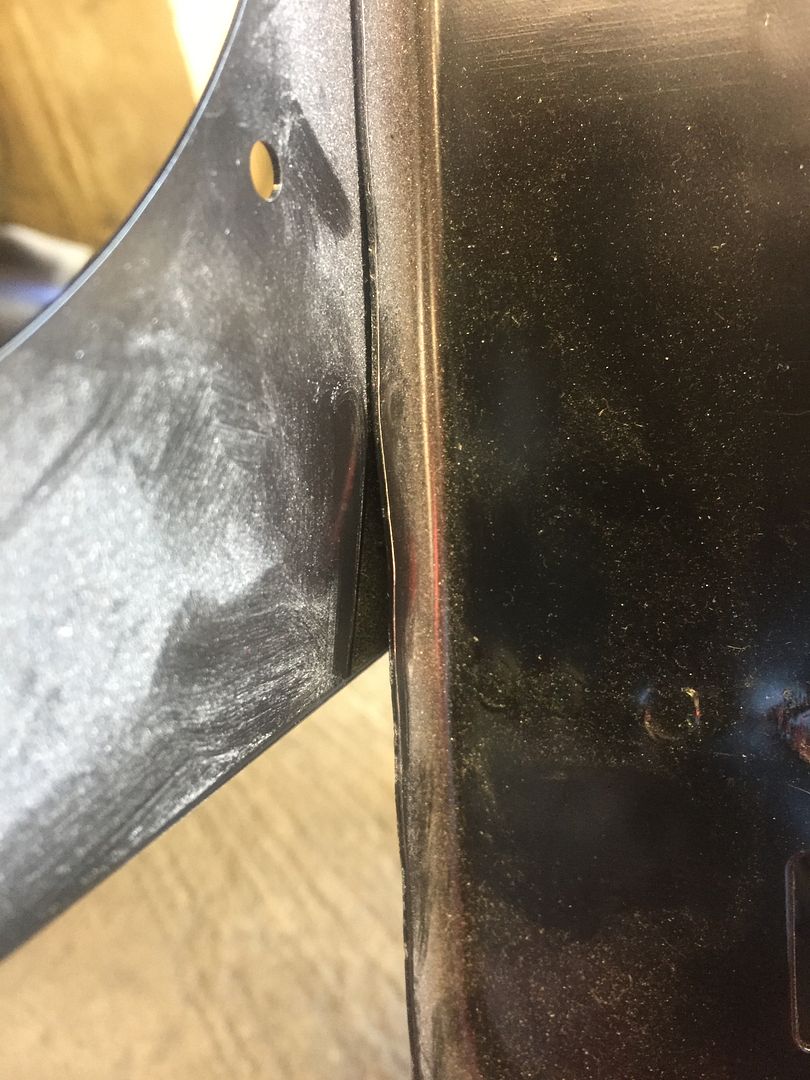
This is part of the issue although difficult to see, the front panel is fouling badly low down so trimming and panel beating needed
This side is fine
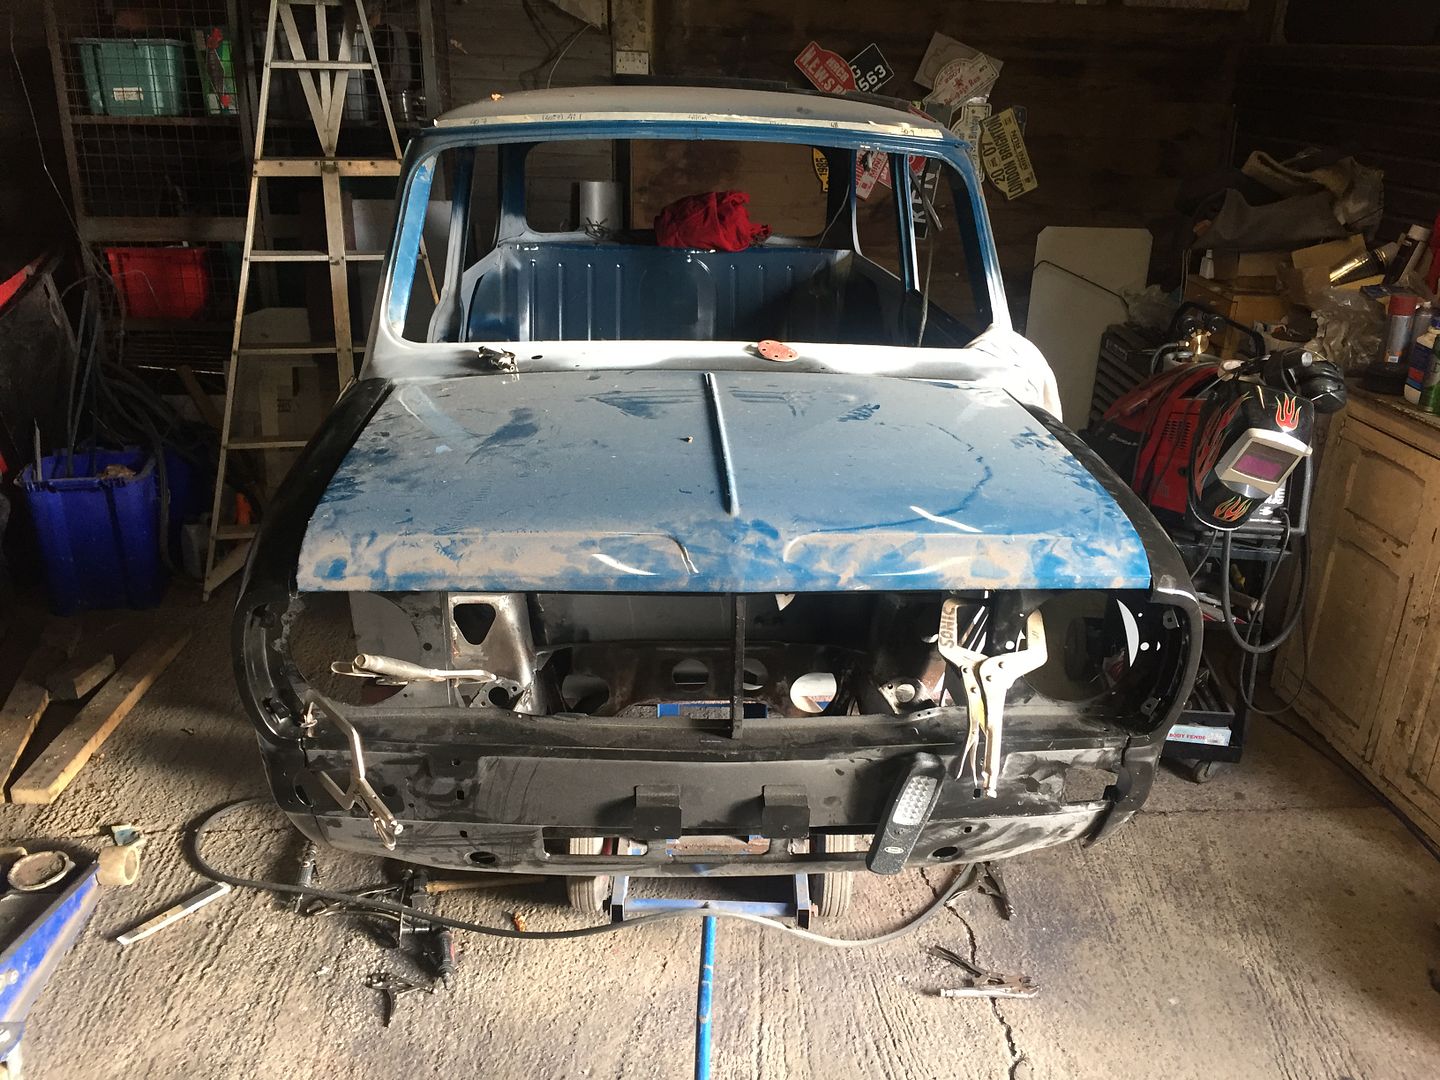
The bonnet nearly fits but it was literally thrown on
And the poxy gap caused by the front panel issues
#608

Posted 23 October 2016 - 07:47 AM
Pete
#609

Posted 23 October 2016 - 08:23 AM
Neil, have you any videos of you doing plug welds ? They are beautiful and I want to see how you do them.
Pete
Sorry Pete , no videos. Like anything welding wise several things have to happen here for a decent plug weld.
1:- Size of the hole. Now depending on the size of the flange I use either a 1/4" hole or 3/16th. Larger is better as you will guarantee a proper amount of penetration.
2:- Cleanliness, that speaks for itself.
3:- Power. The right power and wire speed is paramount. Now I have been having a play with my 135 and now I plug weld at a wire speed of 8.5 and Max power.
4:- Technique, this is something you will achieve yourself, something that you are comfortable with.
#610

Posted 24 October 2016 - 11:29 AM
Hi Neil,
I would love to see a video of you dressing your butt welds! I never manage to do it without affecting the material on either side.
Chris
Edited by CBJ805T, 24 October 2016 - 11:29 AM.
#611

Posted 28 October 2016 - 08:15 PM
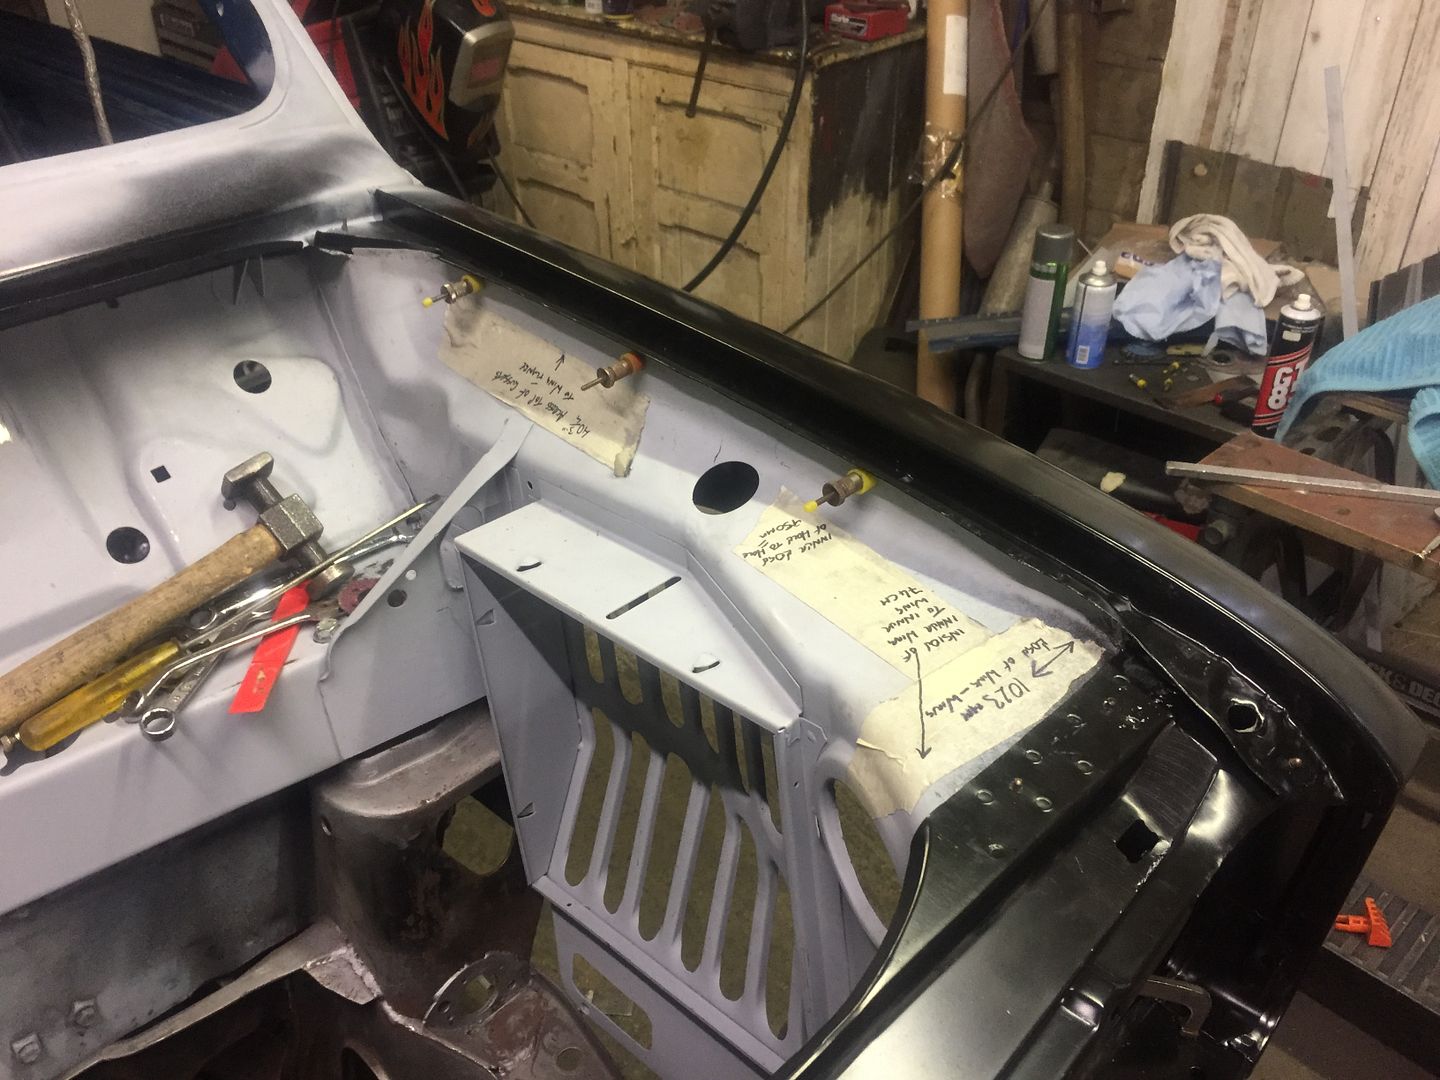
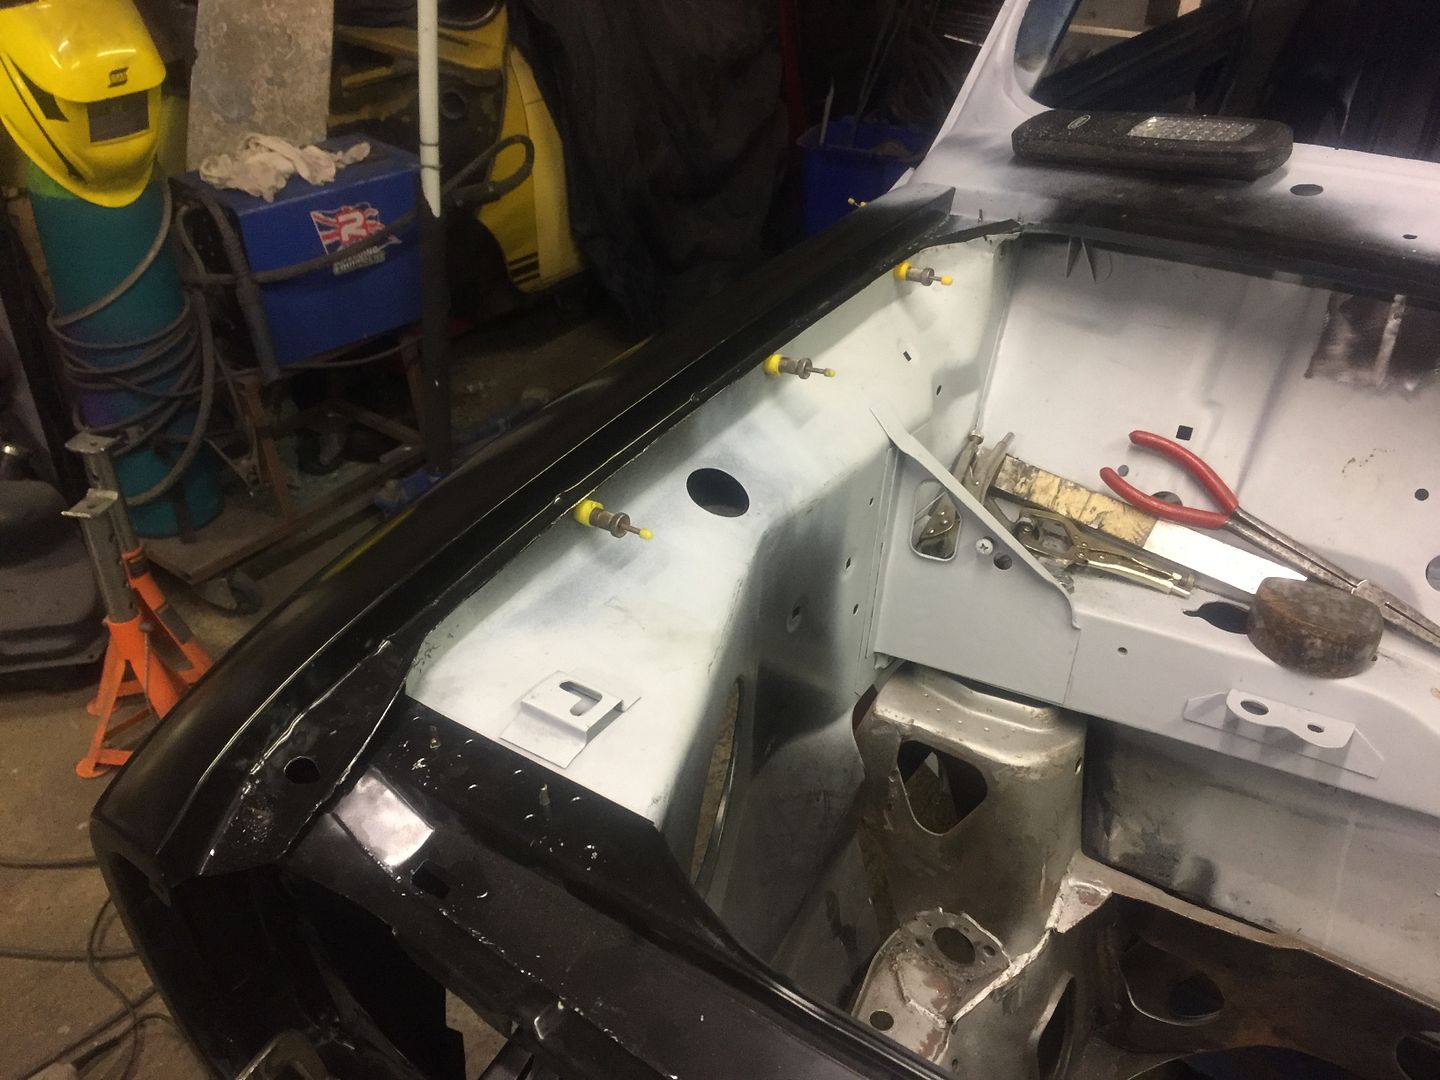
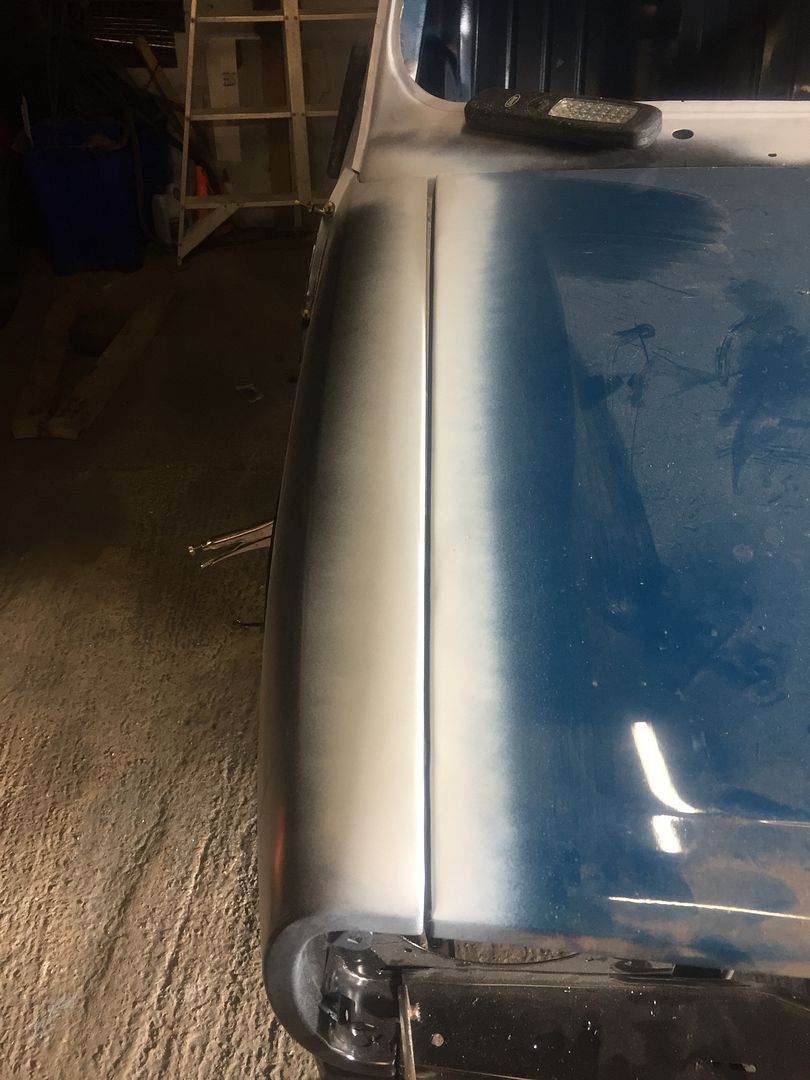
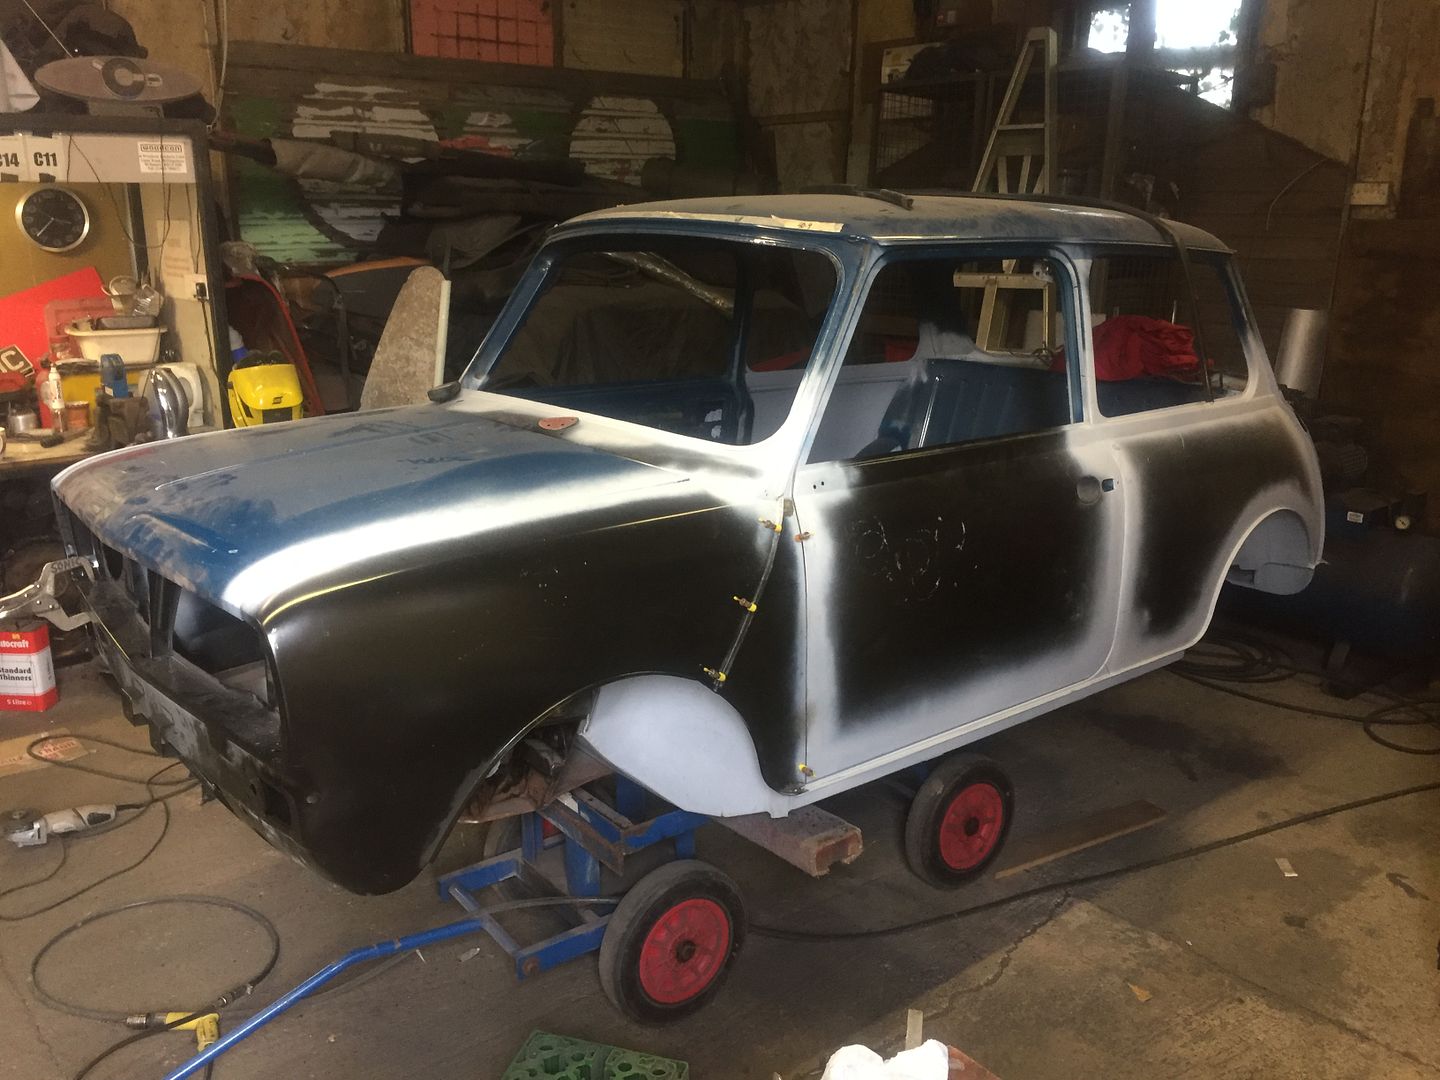
After much cursing tweaking, drilling, cutting etc the front end is looking better but still needs work.
I had to drill out two of the spot welds on the panel to shrink down this gap to match the other side
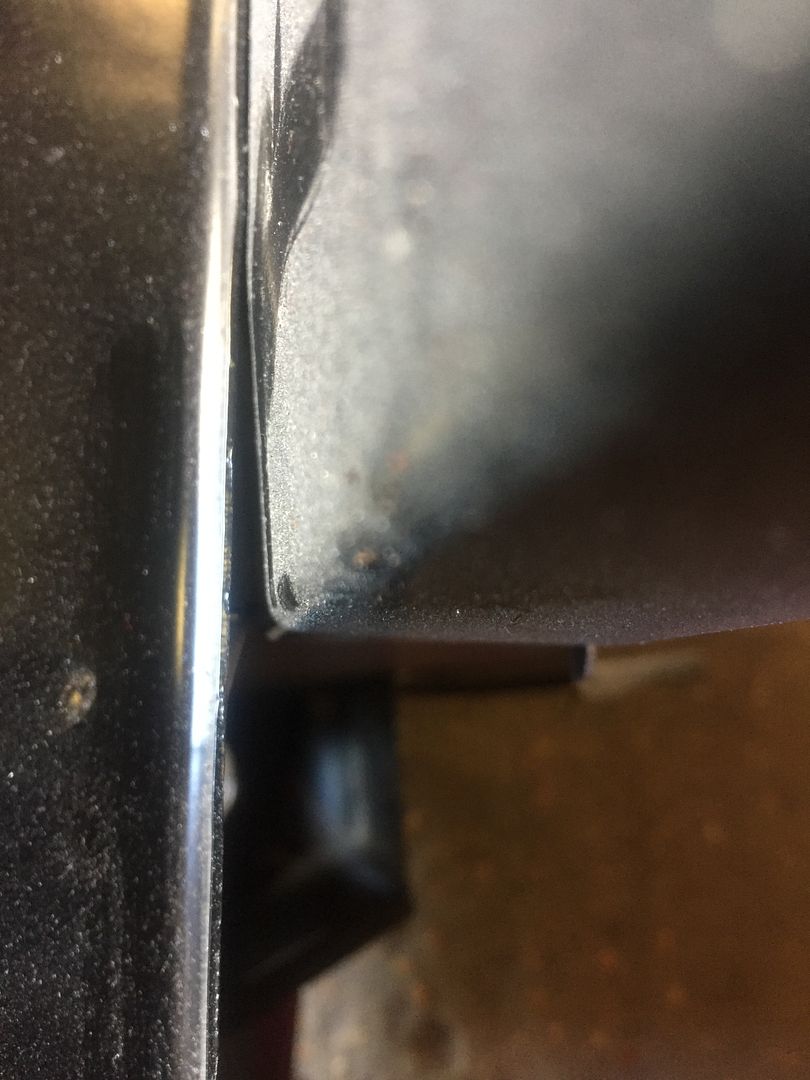
Not much but made a big difference
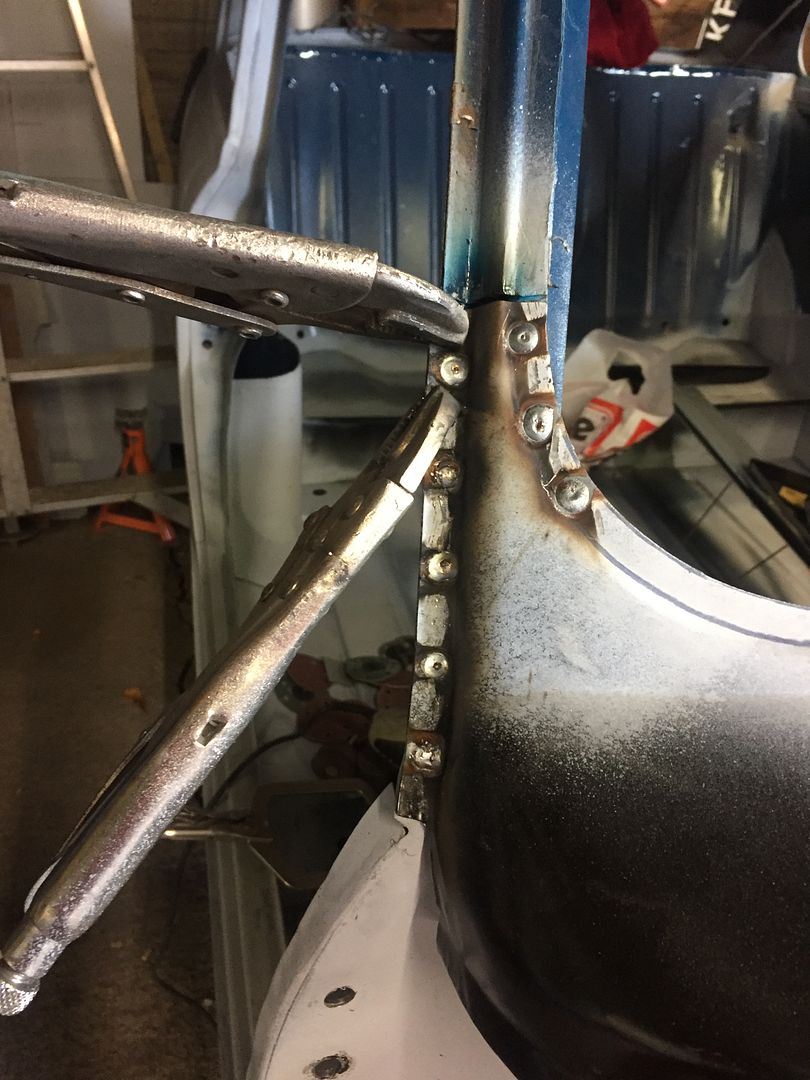
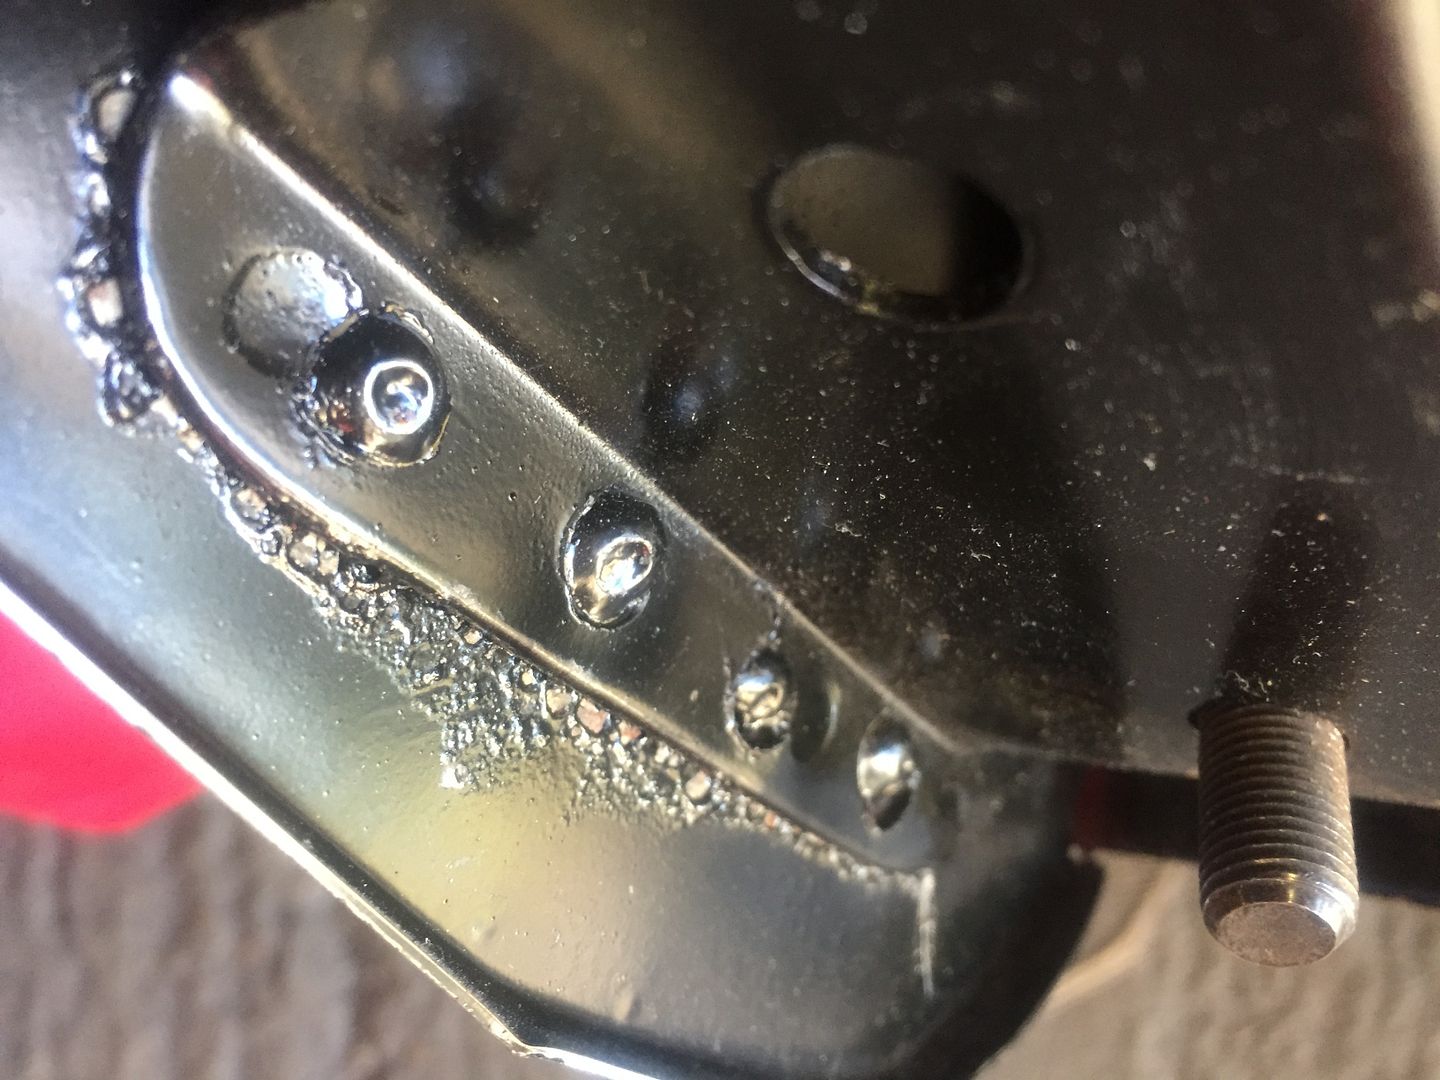
This is rubbish as well, crap welds by Heritage, very poor
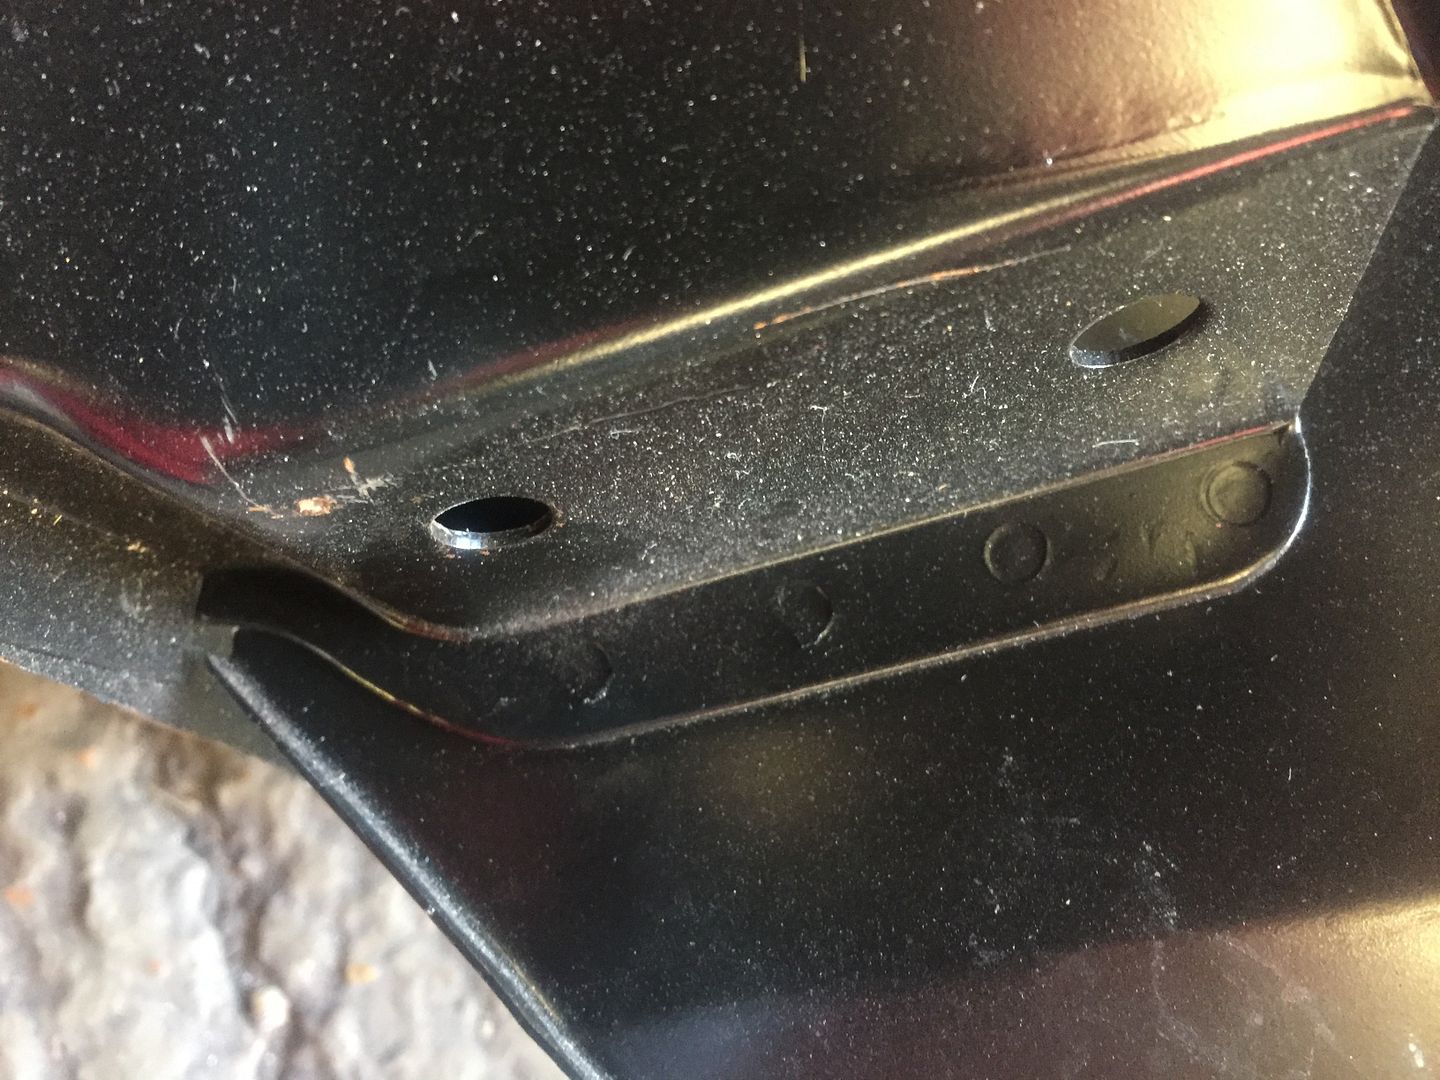
those will be dressed before the front is welded on to look like the other side
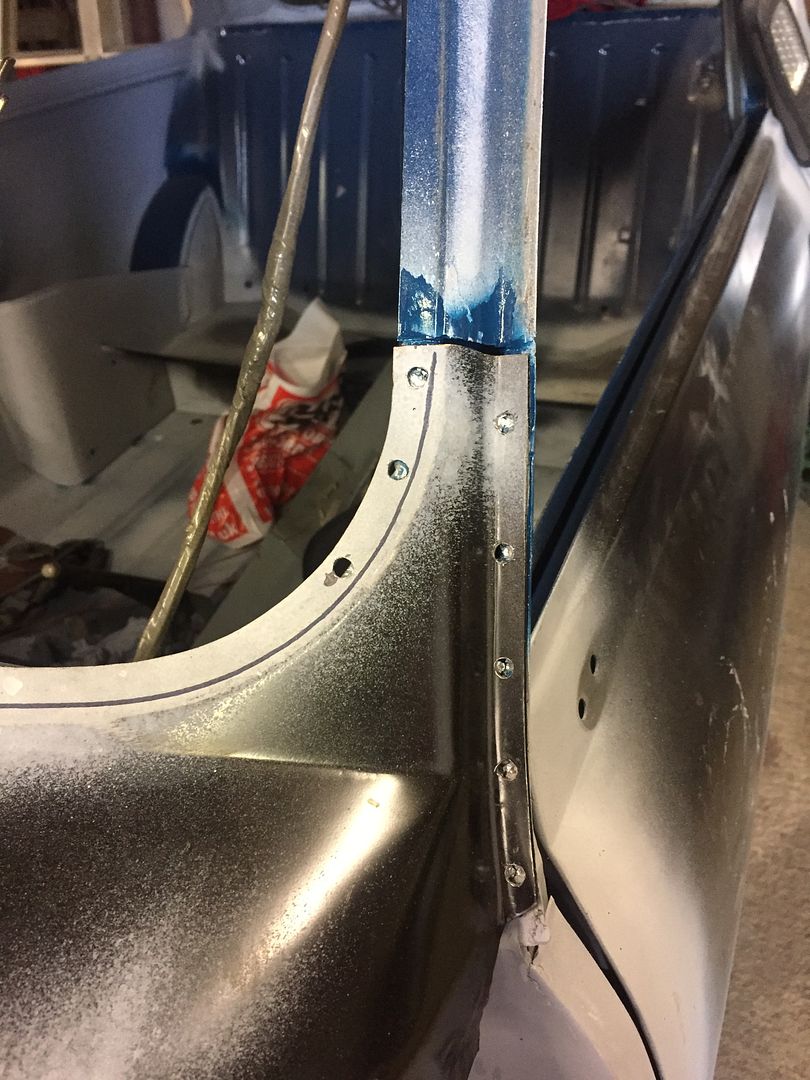
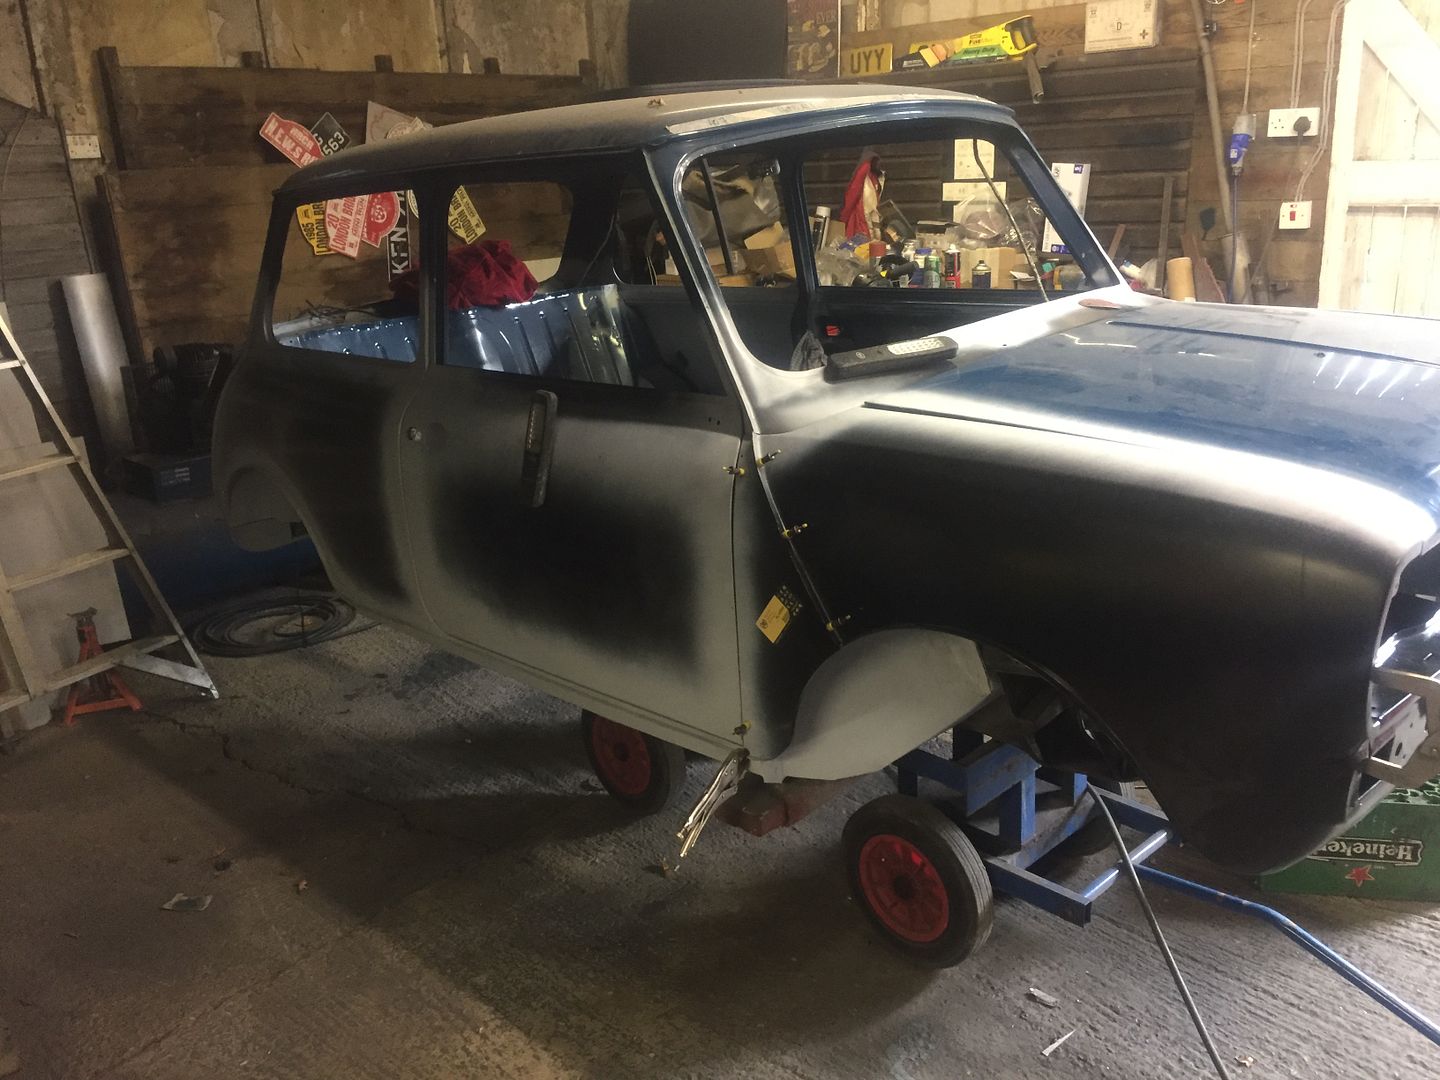
Anyway right hand side is looking a lot better, still some welding to do on the A panel to weld up the sectioning i did
The gap is a lot better but some more tweaking will happen
The r/h side went on a lot better
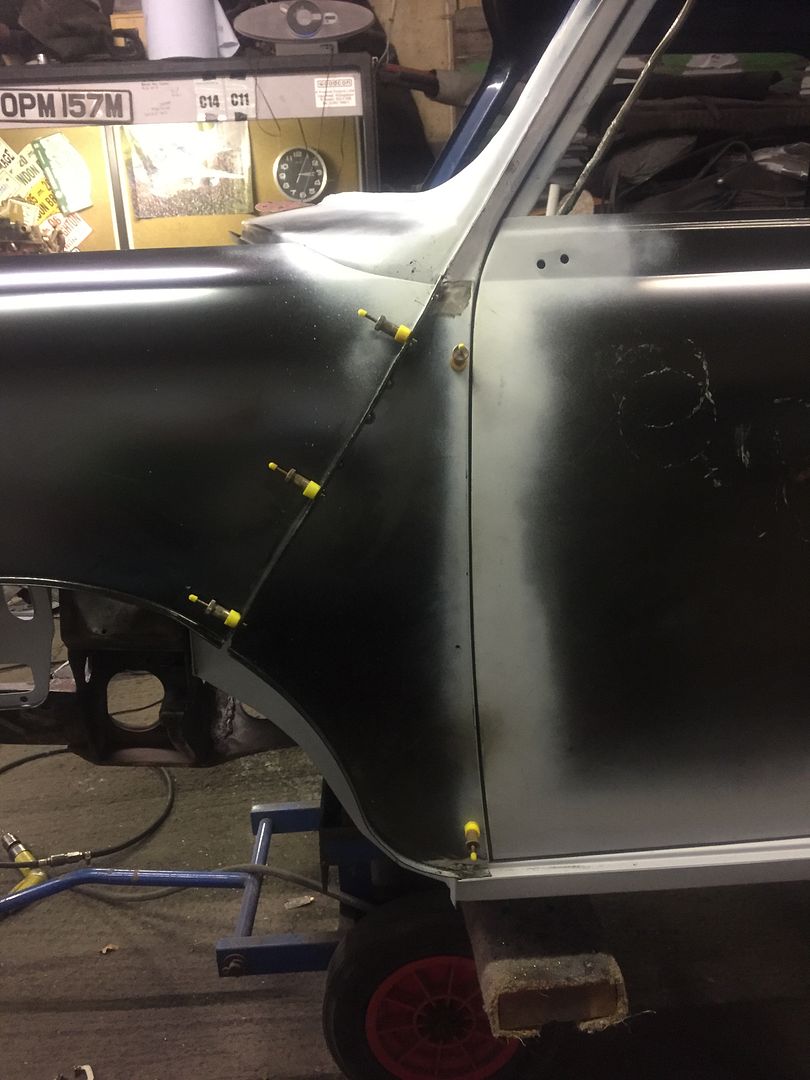
So both sides pinned in place
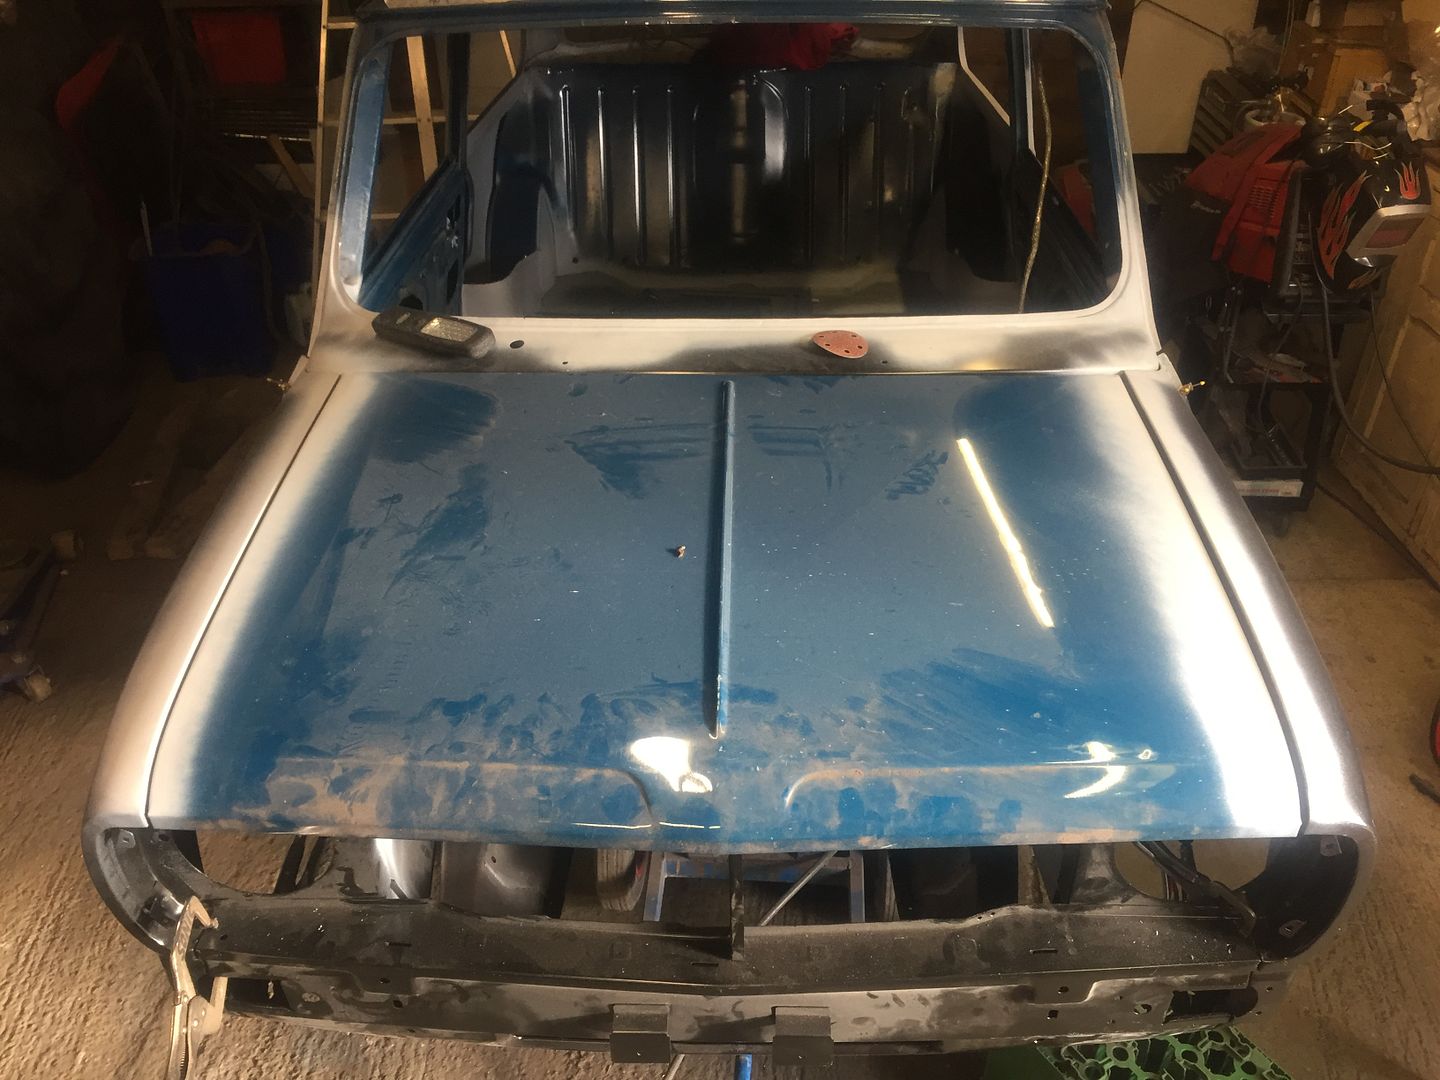
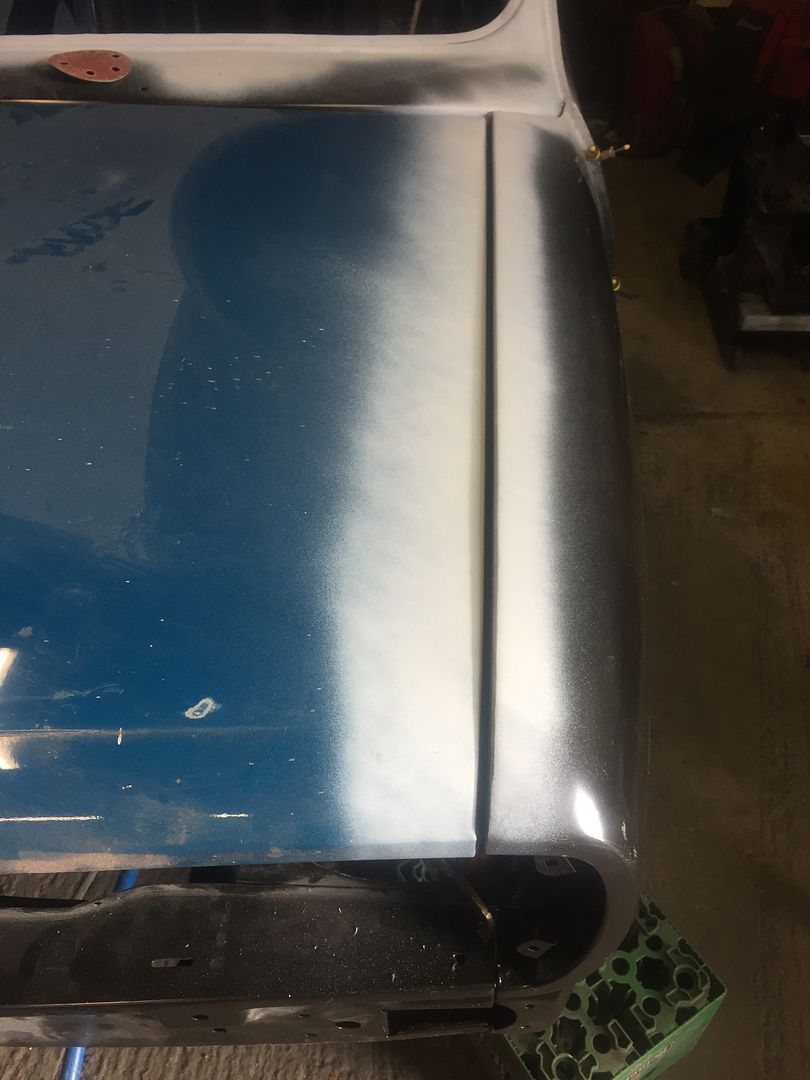
Tested the bonnet fit
The right hand side tapers unlike the left side so more work needed to get the back of the wing pushed in a bit further
Anyway with all the panels on Paddy looks whole again
#612

Posted 28 October 2016 - 08:48 PM
Looking good, love your attention to detail, when I see an update I know I am going to be seeing quality work. Good man.
#613

Posted 29 October 2016 - 02:38 AM
I had the same issue with my near side front quarter.. had to slit it where it meets the scuttle and reshape it. was almost like the panel was about 6mm too short. other side went on perfectly. this is on an Australian round nose, using heritage quarter panels.
Edited by sixtyeight, 29 October 2016 - 02:39 AM.
#614

Posted 29 October 2016 - 08:07 AM
Oh well upwards on onwards.
#615

Posted 29 October 2016 - 07:10 PM
Fantastic work
1 user(s) are reading this topic
0 members, 1 guests, 0 anonymous users


