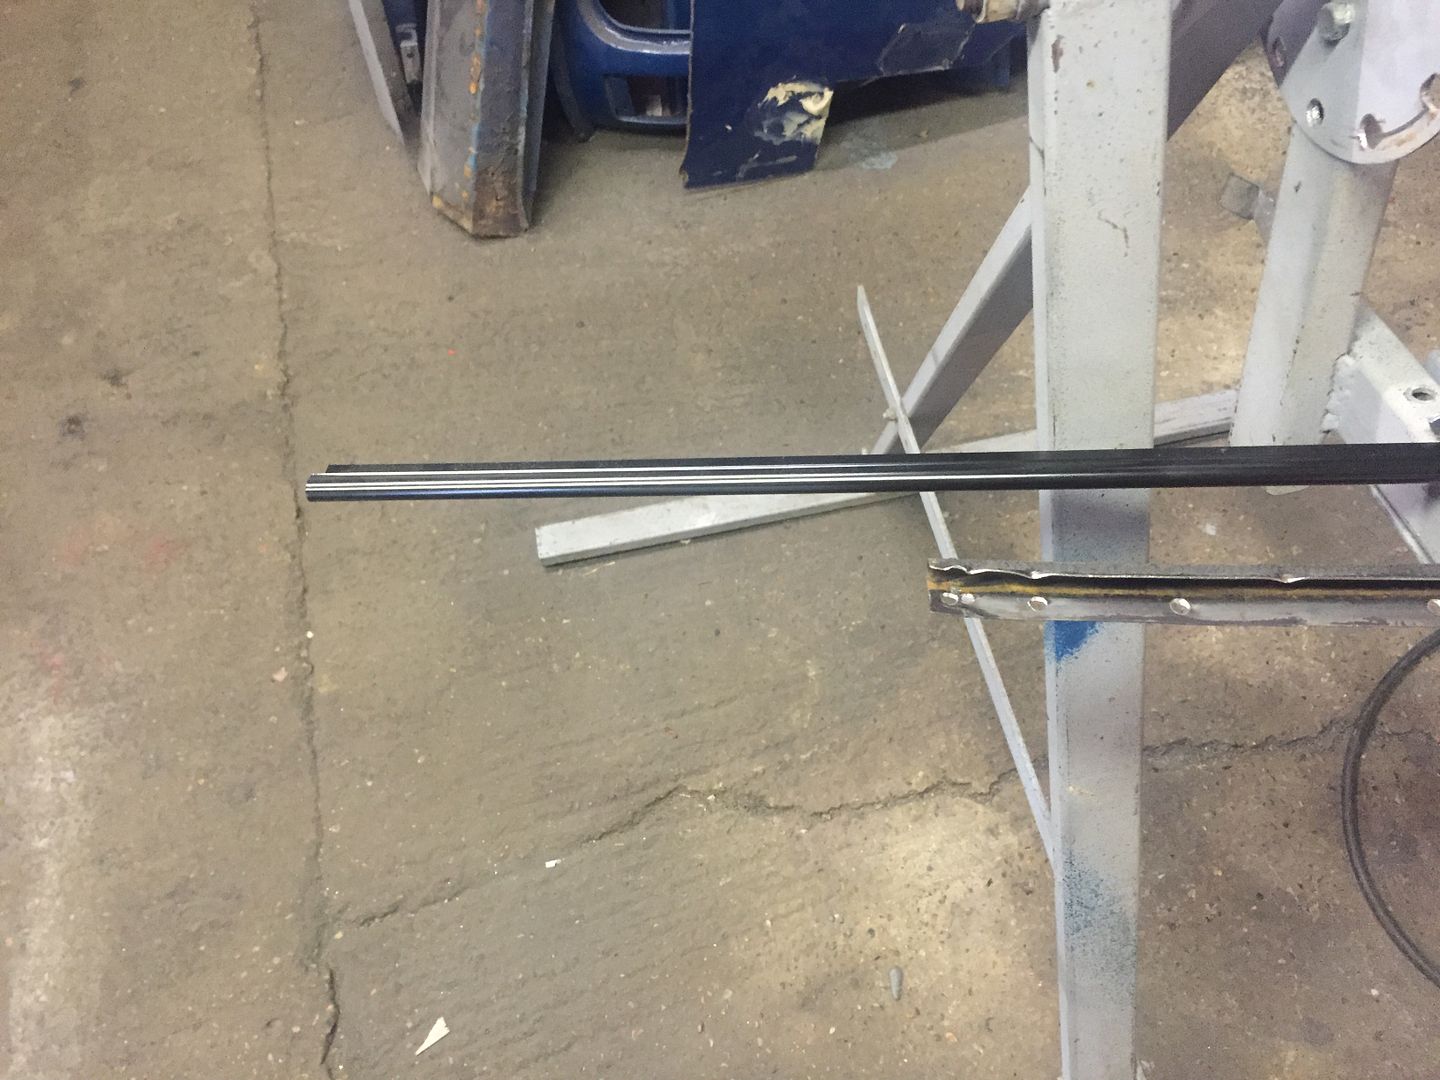
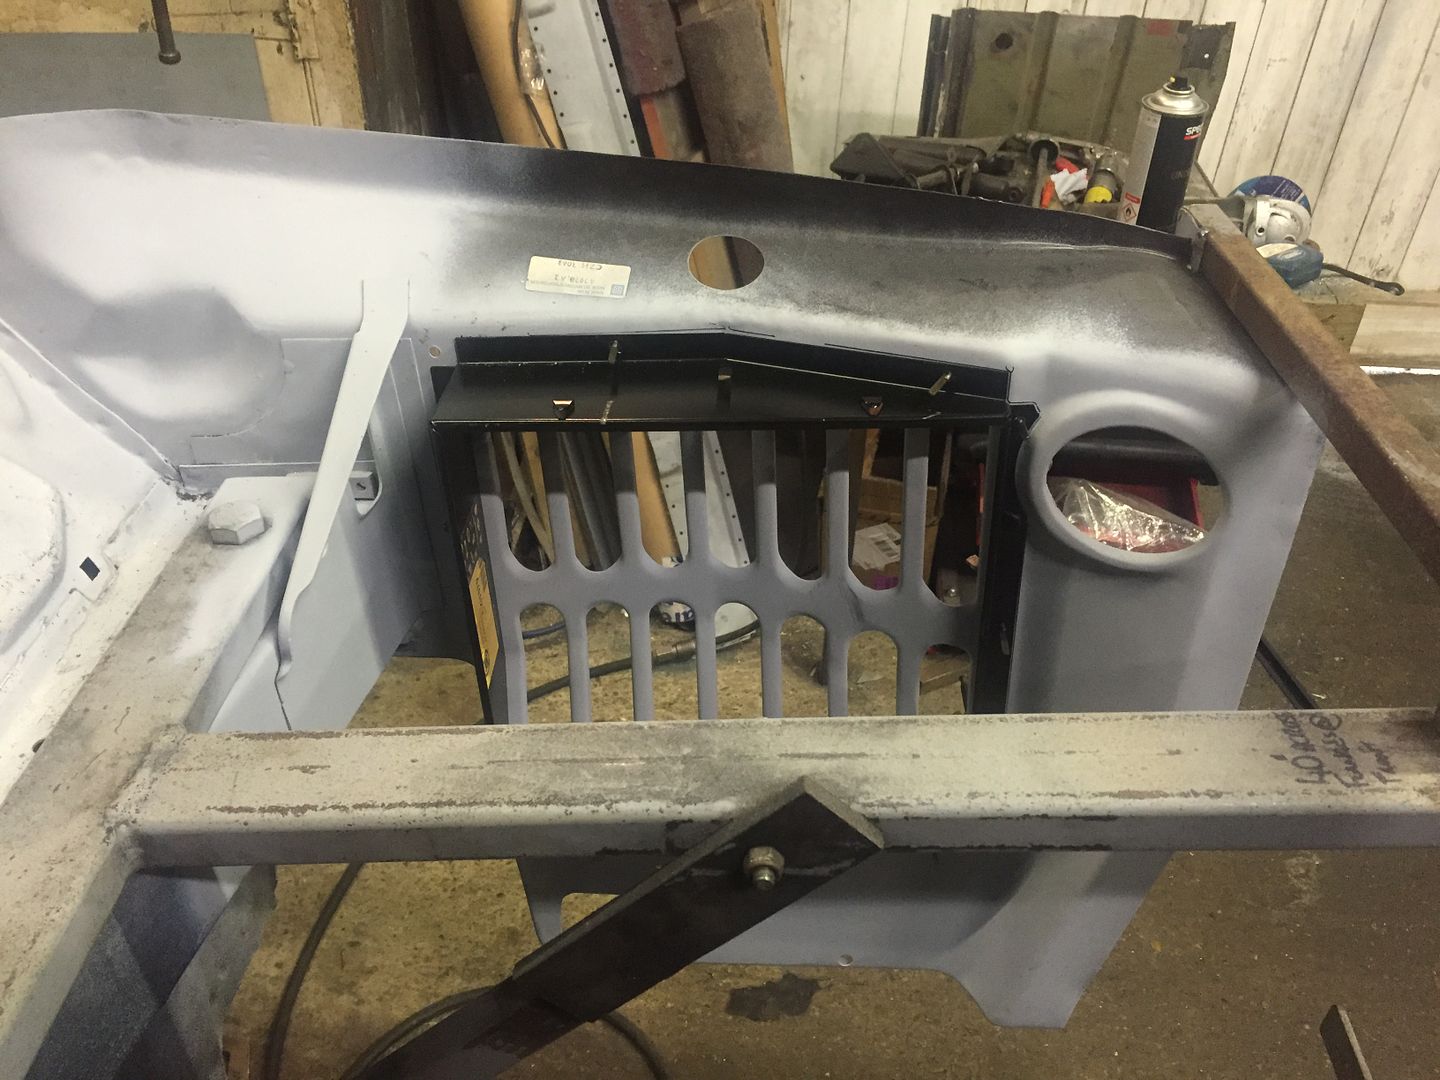
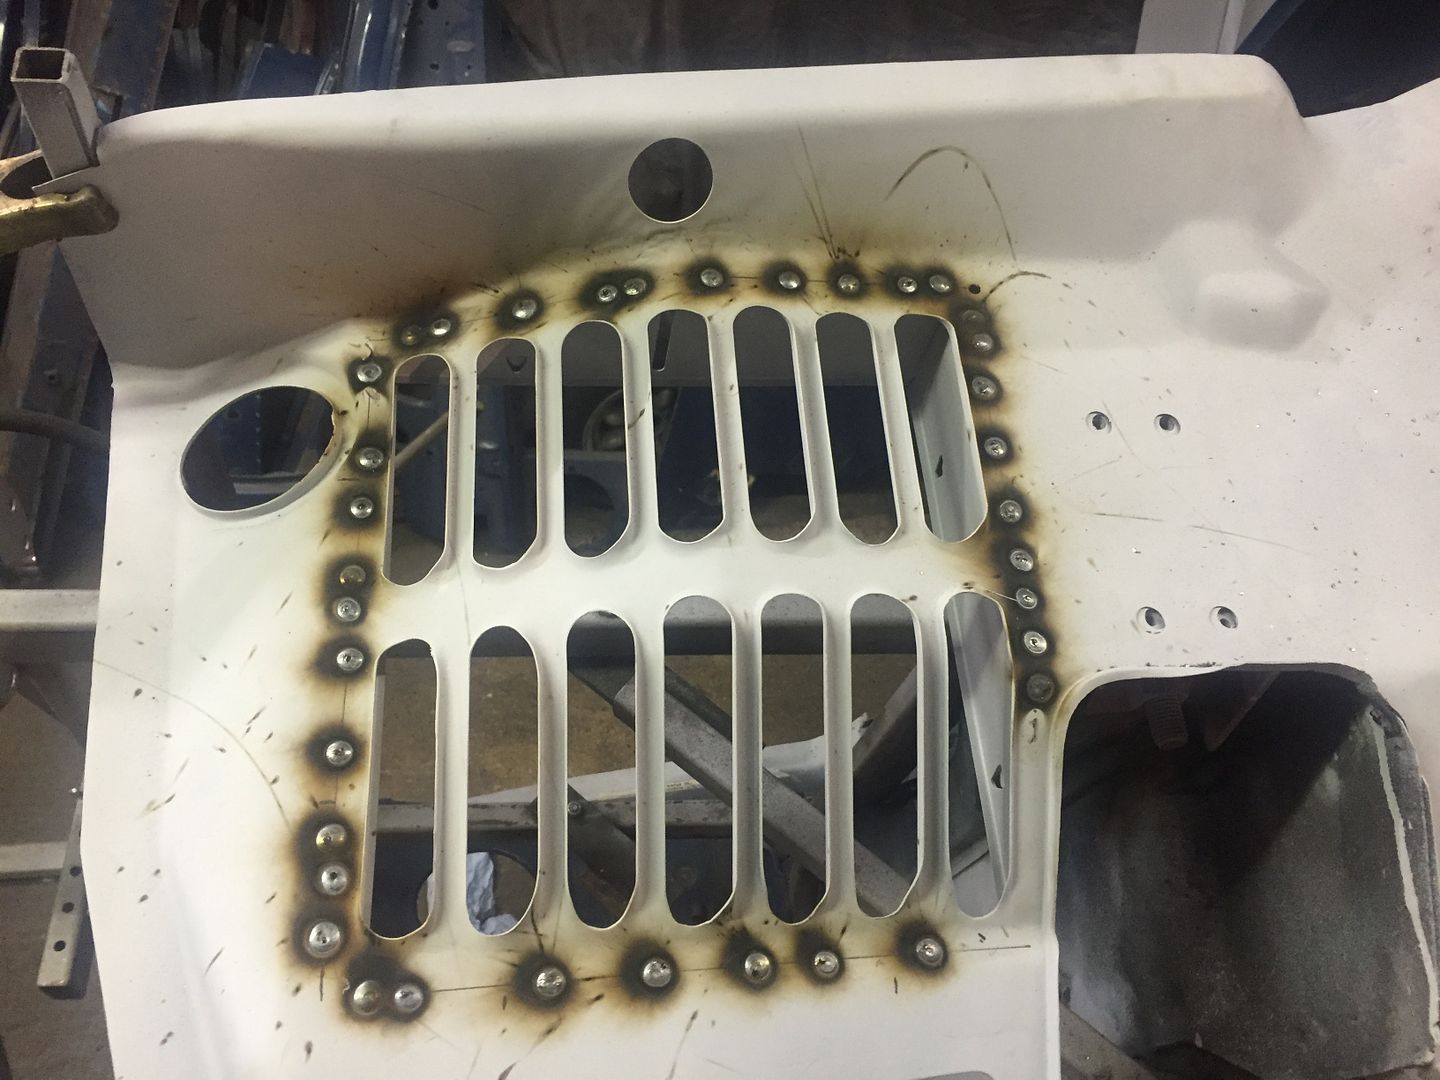
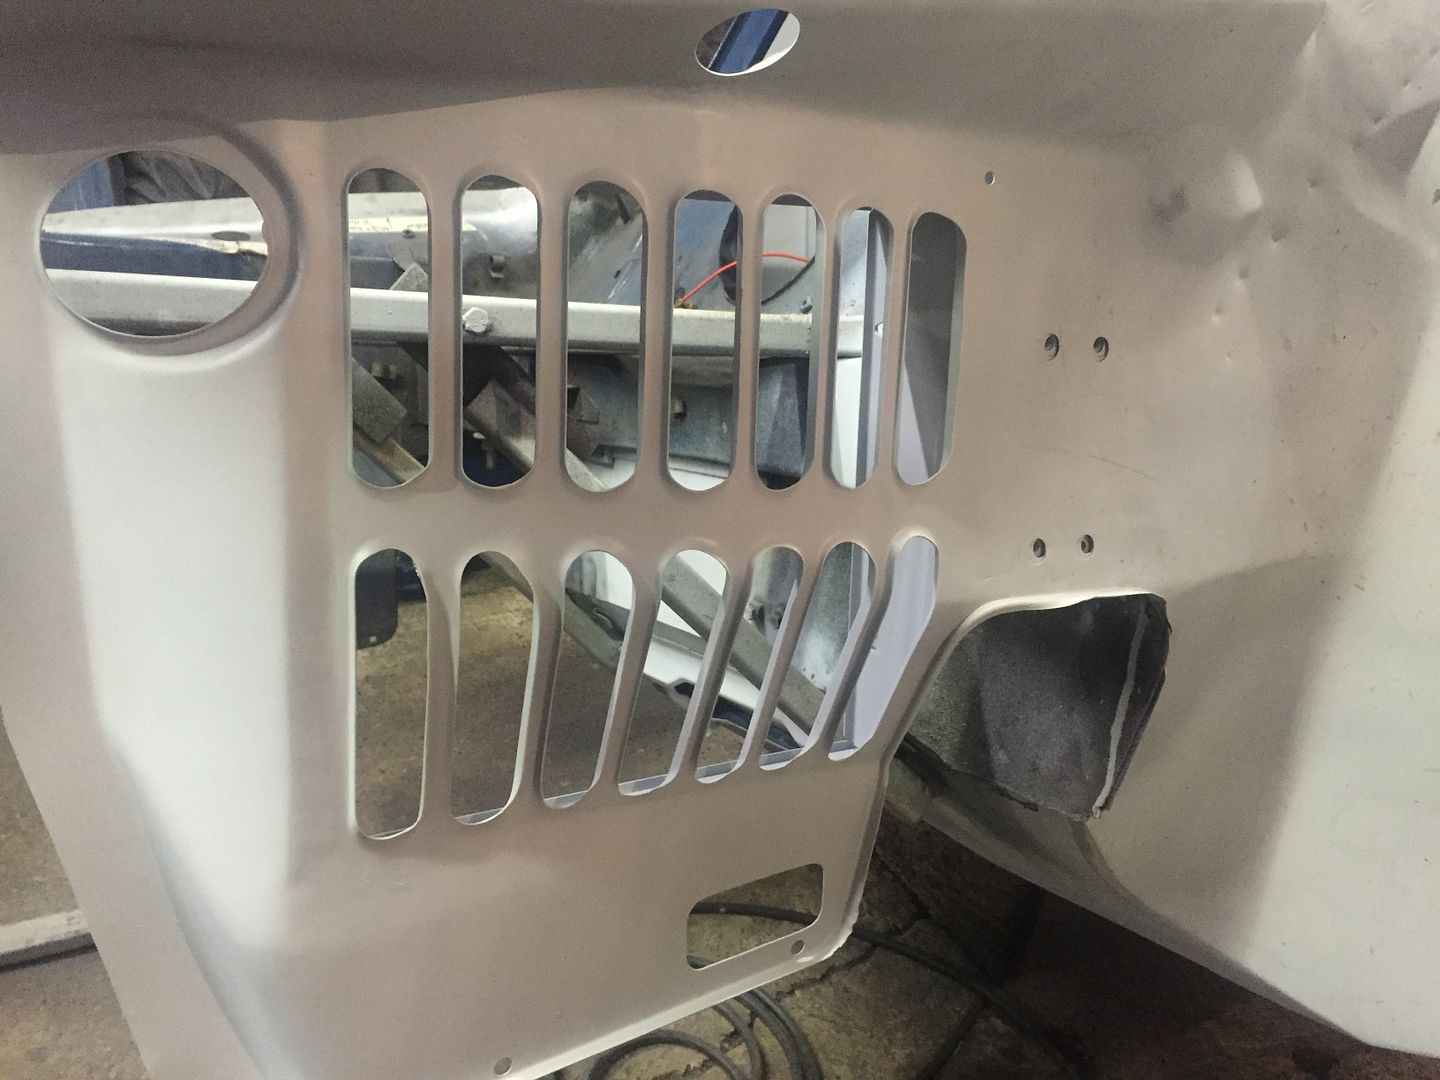
Surely you are Master Neil by now.....

Project Paddy A Long And Slow Rebuild.
#511

Posted 08 February 2016 - 07:49 PM
#512

Posted 09 February 2016 - 06:53 PM
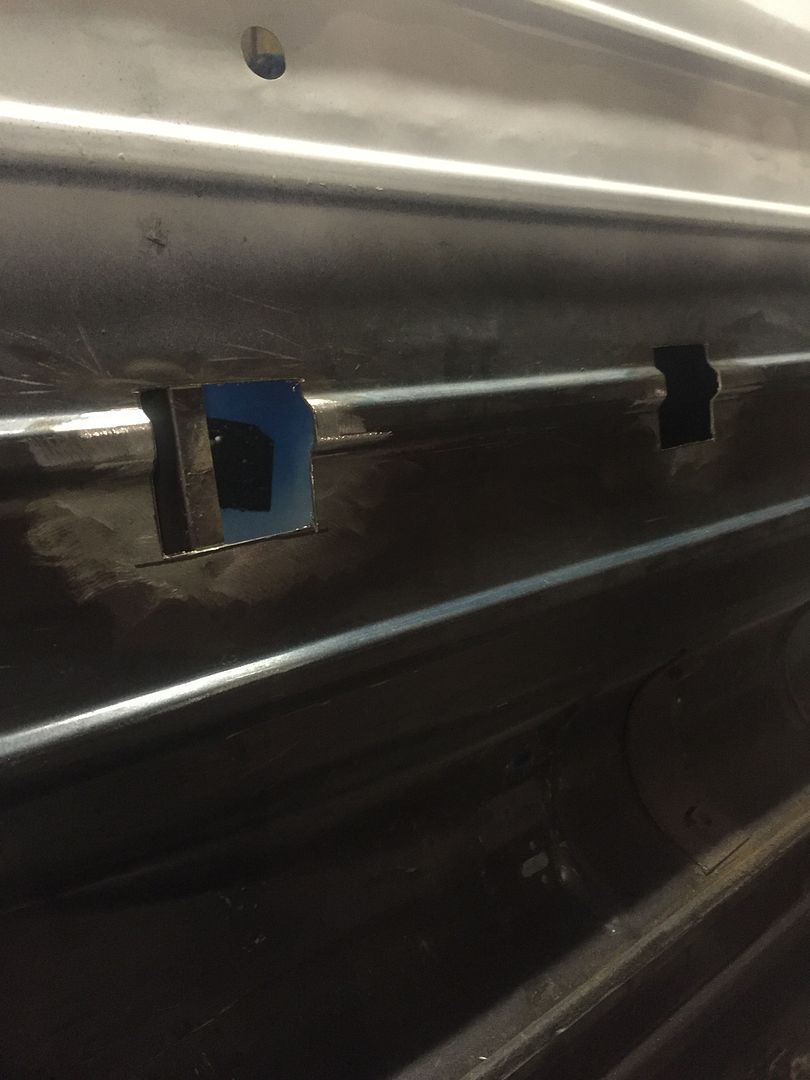
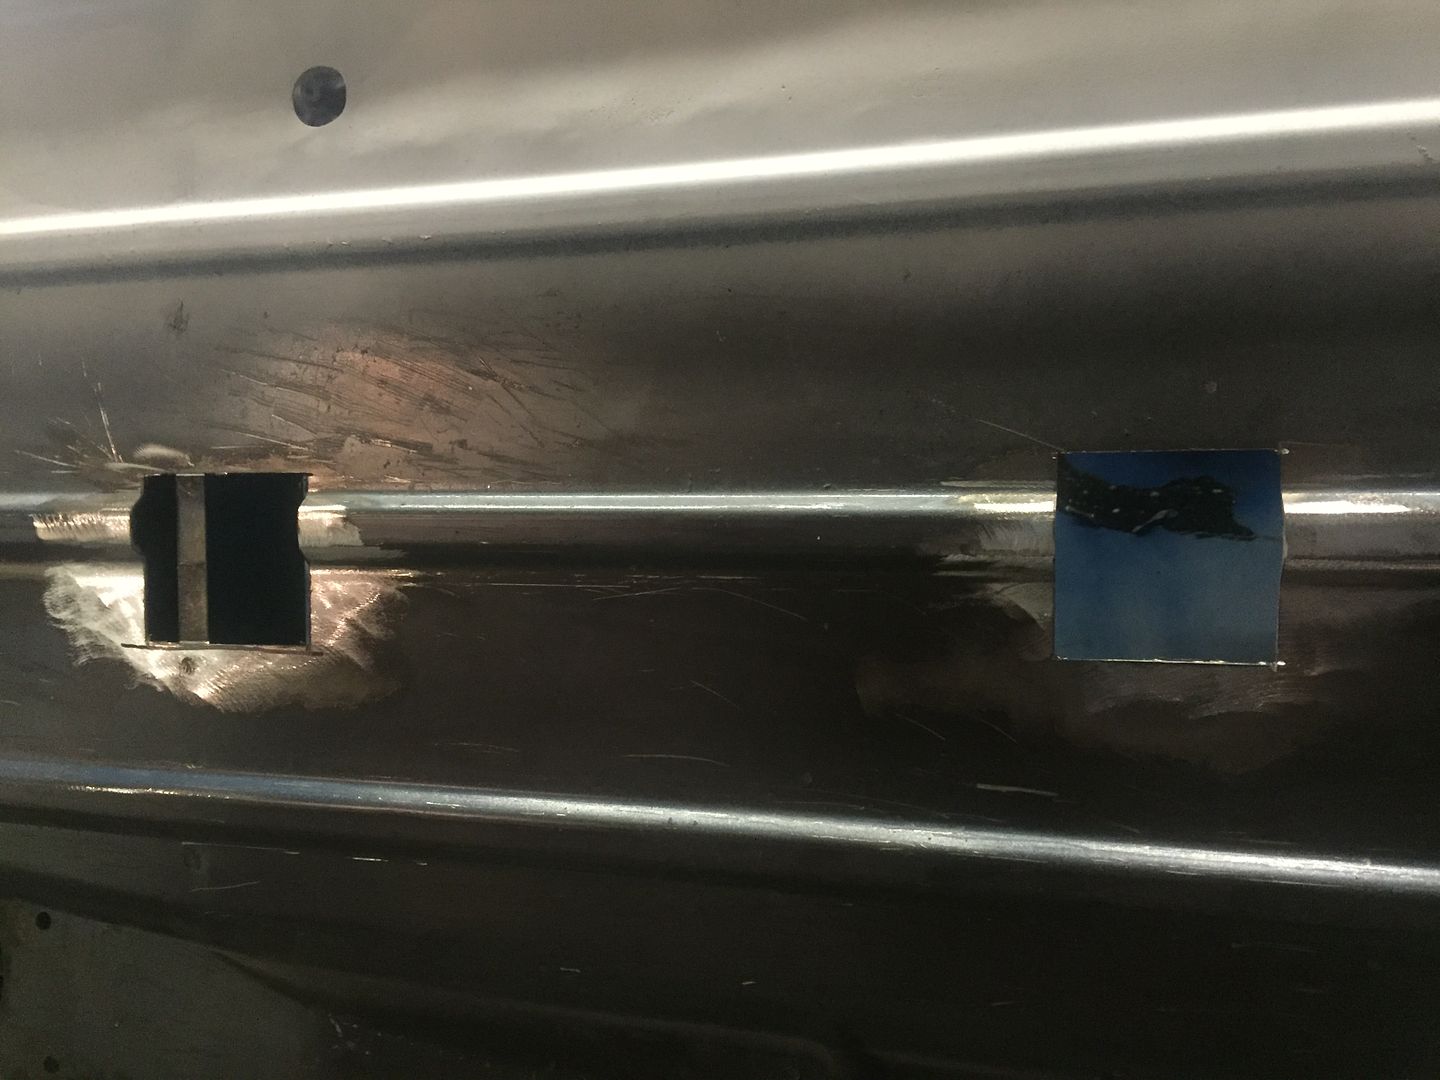
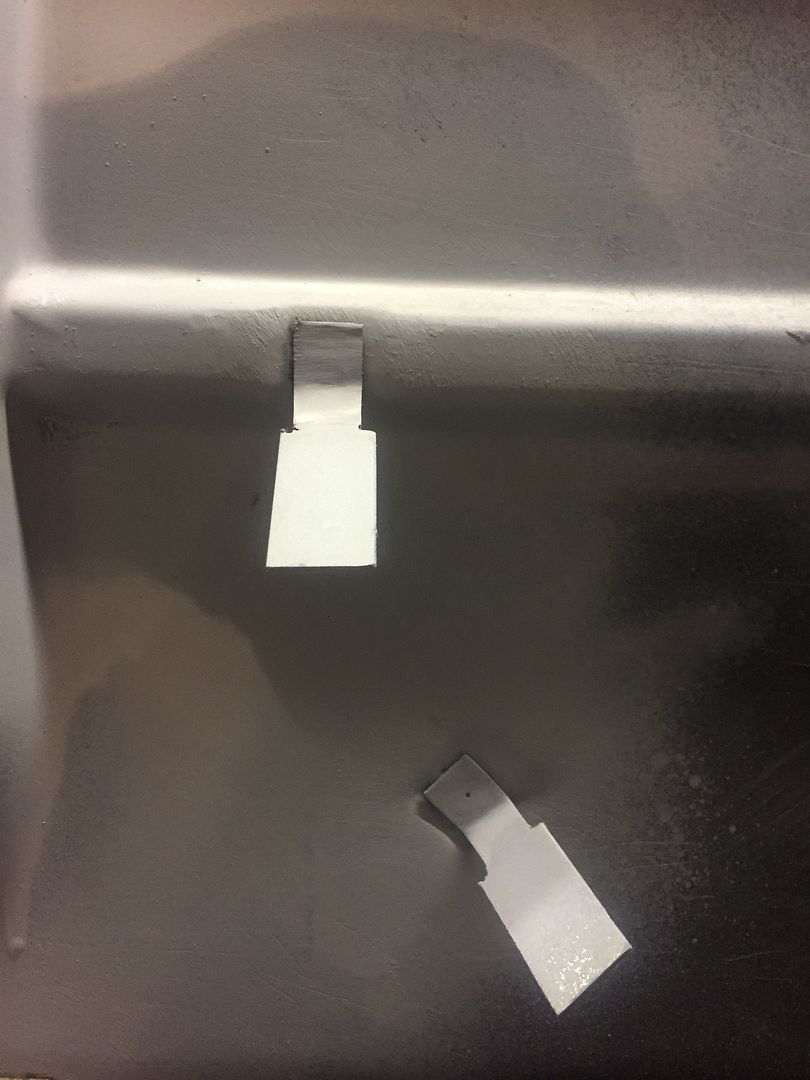
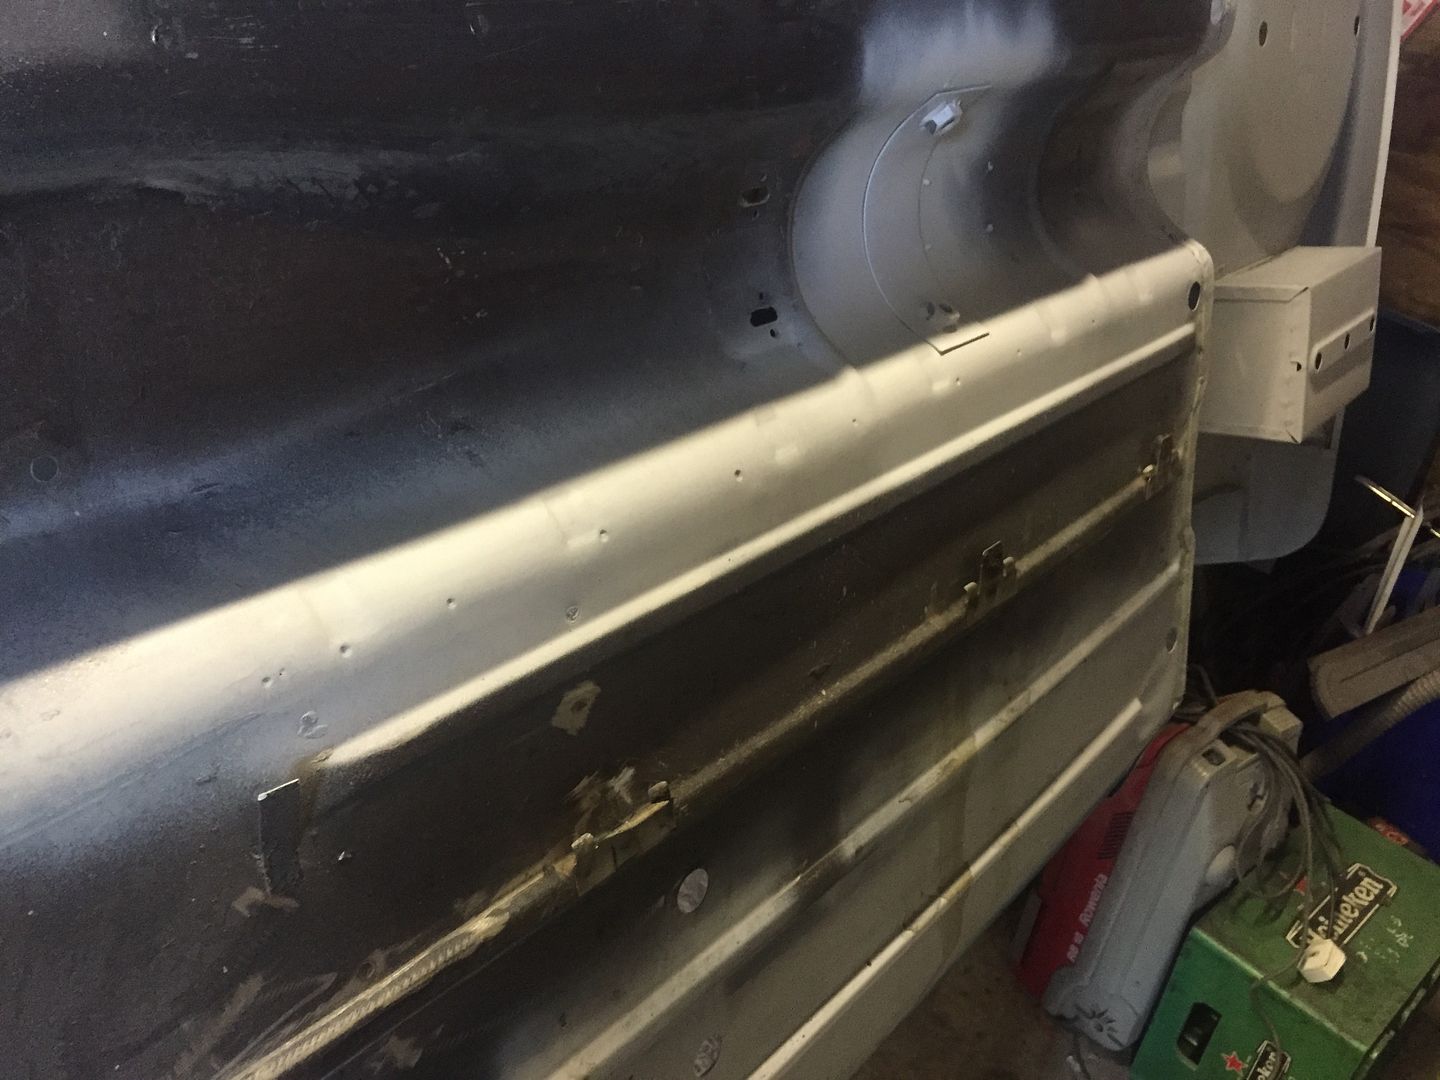
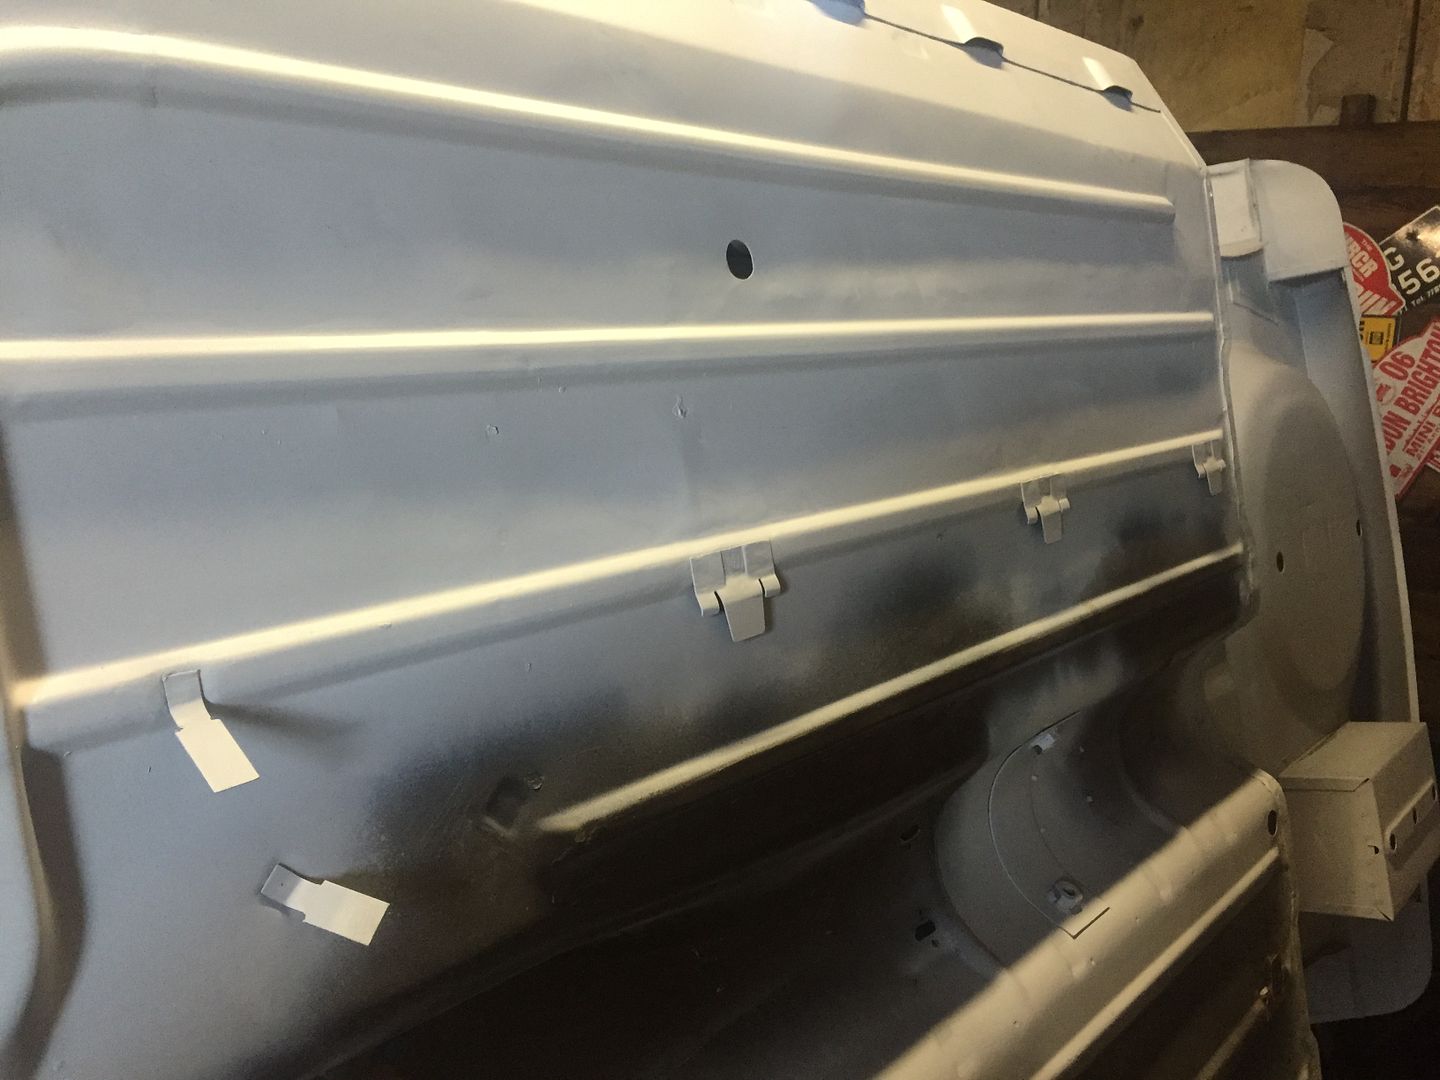
More holes appeared today in Paddys floor
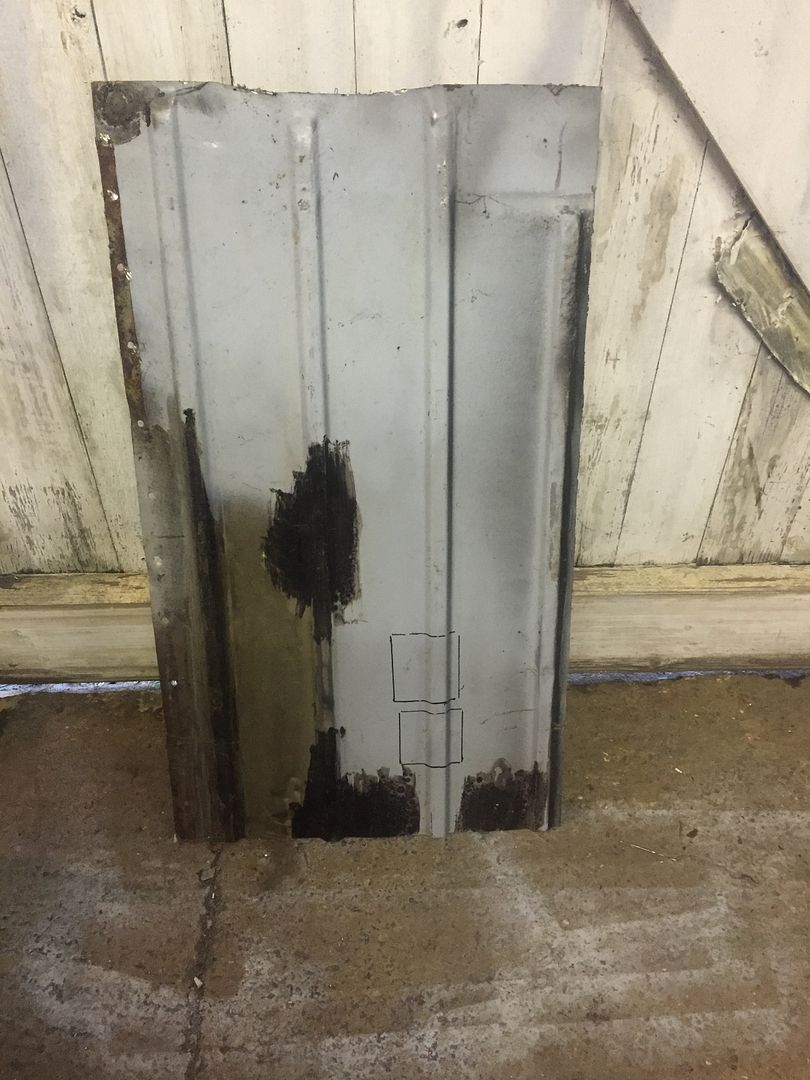
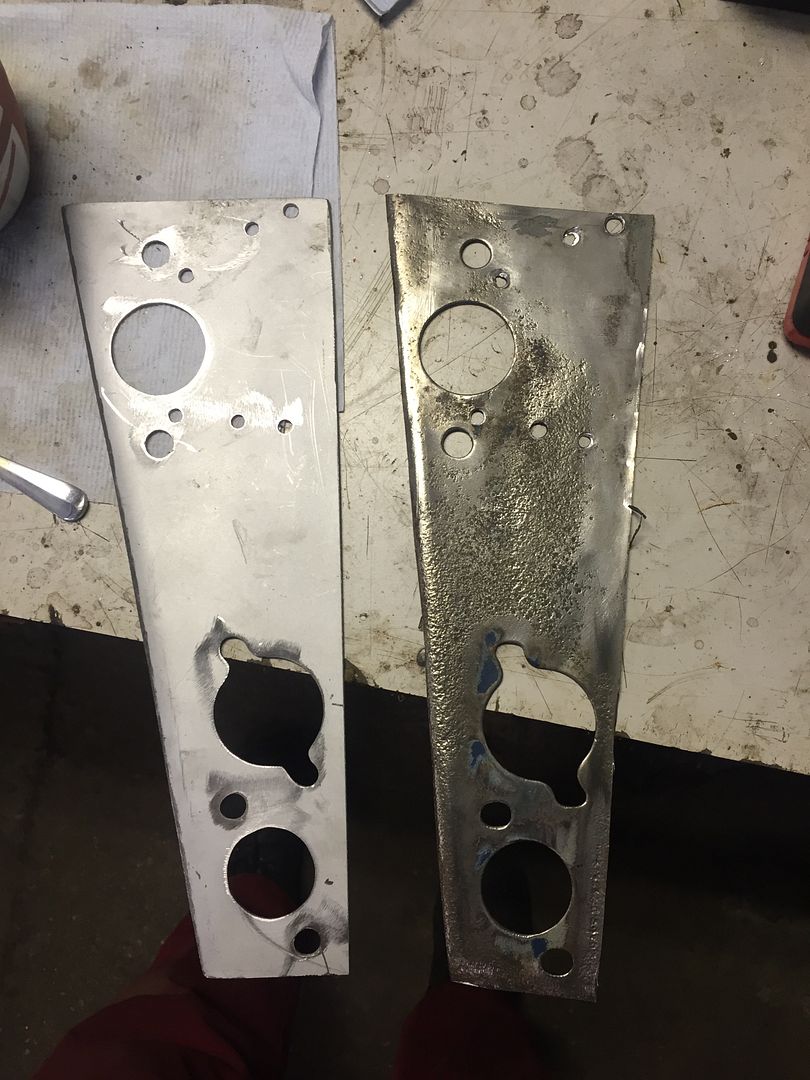
and so with the splicing of some of Project Erm's DNA
this happened
including the new tag
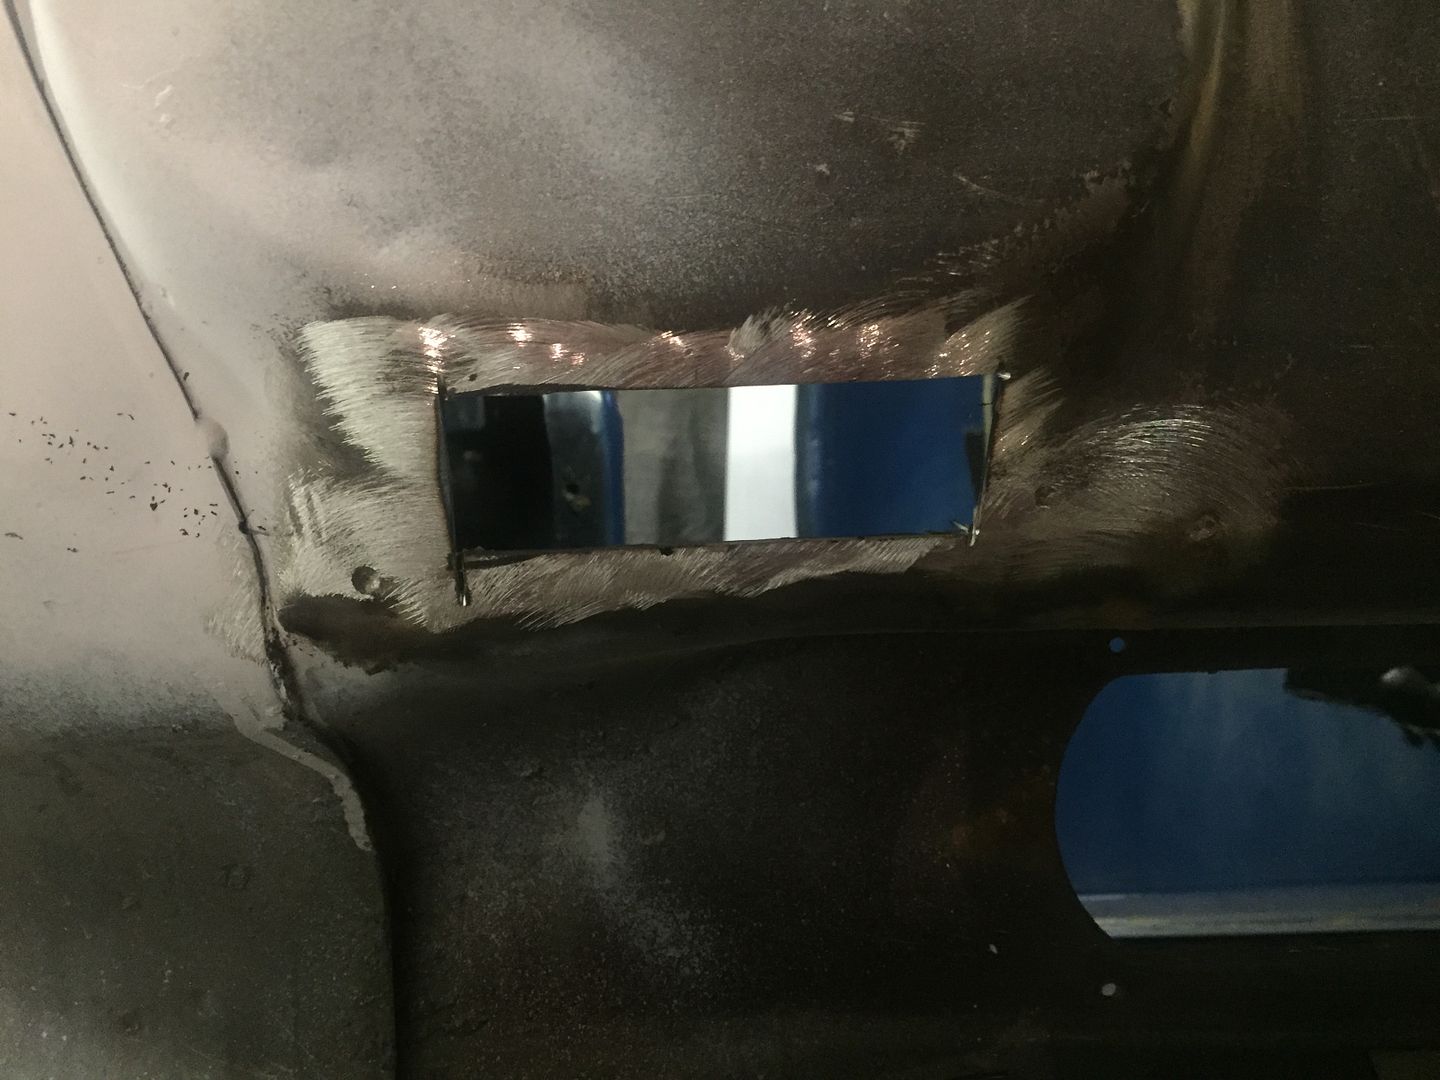
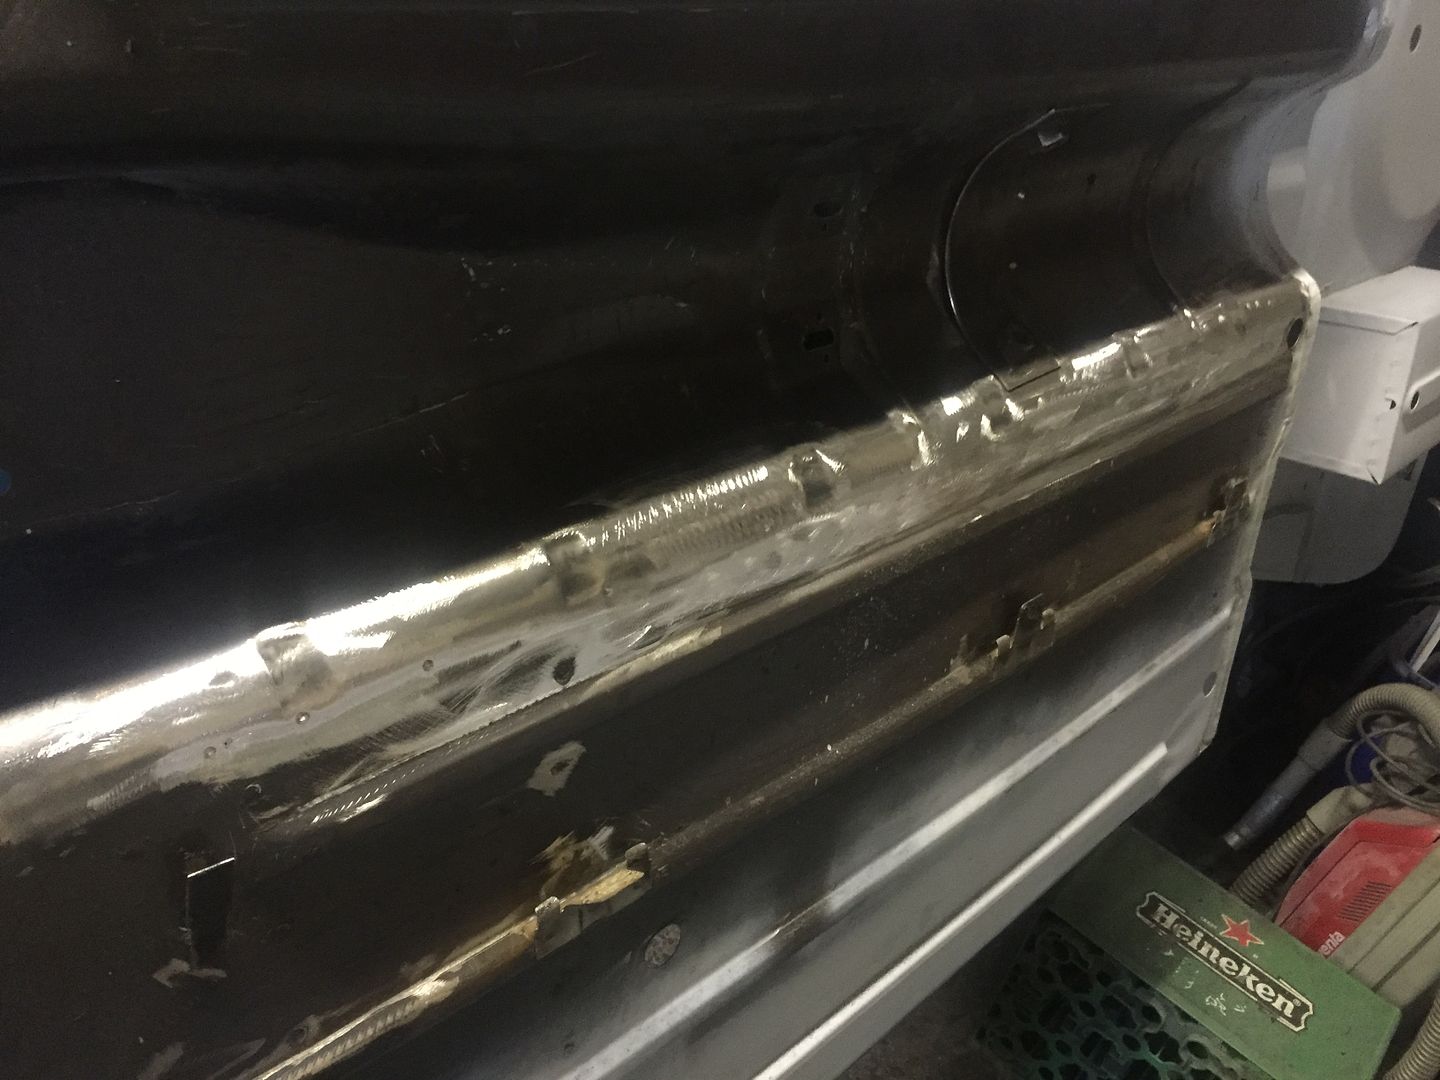
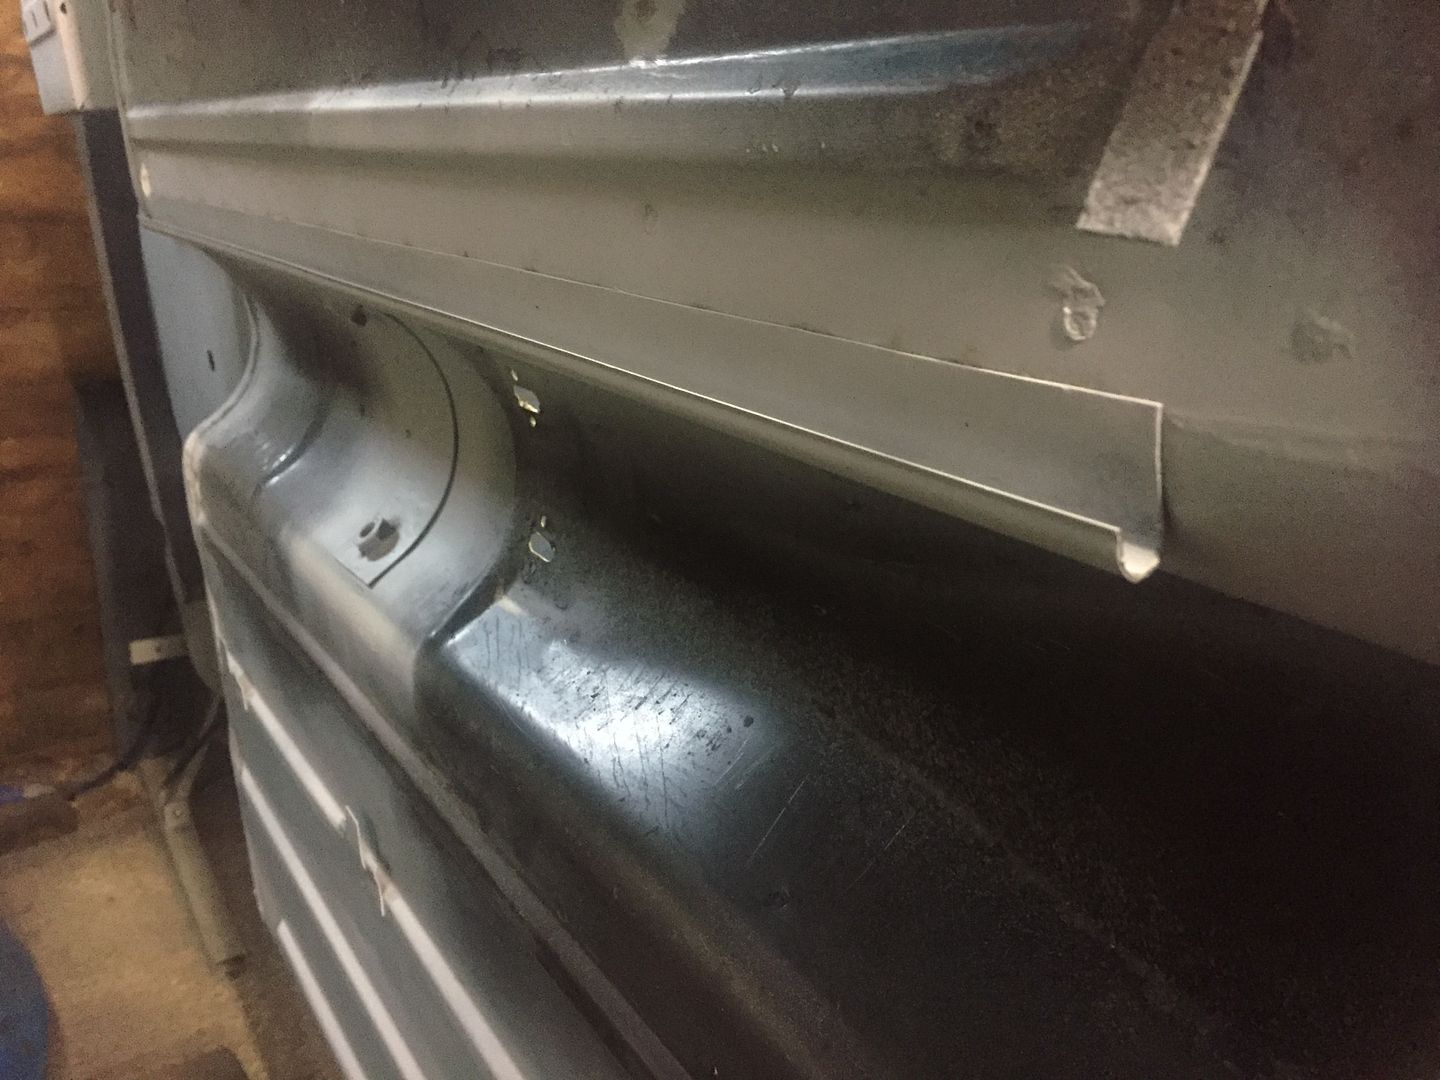
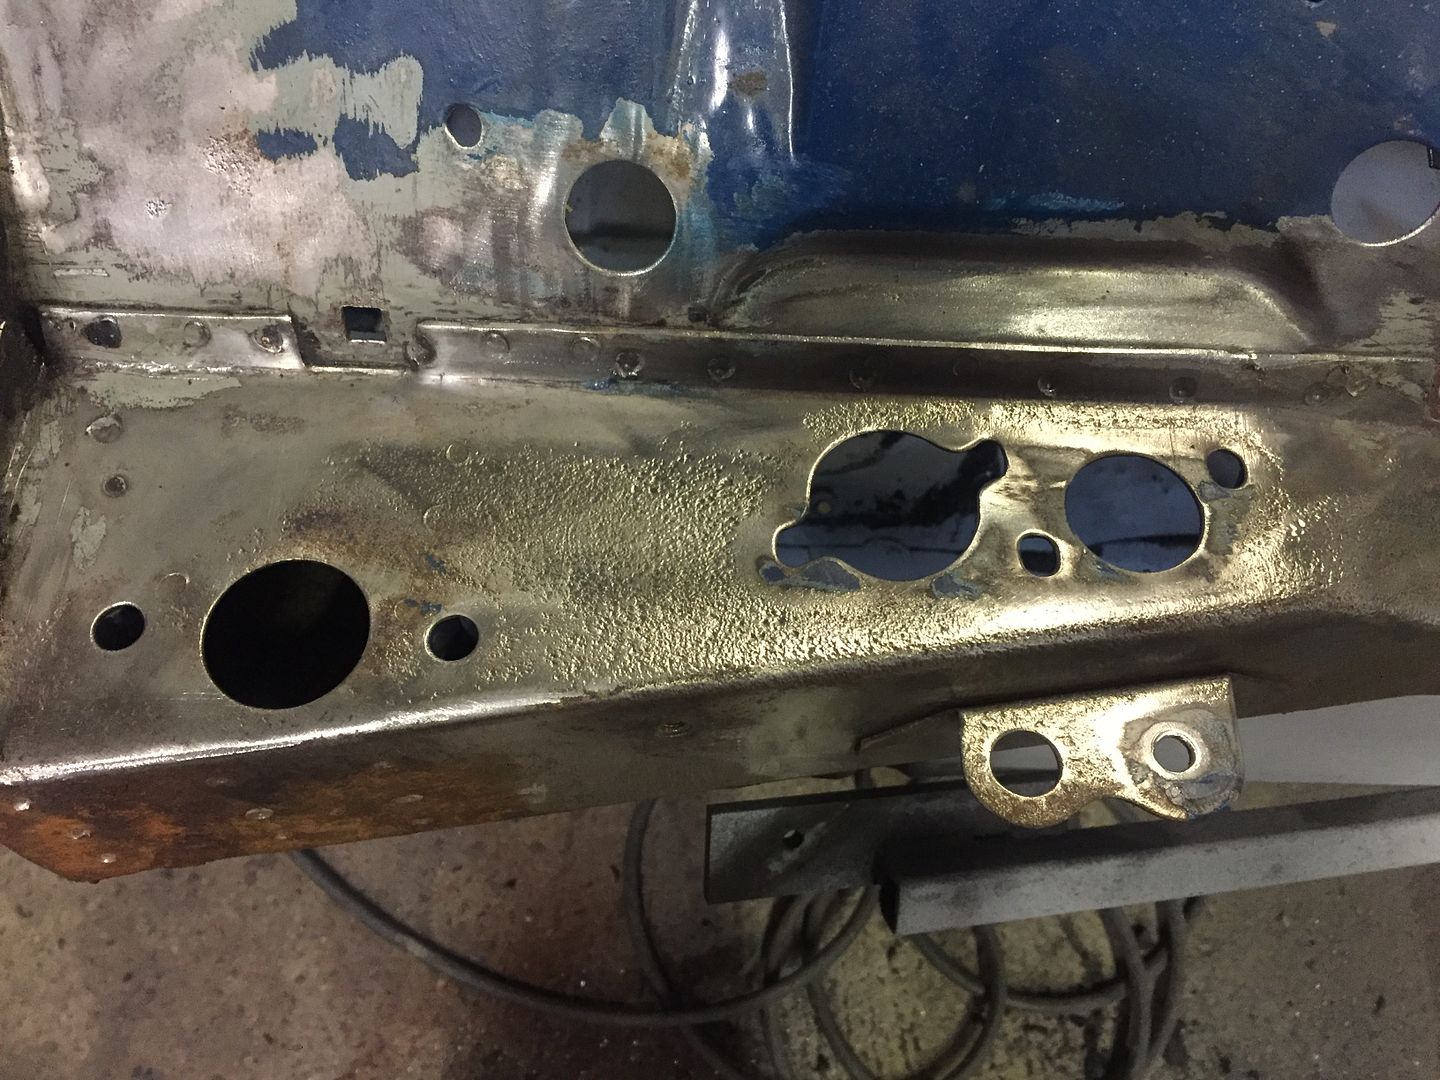
then it was onto the power cable conduit, it looked bad and this was what was lurking
so it was a serious case of wire brushing and linishing to get this
there is some minor pitting but that will get treated tomorrow. Then this needs to come off to see if there is anything hiding as well.
#513

Posted 09 February 2016 - 07:06 PM
Fantastic work!
#514

Posted 10 February 2016 - 07:15 PM
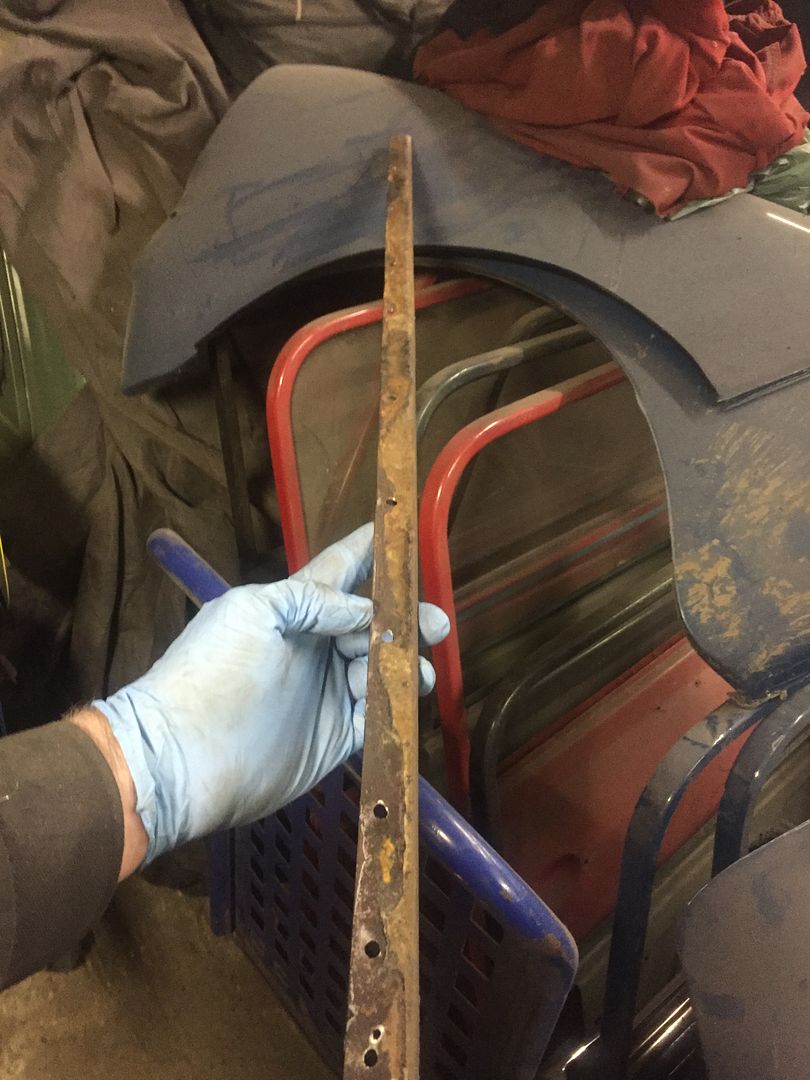
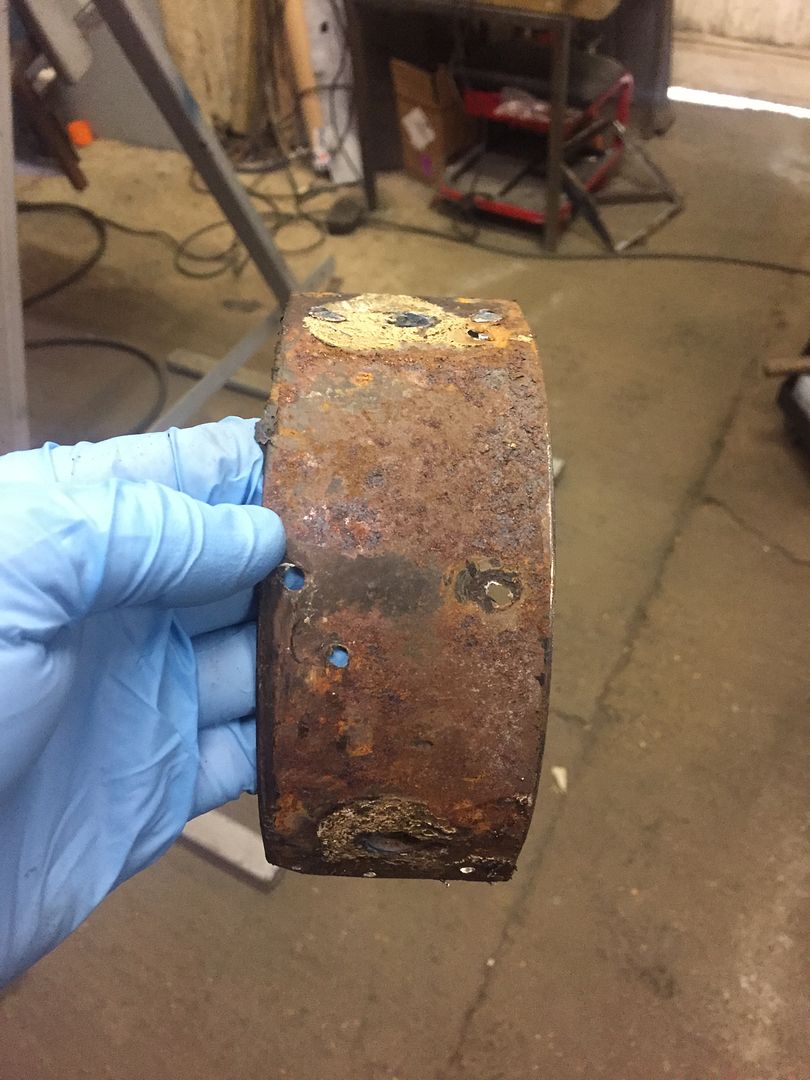
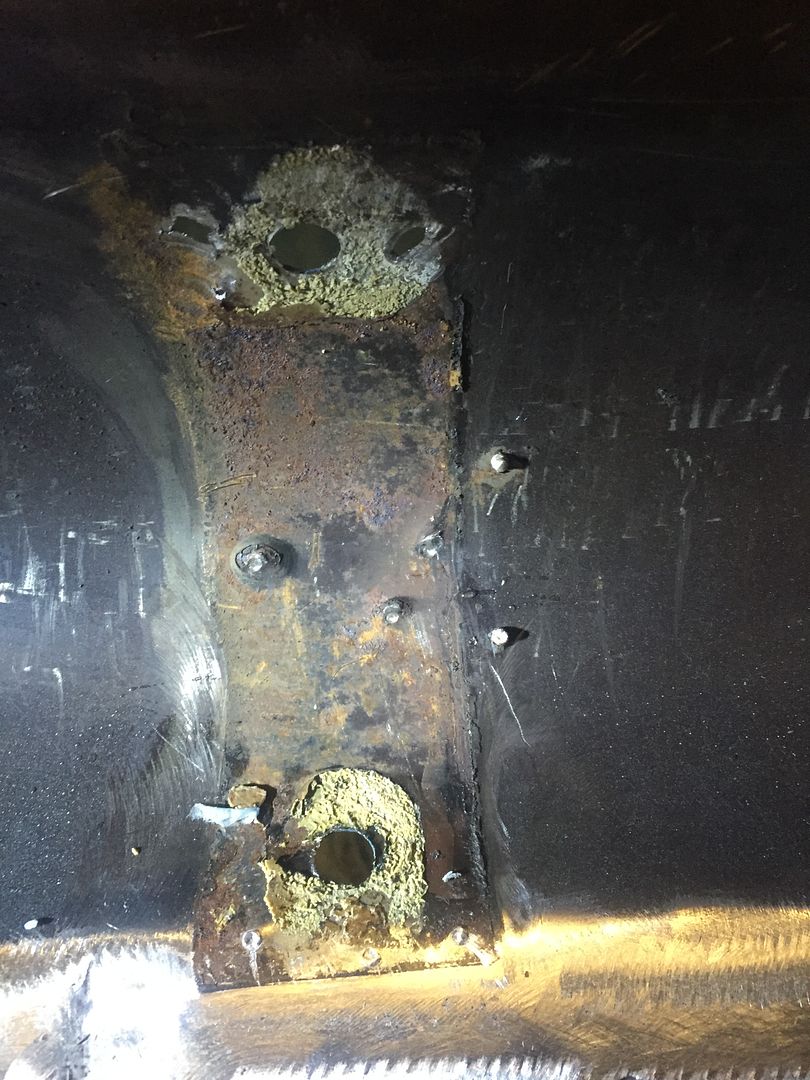
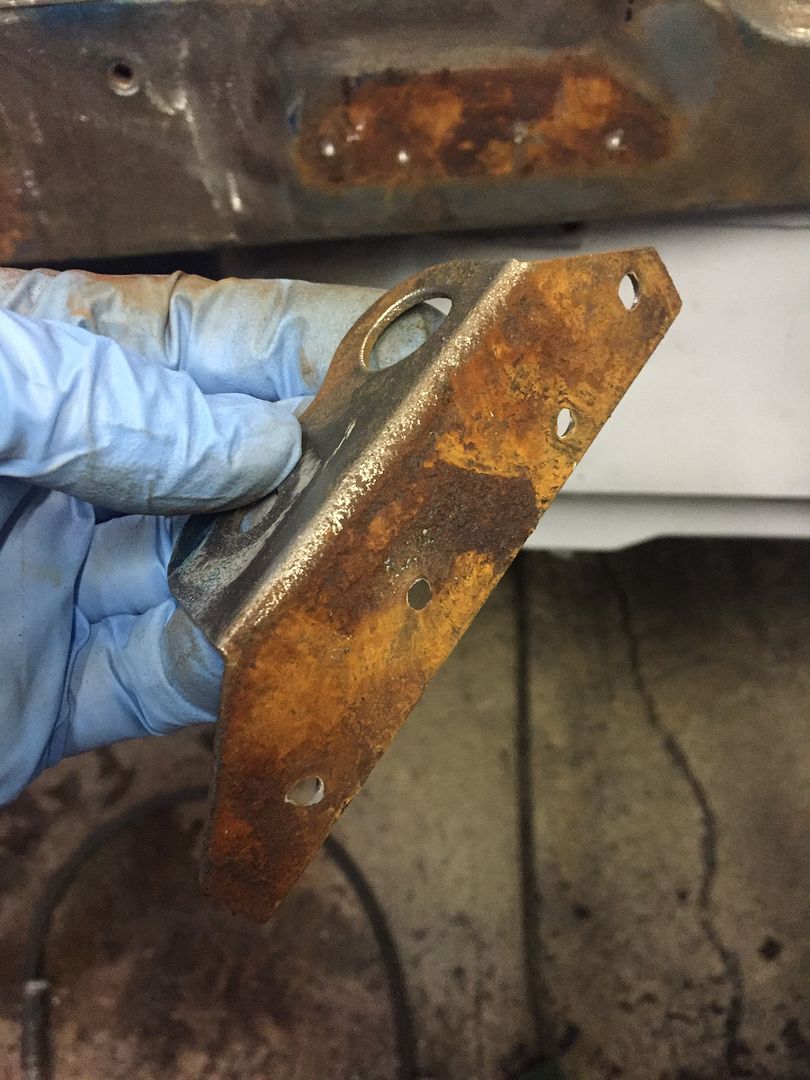
Right off with the seat belt mount and yup it was crusty
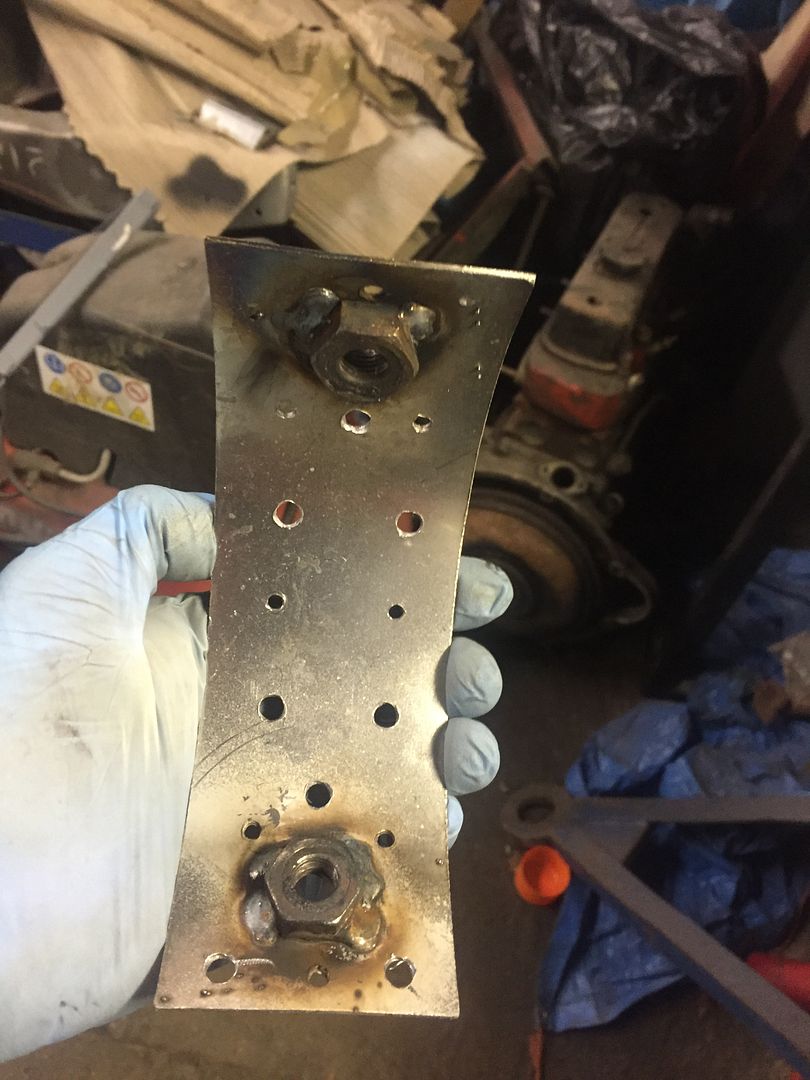
so a bit of fabrication later i ended up with this
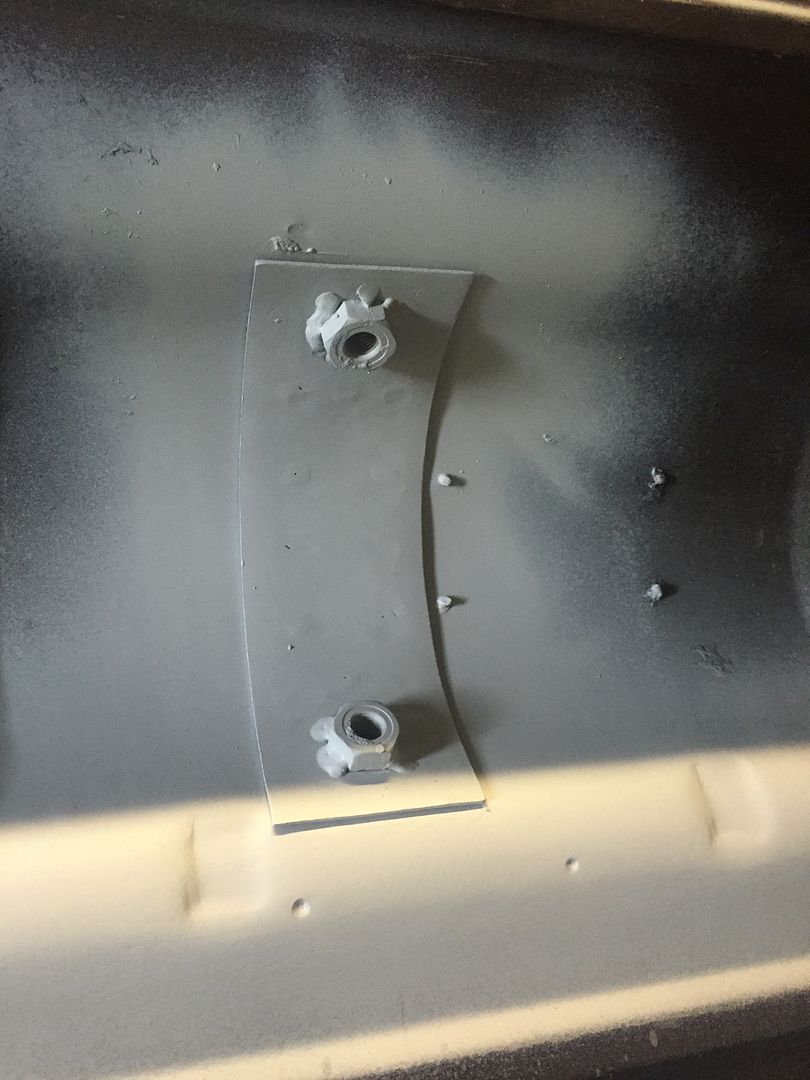
and welded back in place, happy days
and the results of yesterdays efforts
So thats it for a while, i know a couple of parcels are arriving tomorrow so hopefully i can complete the l/h inner wing and then move onto the r/h side.
#515

Posted 10 February 2016 - 09:41 PM
#516

Posted 10 February 2016 - 11:03 PM
nice bitta metal playing Neil,....only perfect will do ![]()
#517

Posted 10 February 2016 - 11:20 PM
nice bitta metal playing Neil,....only perfect will do
Cheers Michel
#519

Posted 27 February 2016 - 07:34 PM
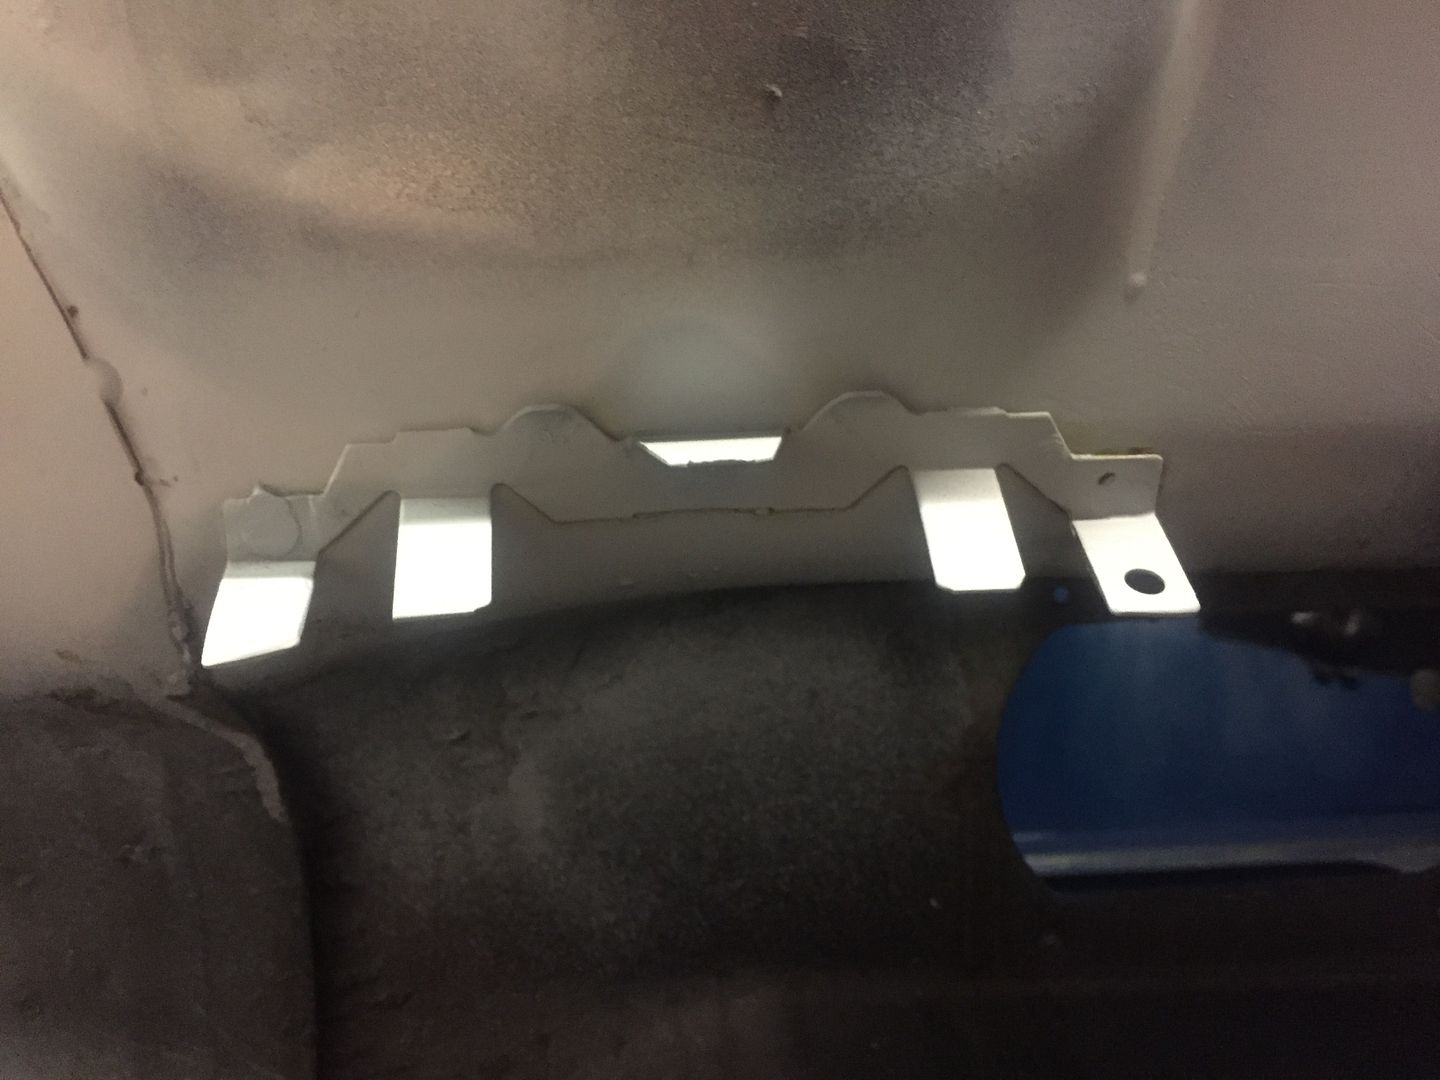
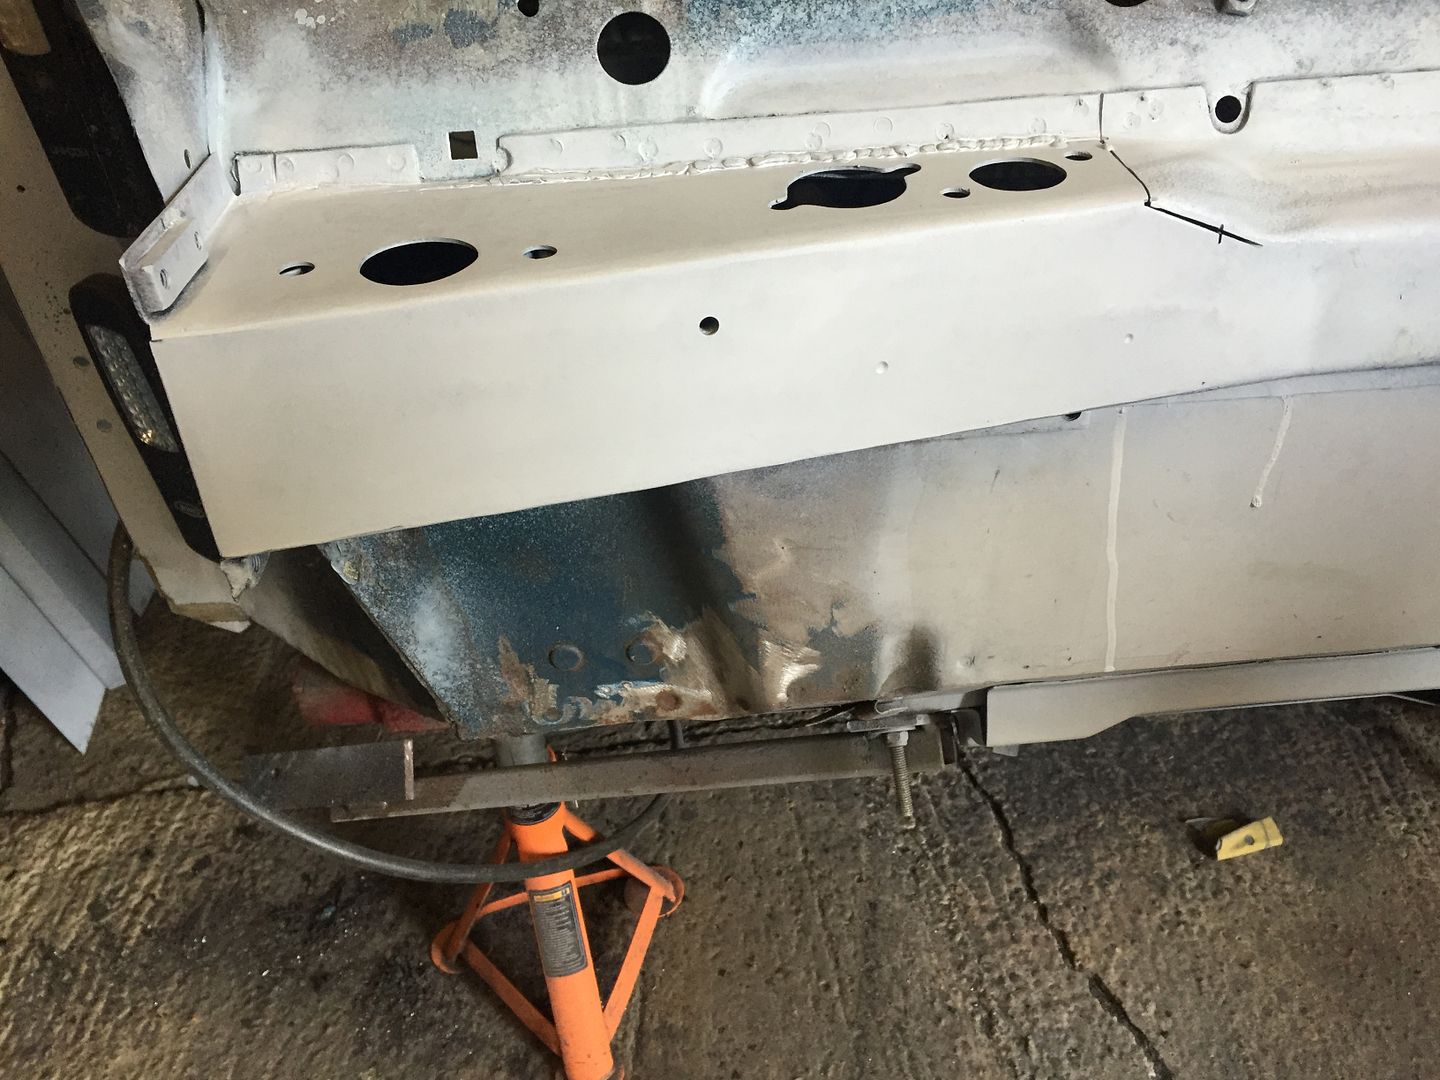
So it was on with the other side so started with this
and ended up with this
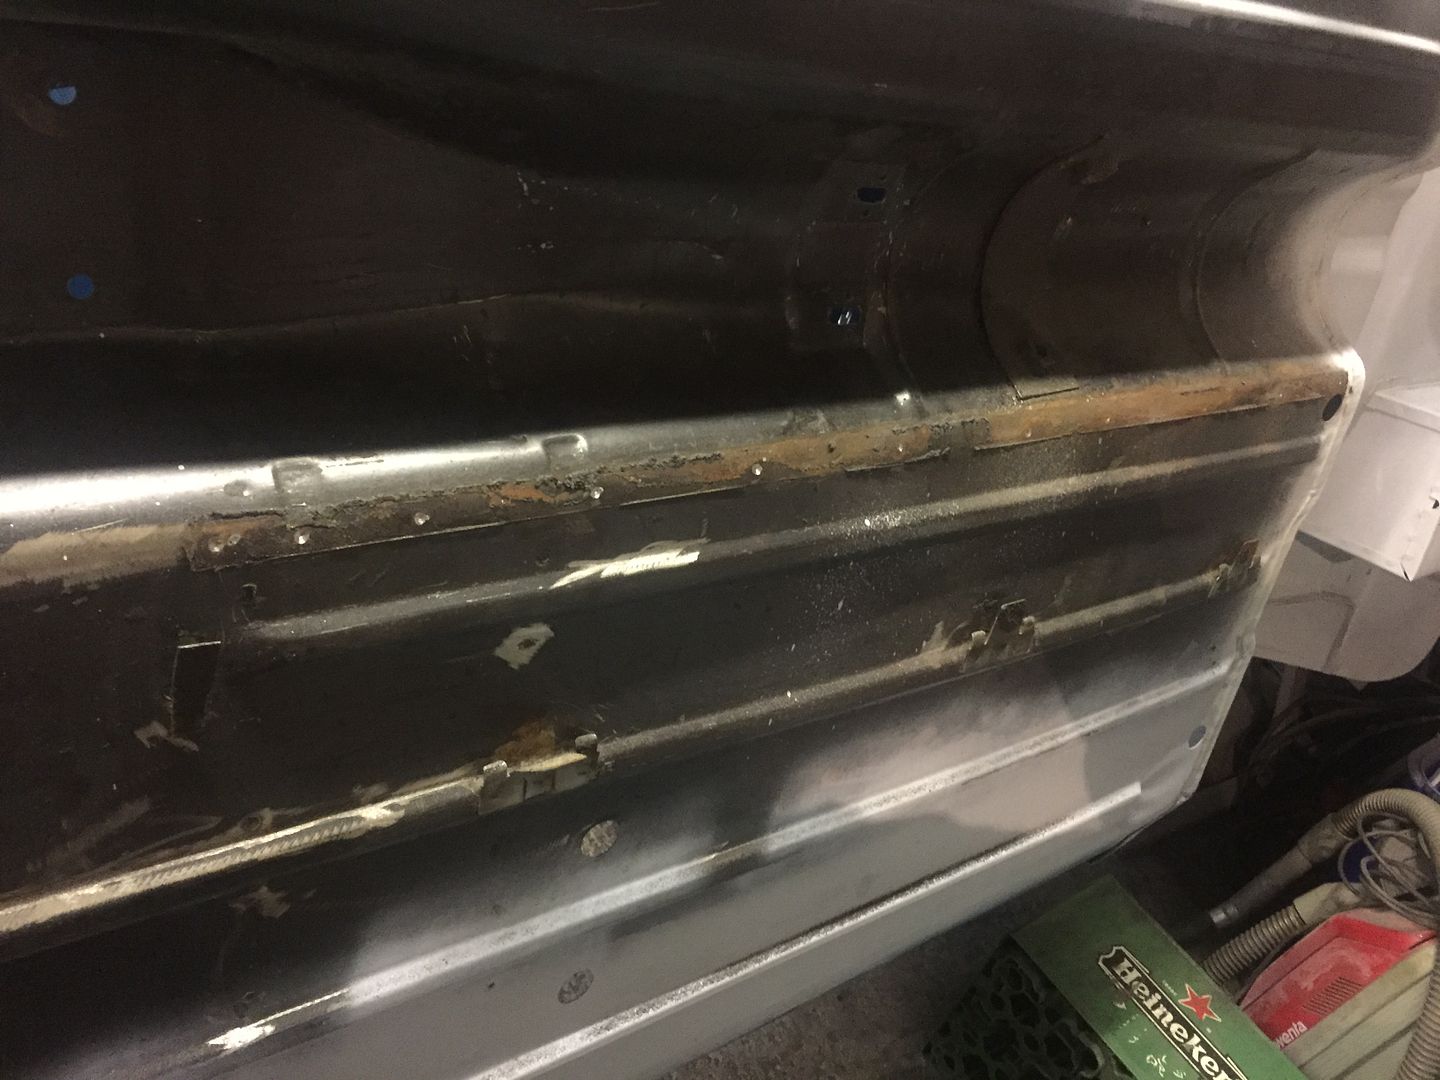
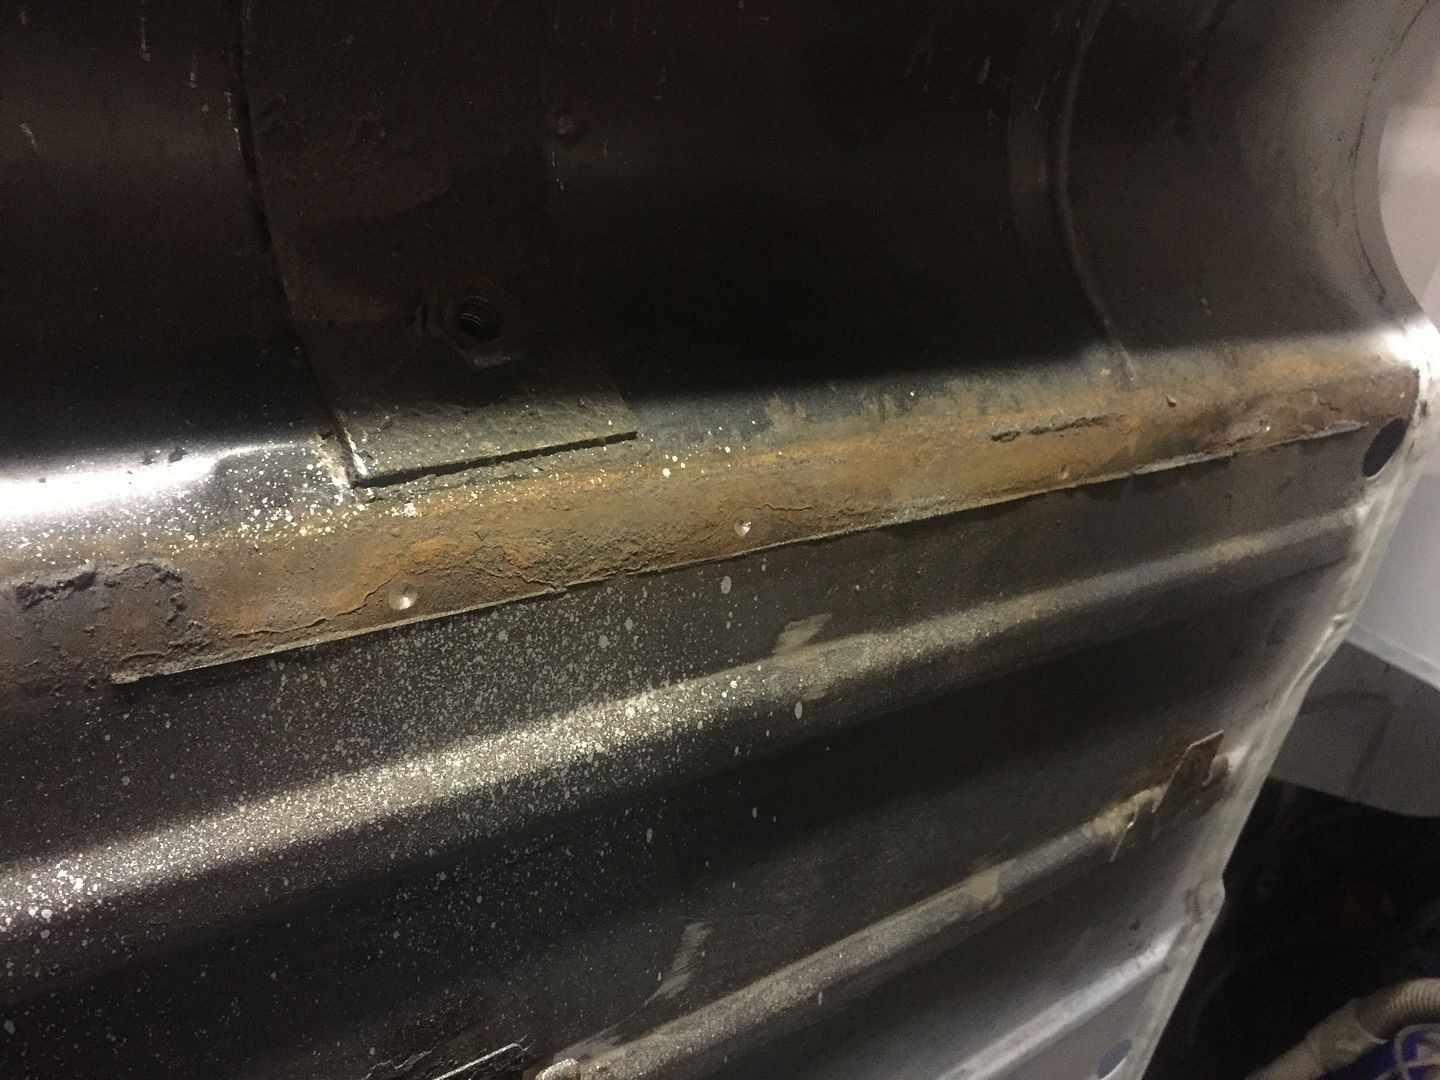
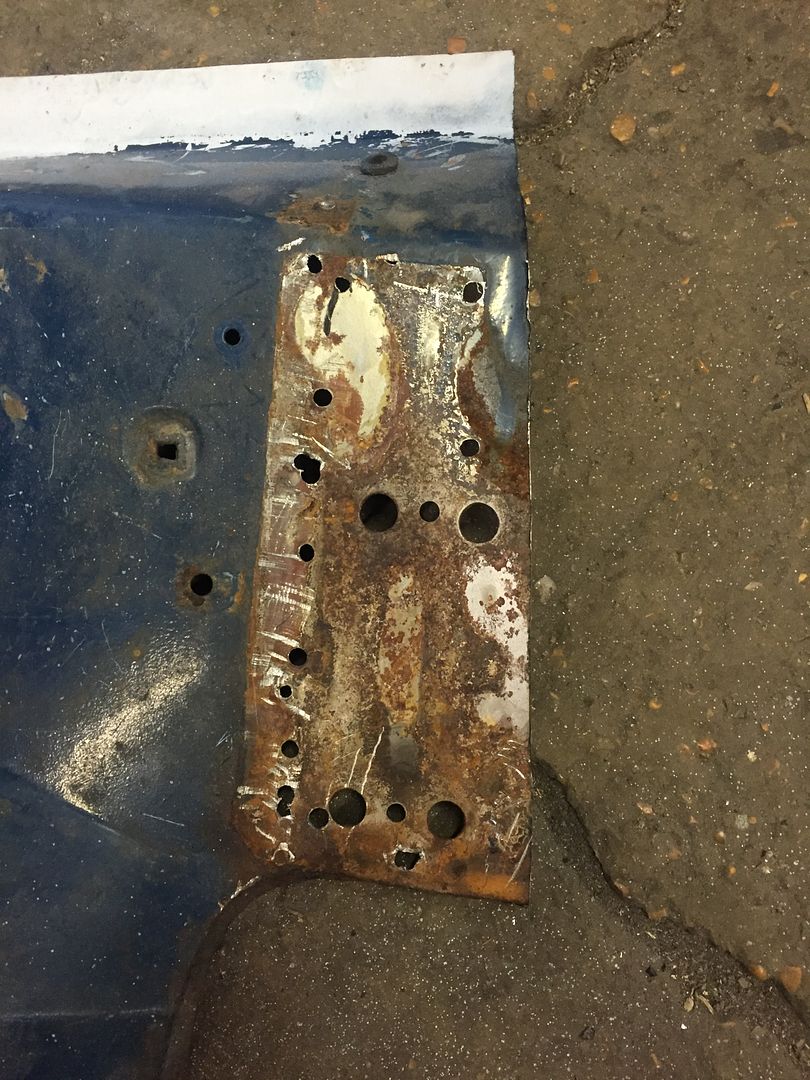
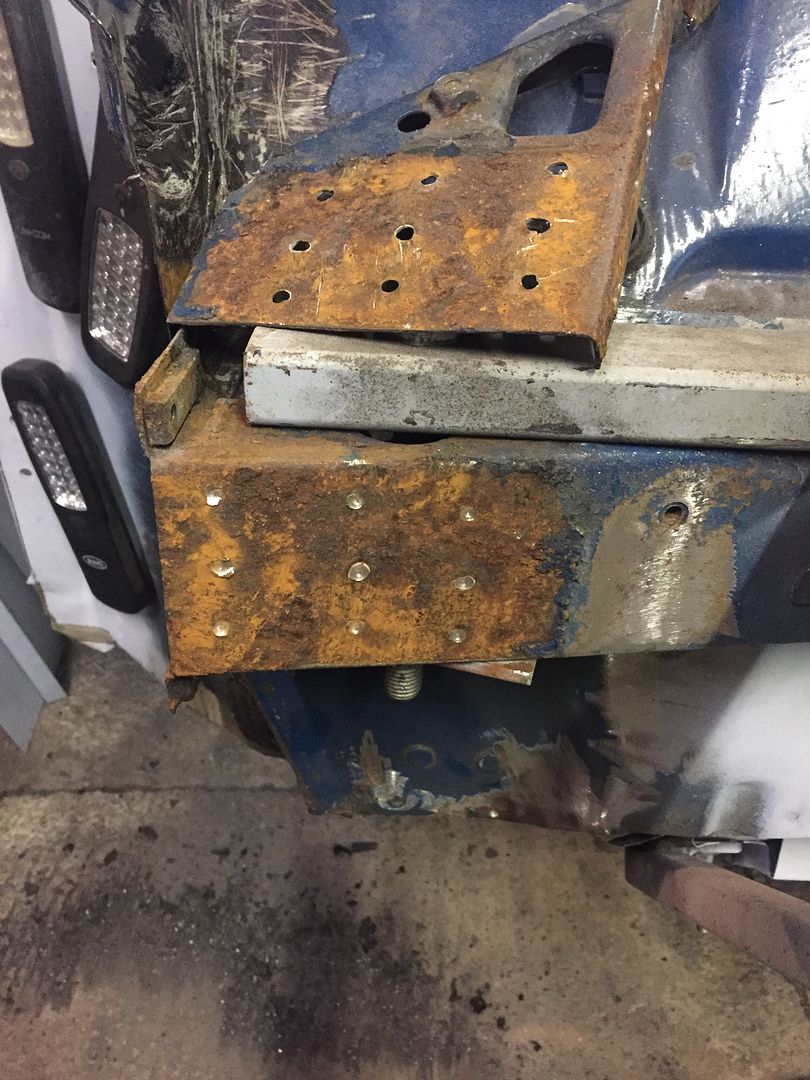
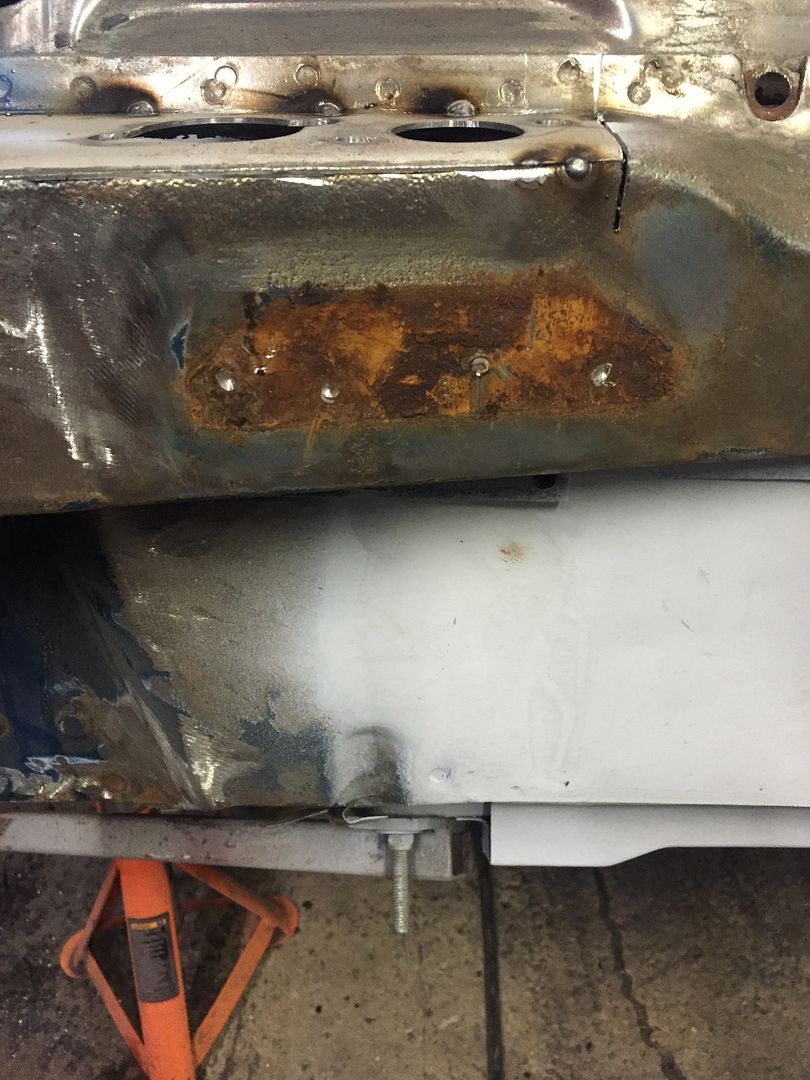
rust and more rust, but it did not stop there
reinforcing gusset was bad behind and then the crossmember looked like this
so that had to go as well
so new one made.
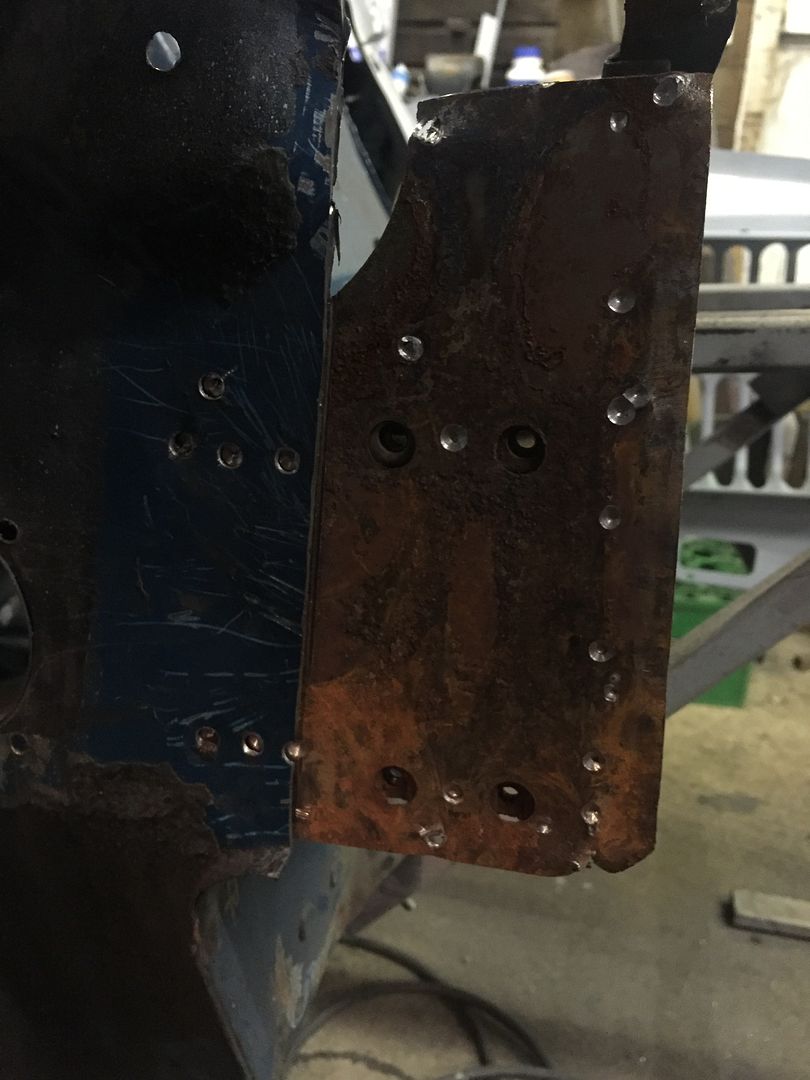
so while i was at it the top steady bracket looked a bit crusty so that came off and you more rust behind that
Now removed and the new upper section tacked in place. There is still more of the crossmember to replace but little steps needed here.
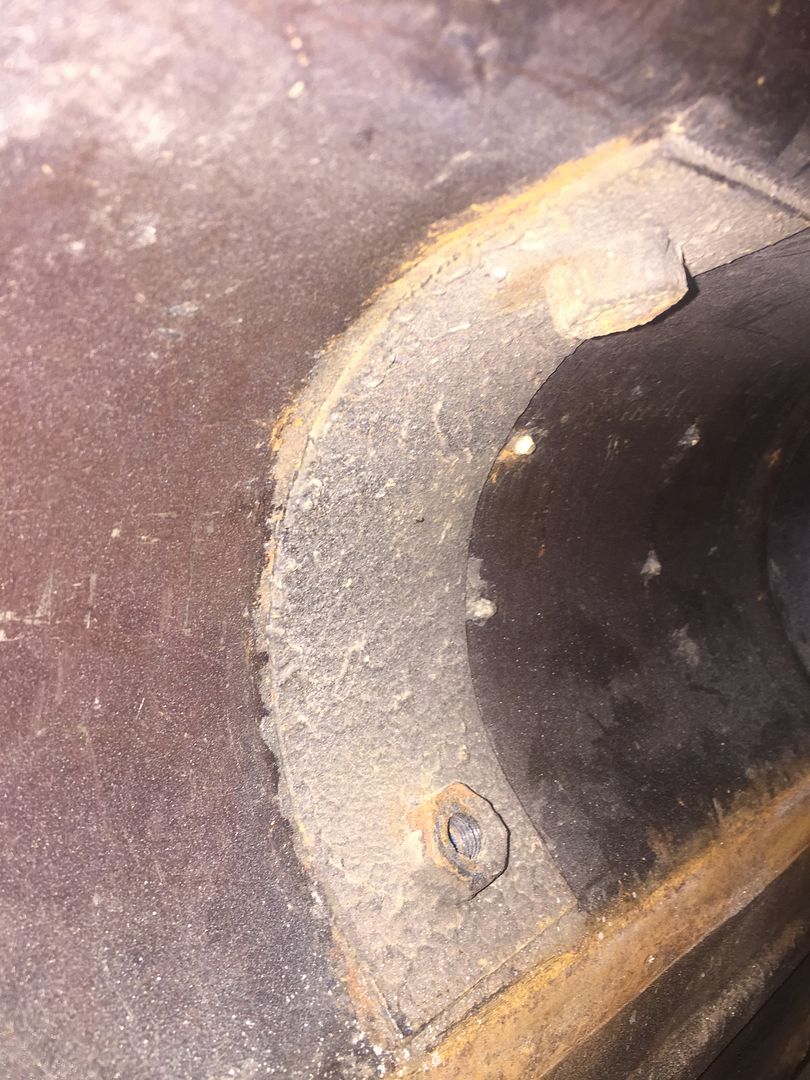
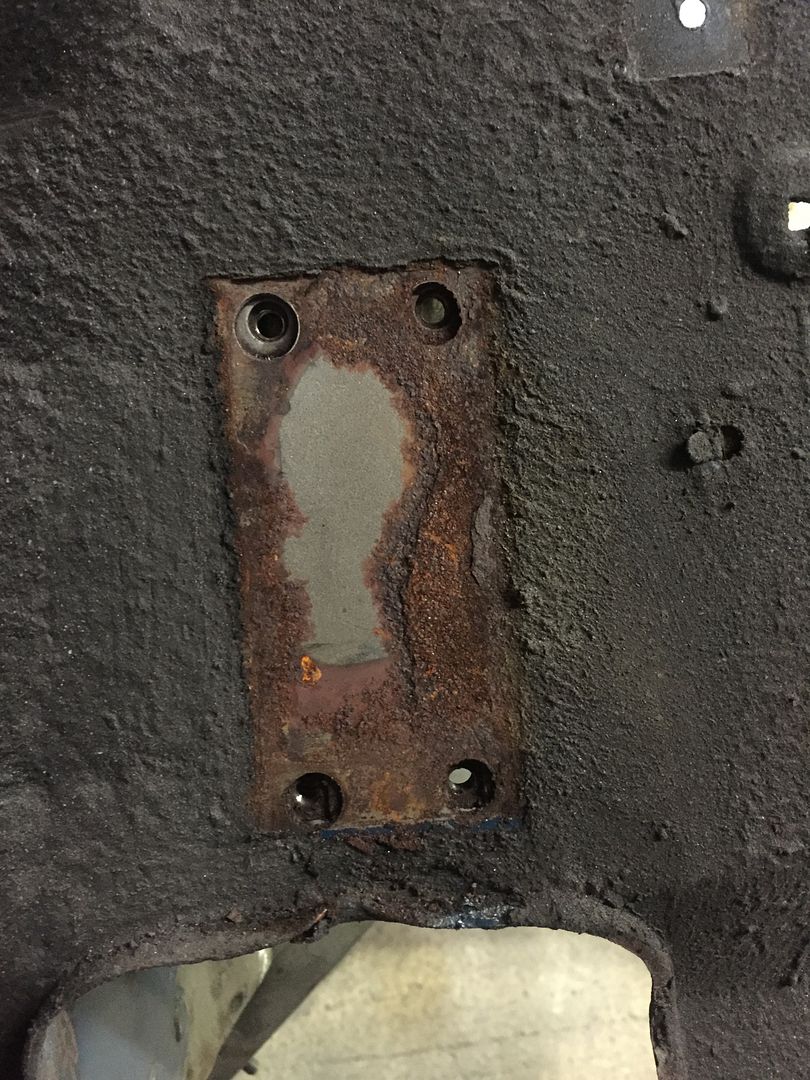
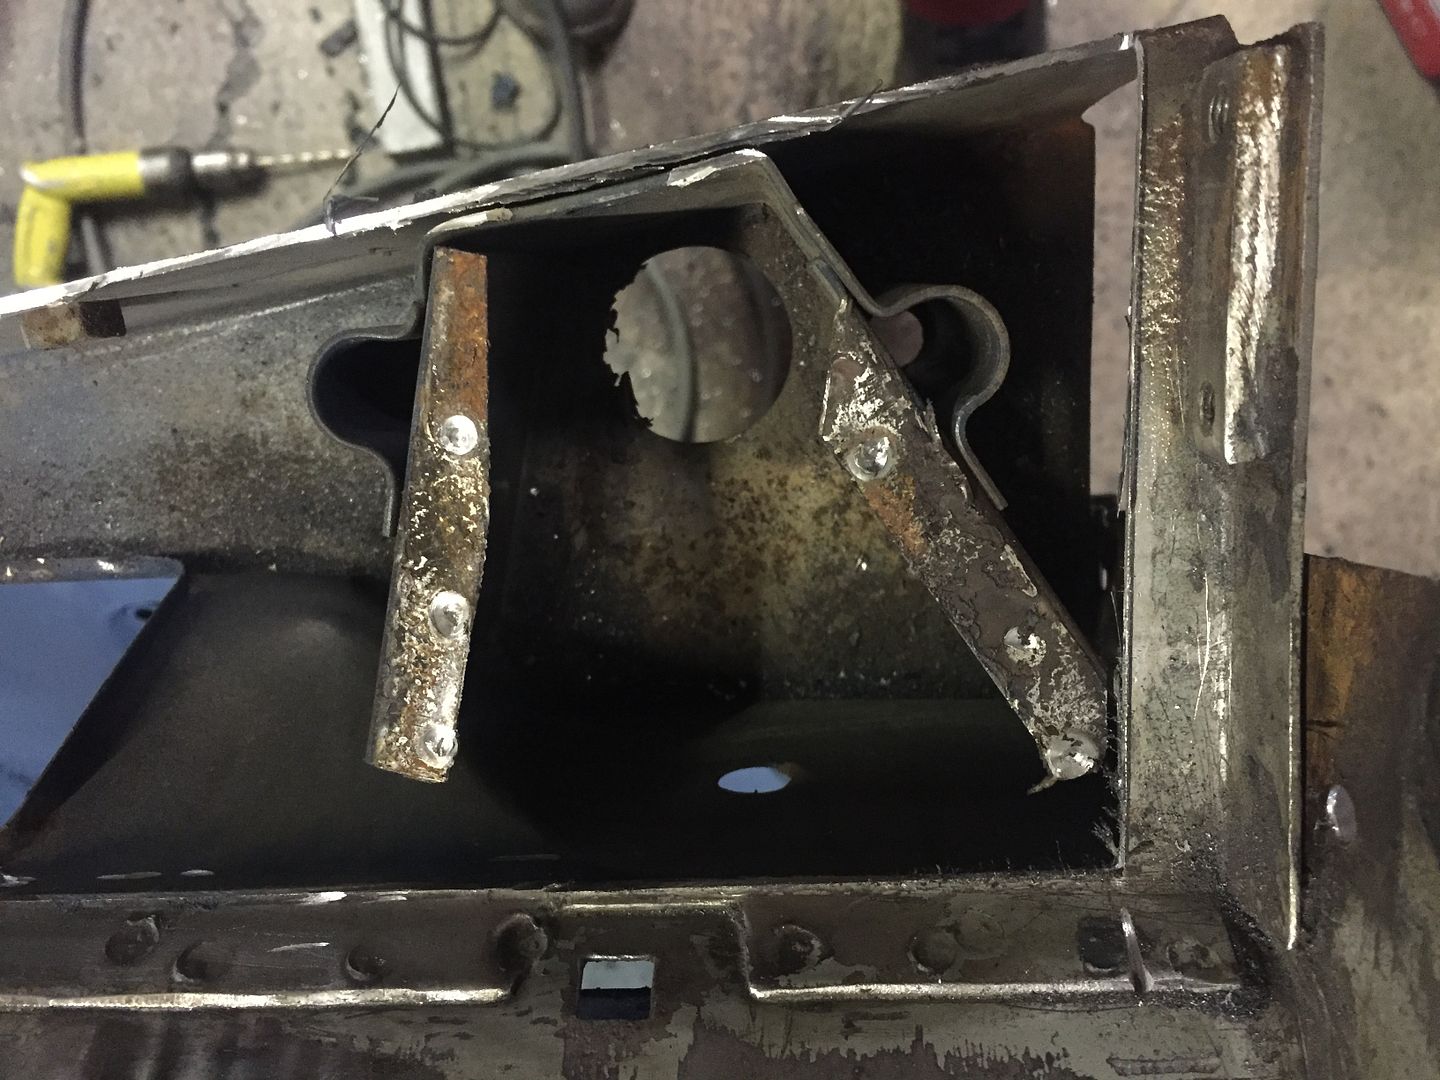
And a random look inside the crossmember where the twin bolts go through
#520

Posted 27 February 2016 - 07:49 PM
#521

Posted 27 February 2016 - 08:39 PM
Good work , have my front to tackle next so may have to do similar. Looking at this helps a lot thanks
No probs, still more to do as there is stuff lurking in the r/h edge of the heelboard to inner wing.
#522

Posted 27 February 2016 - 08:49 PM
Good work , have my front to tackle next so may have to do similar. Looking at this helps a lot thanks
No probs, still more to do as there is stuff lurking in the r/h edge of the heelboard to inner wing.
The amount of rust lurking is scary
#523

Posted 27 February 2016 - 09:03 PM
An exceptional amount of information in this build that I will need in due course. Attention to detail and the quality of workmanship is second to none especially the quality of the welding. It scares me though of the amount of hidden rust in what was a very clean and tidy looking clubby. Superb. '
#524

Posted 27 February 2016 - 09:14 PM
An exceptional amount of information in this build that I will need in due course. Attention to detail and the quality of workmanship is second to none especially the quality of the welding. It scares me though of the amount of hidden rust in what was a very clean and tidy looking clubby. Superb. '
I do believe if he had not lived in a bodyshop for 10 years then there would have been serious issues bodywork wise so i'm grateful for the rust there actually is.
Ultimately i do not want to have to do this all over again so its a once only all out attack. If its ever so slightly suspect then its off. I'm glad the build is helping other peeps.
#525

Posted 28 February 2016 - 07:28 PM
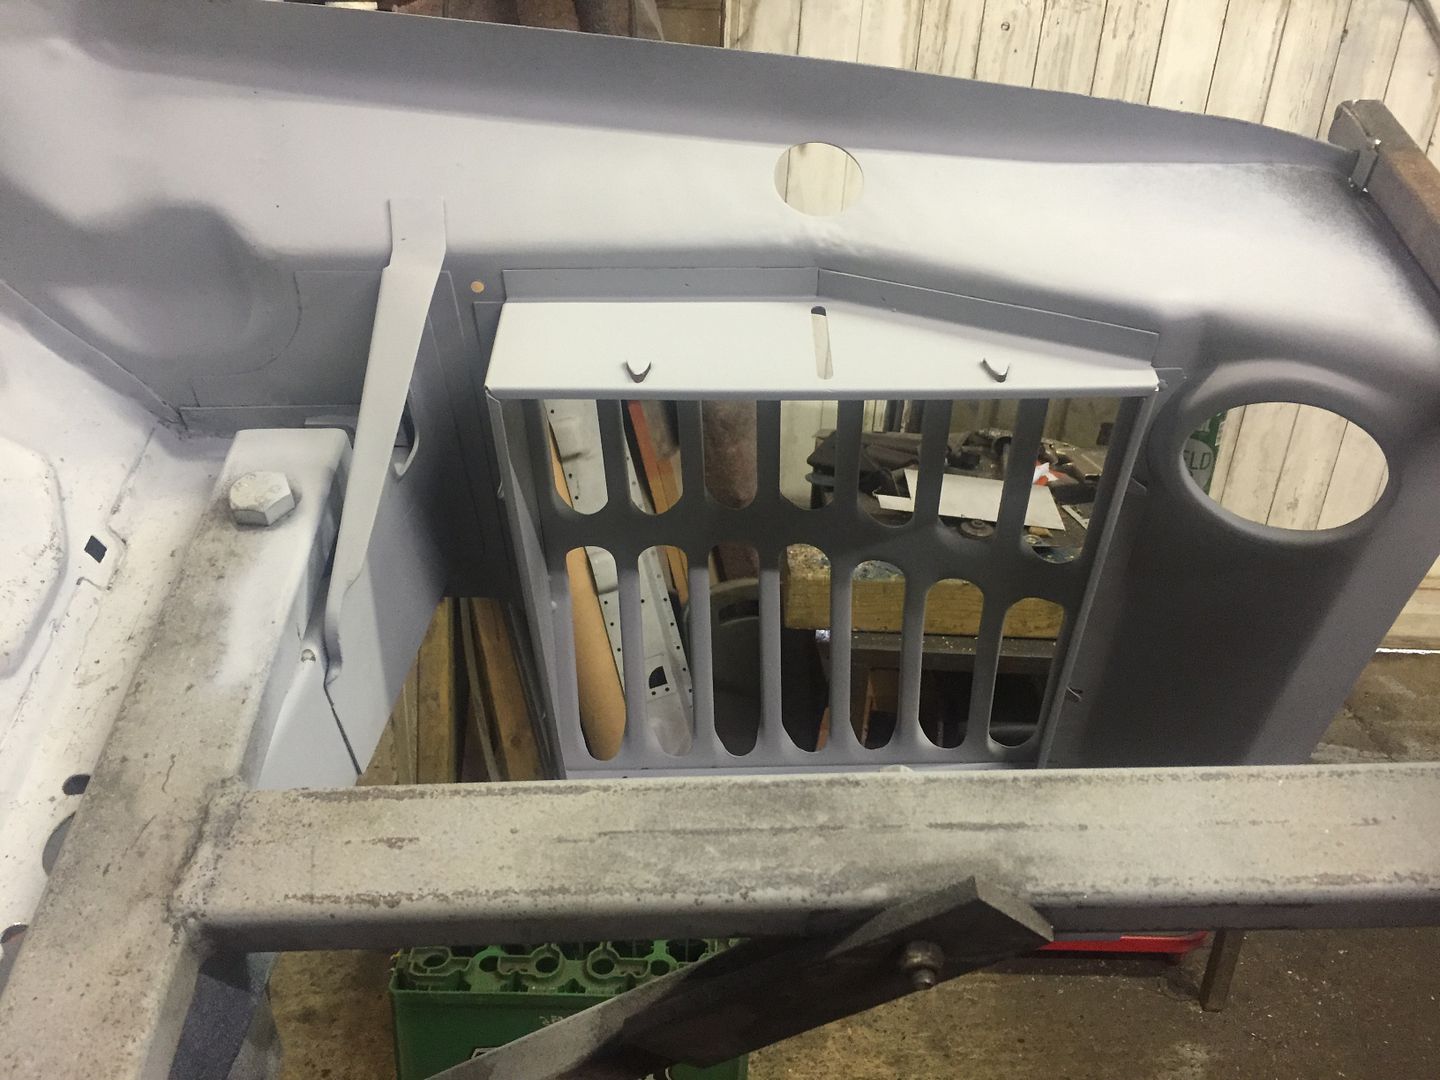
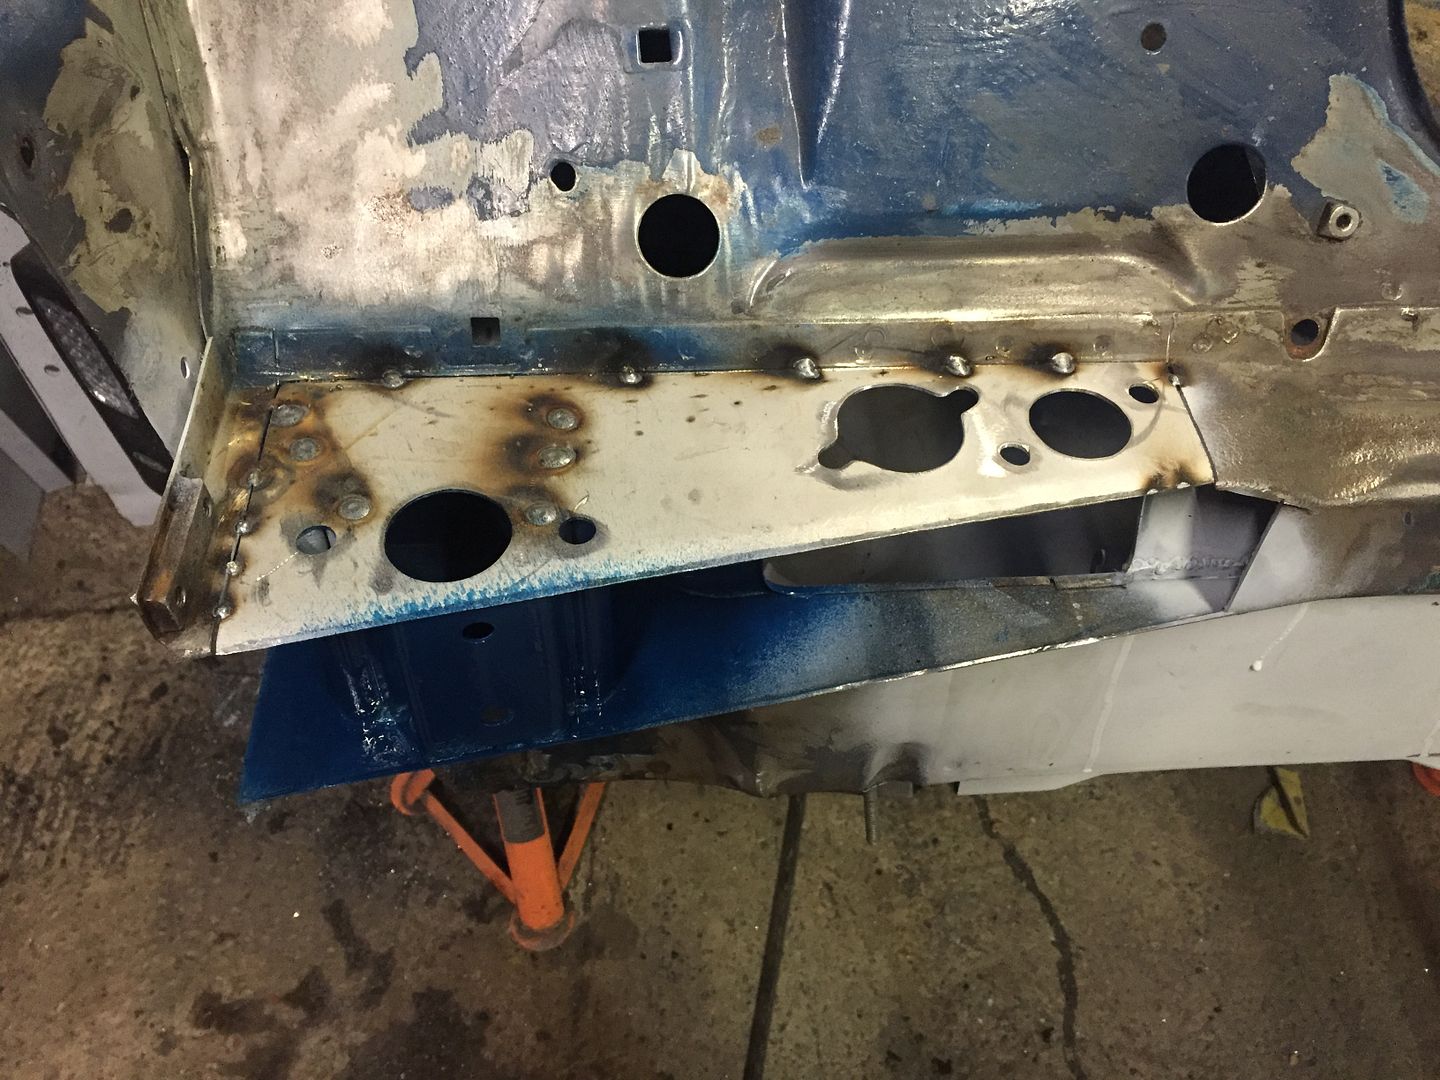
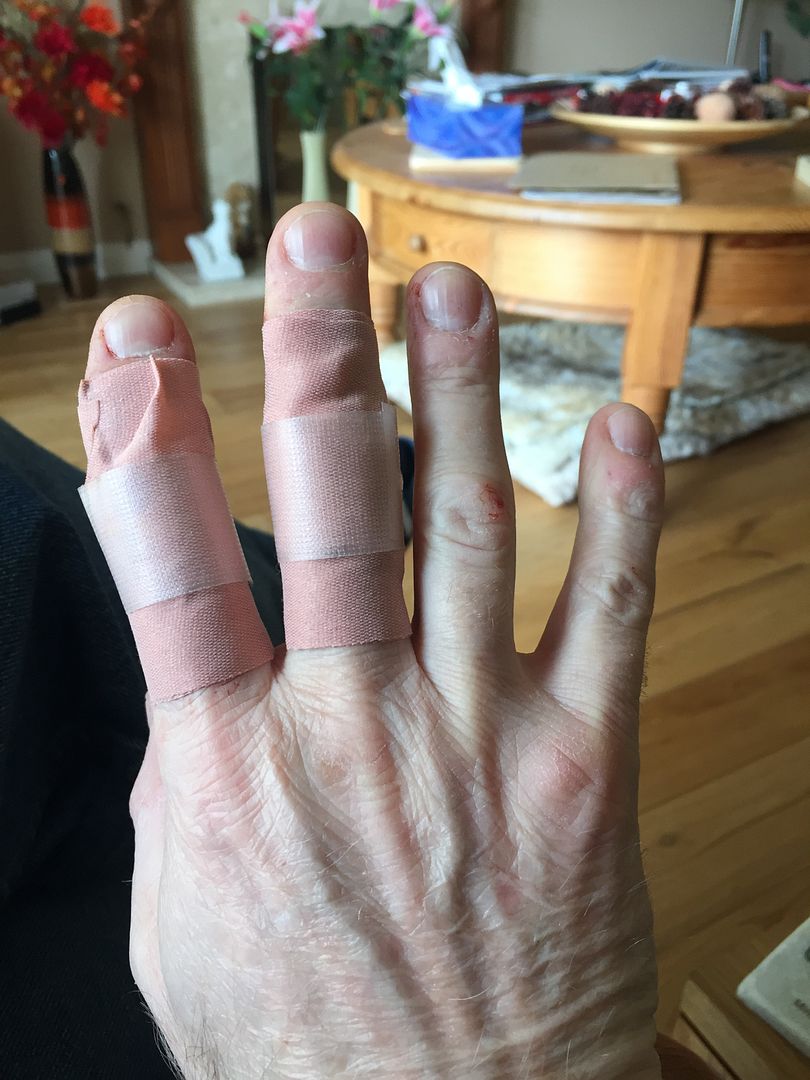
Well the day started off well, managed to weld in the new section of crossmember and was in the process of cleaning up the welds when our workshop neighbour popped round. Wanted his mower blade sharpening again so off it came and sharpened it up. Fitted and was just doing the final tweaking up when the ratchet teeth failed and i took a quite violent blow to my knuckles. Whipped the nitrile glove off and it was blood time. BUGGER!!
I had taken off the first joint knuckle skin on my index and middle finger plus a small cut on the third finger. Mucho blood so numerous plasters and masking tape helped to stem the flow. Put another glove on just to enable me to clear up and flash some epoxy primer over the crossmember. So ended up with this for today
Properly dressed now and the repair part way through dressing the welds
1 user(s) are reading this topic
0 members, 1 guests, 0 anonymous users


