Jump to content


Photo
- - - - -

Project Paddy A Long And Slow Rebuild.


  • Please log in to reply
1090 replies to this topic

#361 Covert

Covert

    Super Mini Mad

  • Members
  • PipPipPipPipPipPip
  • 526 posts
  • Location: Northampton

Posted 17 May 2015 - 08:01 PM

Any pics of this tang fellas ?

#362 sonikk4

sonikk4

    Twisted Paint Polisher!!!

  • Admin
  • PipPipPipPipPipPipPipPipPipPipPip
  • 15,991 posts
  • Name: Neil
  • Location: Oxfordshire

Posted 17 May 2015 - 08:09 PM

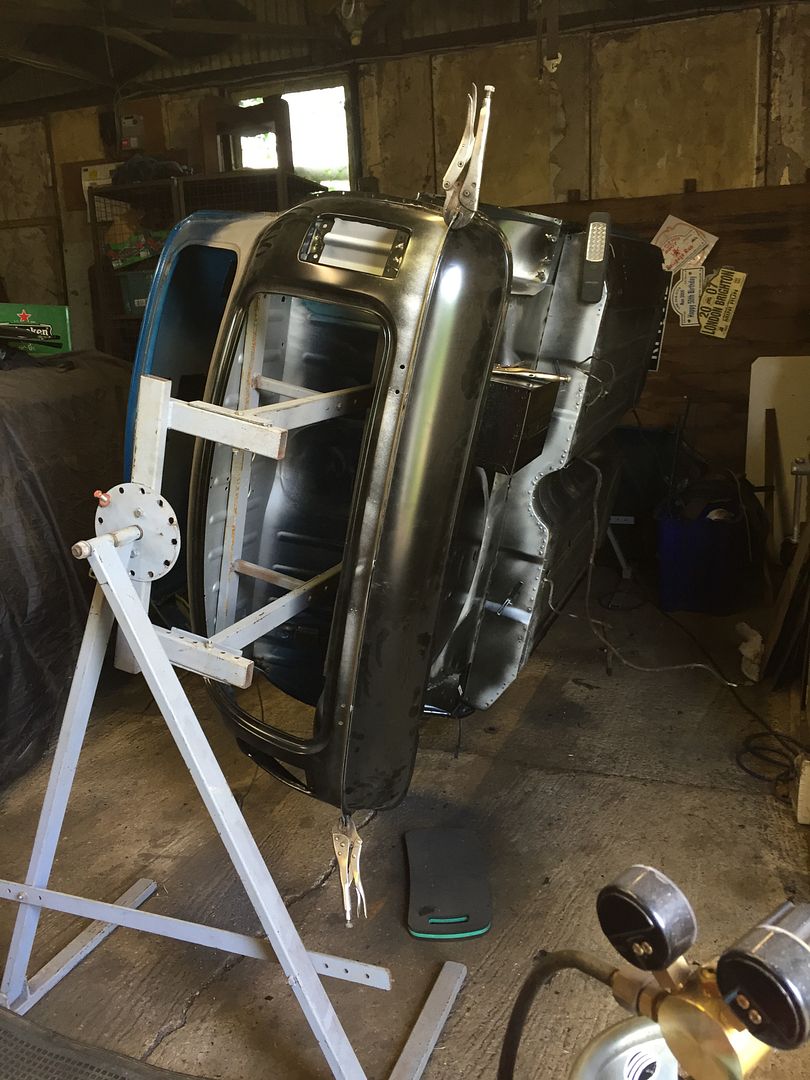
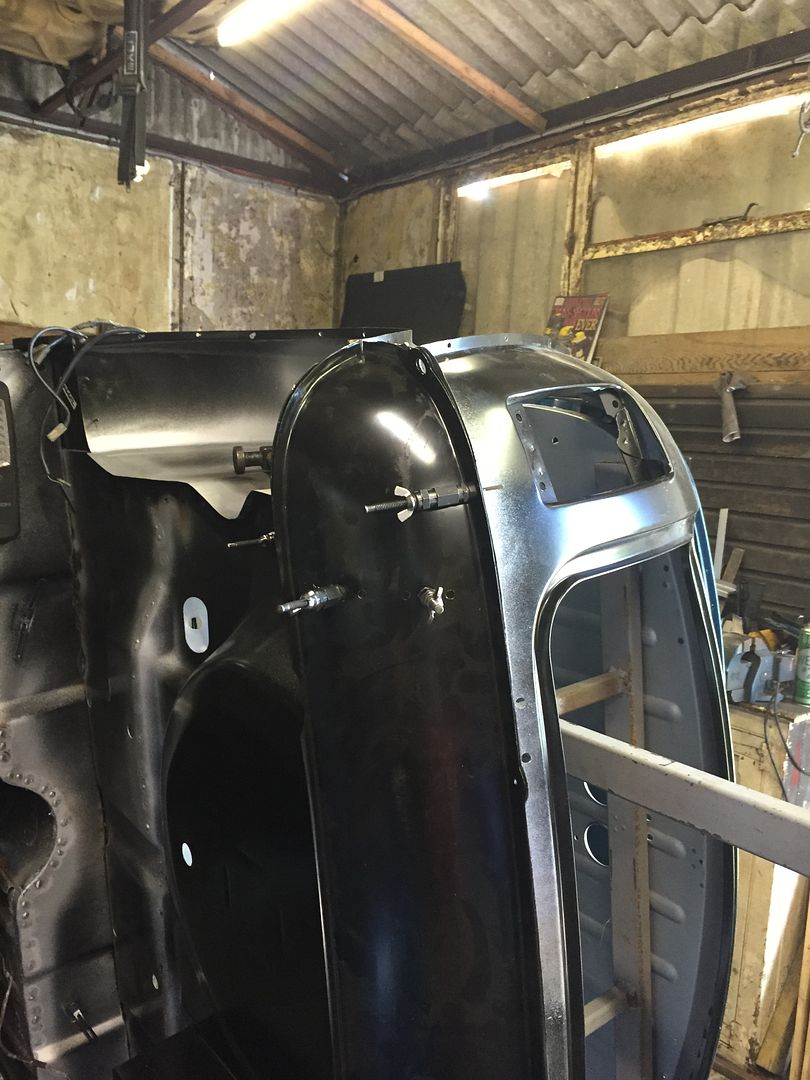
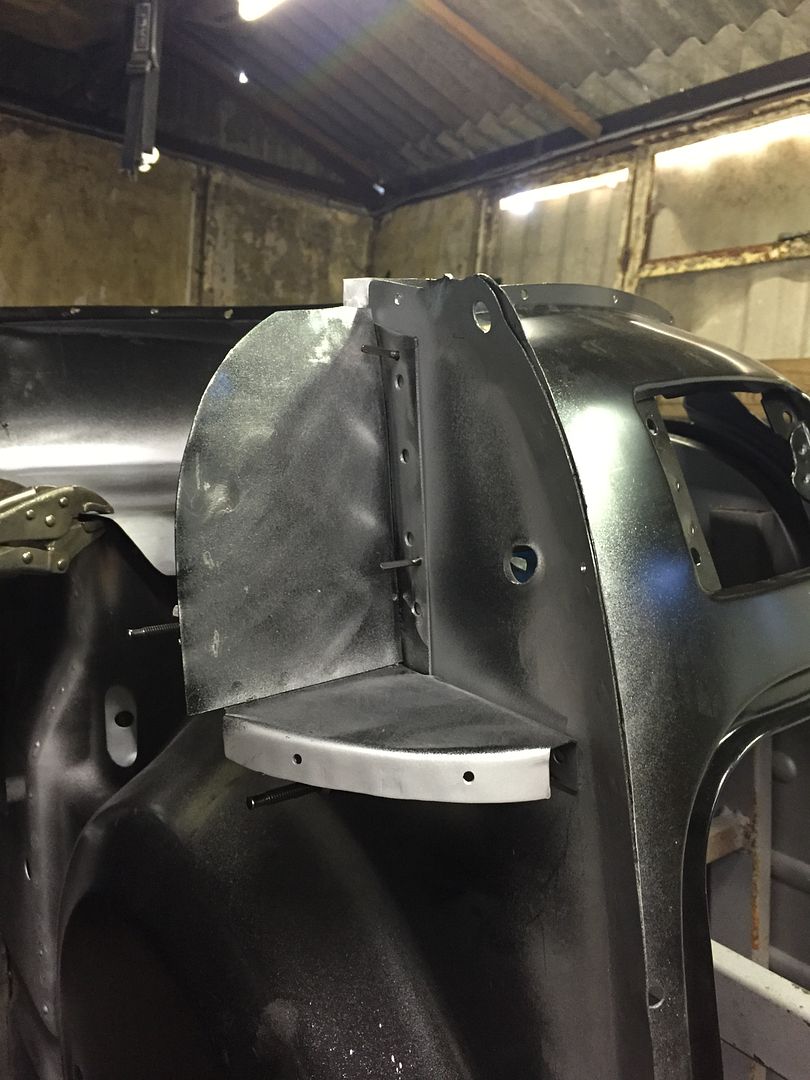
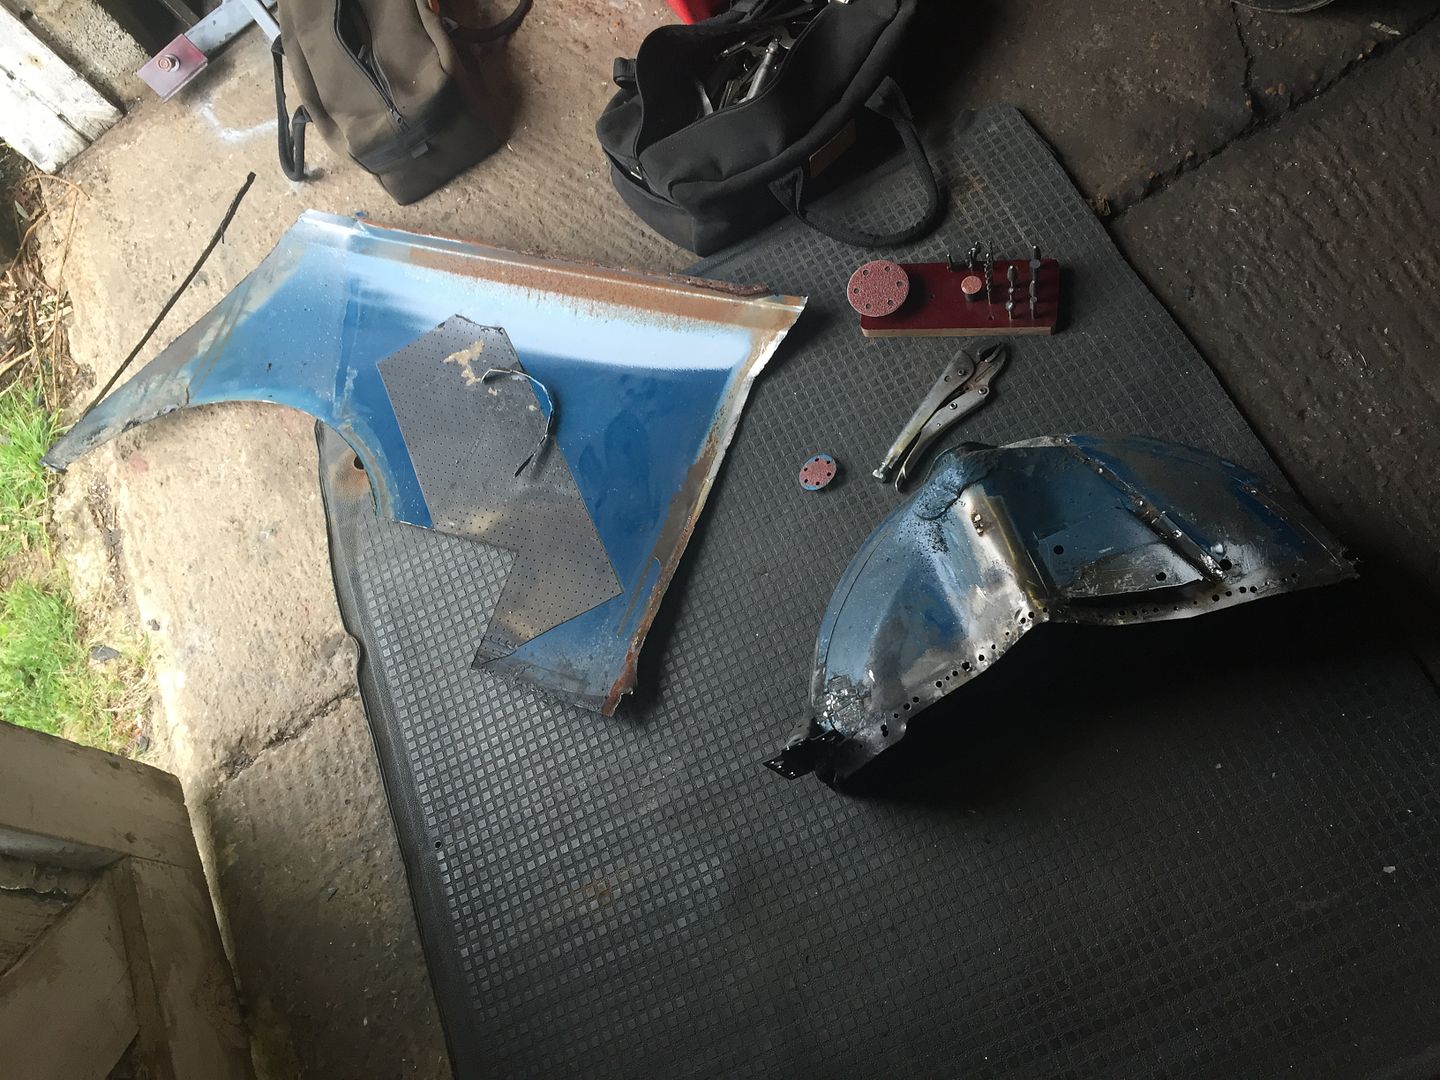
In this picture if you look at the inner section of the arch at the rear there is no tang
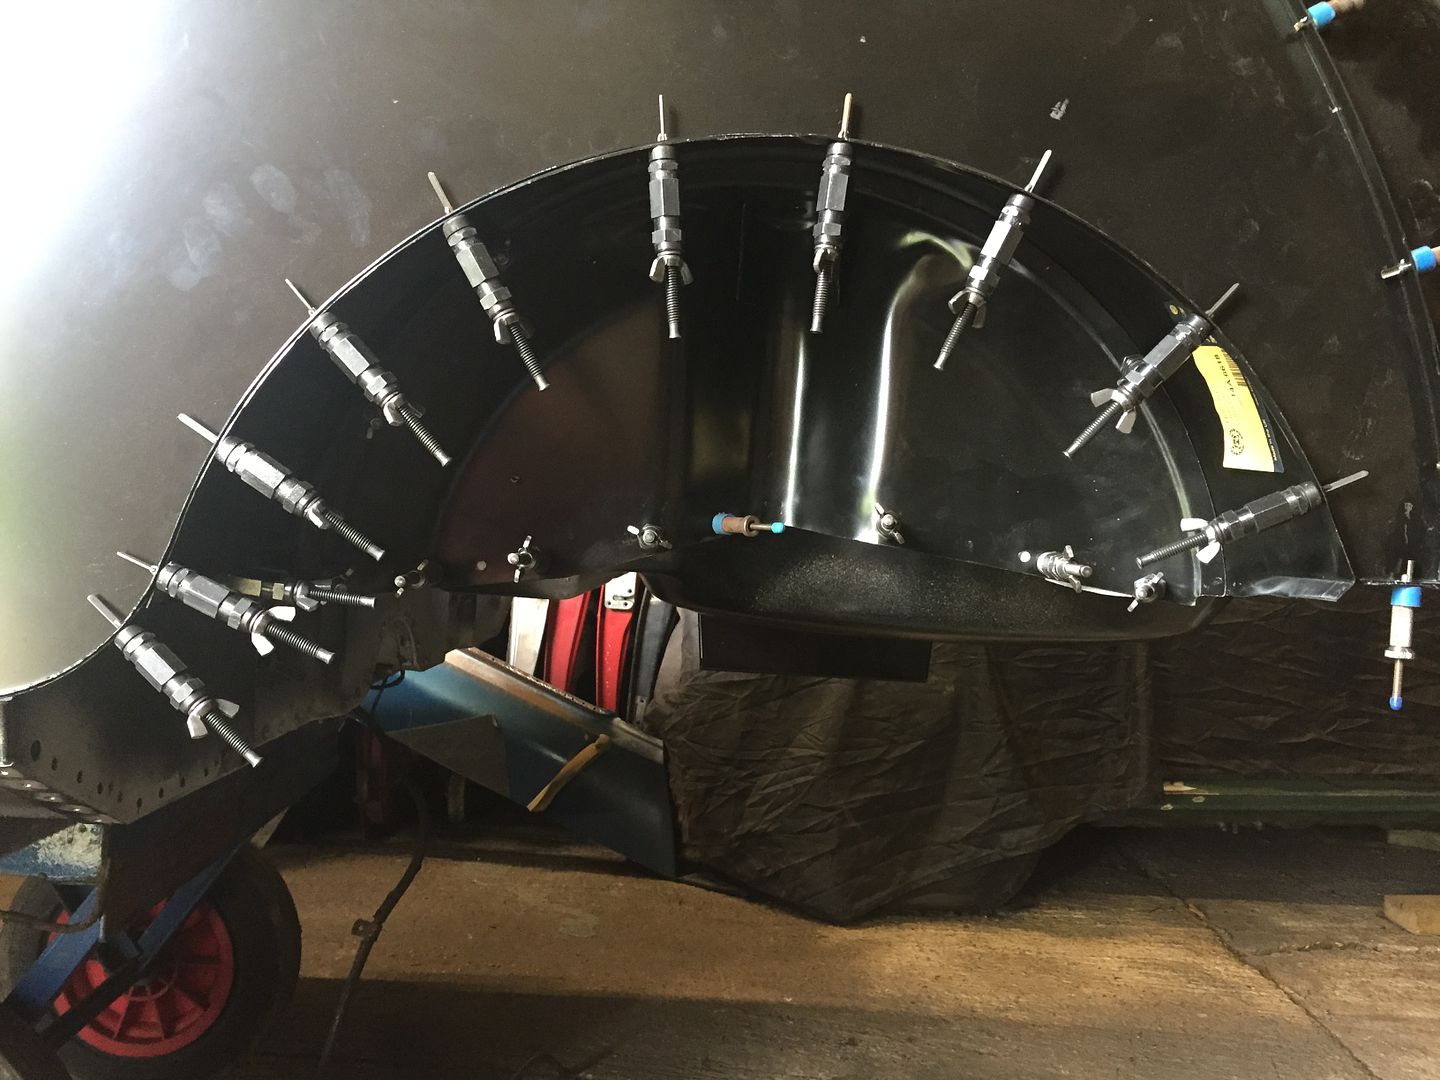
IMG_4170_zpsvegbhzlp.jpg


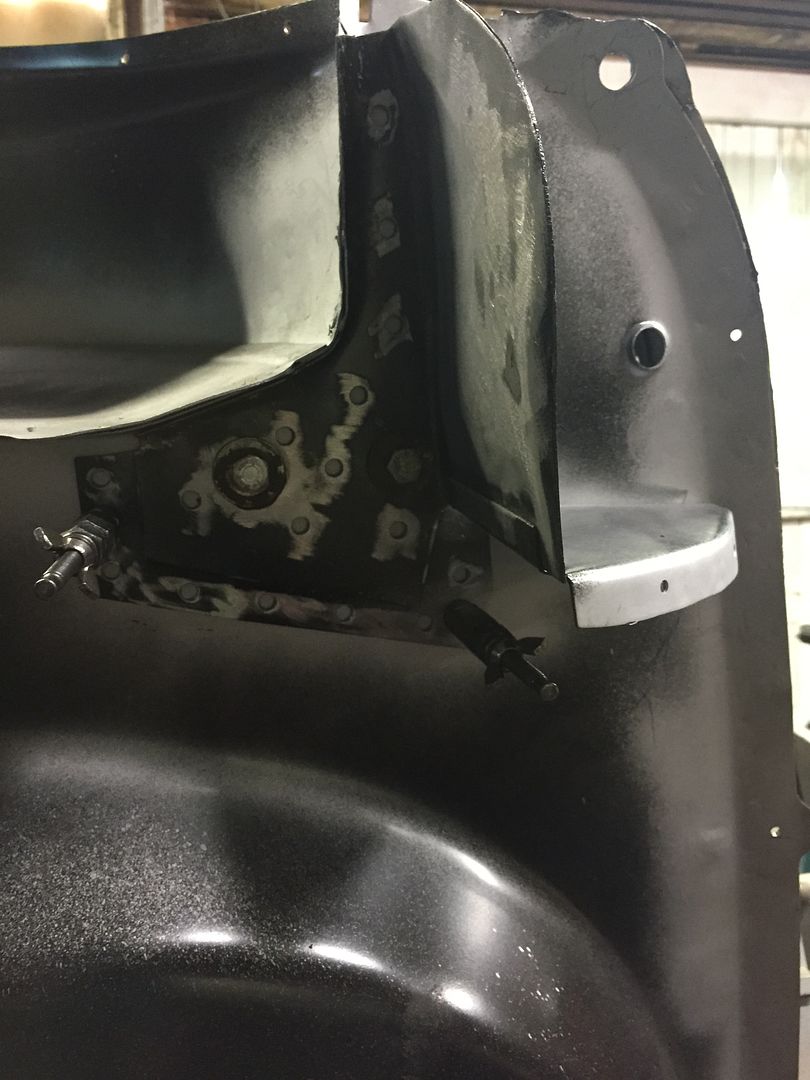
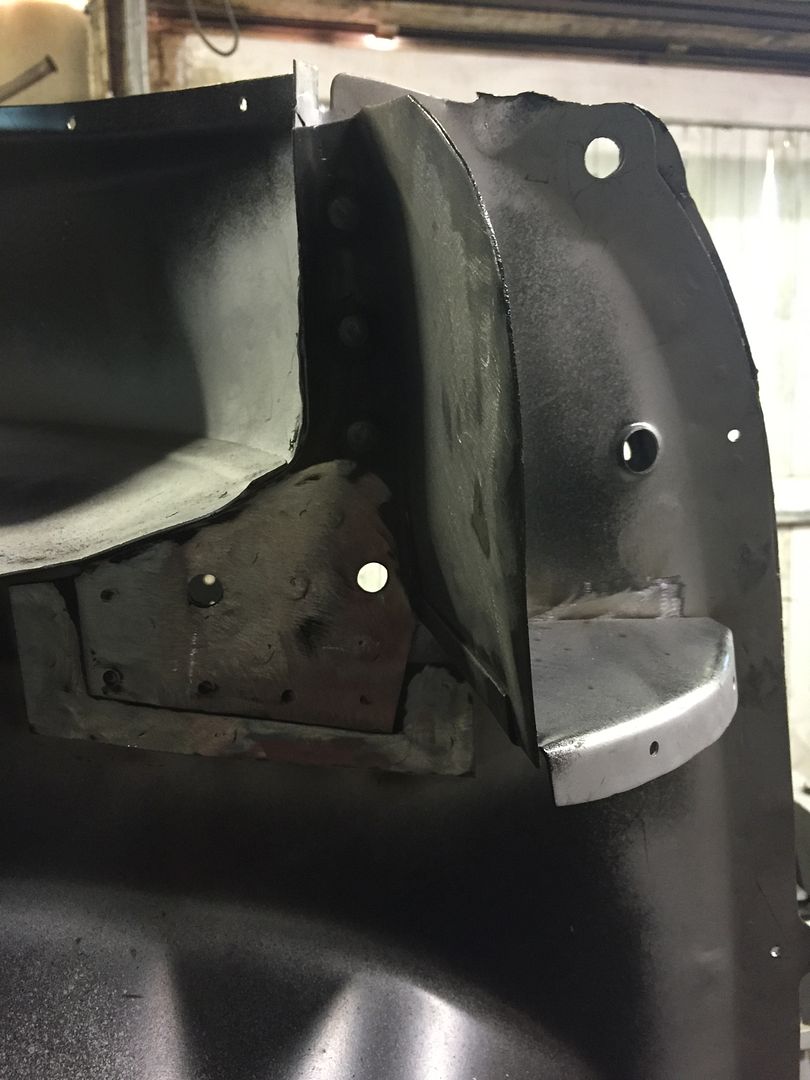
and now in this one you can see where i have added it, its right next to the mole grips
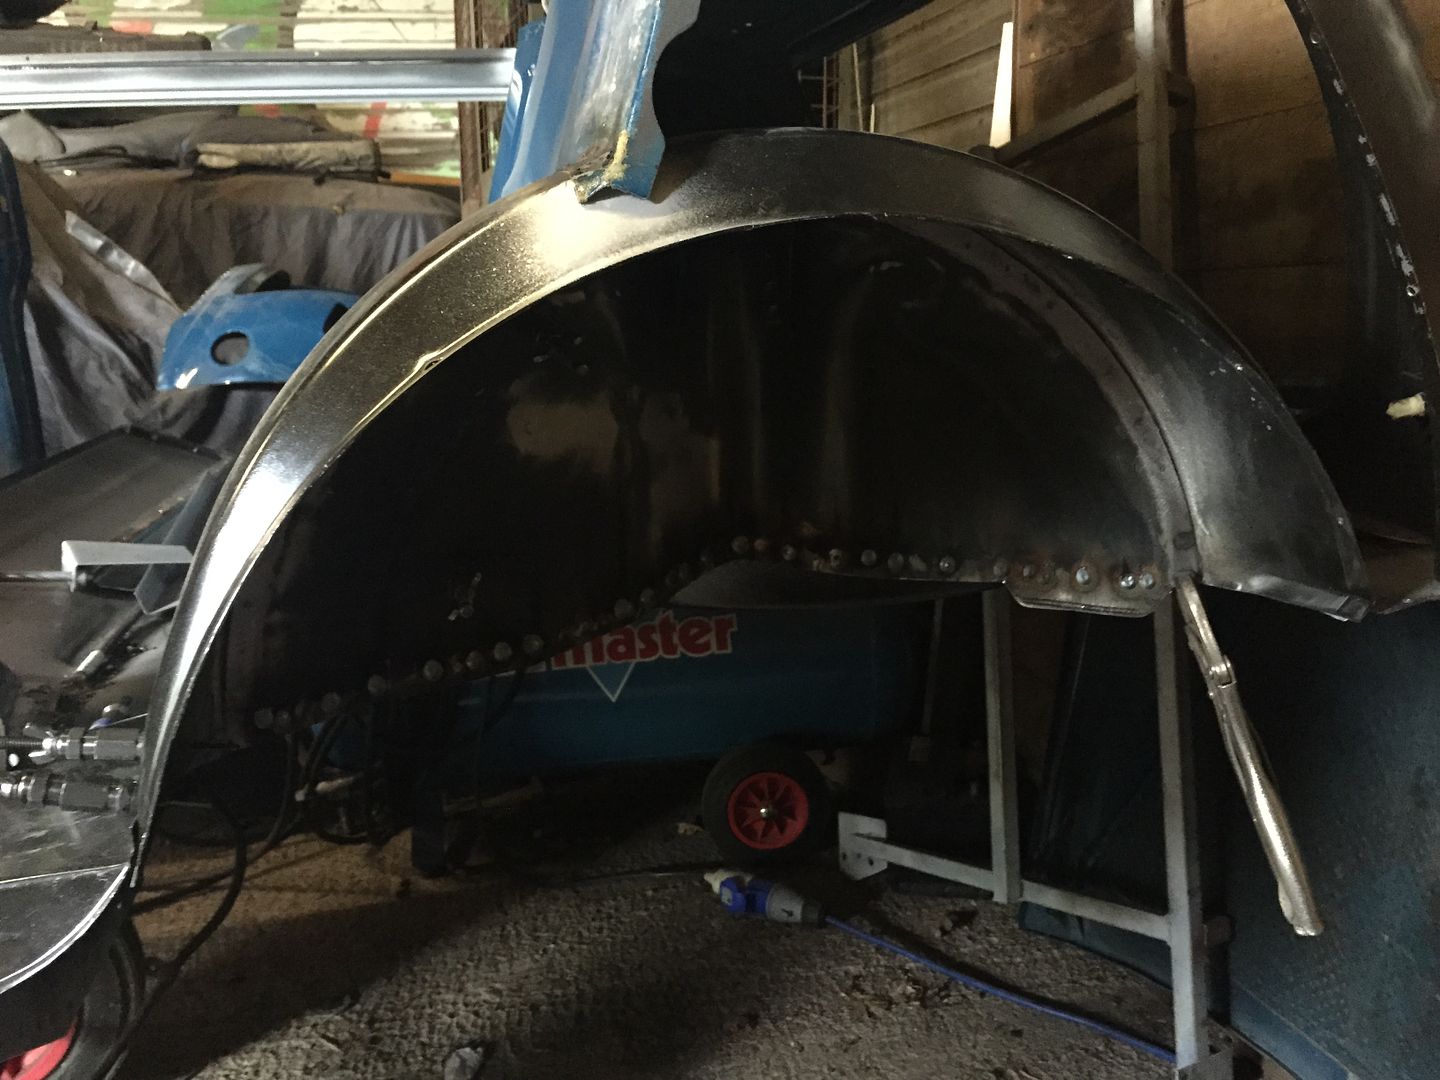
IMG_4171_zpsft0jocap.jpg


#363 Covert

Covert

    Super Mini Mad

  • Members
  • PipPipPipPipPipPip
  • 526 posts
  • Location: Northampton

Posted 17 May 2015 - 08:11 PM

Thanks matey

#364 sonikk4

sonikk4

    Twisted Paint Polisher!!!

  • Admin
  • PipPipPipPipPipPipPipPipPipPipPip
  • 15,991 posts
  • Name: Neil
  • Location: Oxfordshire

Posted 17 May 2015 - 08:14 PM

No worries. The New boot floor does not have the extra piece on it either, well certainly not as much. Later pressing i suppose. Quite a few differences from the older type.


#365 Ben_O

Ben_O

    Mill Road Garage

  • Paint Doctor
  • PipPipPipPipPipPipPipPipPipPip
  • 9,785 posts
  • Location: Isle of Wight

Posted 17 May 2015 - 08:43 PM

What's it for Neil?


#366 sonikk4

sonikk4

    Twisted Paint Polisher!!!

  • Admin
  • PipPipPipPipPipPipPipPipPipPipPip
  • 15,991 posts
  • Name: Neil
  • Location: Oxfordshire

Posted 17 May 2015 - 08:45 PM

Basically on the older floor pan there was a larger return there but on the later MPI floor pan which is the only one available now there is not. Maybe extra strength for the subframe mount??


#367 Ben_O

Ben_O

    Mill Road Garage

  • Paint Doctor
  • PipPipPipPipPipPipPipPipPipPip
  • 9,785 posts
  • Location: Isle of Wight

Posted 17 May 2015 - 08:47 PM

Ill have to look into that then.


I should probably have them on mine and i want the details correct.


Cheers


Ben


#368 sonikk4

sonikk4

    Twisted Paint Polisher!!!

  • Admin
  • PipPipPipPipPipPipPipPipPipPipPip
  • 15,991 posts
  • Name: Neil
  • Location: Oxfordshire

Posted 17 May 2015 - 08:53 PM

Ill have to look into that then.


I should probably have them on mine and i want the details correct.


Cheers


Ben


Here's the old arch and you can see it clearly.
IMG_4163_zpsahhp3mso.jpg


#369 Ben_O

Ben_O

    Mill Road Garage

  • Paint Doctor
  • PipPipPipPipPipPipPipPipPipPip
  • 9,785 posts
  • Location: Isle of Wight

Posted 17 May 2015 - 08:55 PM

so i guess you just made up a small extension and seam welded it to the arch then?


My passenger arch is still intact and on the car so ill take a close look tomorrow to get a better idea.


I'm glad i saw this now as i would never have known..


Cheers


Ben


#370 Wise Old Elf

Wise Old Elf

    Camshaft & Stage Two Head

  • Members
  • PipPipPipPipPipPipPipPip
  • 1,655 posts
  • Location: Maldon
  • Local Club: Club Lotus

Posted 18 May 2015 - 06:33 AM

I only noticed it on mine as I was planning to fit mud flaps but there is nothing to fix them to.

#371 sonikk4

sonikk4

    Twisted Paint Polisher!!!

  • Admin
  • PipPipPipPipPipPipPipPipPipPipPip
  • 15,991 posts
  • Name: Neil
  • Location: Oxfordshire

Posted 27 May 2015 - 03:27 PM

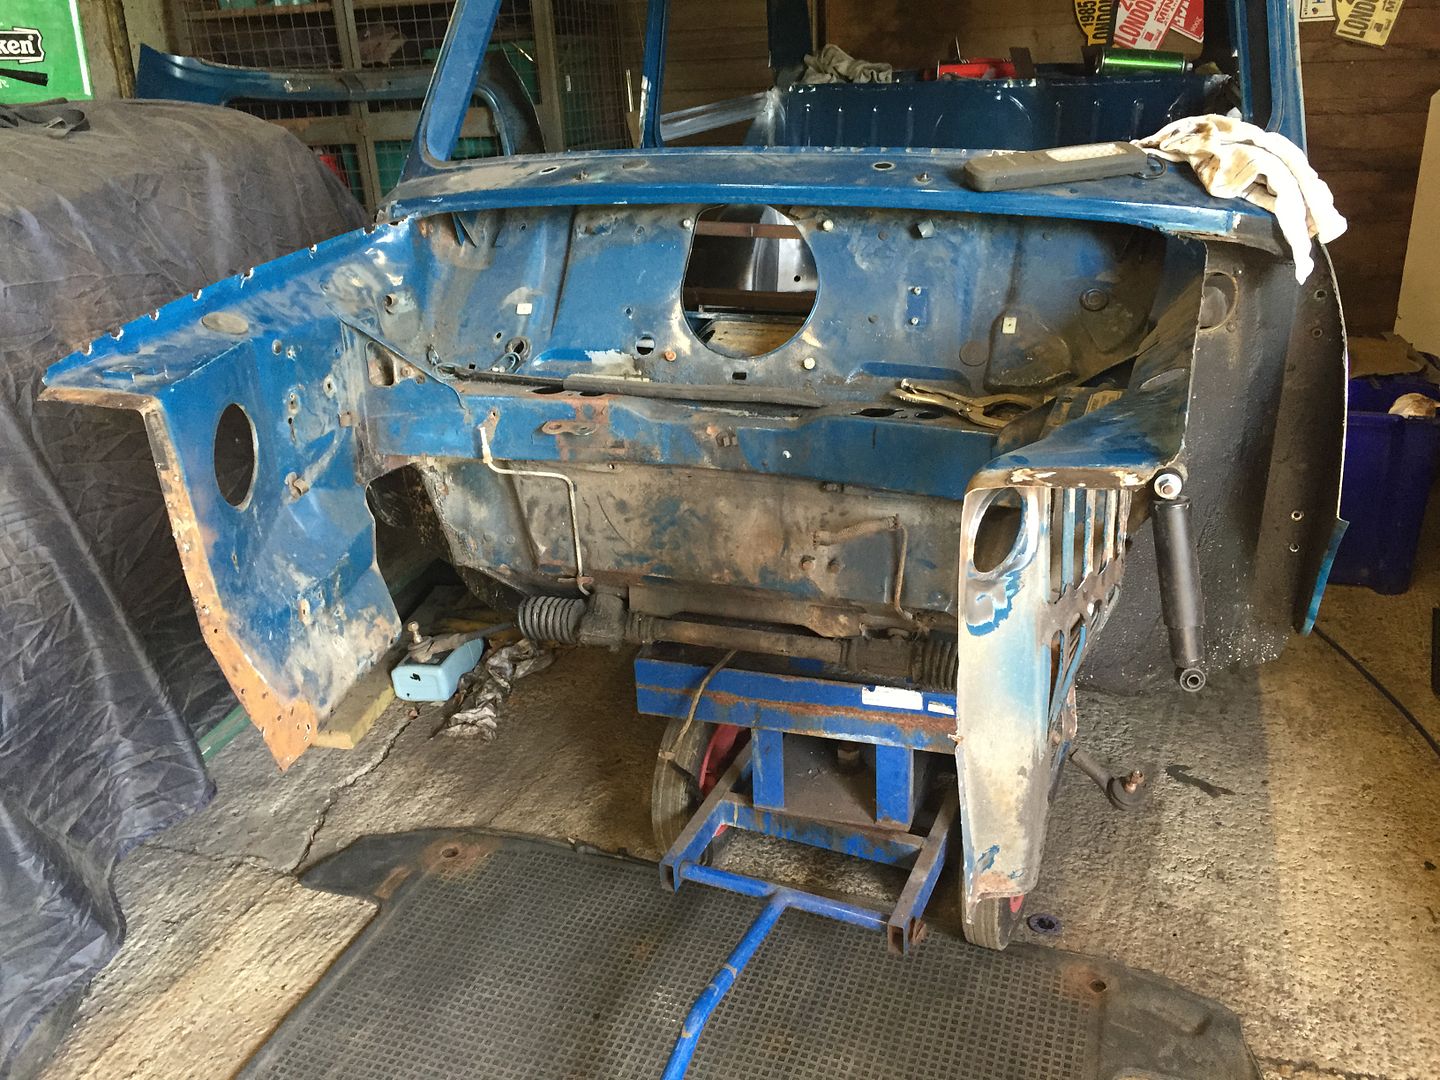
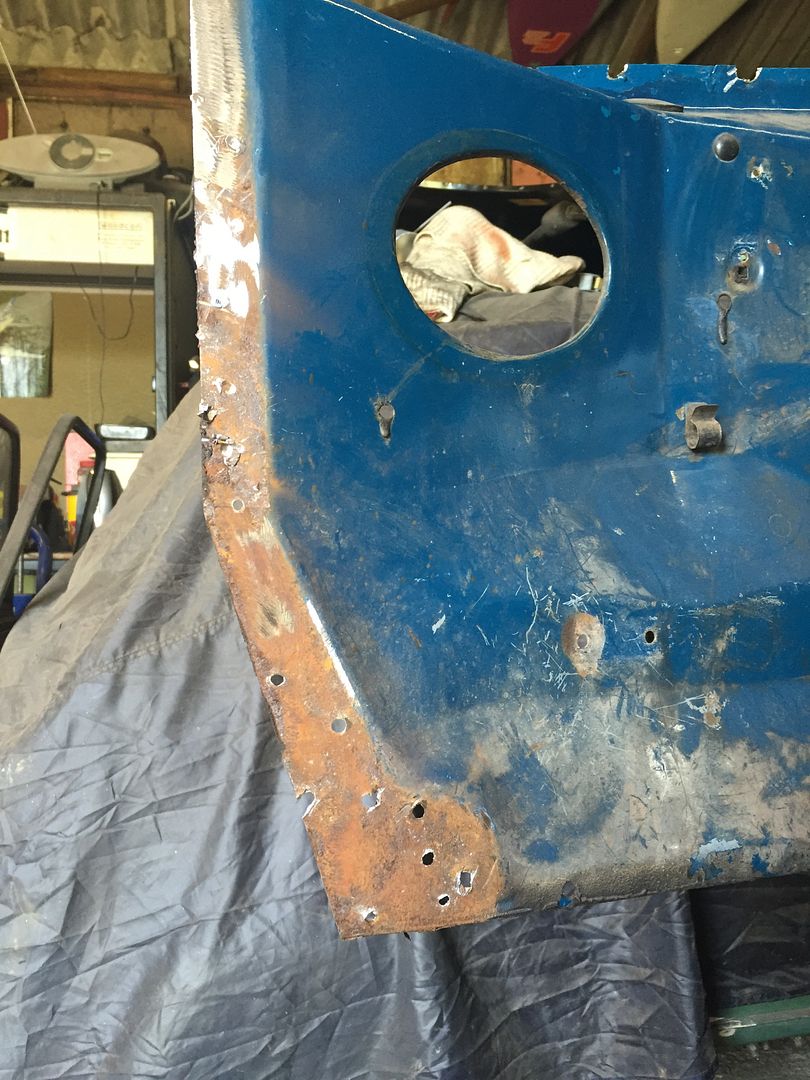
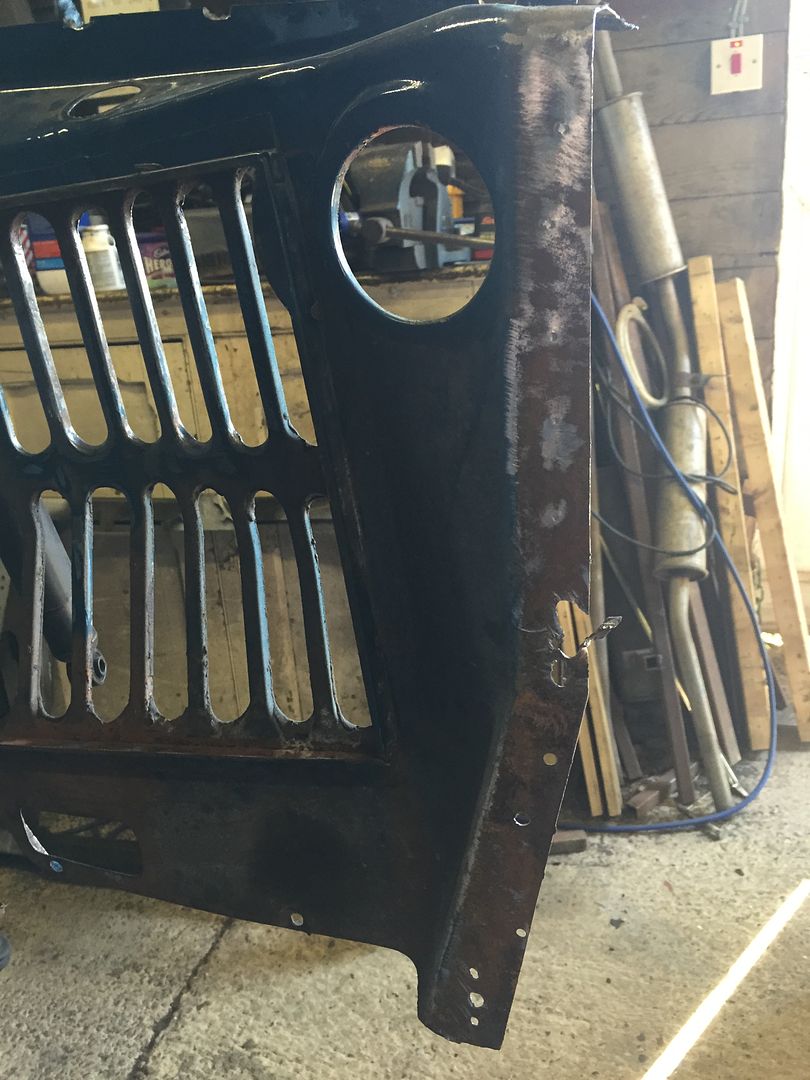
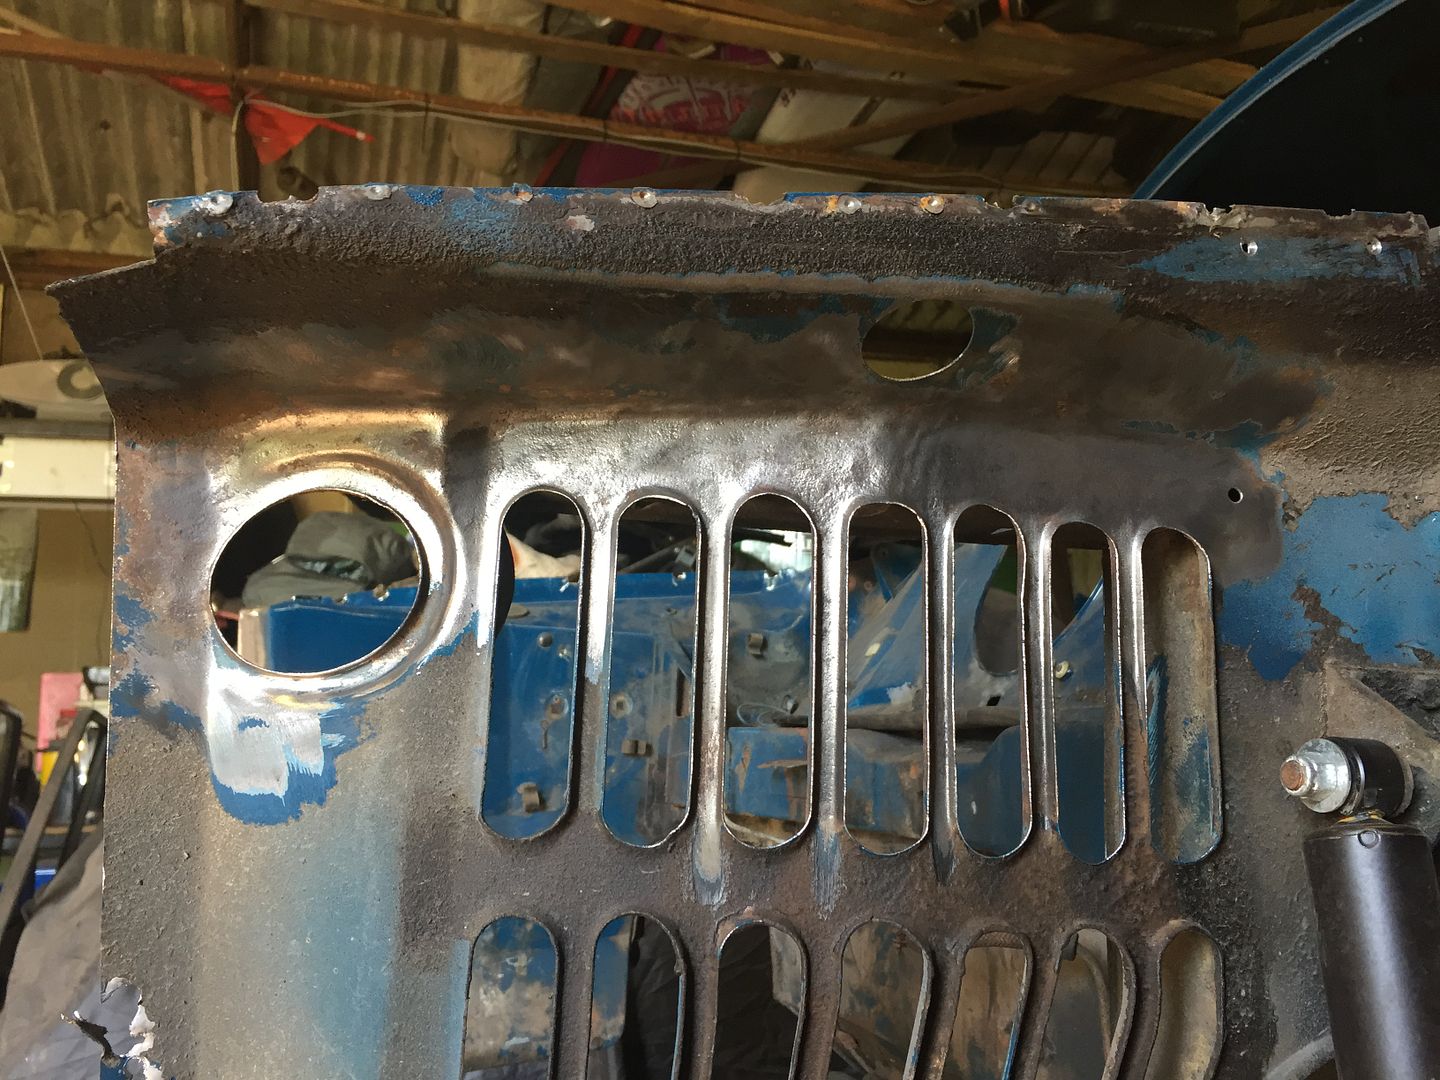
Well it was off with the front today today so this all happened.

IMG_4256_zpsfh2gimoa.jpg

IMG_4257_zpszwj3aqjr.jpg

IMG_4260_zpsl4aoqt2t.jpg

IMG_4261_zpsdwy9j9gx.jpg

IMG_4262_zps1pvdcqcb.jpg

IMG_4263_zpsyutmu0re.jpg

IMG_4264_zpswkun7bn6.jpg

IMG_4265_zpsog09tutj.jpg


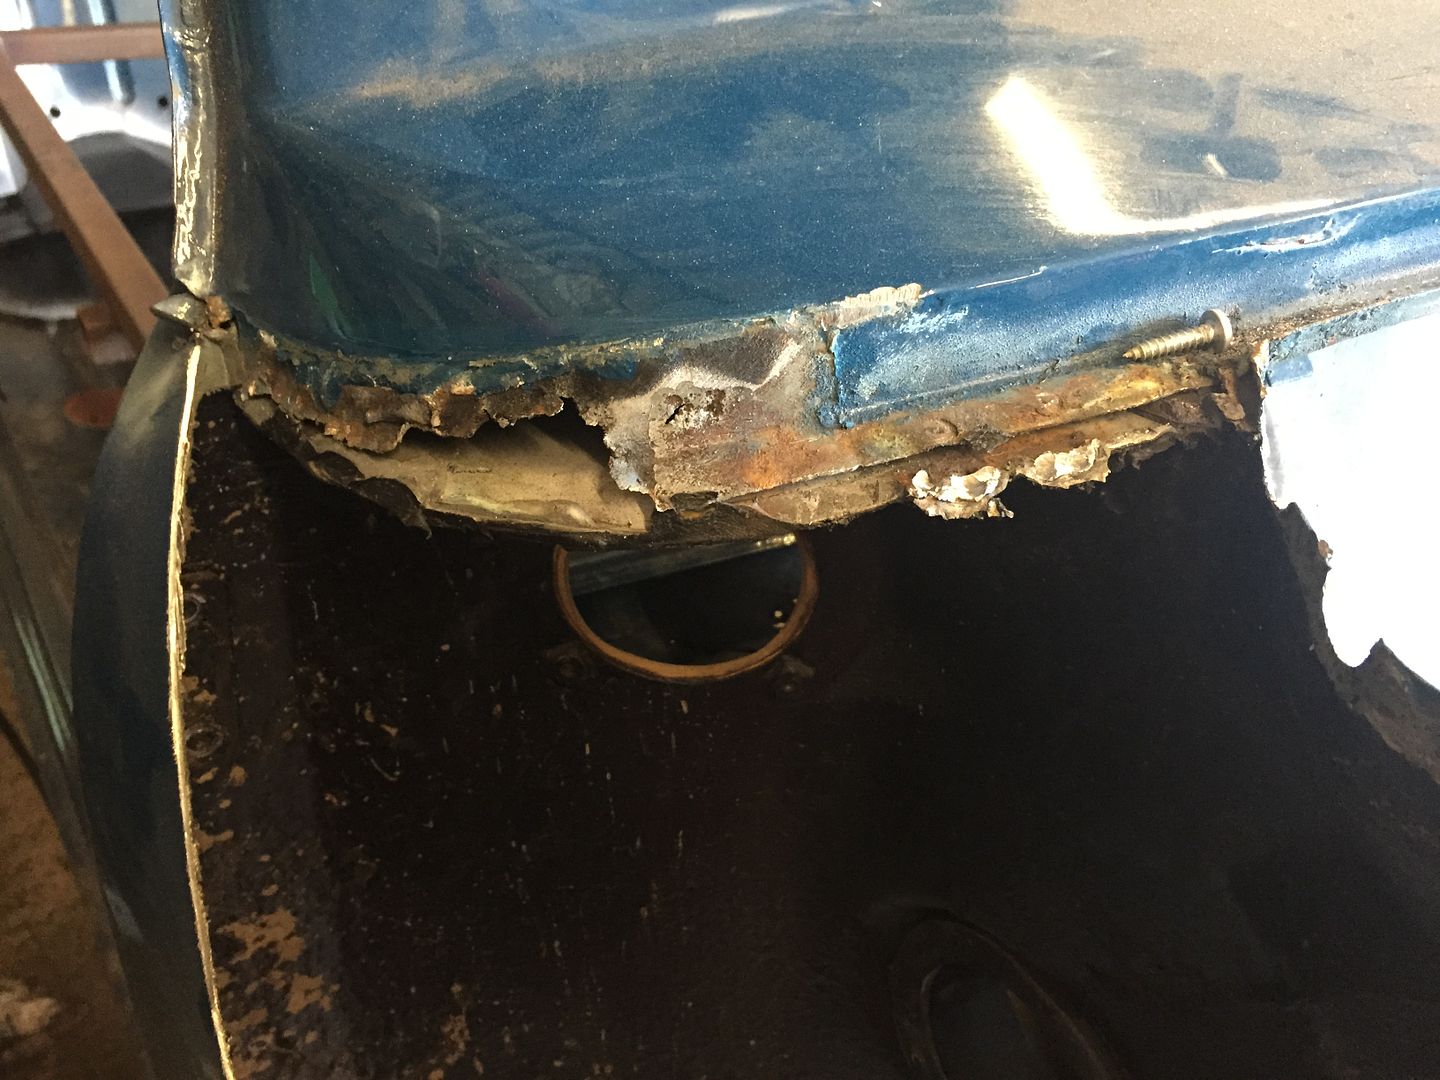
So quite a bit to do but not seriously bad luckily enough although the scuttle is toast

IMG_4259_zpstndapinn.jpg


#372 evansisgreat

evansisgreat

    One Carb Or Two?

  • TMF+ Member
  • PipPipPipPipPipPipPip
  • 1,096 posts
  • Local Club: Not yet

Posted 27 May 2015 - 04:50 PM

I was getting so confused about the tang you were mentioning, but I have an MPI so that would explain it. Finally an advantage to having to worst quality steel and build quality. Although maybe on that note I should add it...

#373 sonikk4

sonikk4

    Twisted Paint Polisher!!!

  • Admin
  • PipPipPipPipPipPipPipPipPipPipPip
  • 15,991 posts
  • Name: Neil
  • Location: Oxfordshire

Posted 18 June 2015 - 07:26 PM

So back on the case again after a week abroad.


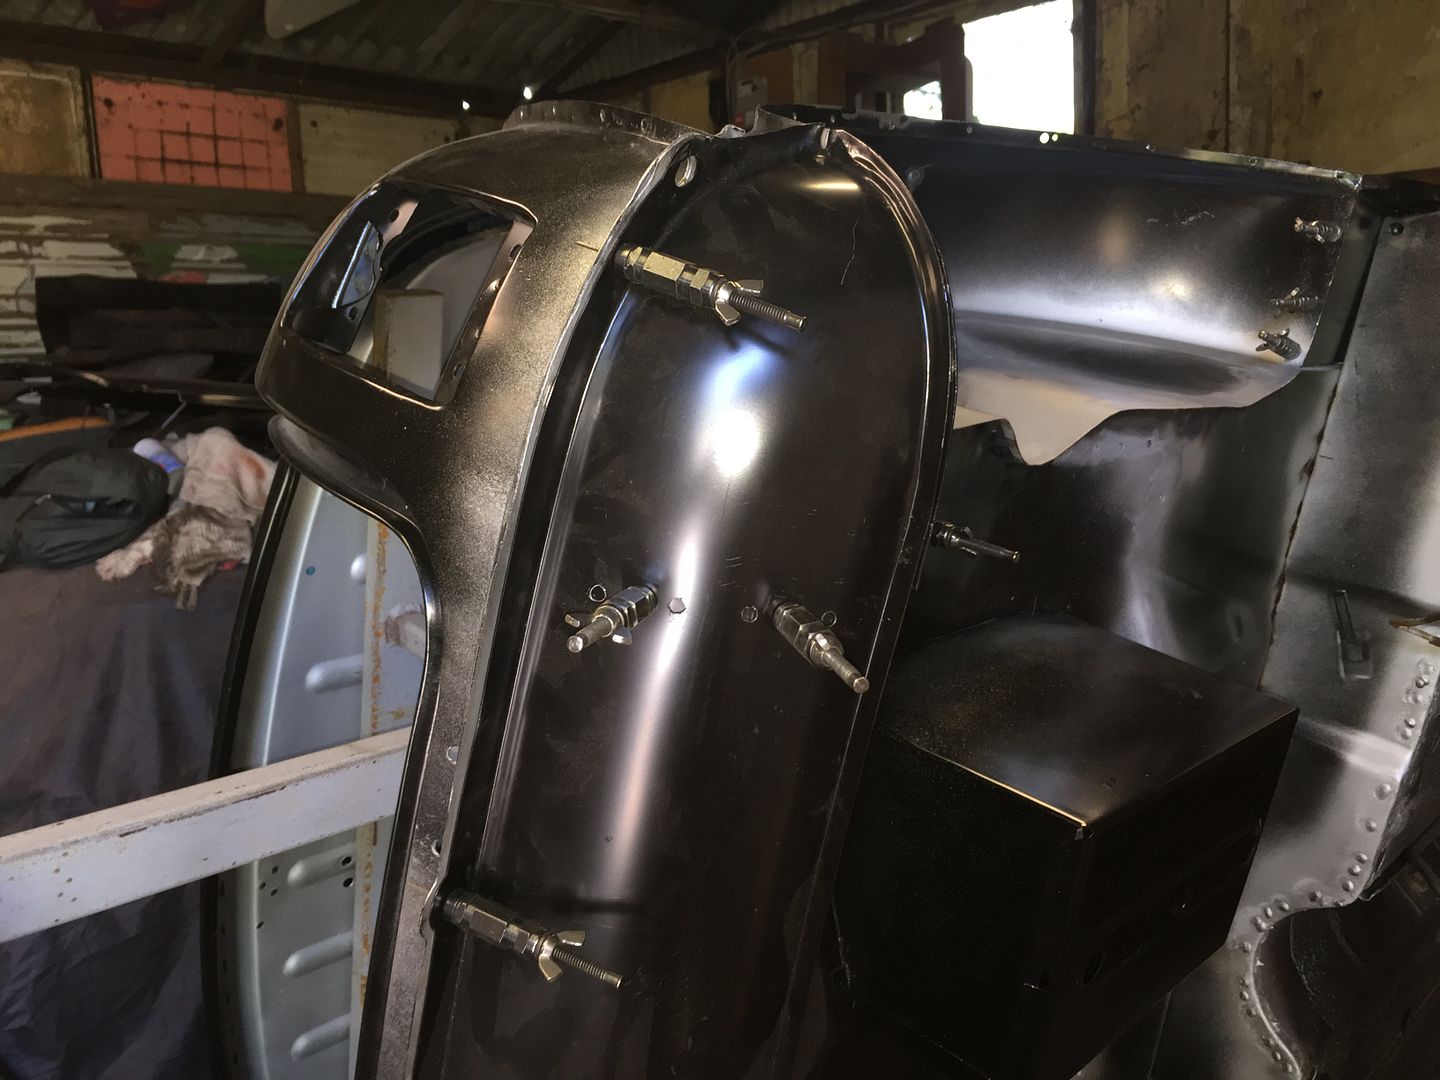
Time to finish Paddys backside before i hit the inner sills so it was onto the rear valance closeouts and rear valance.

Valance clamped in place

IMG_4436_zpsuzyrzhyw.jpg

Closeouts added

IMG_4439_zpskzpjlvky.jpg

IMG_4440_zpsabiiix0h.jpg


Plug weld holes drilled and ready to weld

IMG_4442_zpsv7vd05cx.jpg

IMG_4443_zpsohqsdbxp.jpg


And welded in place

IMG_4444_zpsb2jnxsey.jpg


The other side is prepped ready for welding tomorrow

IMG_4437_zpsfqzmramt.jpg


So if all goes well tomorrow the rear of the car will be complete bar the boot lid reskin.


#374 CBJ805T

CBJ805T

    Speeding Along Now

  • Members
  • PipPipPipPipPip
  • 435 posts
  • Location: Kenilworth

Posted 19 June 2015 - 11:51 AM

Hi Neil, 


I see you are plug welding the closeout to the rear valence, which presumably you'll grind back to make it look nice and smooth. Do you know how this was done originally? did they just spot weld it and leave the evidence? 


#375 sonikk4

sonikk4

    Twisted Paint Polisher!!!

  • Admin
  • PipPipPipPipPipPipPipPipPipPipPip
  • 15,991 posts
  • Name: Neil
  • Location: Oxfordshire

Posted 19 June 2015 - 02:35 PM

Hi Neil, 
 
I see you are plug welding the closeout to the rear valence, which presumably you'll grind back to make it look nice and smooth. Do you know how this was done originally? did they just spot weld it and leave the evidence?

Everything originally would have been spot welded, very little on the car would have had any seam welds.
And yep all of the plug welds will be ground back flush.


1 user(s) are reading this topic

0 members, 1 guests, 0 anonymous users