Jump to content


Photo
- - - - -

Project Paddy A Long And Slow Rebuild.


  • Please log in to reply
1090 replies to this topic

#331 sonikk4

sonikk4

    Twisted Paint Polisher!!!

  • Admin
  • PipPipPipPipPipPipPipPipPipPipPip
  • 15,991 posts
  • Name: Neil
  • Location: Oxfordshire

Posted 03 April 2015 - 03:45 PM

That's a shame about the inner arch sections. I'd never even heard of ziebart, I had to google it. :lol:


I've been dithering about a full boot floor panel but having looked it again, I think mine is a goner. Threads like yours make body work much less intimidating for the uninitiated like me, so thanks for writing all this up.


No problem :D . Ziebarting without doubt has kept the rust at bay but after 41 years its snuck in under the wire. Such is life, it could have been so much worse. 


#332 venkman

venkman

    Speeding Along Now

  • Members
  • PipPipPipPipPip
  • 448 posts
  • Location: Glusburn

Posted 03 April 2015 - 03:49 PM

You really do inspire us lesser "skilled" magicians (me, more suck it and see!)


Where can you get the pins from and do they put a lot of pressure on, enough to do your welding or do you use mole grips??


#333 sonikk4

sonikk4

    Twisted Paint Polisher!!!

  • Admin
  • PipPipPipPipPipPipPipPipPipPipPip
  • 15,991 posts
  • Name: Neil
  • Location: Oxfordshire

Posted 03 April 2015 - 03:53 PM

You really do inspire us lesser "skilled" magicians (me, more suck it and see!)


Where can you get the pins from and do they put a lot of pressure on, enough to do your welding or do you use mole grips??


The pins are something i have collected over time in Aerospace and i have not seen them readily available for sale but that does not mean they are not. They do have a good clamping pressure but will pull through if tightened too much. I also use mole grips etc where i can but in the more awkward places i use my skin pins. 


#334 Steve8274

Steve8274

    Super Mini Mad

  • Members
  • PipPipPipPipPipPip
  • 580 posts
  • Location: Wigan (north west)

Posted 03 April 2015 - 05:51 PM

Awesome work as usual.
I notice you have done most of your welding with the mini on a trolley. Do you think you can do all the welding from something like this? My mini is in a garage with not enough room for a spit or even to roll onto side.
If it can be done, I will get some pallets
Thanks

#335 sonikk4

sonikk4

    Twisted Paint Polisher!!!

  • Admin
  • PipPipPipPipPipPipPipPipPipPipPip
  • 15,991 posts
  • Name: Neil
  • Location: Oxfordshire

Posted 03 April 2015 - 06:29 PM

There is nothing to stop you from doing all of the external panels, boot floor and inner sills on a trolley or pallets. You may have to move the body slightly from side to side to do the inner sills although i will be doing that on my spit.


The actual floor pan though is a different kettle of fish. Fortunately not something i have to worry about with Paddy.


#336 Stu.

Stu.

    One Carb Or Two?

  • Members
  • PipPipPipPipPipPipPip
  • 912 posts
  • Location: My workshop.

Posted 03 April 2015 - 06:40 PM

I'm always impressed by you guys who do a resto without a spit. Dont know what I'd do without mine!

#337 sonikk4

sonikk4

    Twisted Paint Polisher!!!

  • Admin
  • PipPipPipPipPipPipPipPipPipPipPip
  • 15,991 posts
  • Name: Neil
  • Location: Oxfordshire

Posted 03 April 2015 - 06:45 PM

This will be the third resto on a spit i have done. Got another two to do waiting in the wings.


#338 sonikk4

sonikk4

    Twisted Paint Polisher!!!

  • Admin
  • PipPipPipPipPipPipPipPipPipPipPip
  • 15,991 posts
  • Name: Neil
  • Location: Oxfordshire

Posted 10 April 2015 - 07:39 PM

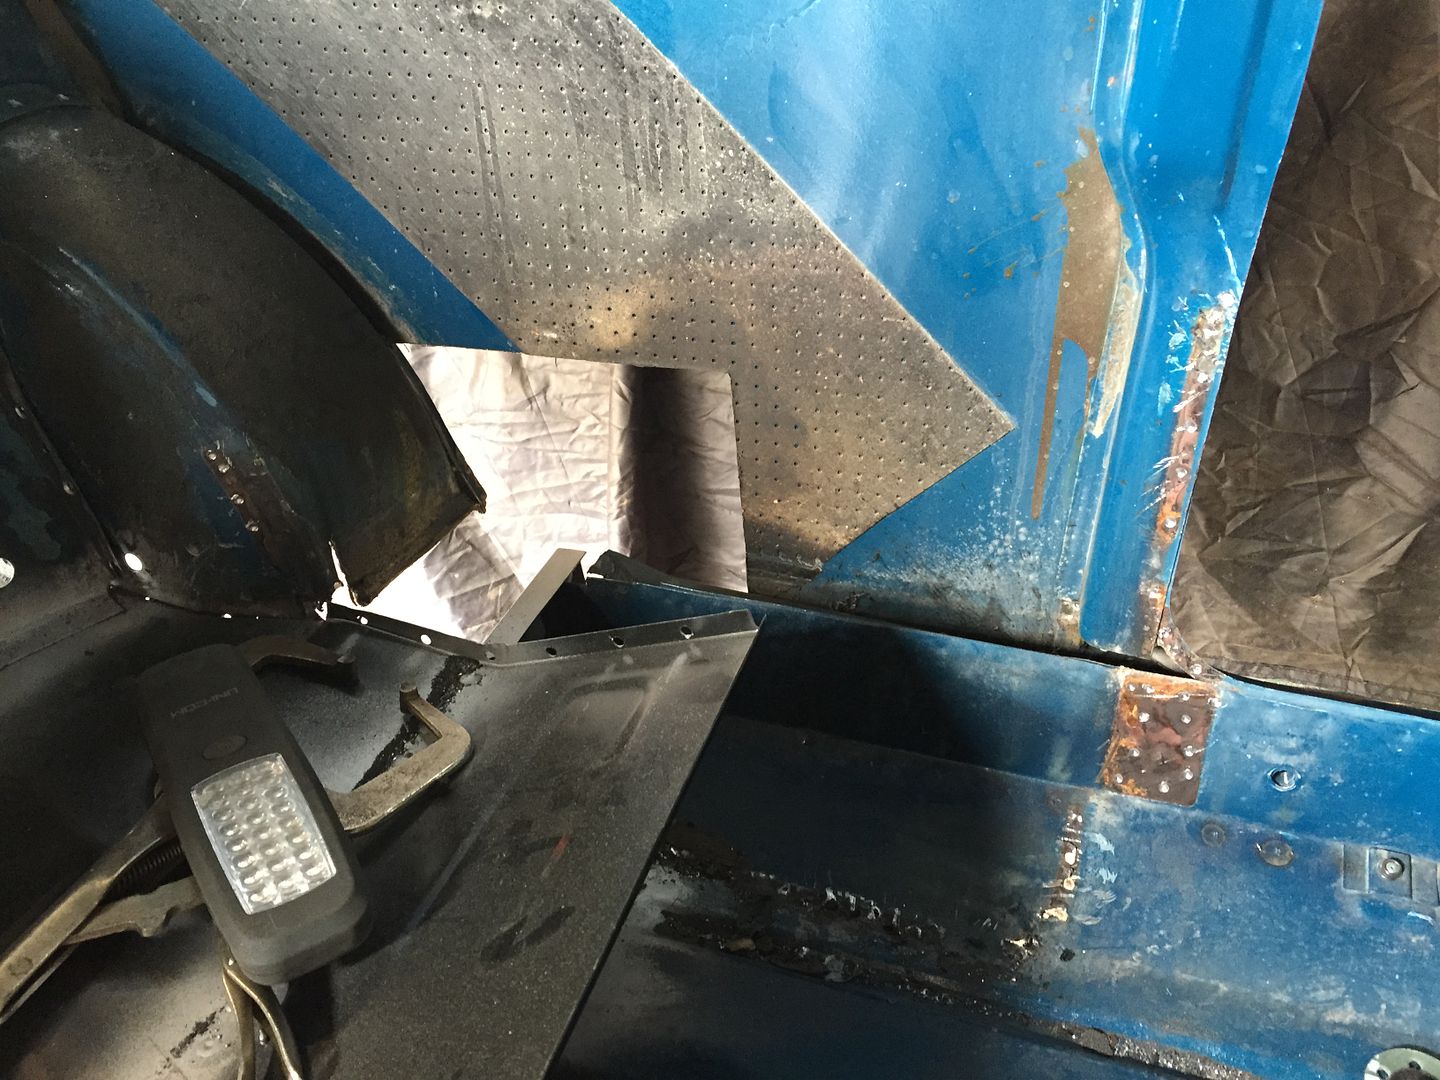
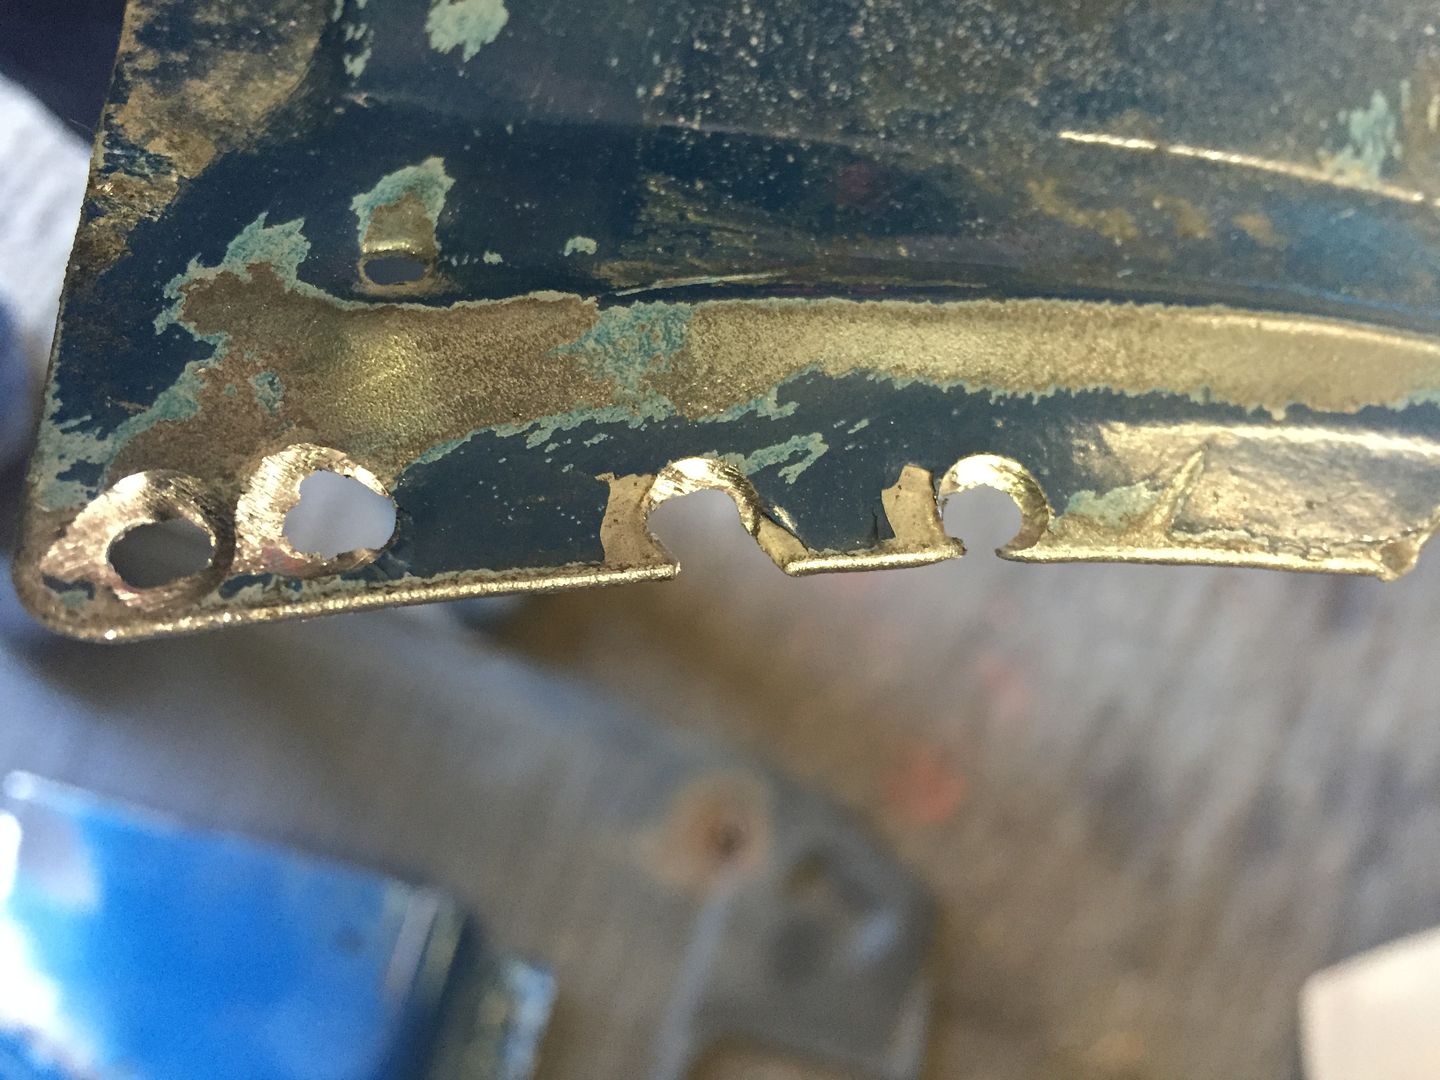
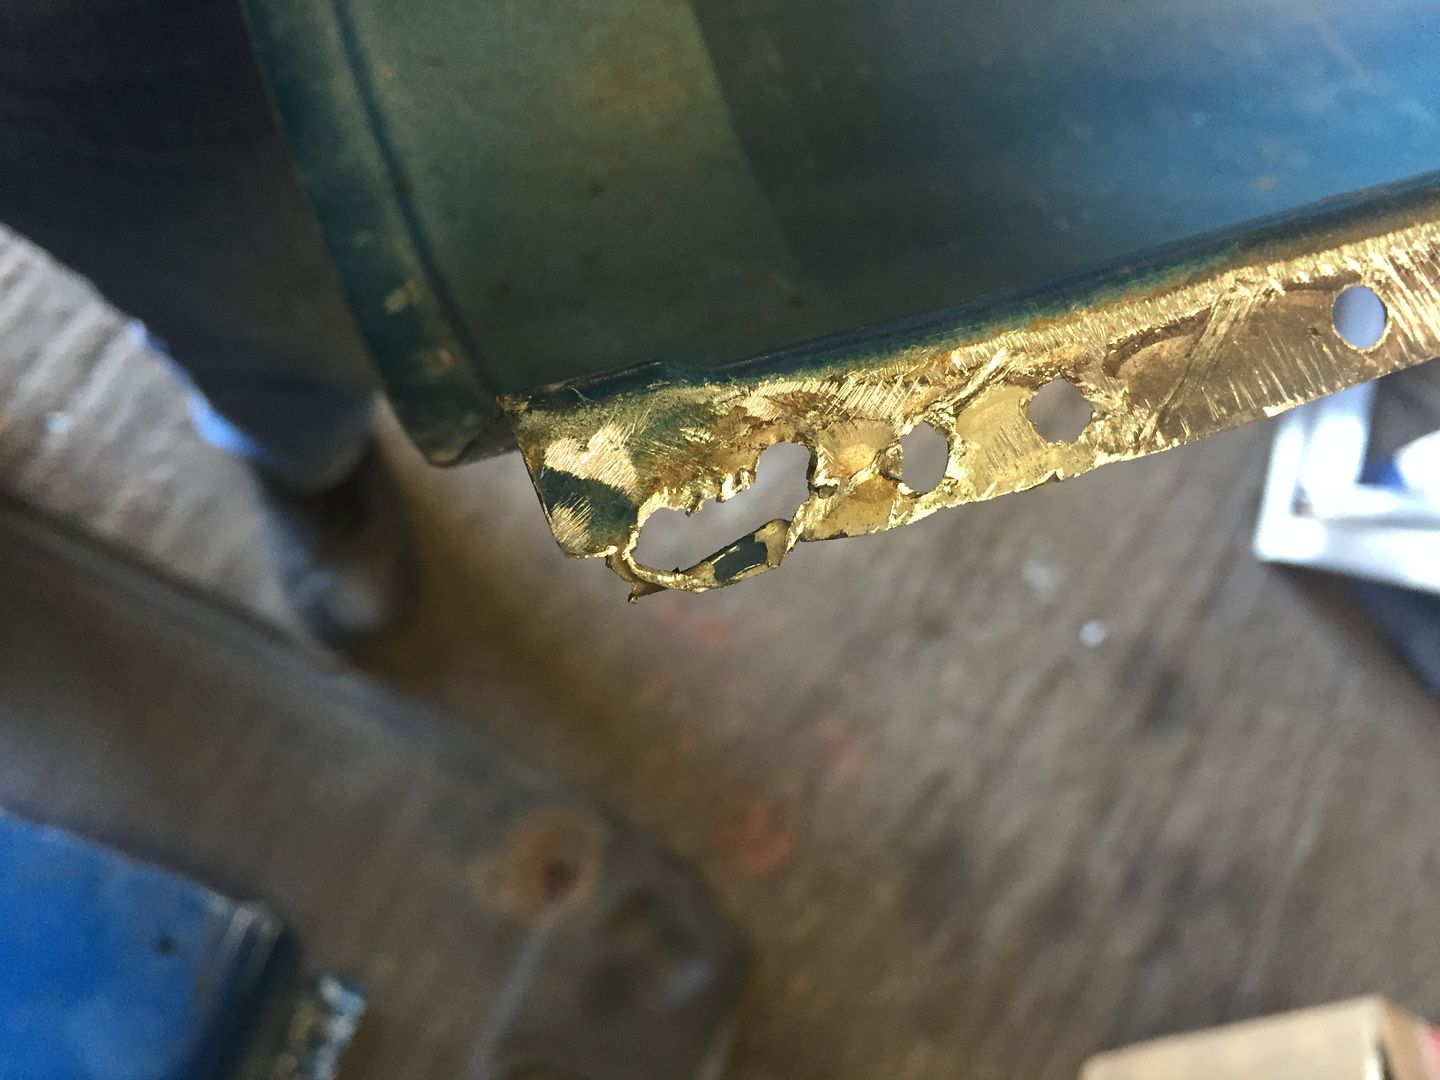
So off came the companion bins today, needs these out of the way so i can do the inner sills. Luckily they cam off without too much damage so will be reused.

IMG_4096_zpseid13hya.jpg


Now plenty of access

IMG_4093_zpsmcbkpymy.jpg

IMG_4095_zpsov1tsiam.jpg


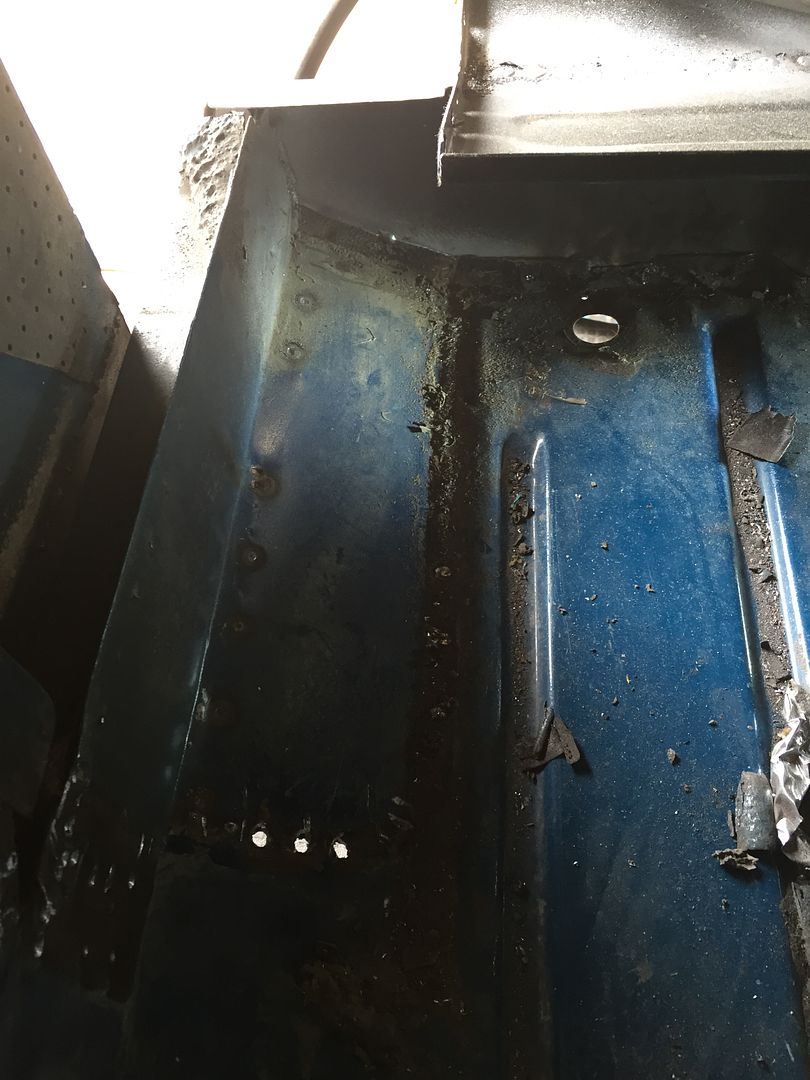
And this although not clear shows the sandwich at the bottom of the B pillar. This is where the companion bin front mounting flange covers the inner sill and inner sill stiffener.

IMG_4094_zpskk6tnzzx.jpg


Something i have tried to explain to a few members on here.


#339 Marco1972

Marco1972

    One Carb Or Two?

  • Members
  • PipPipPipPipPipPipPip
  • 822 posts
  • Location: Birmingham

Posted 16 April 2015 - 02:00 PM

Not been on for a while mate

Looking good , you have some skill getting those bins off in one piece
At least you know they will fit when you put them back on the aftermarket and even heritage bins can be a pain

Edited by Marco1972, 16 April 2015 - 02:01 PM.


#340 sonikk4

sonikk4

    Twisted Paint Polisher!!!

  • Admin
  • PipPipPipPipPipPipPipPipPipPipPip
  • 15,991 posts
  • Name: Neil
  • Location: Oxfordshire

Posted 21 April 2015 - 08:24 PM

Its been a scrappy few weeks working on Paddy with shift patterns and lots of overtime so progress is painfully slow. On a more upbeat note got a phone call today to saymy inner arches will be here tomorrow so happy days.


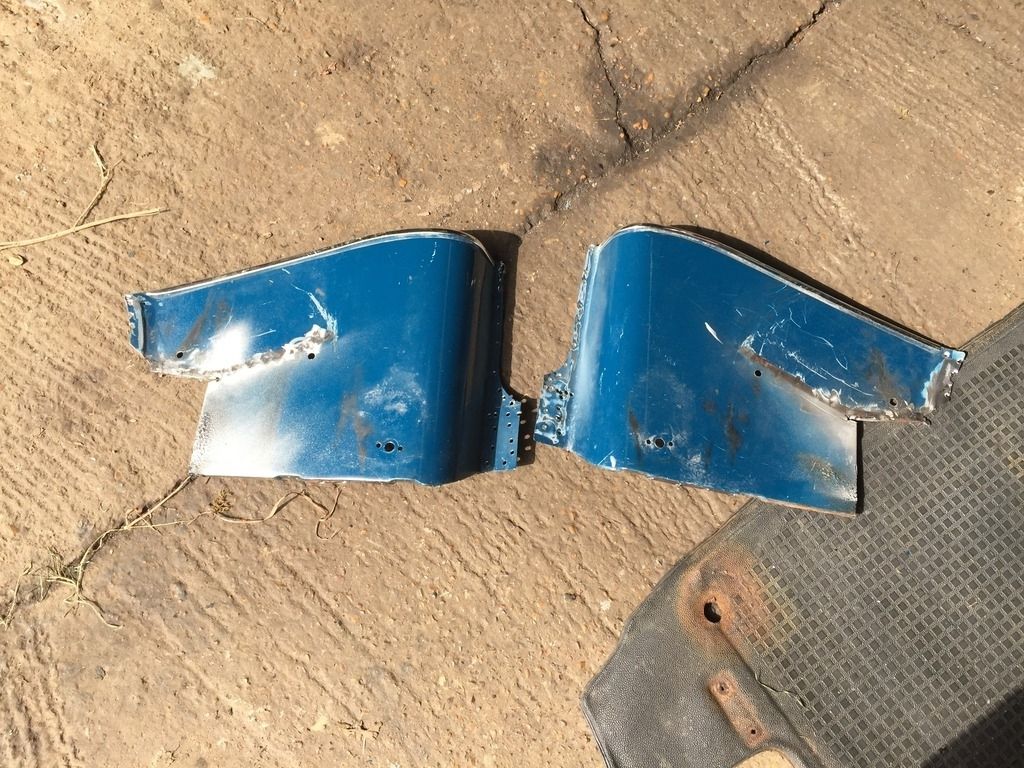
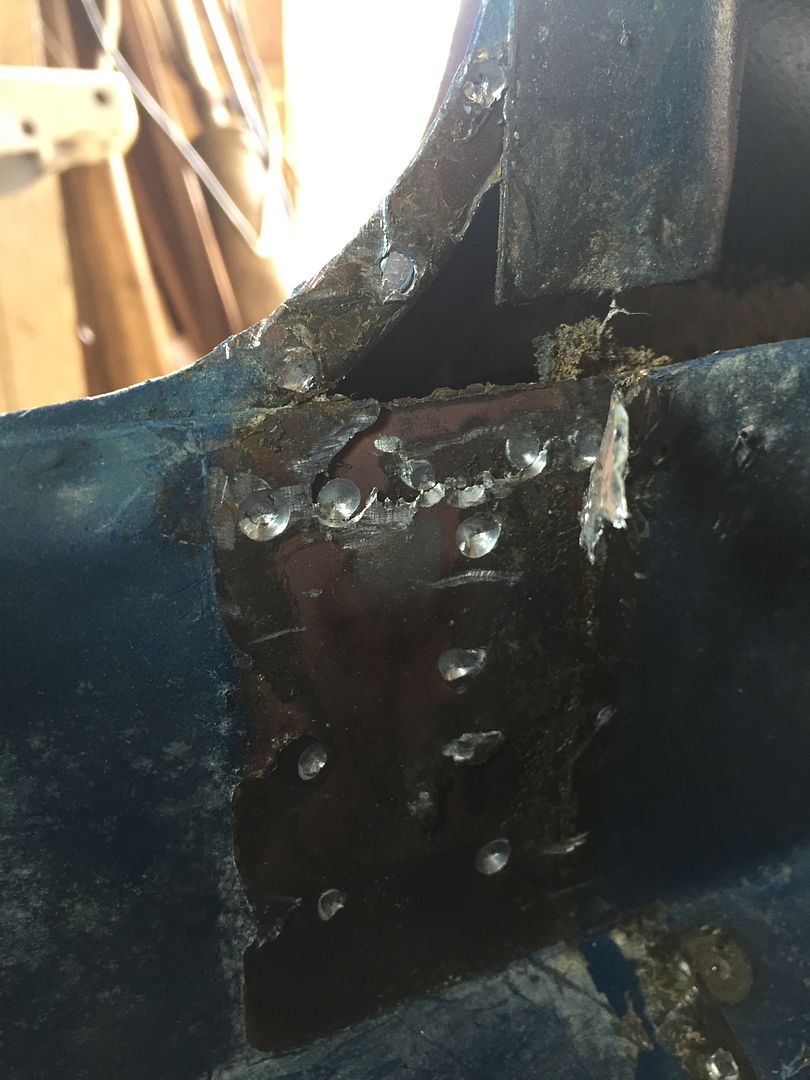
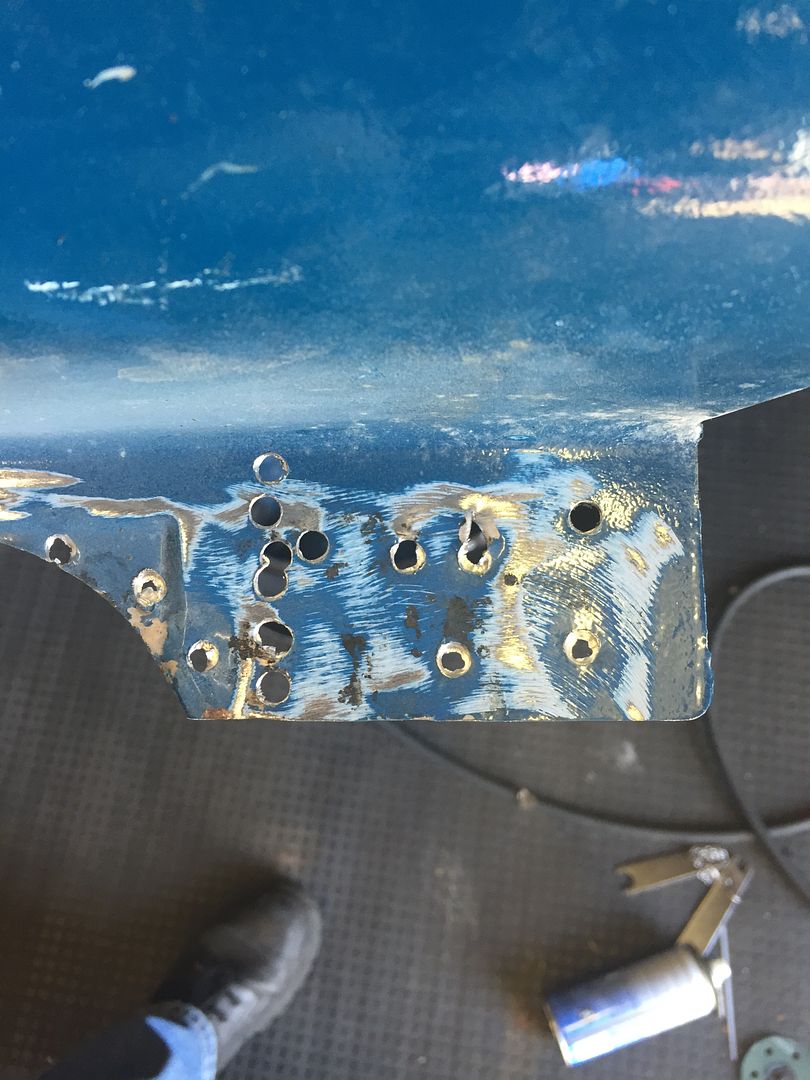
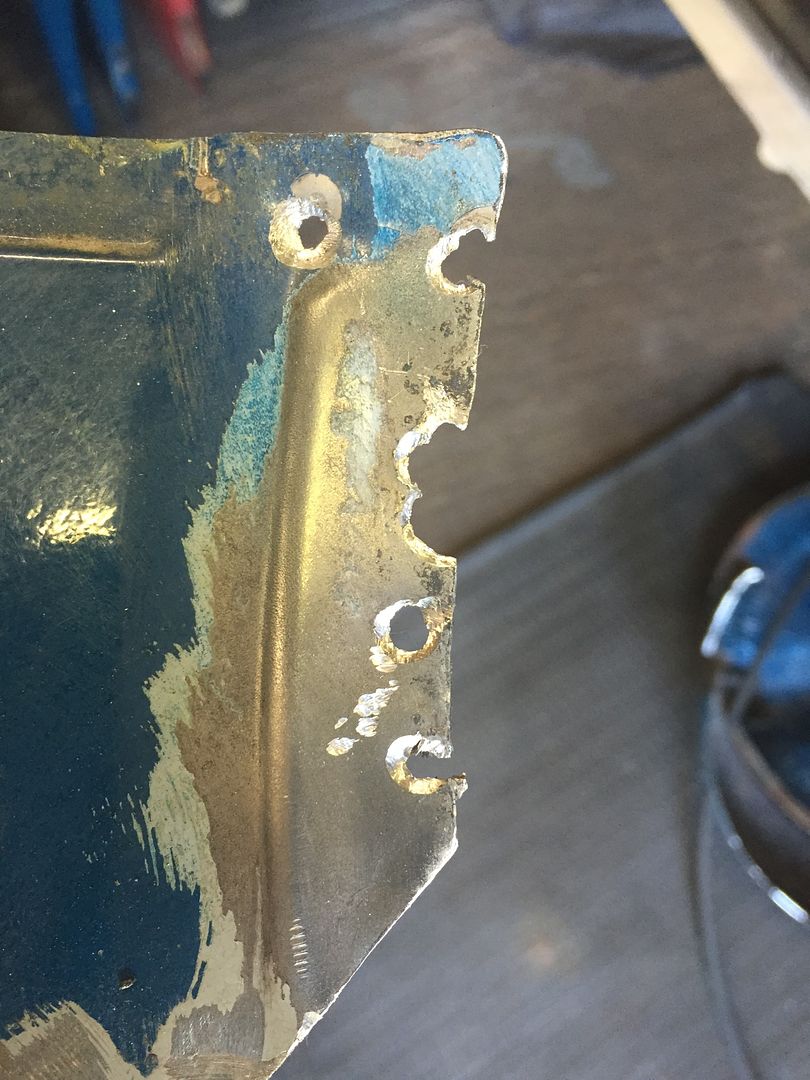
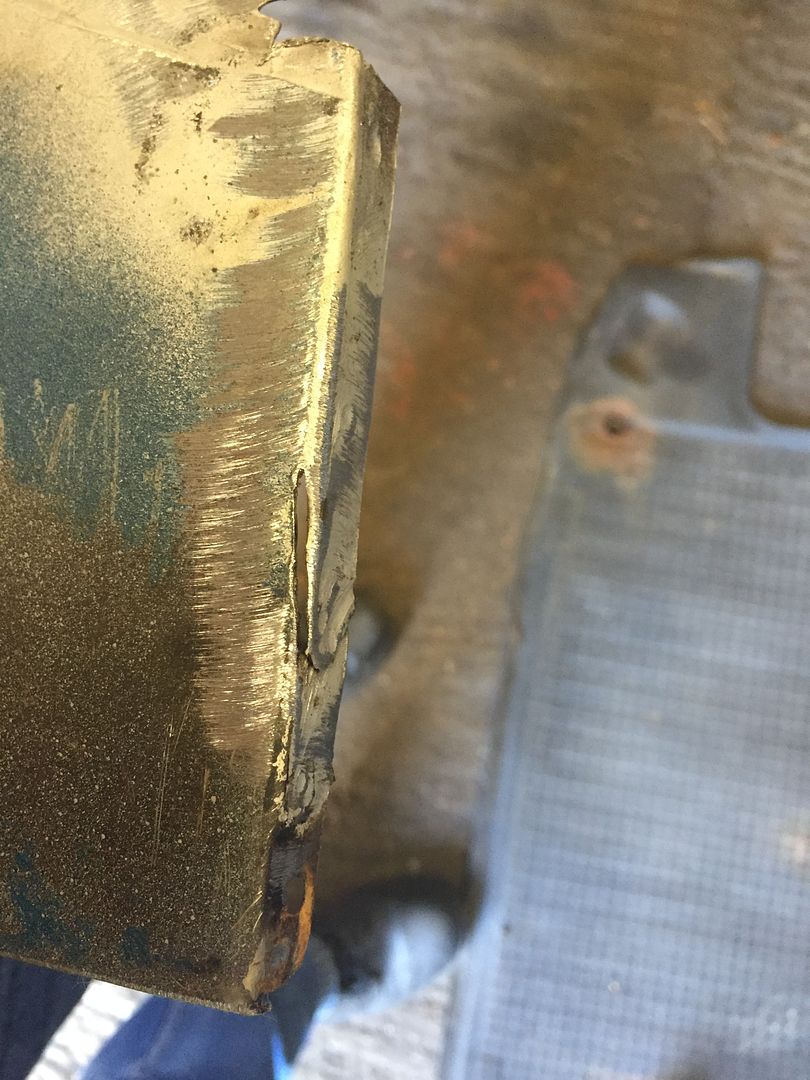
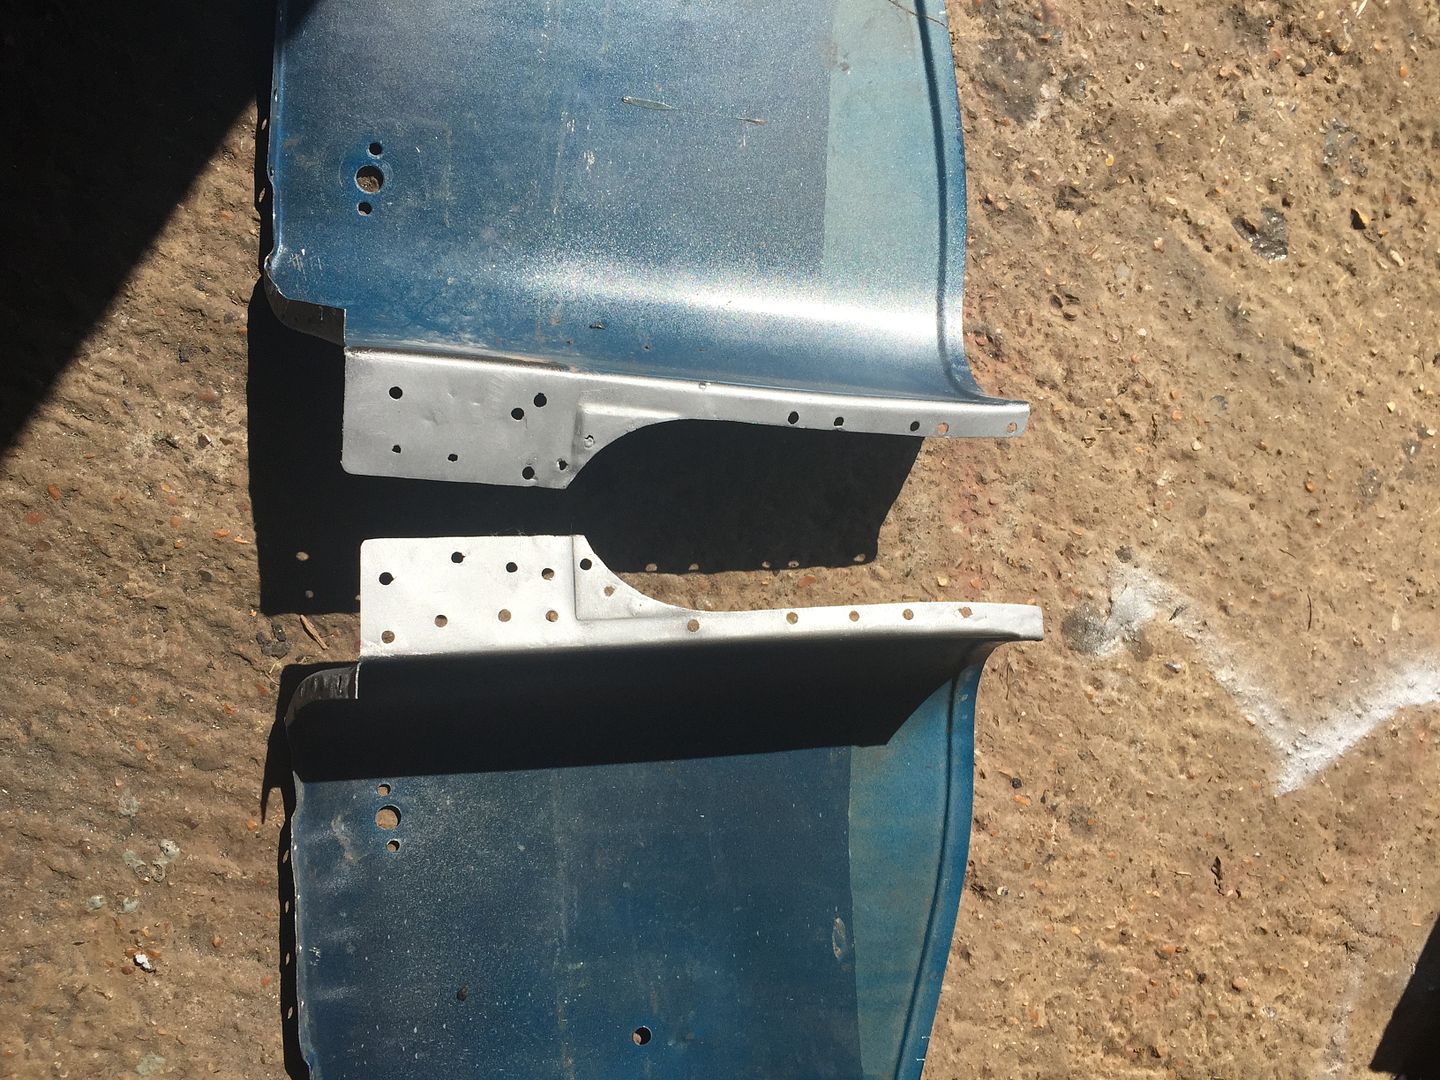
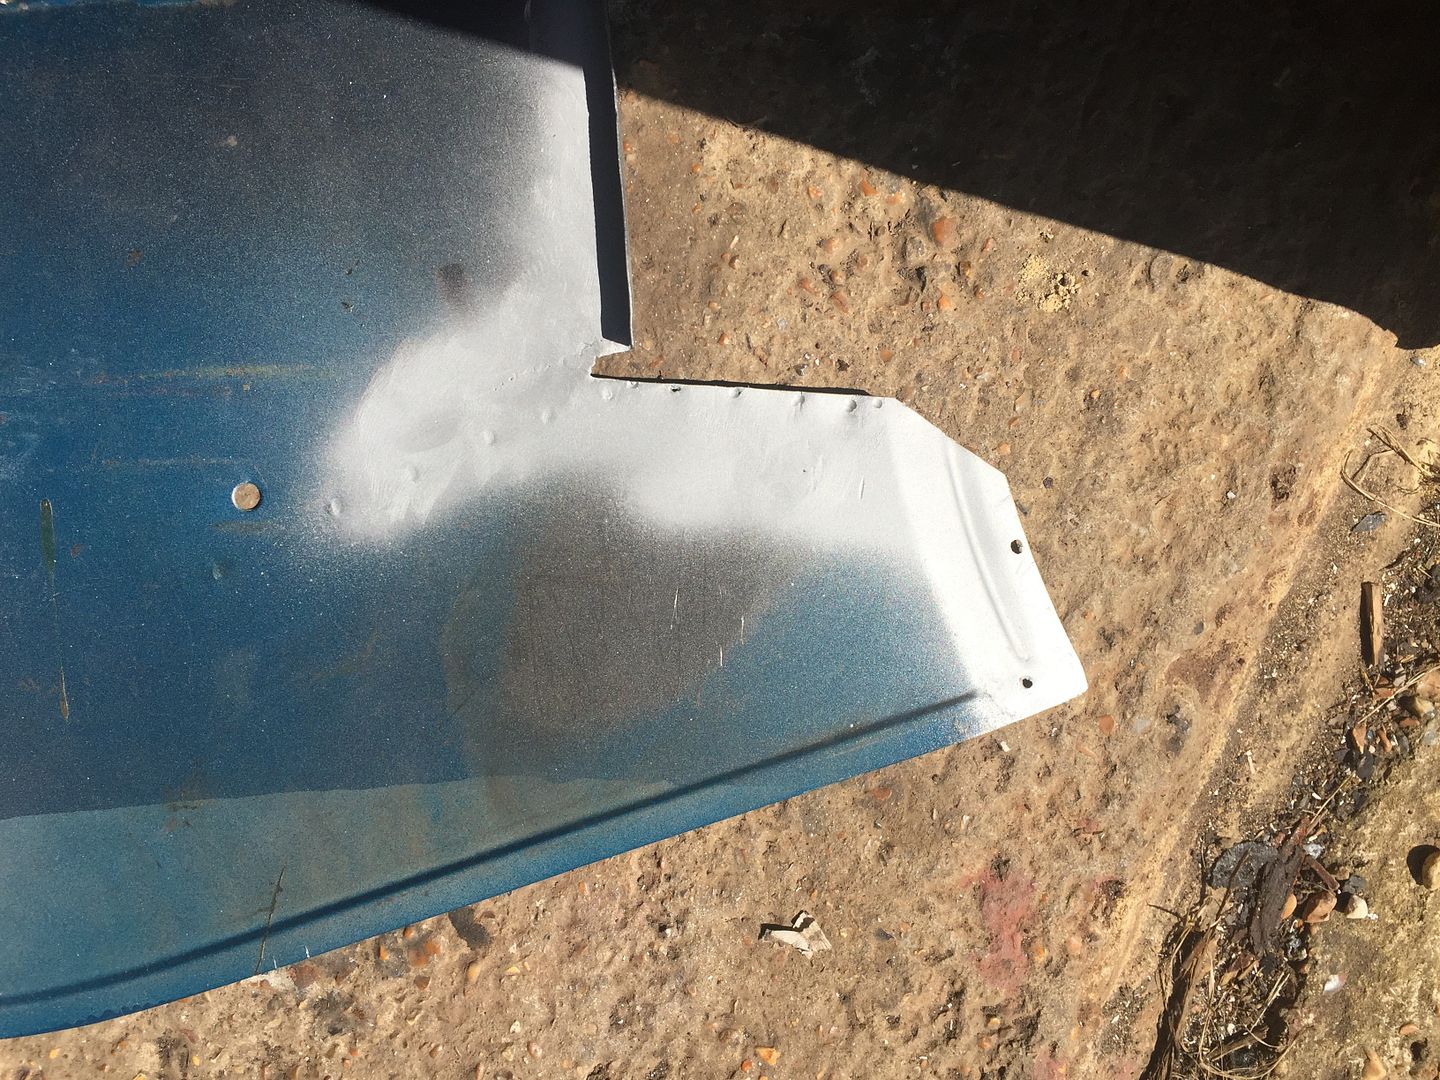
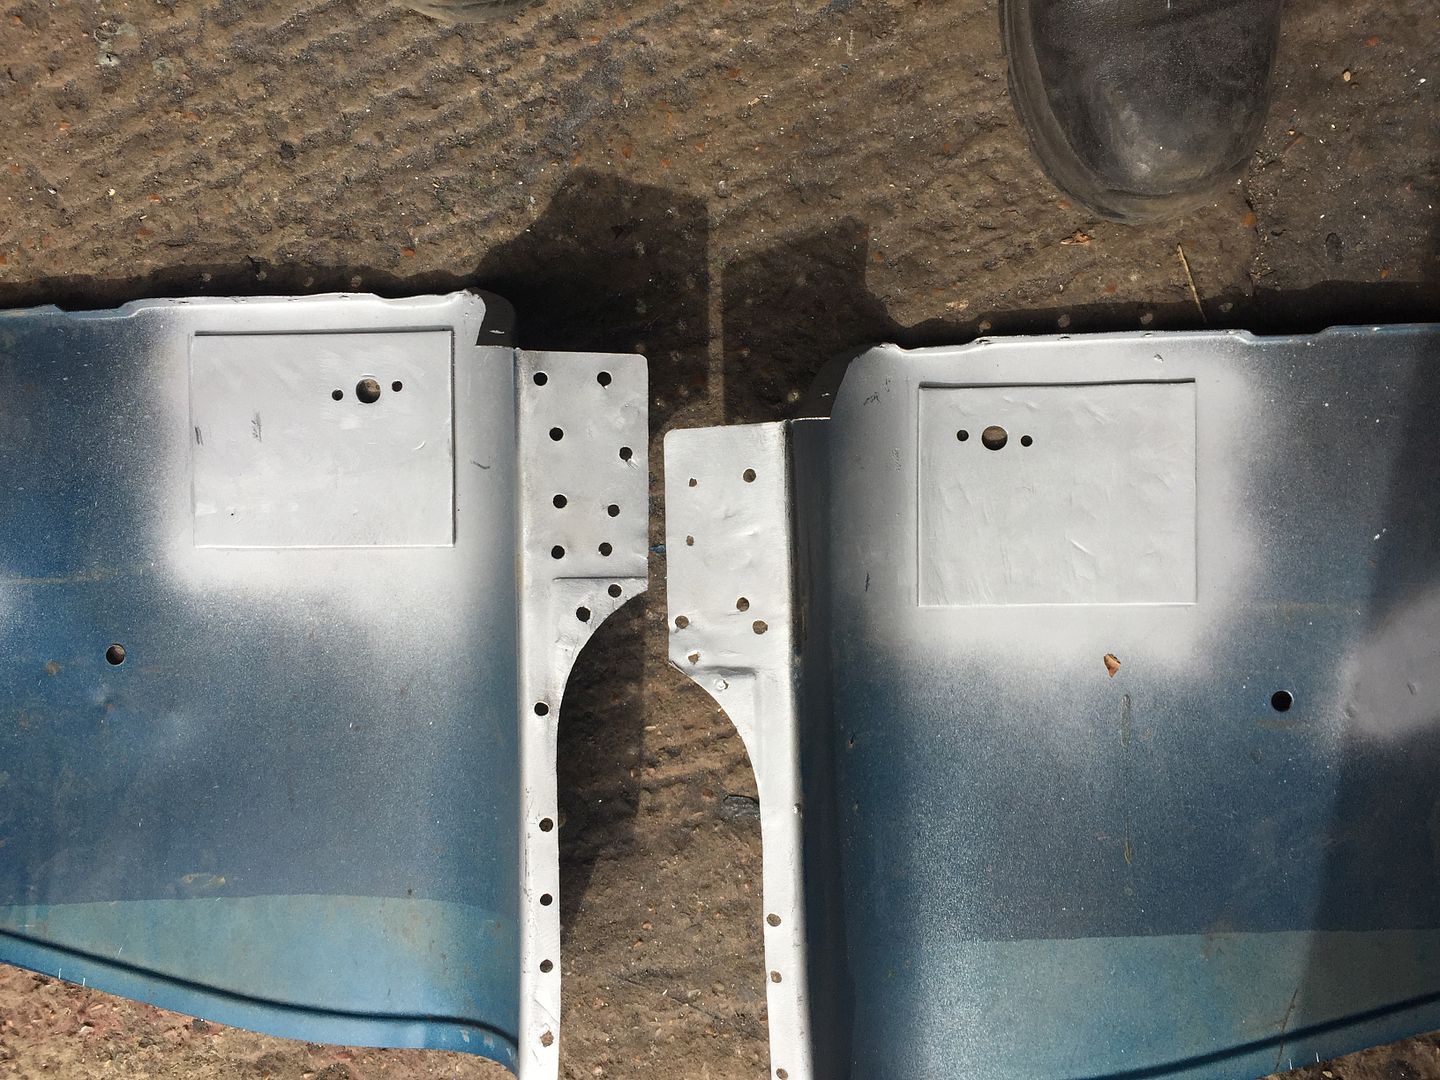
In the meanwhile i had time to tidy up my companion bins and modify them a little. Far too many spot welds and a lot of them were on the edges so time for some welding


IMG_4097_zpsolyciffx.jpg

IMG_4098_zpss7e1ylag.jpg

IMG_4099_zps8pfmzefo.jpg

IMG_4100_zpswo6ock9i.jpg

IMG_4101_zpsjghunmrw.jpg


so after a bit of welding we ended up with this

IMG_4103_zpslauffmit.jpg

IMG_4104_zpsh4dhtpnl.jpg

IMG_4105_zpscyd5qhhv.jpg


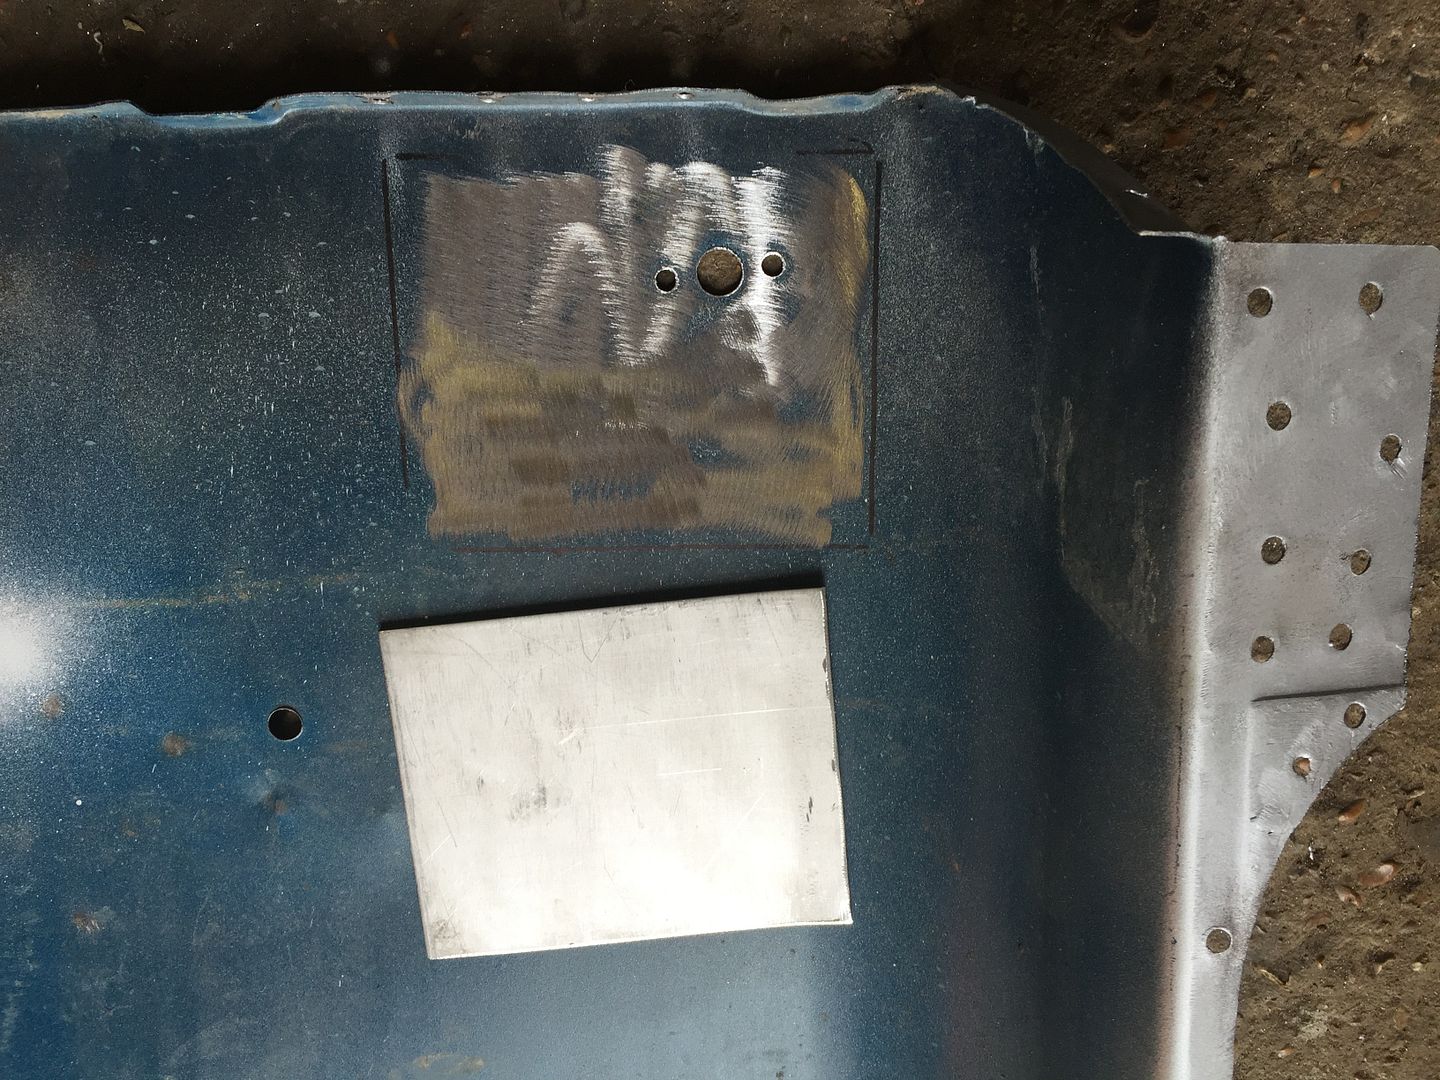
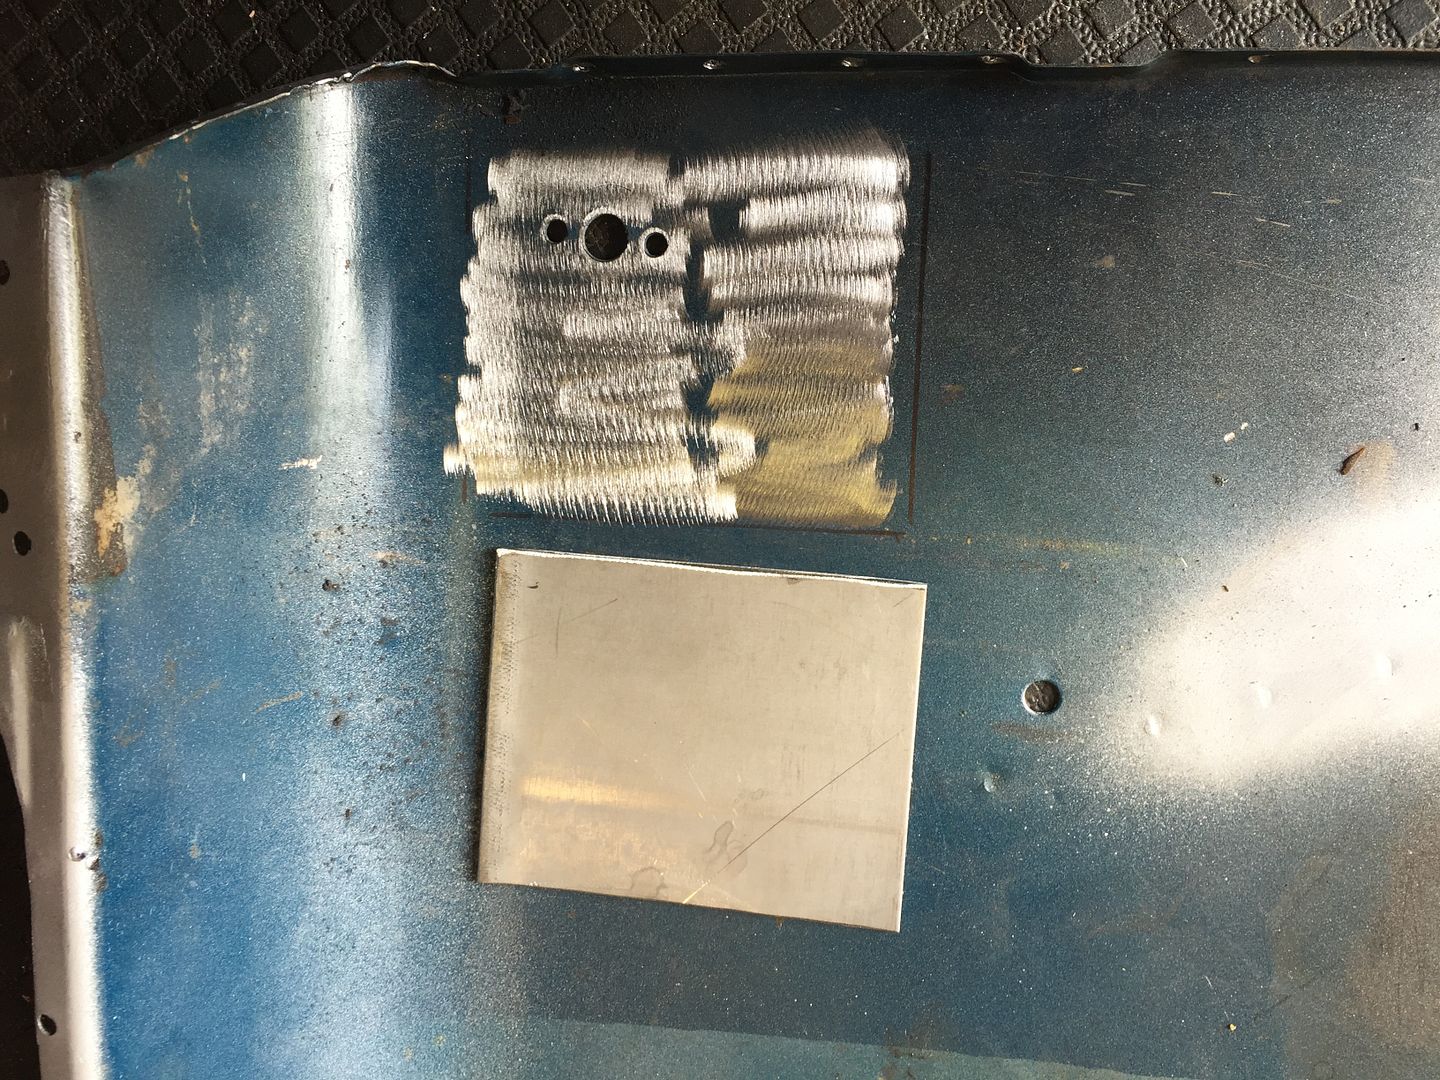
Much better, now onto the inertia reel mount. Being an older car this does not have the mount on the front of the bin so they were mounted on the side. However there is very little metal there so time for some reinforcement

IMG_4110_zpslz8kdgd3.jpg

IMG_4111_zps7cwtvfse.jpg

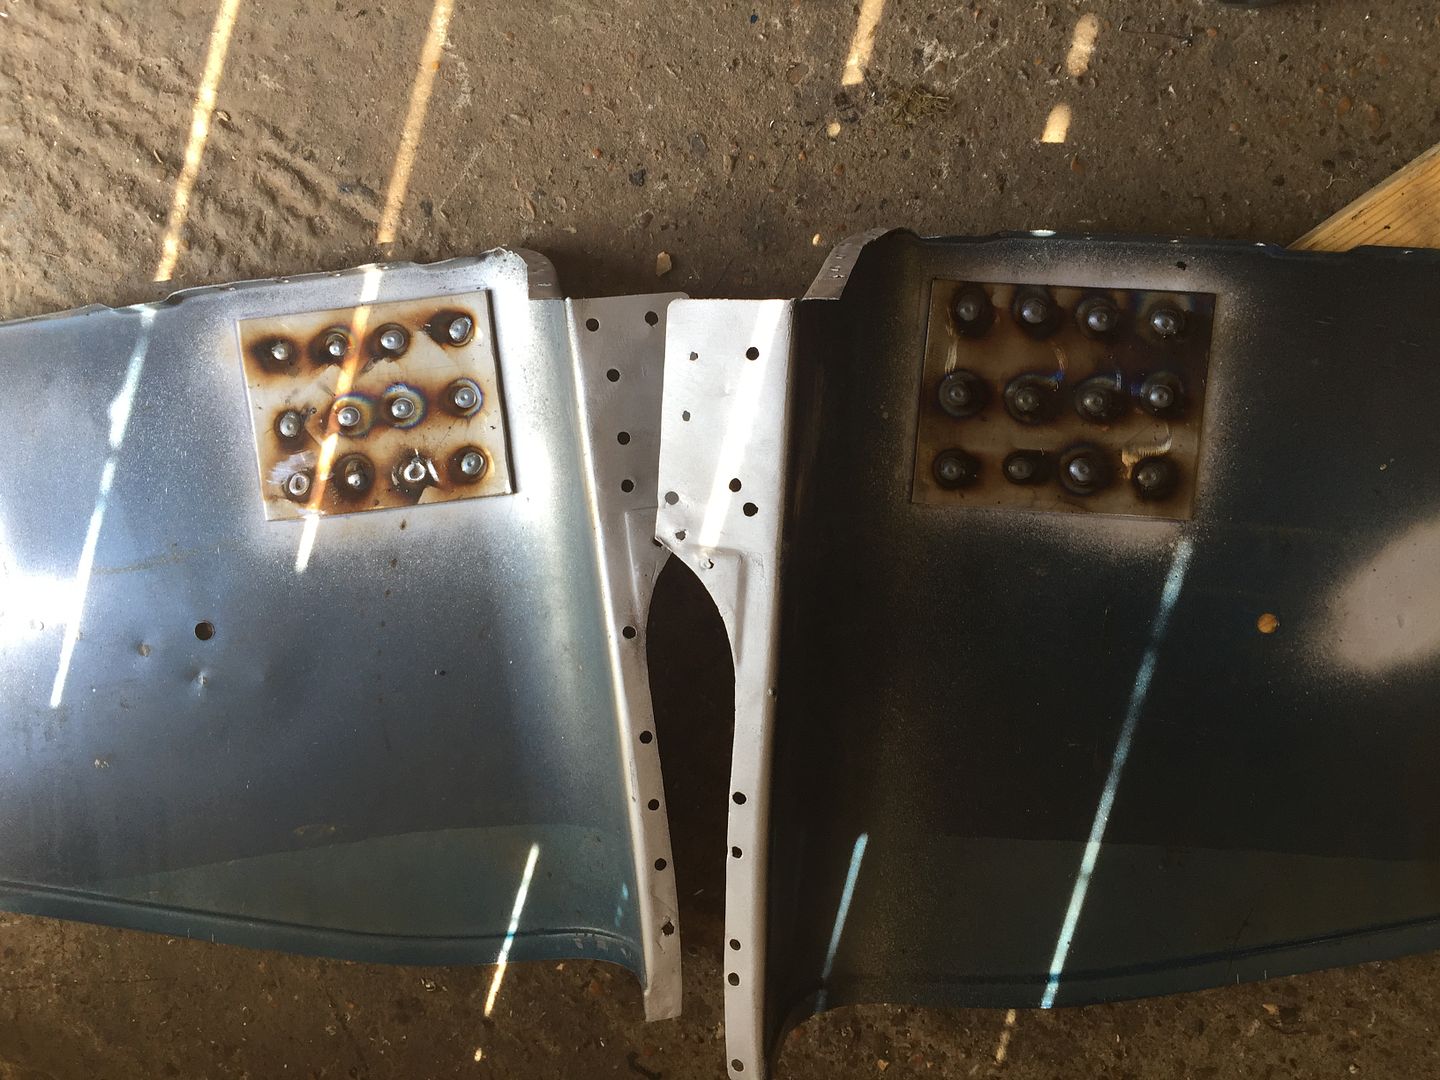
and then some plug welds later

IMG_4112_zpssmrhdemd.jpg

Cleaned up

IMG_4113_zpsnqqzjxus.jpg


#341 Ben_O

Ben_O

    Mill Road Garage

  • Paint Doctor
  • PipPipPipPipPipPipPipPipPipPip
  • 9,785 posts
  • Location: Isle of Wight

Posted 21 April 2015 - 08:47 PM

Looking good Neil.


One of your rear bin pictures has helped me a great deal so thanks for posting


Ben


#342 evansisgreat

evansisgreat

    One Carb Or Two?

  • TMF+ Member
  • PipPipPipPipPipPipPip
  • 1,096 posts
  • Local Club: Not yet

Posted 21 April 2015 - 08:55 PM

Great job on sorting those bins! I assume you just built up the weld and ground it down flush? I'll need to get practicing, I'd be blowing holes everywhere. That's it, off to get some more sheet tomorrow and use up all my gas, haha!


#343 sonikk4

sonikk4

    Twisted Paint Polisher!!!

  • Admin
  • PipPipPipPipPipPipPipPipPipPipPip
  • 15,991 posts
  • Name: Neil
  • Location: Oxfordshire

Posted 21 April 2015 - 09:10 PM

Great job on sorting those bins! I assume you just built up the weld and ground it down flush? I'll need to get practicing, I'd be blowing holes everywhere. That's it, off to get some more sheet tomorrow and use up all my gas, haha!


I used a piece of flat copper pipe over a reaction block, laid the bin on that and welded away. Ground flush and happy days.


#344 sonikk4

sonikk4

    Twisted Paint Polisher!!!

  • Admin
  • PipPipPipPipPipPipPipPipPipPipPip
  • 15,991 posts
  • Name: Neil
  • Location: Oxfordshire

Posted 21 April 2015 - 09:12 PM

Looking good Neil.


One of your rear bin pictures has helped me a great deal so thanks for posting


Ben


No probs Ben, pictures help in so many different ways. The more the merrier.


#345 sonikk4

sonikk4

    Twisted Paint Polisher!!!

  • Admin
  • PipPipPipPipPipPipPipPipPipPipPip
  • 15,991 posts
  • Name: Neil
  • Location: Oxfordshire

Posted 29 April 2015 - 08:20 PM

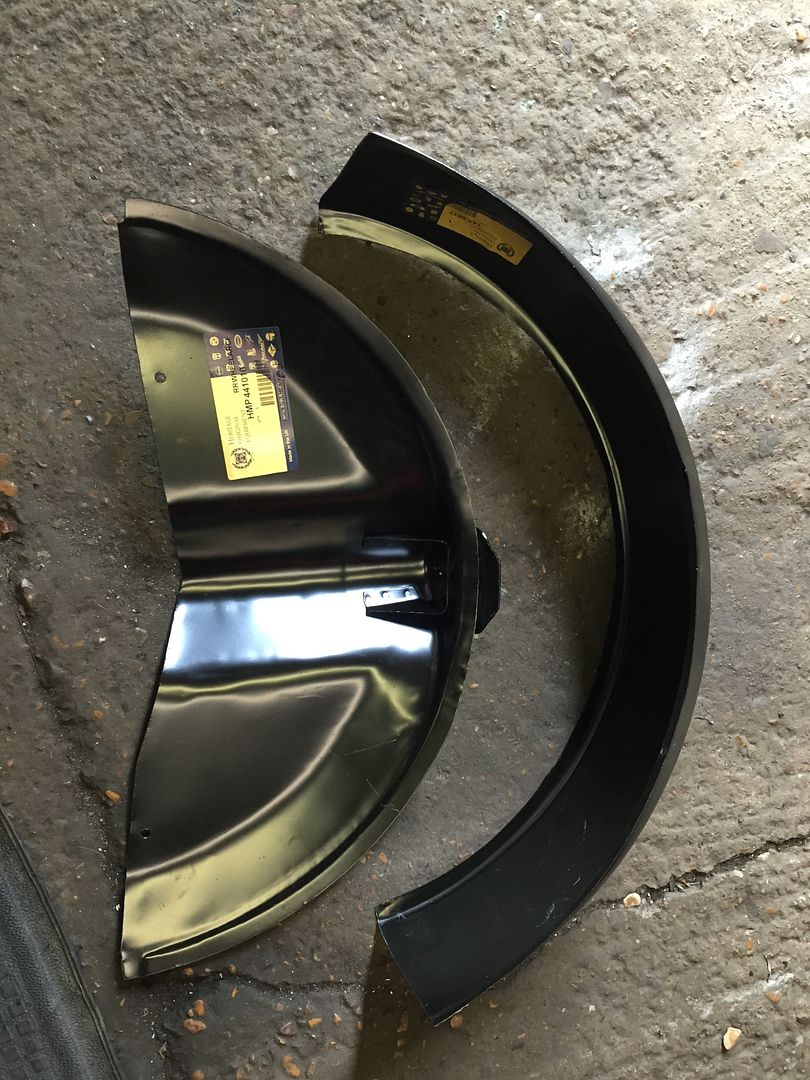
Inner arches have arrived so its time to slave them in

IMG_4130_zpsoxk2ko5q.jpg


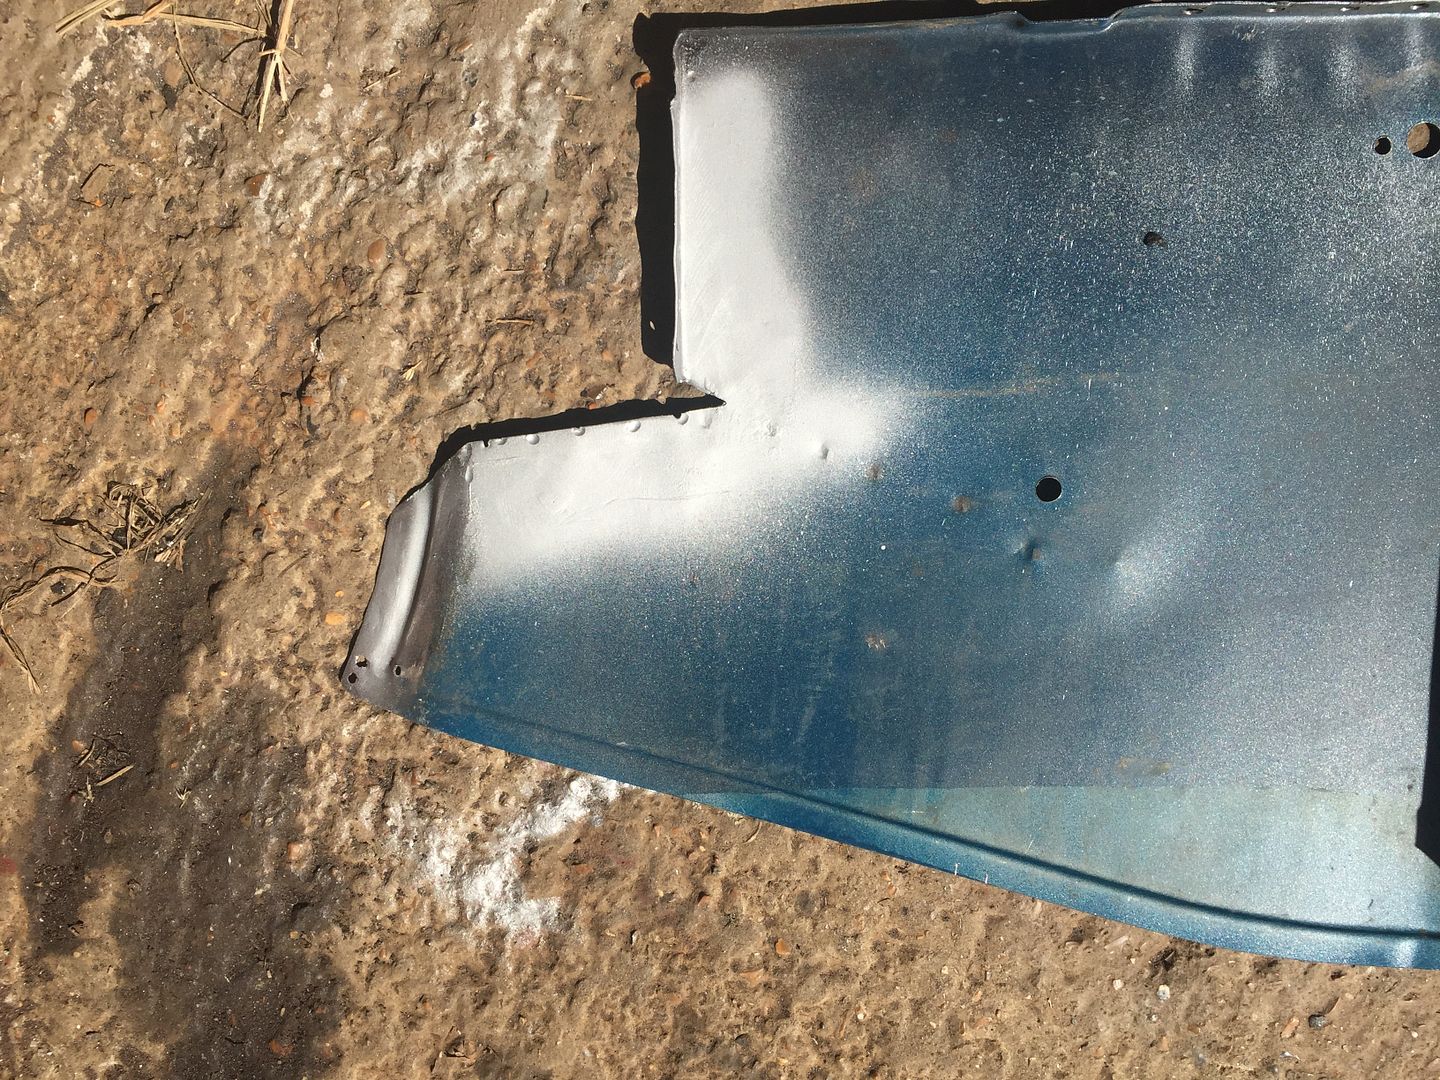
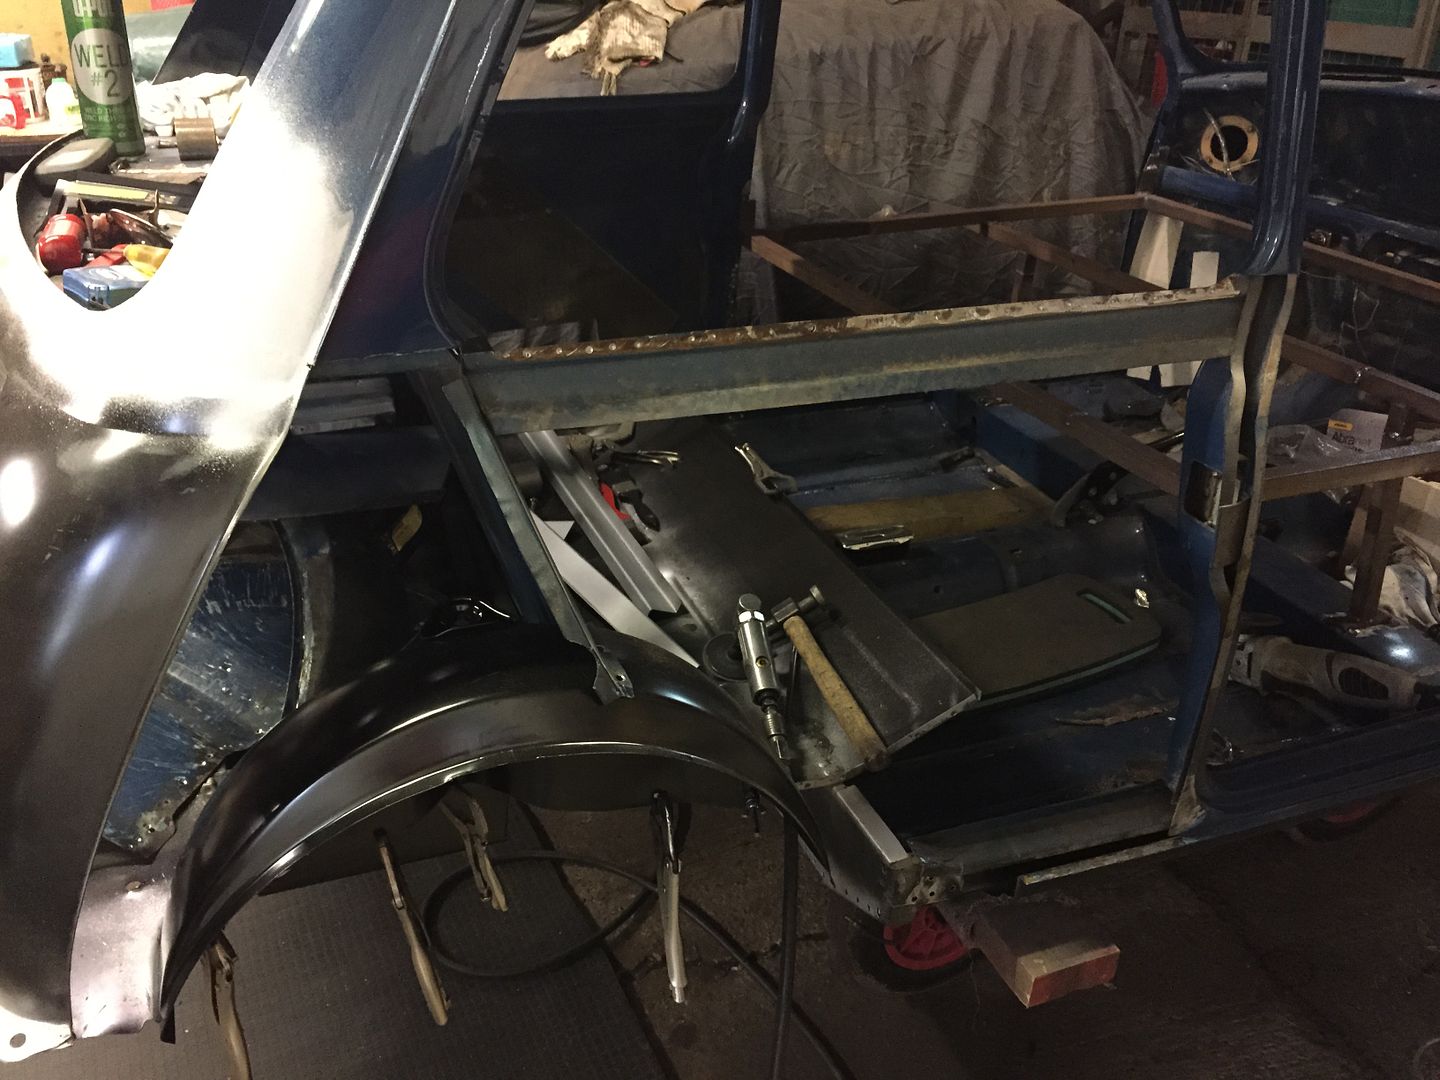
They fit reasonably well but they are not quite the right shape so i need to slave in the quarter panel to check things out, so it was off with the remainder of the old one.

IMG_4131_zps9aaxbd8v.jpg


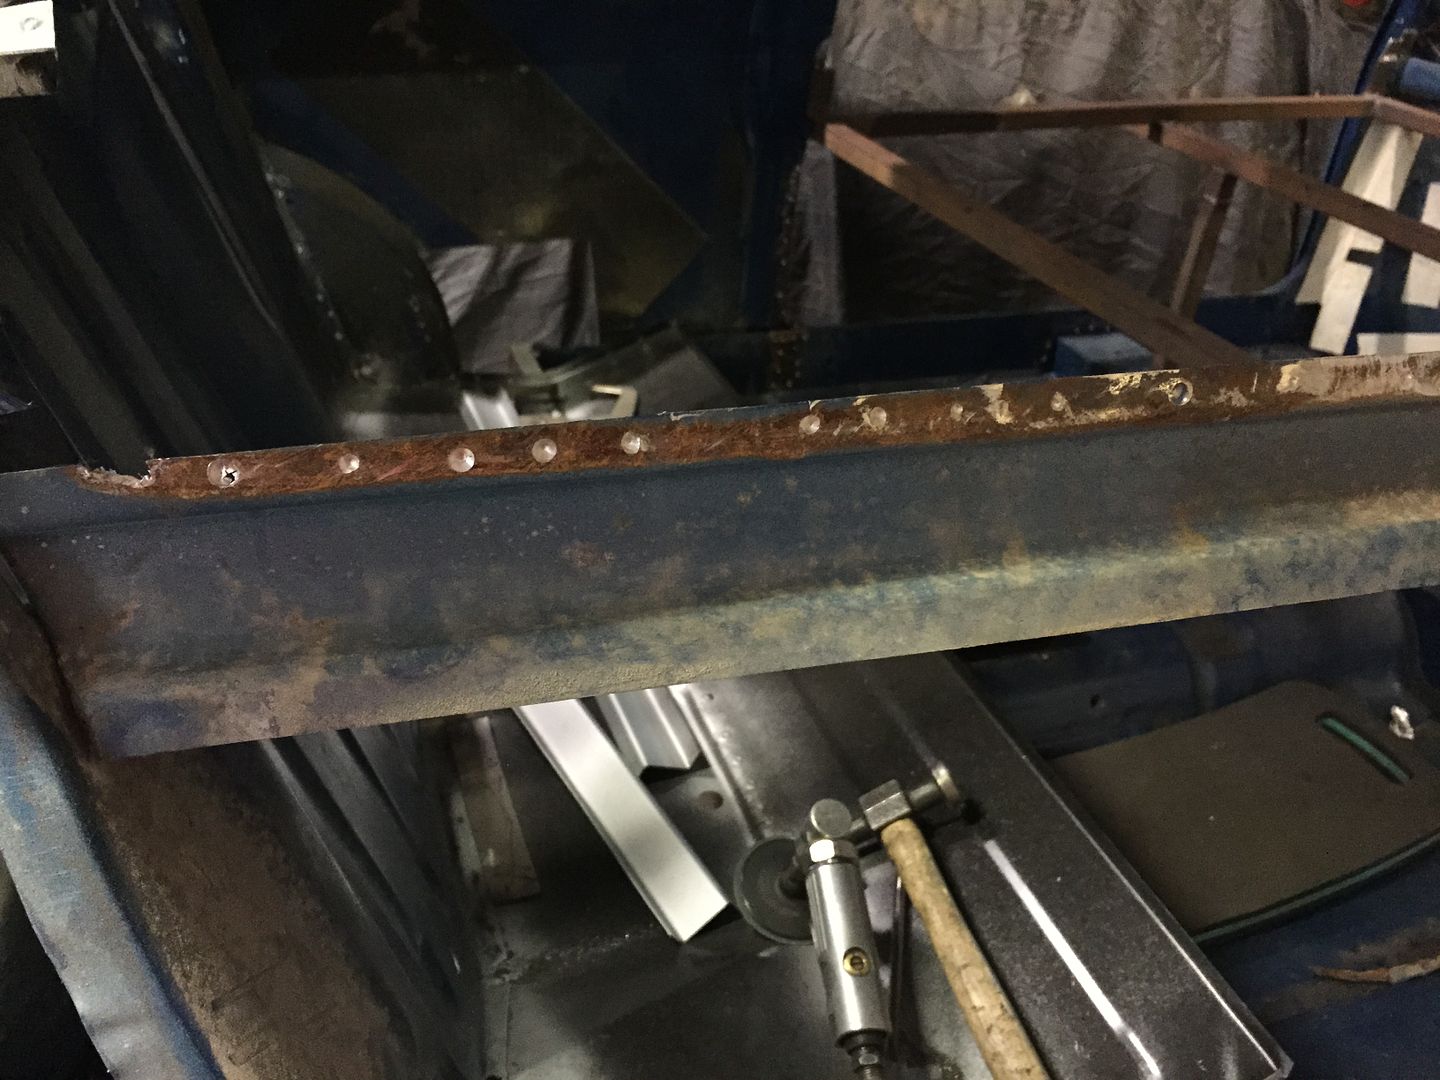
The waist rail looked ok but on closer inspection its crusty so it needs to go

IMG_4132_zpsbiqayqku.jpg


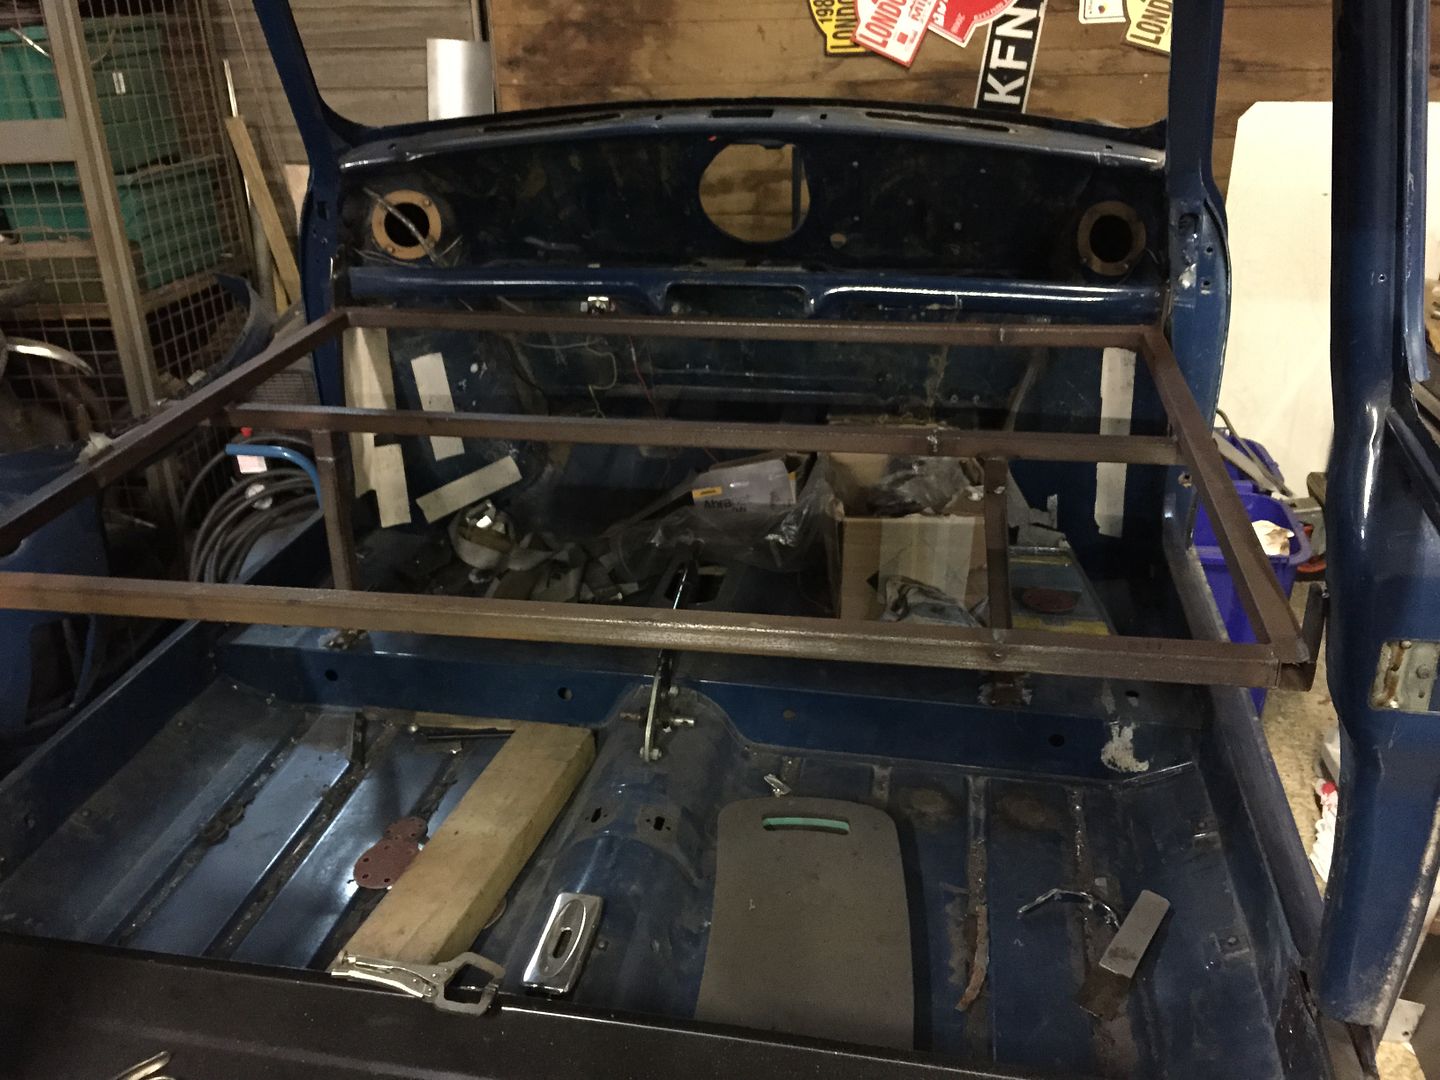
So before that goes in went the bracing. Too much metal coming out now so strength needed back in

IMG_4133_zps1wentrqs.jpg


1 user(s) are reading this topic

0 members, 1 guests, 0 anonymous users