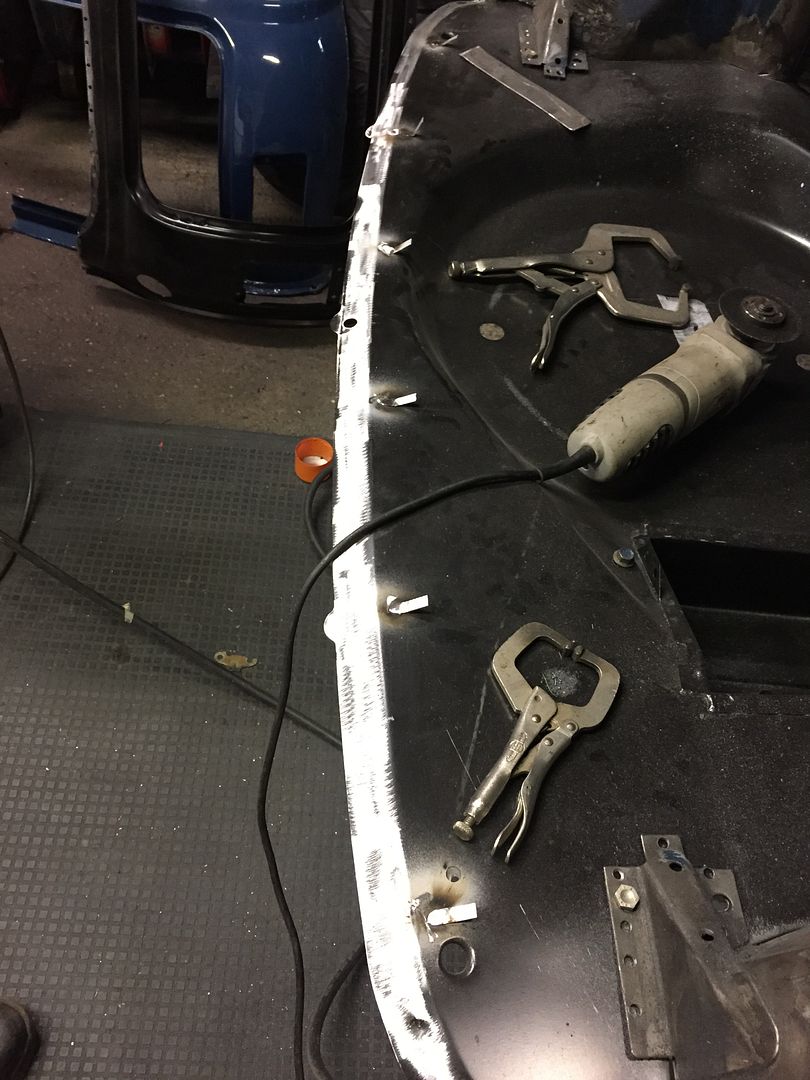
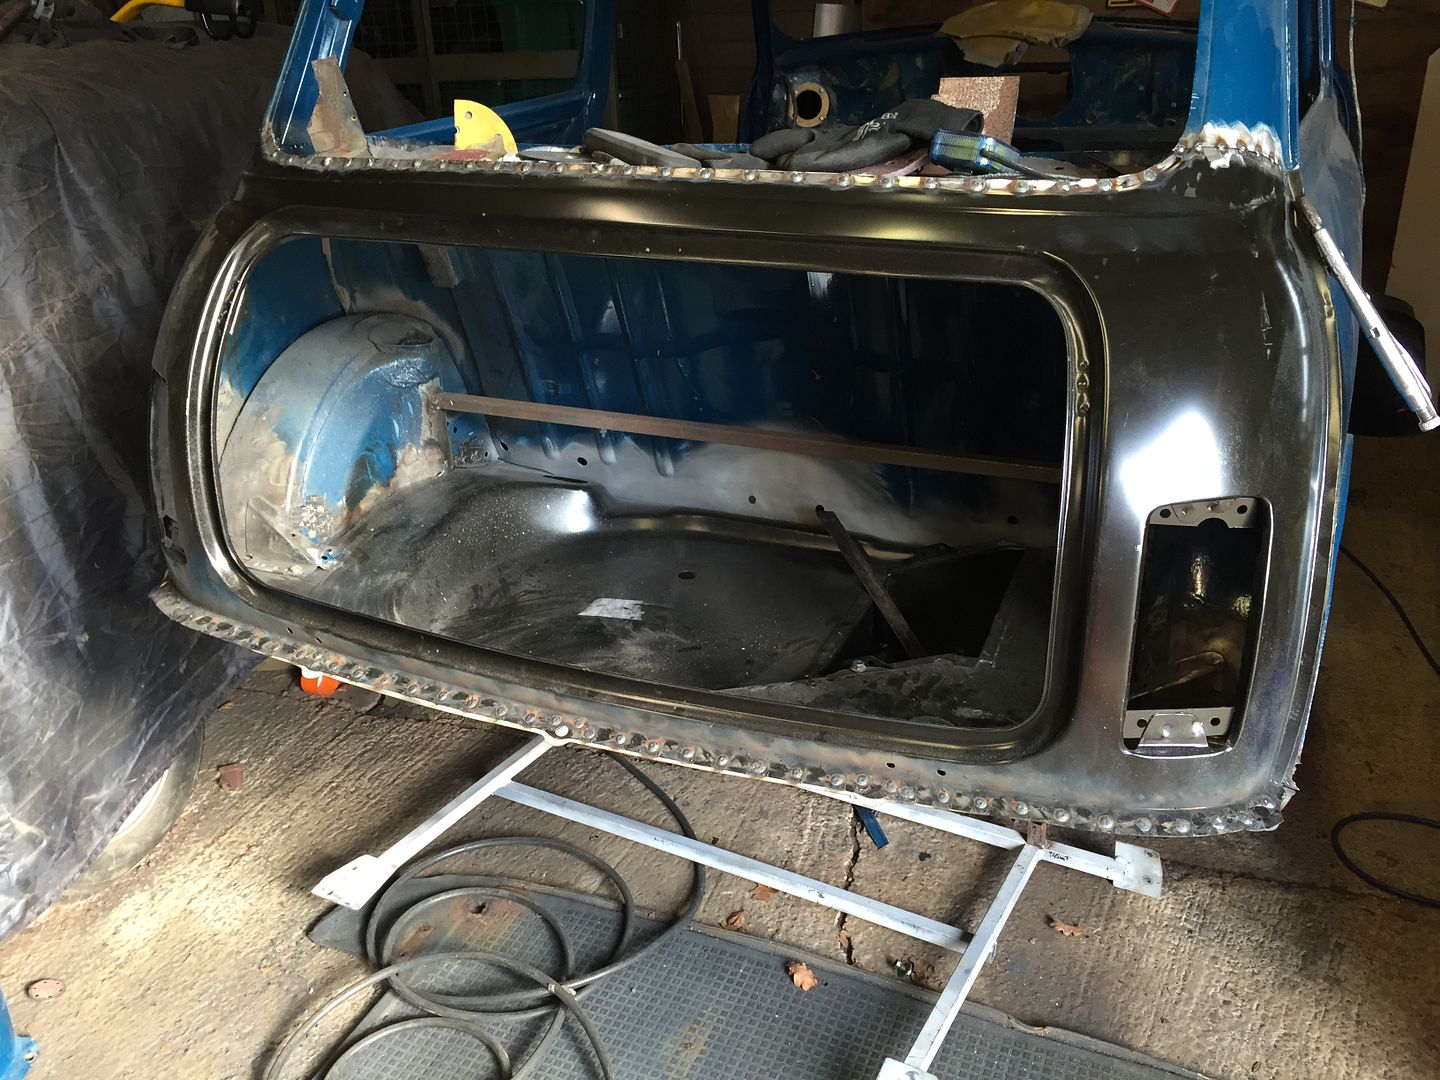
I will be reskinning my blue boot lid. I'm hoping that once i cut the skin off i can salvage the inner section plus weld up a few holes as well.

Project Paddy A Long And Slow Rebuild.
#301

Posted 18 February 2015 - 08:33 PM
#302

Posted 23 February 2015 - 08:45 PM
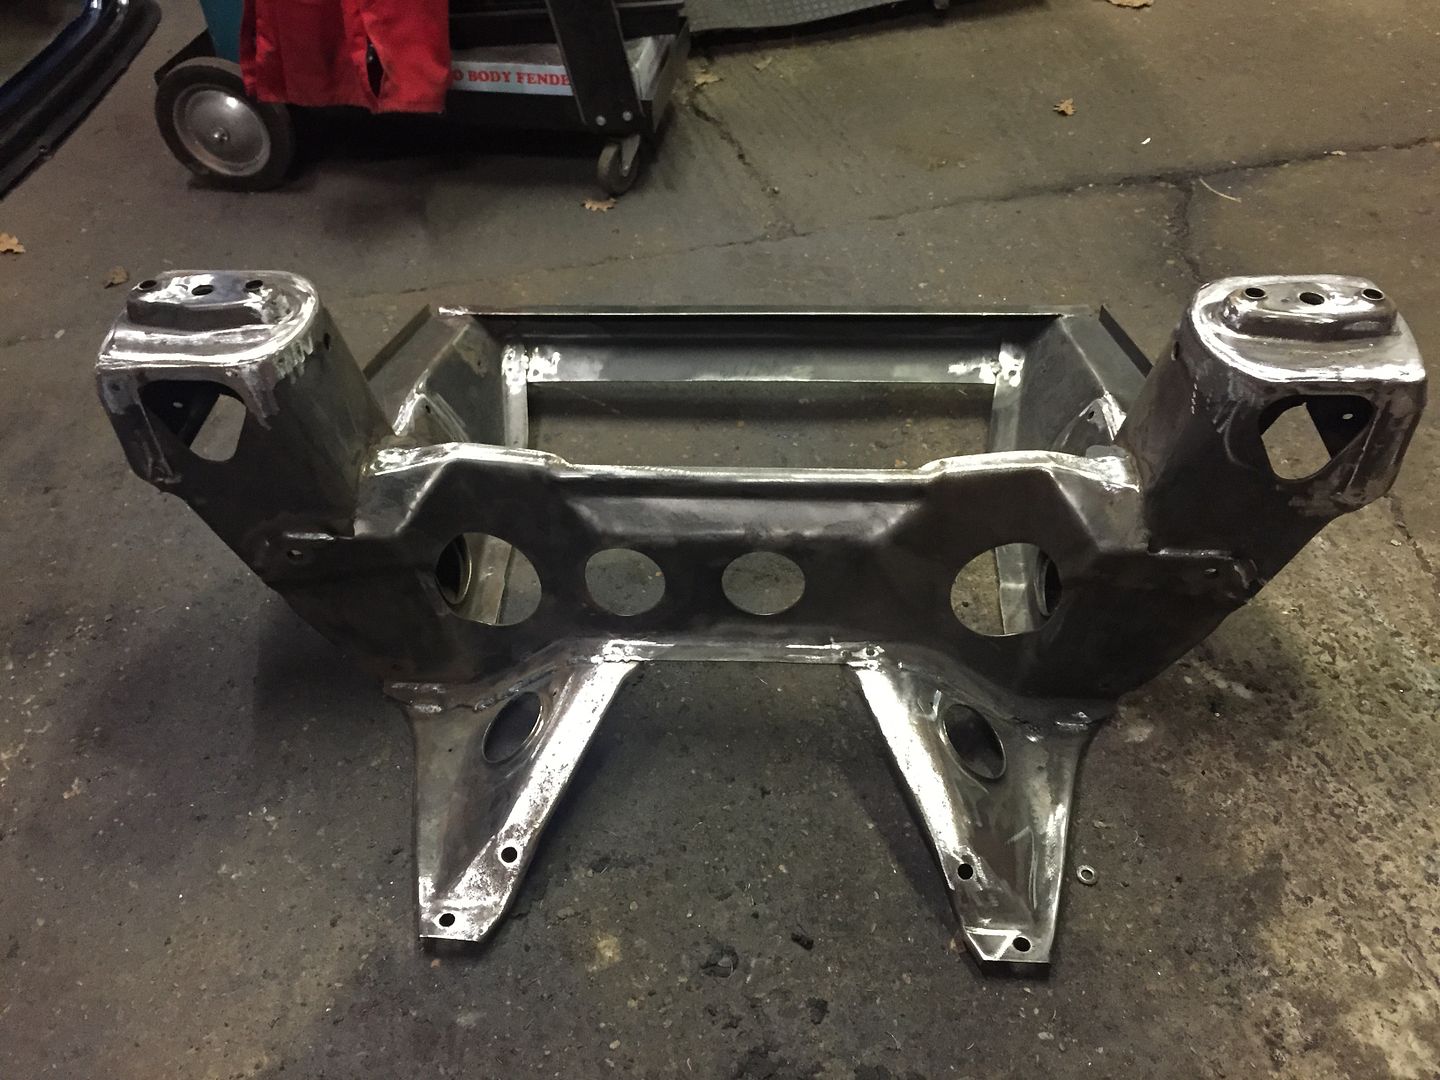
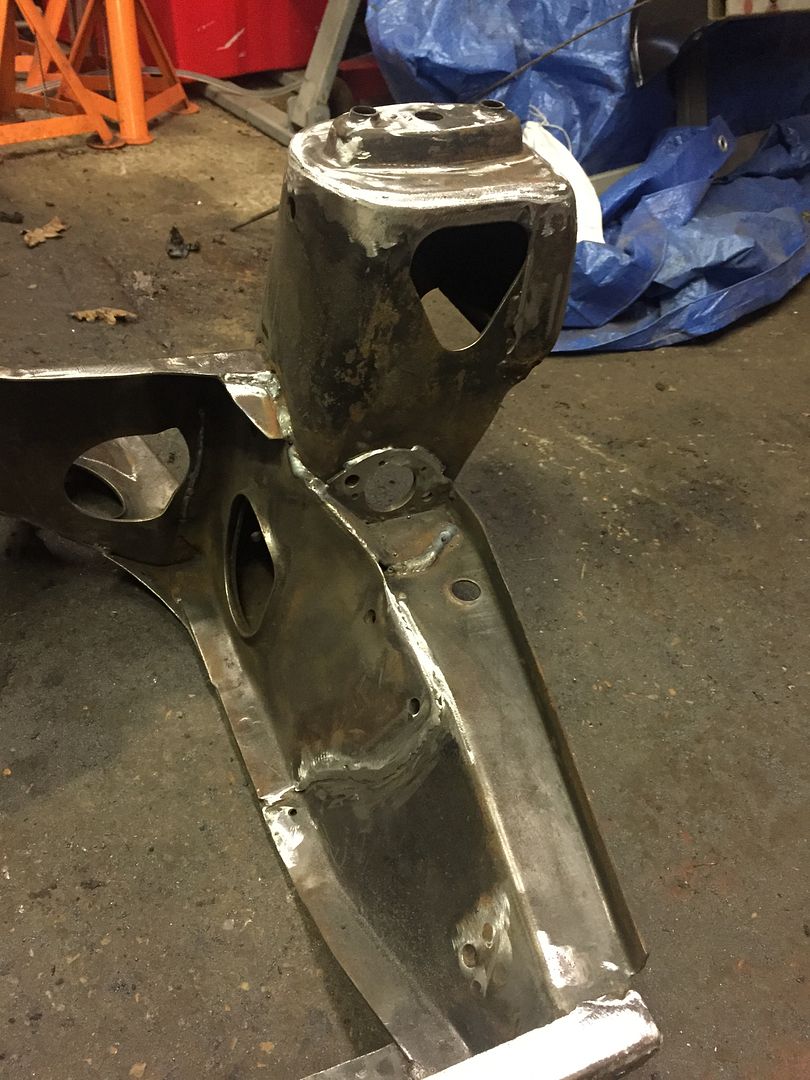
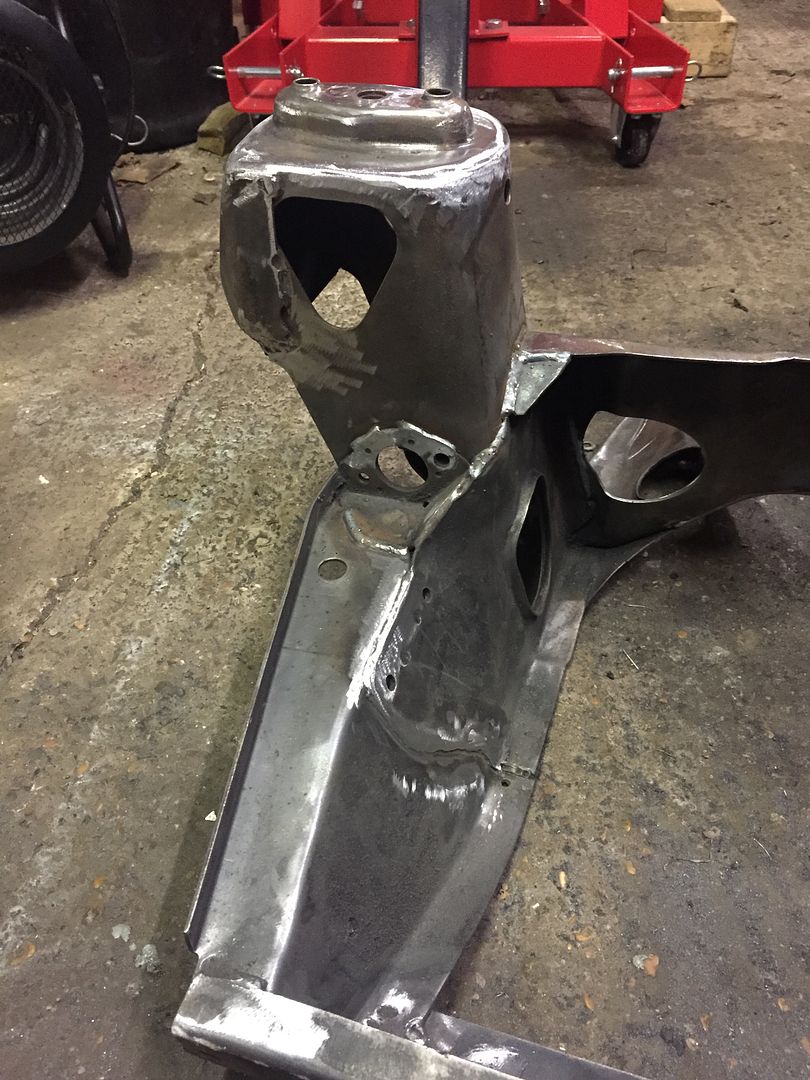
Taking a bit of time off from doing bodywork so spent a few hours seam welding my front subframe in preparation for powder coating
Dug out my new rear subbie i got off Paul only to find a small fly in the ointment, its a bloody wet subbie not a dry one. Bugger. Now i will try and salvage the cone fittings off my old one so i can transpose them onto the wet subbie. I'll do that wed as doing a bit of OT tomorrow.
#303

Posted 25 February 2015 - 05:28 PM
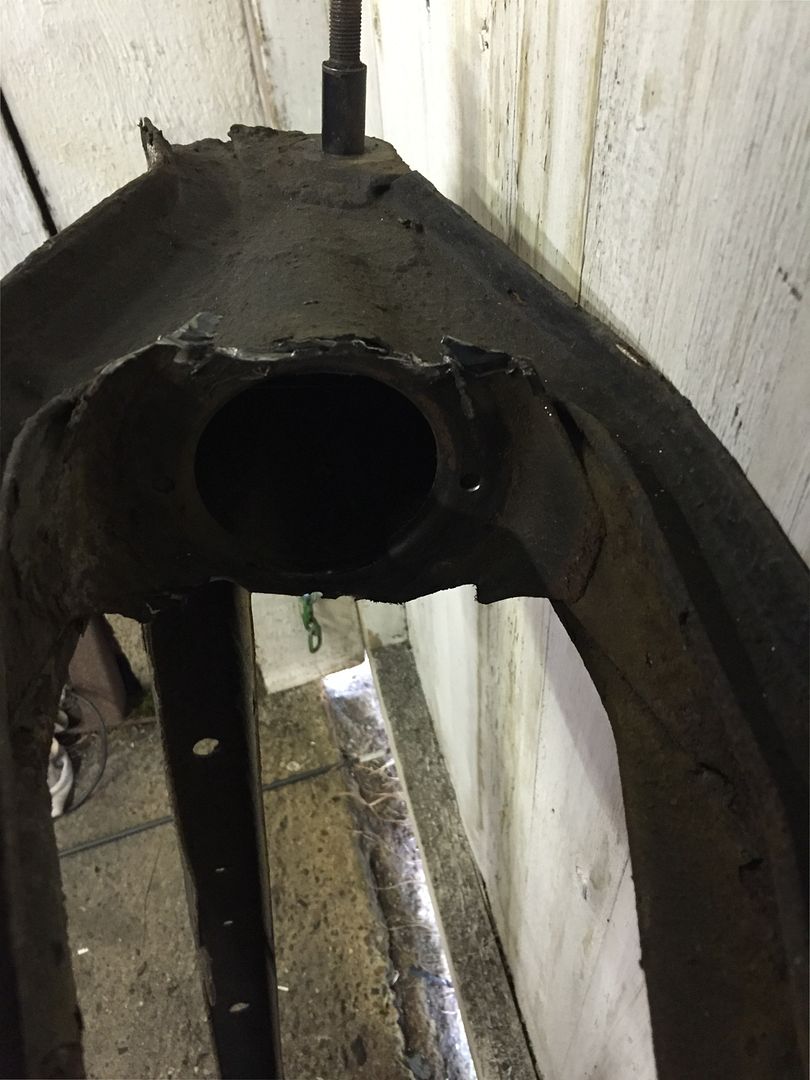
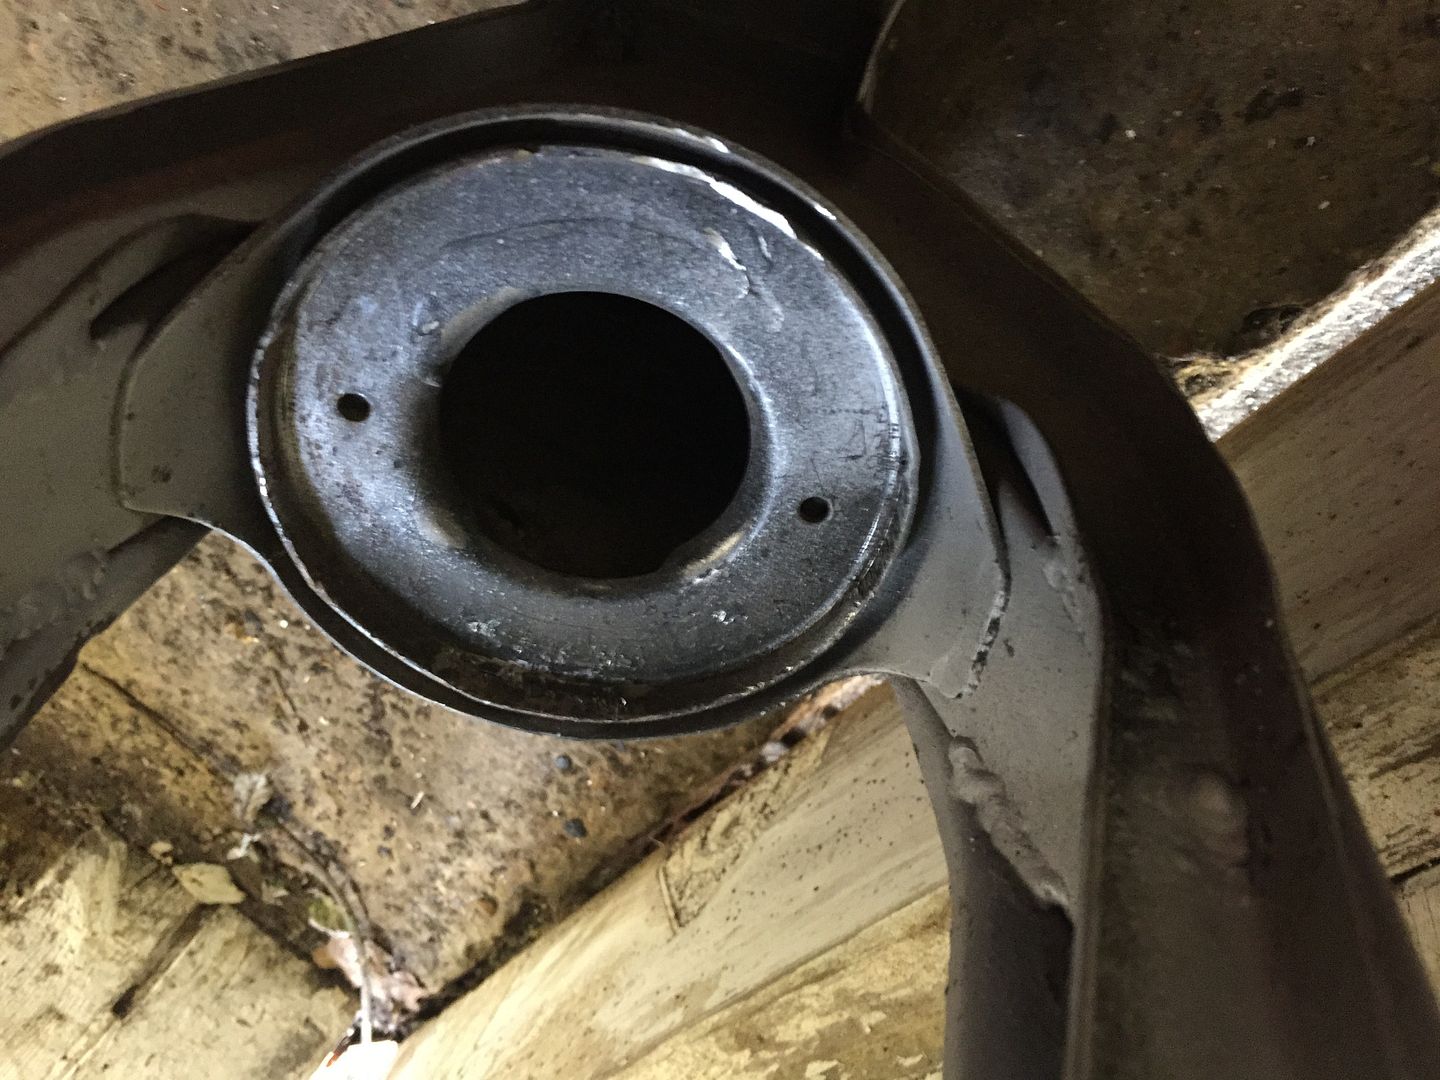
So after a bit of cutting and swearing i rescued the doughnut cups off my old subbie.
Butchered subbie
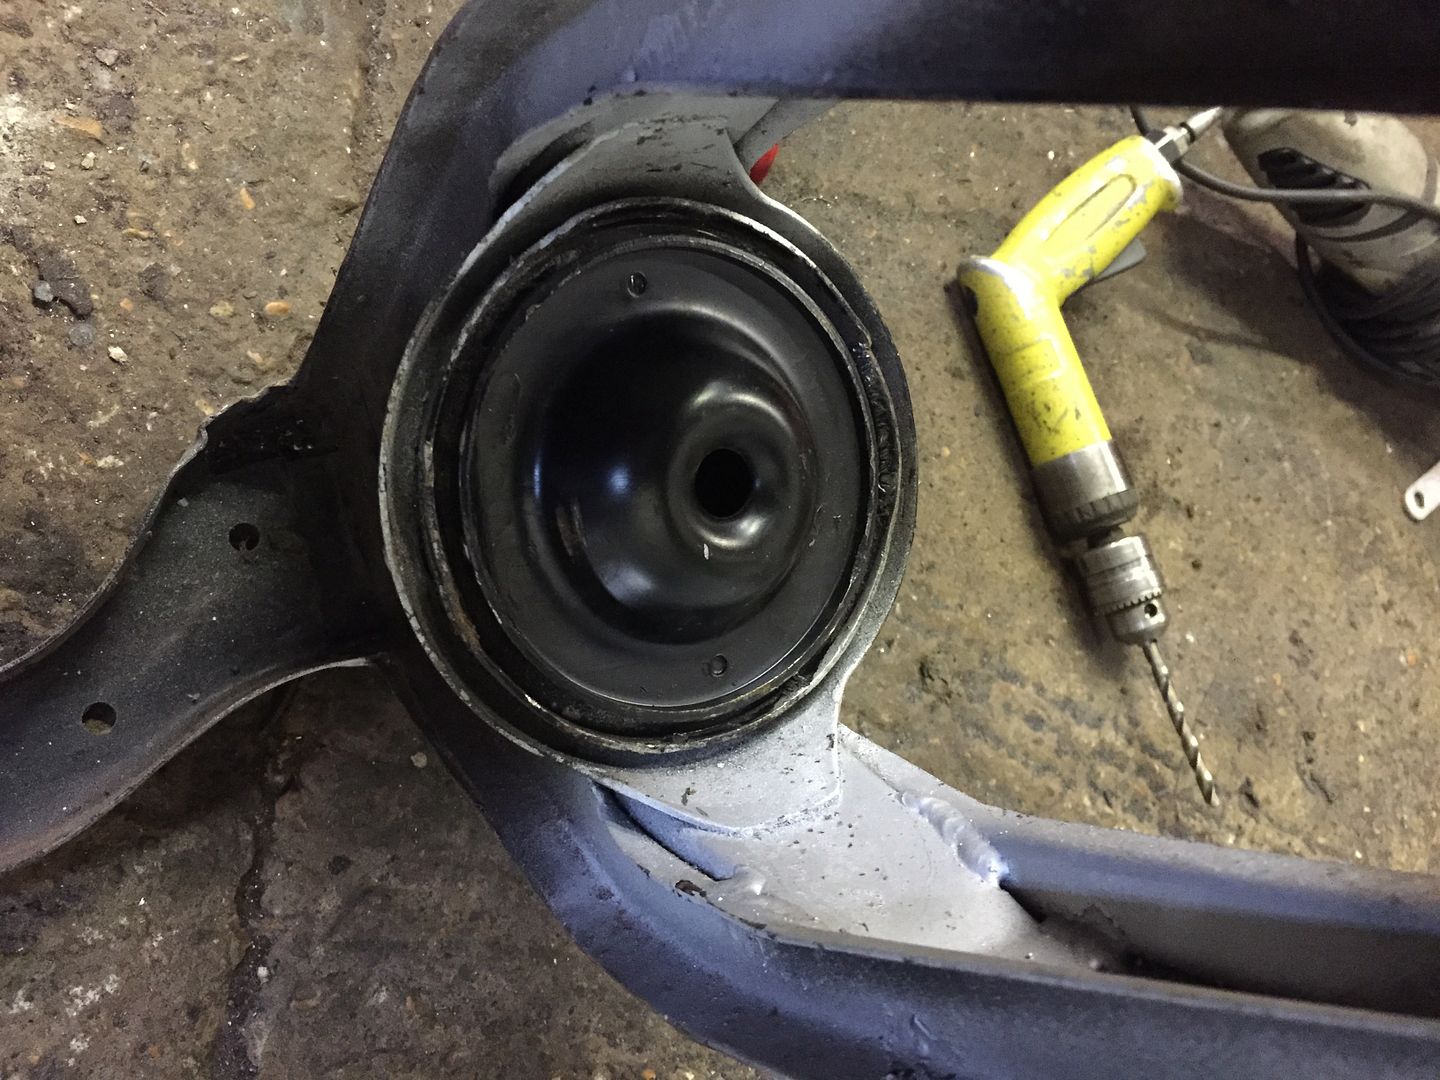
Dressed out the retaining clips for the Hydro-elastic springs
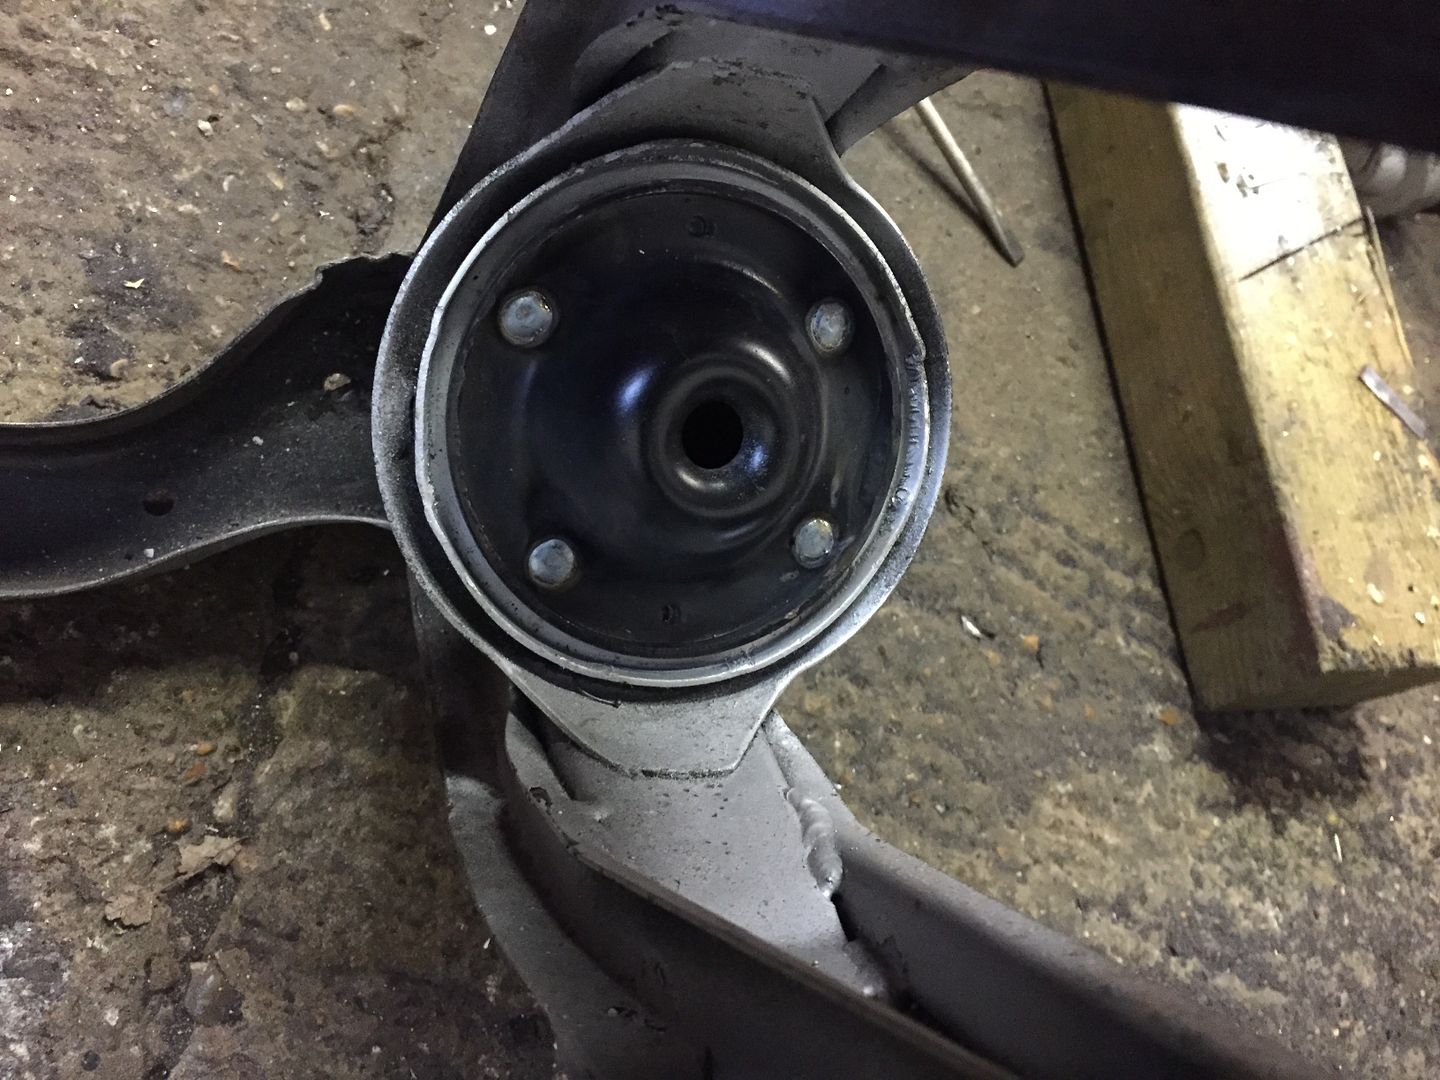
Trialed the replacement cups
and plug welded in place.
I decided to keep the old Hydro structure in place as the extra thickness is cancelled out as i'm using Hi Lo's.
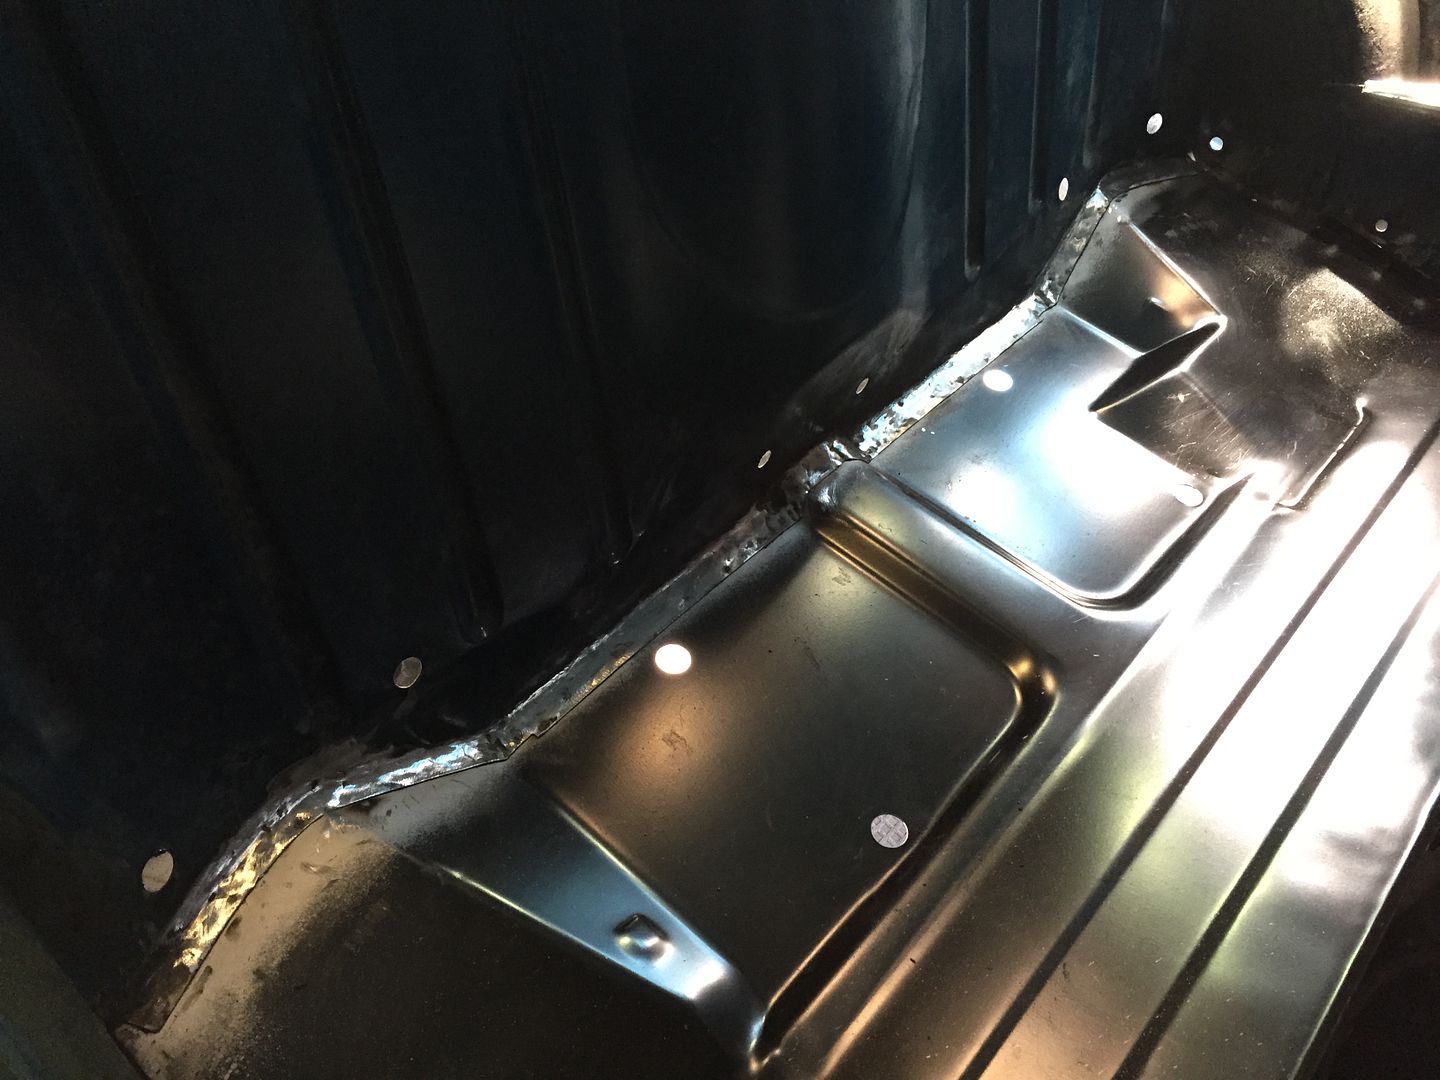
Then it was onto the wiring loom tabs on the boot floor. I welded in six of those and they came out ok.
but now i have had second thoughts about them and will replace them with P clips so captive nuts will be welded in later on.
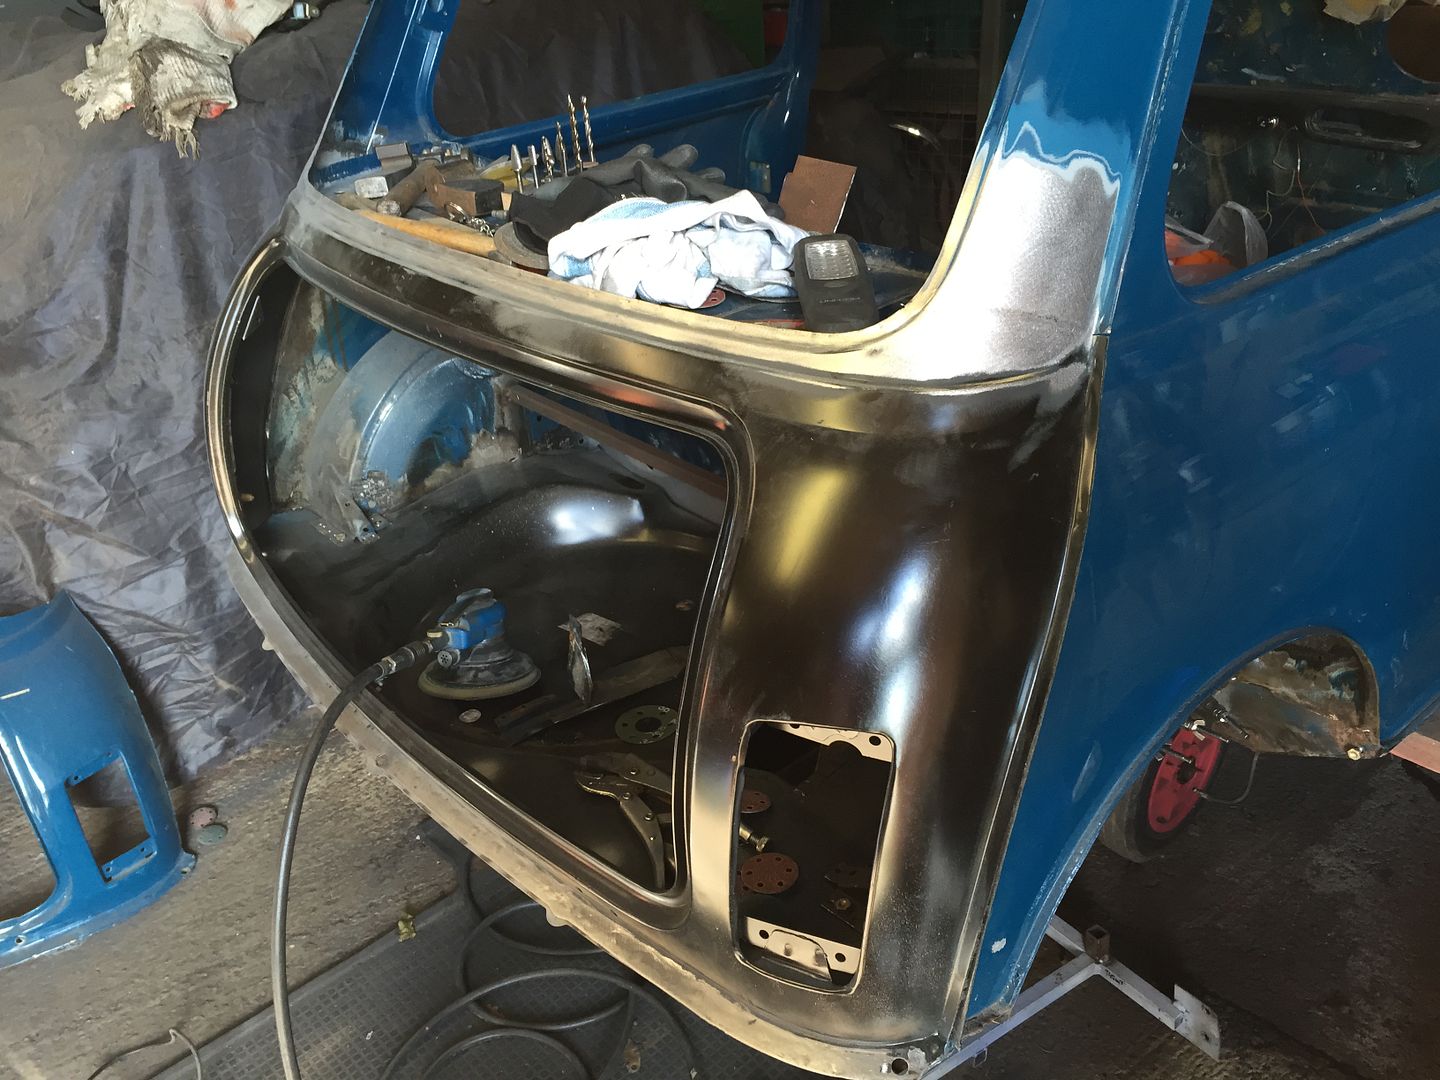
Then it was onto the rear panel and in it went for good
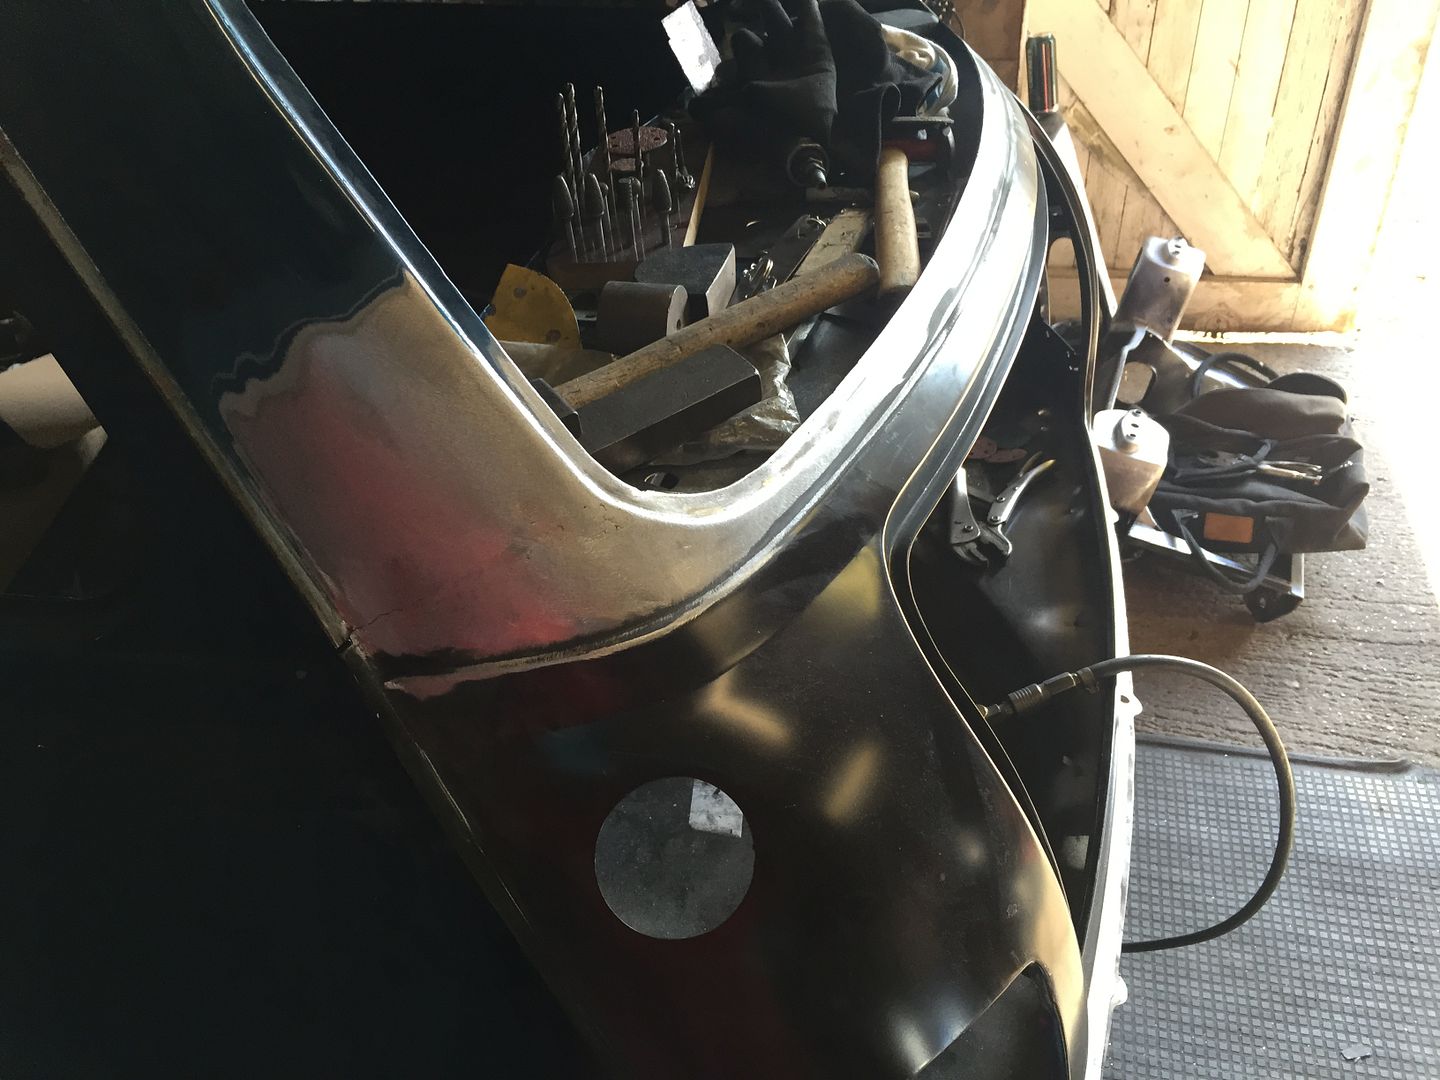
Just the C pillars to finish welding then all of the welds will be dressed back. Nice bit of progress there. Must remember to save the boot latch plate that is still on the old panel.
#304

Posted 25 February 2015 - 06:38 PM
Hooray!
Now why couldn't the previous repairer have done that??
Looks great Neil
#305

Posted 25 February 2015 - 06:56 PM
I was thinking of welding those tangs back on mine but think I may go down the p clip route ( see how yours turn out
Have you still got the measurement for the tank bracket ?
#306

Posted 25 February 2015 - 07:02 PM
Hooray!
Now why couldn't the previous repairer have done that??
Looks great Neil
Cheers Ben, the problem was probably down to insurance costs and time hence why it was never done this way.
Looking good mate
I was thinking of welding those tangs back on mine but think I may go down the p clip route ( see how yours turn out)
Have you still got the measurement for the tank bracket ?
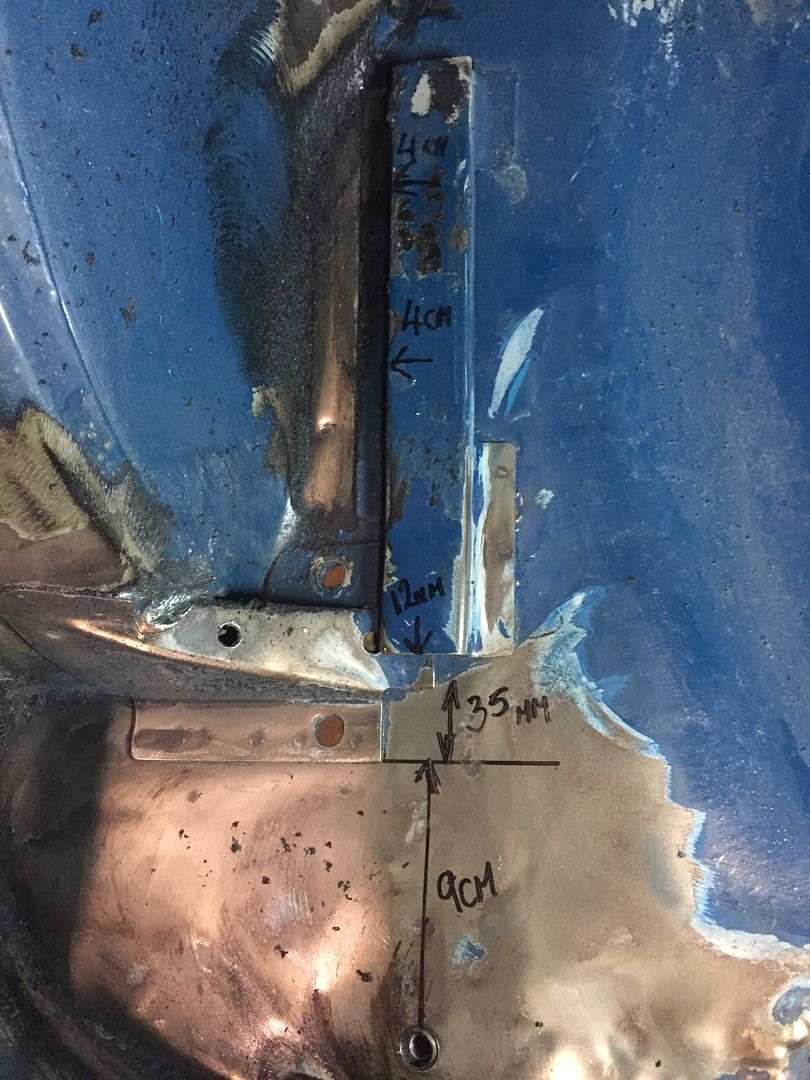
Tank measurements.
#307

Posted 25 February 2015 - 07:24 PM
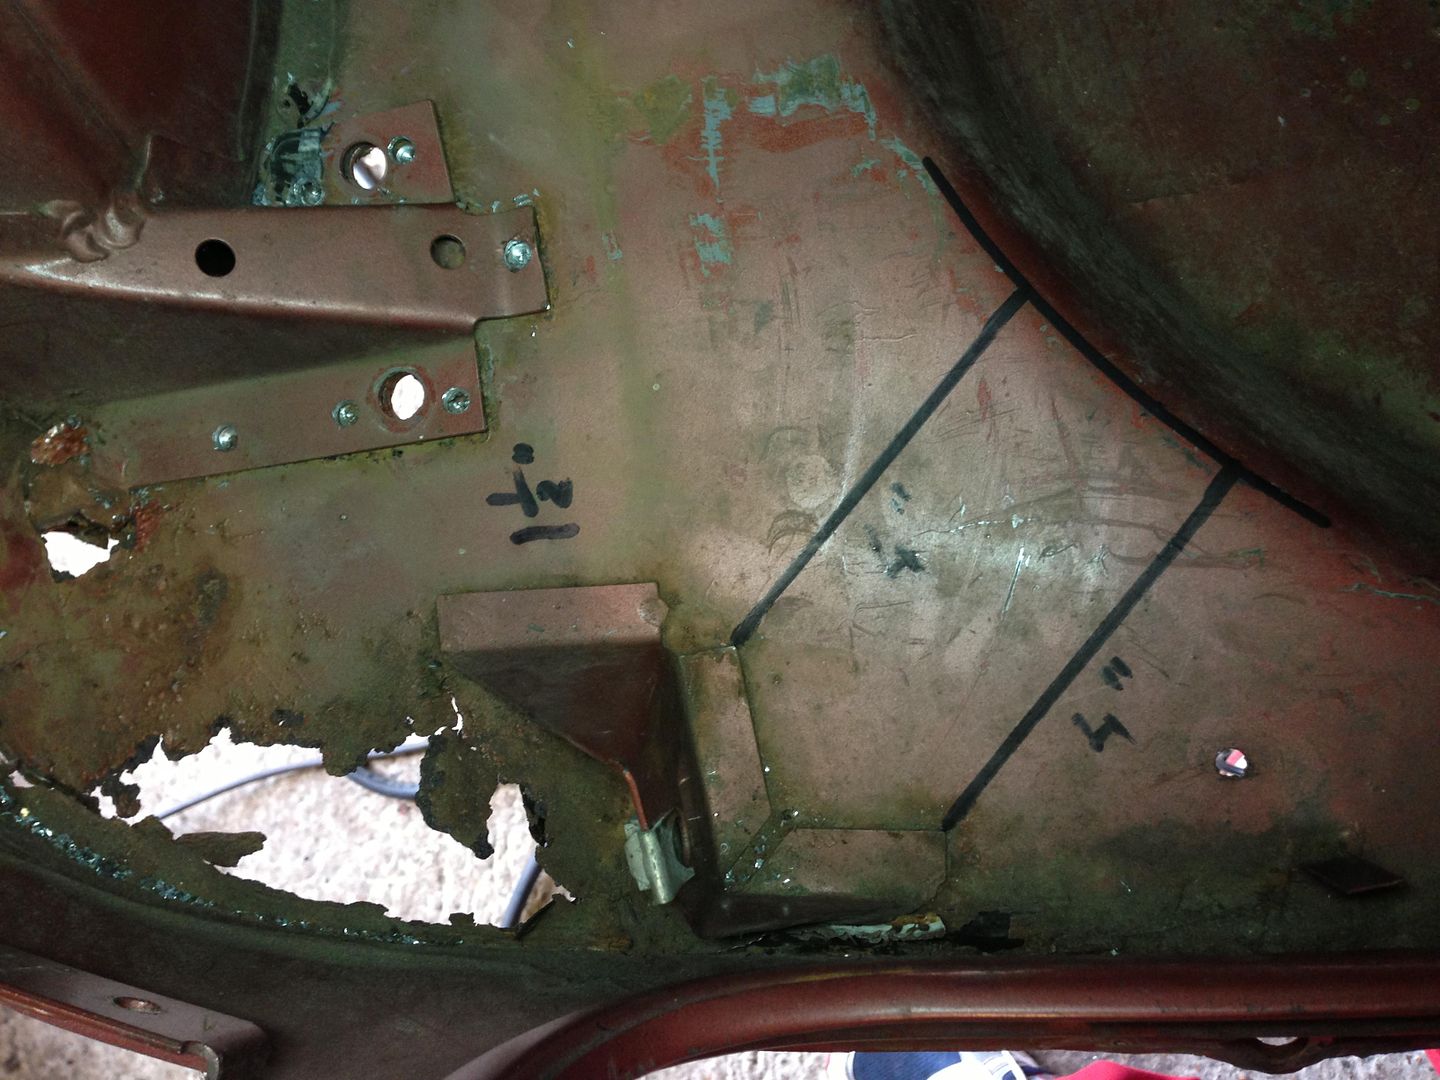
I forgot yours has the earlier tank bracket I'm after the later type bracket measurements had them on my phone but it got wiped !!
#308

Posted 25 February 2015 - 07:26 PM
Cheers mate
I forgot yours has the earlier tank bracket I'm after the later type bracket measurements had them on my phone but it got wiped !!
#309

Posted 25 February 2015 - 07:27 PM
What a star
#310

Posted 25 February 2015 - 07:32 PM
Cheers bud
What a star
No worries, that is 4" by the way if you cannot make it out and 1 1/2" by the subbie mount.
#311

Posted 28 February 2015 - 09:02 AM
#312

Posted 28 February 2015 - 10:12 AM
This is looking awesome! Ready for 19th July minis on the rec?
Maybe if I did not have to go to work but I feel that won't happen
#314

Posted 03 March 2015 - 09:38 PM
Projects coming on a treat! are you doing anything with the front panelwork at all or just mending the rear half?
#315

Posted 03 March 2015 - 09:41 PM
Projects coming on a treat! are you doing anything with the front panelwork at all or just mending the rear half?
Everything is going Alex bar the roof and most of the floor. I have decided i will replace the inner sills and doorsteps. One time visit for this puppy. The front bulkhead is not going either though as are the inner wings. Buttttt that may change once the wings are off.
3 user(s) are reading this topic
0 members, 2 guests, 0 anonymous users
-
Bing (1)


