Project Paddy A Long And Slow Rebuild.
#151

Posted 05 February 2013 - 12:52 PM
#152

Posted 10 February 2013 - 10:52 PM
#153

Posted 10 February 2013 - 10:57 PM
The wheels look lovely! Great shame about the fault. Is the plan still to go all R1 pro-motive with paddy?
Due to some financial constraints ie no spare cash for the moment he will be using his original 998cc lump and not the jap bike version. I'm hoping in the next two weeks to have changed all of his suspension bits and pieces and converted him to discs.
#154

Posted 13 February 2013 - 08:03 PM
We whipped his drums and brakes off to see what was lurking and apart from only having one brake adjuster block on the L/H side it all looked very good.
Shock absorbers came off next and to be honest there was nothing wrong with them which surprised me. Then the cones trumpets and knuckles were next and again all were very good so for his age he has been looked after.
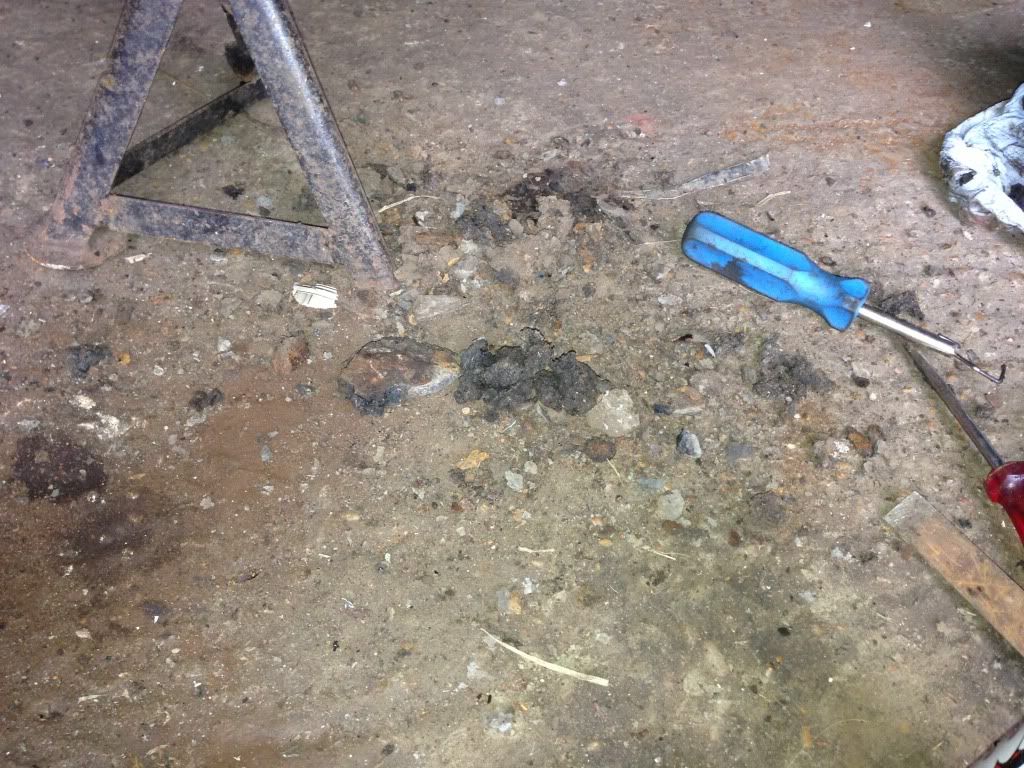
I thought the subframe was toast but after having a bloody good dig around it was solid. There was an awful lot of very hard crap buried in the nooks and crannies which took some getting out. Its the original subframe as well from what we can tell so being stuffed away in a bodyshop for over ten years has had some benefits.
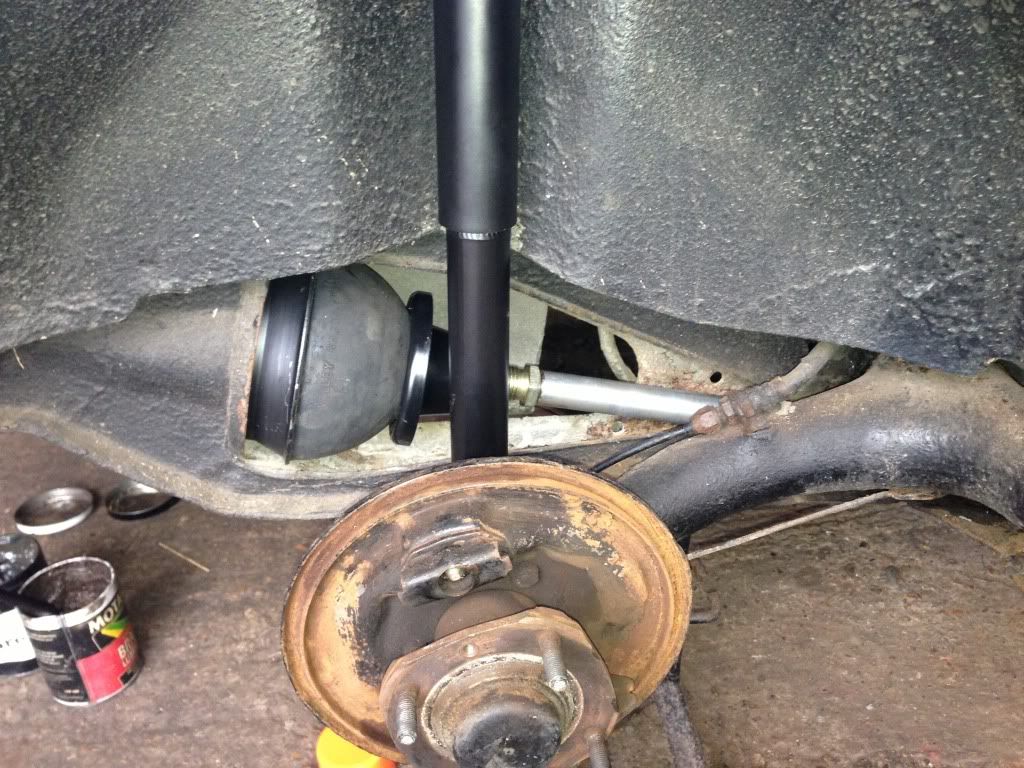
Hi Lo's went on with new doughnuts and shocks and looks good. Just waiting on a spacer set and extended studs then we can finish off the rear suspension.
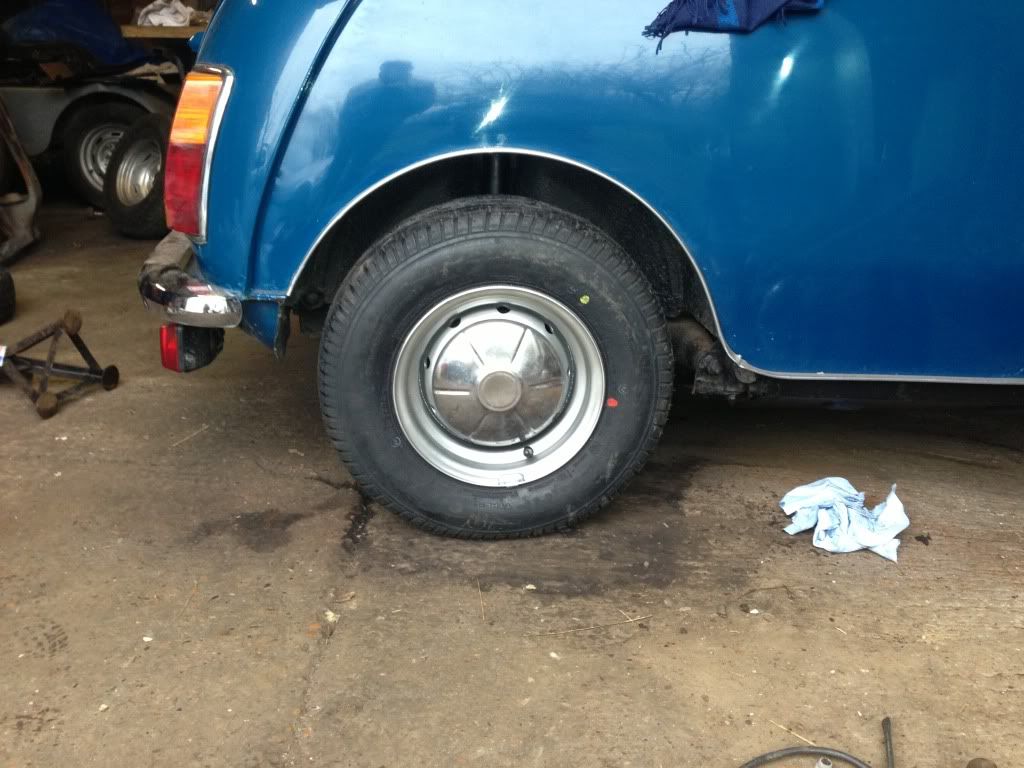
The damage to the back of the car is more extensive than i first thought with damage to the rear bulkhead caused by the spare wheel impacting it when the car got rear ended so something else to sort out later on.
#155

Posted 13 February 2013 - 08:11 PM
#156

Posted 13 February 2013 - 09:28 PM
Something else that was found purely by mistake was the fuel pipe was barely connected so after loosing a couple of pints on the floor when Paul when to refit it out it came to get that sorted. Better now than it vibrating loose when driving the car.
This might be the kiss of death saying this but it might all be done next thurs when we're off shift.
#157

Posted 13 February 2013 - 09:32 PM
#158

Posted 13 February 2013 - 09:33 PM
exciting times, swamps and all, gona be a nice mini in the end...
If it rains anymore i might be needing an air boat to get to the workshop. Swamp man styleeee YeeeeHahhhh!!!!!!!!!!!
#159

Posted 13 February 2013 - 10:38 PM
exciting times, swamps and all, gona be a nice mini in the end...
If it rains anymore i might be needing an air boat to get to the workshop. Swamp man styleeee YeeeeHahhhh!!!!!!!!!!!
welding in wellies....
#160

Posted 14 February 2013 - 01:26 PM
Quick question: are you changing the hub plate with the disc brake conversion, or are you replacing the studs in the existing one with the extended studs? I was thinking about this looking at mine, and they don't look like they will budge without a fight...
#161

Posted 14 February 2013 - 08:16 PM
Looks good!
Quick question: are you changing the hub plate with the disc brake conversion, or are you replacing the studs in the existing one with the extended studs? I was thinking about this looking at mine, and they don't look like they will budge without a fight...
Rich the brakes at the back are the ones getting the extended studs as due to Paddy's age he had non spacered drums. The front disc conversion kitcomes complete with everything already fitted.Its just a case of building the hubs up then fitting it to the front.
The studs will come out using a G clamp and socket, the socket being on the back of the stud. The hubs will be taken off as its easier to do this on the bench rather than on the car.
#162

Posted 13 March 2013 - 06:27 PM
HOWBLOODYEVER the r/h side decided to say no. Screwed my cone compressor in but it did not feel right so wound it out and had a look. Nothing amiss so wound it back in again but after three turns it went solid???? bugger so after a bit of info from Paul i stripped the top arm out so at least i could drop down the cone and compressor. No that didn't work so what next?? Everything i tried would not work and even the top piece started to shear using the two nut method.
Can't drop the cone down can't get the compressor out so time to get some lateral thinking on. Needed to get the cone further down so using a right angle grinder i ground down the ridge around the cone. With the use of a Jemmy bar i managed to force the cone down so i can get to the cone compressor rod. Then using my die grinder and a tungsten carbide bit i ground through the rod. Took the best part of 45 mins as my compressor is not really man enough at the workshop.
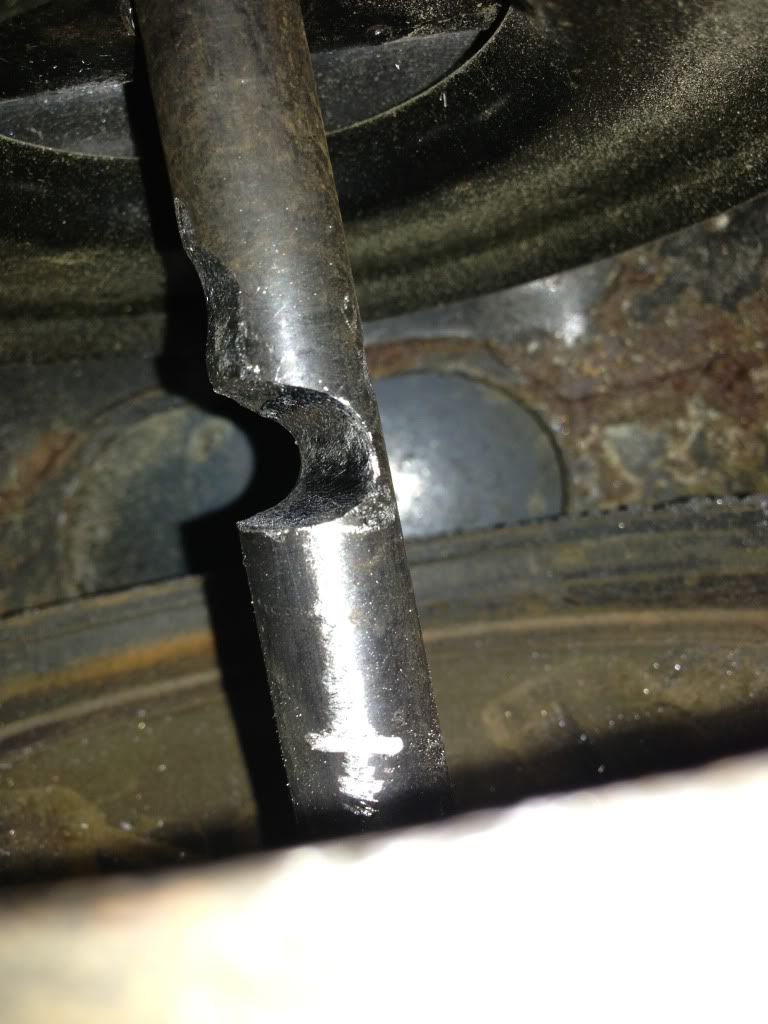
Sorted
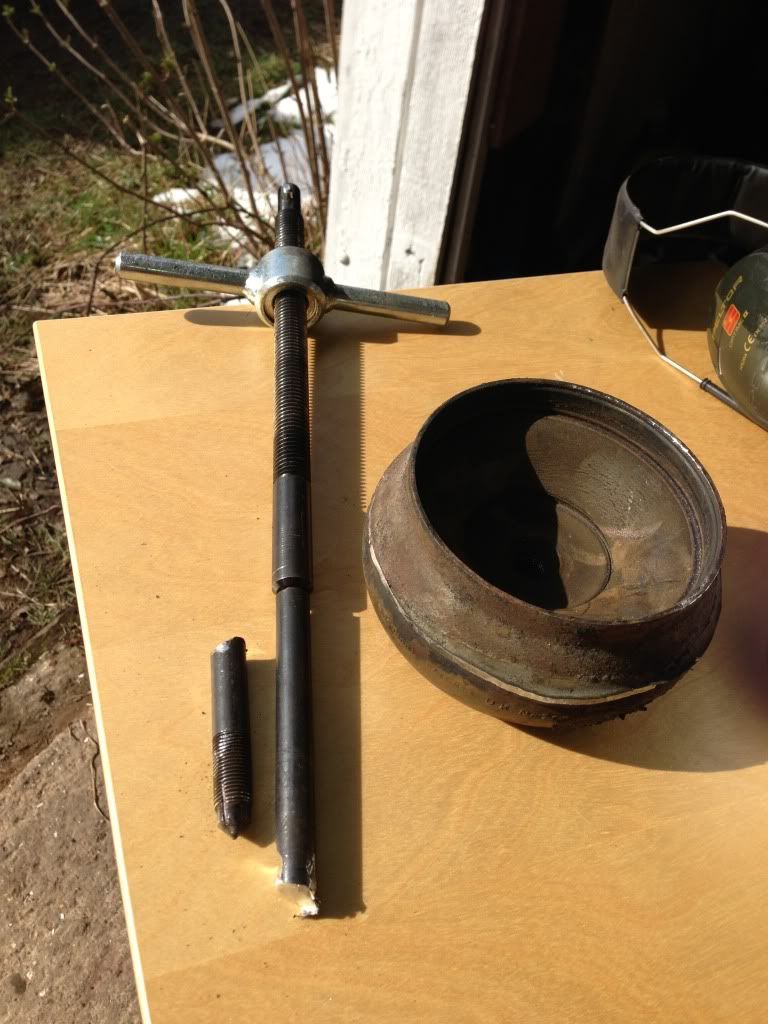
The cones were properly shot as well so needed to be done.
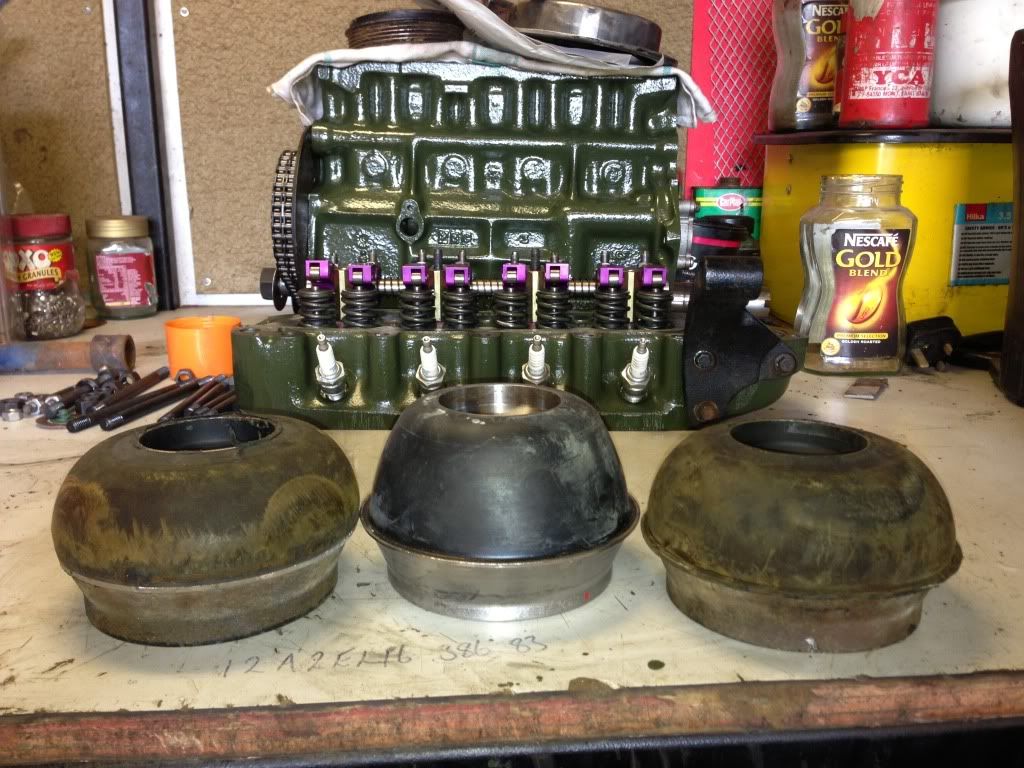
Now need to fix the cone compressor, such is life. Anyway at least it allowed me to continue swopping over to new cones and Hi Lo's and new CVjoint.
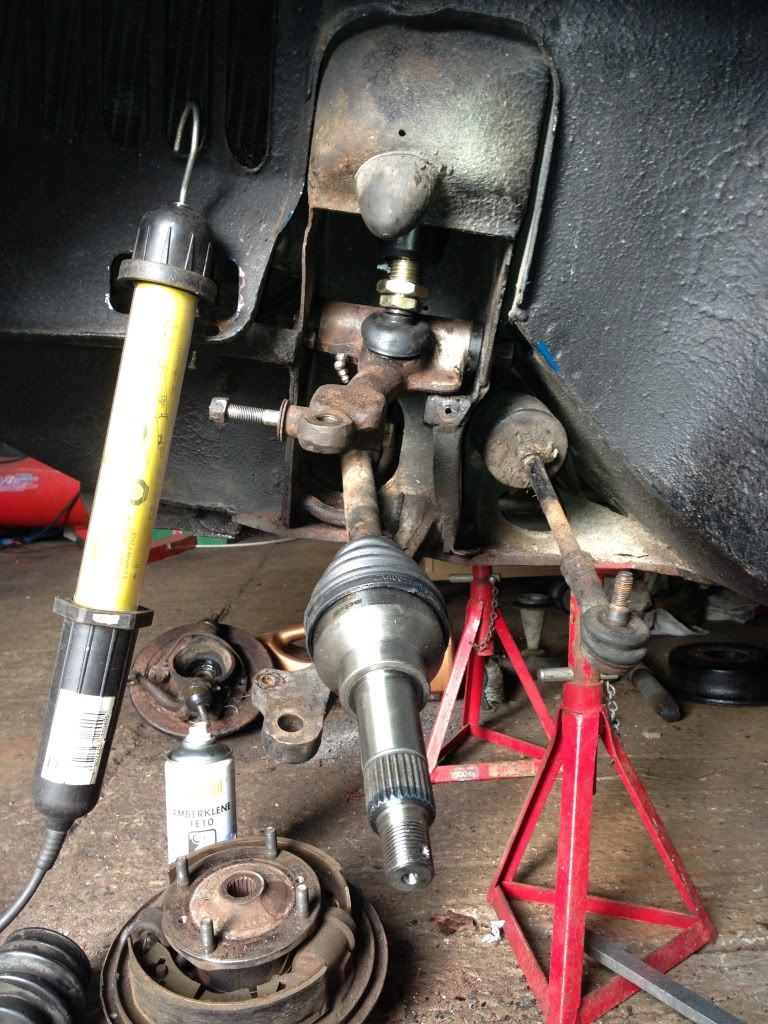
Will rebuild the other side tomorrow and hopefully by friday the disc conversion will be finished.
.
#163

Posted 13 March 2013 - 07:55 PM
Darren
#164

Posted 13 March 2013 - 08:08 PM
Bloody hell that's slot of hassle. I know it's done now but could you not have used a jack under the top arm to put pressure on the cone then undo the compressor and then top arm out job? Just a thought lol glad you got it sorted in the end though
Darren
I sort of made a rod for my own back here by doing it the way i did but a lesson learnt. Frustration played a large part in it as well as i should have known better but whats done is done.
#165

Posted 15 March 2013 - 01:29 PM
1 user(s) are reading this topic
0 members, 1 guests, 0 anonymous users


