Mini Pickup Restoration Project
#16

Posted 01 March 2011 - 06:06 PM

#17

Posted 01 March 2011 - 08:53 PM
#18

Posted 01 March 2011 - 09:16 PM
#19

Posted 01 March 2011 - 11:14 PM
Will be watching this one closely, have you/your dad restored cars before? you seem to know what your doing
#20

Posted 02 March 2011 - 12:26 PM
Gaz
#21

Posted 02 March 2011 - 12:50 PM
#22

Posted 02 March 2011 - 04:31 PM
hi thanks for the feed back,your rite no bracing was used on accont that it was going onto a compleat origional chassis,and decided that owing to the fact that we have a secnd original pickup as a datum reference that all dimentions would be translated from that as its rusty but not messed with and its turned out well. all panels were trial fited and screwed together before any welding to check the fit of everything as a whole,as one small discrepancy on one willbe amplified by the next. remember allways tryal fit every thing before commiting to the weder. eric adams dadseem to be progressing well, but is it just me or was there a severe lack of bracing to the shell when you cut the floor out?
#23

Posted 02 March 2011 - 04:38 PM
Will be keeping my eye on this one, nice to see you are doing a proper job, will you be doing the spraying as well?
Gaz
yeh we are going to be doing the sprayin ourselves, we do everything ourselevs apart from the engine engerneering. the old man is a jack of all trades!!!
#24

Posted 02 March 2011 - 04:40 PM
Great project!, cant understand why anyone would want to autograss a pickup :S, theres enough saloons being wasted as it is!
Will be watching this one closely, have you/your dad restored cars before? you seem to know what your doing
yeh my dad has done loads of minis over the years, ive done two to date plus this one. when i get round to it im going to post a thread on my mini build and the build of my dads mini, with his one tho there is a lack of photos as a relation who wont be mentioned deleted alot of the photos without backing them up.
#25

Posted 02 March 2011 - 09:56 PM
Jack.
#26

Posted 06 March 2011 - 07:14 PM
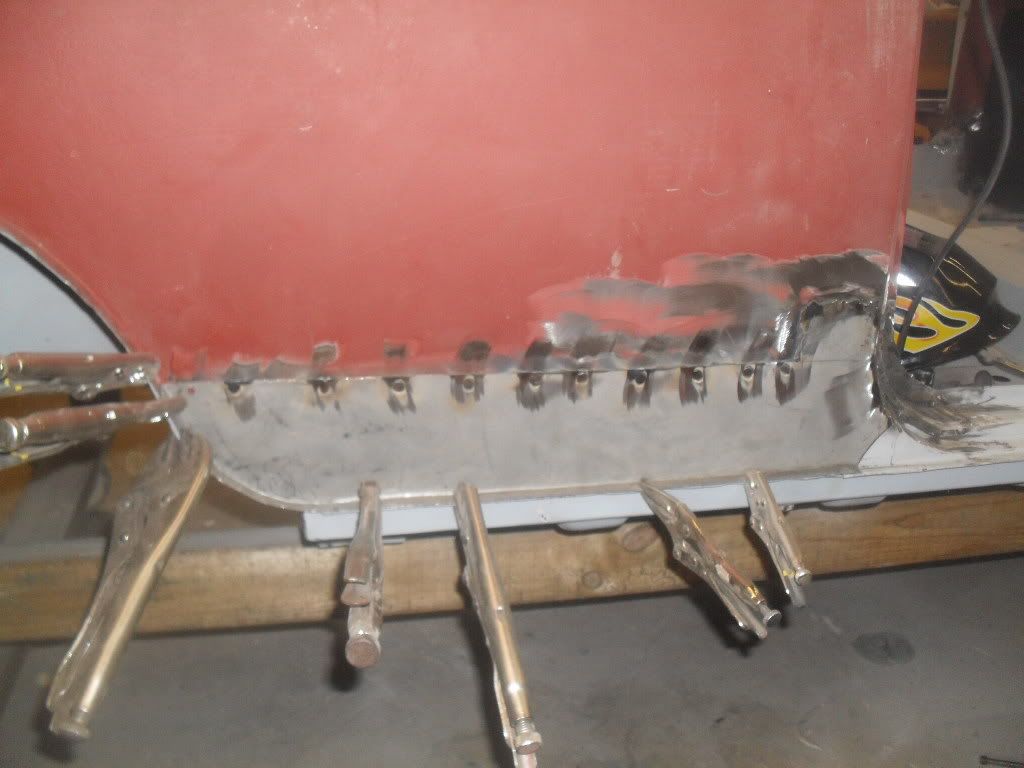
when we finished welding the bottom wing repair panel we had made we
filled the wings and the tailgate panels and gave it all a couple of good
coats of high build primer.
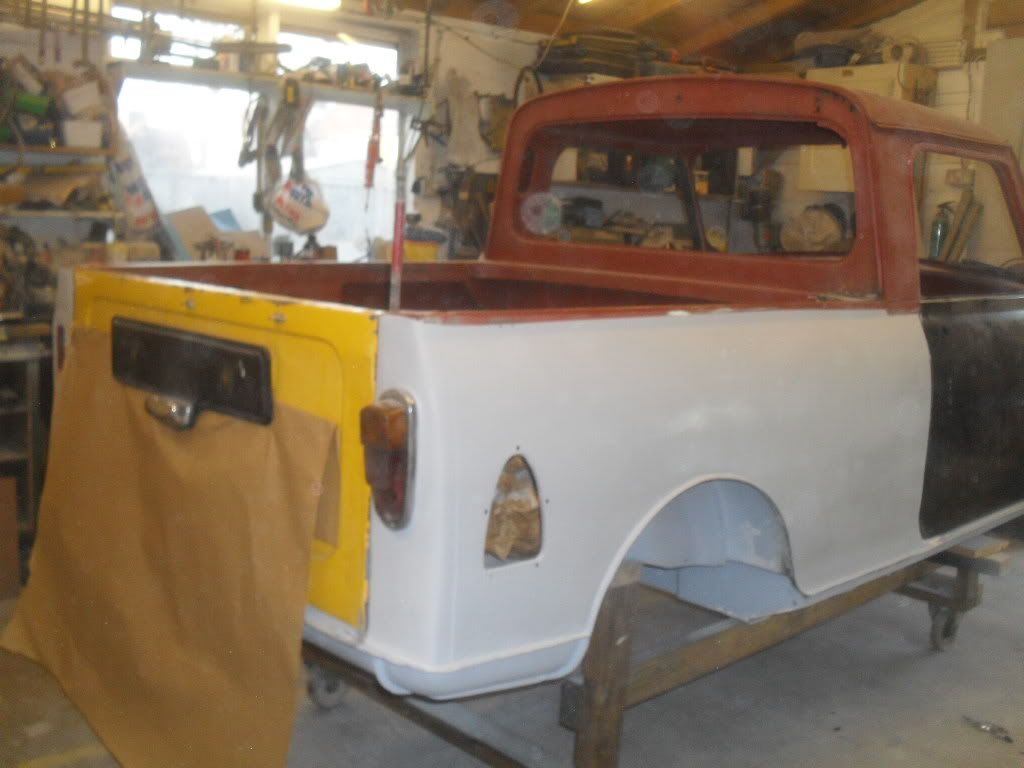
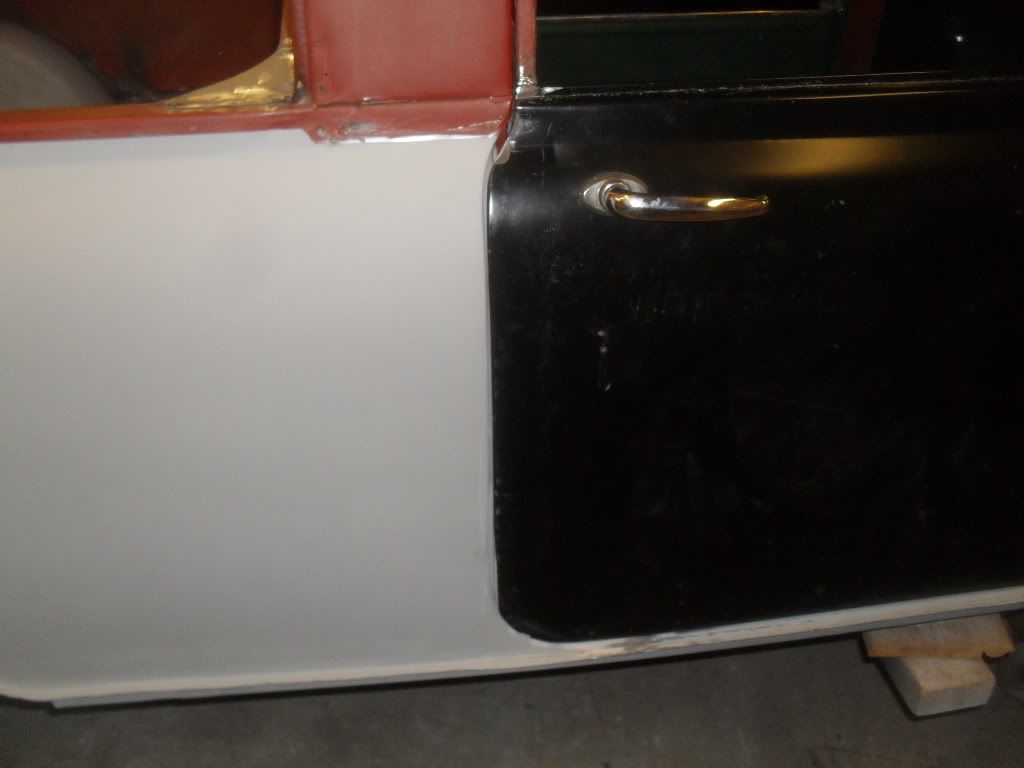
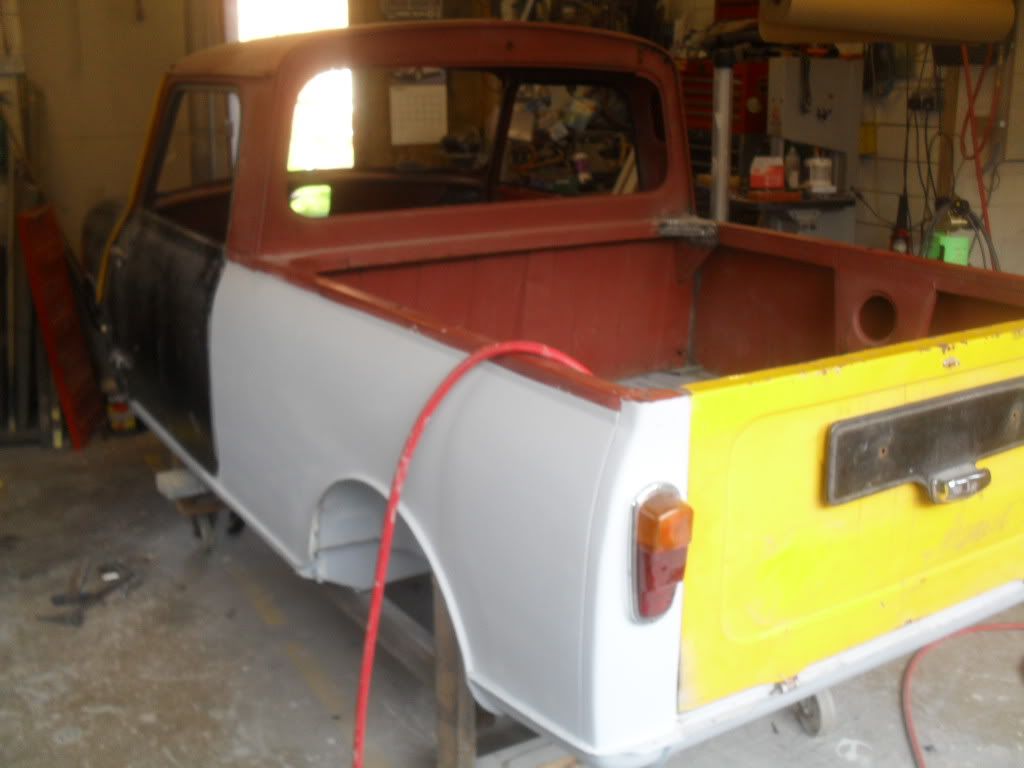
next we redone a previous repair that we had done to the rear side panel stiffener. we redone it
because we wernt happy with how the previous one turned out.
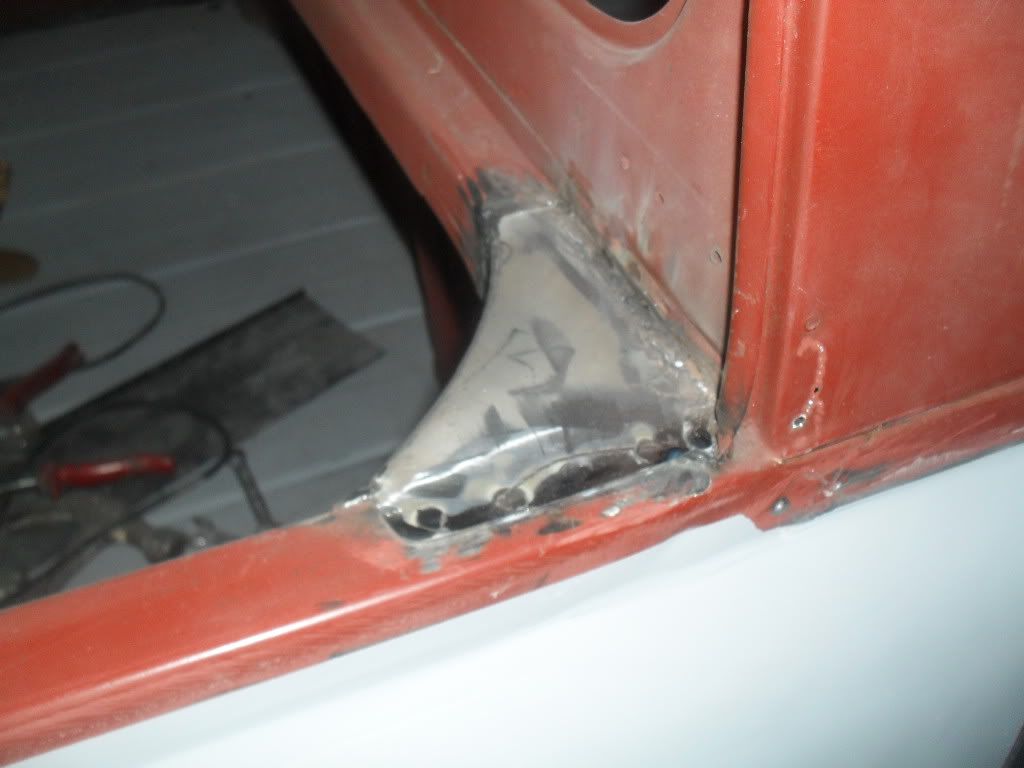
after this with us and a couple of extra bods, we turned the pickup on its side to get ready to
stonechip the underneath. my dad mixed up white and black stonechip so that when the body colour
has been spayed on that when it gets chipped or scratched underneath you dont see different colours.
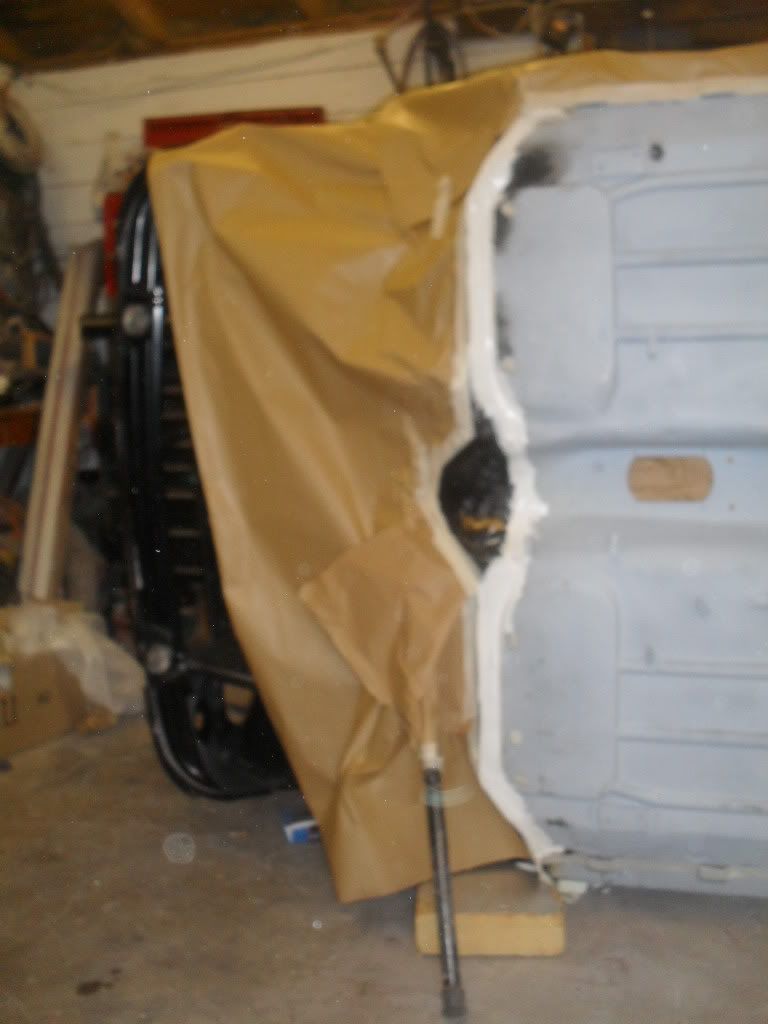
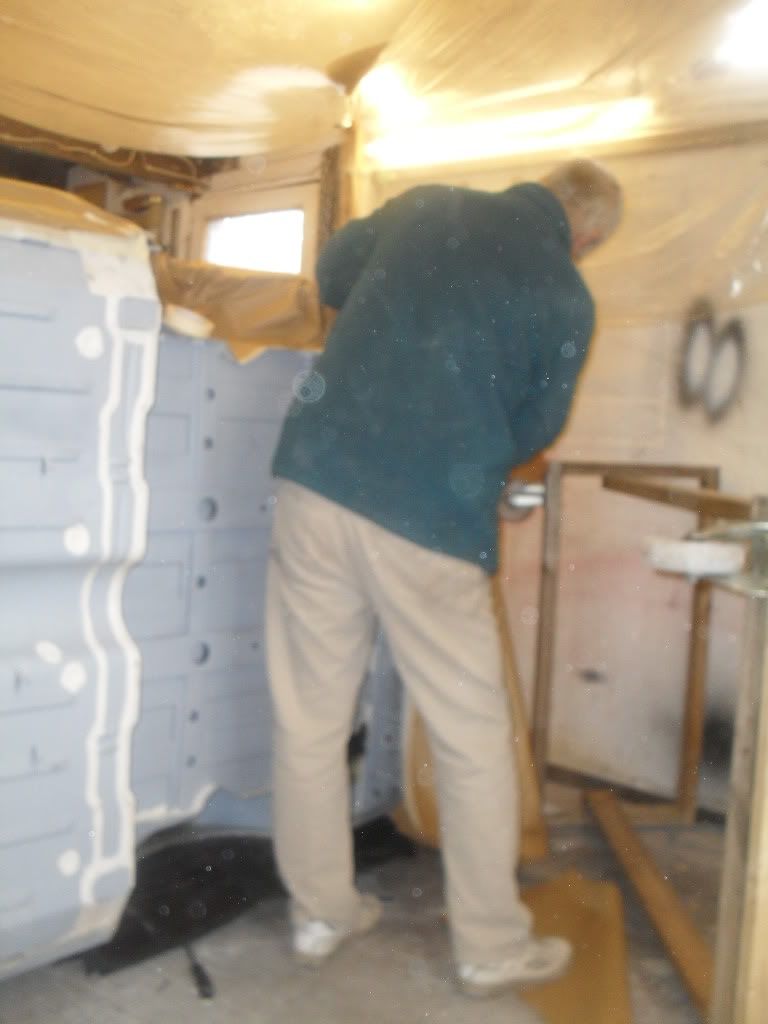
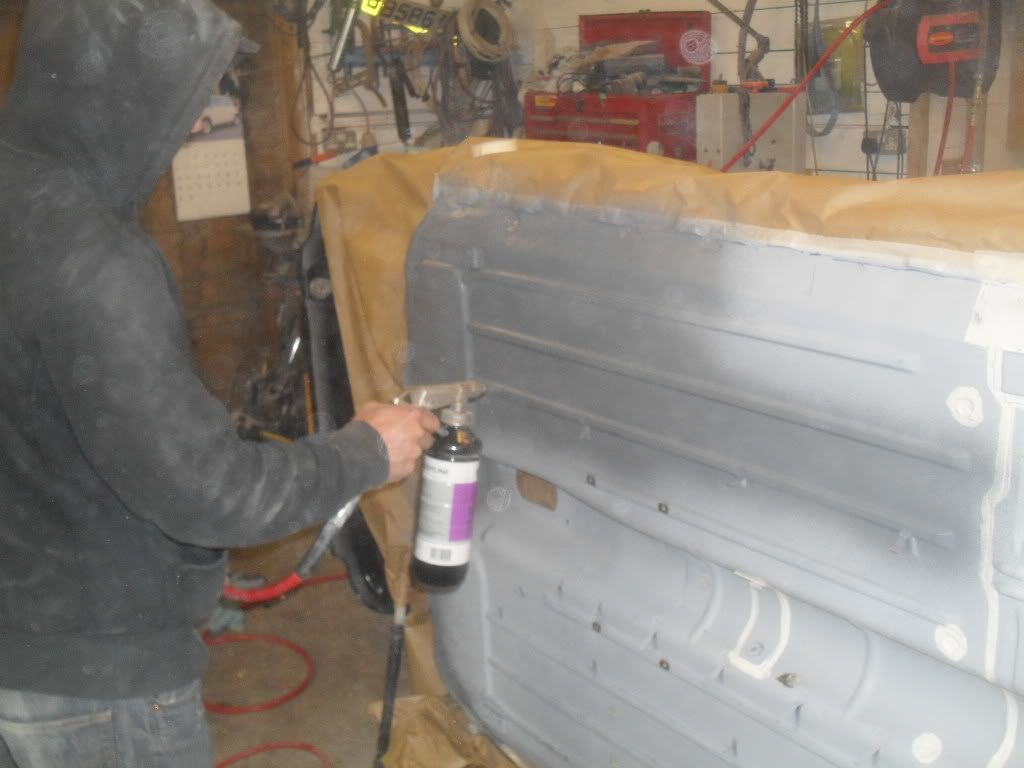
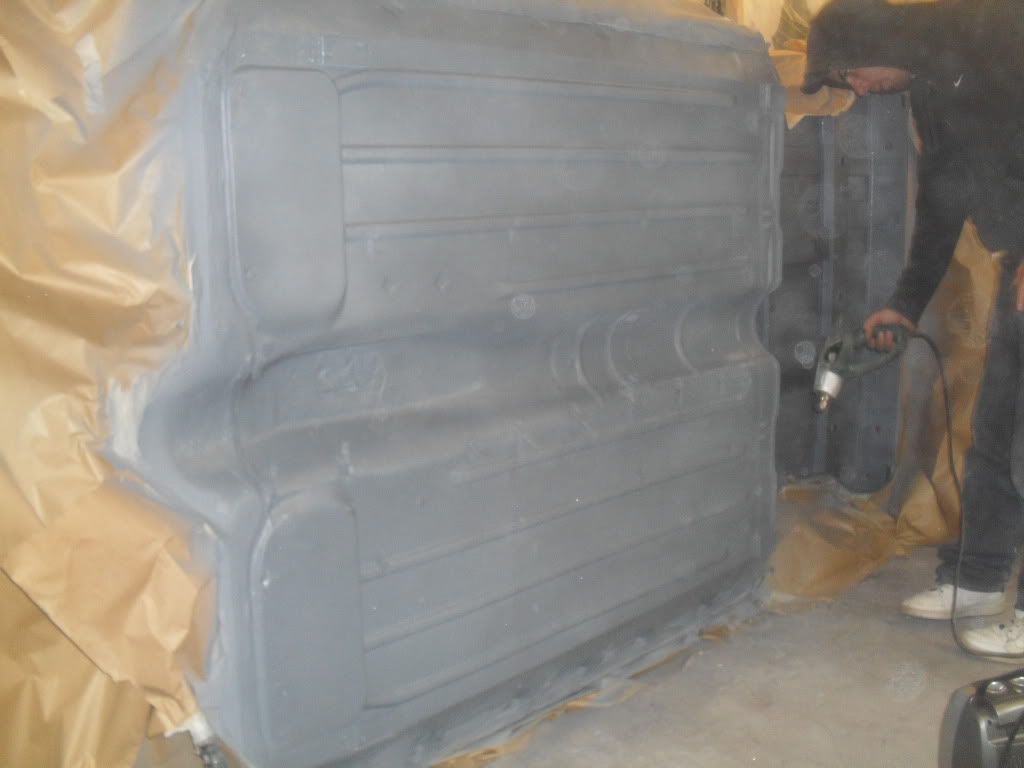
once the stone chip had cured we got the paint mixed up and prepared to paint.
(weve gone for an early 1960s speedwell blue!)
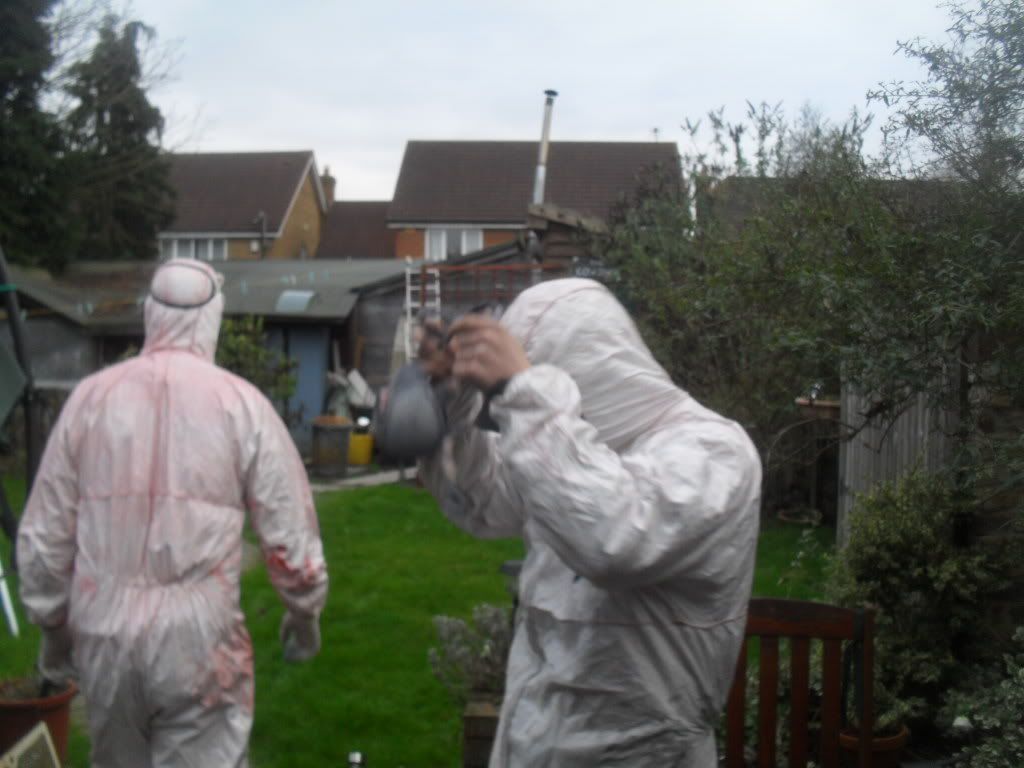
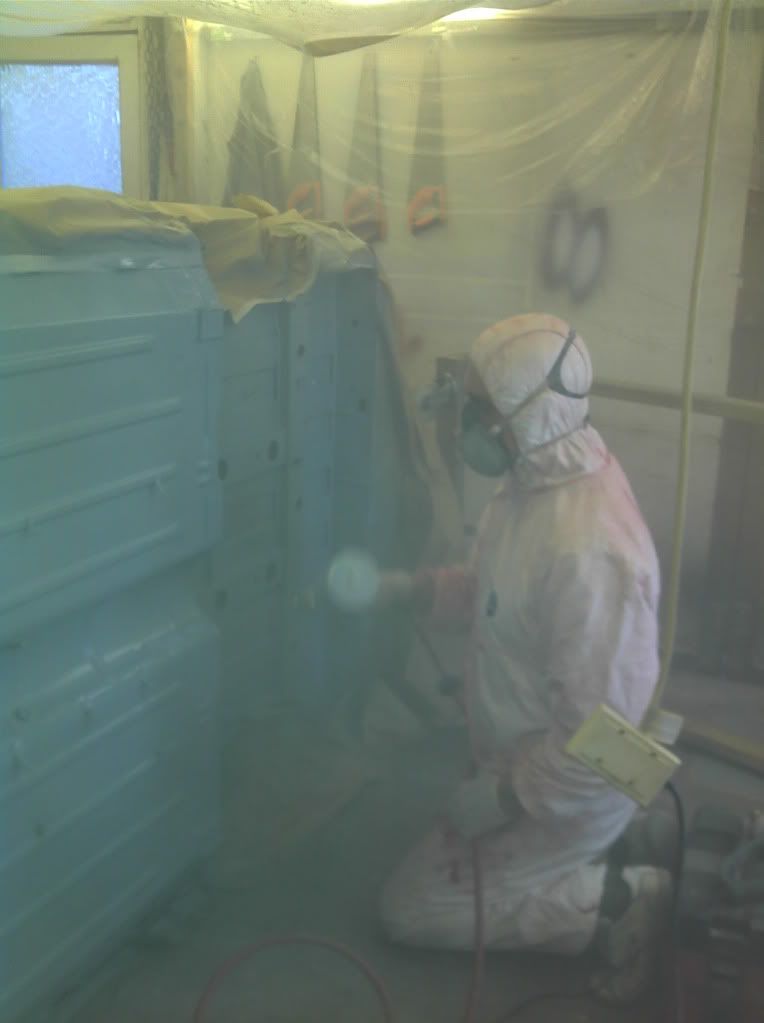
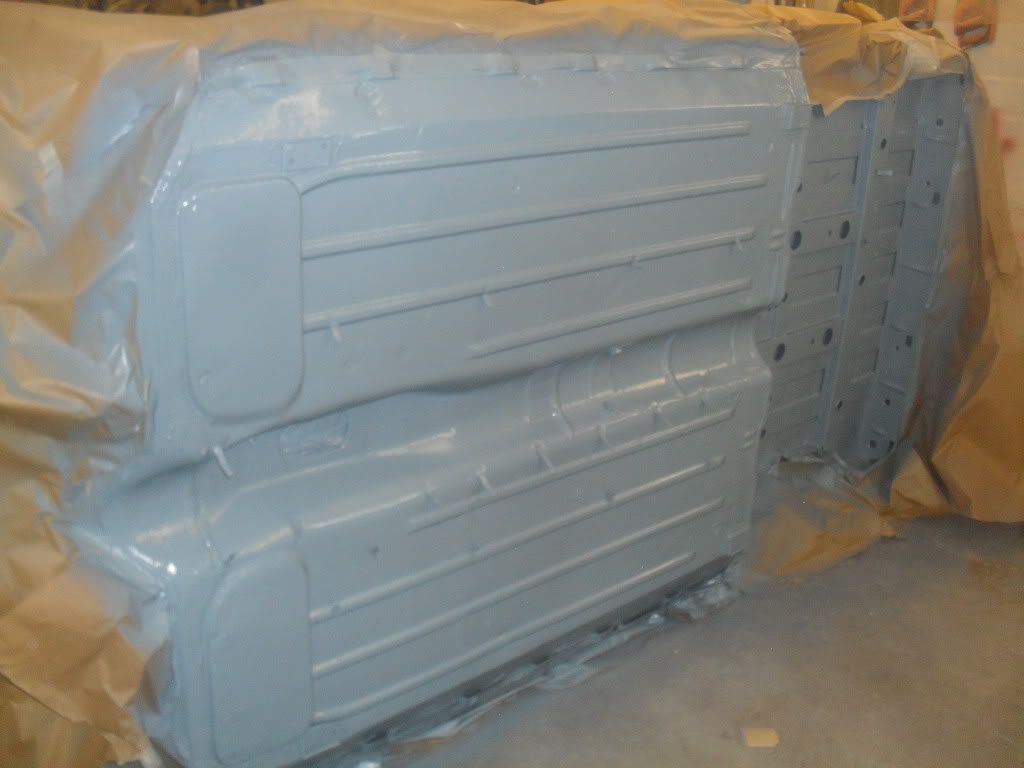
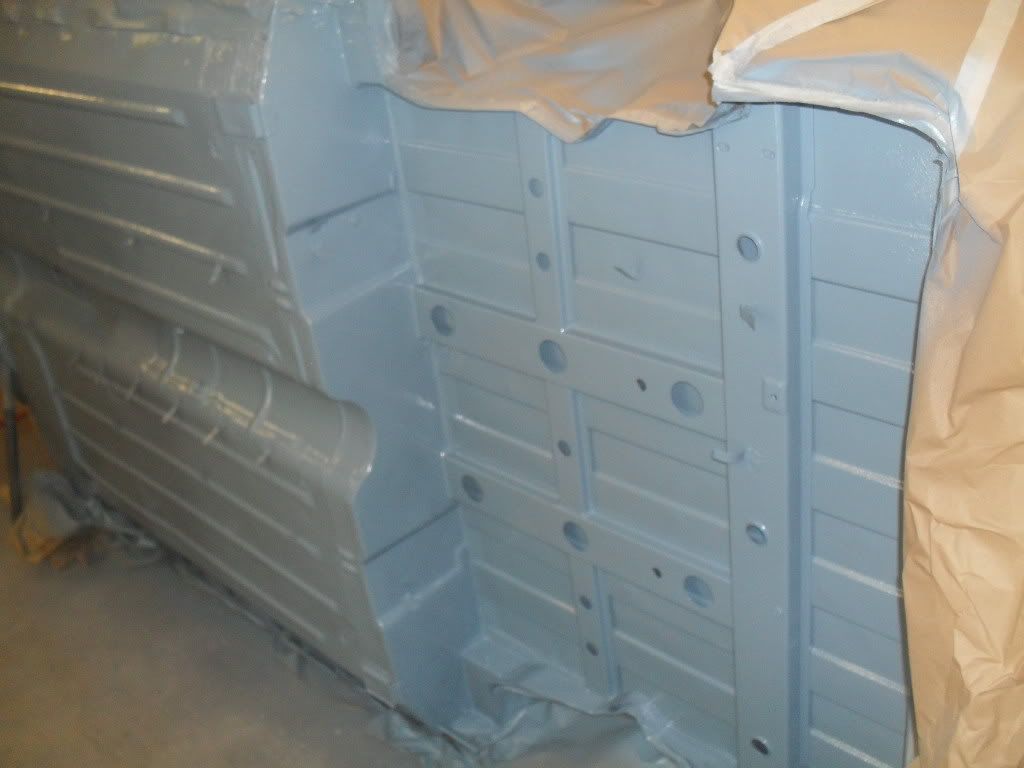
last thing we done this weekend is to sort out our best front and rear subframes and tailgate which
are off to be shotblasted. were aiming to do a bit in the week so will try and update as we go.
#27

Posted 01 May 2011 - 05:53 PM
right got the subframes back from shotblasting and powdercoating had a few repairs to do before they got
powdercoated. totally forgot to take any pics of the subframes when we got them back. so the only pics are in the
pickup.
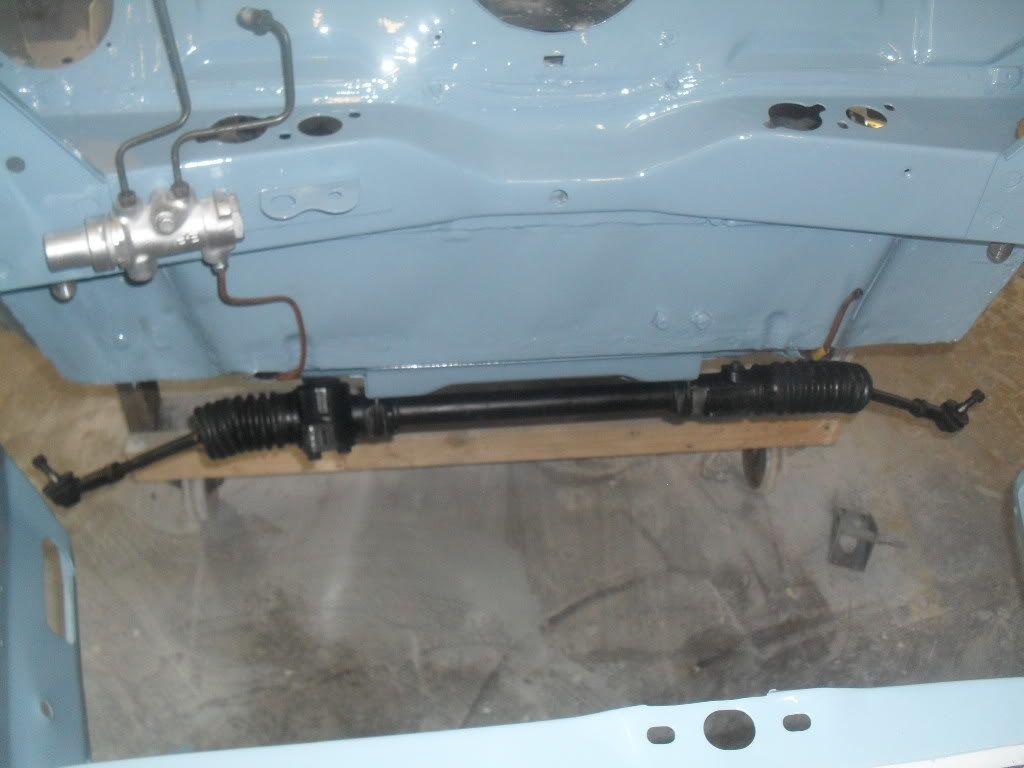
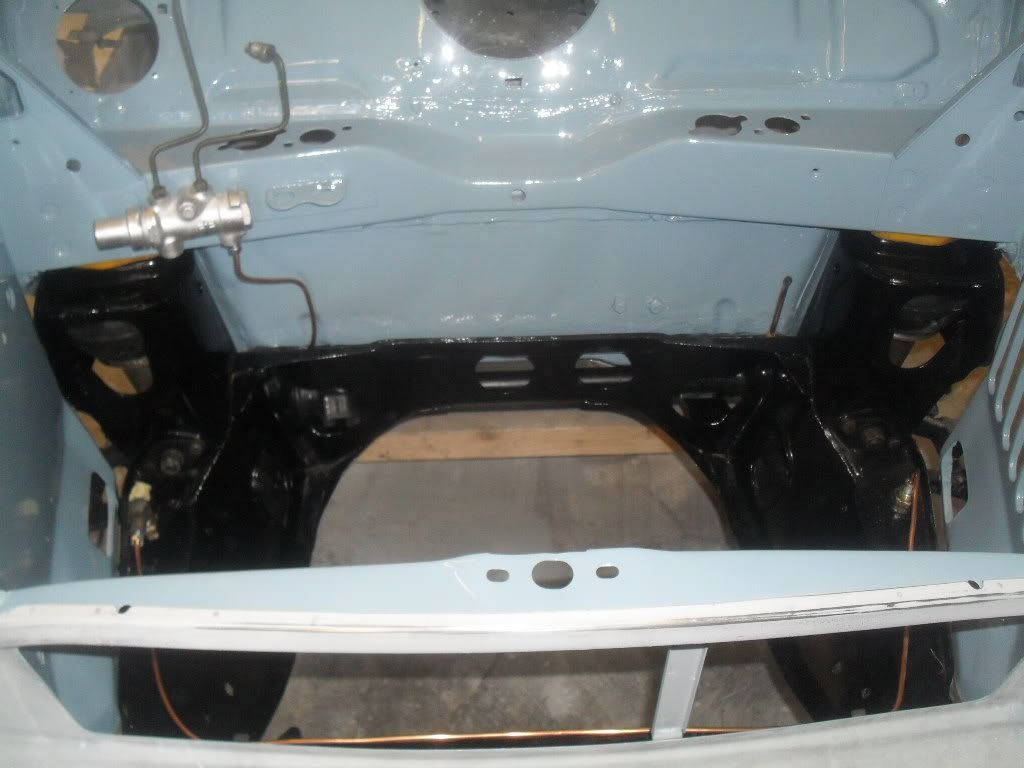
after puting in the subframes we cleaned and painted all the suspension parts.
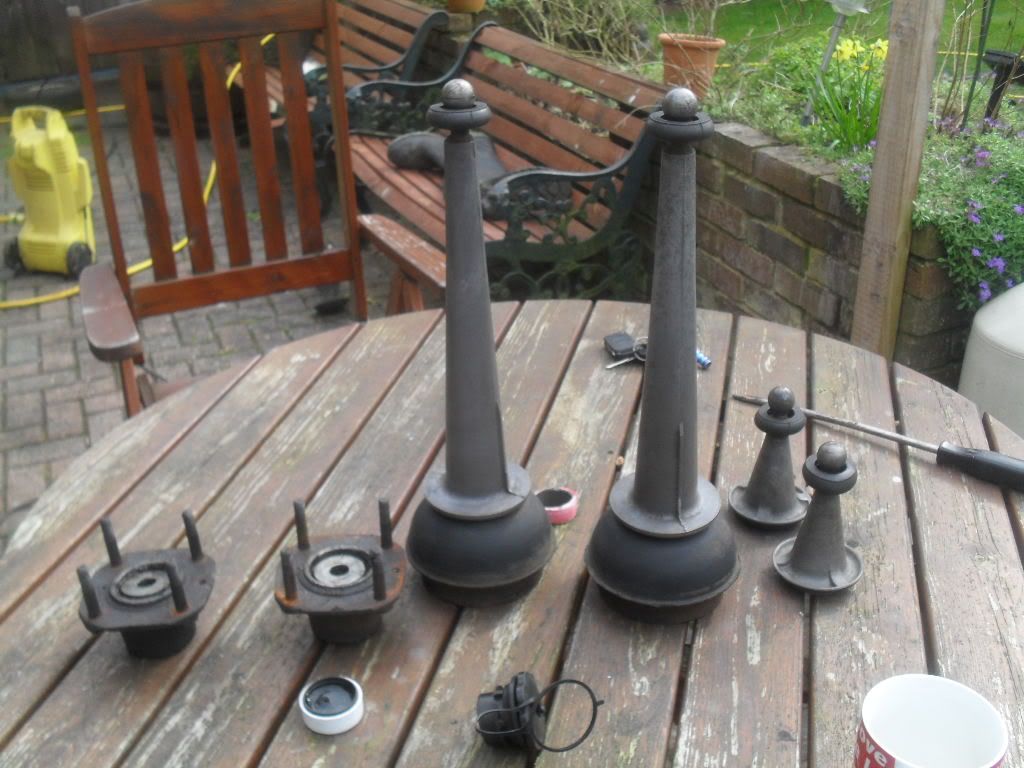
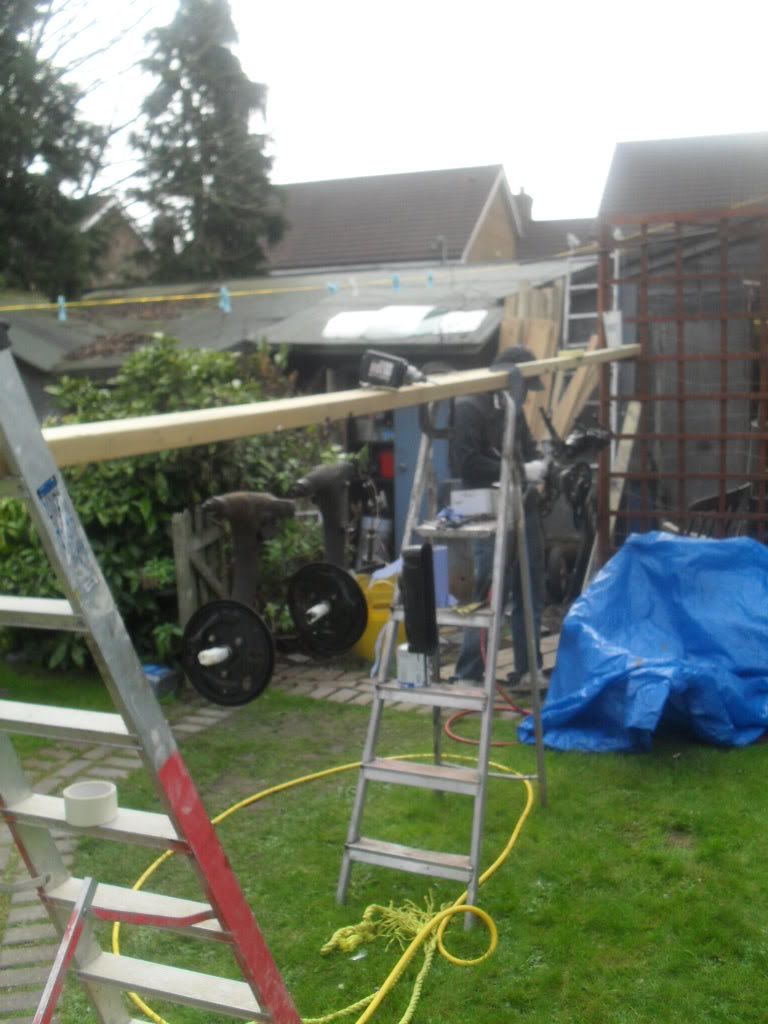
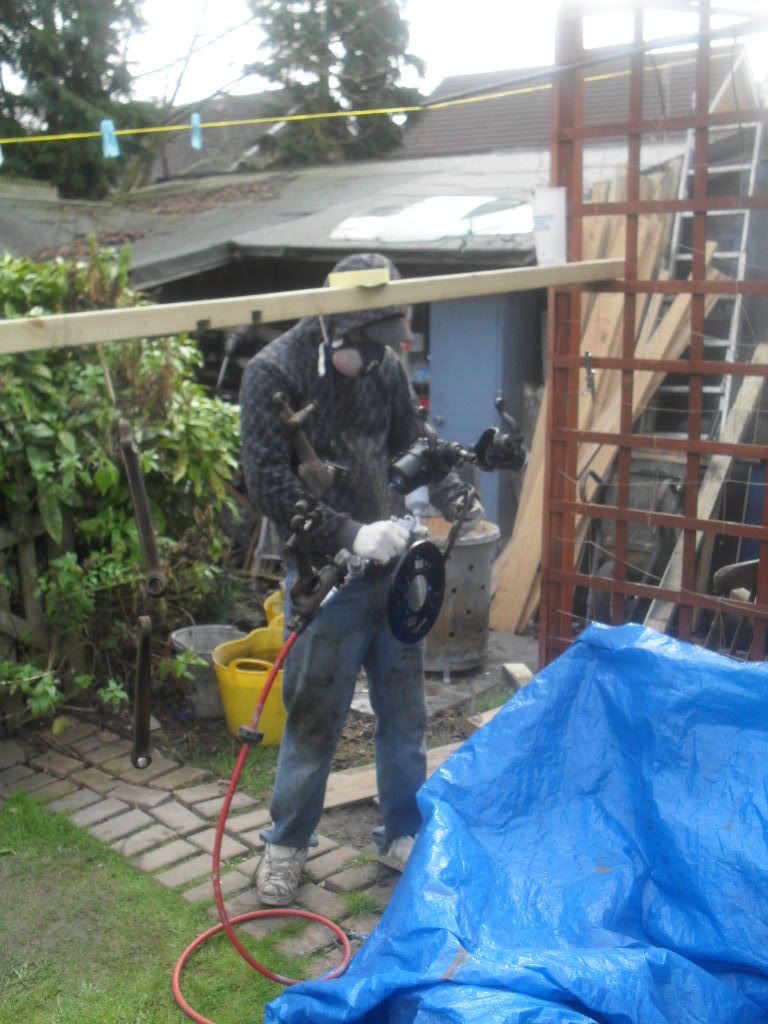
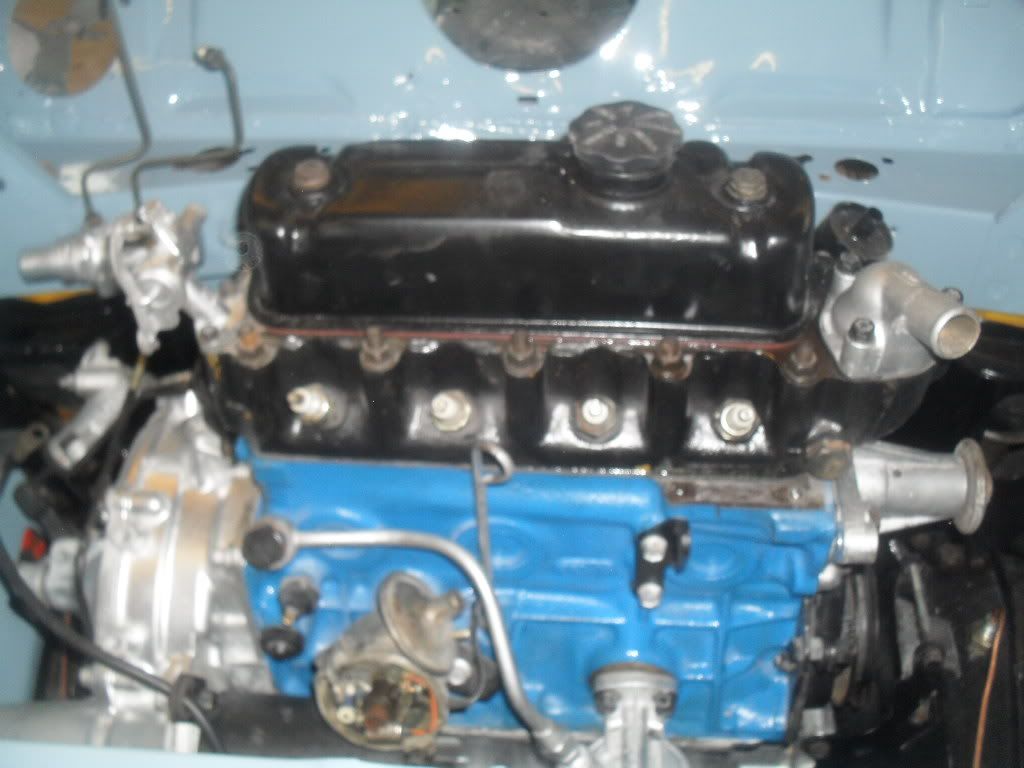
after we had the shell rolling we set about servicing the engine we were going to use. we stripped the head off
and de coked it and recut all the valve seats and replaced all the valve stem oil seals. again we forgot to take any
pics of this so the next lot of pictures are of me painting the engine!!
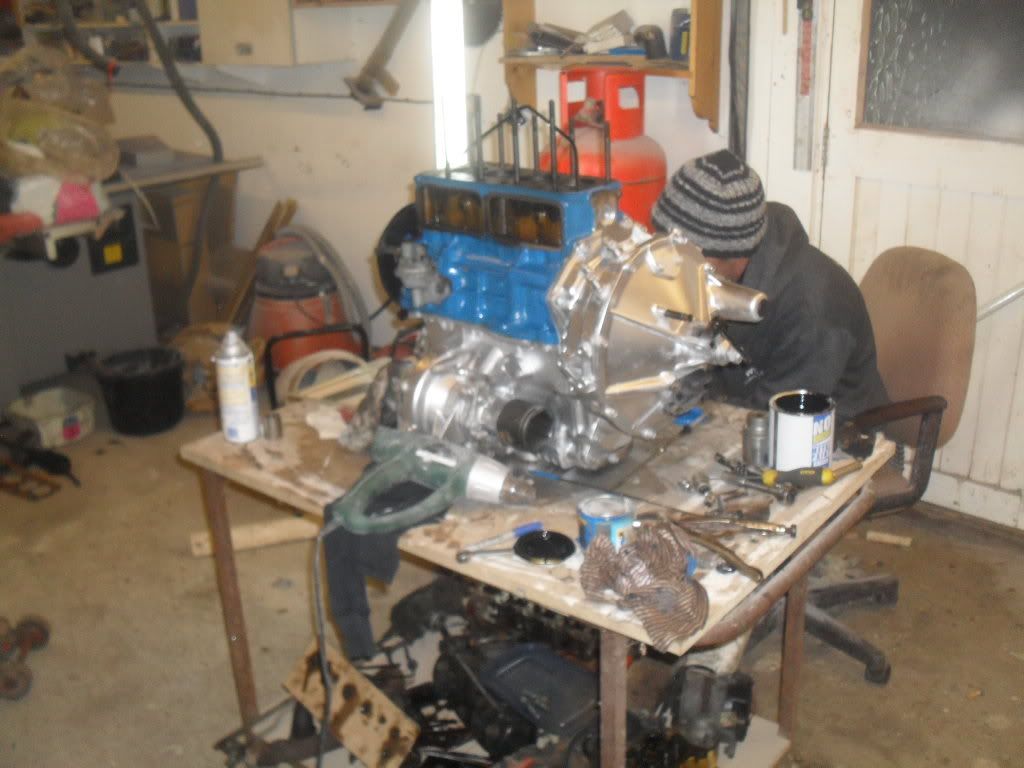
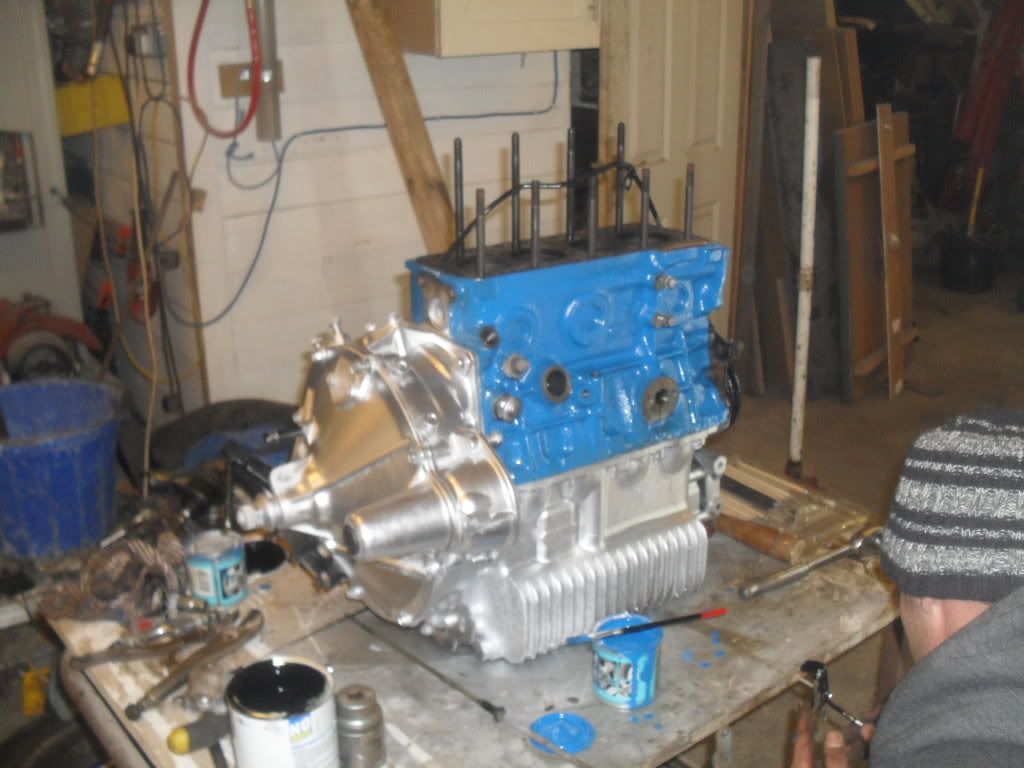
we painted the engine bay before putting the engine in. and ran the new fuel and brake lines. we made all the
brake pipes up ourselves.
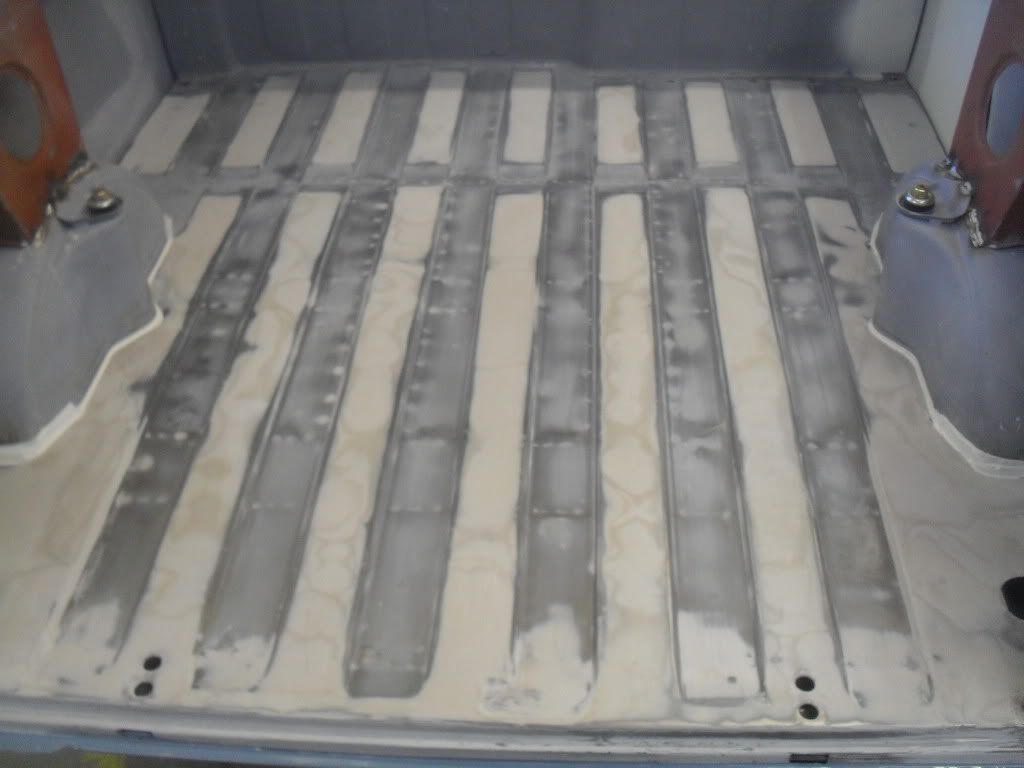
we also prepared the rear load bed and front cab painted this at home.
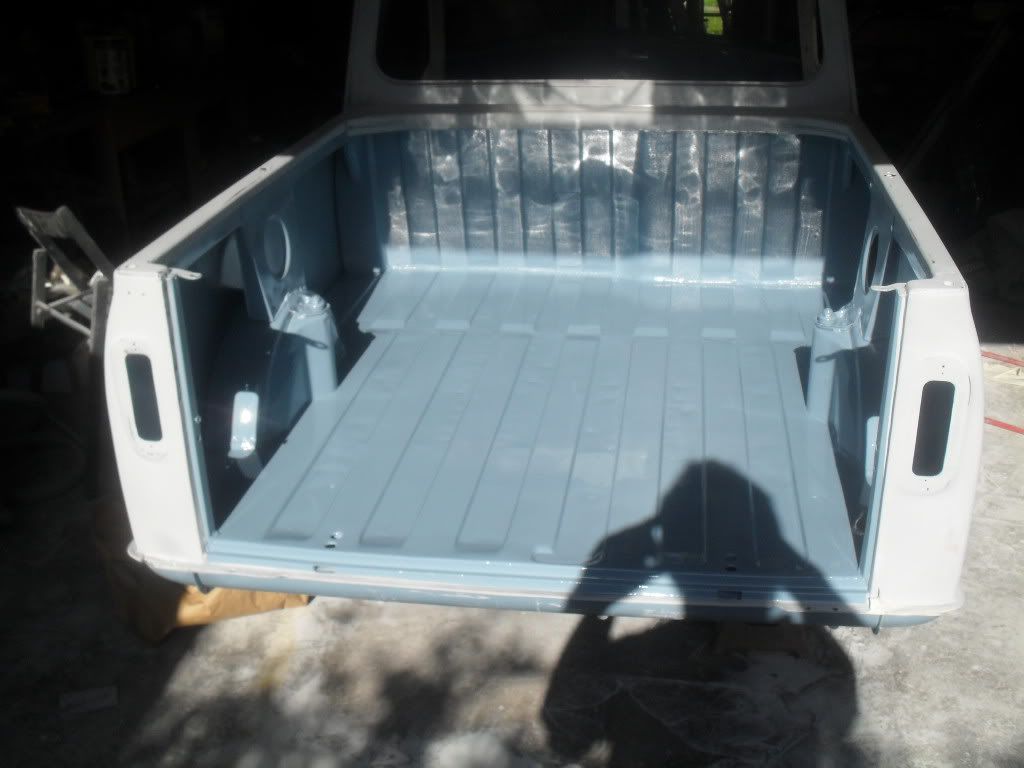
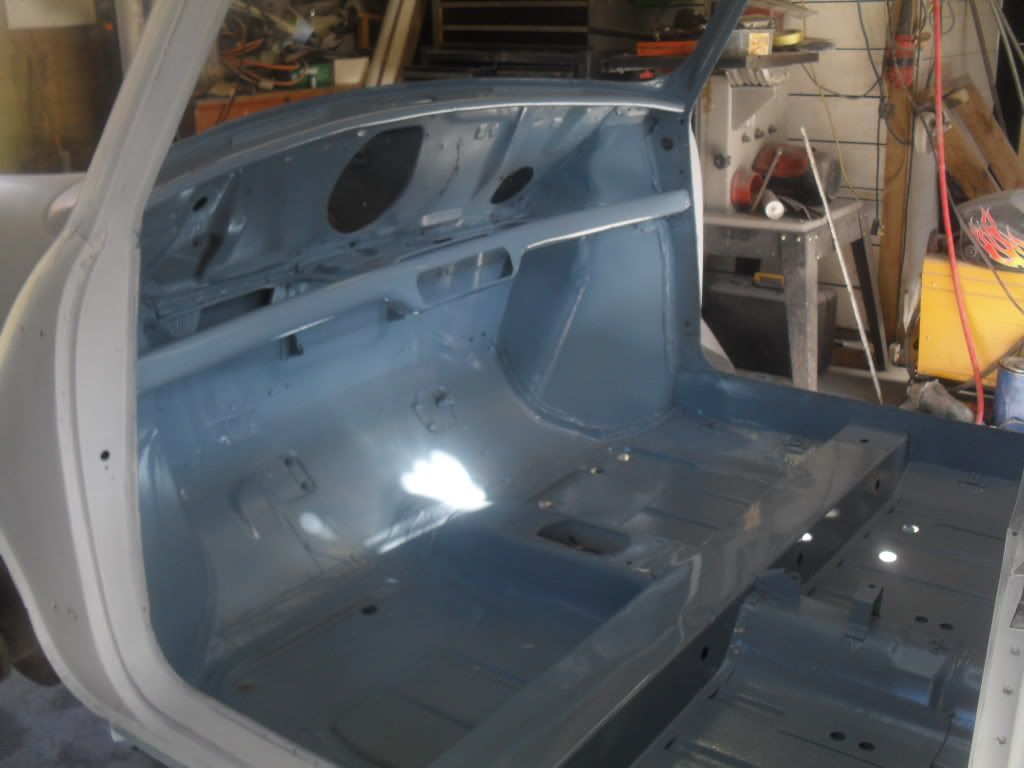
after this was done we droped the engine in. once we had the engine fitted we took the pickup to my dads mates booth
down the road to spray the rest of the pickup.
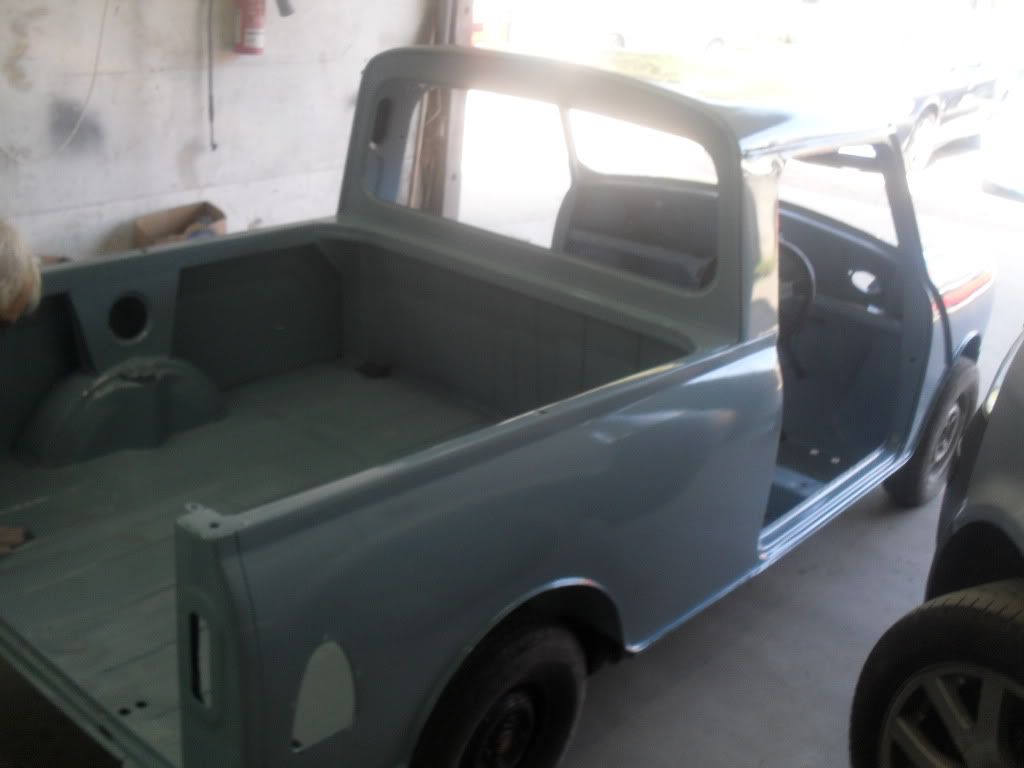
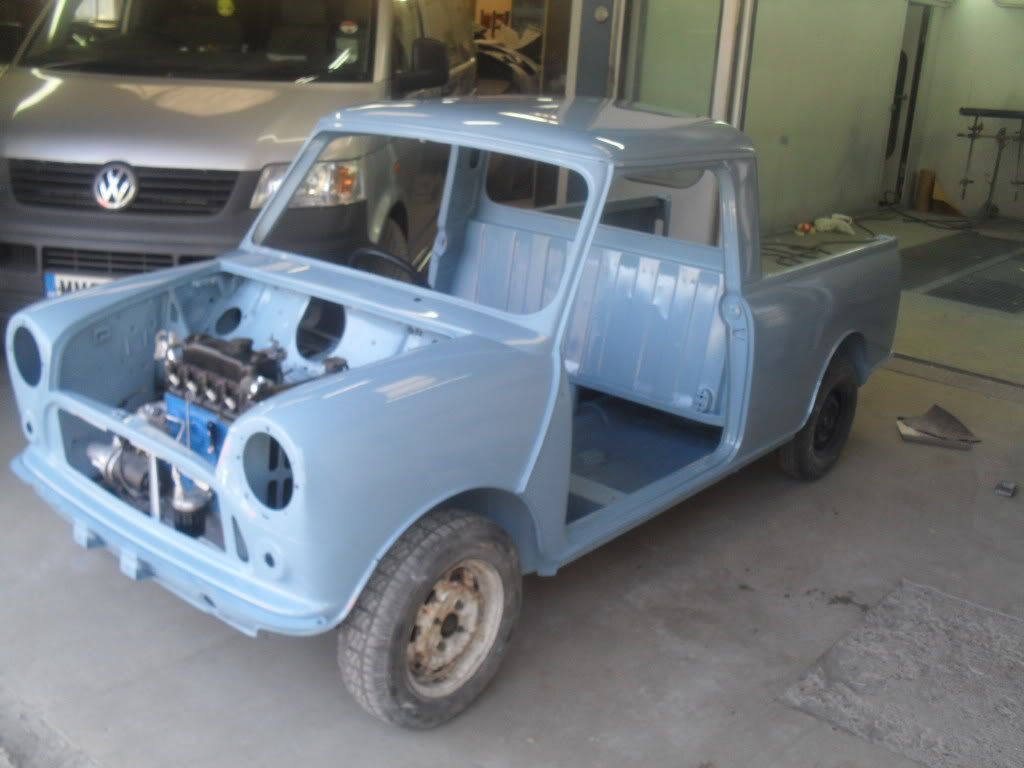
once we had this in, I started to run all the wiring loom. I got everything working apart from the indicators and the
interior light. the indicator problem turned out to be a dickie hazzard switch. about three evenings was spent
trying to sort the problem out!! its allways something simple!! as for the interior light that is still to be sorted
but for now we leaving it.
we have fitted all the brightwork headlamps, windows, doors, bonnet and tailgate and are pretty much ready for MOT just waiting
for the number plates to come through on thursday. we also had a trimmer redo the headlining after my dad repaired and straightend
out the headlining frame.
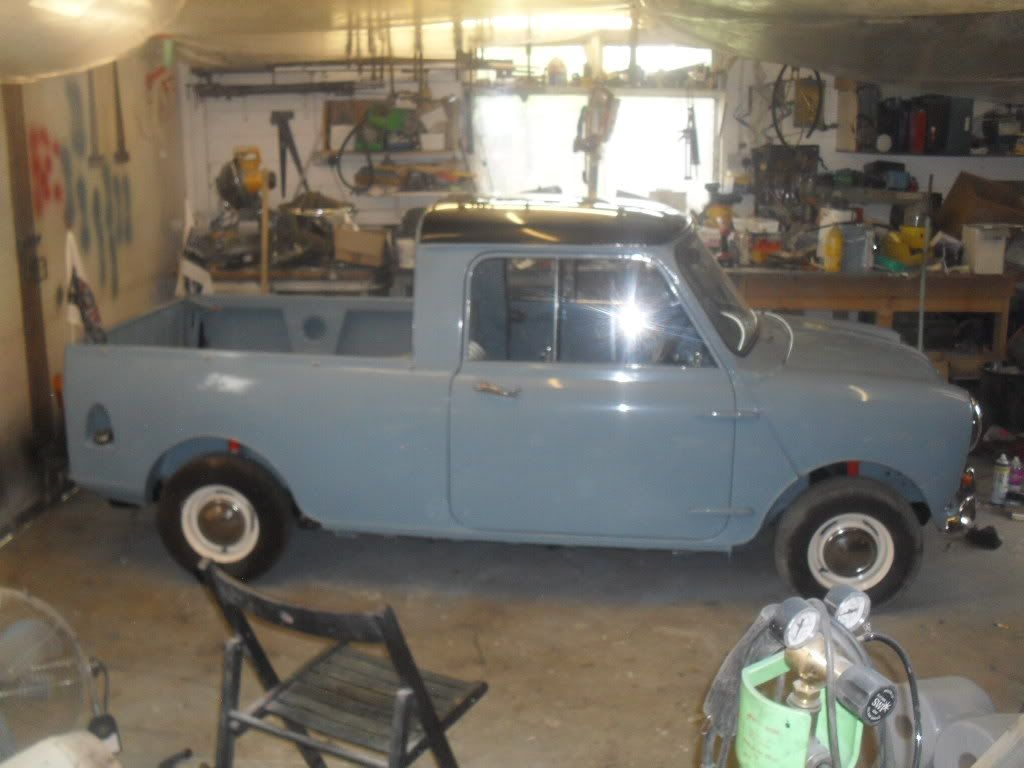
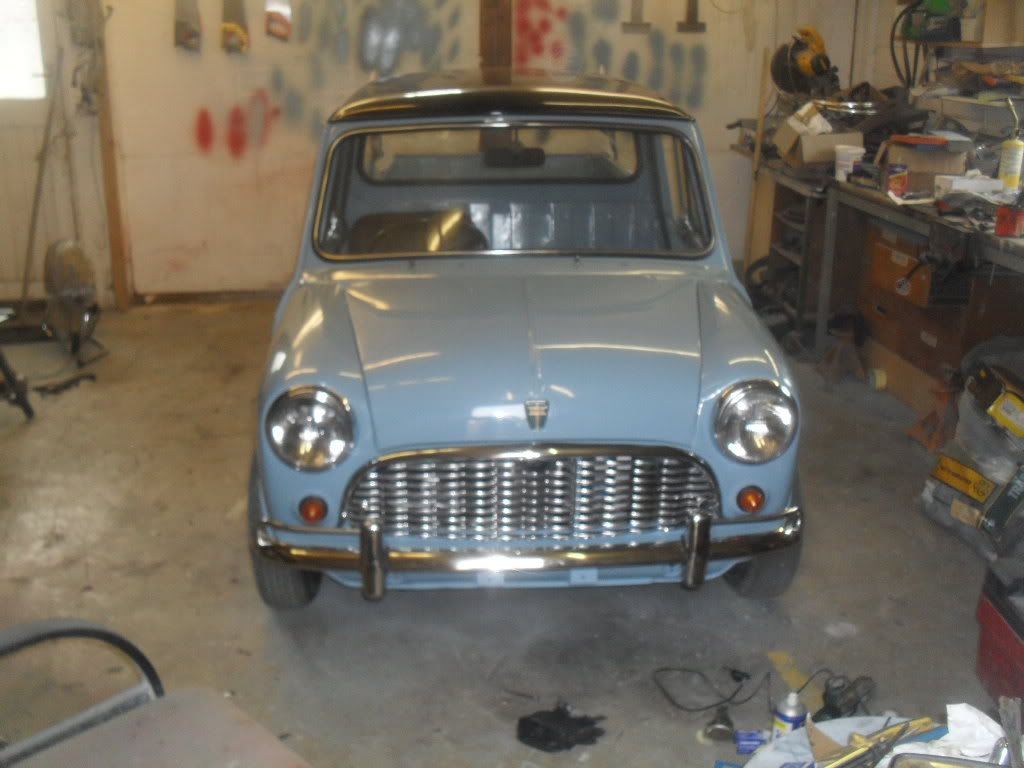
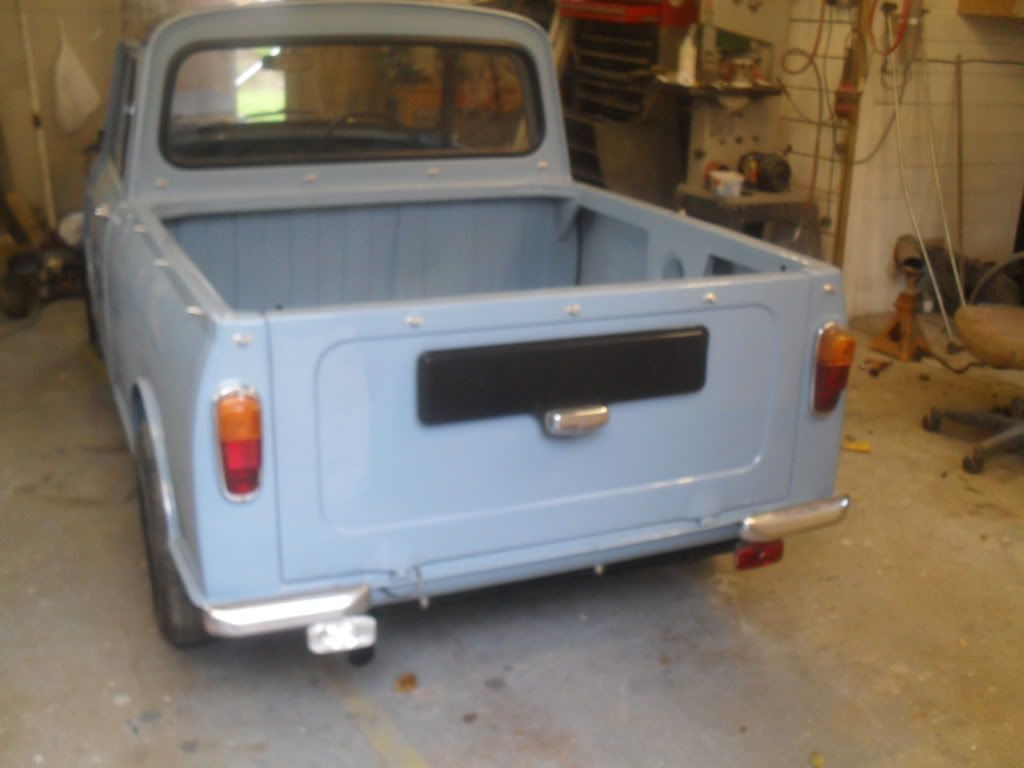
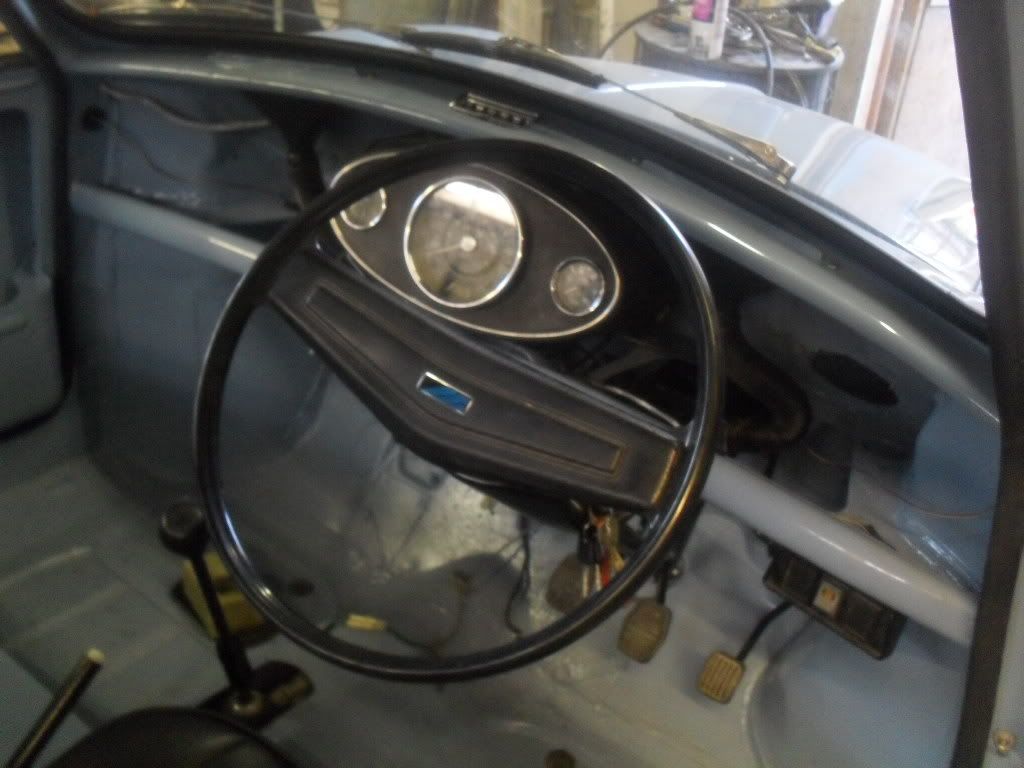
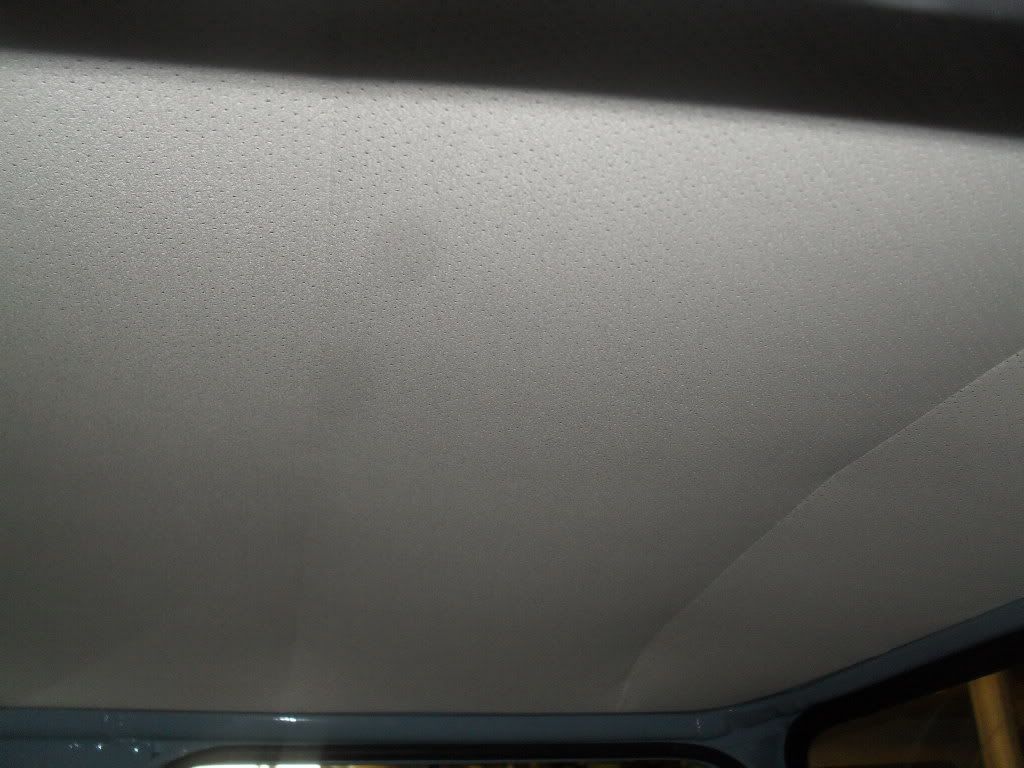
we are also waiting for the trimmer to finish the carpets front and rear and the tono cover.
looks like we will make L2B after all!!!
#28

Posted 01 May 2011 - 07:47 PM
i will look forward to seeing this at L2B, hopefully in 2 years time there will be another pickup from a farm joining the pickup clan..
#29

Posted 02 May 2011 - 06:31 PM
Hugh
#30

Posted 02 May 2011 - 06:45 PM
1 user(s) are reading this topic
0 members, 1 guests, 0 anonymous users


