


Super Mini Mad

Posted 23 August 2011 - 08:09 PM

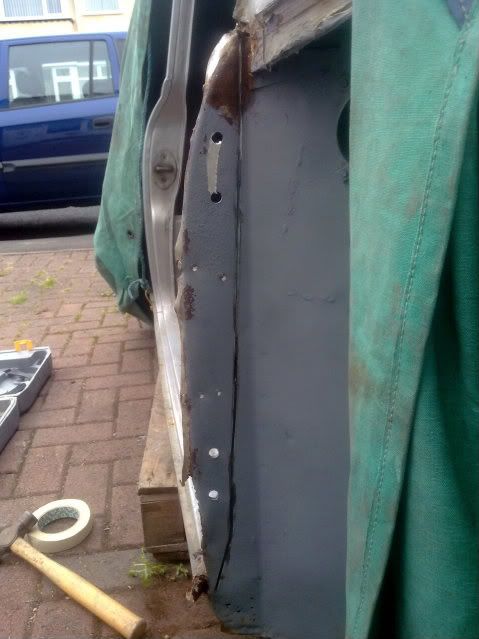
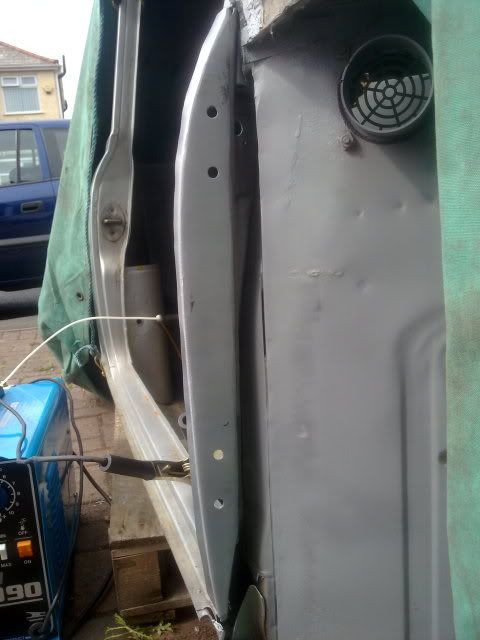
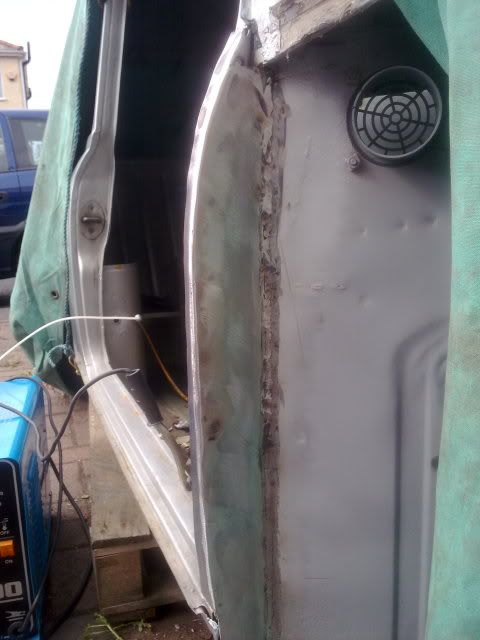
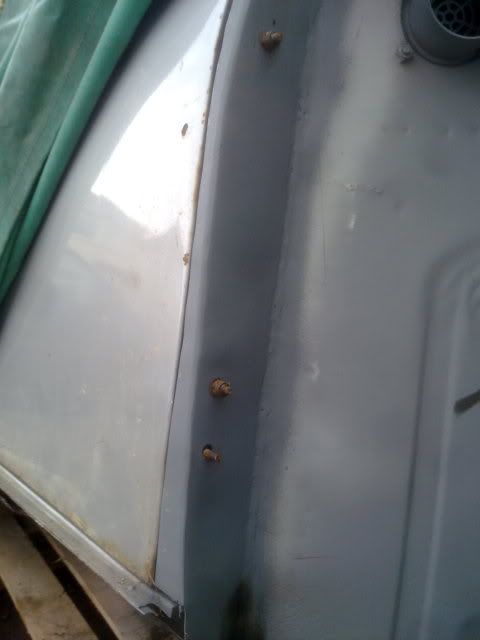
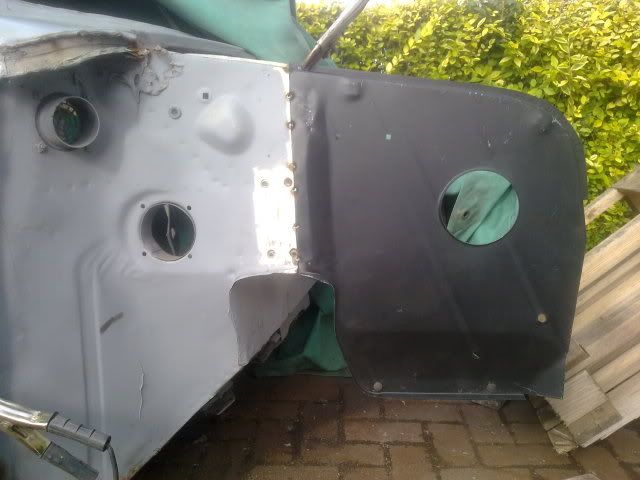
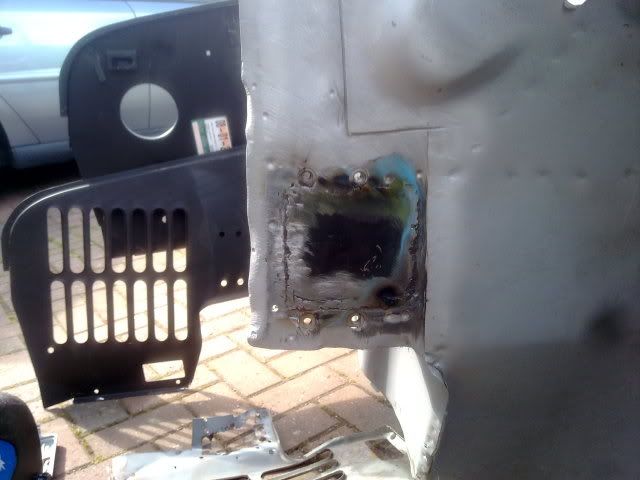
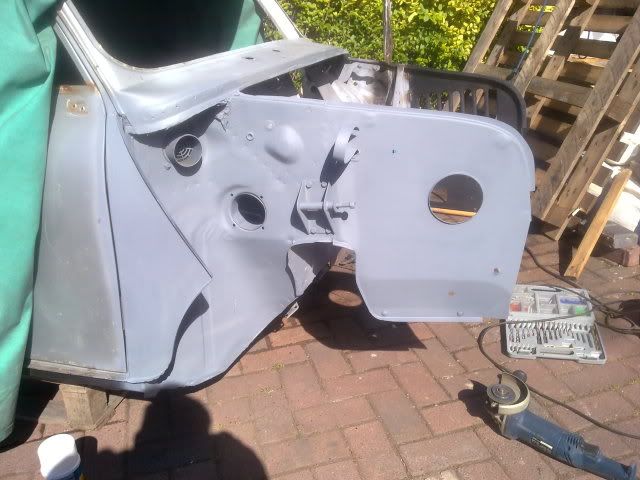
 . allso i had just enough time left to cut out the drivers side floor pan and weld the new one back in on the inside only ,as you can seein the PICS the old sill is full of filler so that is comein off soon to .
Edited by Deathrow, 28 August 2011 - 12:04 AM.
Text speak removed. Against forum rules.
Camshaft & Stage Two Head

Posted 23 August 2011 - 10:52 PM
Super Mini Mad
Posted 24 August 2011 - 09:09 PM

Camshaft & Stage Two Head
Posted 24 August 2011 - 09:14 PM
family first, soon mini will be family too, glad you got used to the new speed and is better for you to. Welding will become a pleasure from now on,.....Have fun next weekyes mate i found speed 5 and a half to 6 was the best for me , when i looked at the wire speed from past it was on 8 . so i tkink the new speed is a lot better thow .
off work all next week so we are takein the kids out and doin sum bits in the house and hope to get sum time in on the mini to so lots to do
Super Mini Mad
Posted 24 August 2011 - 09:45 PM
family first, soon mini will be family too, glad you got used to the new speed and is better for you to. Welding will become a pleasure from now on,.....Have fun next week
yes mate i found speed 5 and a half to 6 was the best for me , when i looked at the wire speed from past it was on 8 . so i tkink the new speed is a lot better thow .
off work all next week so we are takein the kids out and doin sum bits in the house and hope to get sum time in on the mini to so lots to do
Camshaft & Stage Two Head
Posted 26 August 2011 - 10:56 PM
 STREET TWEAKS, on 26 August 2011 - 10:27 PM, said:
Super Mini Mad
Posted 03 September 2011 - 08:48 PM
Camshaft & Stage Two Head
Posted 03 September 2011 - 10:53 PM
Camshaft & Stage Two Head
Posted 03 September 2011 - 11:03 PM
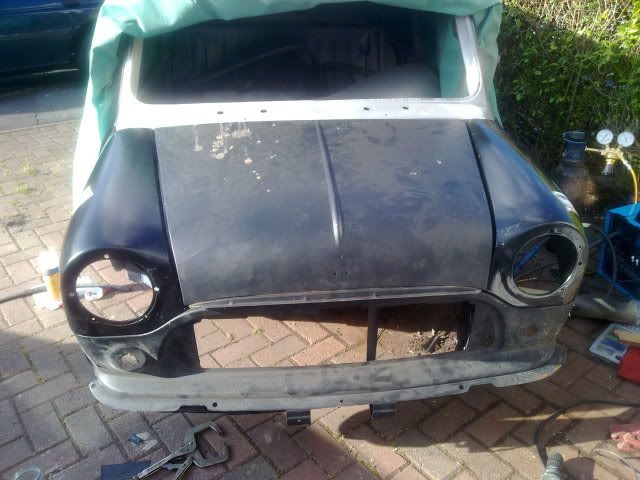
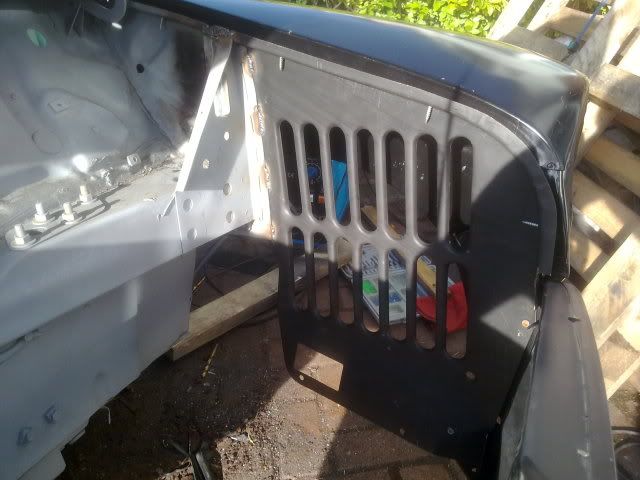
the wings won't fit on the scuttle panel ends,..you need to bend in the overhang/lip of the wing panel a bit and then tap it gently in place so the wing will be flush with the scuttle, then you need to adjust all the panels again, I mean A-panel and front panel, don't worry you get the hang of it. Leave the welder out of site for now, once the wings are positioned with the scuttle ends, drill a few pilot holes(3mm) in the wing and innerwing gutter and use a few self tappers to keep it in place, you can use those holes to tack-weld later,this way you can get rid of a few clamps and it looks like your front end is coming togheter.both sides that way,check that with your bonnet on again!!! Remember this could be your worst nightmare, but you can do it, I know you can. are you still with me sofar???putting on the front end could be a nice puzzle and you got to work with precision, no doubt you can do that seeing your work sofar,...before you weld anything on clamp the lot!!,, first a-panels ,both sides, then front panel, and then the wings, you think you have done it and ready to weld,...Stop wright there,.....place the bonnet on the front and make sure all is centered and symetrical.measure and re-measure, all angles.Nothing will fit the first time,..believe me! any questions sofar??
Camshaft & Stage Two Head
Posted 03 September 2011 - 11:11 PM
now check that the wings are still lined up with the front end panel on both sides,...this is the worst part,......you have to make it fit a bit at the time, starting from the joint of the wing and front end panel on the inside starting from the innerwing, clamp that or self tapper that as you have done with the gutter it before and then work your way towards the outer wheel arch, both sides please, still no welding!!!!Are you still with me???the wings won't fit on the scuttle panel ends,..you need to bend in the overhang/lip of the wing panel a bit and then tap it gently in place so the wing will be flush with the scuttle, then you need to adjust all the panels again, I mean A-panel and front panel, don't worry you get the hang of it. Leave the welder out of site for now, once the wings are positioned with the scuttle ends, drill a few pilot holes(3mm) in the wing and innerwing gutter and use a few self tappers to keep it in place, you can use those holes to tack-weld later,this way you can get rid of a few clamps and it looks like your front end is coming togheter.both sides that way,check that with your bonnet on again!!! Remember this could be your worst nightmare, but you can do it, I know you can. are you still with me sofar???
putting on the front end could be a nice puzzle and you got to work with precision, no doubt you can do that seeing your work sofar,...before you weld anything on clamp the lot!!,, first a-panels ,both sides, then front panel, and then the wings, you think you have done it and ready to weld,...Stop wright there,.....place the bonnet on the front and make sure all is centered and symetrical.measure and re-measure, all angles.Nothing will fit the first time,..believe me! any questions sofar??
Camshaft & Stage Two Head
Posted 03 September 2011 - 11:13 PM
Super Mini Mad
Posted 05 September 2011 - 06:55 PM
then you put all the tools down and close up, have a few cans and get back to it in a day or 2......

Super Mini Mad
Posted 05 September 2011 - 07:16 PM


Camshaft & Stage Two Head
Posted 05 September 2011 - 08:27 PM


0 members, 1 guests, 0 anonymous users


