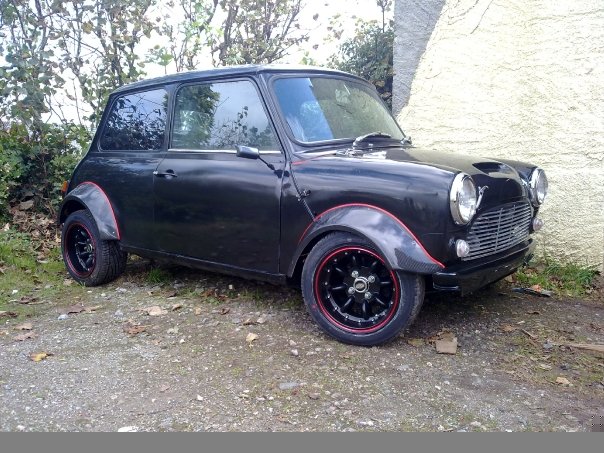
Ford Ka Dash Conversion
#16

Posted 25 March 2011 - 11:30 AM
#17

Posted 01 April 2011 - 09:24 PM
#18

Posted 02 April 2011 - 09:46 AM
#19

Posted 02 April 2011 - 10:34 AM
Good work!
#20

Posted 02 April 2011 - 06:49 PM
#21

Posted 03 April 2011 - 01:36 PM
will show you how i have done bits. sorry not got that many photos though, i know i took some but cant find them!
ok, so where did i leave off???
well having got it fitted in place, the ends of the dash need to be finished off, as i had cut the ends through the air vents, it wouldnt of finished off smooth so i cut out the raised bits left of the vents.
think you can see what i mean iin these pictures


once these were cut out, i used some cereal box cardboard over the end of the dash (from the front to fibreglass against. (these are the pictures that have got lost
drew this lil diagram... might help explain a bit...

so i used fibreglass on the back...

then filled in from the front.

then i can sand the filler down to get it all smooth!

im planning on getting it flocked but in the meantime i decided just to paint it matt black.

i started looking at the dash and wondering what to do with bits and pieces, i had three Tim guages lying around, so decided to utalise the holes left from the heater controls on the KA...

however when im sat in the car, i cant really see them too well, so may look for something else.
i think i will use the two holes below to fit some 12v cigerette sockets... usefull for sat nav/phone chargers etc.
ive got to find somewhere to put the dash panel switches and think i will use some little toggle switches in the hole left by air vent next to where the rev counter is!
i hadnt test fitted the dash with the steering cowel in place... (D'oh!) and had to do a little trimming here on the dash

i have moved flats recently n in the process seemed to of lost the cover for the airbag compartment!
so here are the pics of how it is now fitted.
im fitting the mini clocks into the KA dash pod, that i still have to do so watch this pace for that.


you can see how forward the dash sits with the door handles now very close to the dash, but looks modern!

so the bits to do... fit the clocks, fit the switches and close up the ends of the dash!

#22

Posted 03 April 2011 - 03:10 PM
#23

Posted 03 April 2011 - 03:51 PM
think it looks closer with angle of the photo, but there is about 3cm space there, plenty to get your fingers into... what more do you need space there for?!looks great nice modern twist on a mini, but i think having the handles so close to the dash would annoy me too much
#24

Posted 03 April 2011 - 06:57 PM
you could always mount the 52mm guages at an angle, like speaker pods using fibreglass. that way they will point towards you while you drive.
#25

Posted 03 April 2011 - 08:53 PM
I did think of putting these gauges in the glove box area on an angled platform, but just kept the glovebox in the end
looking good though, mine took months to get the point you have with yours
#26

Posted 04 April 2011 - 10:38 PM
#27

Posted 05 April 2011 - 11:14 AM
#28

Posted 05 April 2011 - 11:36 AM
#29

Posted 05 April 2011 - 12:20 PM
#30

Posted 08 April 2011 - 08:27 PM
i fitted carpets and door cards now too and it really does look good! will take some pictures with a camera rather than my phone so they are better quality!
1 user(s) are reading this topic
0 members, 1 guests, 0 anonymous users


