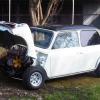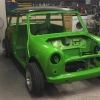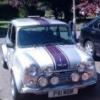
My Mini ;) The Third Chapter. 998 Fast road.
#121

Posted 26 March 2011 - 09:11 PM
My Harness bar turned up today as well, brilliant bit of kit, looks very well done as well.
#122

Posted 27 March 2011 - 09:55 AM
Keep the arches the same colour as the body though like mine, be a bit different, so many people match the colour of the arches with the roof (nothing wrong with it mind).
A gorgeous period colour in my opinion.
Can't wait to see you get this sprayed and together Luke
#123

Posted 27 March 2011 - 01:30 PM
I've been in the garage this morning but I was prepping stuff to sell.. stripping doors down etc. So nothing update worthy.
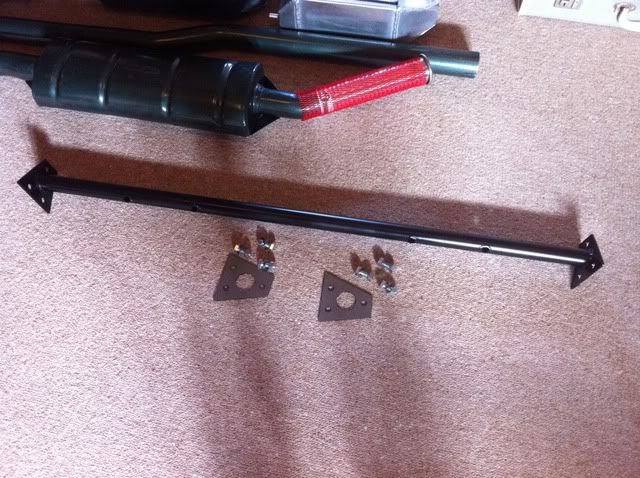
Harness bar ^ I don't know if you can make it out but there are 4 holes. I need to get some eye bolts to go in those. But it's just a case of drilling the holes in the arches, then the spreader plates go the other side and job done.
Goodbye rear passengers
#124

Posted 27 March 2011 - 03:26 PM
#125

Posted 28 March 2011 - 11:38 AM
Erm it'll be a standard 998cc engine, 12g295 head, T2 turbo.. I may upgrade the cam to a 1275 cam or a metro cam. That'll be it for now.. once she's running and I've ironed out all the problems I will start to think about making it lighter, faster, smoother etc.. It's all down to budget at the end of the day.
http://www.acwmotors...;products_id=30
Tempted
#126

Posted 24 April 2011 - 04:11 PM

Click here for the full set.
And yesterday I went to..

Click here for the full set.
And today I managed to get an almost full day


The incredibly tedious hot job of using a paint stripped gun and a chisel to peel away the soundproofing, I still need to get rid of the sticky residue. It will be replaced with Dynamat or something similar.

Picked these up from the Motorbike show yesterday, the flap disc is brilliant! So much nicer to use when grinding down welds, much flatter smoother finish.

Another job on the list was to close this gap.

So I clamped, tacked, and then tidied up the surround area with the Knotted wire wheel before Ku-Rusting.
Everywhere will be getting a bloody good lick of Seam Sealer before the Stone chip is applied over the top.

& tidied up the front.

The end result of todays effort, I have been patching and filling holes on the floor all day, few caused by rust and a few caused by where the spot welds had torn when I was taking off the metal (fuel line/battery cable/brake fluid pipes) tags and channels.
I wasn't too fussed with making the welds look pretty on the underside as of course, no one will see it and I'd rather have a thicker bit of metal than thin it down. Although I did tidy up the inside because I want the Dynamat to sit nice and flush with the floor.

This is a test patch, I don't know if it's best to apply the Underseal/Stonechip to the etch primer, or give the etch primer a heavy coat of Red Oxide before applying the Underseal/Stonechip.
Calling it 'Underseal/Stonechip' because I can't remember what it says on the tin
Oh and I've also decided to sell my Autoplas dashboard, as I think it's too plasticy and 80s.. not really in keeping with the theme I'm going for. I've got a drivers side Works Rally style dashboard on the way, I need to source a passenger side! So if you've got one, or know someone that does, let me know
Edited by analogue_radio, 24 April 2011 - 04:14 PM.
#127

Posted 24 April 2011 - 08:16 PM
#128

Posted 24 April 2011 - 09:10 PM
One thing I would say is do a bit more work on that closing panel gap. that join was spot welded from the factory, if your MOT man sees it's just tacked he won't be happy. Looking at the gaps, I'd clamp it up and stitch weld it (as good as plug welding according to my MOT man).
I saw your fixed speed stuff on Facebook, wound up with me on eBay looking at old racing bikes. I'd love a lighter bike as my mountain bike is quite a weight to be pedaling around the hills of Lancaster. All good exercise though
#129

Posted 24 April 2011 - 09:21 PM
Aye good idea, I'll go back to that the next time I'm out and finish it off, cheers!
Haha, it's another project that is meant to be cheap, quick and easy
#130

Posted 24 April 2011 - 09:30 PM
haha no project is cheapHaha, it's another project that is meant to be cheap, quick and easy
turning out to be quick and easy, but not cheap!
#131

Posted 24 April 2011 - 10:04 PM
Seconded!haha no project is cheapHaha, it's another project that is meant to be cheap, quick and easy
turning out to be quick and easy, but not cheap!
as much as we all want them to be, they just aren't lol but its all fun and games
I've been pricing up a new project (building a central Media Server) but it all adds up far too fast haha.
#132

Posted 25 April 2011 - 03:43 PM
I'm genuinely exited to see this come together. All those parts you have been collecting over this and the last project.
Loving the color options too, all personal favorites.
Getting some nice shots with the 550D. Been hankering after a nice DSLR for ages but my brother is usually nice enough to share his 400D.
#133

Posted 26 April 2011 - 09:38 PM
Unfortunately for the next two days I'll be doing some election work! which means no garage time, but.. lots of extra money!
& I've bulk ordered 6 cans of red oxide.. got a feeling I should've gone with the 12 cans.. as I've got the whole of the floor to cover, inside the boot and parts of the floor inside, but I'll see how I get on.
Oh and I've decided to use rubber bungs for the ventilation holes in the floor, the surrounding metal will be covered in etch primer, red oxide, possibly seam sealed, rustoleum and then undersealed.. so nice and protected. I will be laying Dynamat or something similar down inside, and then I will be cut a square hole around each ventilation hole, this way if for some reason the floor does get damp, it can be aired out.
Photos.

Started to bare metal the rest of the underside.
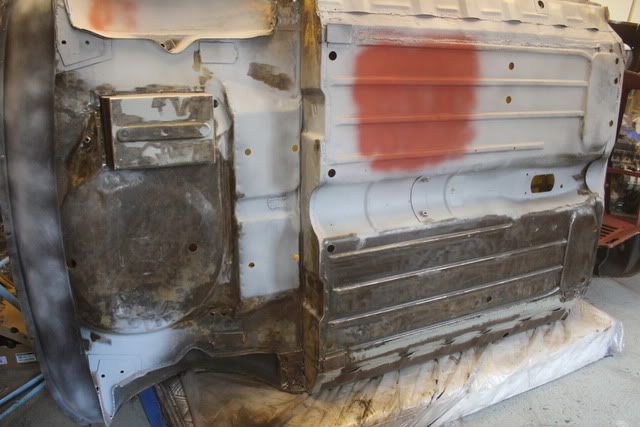
Done.
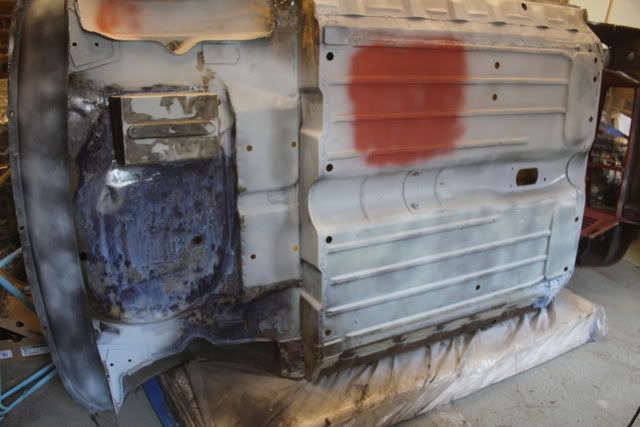
Floor etched and the underside of the boot Ku-rusted.

After the Ku-rust had dried I applied some etch primer and it was looking like this, much better!

Shock mount rot cut out.

Patch cut out and to size.

Chucked a load of Ku-rust and then it's been left to dry and ready to weld.

(Old photo) Then I turned my attention to the rear subframe/heelboard mounting point.

Ground away all the rot and cut the rot out the middle.

Started filling some holes.
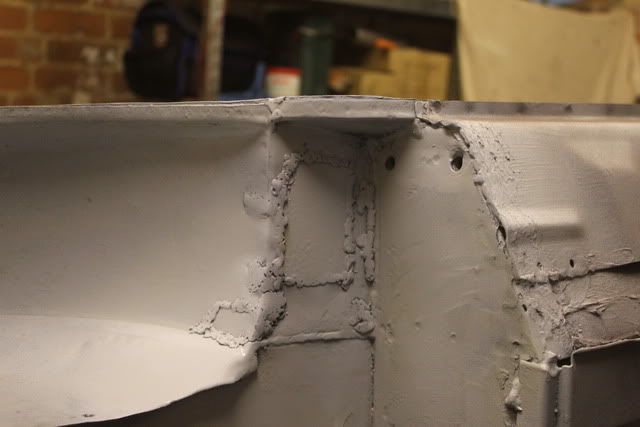
After more welding and some etch primer. It's by no means pretty! but it's nice and solid. Plus it'll be covered by seam sealer and underseal so it's not a problem.

All the dirt I removed today!

Annnnd a little incident I had today, went inside for a cuppa tea and came back out to find the garage smelling of a bonfire and smoke coming from somewhere. I thought it was the mattress as the mini is sat on it.. but couldn't find a fire anywhere.. somehow this dust sheet, which was being used to cover my new parts on the shelving had caught a spark.. although it was on fire, it wasn't flames.. just an orange glow that was slowly spreading. Glad I came back to the garage in time!
#134

Posted 26 April 2011 - 09:41 PM
My welds were quite bubbly full of tiny air pockets at times, if that makes sense? Imagine an aero chocolate bar but with smaller bubbles.
#135

Posted 27 April 2011 - 09:43 AM
2 user(s) are reading this topic
0 members, 1 guests, 0 anonymous users
-
Bing (1)


 This topic is locked
