
My Mini ;) The Third Chapter. 998 Fast road.
#241

Posted 11 July 2011 - 06:25 PM
#242

Posted 12 July 2011 - 07:30 PM
Good session
#243

Posted 21 July 2011 - 07:46 PM
I'm back from a weekend in Norfolk with the missus and a week in Iceland for a family wedding! That's my summer holidays over and done with so now it's just the very rapid up and coming date of going back to Uni that stands before me..
Came back to find a few parcels

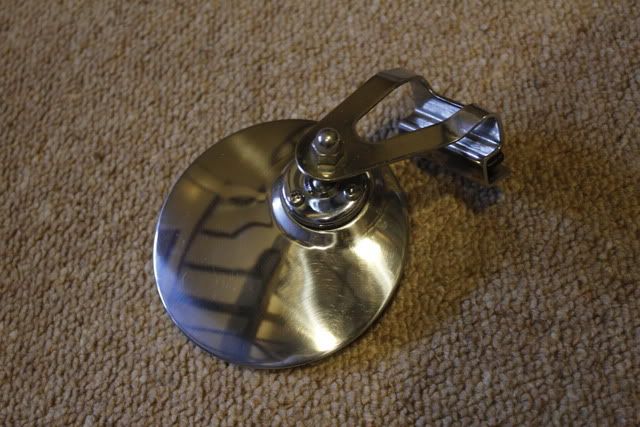
Overtaking mirror I bought off here, it's stainless steel
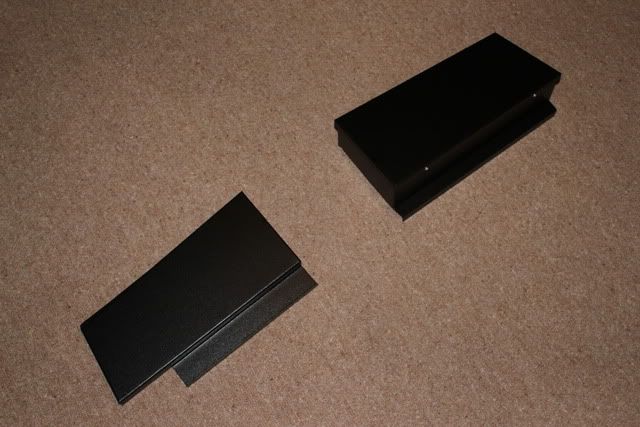
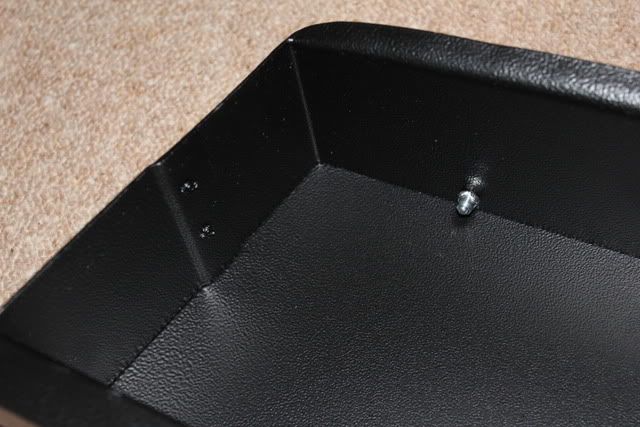
Works rally style dashboard
& copper plate, not really worth a photo

Also got a plate made for the rear 1/4 tonight

Welded
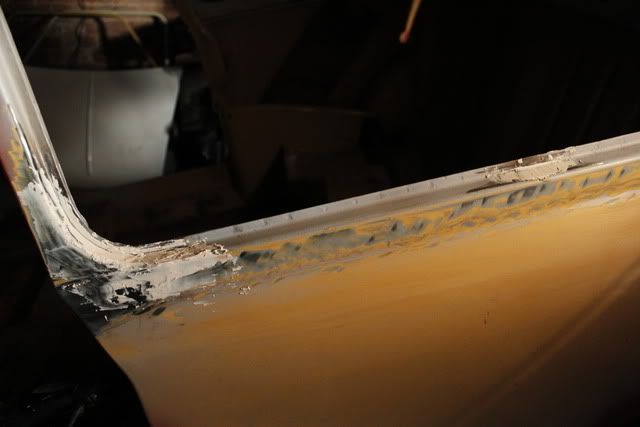
Ground and covered in filler
I've left it to dry and I'll finish it off the next time I'm out there
Really will make a push to get it done now
Oh and I'm also opting for a metal bonnet rather than my fibreglass one.. few valid reasons.. It fits awfully & even with fettling I won't be happy with it, I'm not keen on having visible fixings in each corner, It will take too long to get into.. and if I need to get into the bonnet in a hurry (fire) then I'd rather get in there quickly, when I take the bonnet off I won't have anywhere to place it down and I don't want to risk chipping the paint and lastly I'm not concerned about saving weight so that factor doesn't bother me.
I'm picking up at bonnet from MITP for £40 and the fibreglass one cost me £70+, so I'm not loosing money by deciding to change.
#244

Posted 22 July 2011 - 10:44 AM
whats the OMP thing?
harness/seat belt cutter
thanks
#245

Posted 24 July 2011 - 09:32 PM
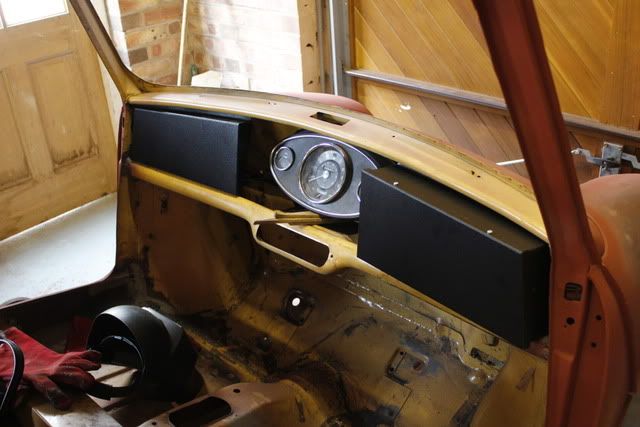
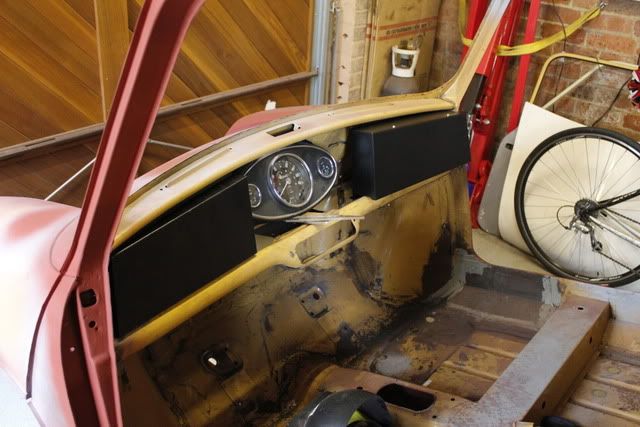
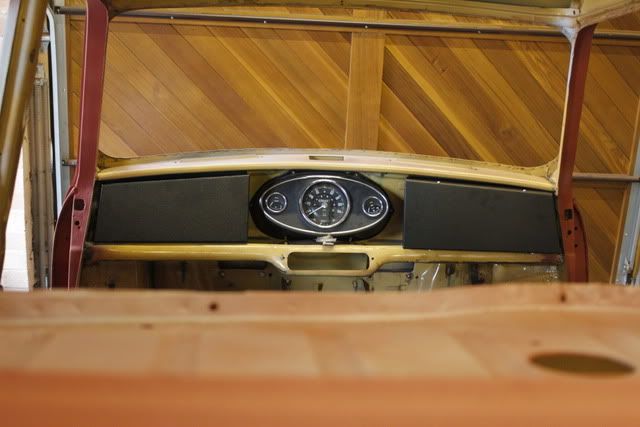
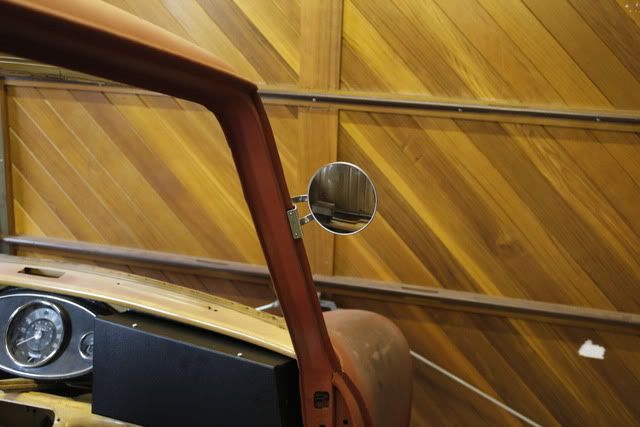
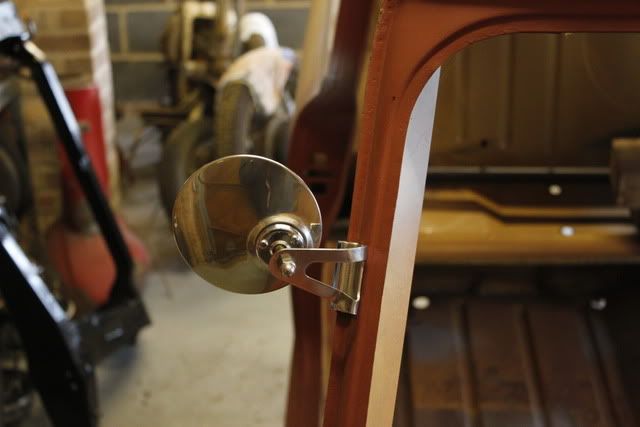
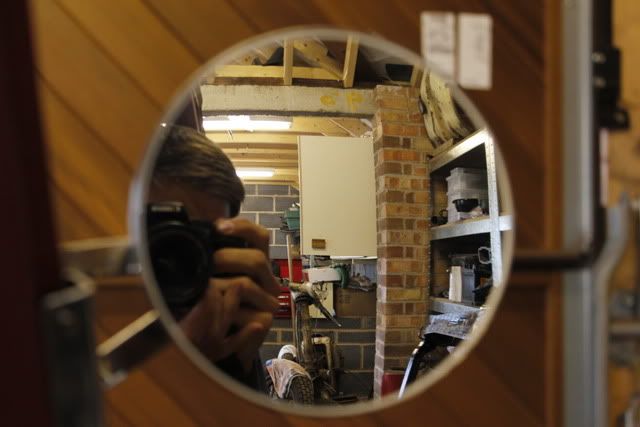
Nice and convex as well!
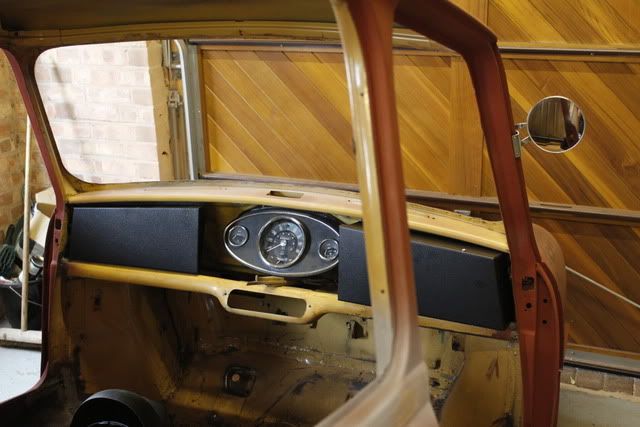
& the whole lot
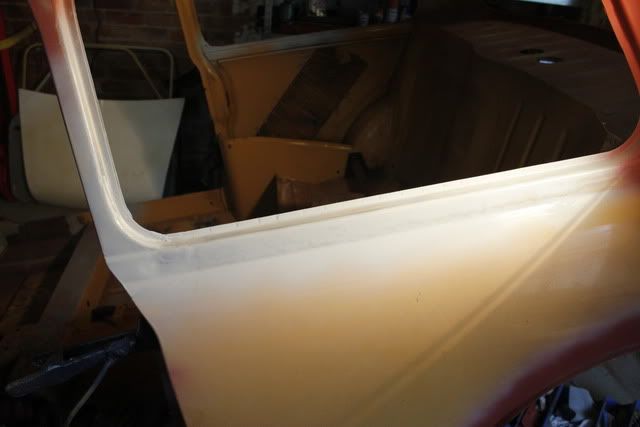
Rear 1/4 sanded down.. needs some more work doing to it to get it 100% smooth and unnoticeable, but I might leave that to the professionals at the bodyshop.
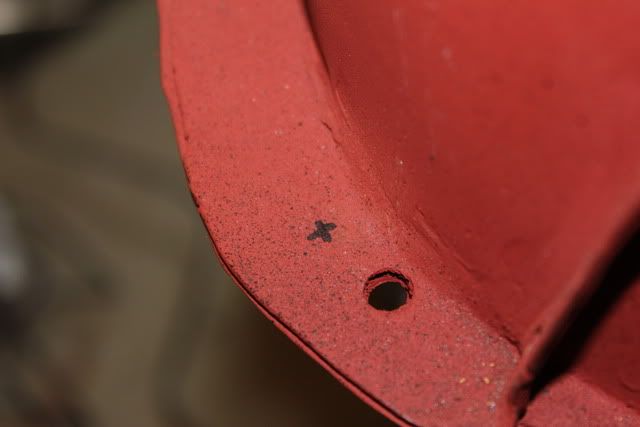
Then I needed to get the rear bumper sitting straight and level which meant redrilling one of the holes.
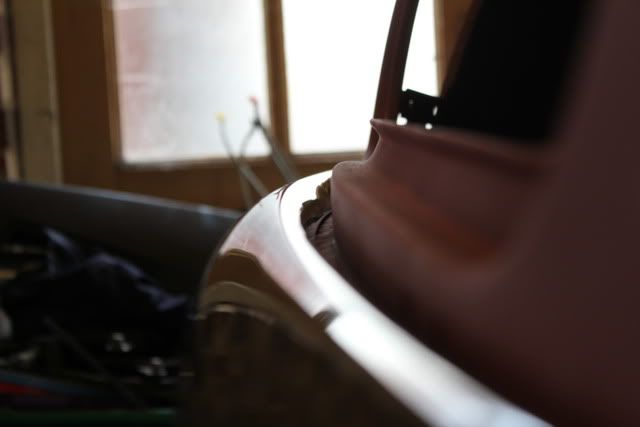
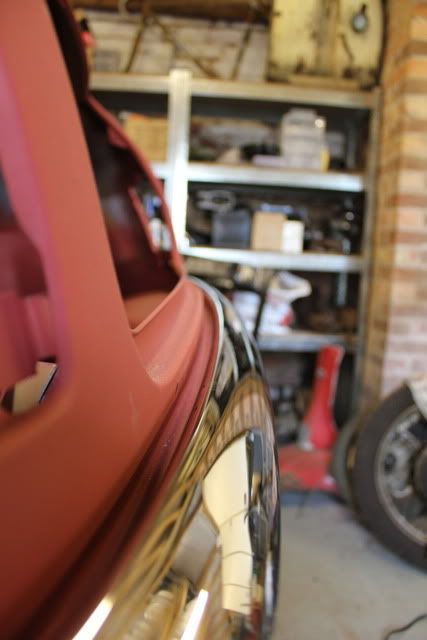
Done! Sits a lot more nicer now.
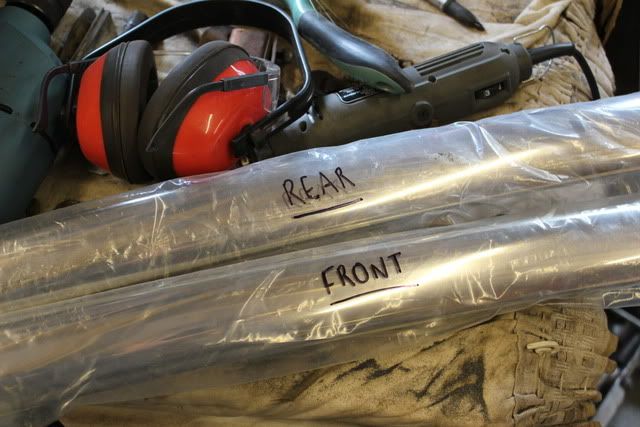
Also marked them up so I know which is which, in case some of the bolts are at different angles causing them to sit different etc..
And seeing as that's almost all the bodywork niggles sorted out on the rear half.. I decided to now dive in at the deep end and sort the last problematic area out..
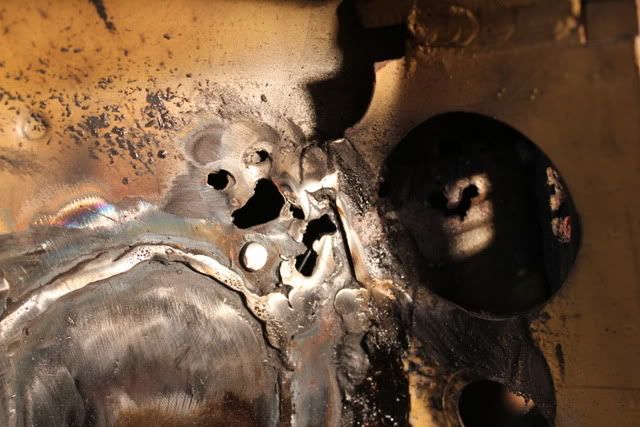
O/S area..
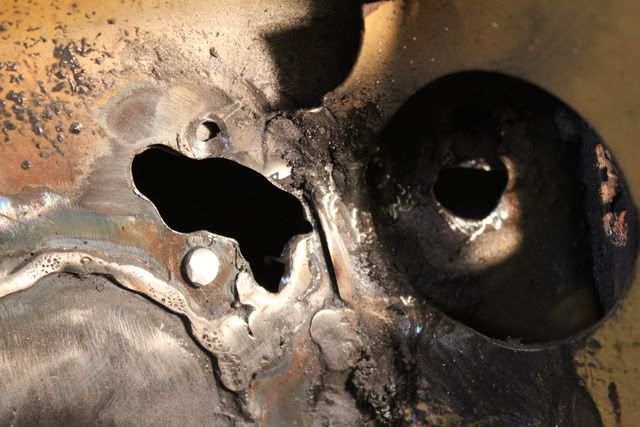
Then with the dremel I opened up the area removing all the weak surrounding metal meaning I can now start to make a small patch and get it welded in.
I also did the same with the N/S side but the photos won't upload! It looks a lot worse though.. and even more tricky.. hmm..
Edited by analogue_radio, 25 July 2011 - 04:44 PM.
#246

Posted 25 July 2011 - 07:24 PM
Weird you had to do that with the bumper mountings though although it does look like the stud must be miles out. To get my front to fit close it took alot of pulling (nearly pulled Elliot off the axle stands
Your dash setup is looking similar to how I want mine. But I want my boxes in brushed aluminium. Think I'm probably going to have to make them up myself, not seen anywhere that does them!
Keep it up!
#247

Posted 25 July 2011 - 07:31 PM
I'm currently working on repairing the O/S air vent.. god knows why a new wing was put on without sorting the rust up there, but I'm trying my best to correct it. I've done some welding tonight and I've just thrown a load of Ku-Rust up there to kill any remaining rust before welding in another patch.
After I've done all that the whole thing will be smothered in red oxide, seam sealer & underseal.
P.s. I don't think they are hard to make up! If you find a template from somewhere it's just a few folds here and there.
#248

Posted 25 July 2011 - 11:09 PM
Sometimes you just miss these little bits of rust, I know as I've done it haha.
Yeah, I'll either find a template online or make one using some cardboard. I was thinking if I folded it so the front was perfectly flat and then have some external overlaps on the sides all riveted up. It'd look very aircrafty (technical term there). Not sure what I'll end up putting in them. At the moment I only have a rev counter for the driver side one and my head unit will go in the passenger side one along with a dock for an external HD to plug in to the head unit.
Might even be overkill having the dash boxes with so few things in them? What have you got to go in yours?
#249

Posted 26 July 2011 - 12:30 PM
Random, but I really like your garage doors!
-James
#250

Posted 26 July 2011 - 04:21 PM
Ahh I see, did he drill the new holes? You might want to check your bootlid hinges still fit as that bumper does look damn close. Looks awesome though.
Sometimes you just miss these little bits of rust, I know as I've done it haha.
Yeah, I'll either find a template online or make one using some cardboard. I was thinking if I folded it so the front was perfectly flat and then have some external overlaps on the sides all riveted up. It'd look very aircrafty (technical term there). Not sure what I'll end up putting in them. At the moment I only have a rev counter for the driver side one and my head unit will go in the passenger side one along with a dock for an external HD to plug in to the head unit.
Might even be overkill having the dash boxes with so few things in them? What have you got to go in yours?
Ah true.. well if it's a tight fit I can get the dremel out and extend the holes away from the shell, to allow for more room.
Well on the right hand side I'm planning on putting the turbo, clock & ammeter etc.. I've got a few others as well. Annnd also lots of toggle switches for various things, might even put in a few blank ones just for the aesthetics.
And on the left hand side I've got a map light, some retro pen holders, I want to wire my fuse box there as well.. just bits and bobs! accessories etc..
The projects looking awesome! Getting so much closer to paint! My rear bumping is a fair bit out too, going by the holes. Pulling the bumper really hard got it in, but I've probably wrecked the thread on that stud doing so. I should have just got the drill/file out!
Random, but I really like your garage doors!
-James
Haha hasty
& cheers for the compliment on the garage doors, I'll pass it on to my Dad
#251

Posted 26 July 2011 - 04:32 PM
Gauges
- Speedo
- Fuel
- Oil temp
- Amp
- Boost
- R.P.M
Accessories
- Map light
- Cigarette lighter (for GPS etc..)
- Pen holder (need to get)
- Clock (need to get)
Switches/electrics
- Fuse box? (might run the wiring inside the cab, hidden)
- Various toggle switches and switch extensions (unsure what is what at the moment)
- Battery Cut Off
& everything will be labelled up with my old Dymo.
#252

Posted 26 July 2011 - 07:32 PM
I might wait until I have a need of more gauges to do mine and just make up some tidy brackets to hold my head unit and rev counter.
I want to go turbo at some point over the next year so then I'll need more room for gauges hehe.
#253

Posted 30 July 2011 - 07:35 PM
Ah awesome! Much more planned than me then
. What is the gold thing on the bottom left?
I might wait until I have a need of more gauges to do mine and just make up some tidy brackets to hold my head unit and rev counter.
I want to go turbo at some point over the next year so then I'll need more room for gauges hehe.
That's my Dymo lablemaker
Had a good afternoon today


First of all was a trip to Tanvic to get my tires fitted!

£10 a corner and £2 for the disposal of each tire.. the going rate I think. They need a good scrub and the residue removing from the weights, but it's another job done


Then Dad and I had a much needed tidy up, the Lambretta was moved to the other garage and boxes of Motorbike parts moved to where the Lambretta was. This is because he's expecting parts back from being refurbished and painted so hopefully the Norton will start to be put back together soon.

& I found the biggest spider ever

Tidy-er

Got the front up on a wooden work horse to make the whole thing level, it will also make it easier when I'm up inside the arches sorting those patches out.

Then my aim was to sort the rear out and get everything sitting correct. Boot sat in the position with the rubber seal in place.


Got the catch fastened in place so it shuts and locks


Hinges on as well


Then I wanted to get the Reverse & Fog lights mounted up.. I prefer the position where they sit further apart, if they are too close it'll give the impression that the rear end is fat and squished.


And the brackets I made. This is how they will be mounted, I'll weld the underside. I'll then drill a hole in the rear valance and then through the boot floor so the wires can feed up, they'll all be kept nice and tight so they won't be visible.
#254

Posted 31 July 2011 - 06:57 PM

Out of focus!

Both sides tacked on, just to make sure they both sit the same distance apart etc..

I then seam welded the underside and shaped down the excess unneeded metal.


Then I drilled holes through the rear valance and boot floor (both NS and OS of course) and fitted rubber grommets, the wires won't be visible as they are tucked nice and high.

Hoovered the boot out and gave it some etch primer.


And finished off with red oxide. Not a bad job I don't think

And then went on a huge cleaning spree with the hoover (I wore ear defenders for this part as I can't stand the noise.) The shell was covered in red dust from the red oxide and bits of metal from grinding etc.. so that's all looking a lot nicer and cleaner now.

Mounted up my Cobra Classics.. bit of a fiddle but got there in the end.


Harnesses in to make sure it all sits nicely.

Couldn't resist!


All the straps need adjusting and tightening up, but you get the idea


And the eyelets fit nicely into the existing seat belt holes.

Harness bar level (this will be sprayed body colour)

One side drilled and the backing plates on.
Edited by analogue_radio, 31 July 2011 - 06:59 PM.
#255

Posted 31 July 2011 - 06:59 PM

OS needed some fettling, operator error!

After enlarging one of the holes, done!

Etched.

Red oxide'd.

& gave the wheel arches another coat of underseal to finish it all off nicely.


I've also got these 2 items for sale, so check out my for sale thread.. here.
Going to sit and write a list of what jobs are left to do.. not much
1 user(s) are reading this topic
0 members, 1 guests, 0 anonymous users


 This topic is locked


