Jump to content


Photo
- - - - -

My Mini ;) The Third Chapter. 998 Fast road.


  • This topic is locked This topic is locked
842 replies to this topic

#211 analogue_radio

analogue_radio

    Up Into Fourth

  • TMF+ Member
  • PipPipPipPipPipPipPipPipPip
  • 4,897 posts
  • Location: Melton Mowbray, UK.

Posted 26 June 2011 - 09:01 PM

Today :)

Posted Image

Welded & filled the unused grille holes.

Posted Image

Sanded and smoooooth.

Posted Image

Etched and then red oxide'd, lovely!

Posted Image

These stripes had to go, so out came the wallpaper heat gun and a scraper..

Posted Image

Gone.

Posted Image

After sanding and red oxidising.. still some rough left.. any suggestions? might just let the bodyshop take care of it.

Posted Image

This hole was left behind..

Posted Image

Gone.

Posted Image

And the whole door step tidied and finished off.

Posted Image

Few rough areas on the N/S rear quarter.

Posted Image

And another..

Posted Image

And one more..

Posted Image

Welded the other two up but this one blew through and was a bit thin, so I took it back with the knotted wire wheel. I'll patch it a night this week.

Posted Image

I then started to weld up the air vents.. but..

Posted Image

Posted Image

The flap disc decided to commit suicide and kick back into my hand. Yes that's a blood.. I know I'm lucky to be alive! It was more of an impact thing rather than taking my skin off, felt like I had broken a finger again when it hit me.

Posted Image

Tidied the garage and had a quick play with this :P


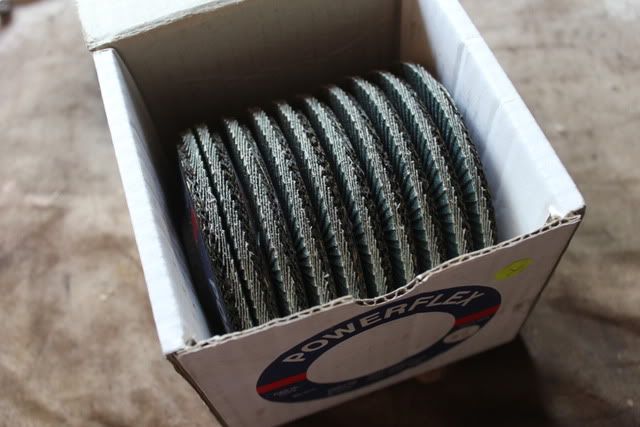
I've got underseal, black hammerite, flap discs and black suede on their way.

The harnesses should be turning up tomorrow.

And I've got a big order to place with either Mini Spares or Mini Sport.. depends who has got what in stock.

It's getting there :-

#212 Deathrow

Deathrow

    Have you tried turning it off and on again?

  • TMF IT Specialist
  • PipPipPipPipPipPipPipPipPipPip
  • 5,734 posts
  • Name: Adam
  • Location: Manchester, UK

Posted 26 June 2011 - 09:09 PM

If you're banging in an order with Mini Spares, do it tonight before midnight and use this coupon code:

CFACEBOOK2500

10% off :)

Coming along a treat! It's making me look at Elliot and wish a few bits of her were a bit more straight :P.

#213 analogue_radio

analogue_radio

    Up Into Fourth

  • TMF+ Member
  • PipPipPipPipPipPipPipPipPip
  • 4,897 posts
  • Location: Melton Mowbray, UK.

Posted 26 June 2011 - 09:15 PM

:)

Lovely!

Does that stack on top of the TMF+ discount though?

Don't be daft, Elliot looks brilliant!

#214 Deathrow

Deathrow

    Have you tried turning it off and on again?

  • TMF IT Specialist
  • PipPipPipPipPipPipPipPipPipPip
  • 5,734 posts
  • Name: Adam
  • Location: Manchester, UK

Posted 26 June 2011 - 09:36 PM

:)

Lovely!

Does that stack on top of the TMF+ discount though?

Don't be daft, Elliot looks brilliant!

Nah it doesn't sadly. That's still another 2.5% though, not to be poked at!

It's the bottoms of the rear quaters that annoy me, I was eager with my welding and they're gonna take some filler to look right. Repairs are solid though so they'll last fine.

#215 analogue_radio

analogue_radio

    Up Into Fourth

  • TMF+ Member
  • PipPipPipPipPipPipPipPipPip
  • 4,897 posts
  • Location: Melton Mowbray, UK.

Posted 26 June 2011 - 09:58 PM

Some bits are out of stock anyway :) Hopefully going to Gaydon next weekend so I'll wait till then! and during the week I'll crack on with the welding.

Ah just had a quick look and I see where you mean, but still, at least they are welded nicely and sound! Just take some time fillering and sanding :P

#216 camp freddy

camp freddy

    Definitely Not Camp Or A Freddy

  • TMF+ Member
  • PipPipPipPipPipPipPipPipPip
  • 3,696 posts
  • Local Club: Wreake Mini Wanderers

Posted 26 June 2011 - 11:09 PM

Posted Image

Posted Image

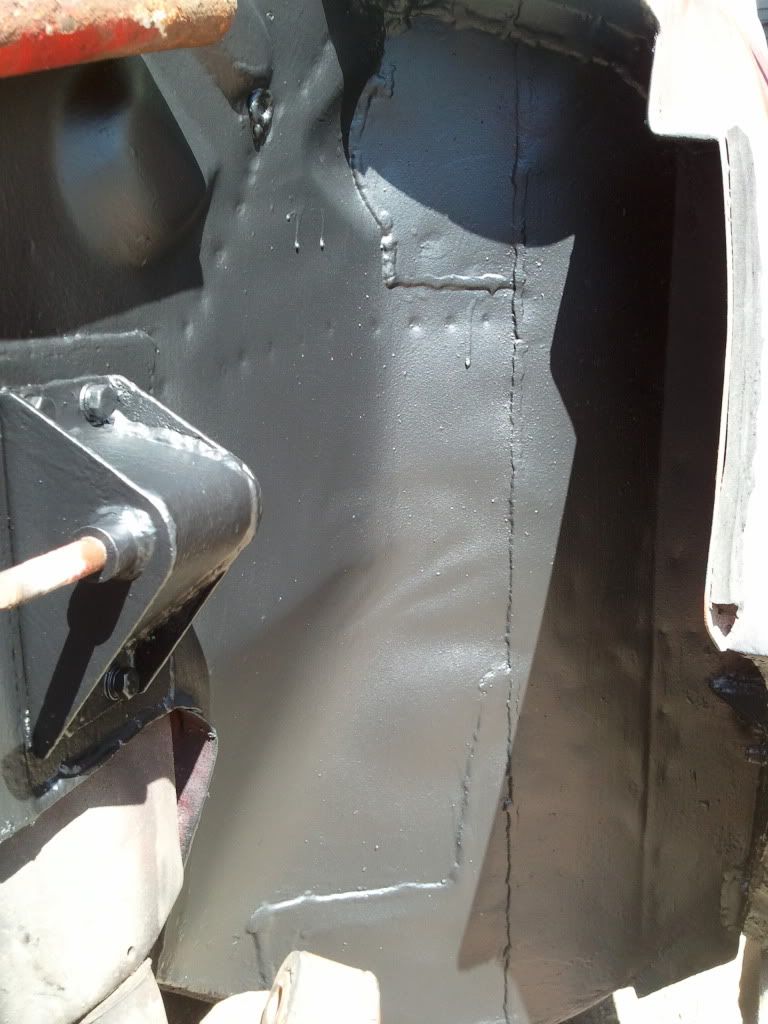
Threw a very quick coat of this stuff on the OS boot underside, yes it's thin in places and patchy but it was dark and I need to pick up a few more cans of the stuff, so it will be revisited :)


if you use the hammerite stone chip it goes on smooth and isn't tacky, would be easier to clean off
any road dirt ( can also be painted over ) ...

heres a pic of Ratty's arch
Posted Image

#217 Mini-Mad-Craig

Mini-Mad-Craig

    Crazy About Metro's

  • Members
  • PipPipPipPipPipPipPipPipPipPip
  • 9,298 posts
  • Location: Travelling in a fried out Kombi

Posted 26 June 2011 - 11:30 PM

Awesome work mate, coming along so nice!!

#218 analogue_radio

analogue_radio

    Up Into Fourth

  • TMF+ Member
  • PipPipPipPipPipPipPipPipPip
  • 4,897 posts
  • Location: Melton Mowbray, UK.

Posted 27 June 2011 - 06:26 AM

Ah that hammerite does look smooth! Hopefully the stuff I've used will be fine though :)

Cheers Craig!

#219 izzy

izzy

    Mini Mad

  • Members
  • PipPipPipPip
  • 190 posts

Posted 27 June 2011 - 02:36 PM

nice build! i like the little motorbike thing, looks fun.

#220 mini_mad69

mini_mad69

    Let future you worry about it

  • Traders
  • PipPipPipPipPipPipPipPipPipPip
  • 5,417 posts
  • Local Club: urrrr no

Posted 27 June 2011 - 03:37 PM

Top work.

I love your attention to detail! I wish I had the time to do things as properly as you do!

#221 lulu85ritz

lulu85ritz

    One Carb Or Two?

  • Members
  • PipPipPipPipPipPipPip
  • 1,308 posts
  • Location: Cornwall

Posted 29 June 2011 - 07:10 PM

Quick update as I'm back for the weekend but I'm going to Berlin until Monday, so I won't be making any progress but it meant I could open all the packages that had arrived over the past few weeks.


From Minispares -

- MK1 grille package, opted for the one with the dipped slat for the external bonnet release even though I'm not fitting one, just to make it look a bit more subtle
- Pair of boot hinges, so I can drill holes in the fibreglass MK1 boot
- Headgasket, so I can get on with the engine whilst the shell is away for paint

From Demon Tweeks -

- OMP Bonnet pins, for location and drilling holes
- Spring hooks, same reason

Ebay


Arc Angels

- MK1 ultralite bonnet.


Will update with photos soon.


Edited by lulu85ritz, 29 June 2011 - 07:33 PM.


#222 sonikk4

sonikk4

    Twisted Paint Polisher!!!

  • Admin
  • PipPipPipPipPipPipPipPipPipPipPip
  • 15,972 posts
  • Name: Neil
  • Location: Oxfordshire

Posted 29 June 2011 - 07:15 PM

If you have a DA sander or even a wire cup i would have a go at the stripe residue as then its something less for the bodyshop to bill you for.

#223 lulu85ritz

lulu85ritz

    One Carb Or Two?

  • Members
  • PipPipPipPipPipPipPip
  • 1,308 posts
  • Location: Cornwall

Posted 29 June 2011 - 07:36 PM

Sorry about that i did actualt wright something but it vanished! Loving the thread can't wait until your next update i love watching theses restoration projects unfold it gives me a lot of inspiration! Great work by the way keep it up! >_<

#224 analogue_radio

analogue_radio

    Up Into Fourth

  • TMF+ Member
  • PipPipPipPipPipPipPipPipPip
  • 4,897 posts
  • Location: Melton Mowbray, UK.

Posted 02 July 2011 - 05:48 PM

Bit of a faff day today..

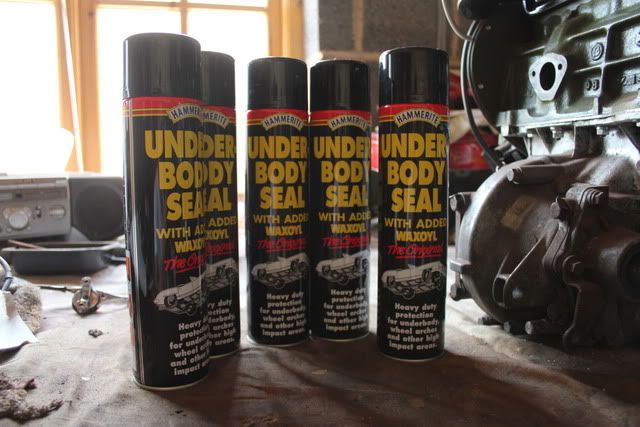
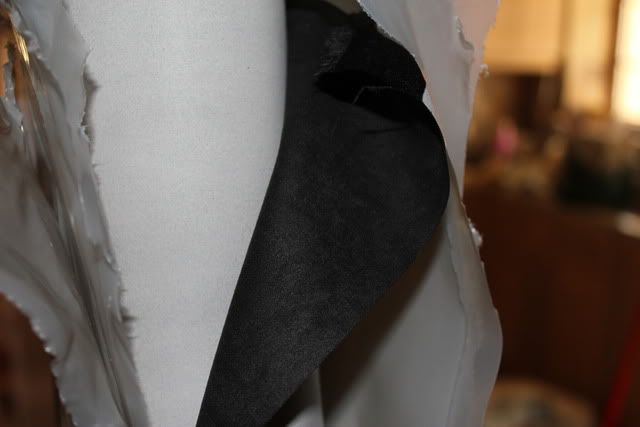
New stufff

Posted Image

Posted Image

Posted Image

Posted Image

Lovely!

Posted Image

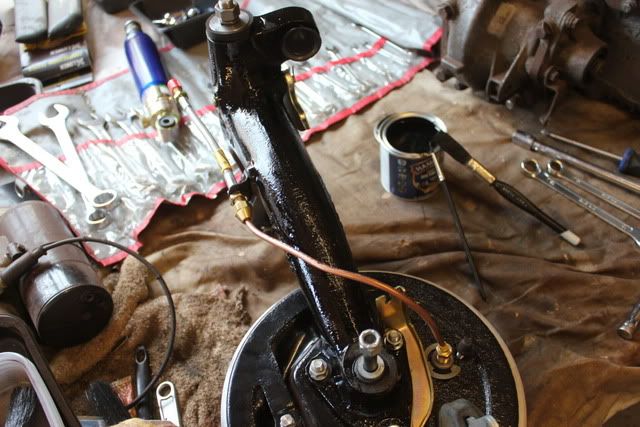
Radius arms needed some more paint

Posted Image

Painted up

Posted Image

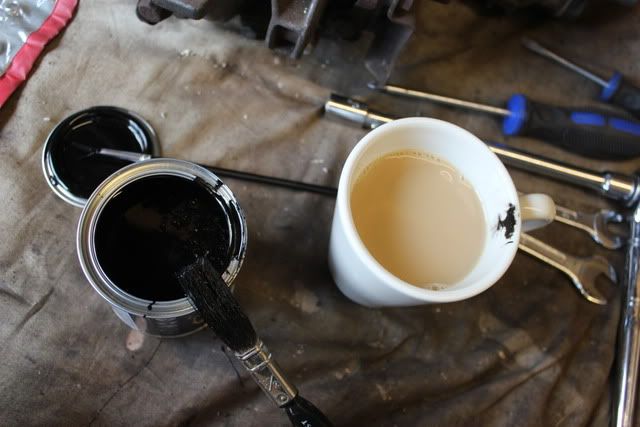
Don't put your cup of tea next to your tin of paint.. :P

Posted Image

Both sides done.

Posted Image

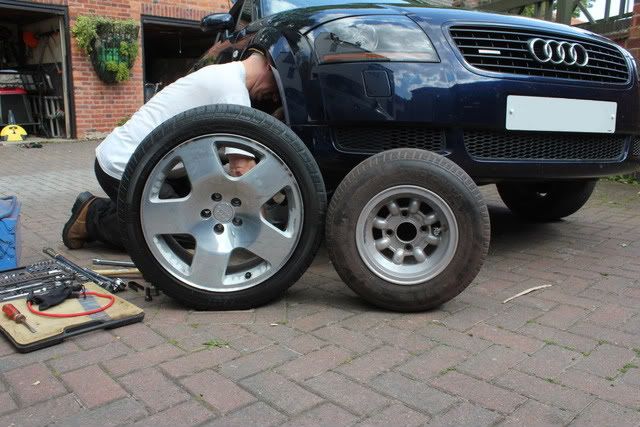
My Dad was sorting his car so I thought I'd compare wheel sizes :)

Posted Image

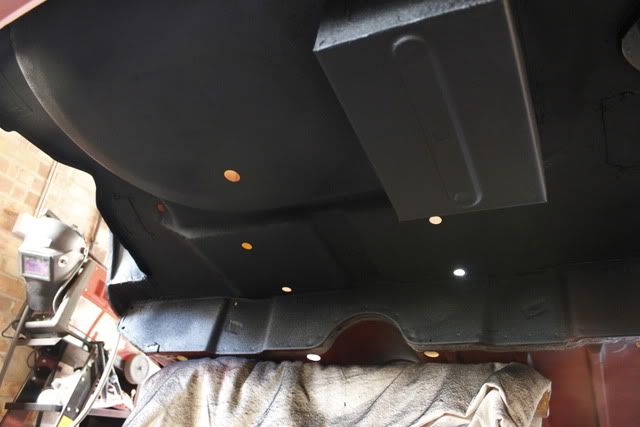
After more underseal.. really tricky to see the thin areas, so after I took this I went back and gave it all another coat. Happy I've got it all now.

Posted Image

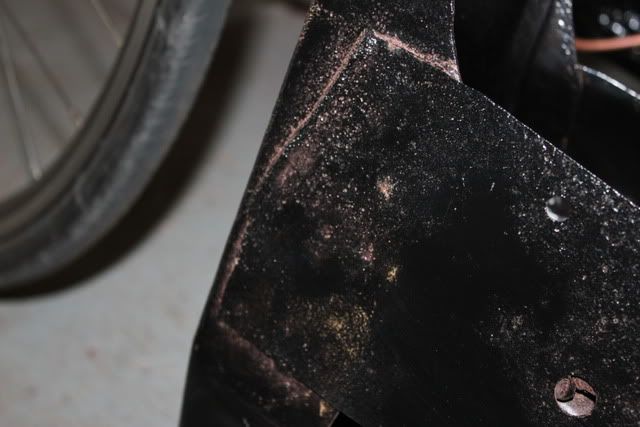
Rear subframe was suffering from the same problem..

Posted Image

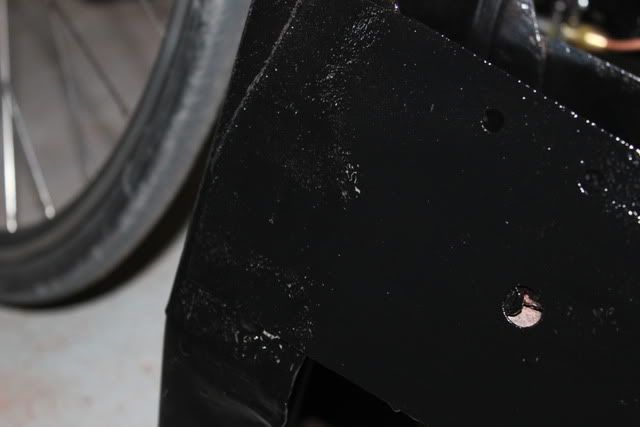
Sorted.


Gaydon tomorrow! :o Got a few parts in mind to pick up!

#225 grahama

grahama

    Up Into Fourth

  • Members
  • PipPipPipPipPipPipPipPipPip
  • 2,442 posts
  • Location: Warrington
  • Local Club: None in my area !!

Posted 02 July 2011 - 07:53 PM

Excellent progress. The radius arms look great, getting close now!!

Graham


1 user(s) are reading this topic

0 members, 1 guests, 0 anonymous users