Jump to content


Photo
- - - - -

My Mini ;) The Third Chapter. 998 Fast road.


  • This topic is locked This topic is locked
842 replies to this topic

#181 analogue_radio

analogue_radio

    Up Into Fourth

  • TMF+ Member
  • PipPipPipPipPipPipPipPipPip
  • 4,897 posts
  • Location: Melton Mowbray, UK.

Posted 29 May 2011 - 11:37 AM

El Paso beige is nice... my mk2 was that colour origionally with a snowberry white roof, looks fit! blue is always a good one too.... as is grey... hmmm :/


Exactly my problem, so many nice colours :)

and this shell was ready for paint !!?? . say no more. keep at it and you'll soon
be sorted.


Yep, well at least I haven't had to replace any panels!


& progress is being made.. patches here and there, cleaning areas up etc.. nowt exciting.

#182 analogue_radio

analogue_radio

    Up Into Fourth

  • TMF+ Member
  • PipPipPipPipPipPipPipPipPip
  • 4,897 posts
  • Location: Melton Mowbray, UK.

Posted 31 May 2011 - 08:17 PM

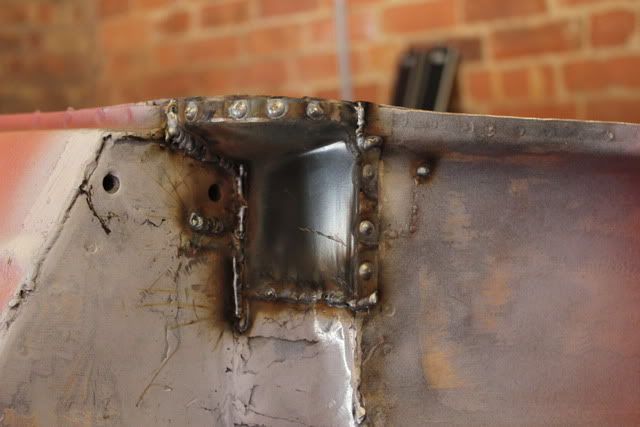
Front N/S is 99% welded up.. still working out what to do with the air vent rust :proud: after that I then moved onto the heelboard which is a work in progress.

Posted Image

Also got robbed by Halfrauds, £20 for a knotted wire wheel and a flap disc! There was absolutely nowhere else in Melton to get them from, gutted.

Posted Image

Posted Image

Posted Image

Posted Image

Posted Image

Posted Image

Posted Image

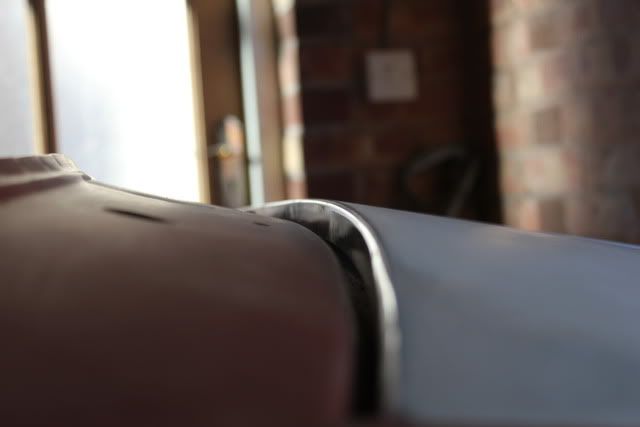
And some arty shots as the sun was setting >_<

#183 mini_mad69

mini_mad69

    Let future you worry about it

  • Traders
  • PipPipPipPipPipPipPipPipPipPip
  • 5,417 posts
  • Local Club: urrrr no

Posted 01 June 2011 - 01:12 AM

Posted Image


I love that!

#184 tomgale

tomgale

    Super Mini Mad

  • Members
  • PipPipPipPipPipPip
  • 558 posts

Posted 01 June 2011 - 10:12 PM

[quote name='analogue_radio' date='May 31 2011, 09:17 PM' post='2142252']
Also got robbed by Halfrauds, £20 for a knotted wire wheel and a flap disc! There was absolutely nowhere else in Melton to get them from, gutted. [quote]

I work at halfords, staff discount FTW.

heelboards look good, did you use thicker than standard metal for them? I seemed to think the heelboards were thicker?

#185 analogue_radio

analogue_radio

    Up Into Fourth

  • TMF+ Member
  • PipPipPipPipPipPipPipPipPip
  • 4,897 posts
  • Location: Melton Mowbray, UK.

Posted 02 June 2011 - 05:29 PM

Yeah the heelboards are the thicker gauge :(

End of todays quick efforts (I admit I slacked today..)

Posted Image

Did some more patching on that heelboard.. got a few questions to ask so check in the Bodywork section please :D

& I got some seam sealer on just to make me feel better about it all, I want to give the seatbelt anchor plate a coating of underseal tomorrow to see how it sits and if it reacts etc..

#186 Mini Mad Drakeley

Mini Mad Drakeley

    One Carb Or Two?

  • Members
  • PipPipPipPipPipPipPip
  • 1,172 posts
  • Location: bangor
  • Local Club: south down mini owners club

Posted 03 June 2011 - 04:41 PM

i dont know what your method is going to be to cut out the rust at the air vent but if i was you i would try cut it from inside the car and then weld it up :) not sure if that would work cus my front end is off so i dont have your problem atm :)

#187 analogue_radio

analogue_radio

    Up Into Fourth

  • TMF+ Member
  • PipPipPipPipPipPipPipPipPip
  • 4,897 posts
  • Location: Melton Mowbray, UK.

Posted 03 June 2011 - 08:24 PM

I'll give it a bash next time I'm out and when I've got more gas!

Right.. who wants a HUGE picture filled update? :mrcool:

So I kicked off with testing out the underseal on an already red oxided and seam sealed area..

Posted Image

Looks good!

And then I had to sort the heelboard end out..

Posted Image

Posted Image

Posted Image

Posted Image

Posted Image

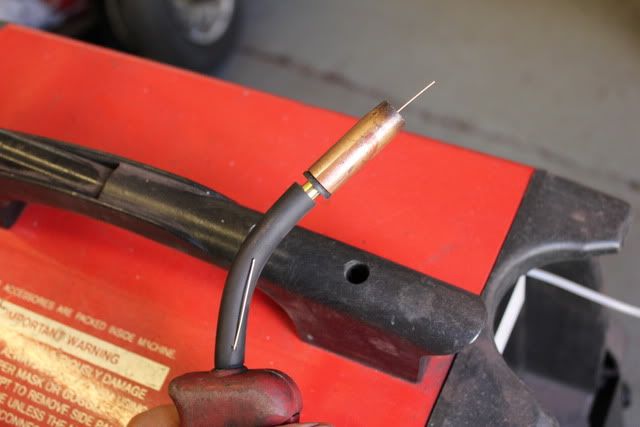
And then the welder did this :)

And then I fixed it and it did this..
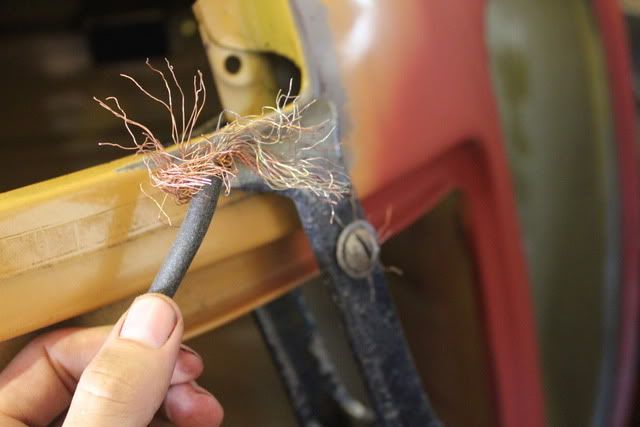
Posted Image

So then I fixed that :P and did this..

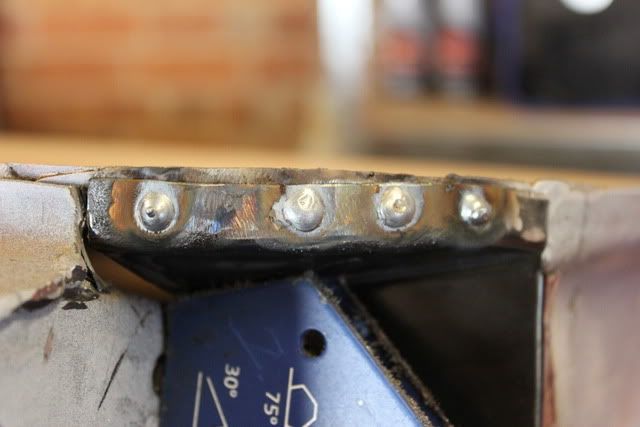
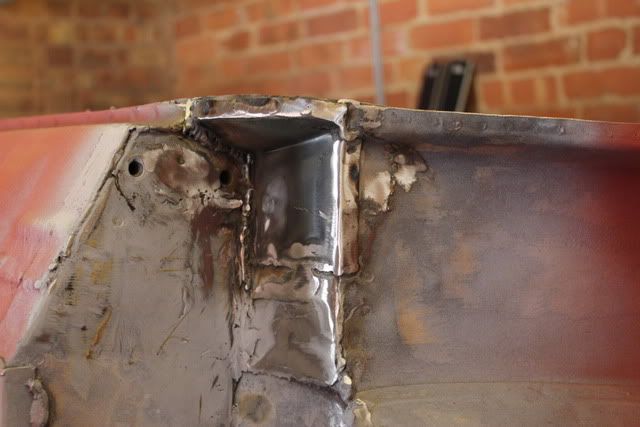
Posted Image

Pretty good for my first spot welds!
Posted Image

Posted Image

And dressed down :)

Posted Image

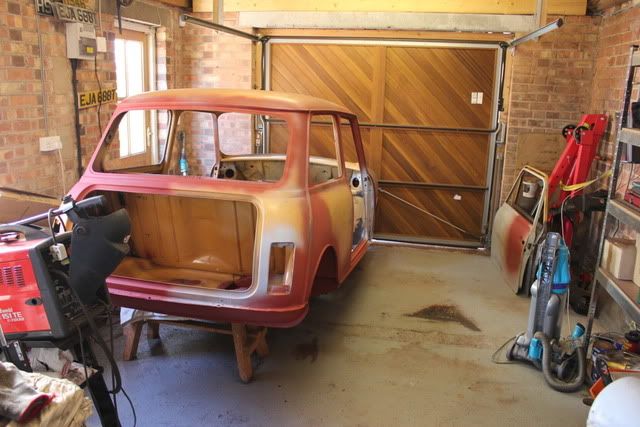
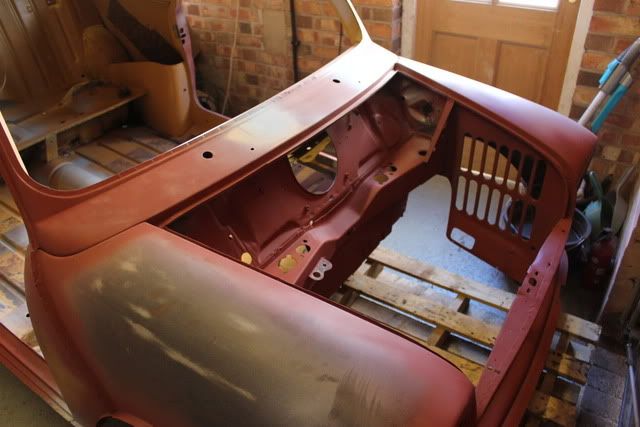
Then I rolled it down off the mattress onto a wooden horse covered by a dust sheet to protect the underside and the pallet under the front half.

Posted Image

Posted Image

Spent a while hoovering out the inside and engine bay, after it had been rolled so many times the dirt and metal shavings had gotten everywhere.. really did make the whole thing look tatty, much cleaner now!
Posted Image

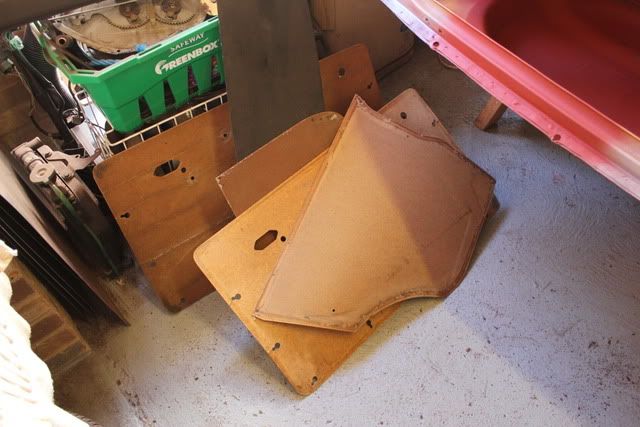
Stripped the door cards down and removed all the fabric and sanded down any rough parts, they are now ready to be covered in the fabric I've got coming soon.

Posted Image

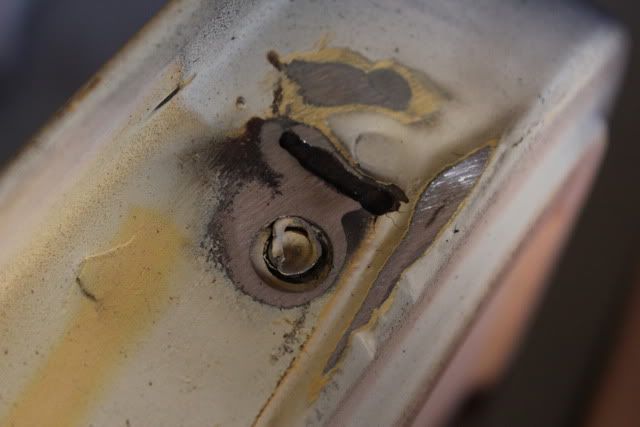
Another job was to sort the doors out.
Posted Image

A small rusty hole on the N/S and the previous owner of said door had kindly left me a screw with the head cut off!
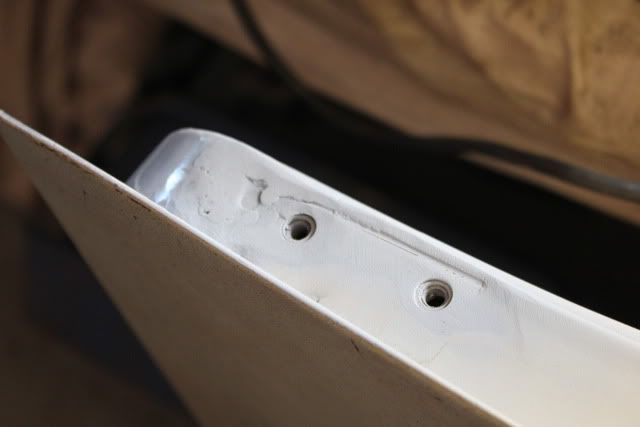
Posted Image

I sorted that, popping to Grandads tomorrow to get the tap & die set so I can thread the hole again.
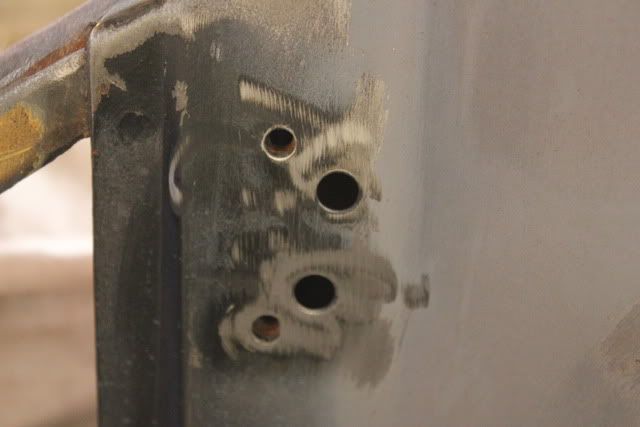
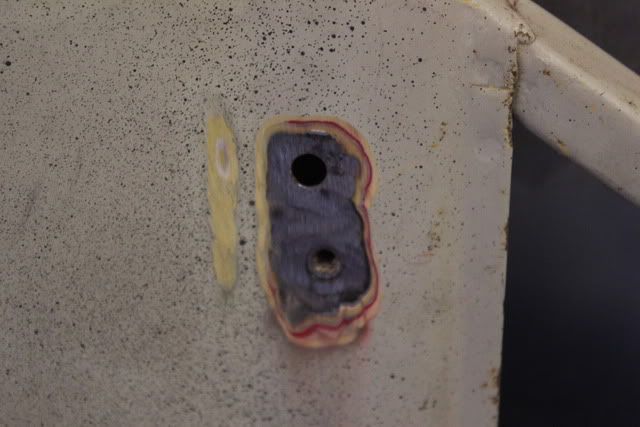
Posted Image

Posted Image

Wing mirror holes need welding up as well.. this is so I can mount my seats and get the correct positioning before drilling a hole for my own wing mirrors (they only need one hole)

And then ran out of gas :) but I had other things to do so not a problem ;)

Posted Image

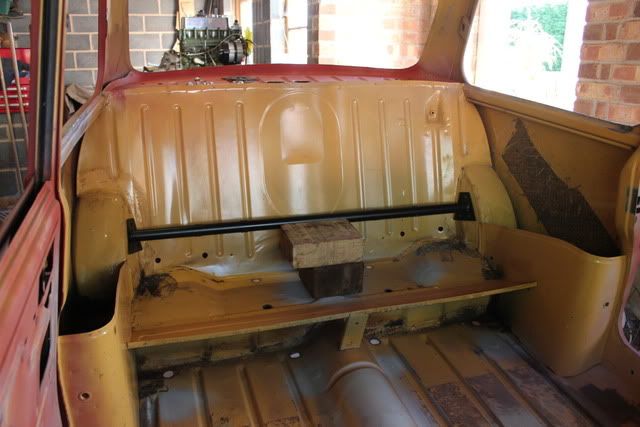
Harness bar placed in, I need to check the positioning and make sure it's level before I drill holes and secure it.

*2nd part to follow*

#188 Gingerjoe

Gingerjoe

    Camshaft & Stage Two Head

  • Members
  • PipPipPipPipPipPipPipPip
  • 1,908 posts
  • Local Club: Tmf

Posted 03 June 2011 - 08:29 PM

looks amazing mate, cant wait to see the update

#189 grahama

grahama

    Up Into Fourth

  • Members
  • PipPipPipPipPipPipPipPipPip
  • 2,442 posts
  • Location: Warrington
  • Local Club: None in my area !!

Posted 03 June 2011 - 08:39 PM

Hi,

Nice work on th closing plate, wish mine workedout like that. Did you tech prime bare metal then red oxide?? Also what underseal have you used and does it 'dry' after a while??

Keep it up

Graham

#190 analogue_radio

analogue_radio

    Up Into Fourth

  • TMF+ Member
  • PipPipPipPipPipPipPipPipPip
  • 4,897 posts
  • Location: Melton Mowbray, UK.

Posted 03 June 2011 - 08:42 PM

Posted Image

Started to dress the shell up with my parts. The main aim of this is to 'dry fit' everything and make sure it all works as it should be.. any unused holes on the exterior will be welded up as well. (that seam needs sealing)

Posted Image

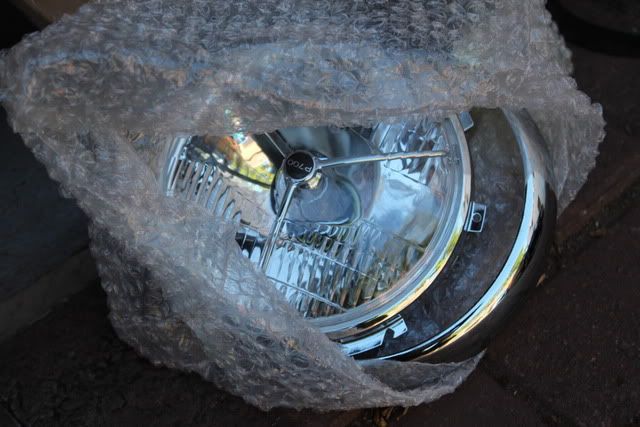
My P700s :)

Posted Image

Posted Image

Bonnet sitting high.. might come down with some sanding.

Posted Image

And found out that my MK5 boot catch will work with my MK1 lock, so sorted that out.

Posted Image

Posted Image

Posted Image

Posted Image

Posted Image

How rad does that back end look :) :)

#191 analogue_radio

analogue_radio

    Up Into Fourth

  • TMF+ Member
  • PipPipPipPipPipPipPipPipPip
  • 4,897 posts
  • Location: Melton Mowbray, UK.

Posted 03 June 2011 - 08:45 PM

Hi,

Nice work on th closing plate, wish mine workedout like that. Did you tech prime bare metal then red oxide?? Also what underseal have you used and does it 'dry' after a while??

Keep it up

Graham


Yeah I did etch, just didn't take a photo!

Posted Image

I'm using the aerosol stuff. It doesn't dry completely, but stays tacky, I assume so it doesn't chip off when it's hit with stones and such.

#192 tedmcedd

tedmcedd

    Up Into Fourth

  • Traders
  • PipPipPipPipPipPipPipPipPip
  • 2,751 posts
  • Location: Huddersfield

Posted 04 June 2011 - 10:12 PM

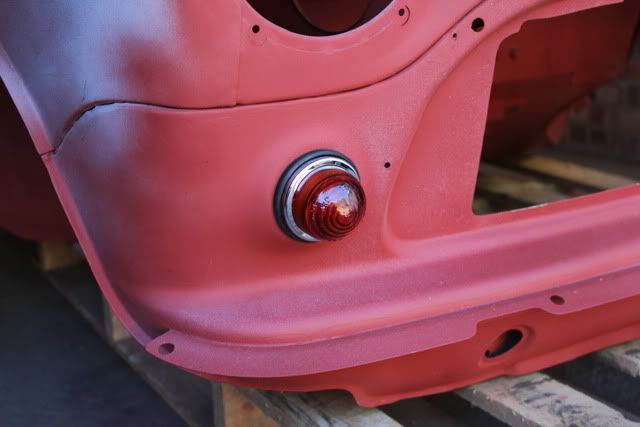
nice work! are those glass indicators on the front there? look great!

back onto colours... i think a nice sandy yellow colour with a brown roof would look nice.... mmmm....

#193 analogue_radio

analogue_radio

    Up Into Fourth

  • TMF+ Member
  • PipPipPipPipPipPipPipPipPip
  • 4,897 posts
  • Location: Melton Mowbray, UK.

Posted 07 June 2011 - 06:29 AM

Yep they are :thumbsup:

Hmm that colour suggestion sounds interesting :thumbsup:

So I've started my full time summer job now so that's my time limited back to evenings and weekends.

The next step for me is to get inside the boot and rear end sorted, prop up the rear more and then go under and seam seal and underseal. After that I'll build up my rear subframe again, the arms & bits need another coat after they came back from the blasters and powdercoating a bit thin. Annnnd then the rear subframe can be fitted and it'll be rolling at the rear.

Rinse and repeat the same process for the front, as well as sort the rot in the air vents :thumbsup:

#194 carboy001

carboy001

    One Carb Or Two?

  • TMF+ Member
  • PipPipPipPipPipPipPip
  • 1,065 posts

Posted 07 June 2011 - 11:57 AM

I reckon a hinged numberplate would look the nuts on the boot, not that I'm biased or anything haha. Really does finish my mini's rearend off very well I think. Got some super duper numberplates as well which I need to update my thread with :/

Good work Luke :thumbsup: So what's the aim over summer then with the mini?

#195 analogue_radio

analogue_radio

    Up Into Fourth

  • TMF+ Member
  • PipPipPipPipPipPipPipPipPip
  • 4,897 posts
  • Location: Melton Mowbray, UK.

Posted 07 June 2011 - 04:56 PM

Yeah I did think about one! I've already drilled the holes for the numberplate light.. but they could be fibreglassed up again.

Main aim for my mini over the summer?

GET IT FINISHED >_<


1 user(s) are reading this topic

0 members, 1 guests, 0 anonymous users