My Mini ;) The Third Chapter. 998 Fast road.
#166
Posted 13 May 2011 - 12:51 AM
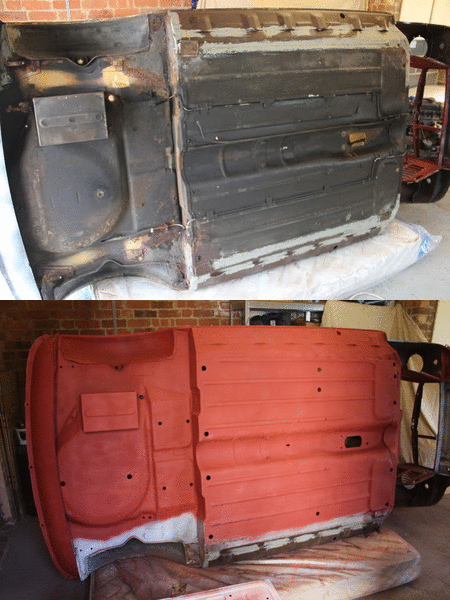
A .gif to help demonstrate the improvement
#167
Posted 16 May 2011 - 06:32 PM
#168
Posted 16 May 2011 - 07:48 PM
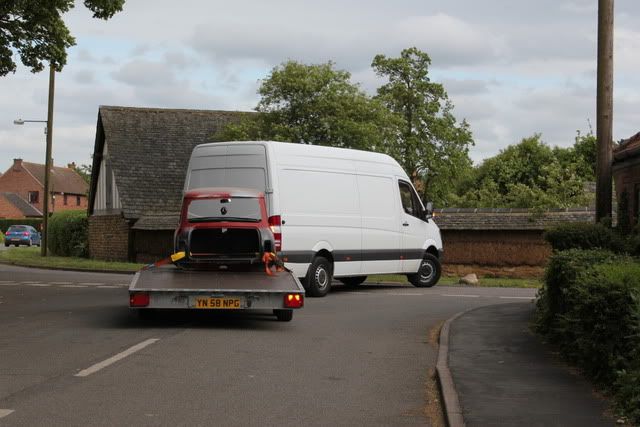
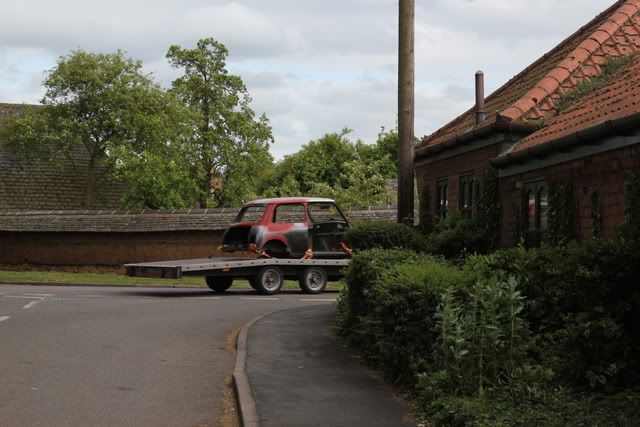
Moment of silence please, this is the last I saw of 'b' the 1990.. going to a good home though! I don't think he knows what he's in for
She's not that bad, common Mini stuff really! just abit more of it. I can completely understand why you chose to get a different shell though.
Best get cracking with the welder !
#169
Posted 17 May 2011 - 08:16 AM
Comming along great, raining all the time here at mo so no bodywork progress for me. Did you use spray red oxide rather than brush on for finish or ease ? Just asking as going through rattle cans for painting parts as a rate of knots atm and have used canned red oxide for the large radius arms and works out cheaper I think.
Also, how do you do that gif flash thing, great way to show quick comparison.
Graham
Edited by grahama, 17 May 2011 - 08:21 AM.
#170
Posted 17 May 2011 - 09:49 AM
& yeah it's effective, just a simple .gif maker! google '.gif maker' and you'll see a hundreds of them.
Edited by analogue_radio, 17 May 2011 - 09:49 AM.
#171
Posted 17 May 2011 - 10:15 AM
Ed
#172
Posted 18 May 2011 - 02:17 PM
looking good! Ohhh... I miss minis...
Ed
Come back!
Nothing amazing to update you all with, since being back I've been doing errands, jobs and giving my room a proper tidy up and sort.
But my job lot of toggle switches came, shame the dashboards haven't turned up yet.. but one side should tomorrow..
Front.
Back.
That's a sample of the black suede I was also thinking of using, this will cover all 4 door cards, rear bin liners and the parcel shelf board.
#173
Posted 19 May 2011 - 09:45 AM
#175
Posted 20 May 2011 - 06:05 PM
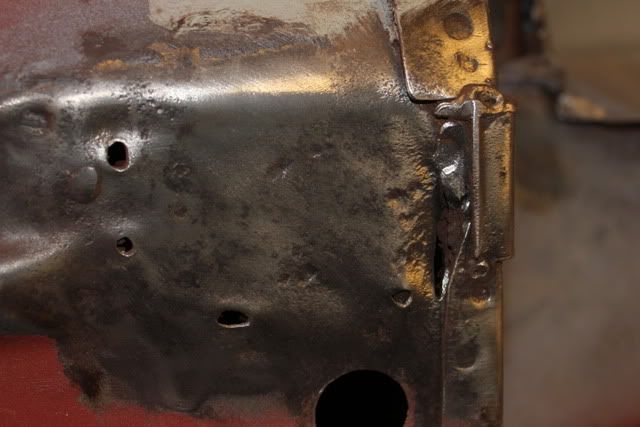
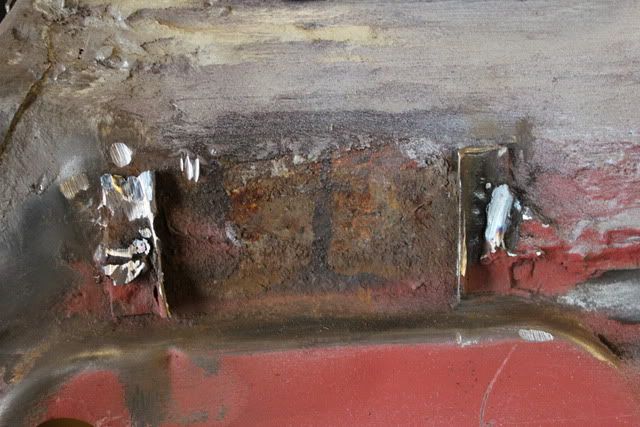
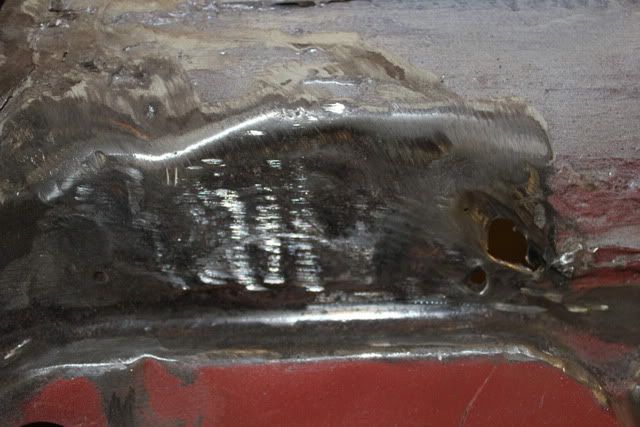
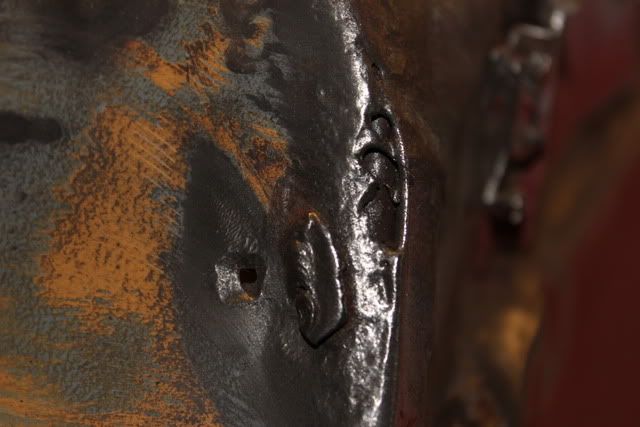
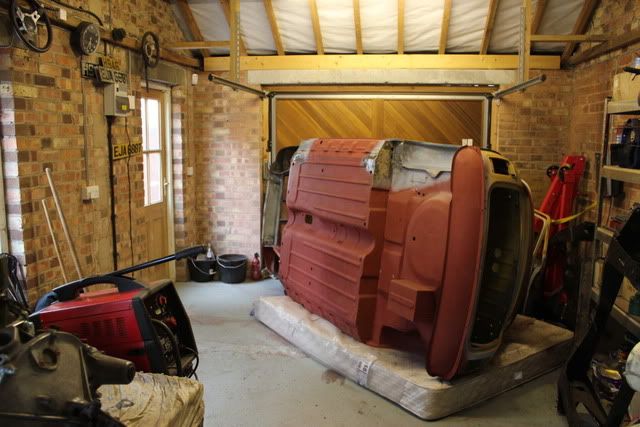
So I haven't completely finished welding the OS underside as I was unsure how to combat the rust up near the air vents, I didn't want to waste time so I rolled it over and turned it round so the NS was facing upwards and began the same process as I did on the OS.
Stripped and etched the rear arch.
Mount after removal, damn spot welds.
Cleaned up, needs some blobs of weld.
Front mount..
Removed.
Tidied, needs a patch.
Front needs some attention.
Lower door hinge mount.
Few more blobs needed.
& how she was left! Nice and tidy got the whole family round for my 21st birthday on Sunday, birthday is tomorrow so I thought I'd best leave things tidied and presentable. Always makes me feel 100x better going to work in a tidy garage!
Edited by analogue_radio, 20 May 2011 - 08:49 PM.
#176
Posted 22 May 2011 - 09:31 AM
looking good! Ohhh... I miss minis...
Ed
Come back!
I will be soon... Finishing off Uni... July is when im home and can get cracking again!
those switches look cool! I challenge you to find a use for all of them! lol can't beat a good switch!
Liking the door card idea too, mmmm soft!
what colour you going for on the shell??
Oh.... Happy Birthday
#177
Posted 23 May 2011 - 08:37 PM
Yeaah the material is lovely. I swapped a headlight switch from my 1990 for 2 rear door cards with a lad in the village, they are in almost mint condition, bargain! I'll just tear the fabric off and reuse the cards.
As for the colour, swaying towards grey! although I do like 'Elpasso Beige'
Or maybe some sort of grey blue mix.. to be honest, I'm not sure yet
#178
Posted 27 May 2011 - 06:00 PM
I've got a solid week next week, it's my last free week until I start full time work so I hope to get the underside fully welded, seam sealed, undersealed and have it back on it's subframes as a rolling shell
Today -
- Welded up the majority of the small holes and got some of the rust cut out ready to make patches.
- Red oxide'd the rear arch.
- Started to strip the front arch, but the wire wheel has almost died.. was being impaled with loose wires constantly, will try and pick up another tomorrow.
(No photos as Photobucket is playing up.. again)
#179
Posted 28 May 2011 - 09:39 PM
#180
Posted 28 May 2011 - 10:10 PM
be sorted.
3 user(s) are reading this topic
0 members, 3 guests, 0 anonymous users