Also got a few billet alloy parts bookmarked from DSN classics for the engine

My Mini ;) The Third Chapter. 998 Fast road.
#151

Posted 02 May 2011 - 07:50 AM
Also got a few billet alloy parts bookmarked from DSN classics for the engine
#152

Posted 02 May 2011 - 12:46 PM
shiney parts are always nice!
Ed
#153

Posted 02 May 2011 - 03:40 PM

Gauges
- Speedo
- Fuel
- Oil temp
- Amp
- Boost
- R.P.M
Accessories
- Map light
- Cigarette lighter (for GPS etc..)
- Pen holder (need to get)
- Clock (need to get)
Switches/electrics
- Fuse box? (might run the wiring inside the cab, hidden)
- Various toggle switches and switch extensions (unsure what is what at the moment)
- Battery Cut Off
& everything will be labelled up with my old Dymo.
Edited by analogue_radio, 03 May 2011 - 12:06 AM.
#154

Posted 09 May 2011 - 12:11 PM
Also decided to run Megajolt, so that's something I'm learning about at the moment.
#155

Posted 10 May 2011 - 04:14 PM
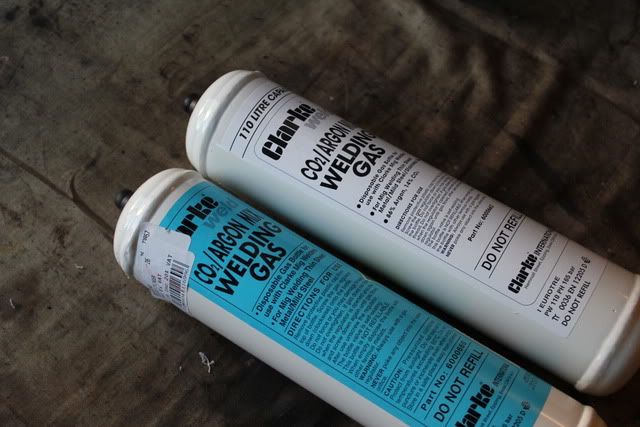
Some more gas.
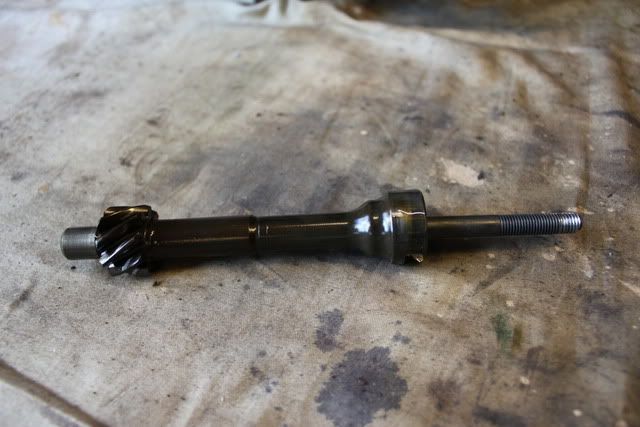
Dizzy drive removed, will be running Megajolt so it can be plugged.


Carb manifold grinded, angle grinder and then the file where the angle grinder couldn't reach, it all sits flush now.
And then I ran into a few problems regarding the T2 turbo fitment so that got ironed out on TM, and in the meantime I popped across to Grandmas with my Grandpa to pick up..


Project page for that HERE.
#156

Posted 10 May 2011 - 04:20 PM
Small afternoon update.. I've been out with my Grandpa collecting something
you'll see..
Some more gas.
Dizzy drive removed, will be running Megajolt so it can be plugged.
Carb manifold grinded, angle grinder and then the file where the angle grinder couldn't reach, it all sits flush now.
And then I ran into a few problems regarding the T2 turbo fitment so that got ironed out on TM, and in the meantime I popped across to Grandmas with my Grandpa to pick up..
Project page for that HERE.
Oh my goodness. That poor Vespa. How could it get that far gone, it's just crazy to me.
#157

Posted 10 May 2011 - 04:22 PM
But cheers so much for removing the pictures when you quoted! makes a nice change.
#158

Posted 10 May 2011 - 04:26 PM
It's a Lambretta!
keep the chat in that project page matey
But cheers so much for removing the pictures when you quoted! makes a nice change.
Ahh yes it is isn't it! Haha! I just started tracking it there.
#159

Posted 10 May 2011 - 04:37 PM
and cars looking good dude
#160

Posted 10 May 2011 - 06:55 PM


Shock mount welded and ground as flat as possible.
FULL day tomorrow so I will be tidying up that top half of the underside, ready to roll it so I can deal with the same rusty patches on the lower side. If that makes sense
#161

Posted 10 May 2011 - 07:29 PM
#162

Posted 11 May 2011 - 06:24 PM
Had a struggle with the Turbo today as well, but that\'s something I\'ll carry on with when the shell is away being sprayed.

Wire brushed and then cleaned with a petrol soaked rag.

I don\'t know what the best course of action is.. I could get a welder up there but not an angle grinder easily.. and I won\'t be using the fresh air vents.


Straightened.

And then this.. come on.. why would you leave it like that?!

Corrected.

And then took the rear mount off (I had to weld some tear holes here because I was a bit lazy and didn\'t drill the spot welds out.. whoops) which I believe aren\'t jacking points but are the factory fitted mounts for when the shell was being moved around the production line.
Ku-rusted and then etched of course.

Got the doors out, the drivers side is off the 1979 and the passenger side is one I bought.
I got them both 99% stripped down and cleaned up (rounded door hinge bolt to drill out on the \'79 door) of course I\'ve got a MK1 fibreglass boot and bonnet so they are both ready.
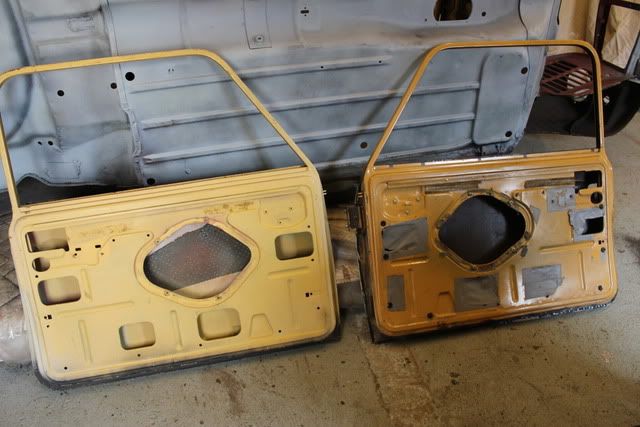
Drivers side before..
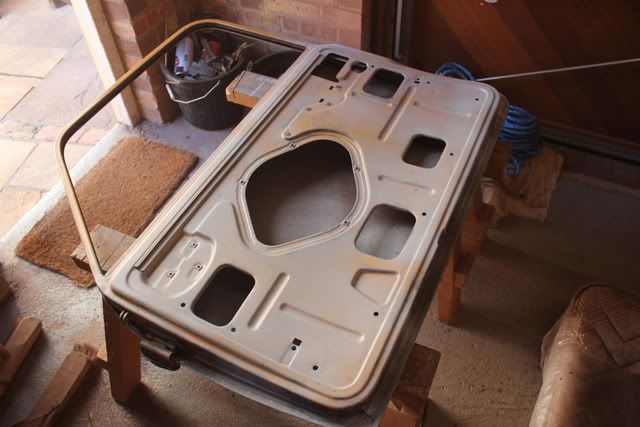
And after!


And then the underside got a good coating of Red Oxide! about 4 cans worth I think! Looking so good now, chuffed!
Edited by analogue_radio, 11 May 2011 - 07:51 PM.
#163

Posted 12 May 2011 - 05:42 PM
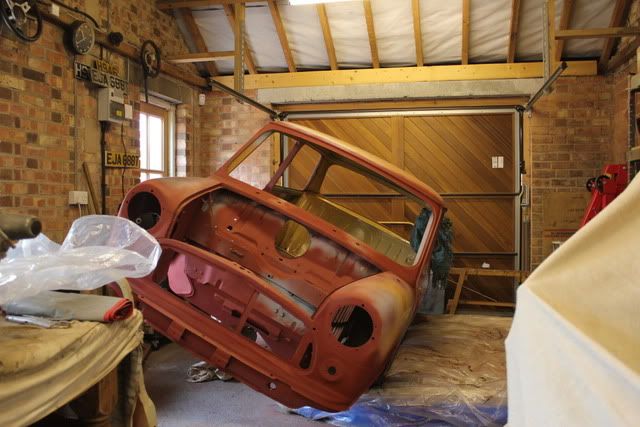
Rolled onto a wooden workhorse covered in a dust sheet, got to keep my freshly red oxide'd surfaces clean!
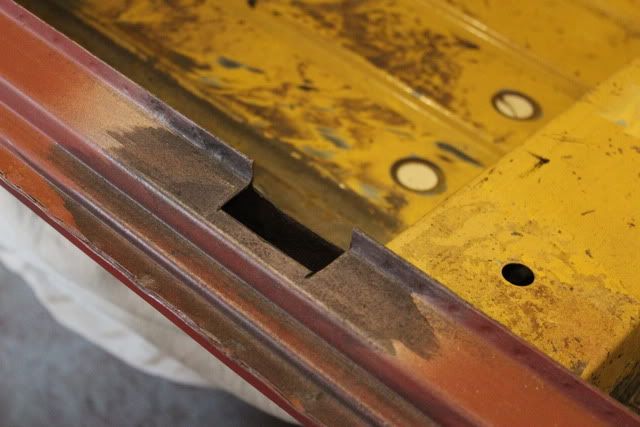
Door step.

Chopped a small section out of an unused bit of floorpan.

So welded that up, and then added a bit at the back to weld.

After a bit of welding, grinding and filler later. Nice and smooth

Shifty had done some welding in this corner and fillered over it, but hadn't smoothed it all out. So I finished that and then coated in red oxide.
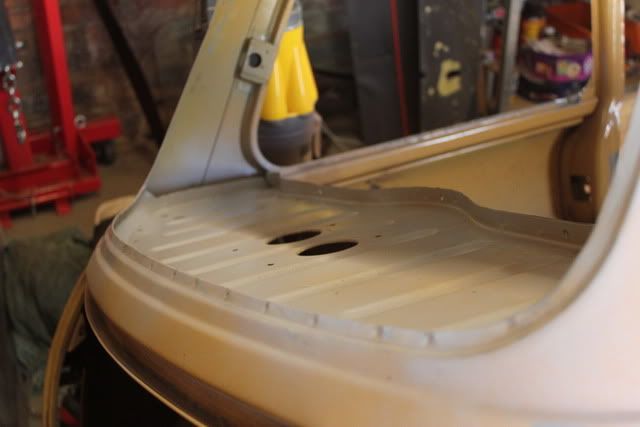
Rear window was a bit gammy, it was covered in a sticky residue from the headlining. So I cleaned all that off and etched.

Coated in red oxide around the window lip inside and out.
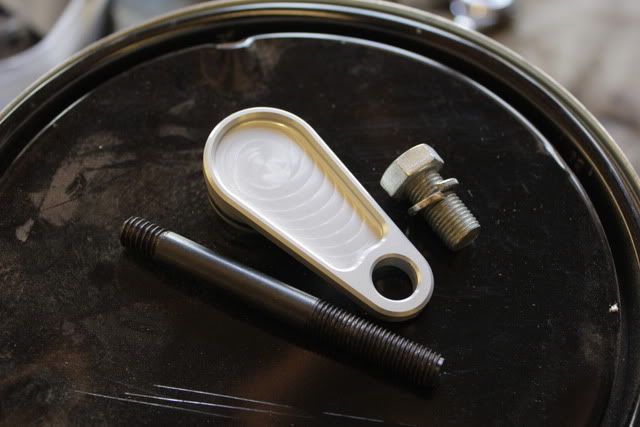
Then the postman FINALLY turned up with a small package from DSN.

Stud in and torqued down.

Everything on. Dizzy plug looks niiiiiice! was thinking about going red.. but glad I went with silver.


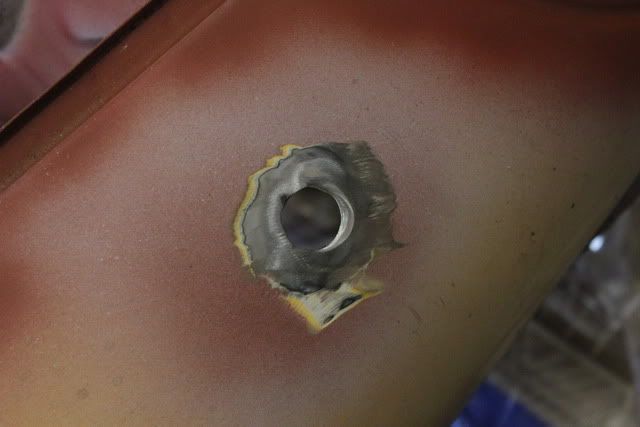
Unused wiper and arial holes were next..
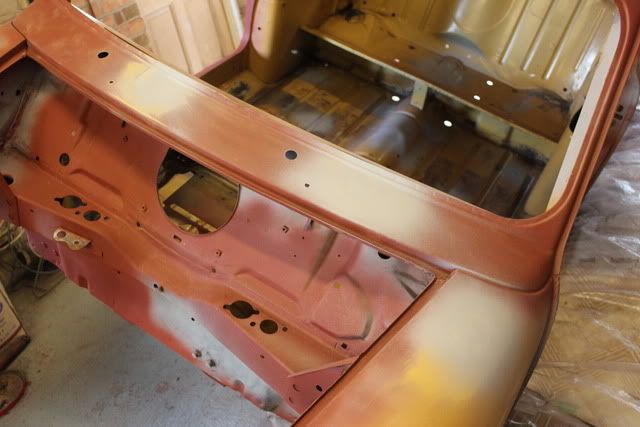
After some welding, grinding, filler and etch.. ta da! just about smooth.
I probably should have checked and not just guessed which holes were unused
#164

Posted 12 May 2011 - 06:22 PM
#165

Posted 13 May 2011 - 12:49 AM

Come a far way since that messy stage!
Still need to roll the shell over and bare metal the front and rear arches on the passenger side though and do the welding. It will get messy again then
1 user(s) are reading this topic
0 members, 1 guests, 0 anonymous users


 This topic is locked

