My Mini ;) The Third Chapter. 998 Fast road.
#136
Posted 27 April 2011 - 03:41 PM
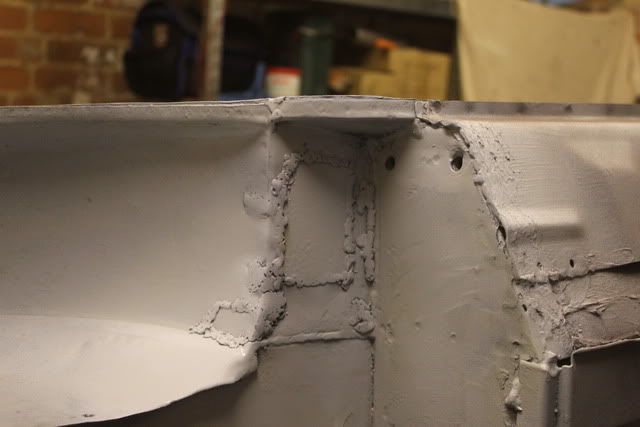
Just incase you hadn't already noticed but the sill hasn't been tucked under the heelboard as it should be. Should go under the heelboard flange like the rest of the floor. Guessing its because its a non-genuine sill, but you might want to add some more weld along there to make sure the gap is blocked up... and plenty of seam sealer! Don't want any water getting in your sills now they're solid.
Loving the project, keep up the good work!
Tom
#137
Posted 27 April 2011 - 06:38 PM
I'll make amendments next time I'm out in the garage.
#138
Posted 29 April 2011 - 09:14 AM
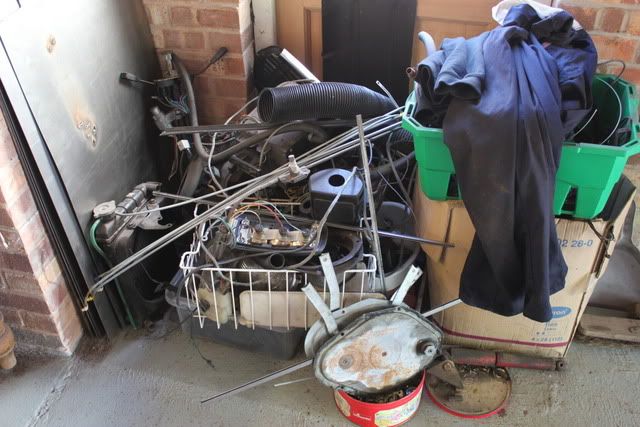
This morning was a shuffle in the garage as the bloke is coming to pick the subframe and the engine up, properly looking forward to breaking my back when he arrives
A lot more space free in the garage which is bloody brilliant!
Got to deal with the bloke coming for the engine, polish off my Uni work and then I can spend the day in the garage.
#139
Posted 29 April 2011 - 09:32 AM
what thickness metal have you gone with here? i'm going to be doing the same repair soon and only have 0.9mm
#140
Posted 29 April 2011 - 09:59 AM
#141
Posted 29 April 2011 - 09:59 AM
Have you got an adjustable regulator? is it set correctly?I've got 2 canisters and one is definitely empty as the valve is loose at the top, indicating that there is no pressure behind it. I took a pair of snipe nose pliers and pushed the valve down on the other canister and it released a whoosh of gas, so I'm confident it's full, it might have just been the valve sticking. I'll give it another go when I get round to welding again later today.
Those disposeable bottle types want setting every time you have a new bottle as the valves are not the same height every time
Edited by charie t, 29 April 2011 - 10:00 AM.
#142
Posted 29 April 2011 - 10:06 AM
Found that photo, I picked up some 1mm and 2mm sheets. So I'm using the 2mm thicker stuff for the shock mount repairs.
& Cheers Charlie, it's an adjustable regulator ranging from 1-6, there is no pressure gauge or anything. Perhaps it needs to be set to closed when screwed on and then opened up. I'll have a look.
#143
Posted 29 April 2011 - 11:40 AM
chris
#144
Posted 29 April 2011 - 11:50 AM
#145
Posted 29 April 2011 - 12:50 PM
The 850cc engine and subframe is gone! and what a task that was.. I thought he was bringing a flat bed van but it was a vauxhall astra van
Been listening to the Royal wedding on the radio, working on the mini and drinking tea, fairly patriotic morning
But I'll be busy for the next two days and then I'm back to Uni for a week, after a week back at Uni I'll be coming home again so expect some heavy updates then!
#146
Posted 29 April 2011 - 01:55 PM
liking the plans!
Ed
#147
Posted 29 April 2011 - 09:21 PM
Yah they don't whoosh constantly like the bigger bottles, they don't have the capacity. If its hissing though it should be enough gas though andthere is a hiss of gas
fairly patriotic morning
Good lad
#148
Posted 30 April 2011 - 08:07 PM
#149
Posted 01 May 2011 - 10:07 PM
This also meant I could get my engine out and start getting some more work done on that.
Hoisted the engine up onto the table.
Corner tidied up. GBs awaiting new rubbers & the front subby awaiting it's parts.
Fixie project, there is a thread under 'Any Other Projects'
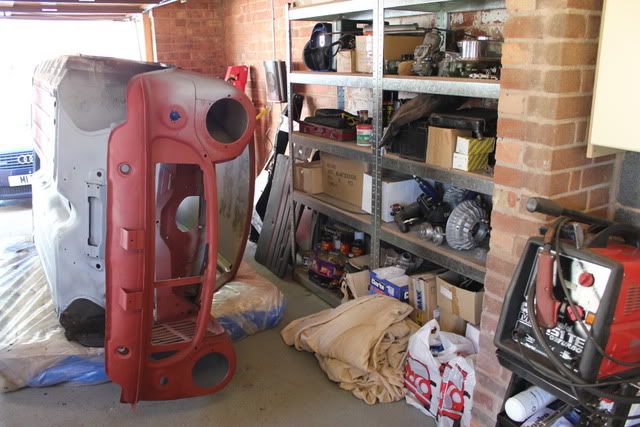
Shelves tidy-ish, trouble is I'm not 100% certain what can stay and what can go.. don't want to risk selling/throwing anything I don't need.
Rust free doors, rear subby & door cards/parcel shelf that I'll re-trim. Need to find some templates for the rear cards.
Paddys corner which is a mess, again.. I don't know what I can keep and what I can sell/throw. If you see any parts you want then I'll try and find out if I need them or not.
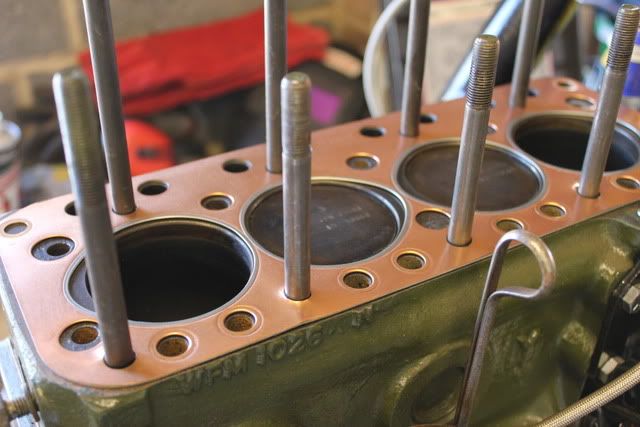
So back to the engine! New gasket placed on.
Push-rods lubed up with this lovely old oil tin!
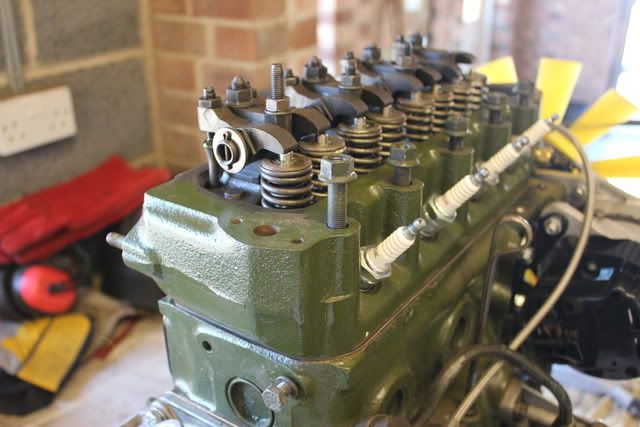
12g295 head on and rockers on as well.
Need to get another stud for this, isn't stopping me from making progress though.
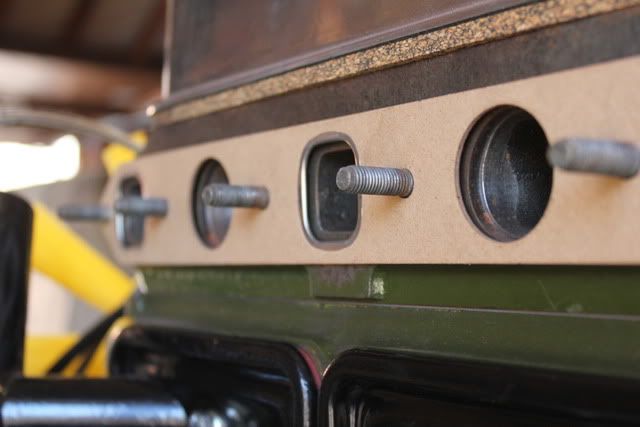
Exhaust gasket on.
Head torqued down to the correct settings. Rocker cover placed on as well.
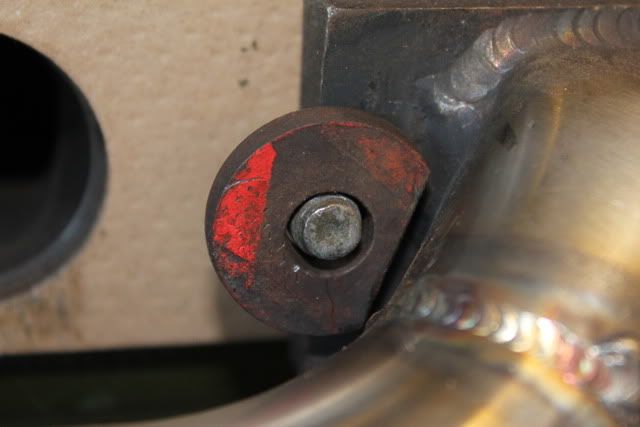
And then I started to set about getting the Turbo on. Had to cut away at these washers a bit to get them to fit the manifold.
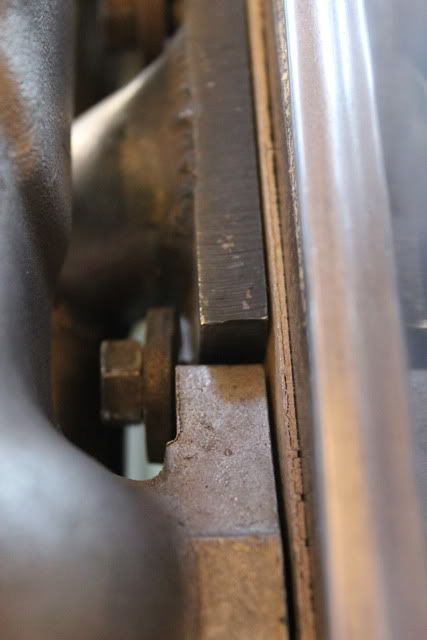
Although I soon ran into a problem.. I'll see what the lads on TM have to say. Might just need the carb manifold skimming a bit.
& how I left it!
#150
Posted 02 May 2011 - 12:10 AM
4 user(s) are reading this topic
0 members, 4 guests, 0 anonymous users