Frumpy Gets Some Love
#46

Posted 29 March 2011 - 04:23 PM
man this is so good! i love where you are exxiting the exaust and the amount of metal fabrication!
and where is your roll cage from as that is quite like something i am after for another build:)
#47

Posted 29 March 2011 - 08:21 PM
good comes from bad:D
man this is so good! i love where you are exxiting the exaust and the amount of metal fabrication!
and where is your roll cage from as that is quite like something i am after for another build:)
Thanks GT it's nice to get some motivation ATM, with me hand as it is I can't do too much but there should be a lot of progress tomorrow on the exhaust front
the cage is from Geronimo cages, I can't fault the cage itself but it did take 2-3 months for it to come, apparently they were waiting on powder coat to come in but I found it silly that they didn't stock gloss black as that's the most common colour? So after some chasing up I asked for it to be sent out uncoated and within a few days it was here. So in the respect that they obviously had stocking issues I can't really fault their service. If you need any details just pm me and I'll send them to you
Edited by benjy_18, 29 March 2011 - 08:23 PM.
#48

Posted 30 March 2011 - 08:06 PM
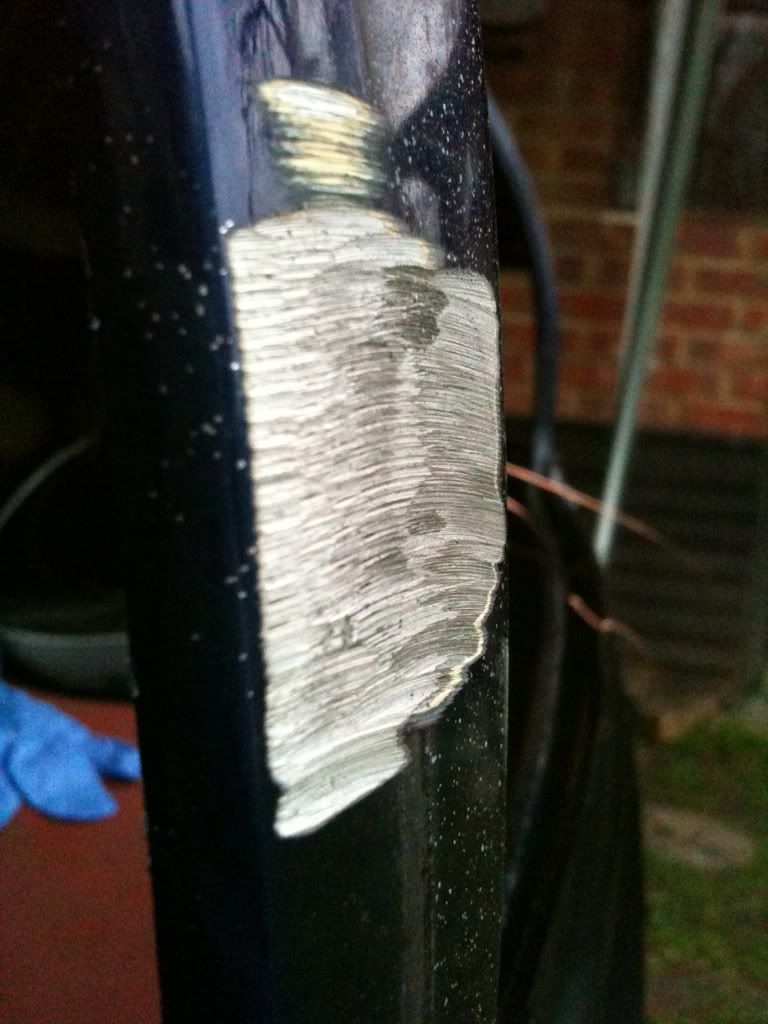
managed to finish welding one seam, just have to grind it down. ive done 70% of another
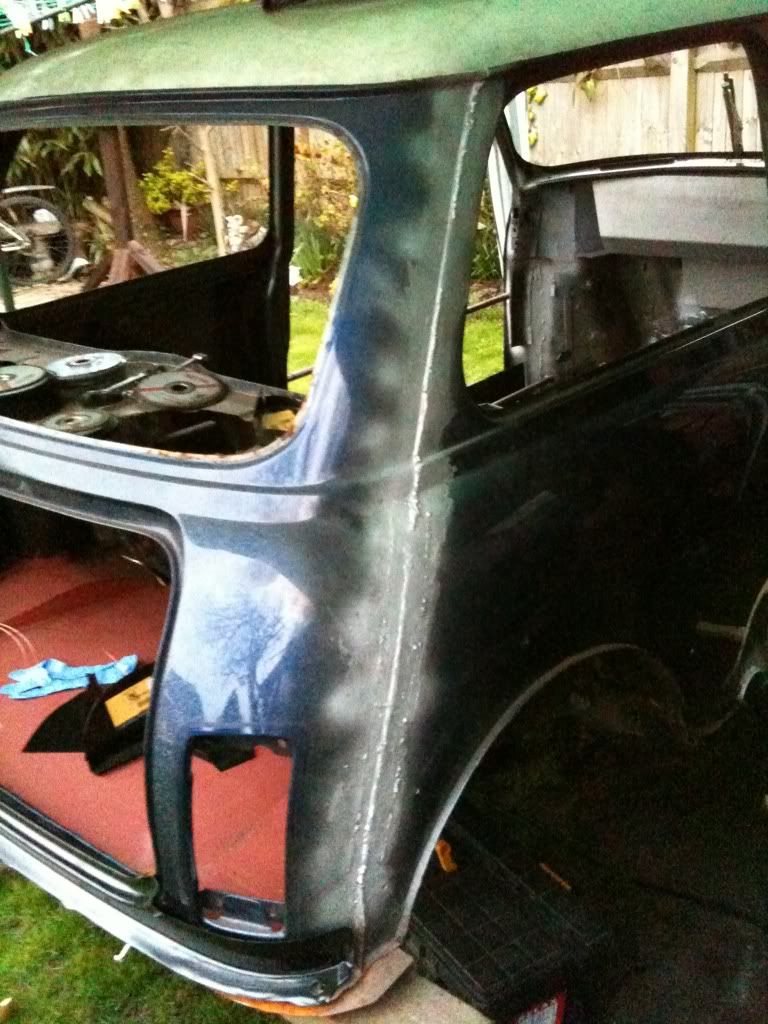
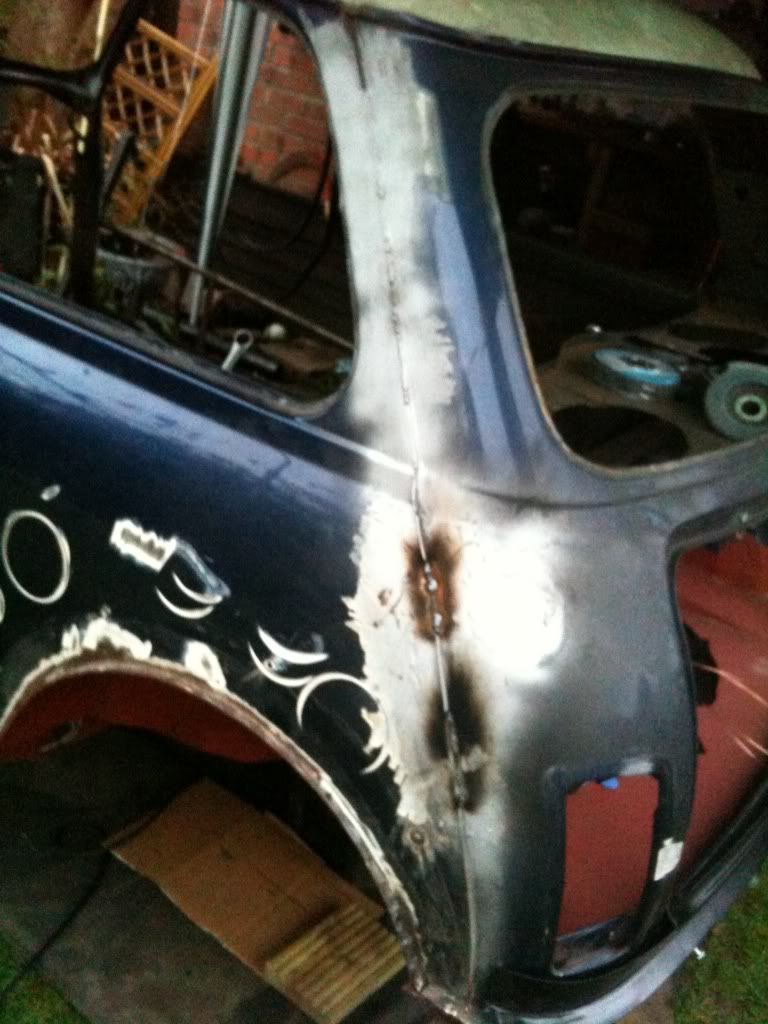
while i was getting a good earthing point i found what looks like lead loading so hopefully nothing too bad lurks beneath,
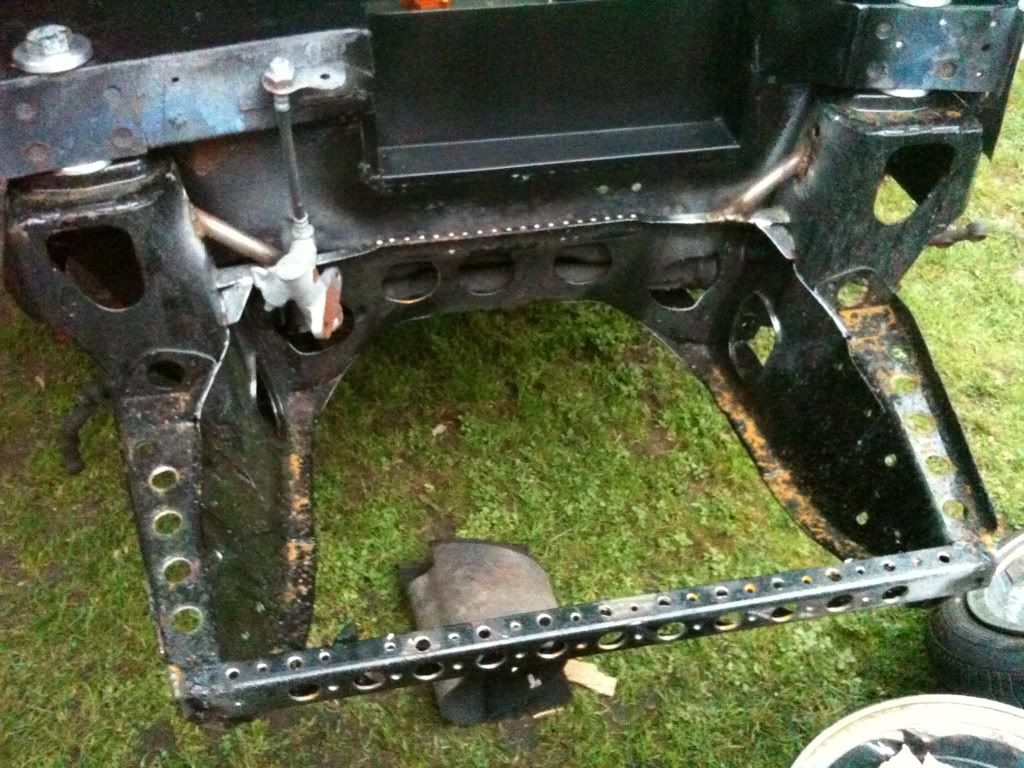
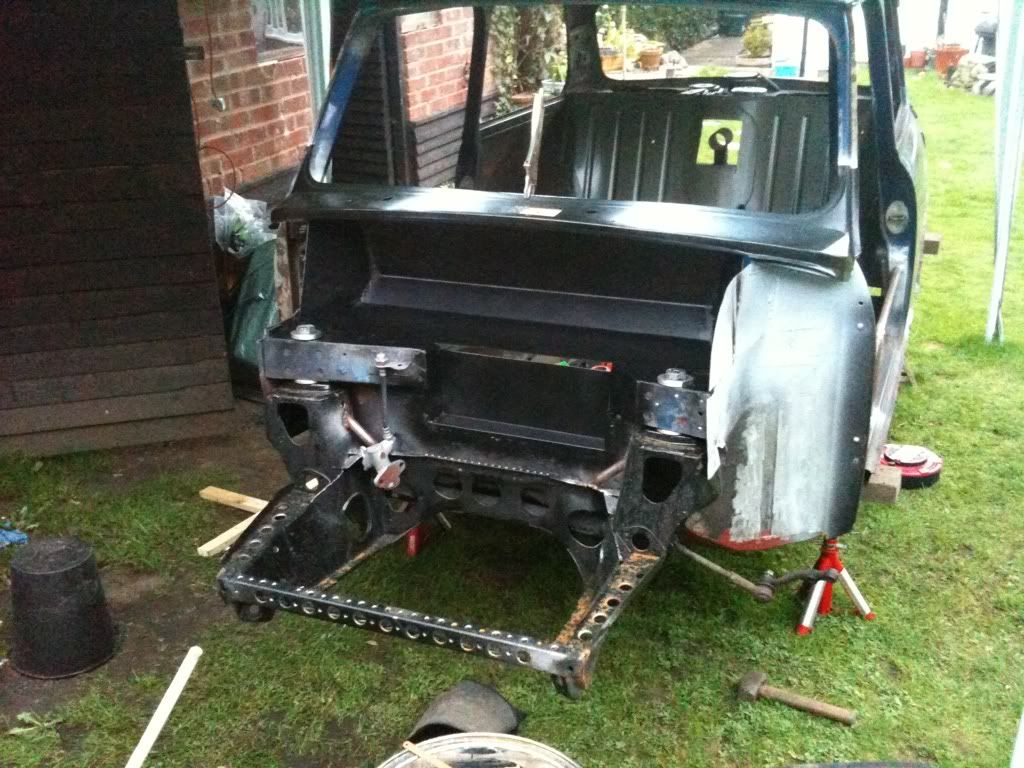
mounted my from subframe so i can make up my brace bars once i get the rose joints
i started to make up the cage for the exhaust tunnels, probably not needed but i dont want to loose any strength when i cut the floor away. maybe its a bit overkill but never mind
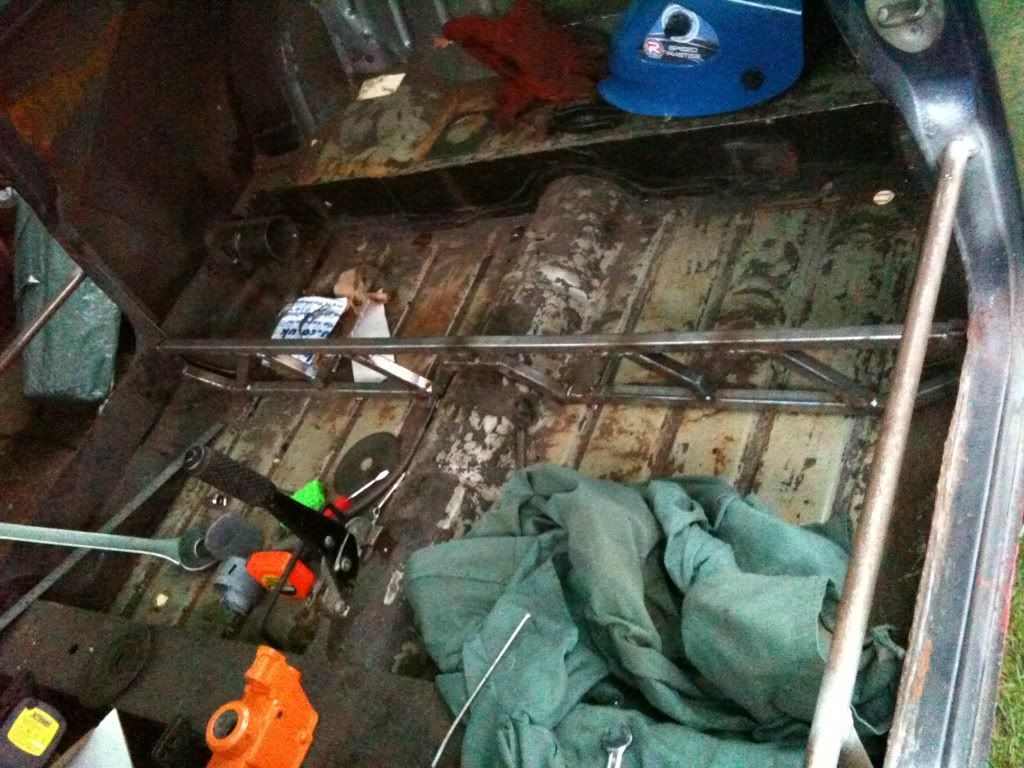
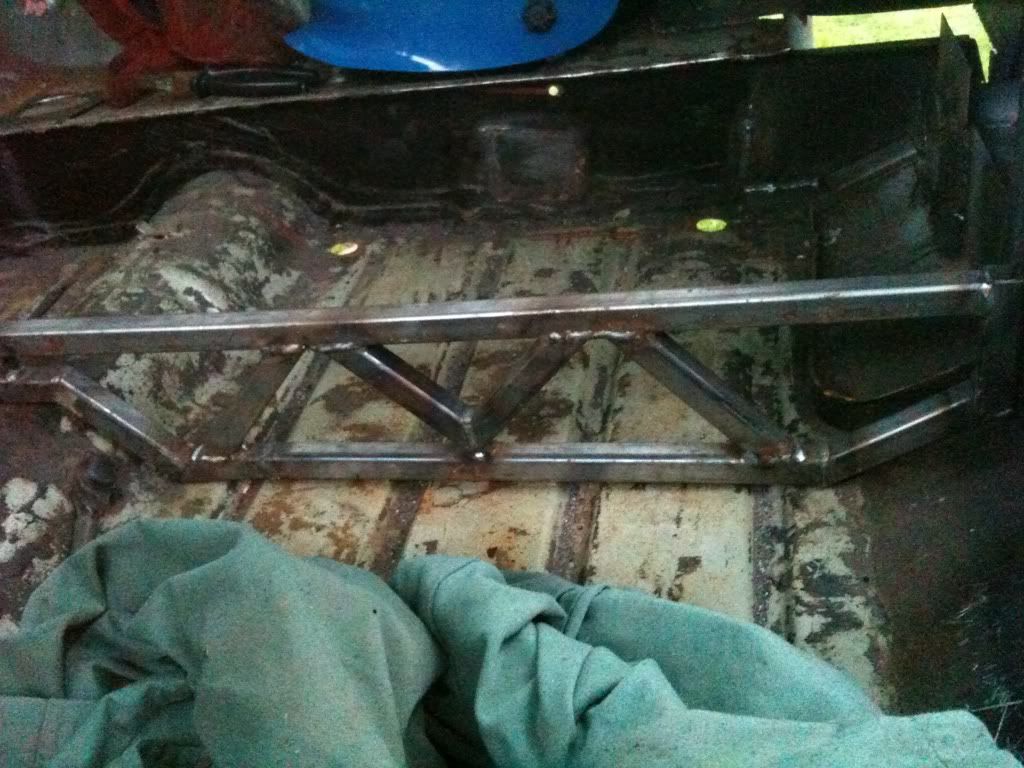
the square bar section will be at the back against the heelboard, and the tubed piece will be at the front and visable.
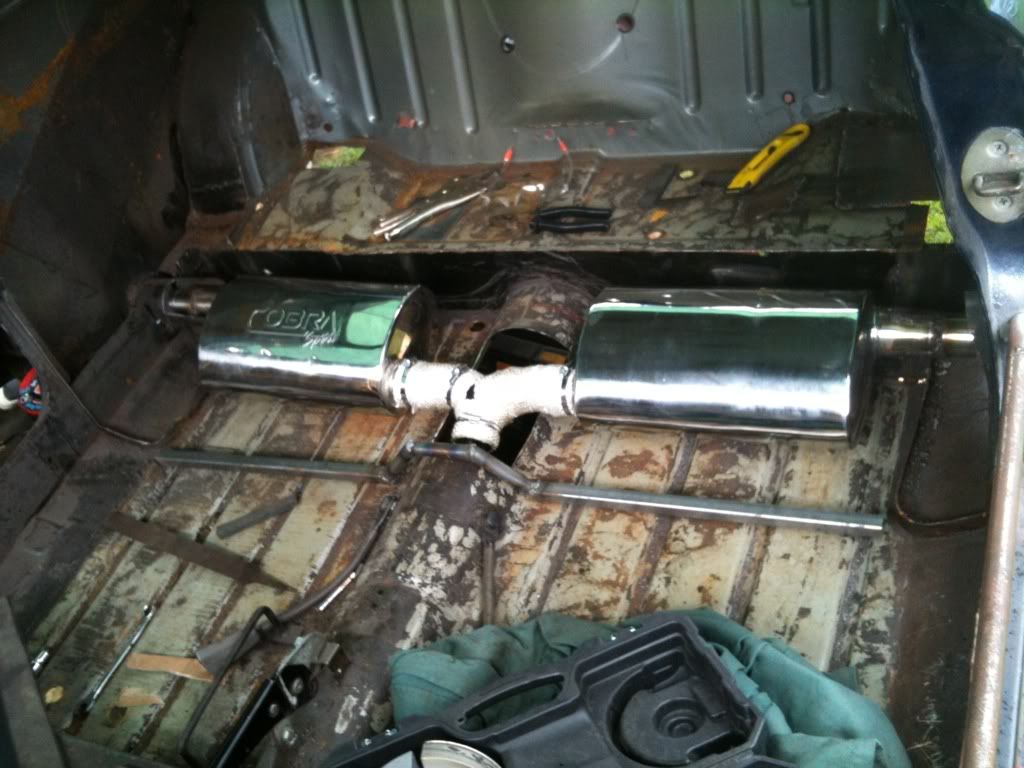
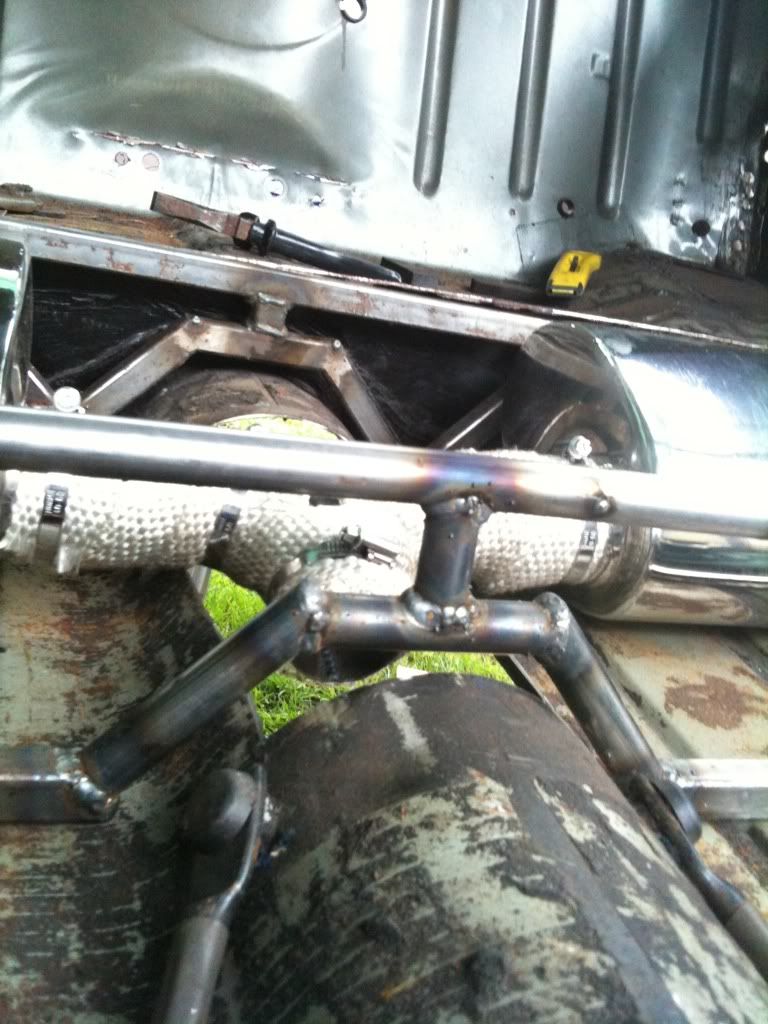
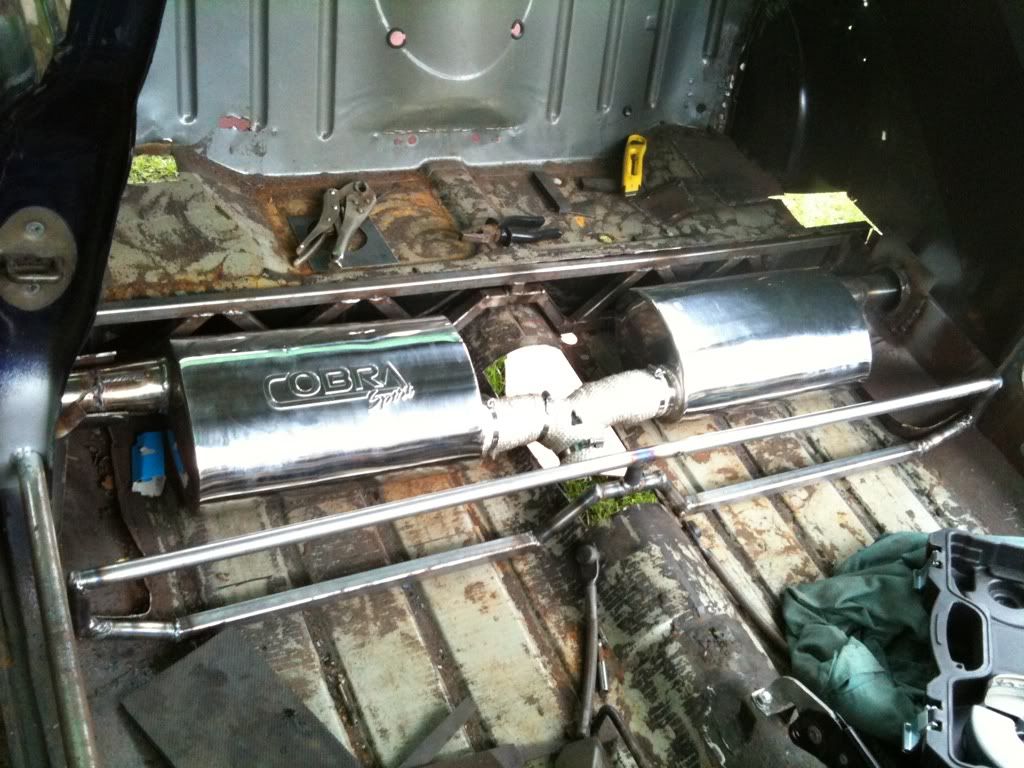
i did manages to join the two together but it got too dark to take photos so ill get some tomorrow.
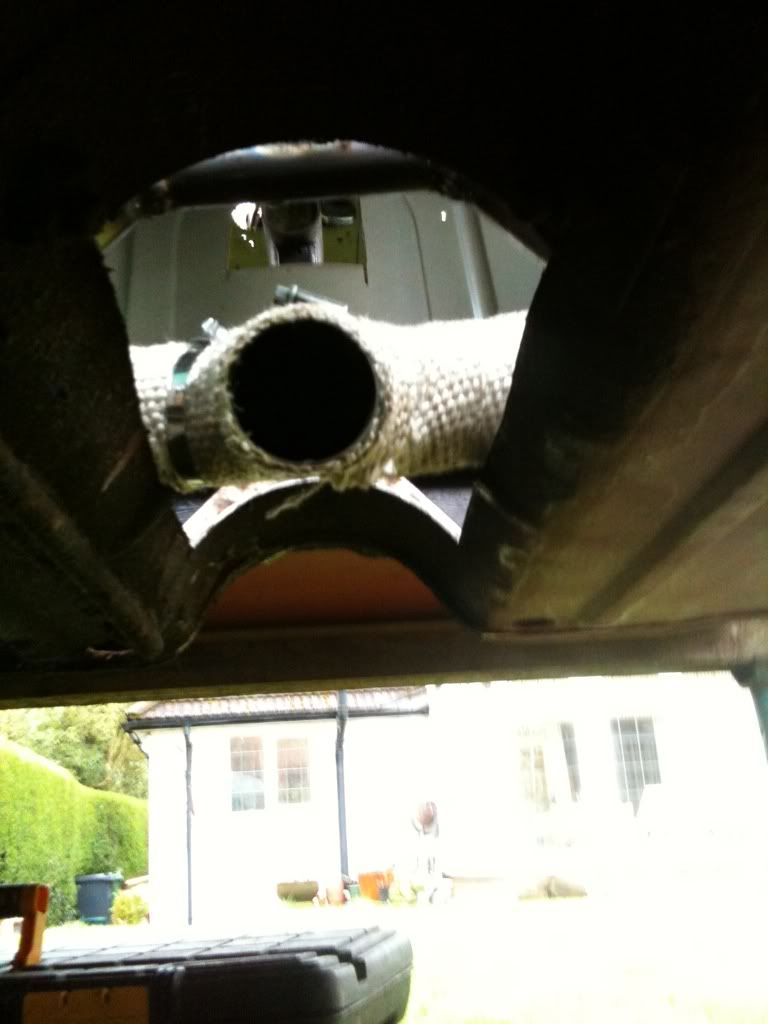
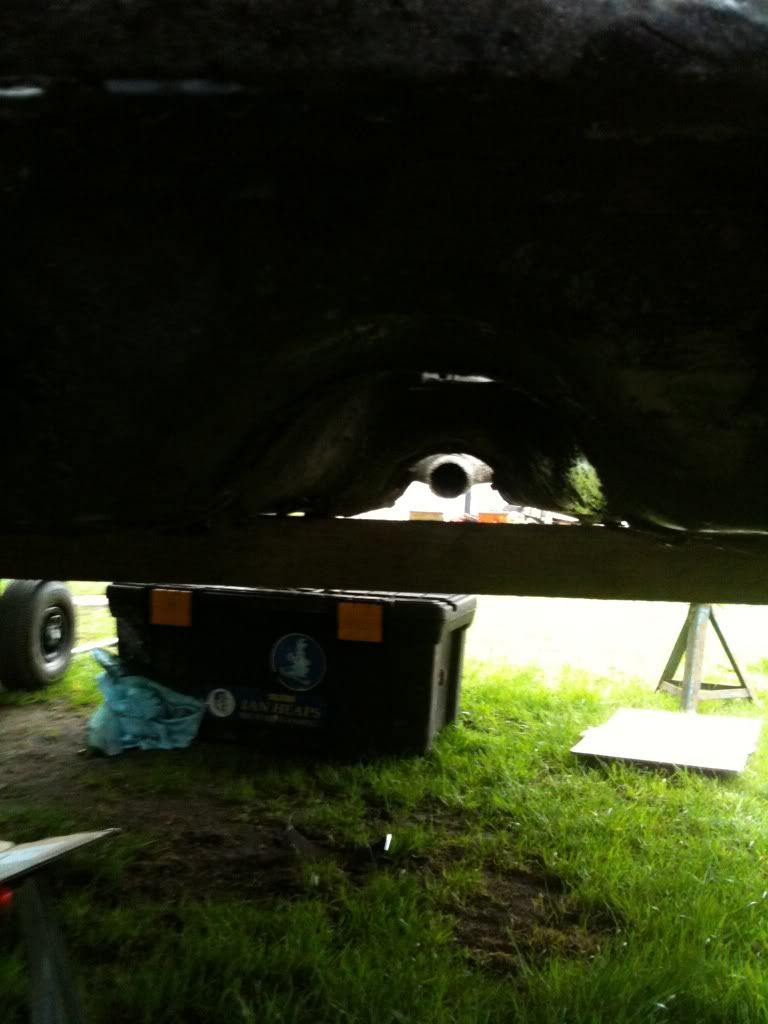
and just for anybody wondering about ground clearance, ill have plenty as the exhaust are actually higher then the floor itself
#49

Posted 30 March 2011 - 09:04 PM
and that exhaust
#50

Posted 31 March 2011 - 07:40 PM
cheers for the info:) already got a cage tho
and that exhaust!!!! in the 2nd picture of that frame being made... that's one big spanner!!!
ha there my late grandads truck spaners, and thats the smallest one!
thanks for the comments on the exhaust, if im honest i was really looking forward to finishing it but its actually come out so much better than i ever imagined. somehow ive managed to get it sitting perfectly on each side and ive figured out a way of mounting it so that it sits peftectly in the centre of my exit tubes.
i think progroess is going to slow up a bit now because its getting the the stage where i have to start buying my shiny bits and i havnt got much money left.
she'll be finished soon enough
#51

Posted 31 March 2011 - 08:25 PM
#52

Posted 31 March 2011 - 08:45 PM
and i actually cant wait to see this on the road:) what colour is it going to be??
#53

Posted 01 April 2011 - 09:43 AM
If someone has gone to the trouble of lead loading a repair then chances are they did a good job of the repair!
no doubt the repairs been done properly it just makes me wonder what happened for it to need a repair, im just hoping its not another set back.
money is always an issue:/ i still need to build my engine and i havnt got any money left. oh well beter start workin' more! XD
and i actually cant wait to see this on the road:) what colour is it going to be??
neither can i, theres a lot of mods left to do so i cant see it being anytime soon.
colourscehem will be electric orange with black roof, im undecided on what colour to have the arches as it depends wether i get black or silver wheels, if i get black then ill bond and blend the arches and paint them orange aswell.
#54

Posted 02 April 2011 - 05:57 PM
#55

Posted 02 April 2011 - 06:15 PM
That exhaust is champion. I wish i had a garage to do something like THAT in.
in all honesty, i think that the exhaust was one of the more straight forward things ive done. but like anything it just takes time and a lot of thought and it'll be alright.
im not actually in a garage, at first it was down the side of the house under a lean-to with some tarp, but with the help of 4 other friends and relatives i now have it outside my shed in the back garden which makes things quite a lot easier.
#56

Posted 02 April 2011 - 06:48 PM
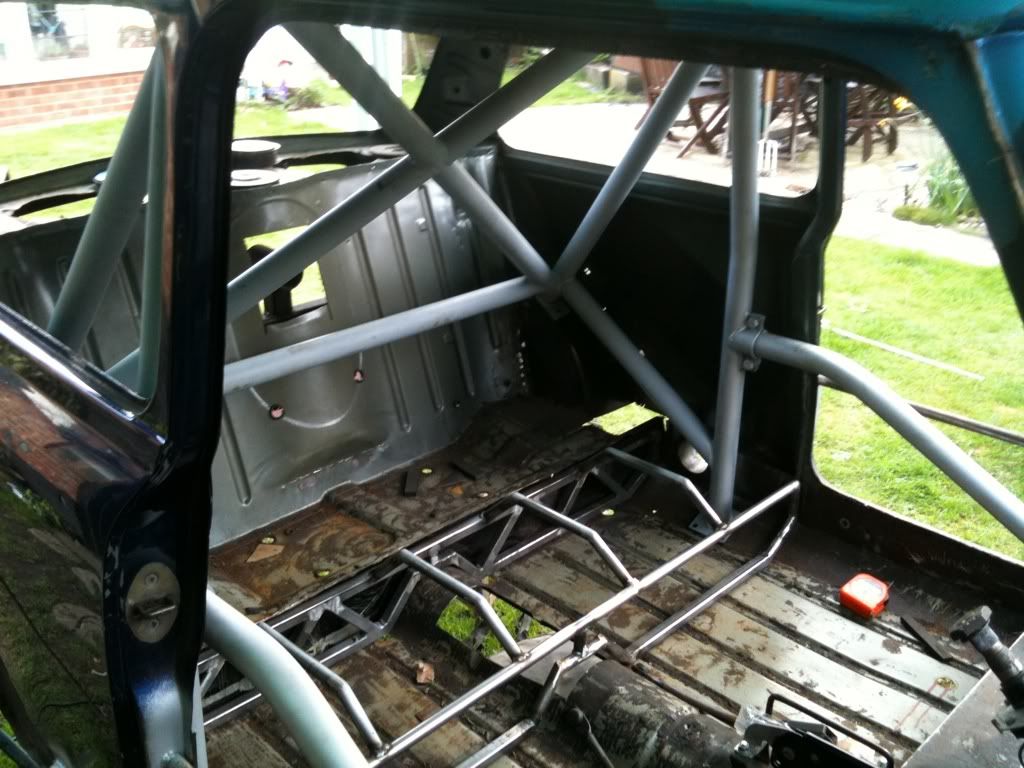
heres a few photos of the cage in place with the exhaust tunnel frame and the steering column
almost finished frame, just needs some triangluation on the front and its finished
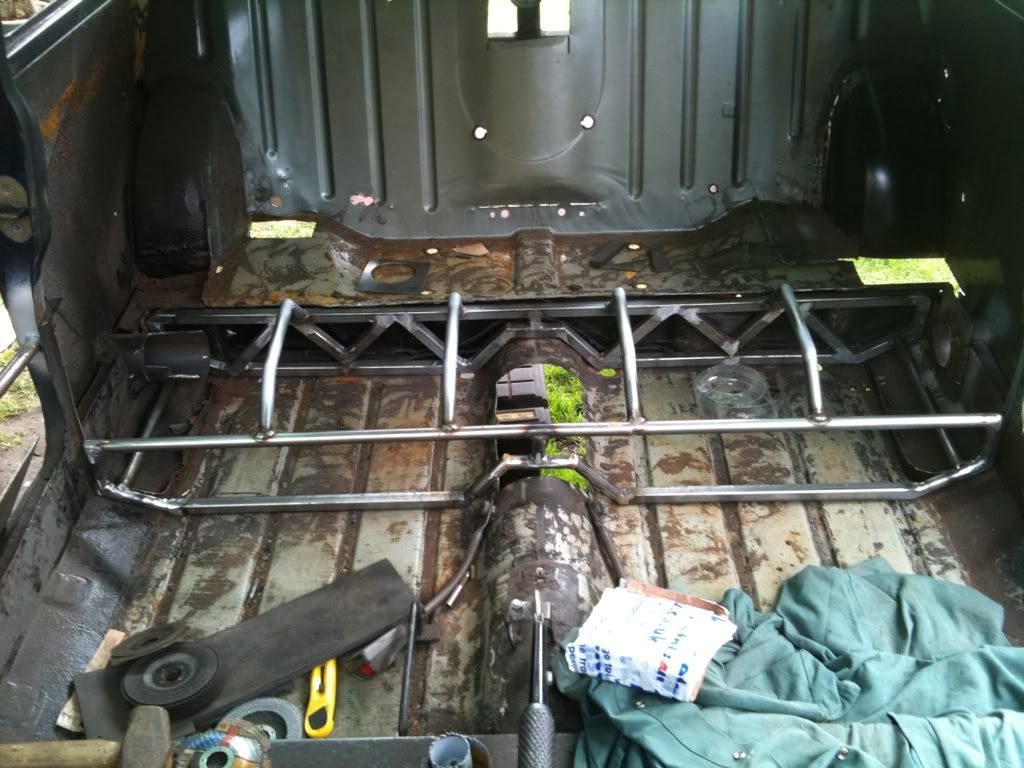
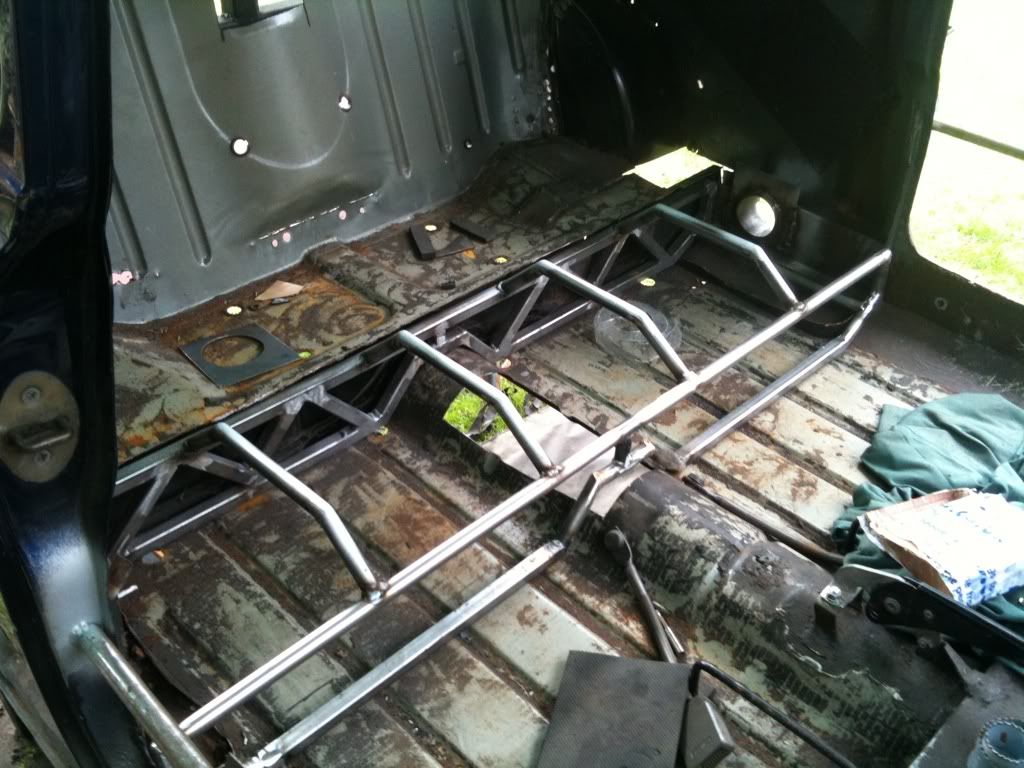
the cage put in postion so i can get the spreader plates mounted right
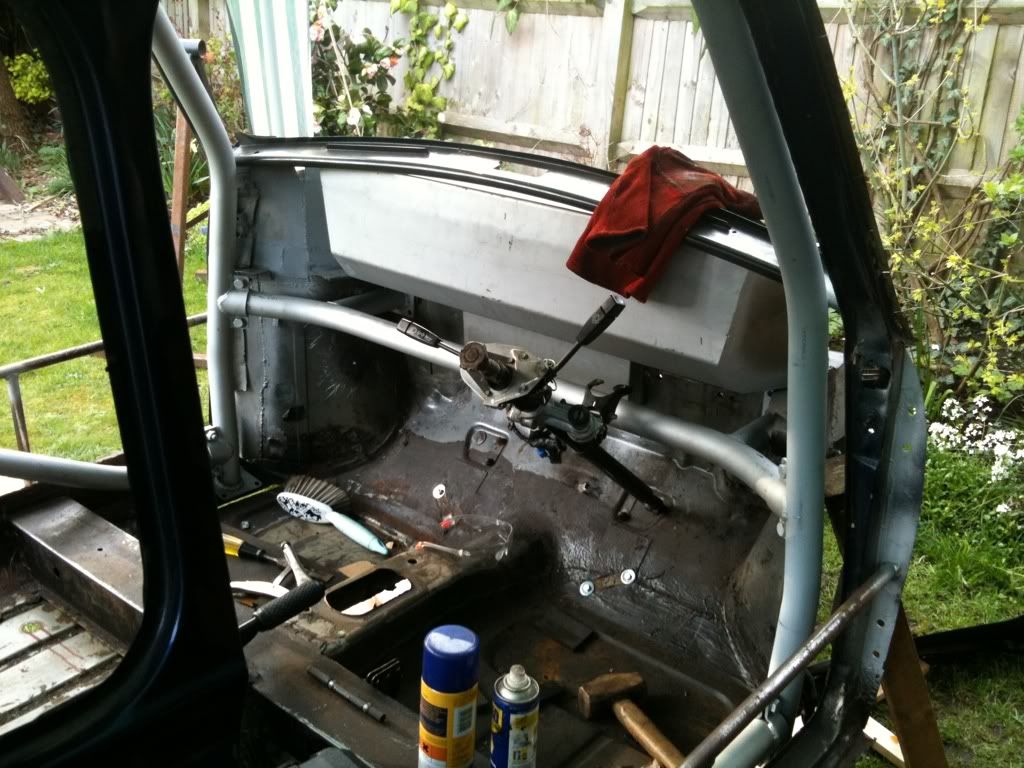
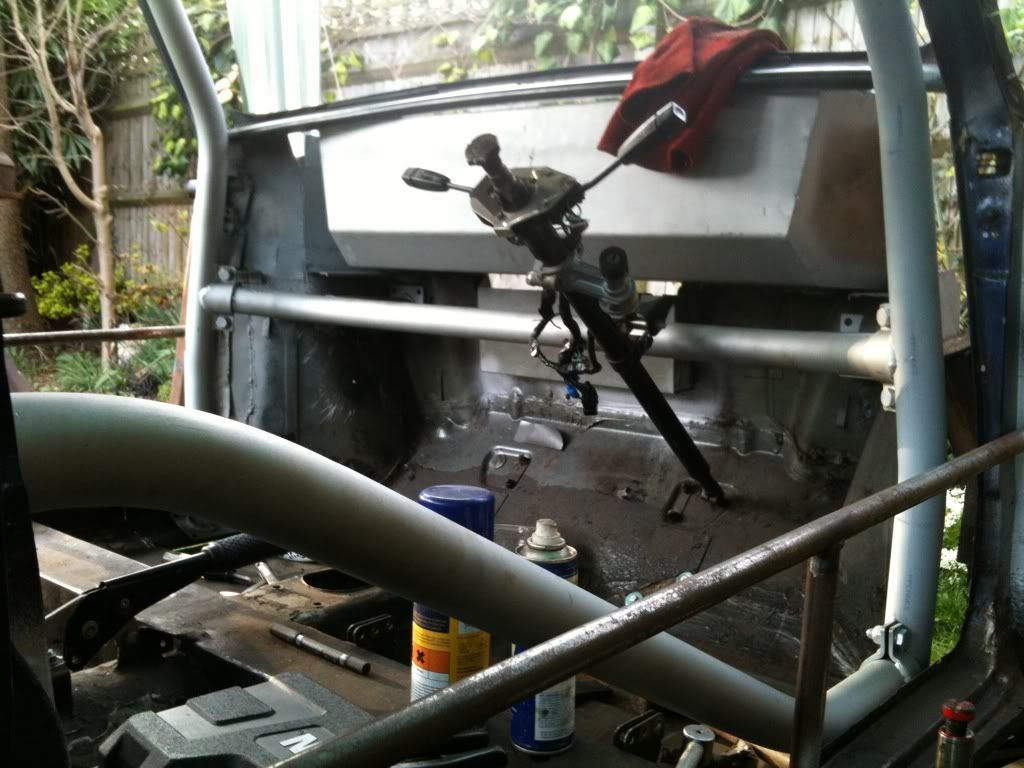
im going to hang the steering column from the dash bar rather than using the original style dash rail, this should give me a slightly nicer angle to the wheel aswell.
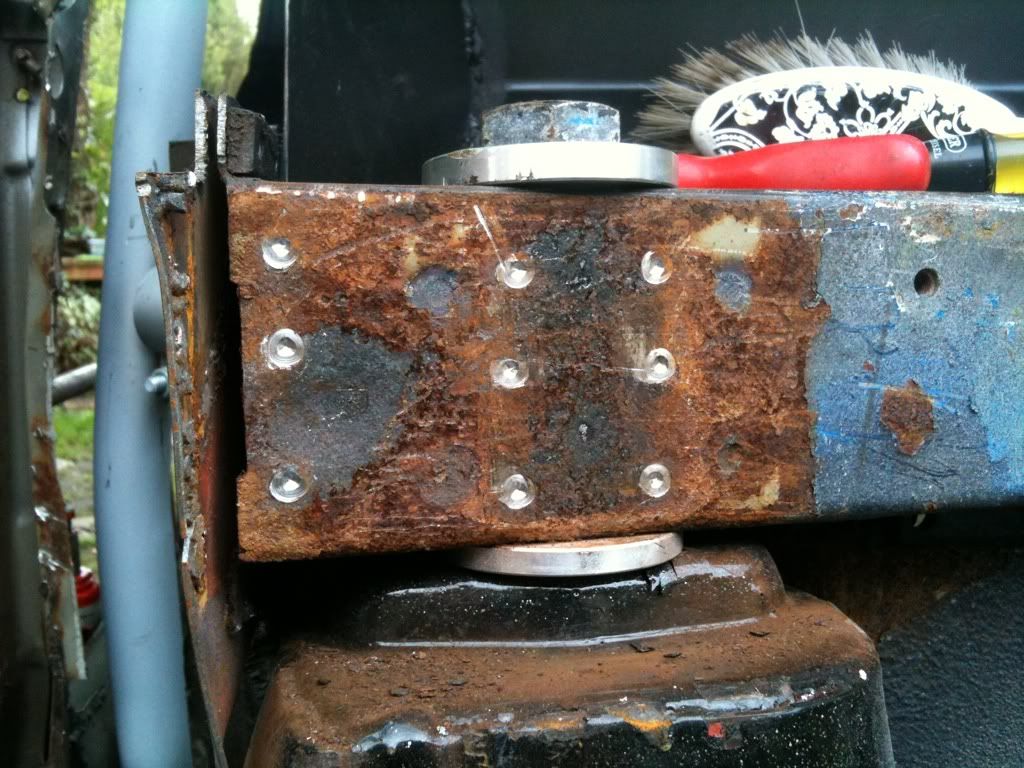
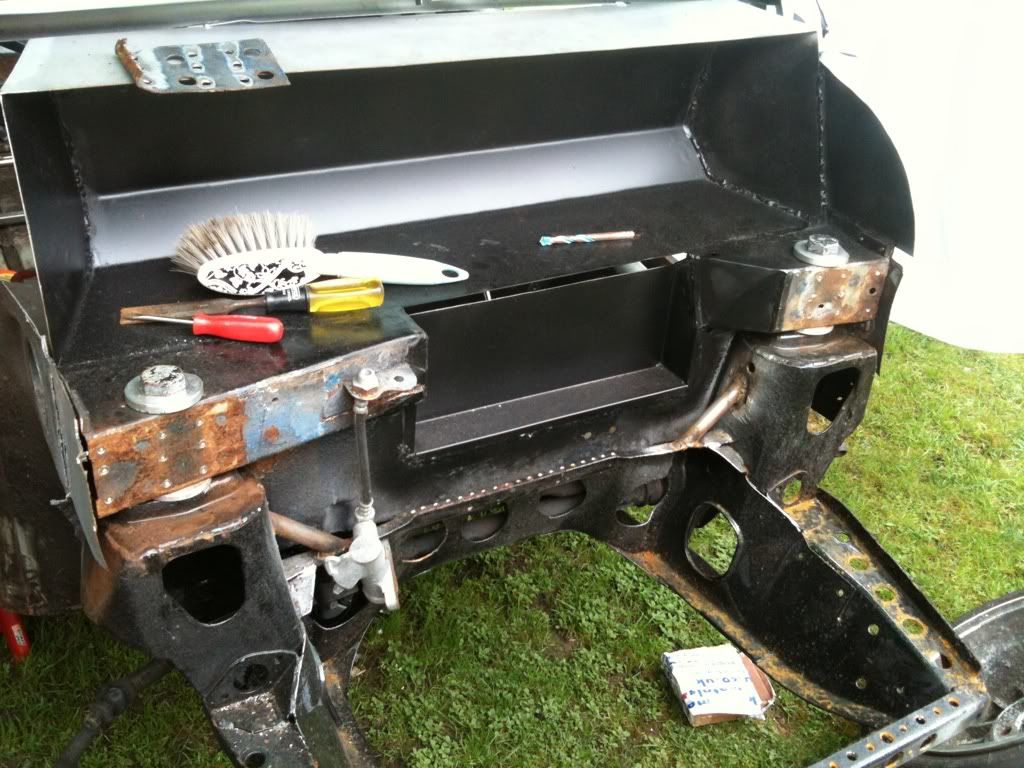
i moved onto the front again, and started to remove the thick plate on the tower mounts as i could feel a slight bubble on both sides. good job i took them off as the metal was stupidly thin behind so ill be fixing that tomorrow and putting on some 3mm plate instead
next i decided to replace the hinge panel on the boot, turned out quite simple compared to what people had told me.
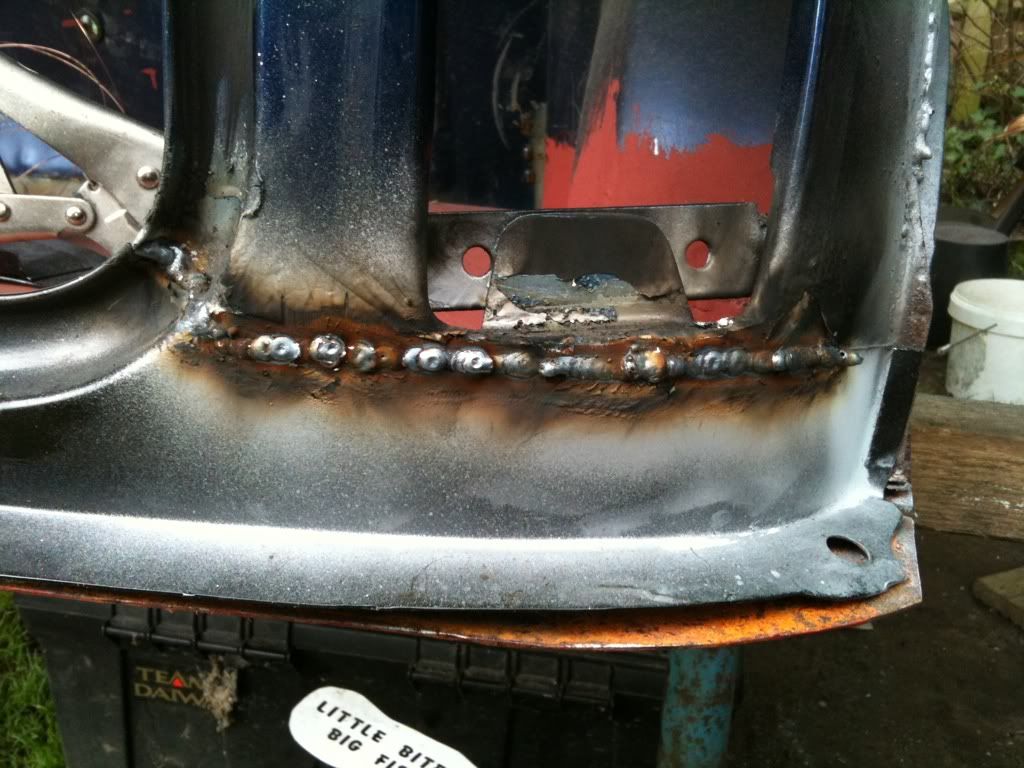
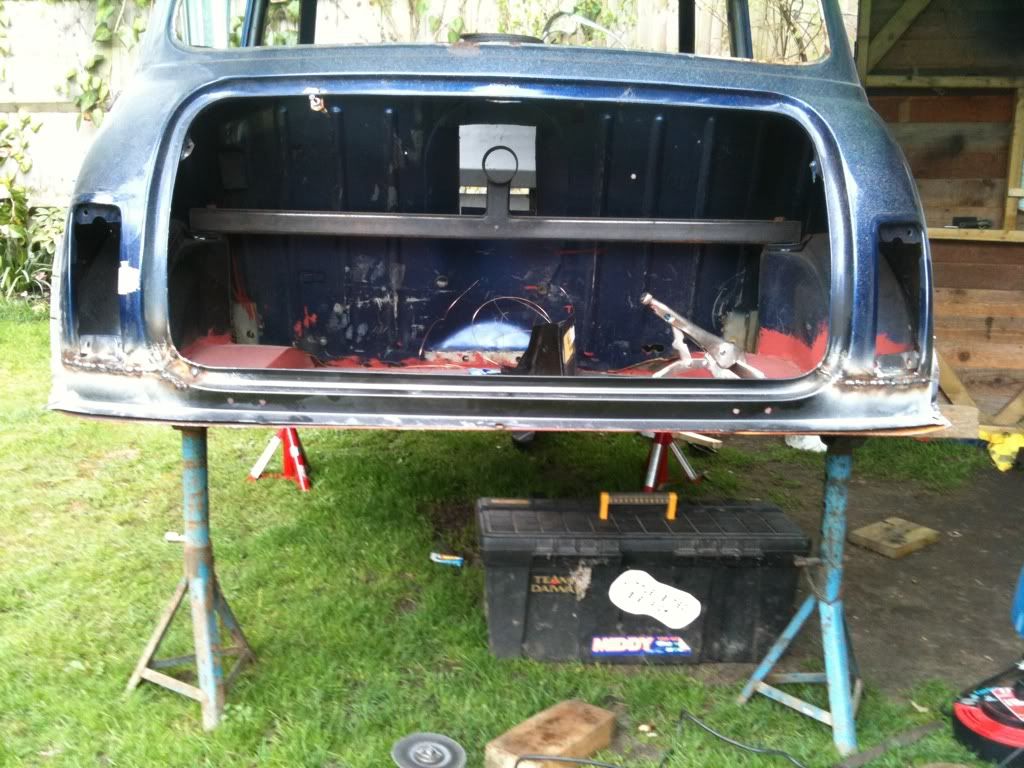
Ben
#57

Posted 02 April 2011 - 11:04 PM
#58

Posted 03 April 2011 - 06:26 PM
Looks good Ben, That cage around the exhaust should give you somewhere good to keep you're dinner warm when you leave the drive through.
haha thats a good idea! but unfortunatly the exhausts wont be seen from within the car
hows the estate coming along?
#59

Posted 03 April 2011 - 07:27 PM
what cage is that and where did you get it from?
cheers
louis
#60

Posted 03 April 2011 - 07:37 PM
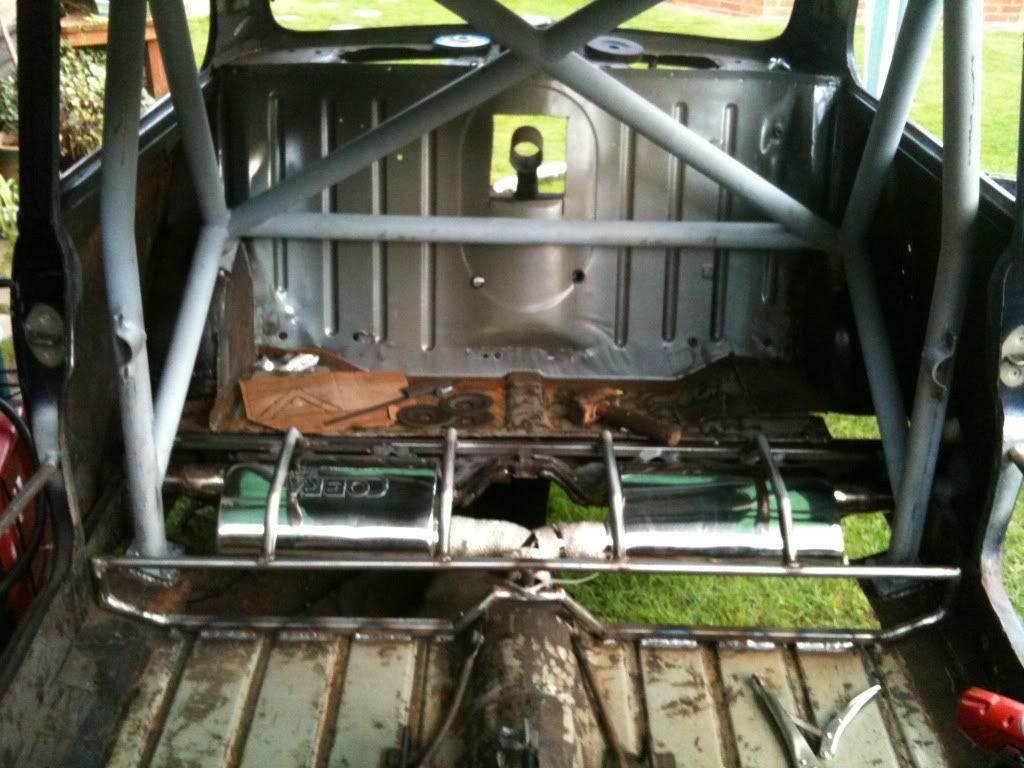
finished the frame, dressed the welds and removed the bottom two bars in the photo as they were only there to keep it square.
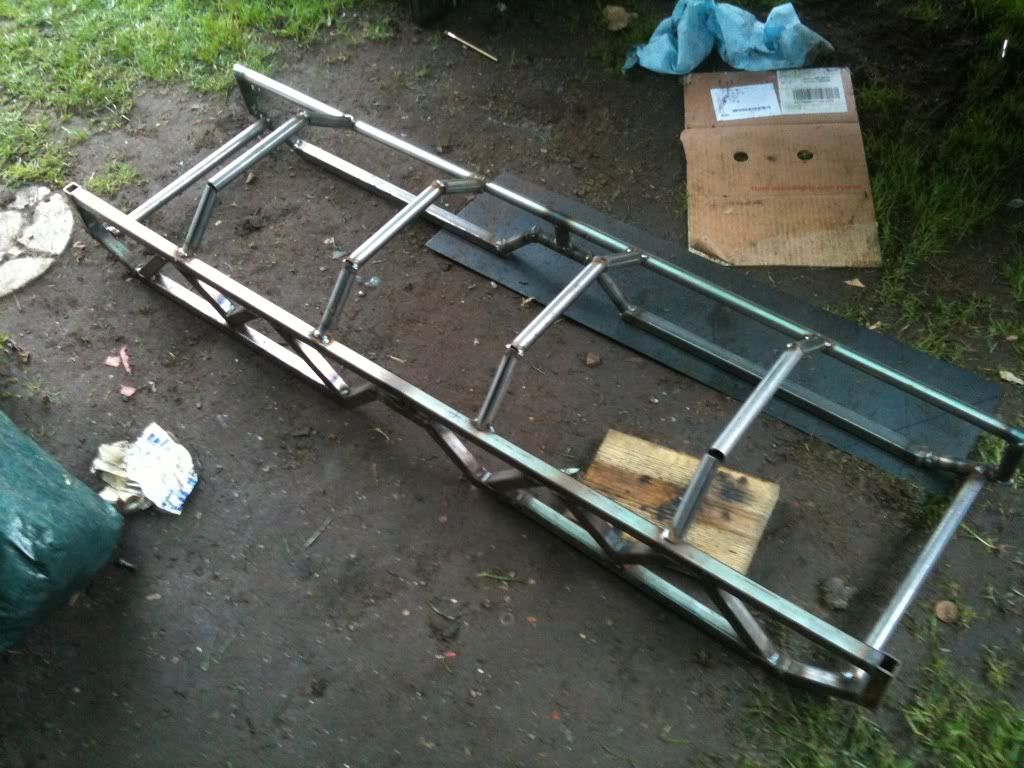
frame put in place and welded at the front and some tacks at the back, has to be the first time since it came out of the factory that the rear floors have been straight!
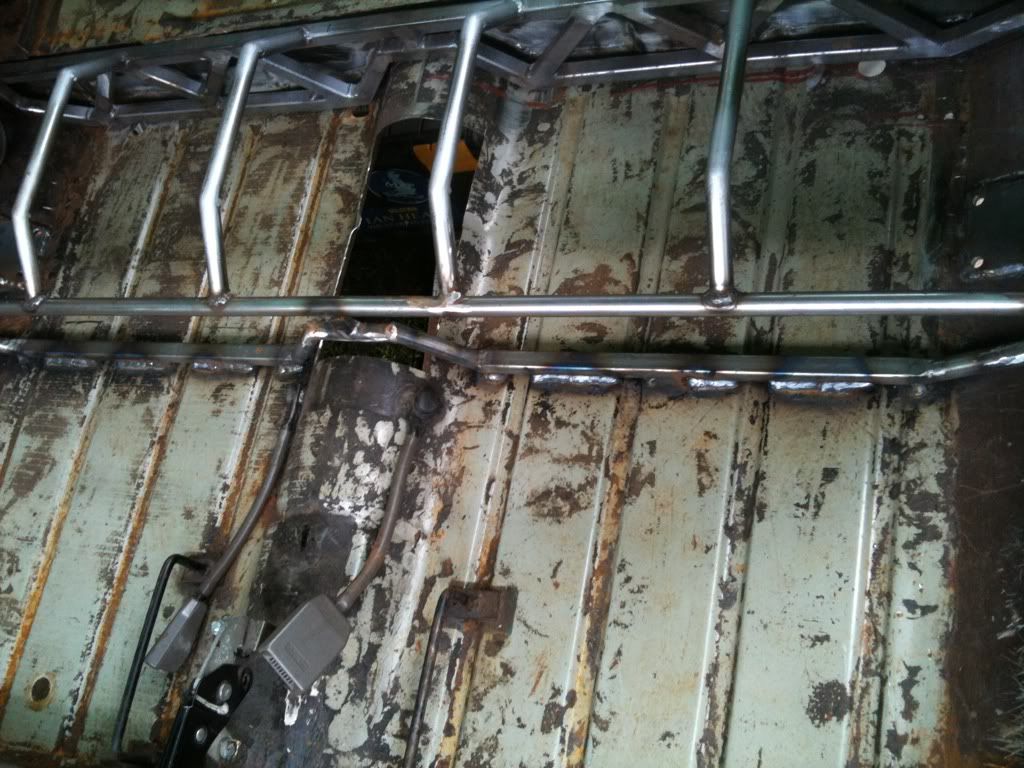
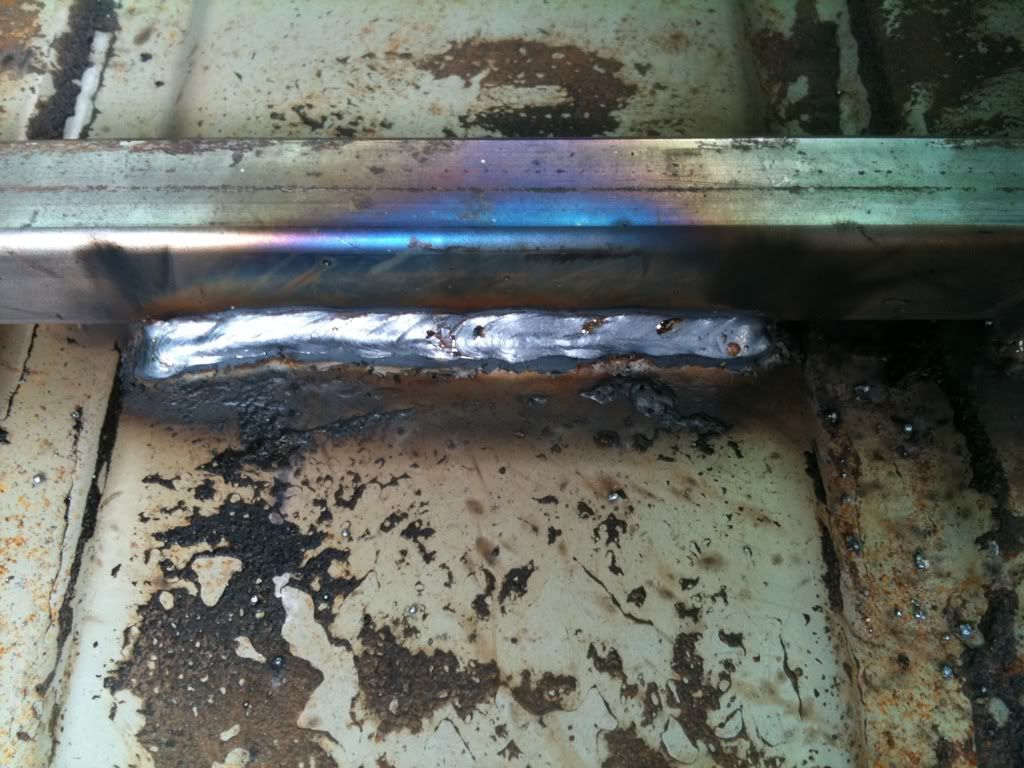
then the floor was cut out!
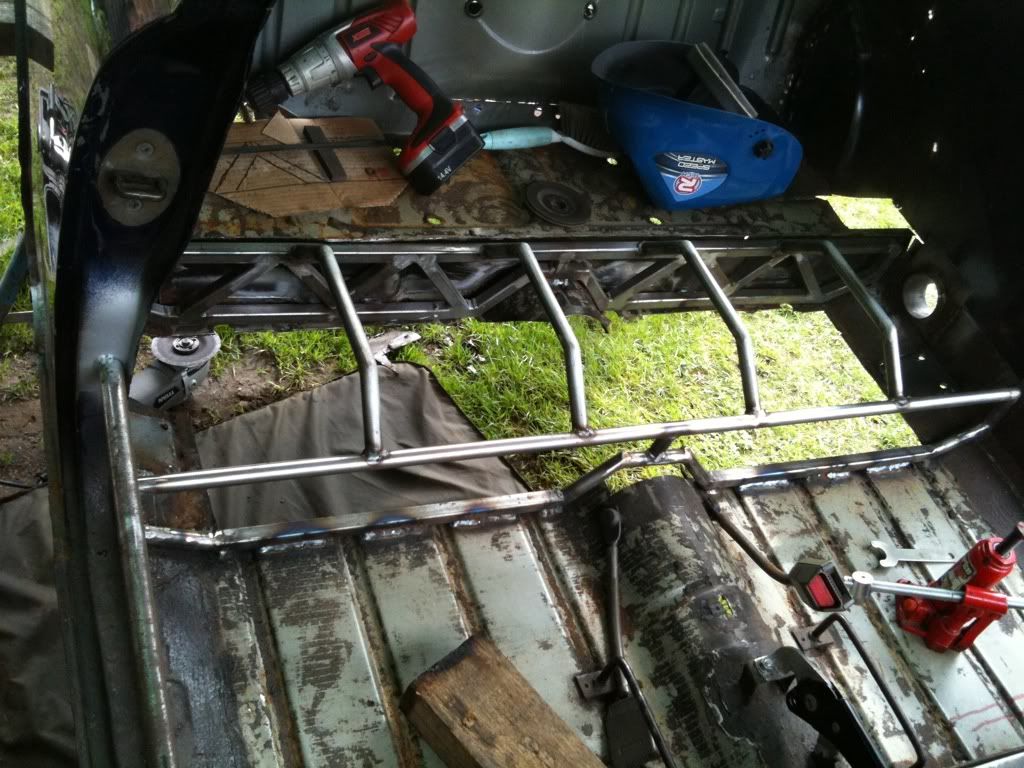
exhaust test fitted to make sure i didnt need to cut anymore
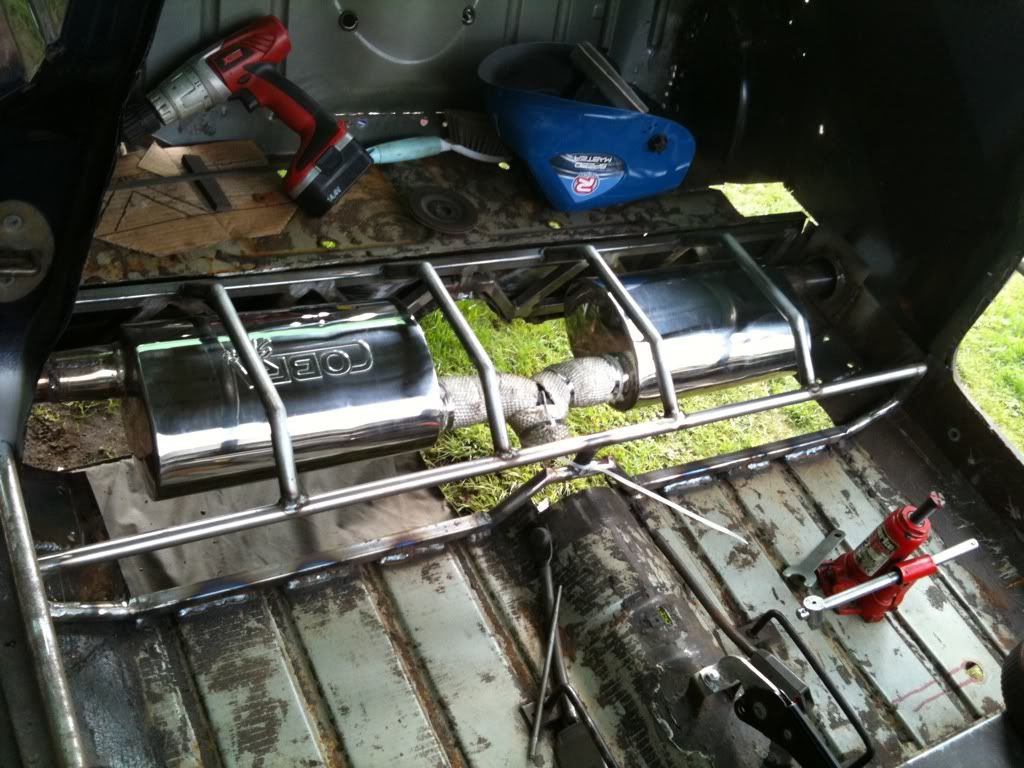
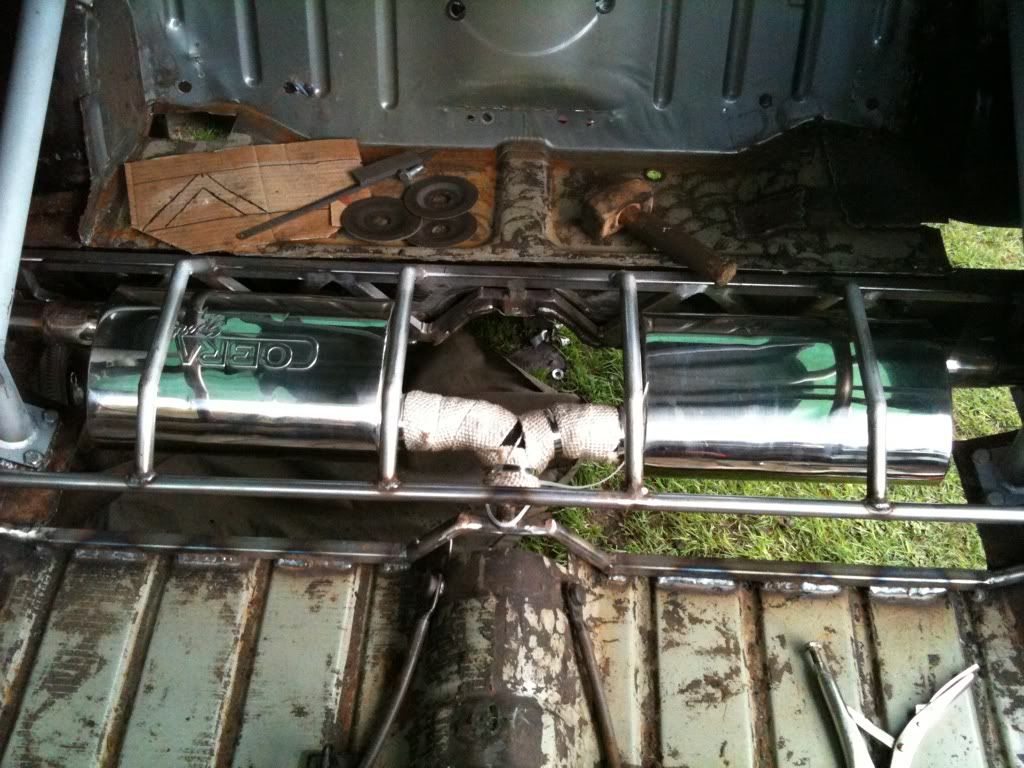
then my and my dad wrestled with the rear cage to get it in and over the frame
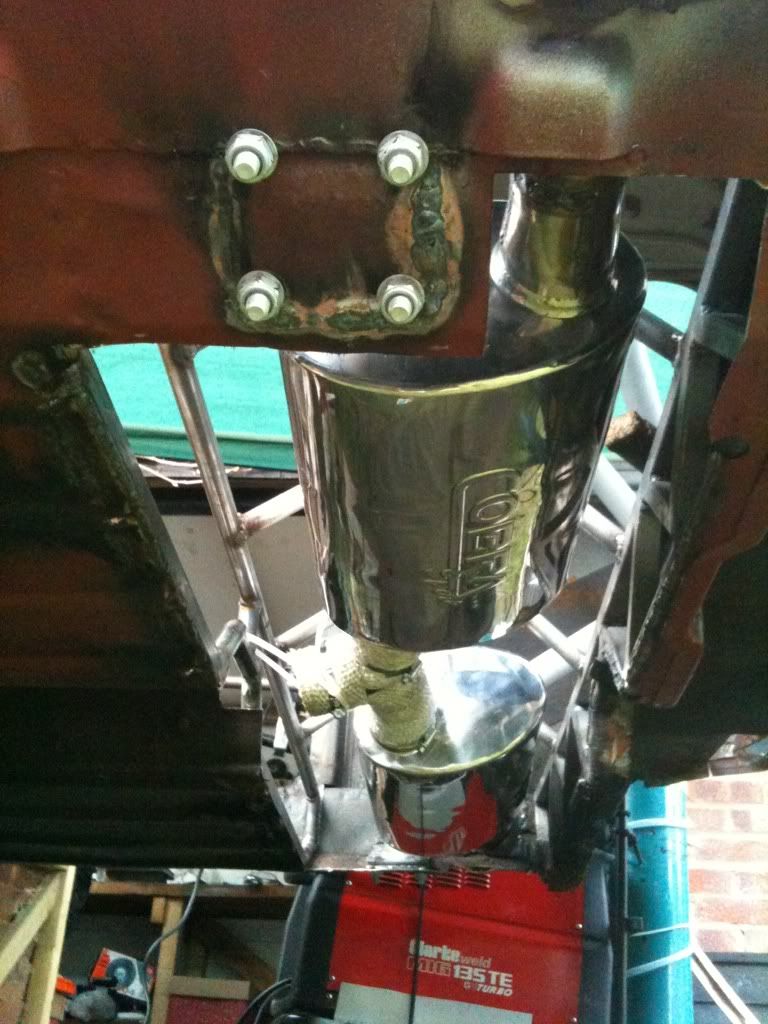
and a sneaky peak from underneath (this is what will be seen when finished minus a tunnel over the exhausts)
thanks for reading
Ben
1 user(s) are reading this topic
0 members, 1 guests, 0 anonymous users


