Frumpy Gets Some Love
#286

Posted 11 April 2012 - 12:22 AM
#287

Posted 11 April 2012 - 06:02 PM
had a hiccup with tyres today, one got destroyed whilst putting it on, which is quite annoying but cant be helped.
but ive now got the tyres on and put them on the front subframe.
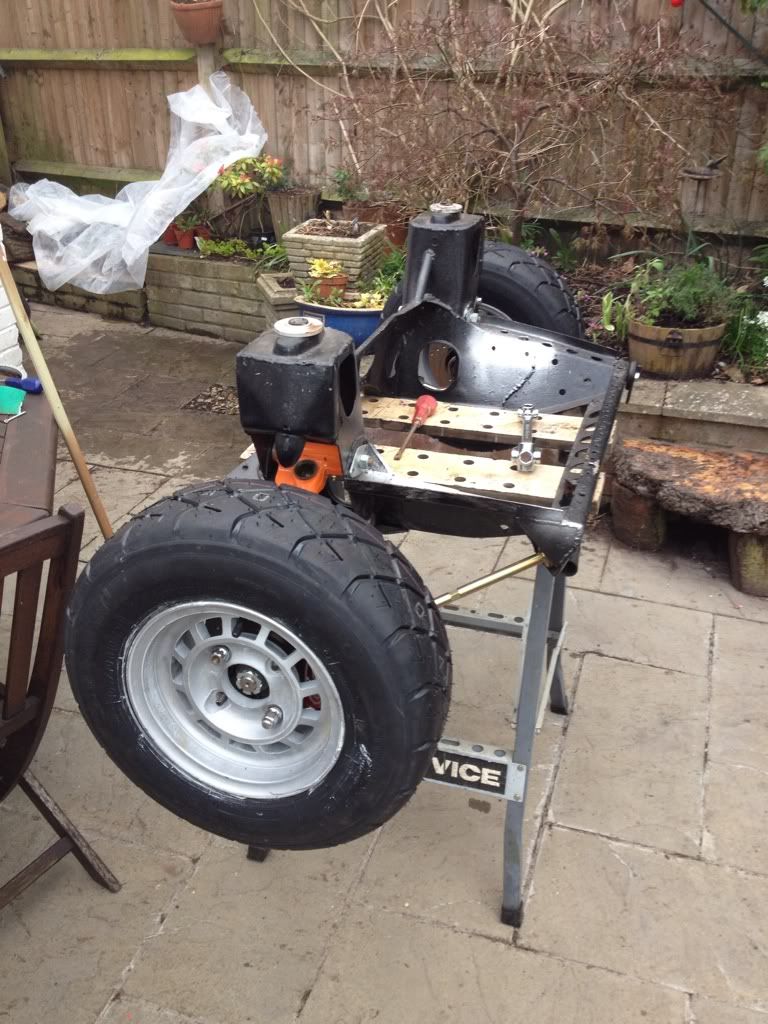
the wheels are yet to be split but i need to get the car rolling first so ill just remove the tyres when i send them off to be split.
Ben
Edited by benjy_18, 11 April 2012 - 06:03 PM.
#288

Posted 12 April 2012 - 03:32 PM
turret to arch mount cut out ready to be patched like the opposite side
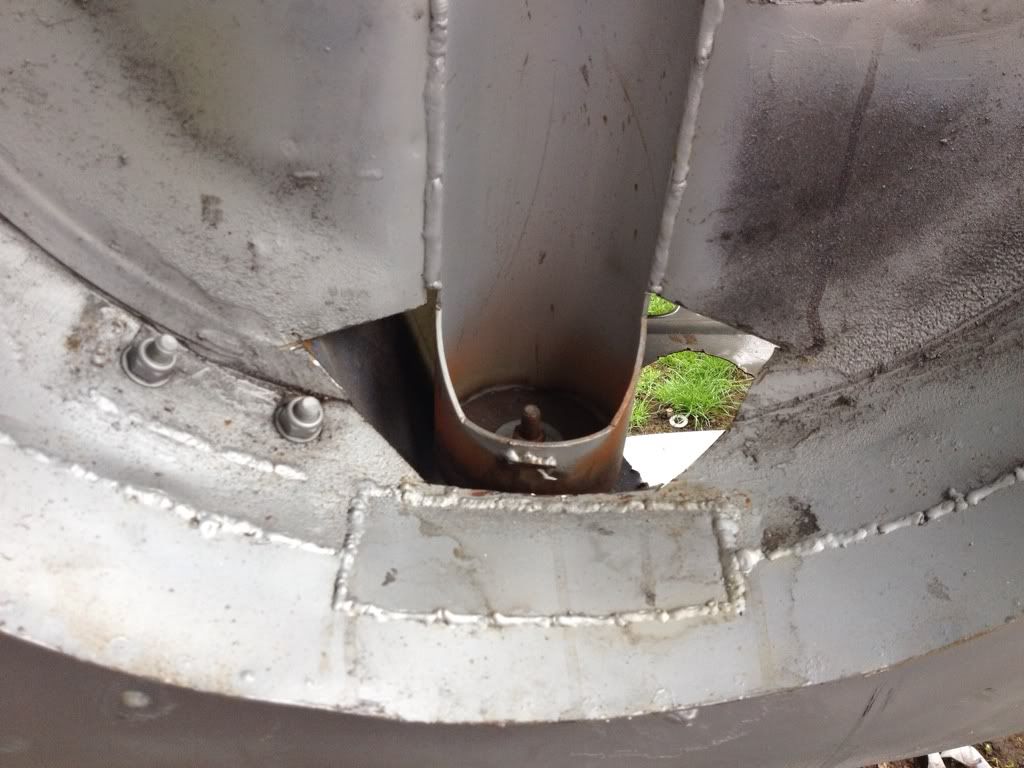
arch closer all lined up
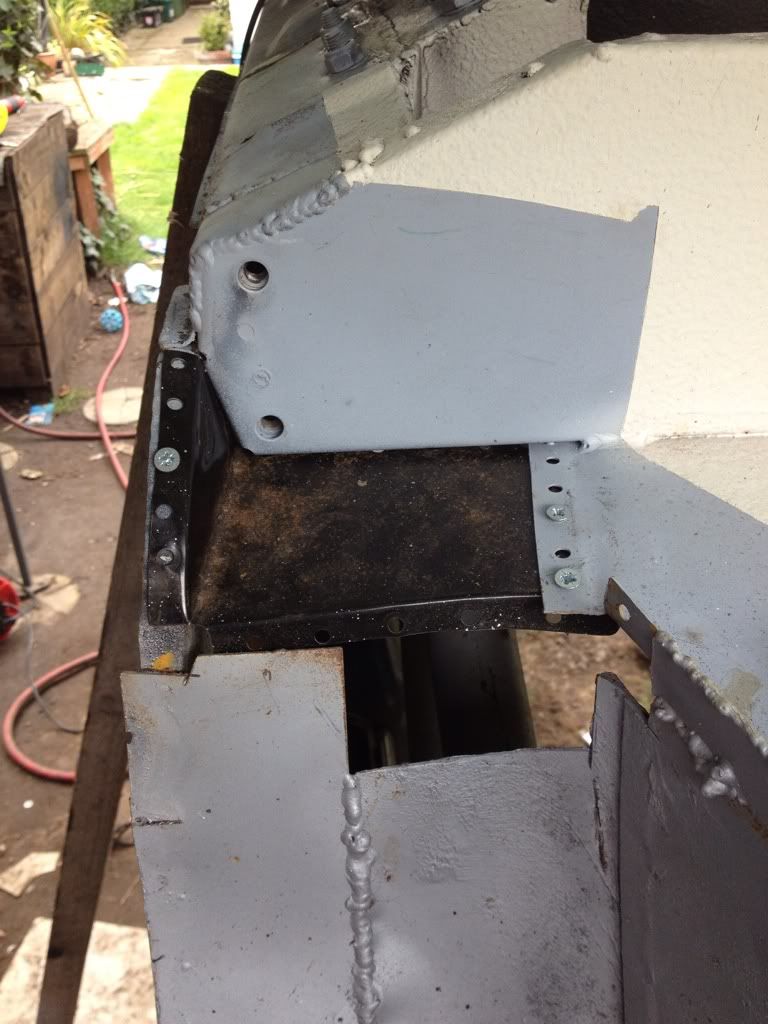
front of rear arch and closer all finished!
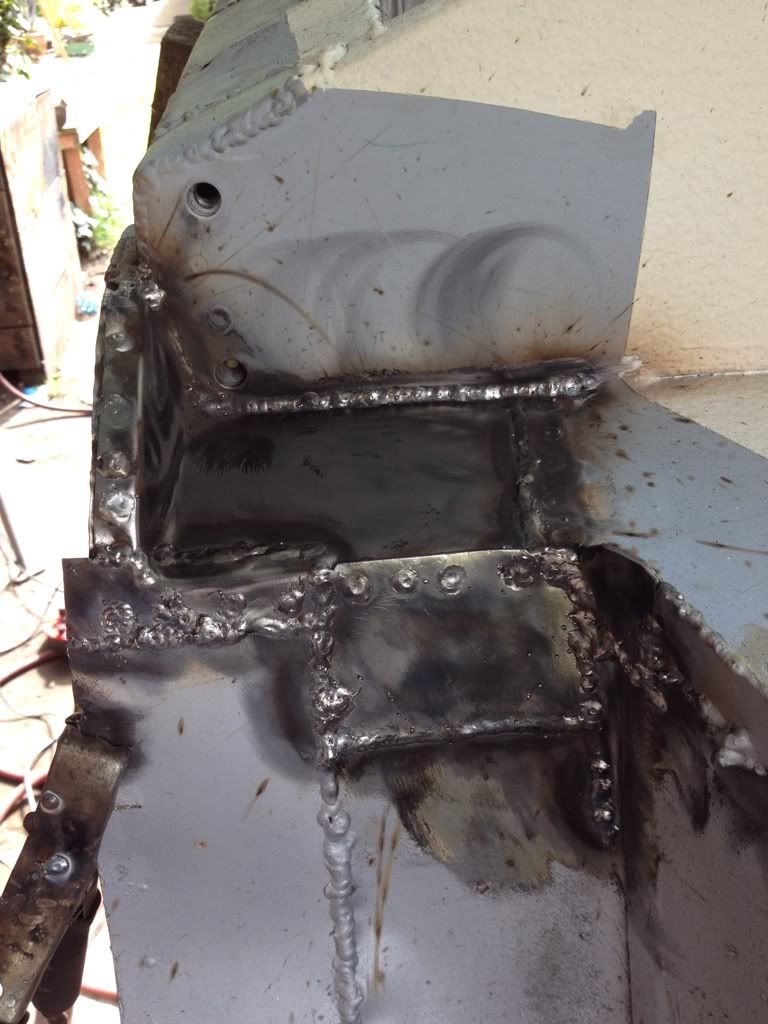
just a little dressing of the welds and its done. only the turret patch left and the rear end is done ready for the subframe to be made
Ben
#289

Posted 13 April 2012 - 01:32 AM
#290

Posted 13 April 2012 - 06:33 AM
Graham
#291

Posted 13 April 2012 - 02:19 PM
im itching to get to that stage aswell! hopefully not too much longer.
@graham -
the closing panel went a lot better on this side than the other for some reason but it is a lot easier to do it with the car upside down!
the front subby will be solid mounted and the rear will be on rubber or poly. and the tyres are a032R which are a cut slick that are just about road legal. similiar to the A048s for the 12" &13" rims
ben
#292

Posted 19 April 2012 - 05:18 PM
due to the hacking some of the posts have gone missing so im going to re upload all the photos that are missing with a short explaination as always, any questions feel free to ask!
rear subframe mounting points made up
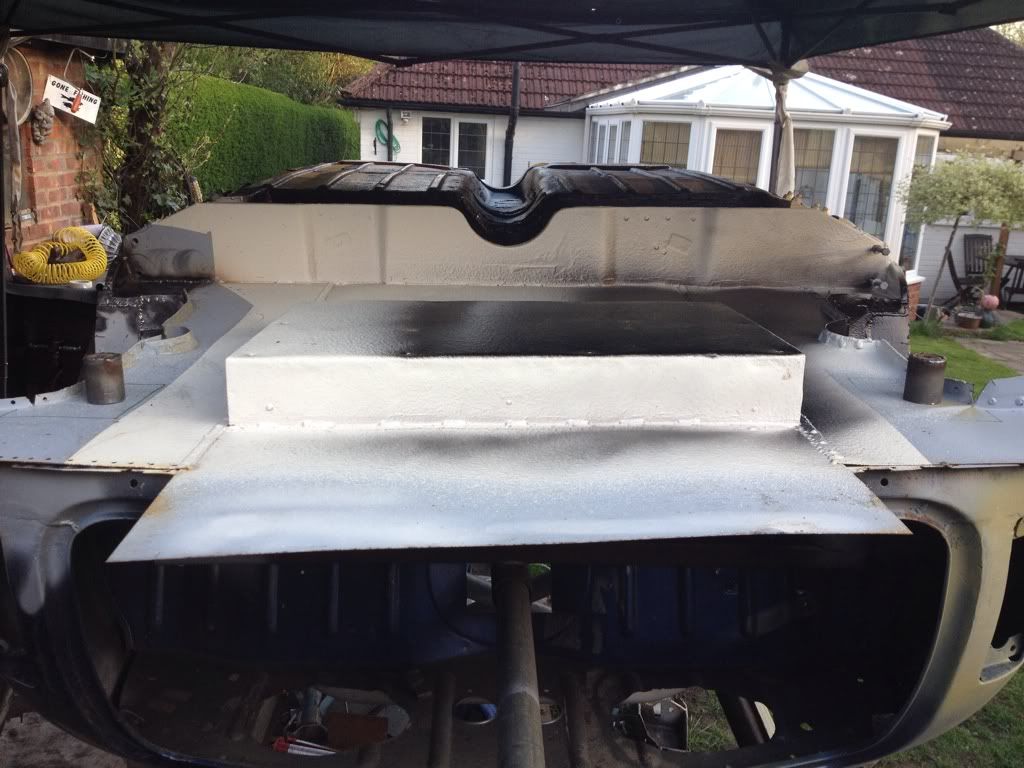
rear bar cut to length and marked up
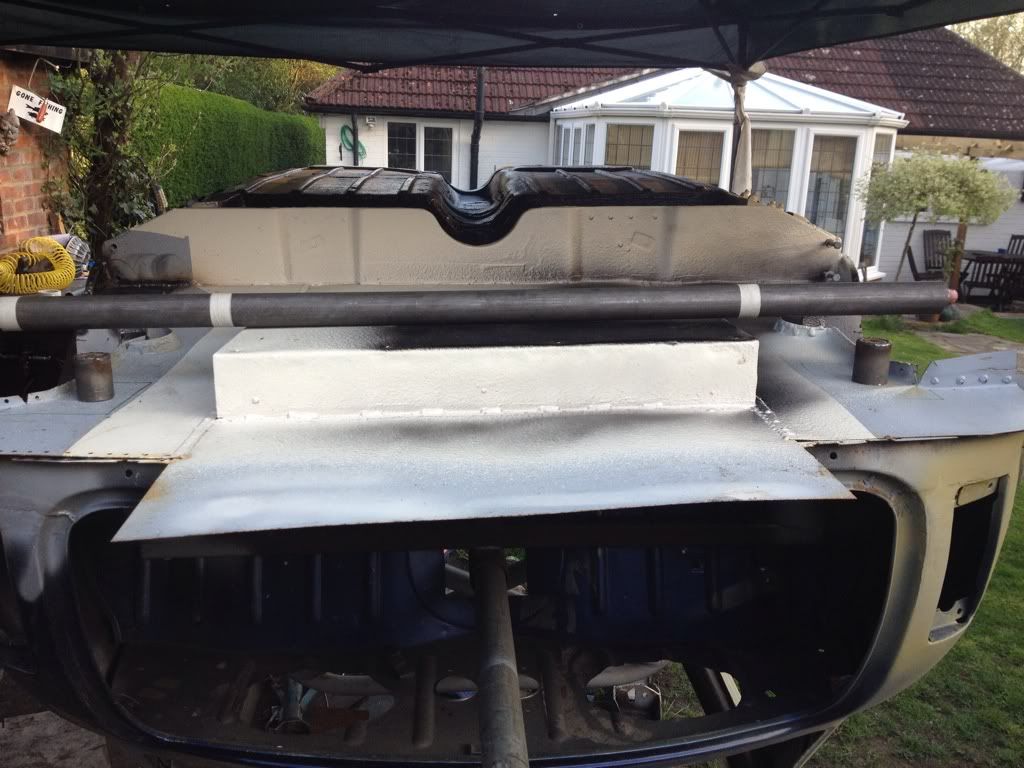
rear bar cut and bent to shape then welded up
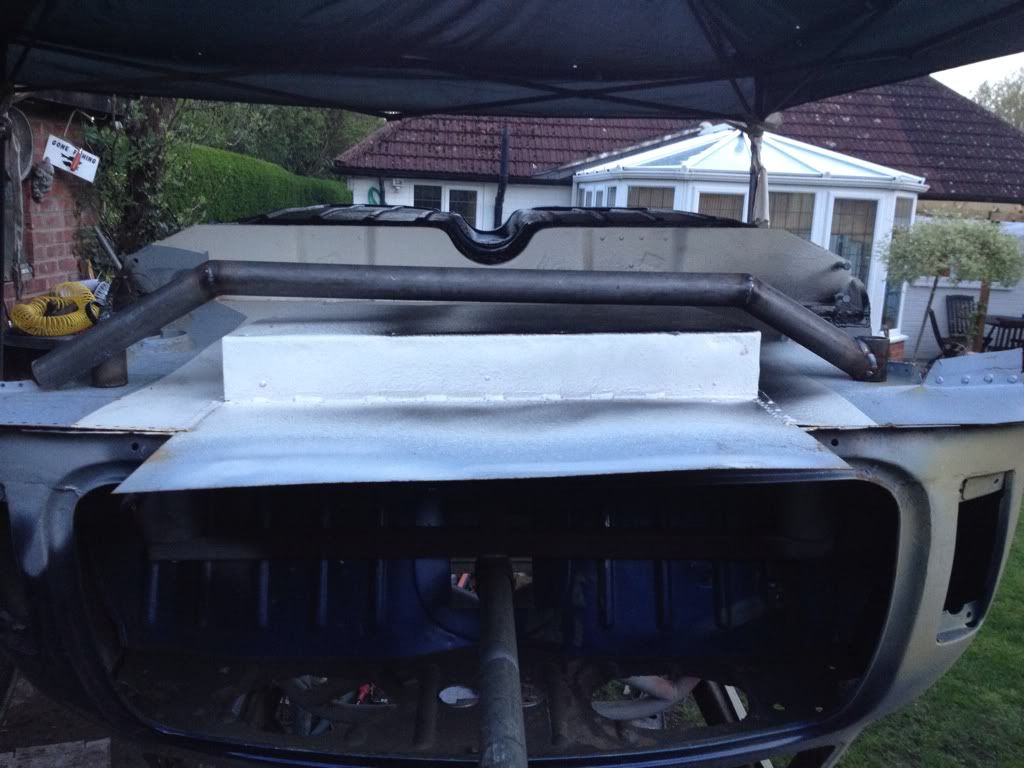
rear bar welded to mounting points
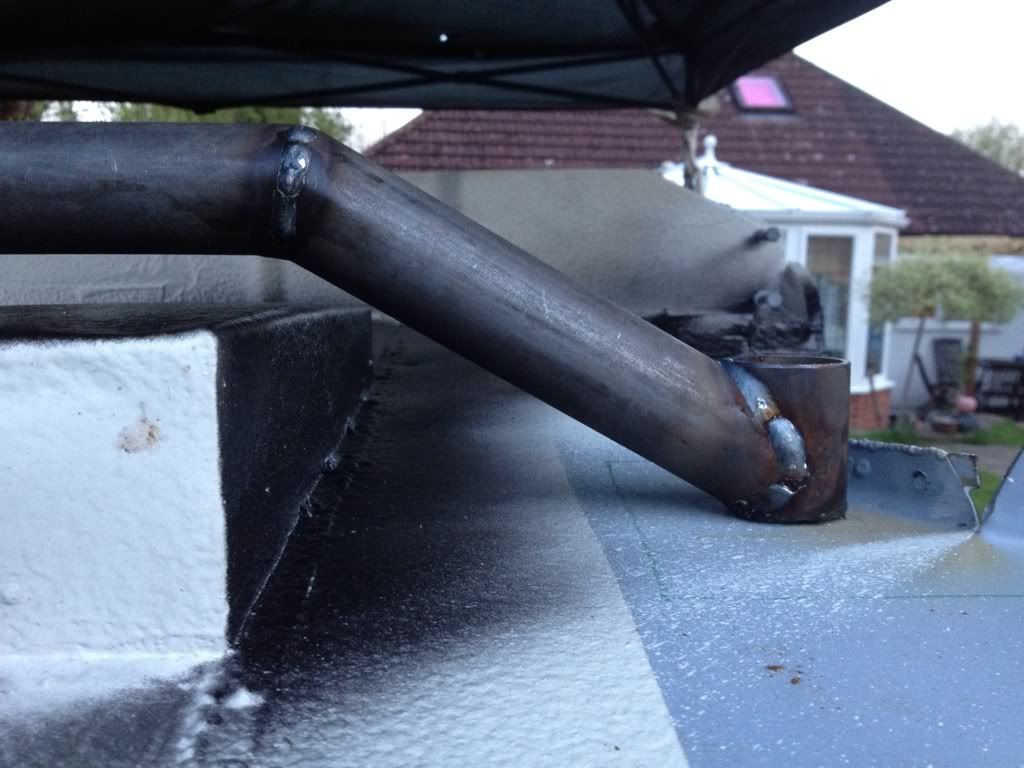
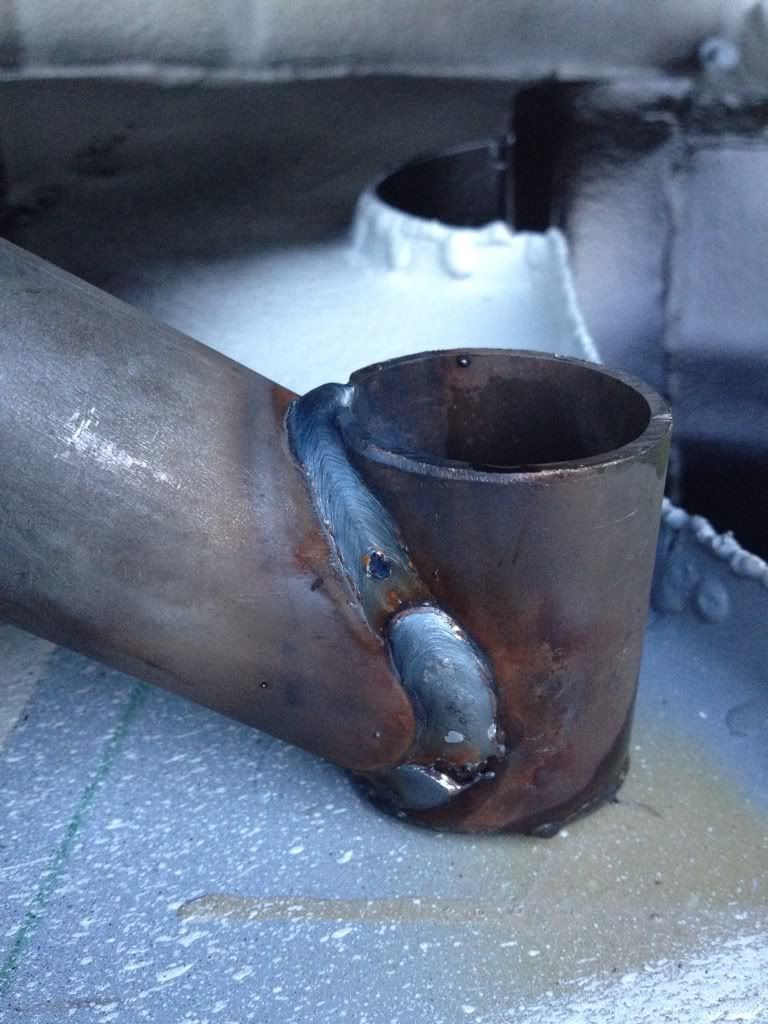
welds ground down and smoothed
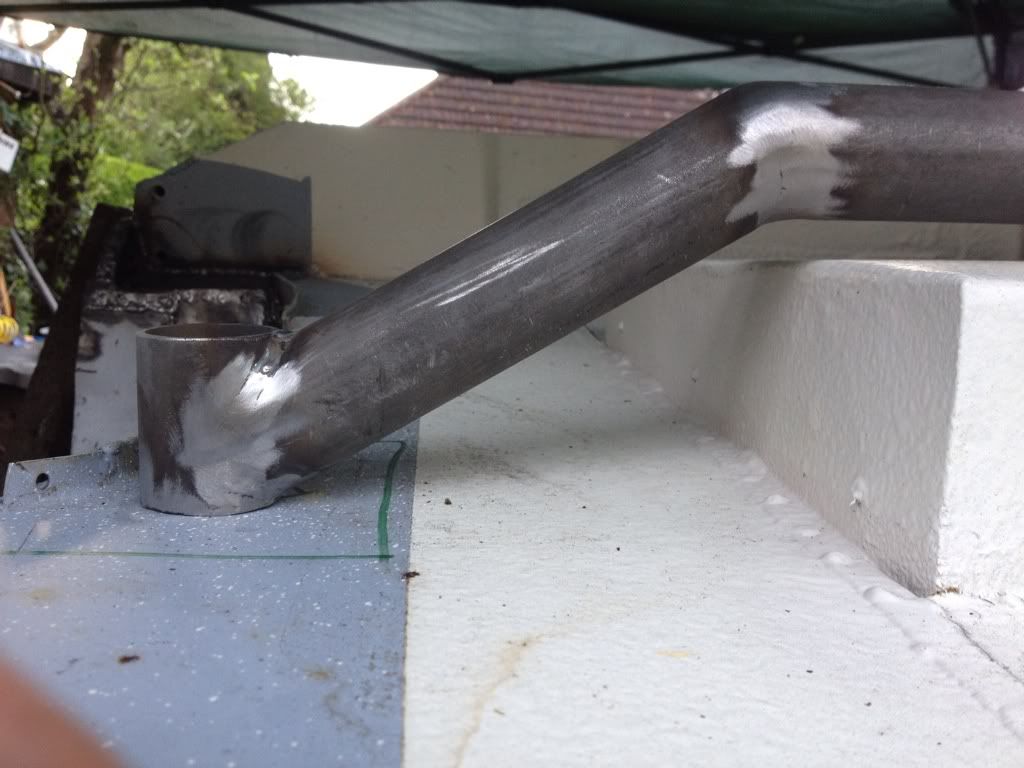
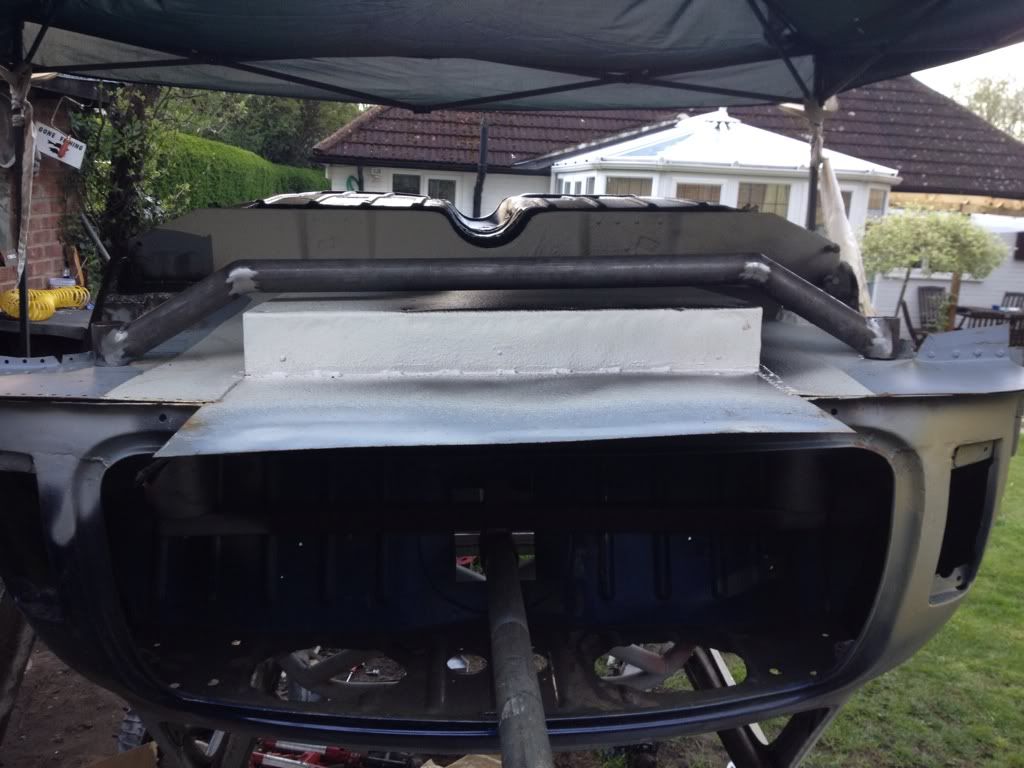
quick coat of etch primer to protect until its finished and powder coated
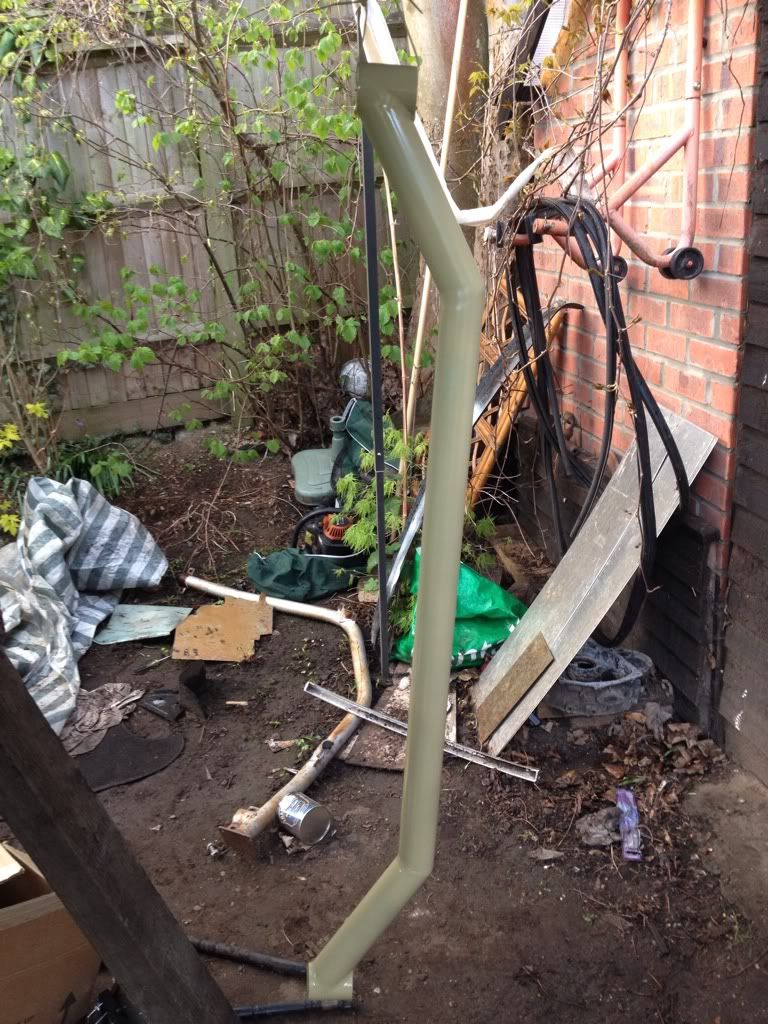
holes drilled and the bar bolted to the boot floor rear for the side legs to be made up
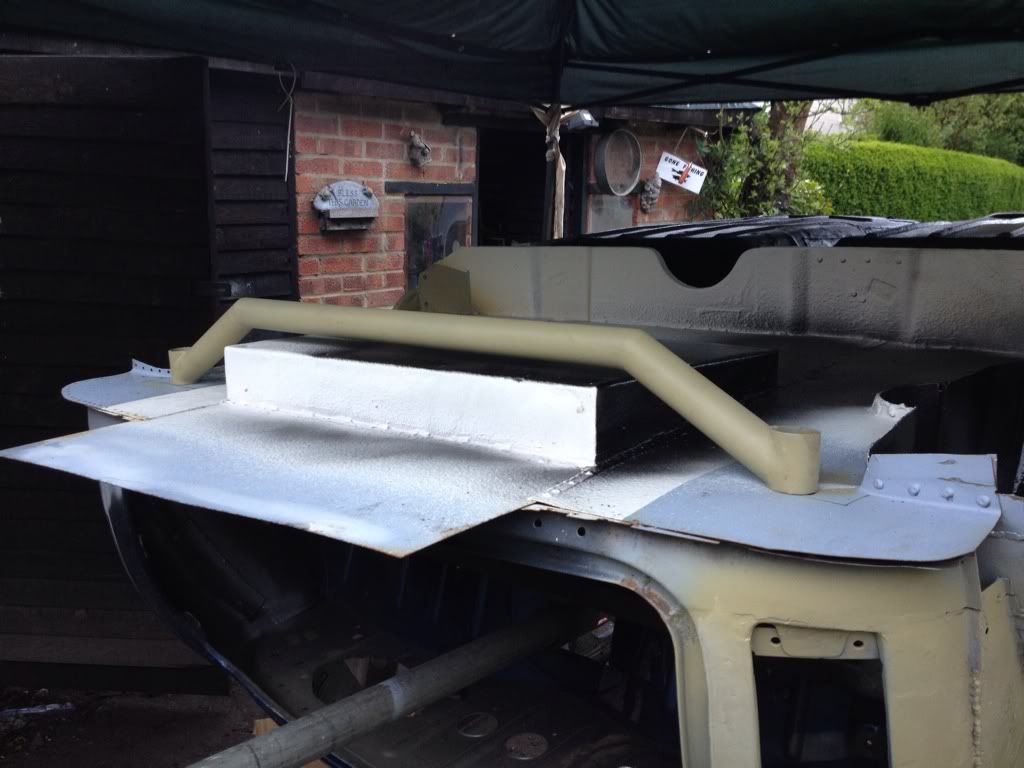
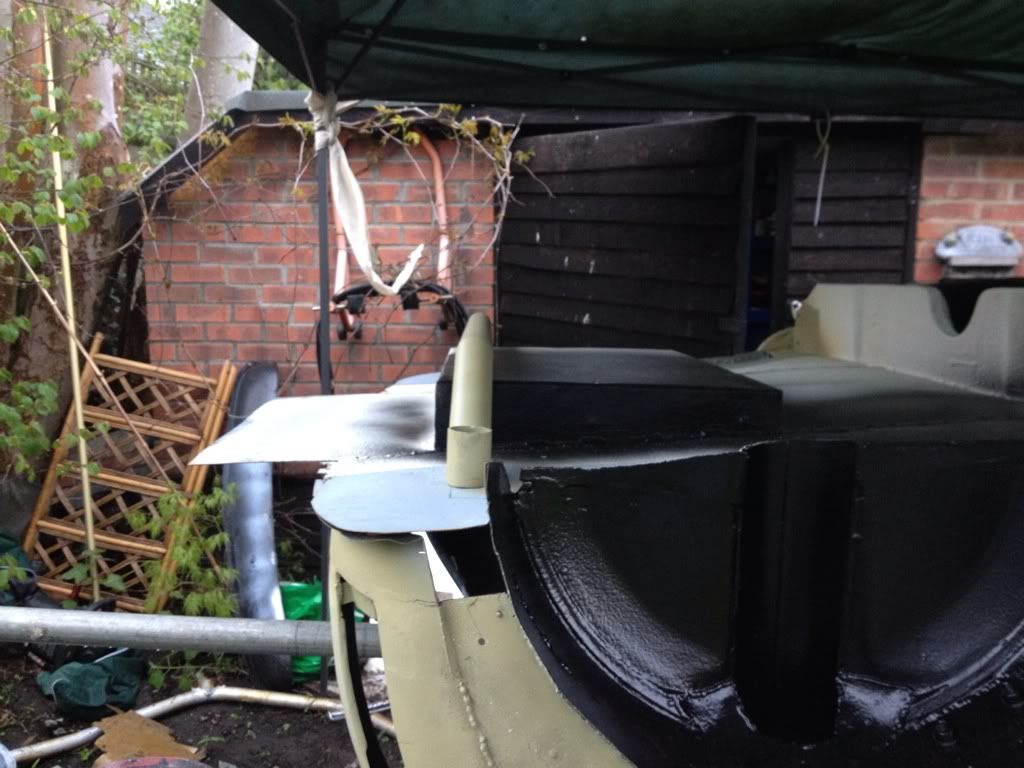
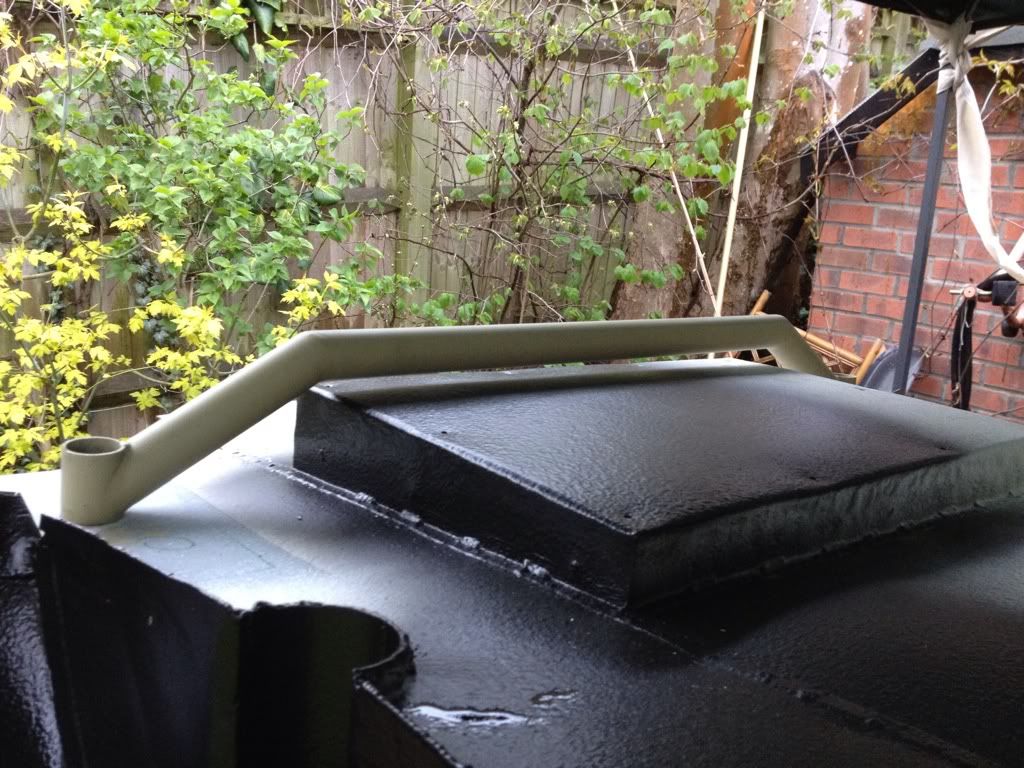
now its all up to date!
the weekend should see the rear subframe almost finished
PS a big thankyou to deathrow and the rest of the forum team for rescuing as much as they could!
Ben
#293

Posted 20 April 2012 - 12:29 PM
i did however manage to get the beam section bolted to the heel board. so now i just have to add the side bars and it will be finished and ready for prep and paint.
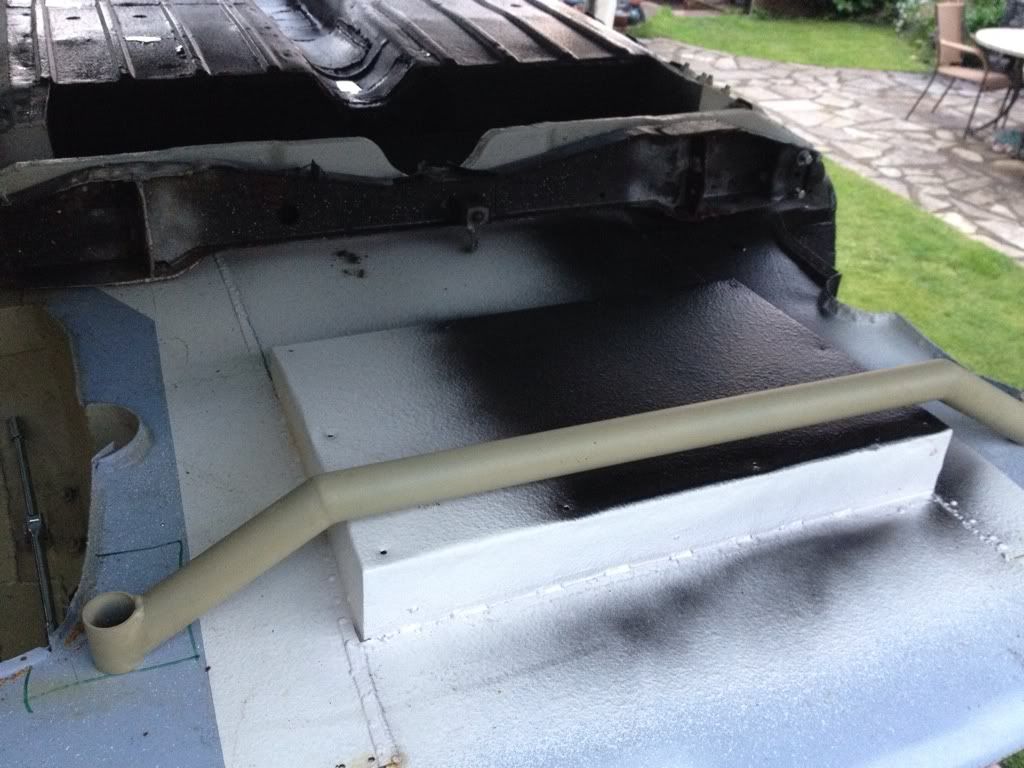
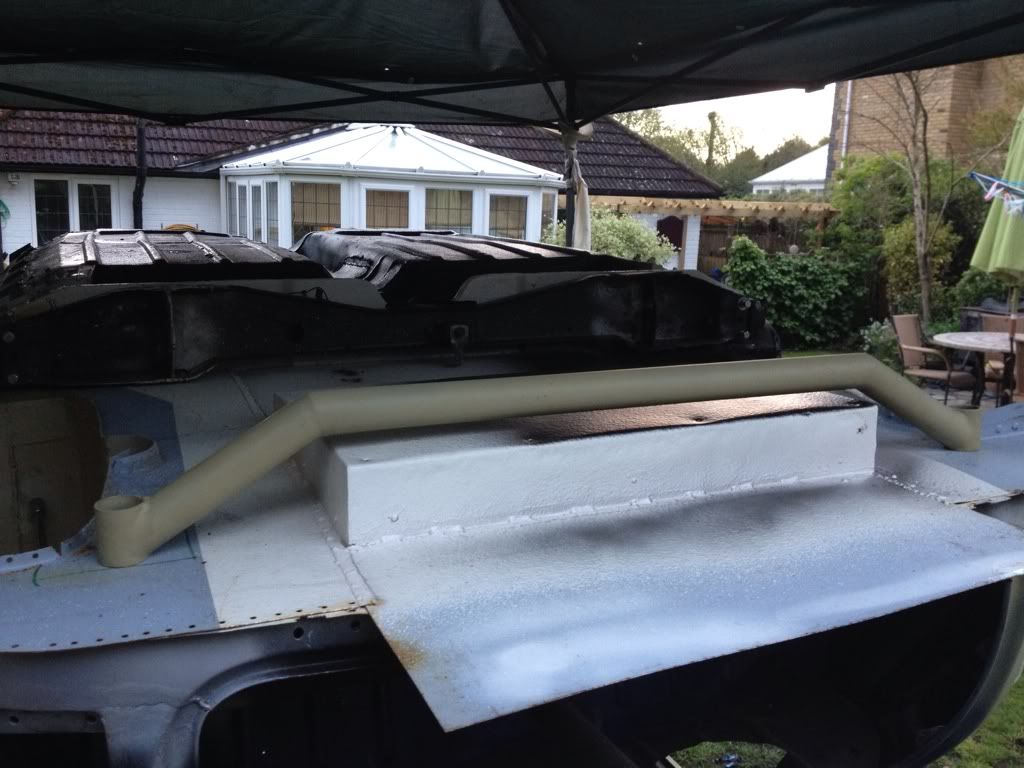
Ben
#294

Posted 20 April 2012 - 02:34 PM
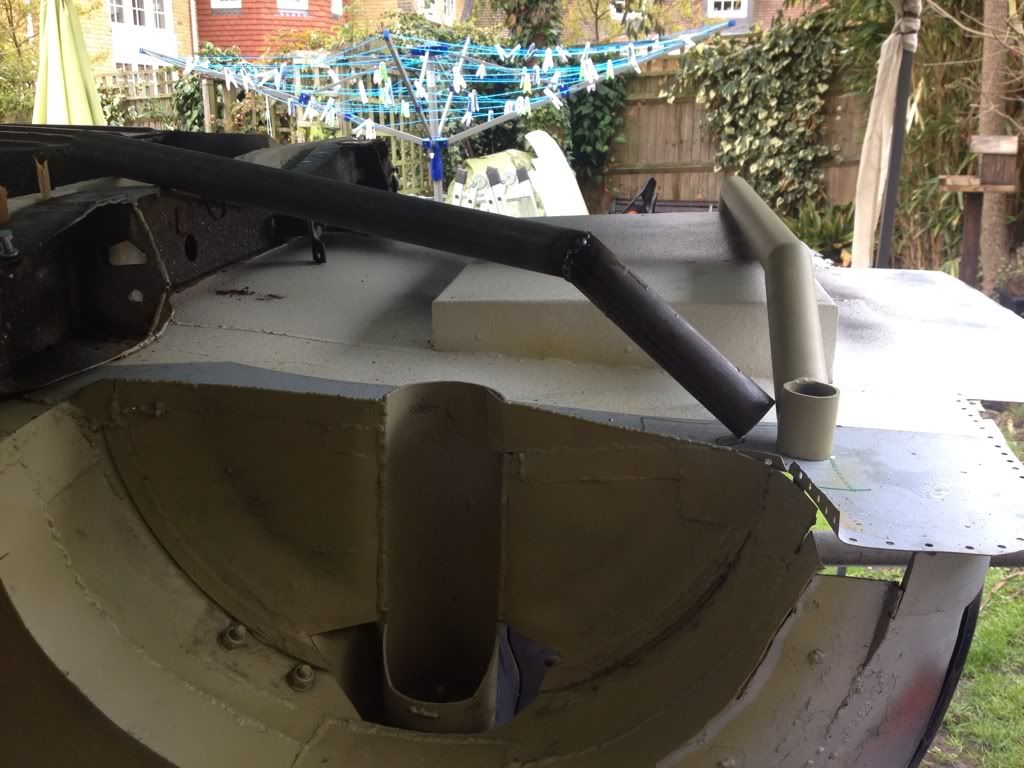
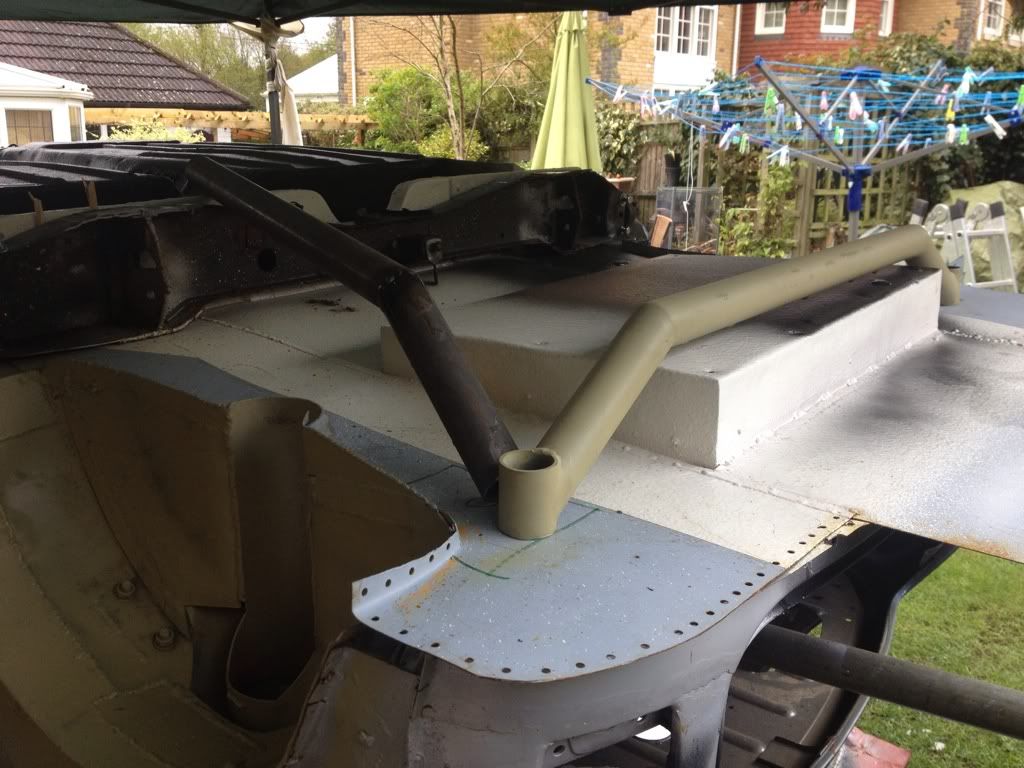
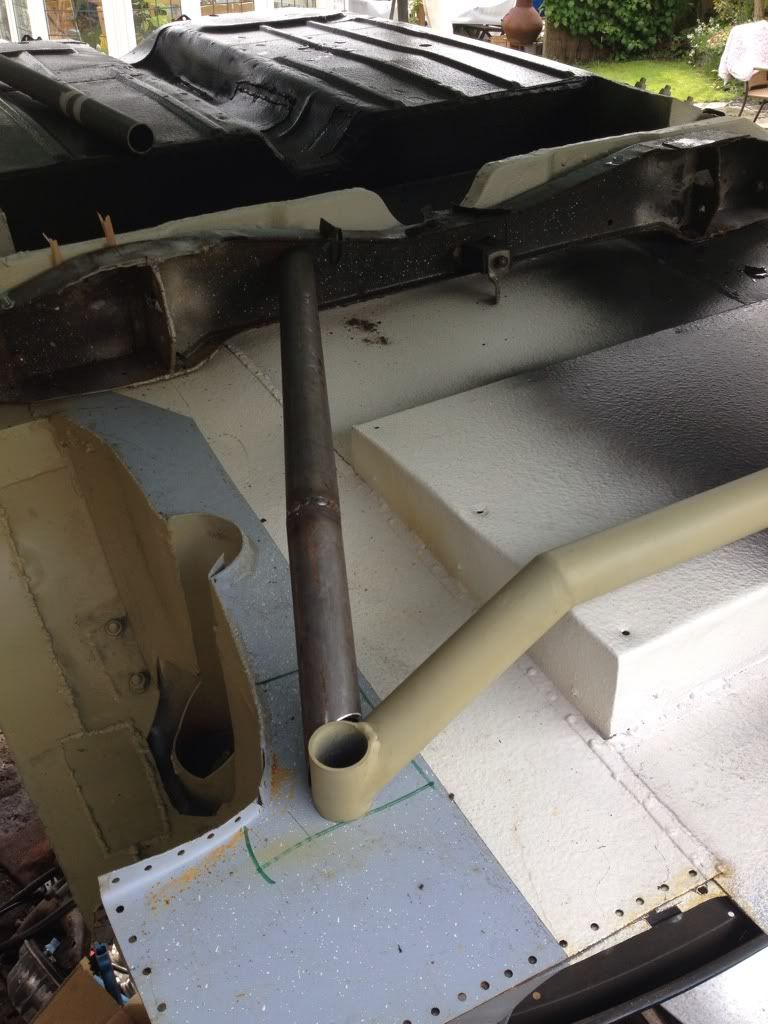
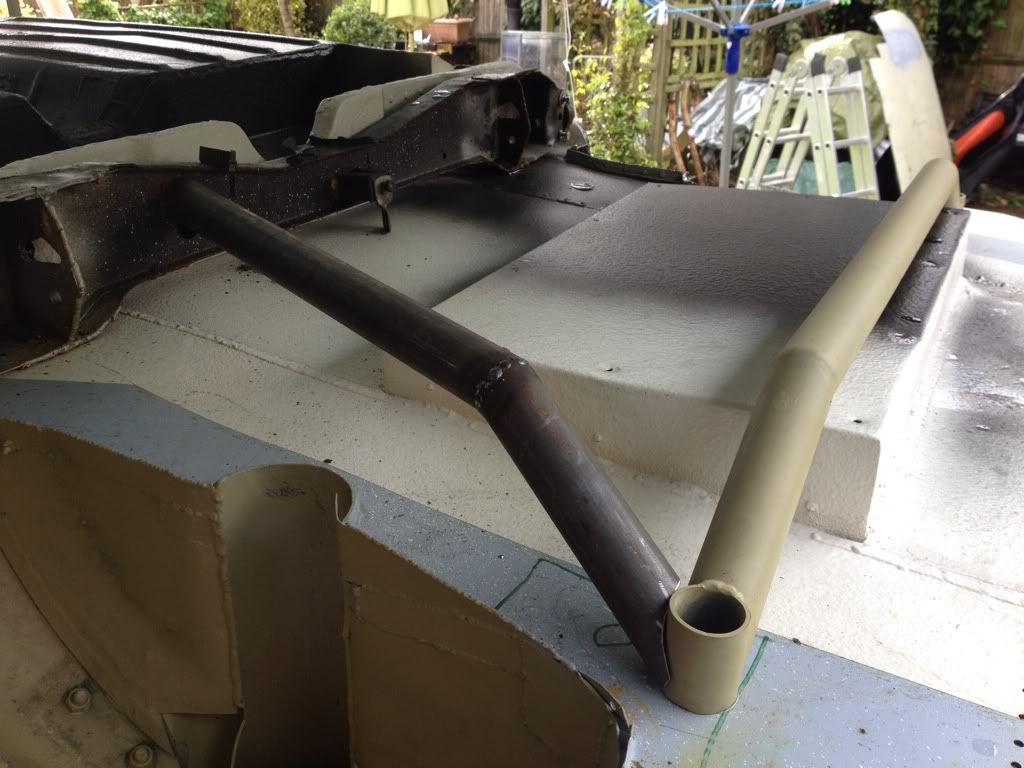
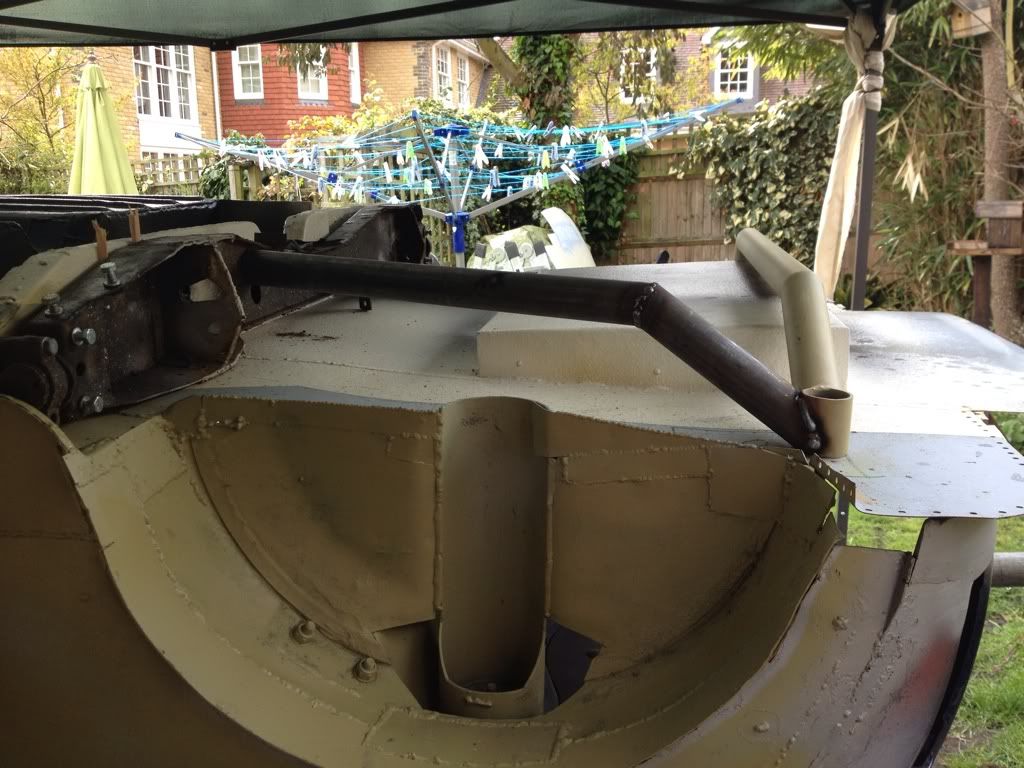
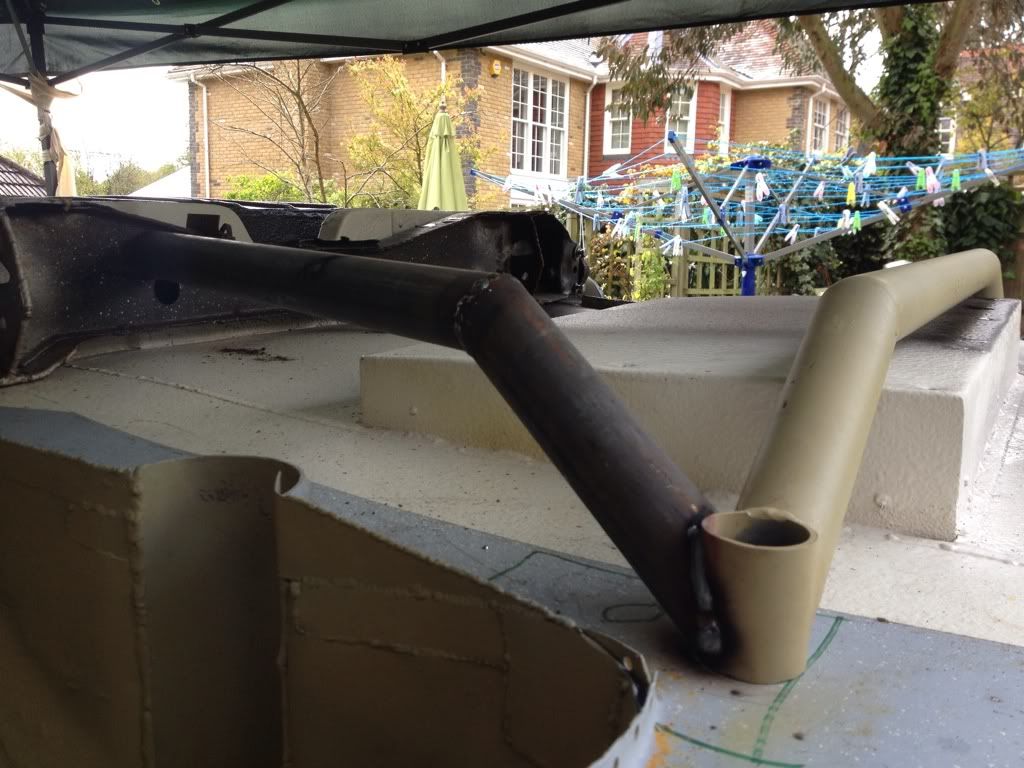
comments welcome
Ben
#295

Posted 20 April 2012 - 04:03 PM
#296

Posted 20 April 2012 - 04:28 PM
this means that if i was to go down the route of an actual rear beam there could have been problems.
doing it this way means i can use the original heelboard mounts but still loose a considerable amount of weight over a standard subframe. when the funds are available i will swap to a pair of titanium arms with a kad rear disc brake set up.
the other reason is that its gunna look cool aswell as be a total one-off
Ben
#297

Posted 20 April 2012 - 07:25 PM
Next question, are you using a tube notcher? If so, which one and how would you rate it?
#298

Posted 20 April 2012 - 07:32 PM
im using the eastwood notcher from frosts restoration.
seems quite solid for the price, i would deffinitly reccomend it for DIY use!
Ben
#299

Posted 24 April 2012 - 03:02 PM
#300

Posted 24 April 2012 - 05:54 PM
hopefully the photos will all come back up at the end of this month then i will make another account so that it doesnt happen again.
Ben
Edited by benjy_18, 24 April 2012 - 06:00 PM.
1 user(s) are reading this topic
0 members, 1 guests, 0 anonymous users


