
Frumpy Gets Some Love
#256

Posted 24 March 2012 - 09:31 PM
#257

Posted 25 March 2012 - 09:37 AM
#258

Posted 25 March 2012 - 04:02 PM
the orange bits do look nice, however i think im going to redo them in black as it will fit the new colour scheme a lot better.
oh how i wish the body work was done
at the moment im trying to get the underside done so i can get it rolling, then i can do anything which needs doing on the topside of the car.
on the plus side, brooklands was awesome! lots of photos and ideas and more importantly motivation and parts!
#259

Posted 25 March 2012 - 06:44 PM
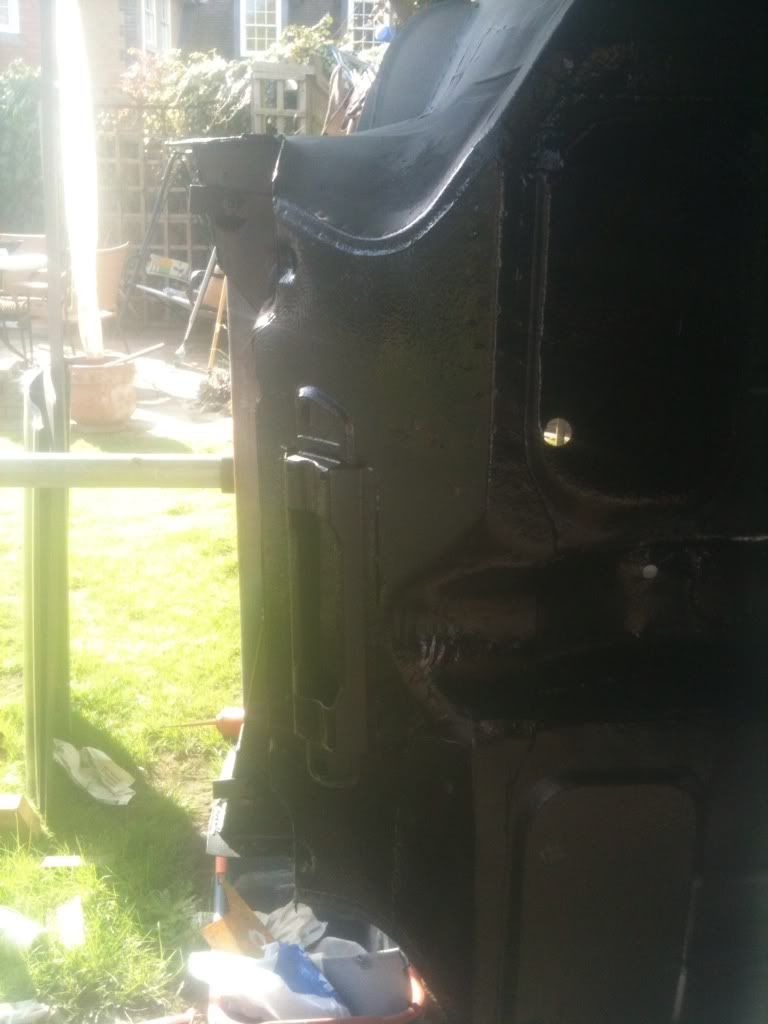
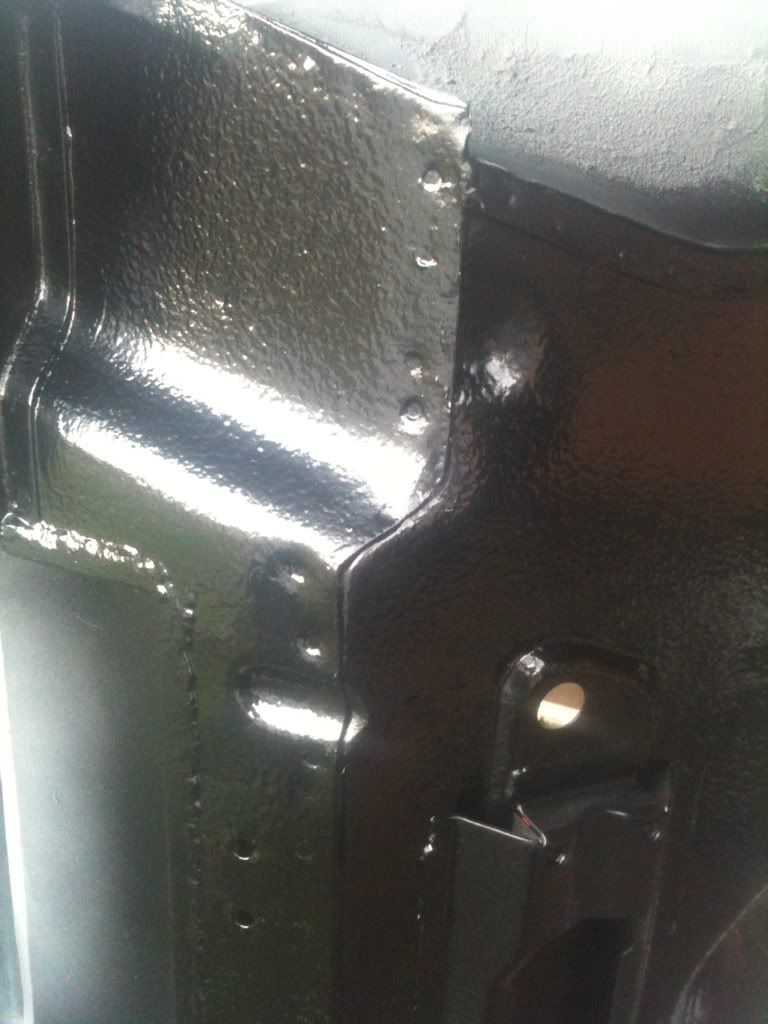
threw some paint on the underneath (only the front half)
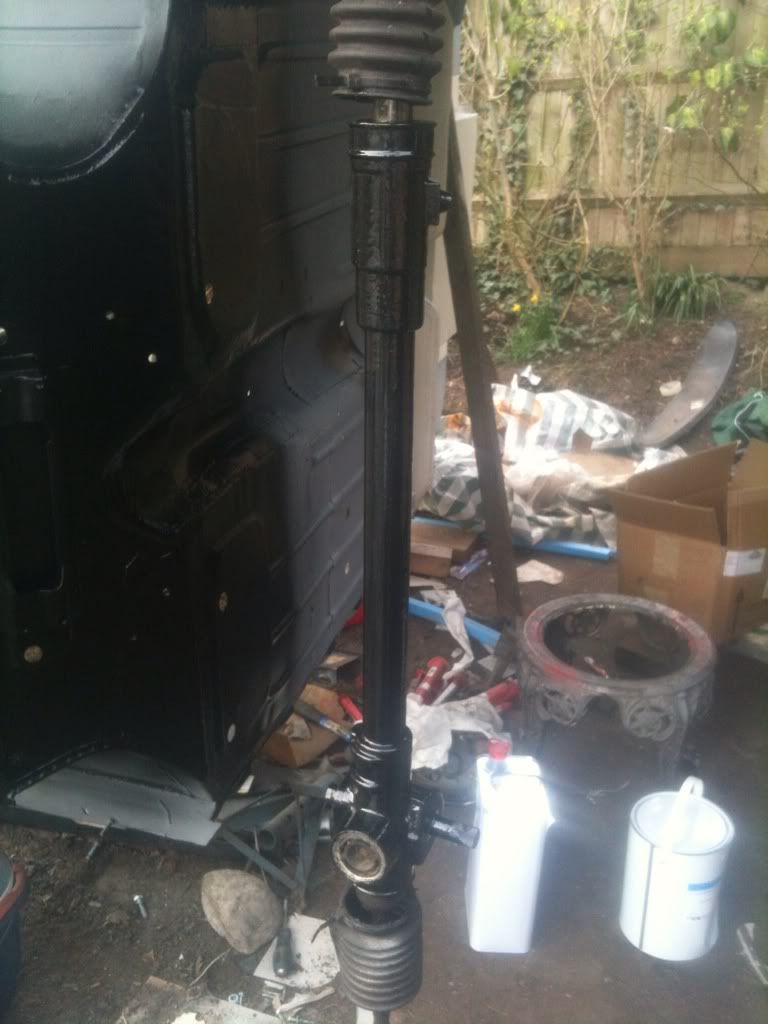
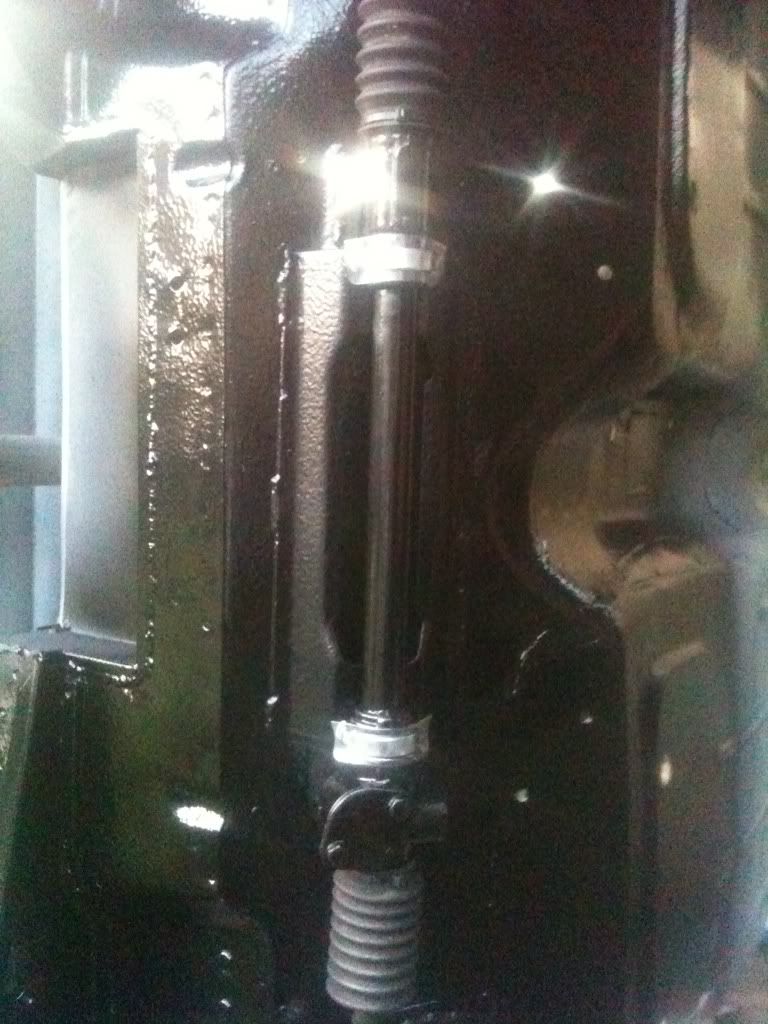
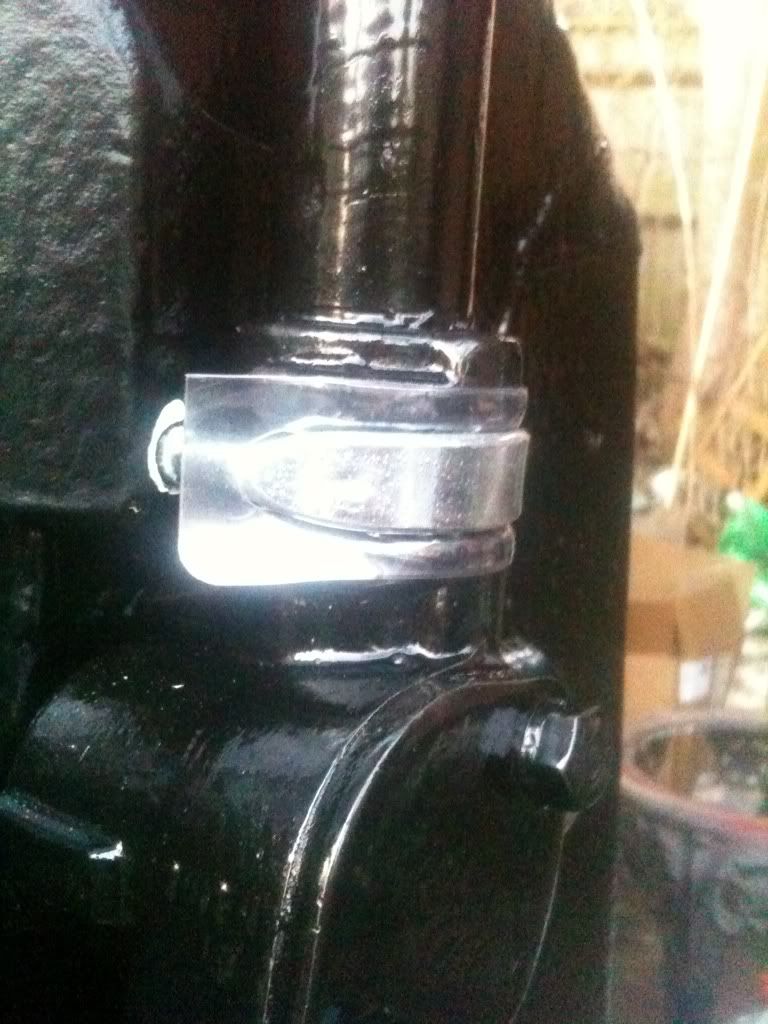
refurbished the steering rack and gave it a lick of paint, also made my own u-bolt protector things (im not paying £2.50 for some plastic!)
also saw this little beauty as we left the show today! already got one eyed up for my next project when frumpy's finished
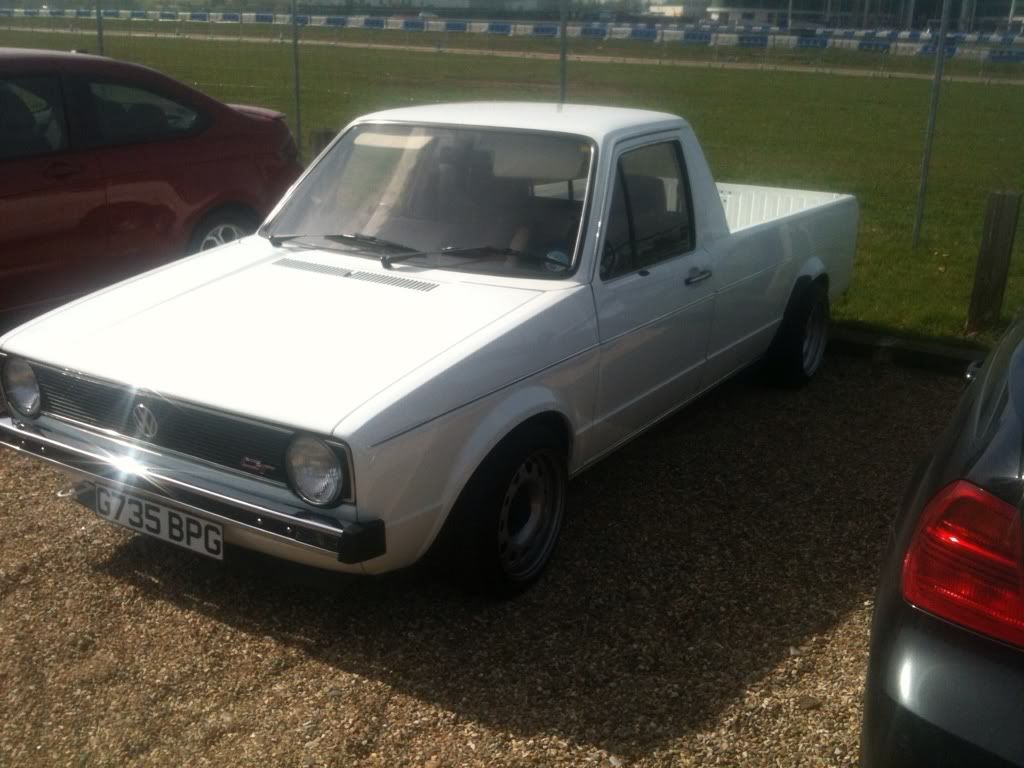
comments welcome
Ben
#260

Posted 26 March 2012 - 12:29 PM
Hugh
#261

Posted 30 March 2012 - 07:10 PM
threw some more paint on once i got home this evening, im hoping to essentially have the floors finished ready for subframes to go on this weekend, although that may not happen.
heres a few photos for you guys
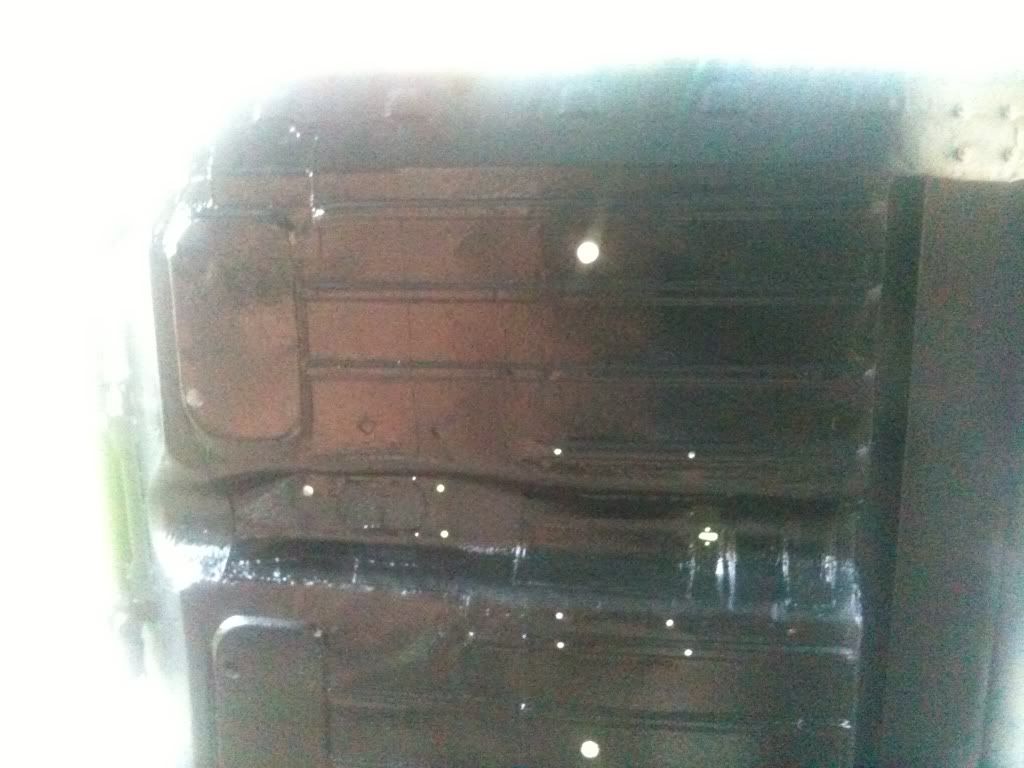
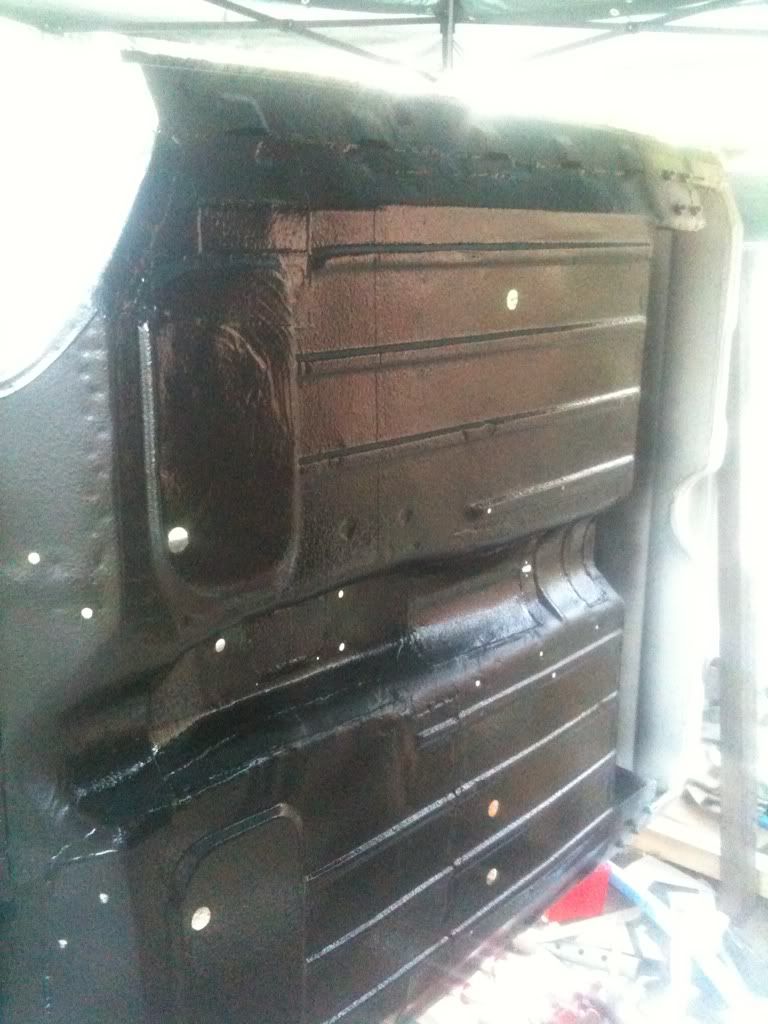
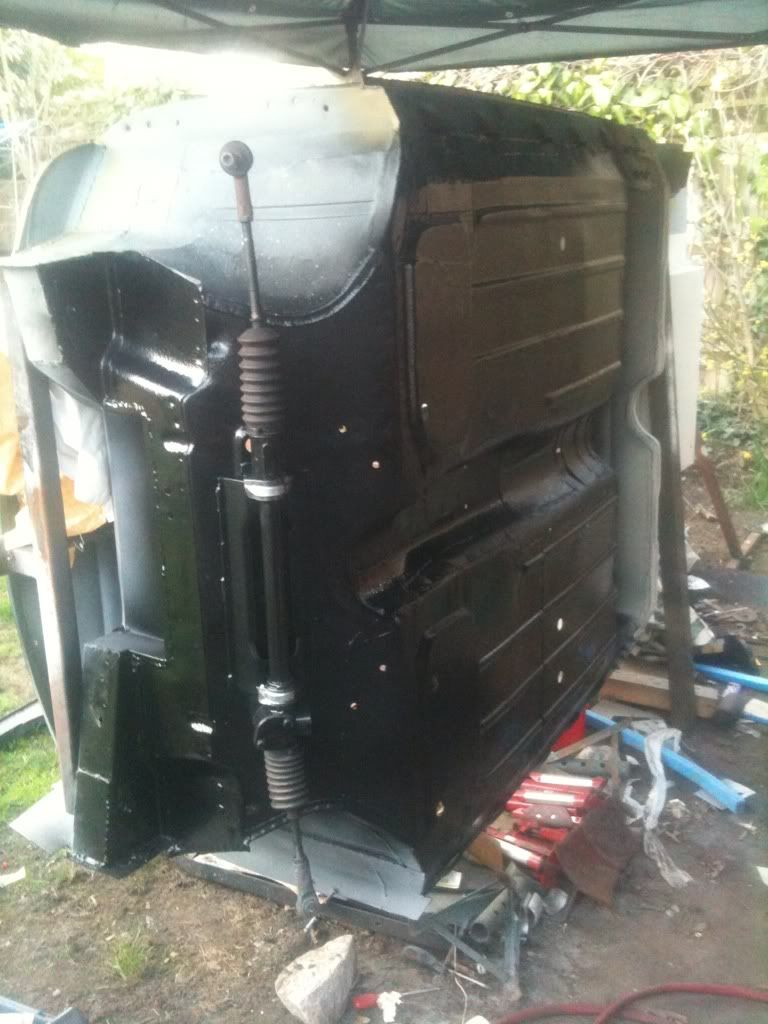
im looking to get the front subframe built up totally in the next few weeks (engine included) so that i can get my internal linkage and brace bars sorted out.
thanks for looking
Ben
#262

Posted 30 March 2012 - 07:30 PM
Keep the pics comming,
Graham
#263

Posted 30 March 2012 - 07:34 PM
it has come up really nicely, i'm loving the finish that you get with stonechip!
the paint is just plain black cellulose, with some high gloss thinners, exactly the same stuff that ill be painting the interior boot and bulkheads with. depending how it comes out on the interior and bulkhead i may even have a go at painting the exterior aswell but that is yet to be seen.
Ben
#264

Posted 30 March 2012 - 07:46 PM
#265

Posted 30 March 2012 - 07:54 PM
this is the stuff ive used
http://www.ebay.co.u...=item19c5675124
just got a cheap shults gun from ebay aswell (£10)
then used it off the compressor.
i tried out the aerosol cans and found that it came out very smooth, whereas with the shults gun it almost spits the stonechip out which gives it the lumpy effect
#266

Posted 31 March 2012 - 04:08 PM
heres a few photos
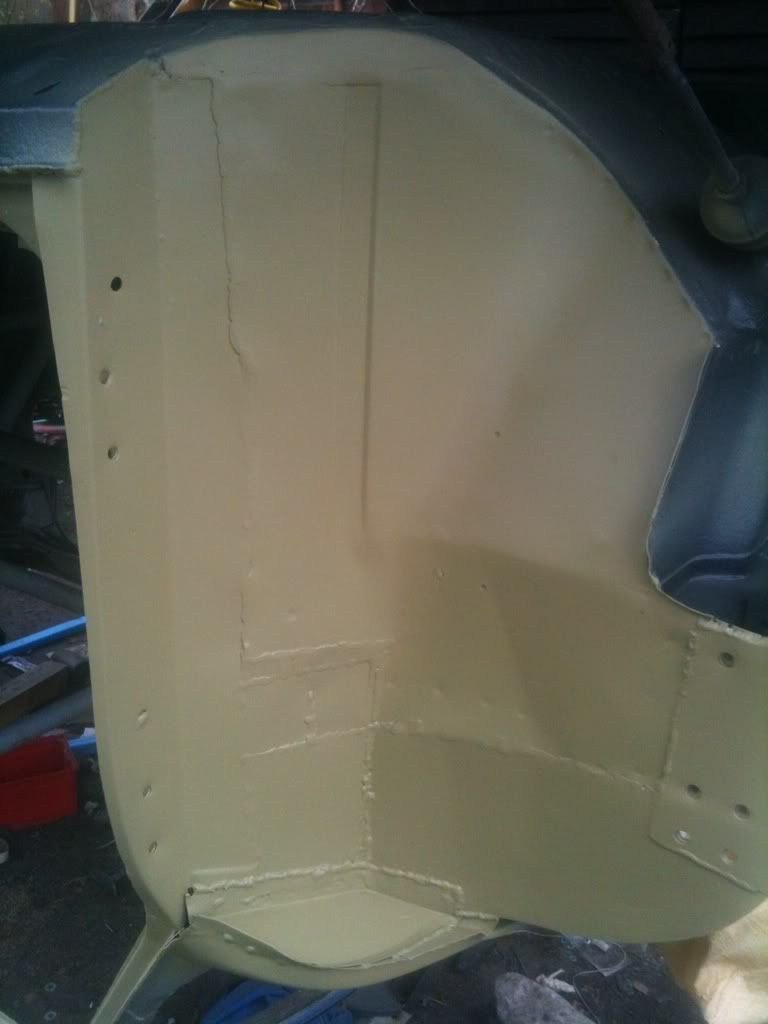
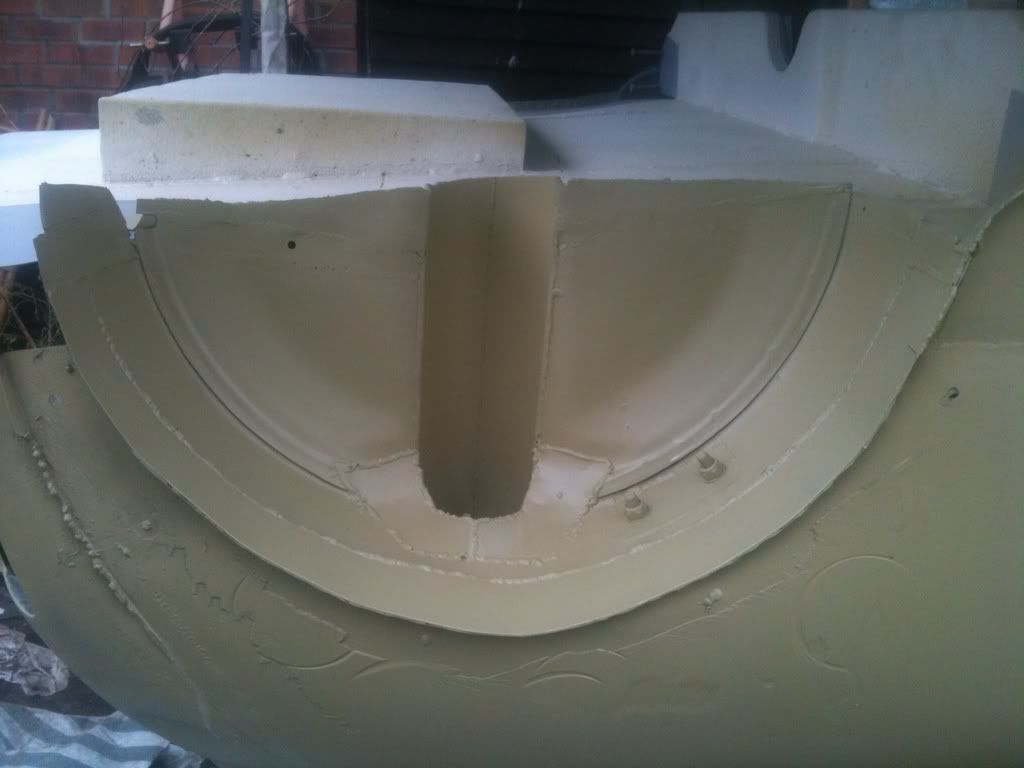
gave the inner wing and rear arch a coat of etch primer
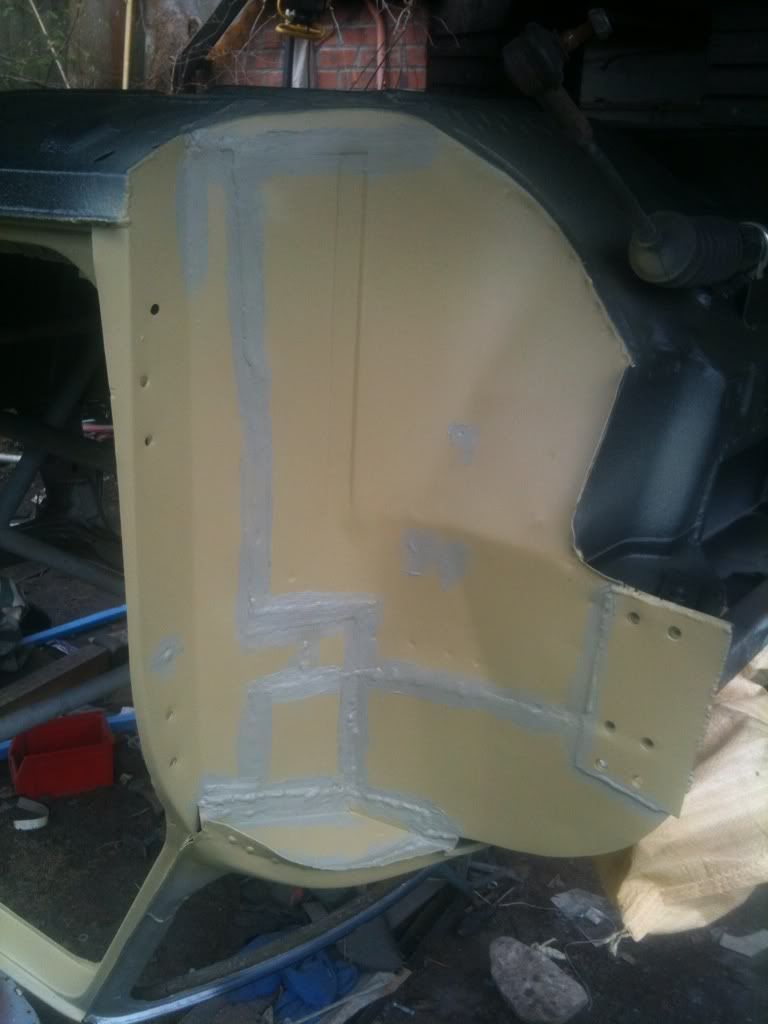
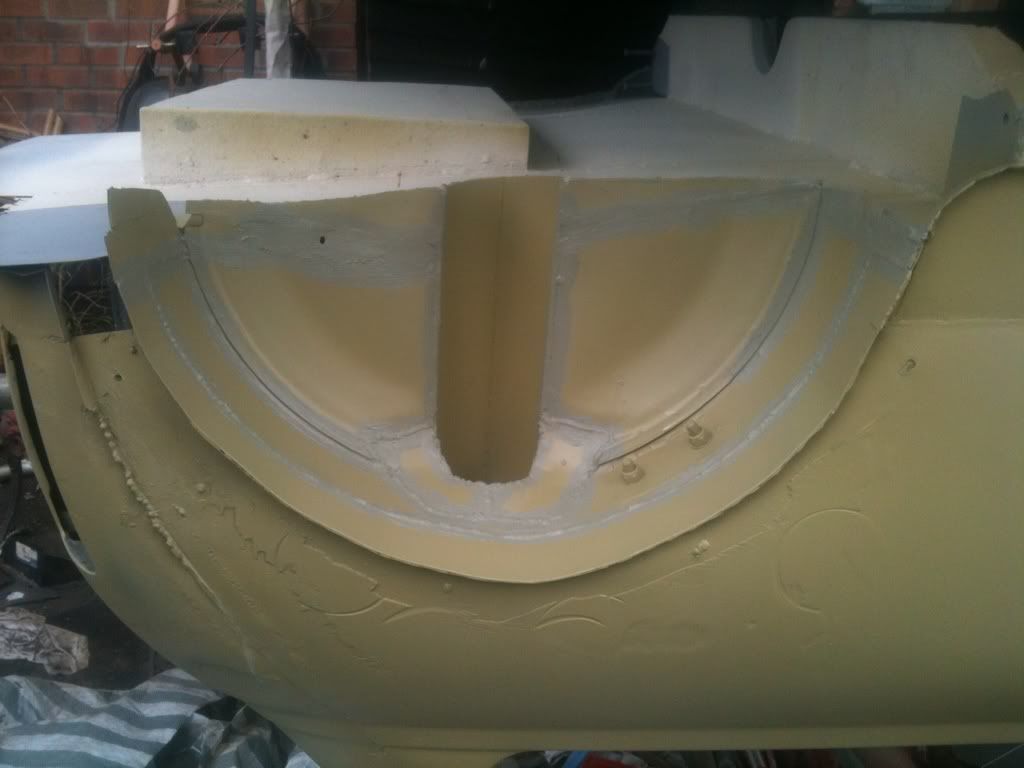
then seam sealed, ill get out after dinner and put a coat of stonechip on so that tomorrow i can put the black on.
also finalised my whole colour/style
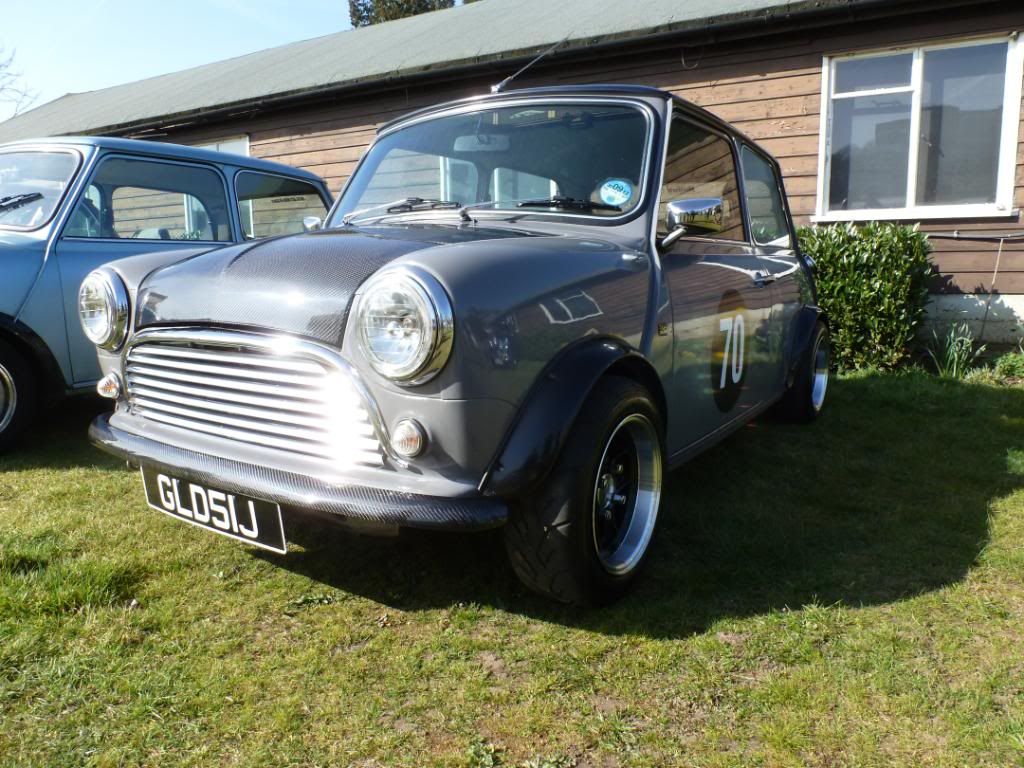
saw this at brooklands and it looks exactly how i want. retro but with some modern styling.
plus all the mods and engine plans i have should make my perfect mini (Y)
Ben
#267

Posted 31 March 2012 - 07:15 PM
Hugh
#268

Posted 01 April 2012 - 04:38 PM
its slowly coming along now!
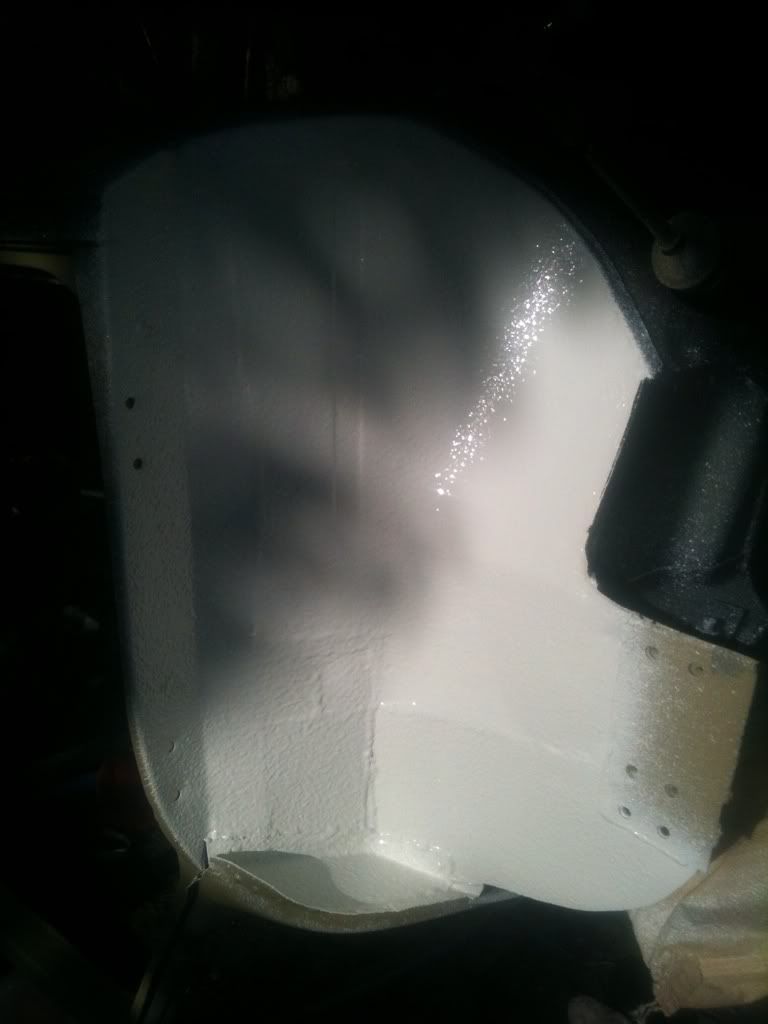
inner wing
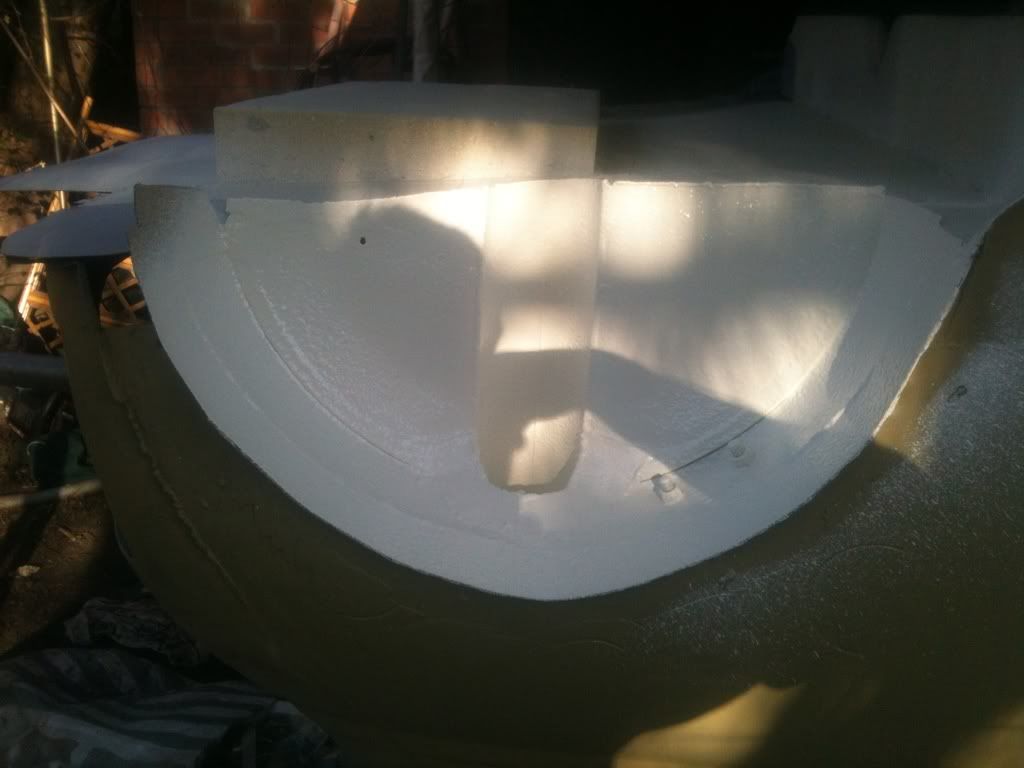
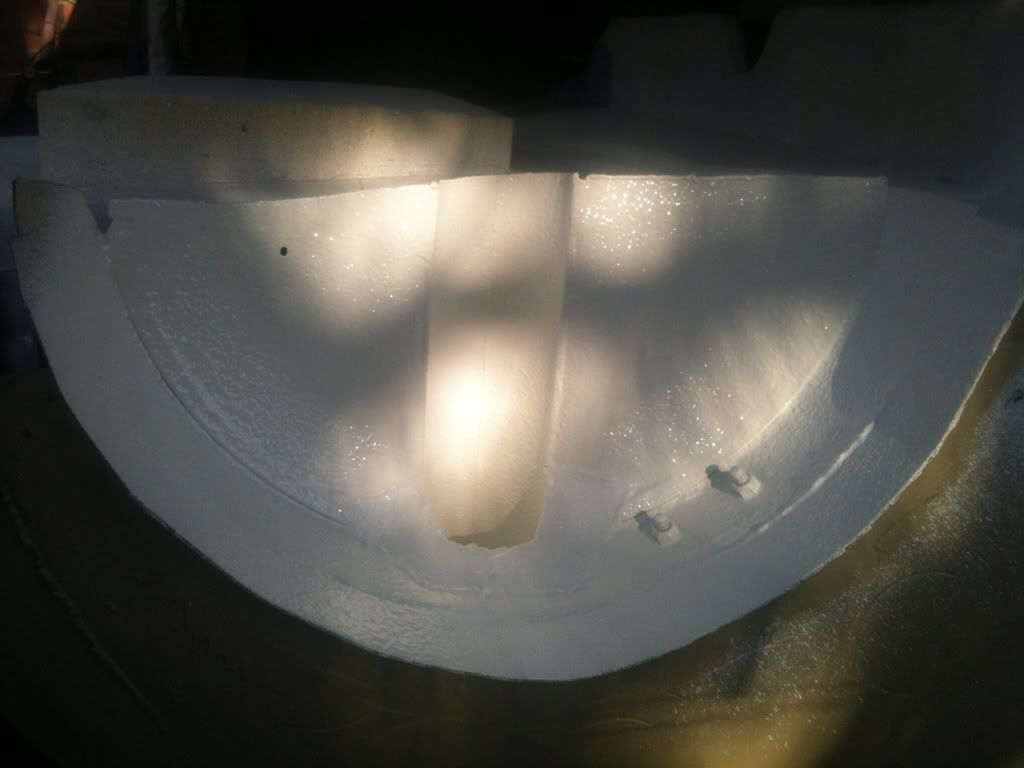
and the rear arch.
theres little bits left to do on the arch but i can easily re-stonechip it once its done
comments welcome
Ben
#269

Posted 01 April 2012 - 05:37 PM
#270

Posted 02 April 2012 - 05:56 PM
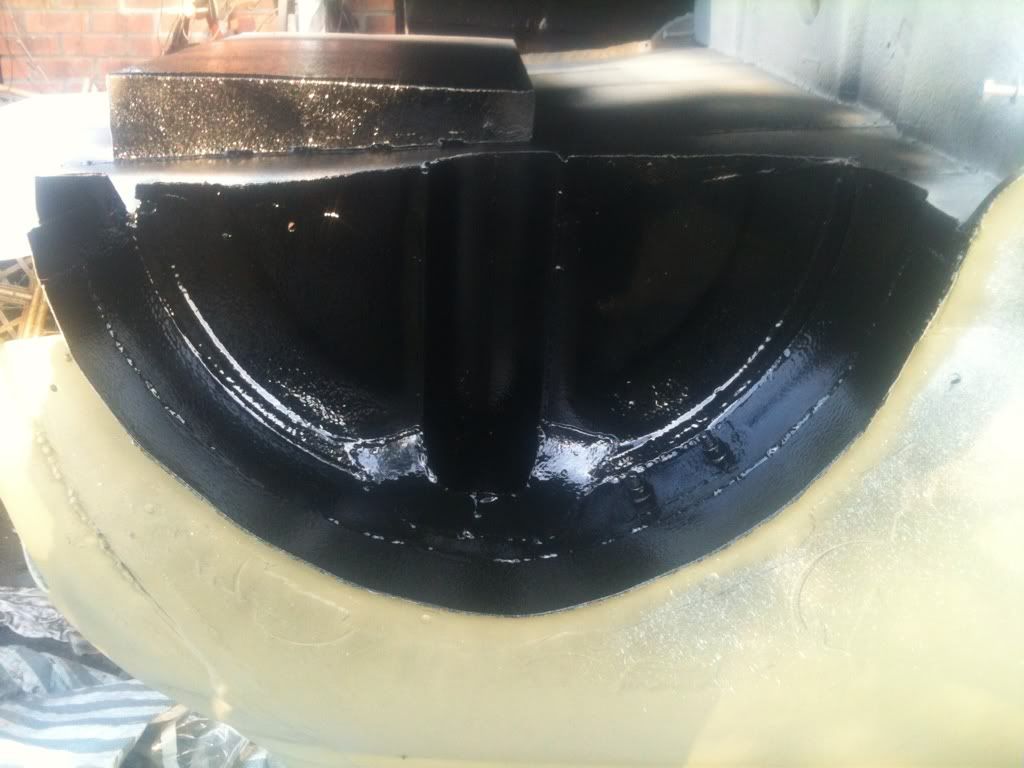
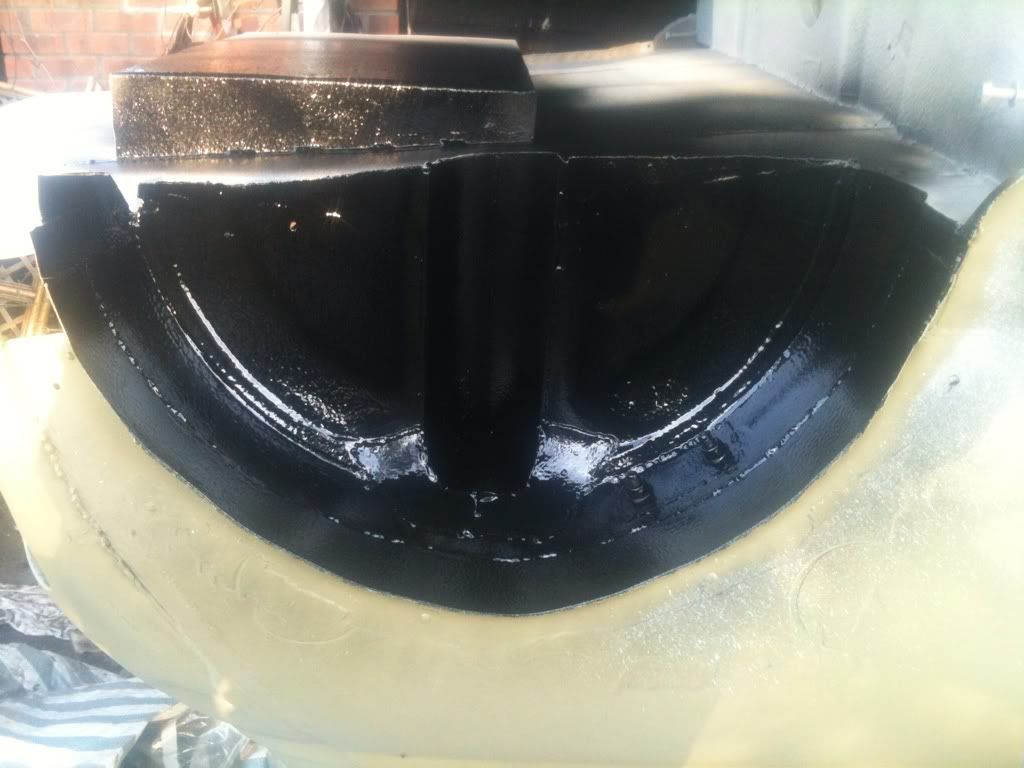
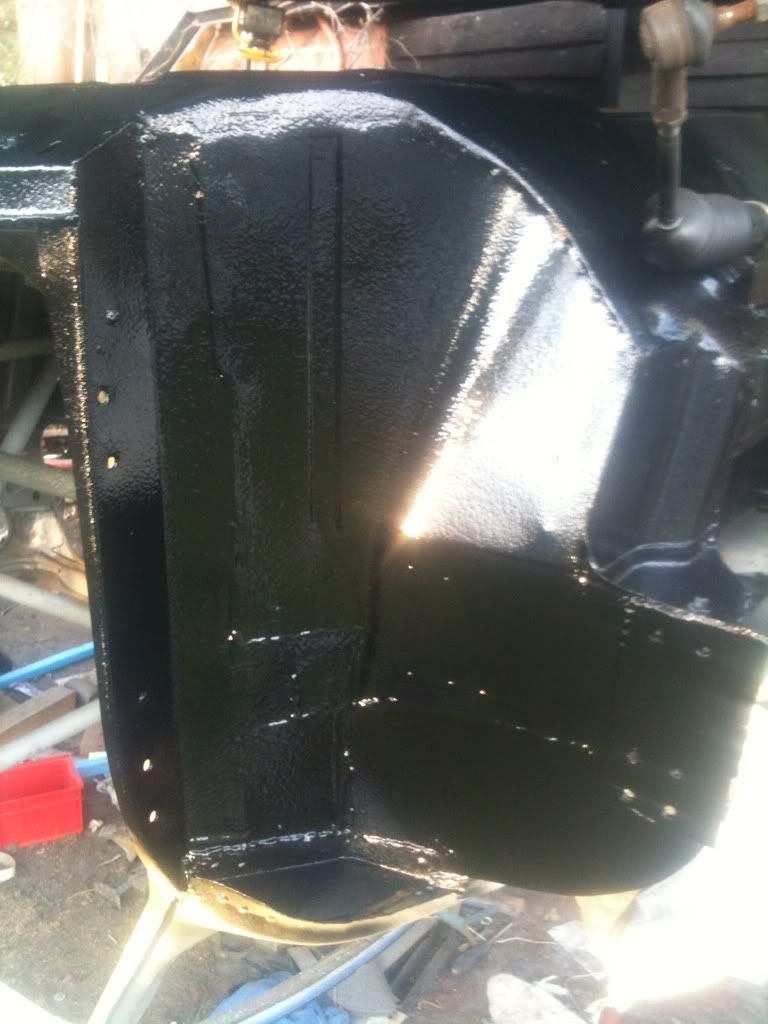
bit of paint on the inner wing and rear arches, a few closing panels left to do on the back then i can start building my rear subframe! just waiting on some CDS tube now then i can start
Ben
1 user(s) are reading this topic
0 members, 1 guests, 0 anonymous users


