Mini Scura Minus
#346

Posted 19 March 2013 - 10:30 PM
Regards Blue
#347

Posted 20 March 2013 - 12:56 PM
boot bits:
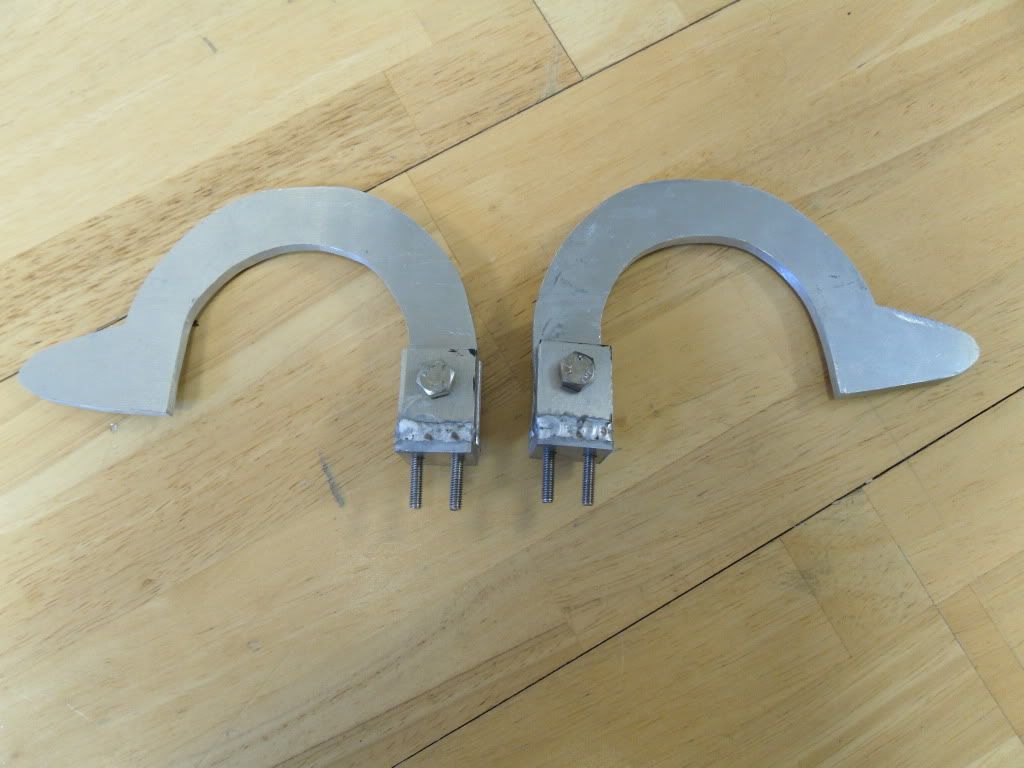
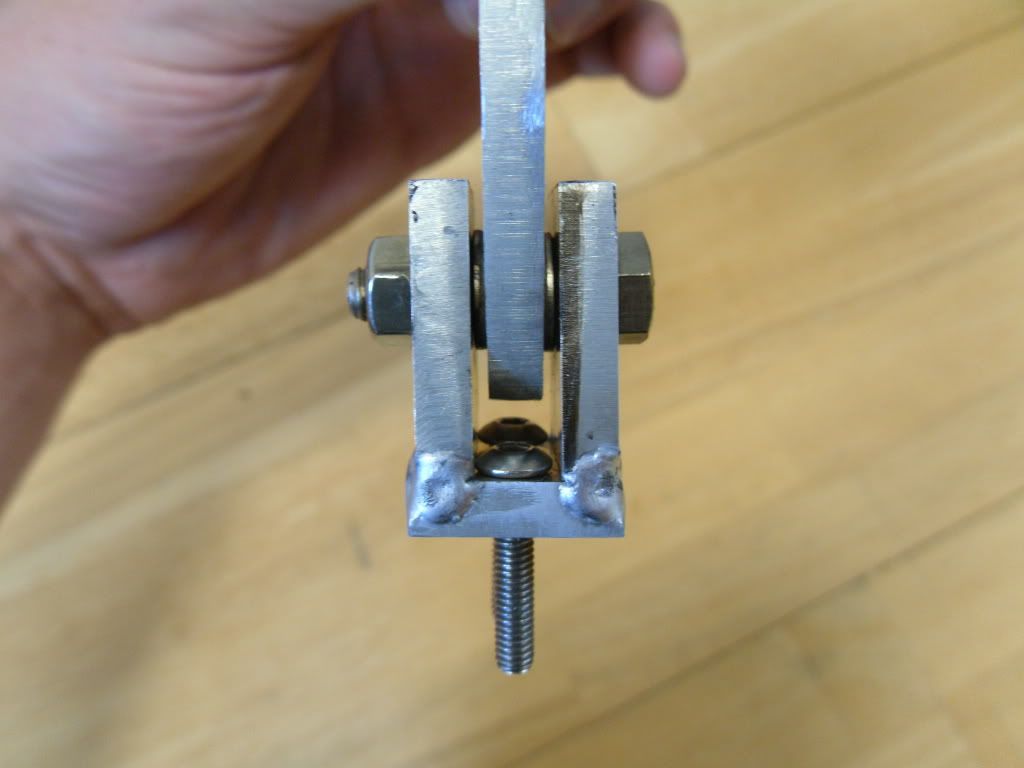
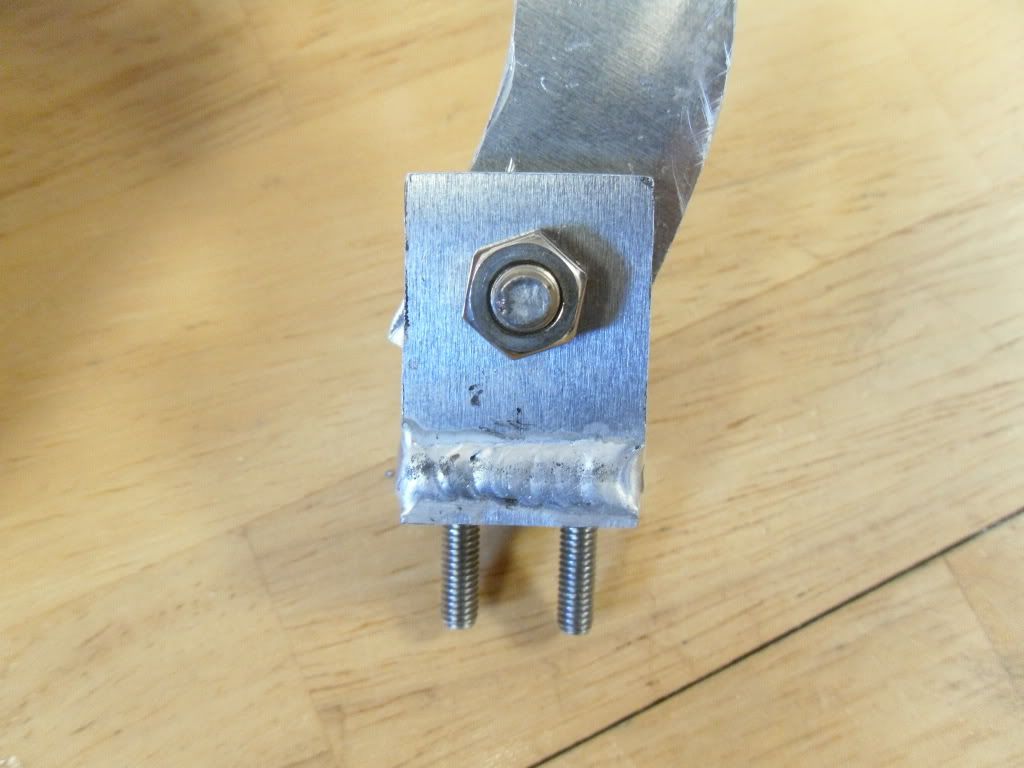
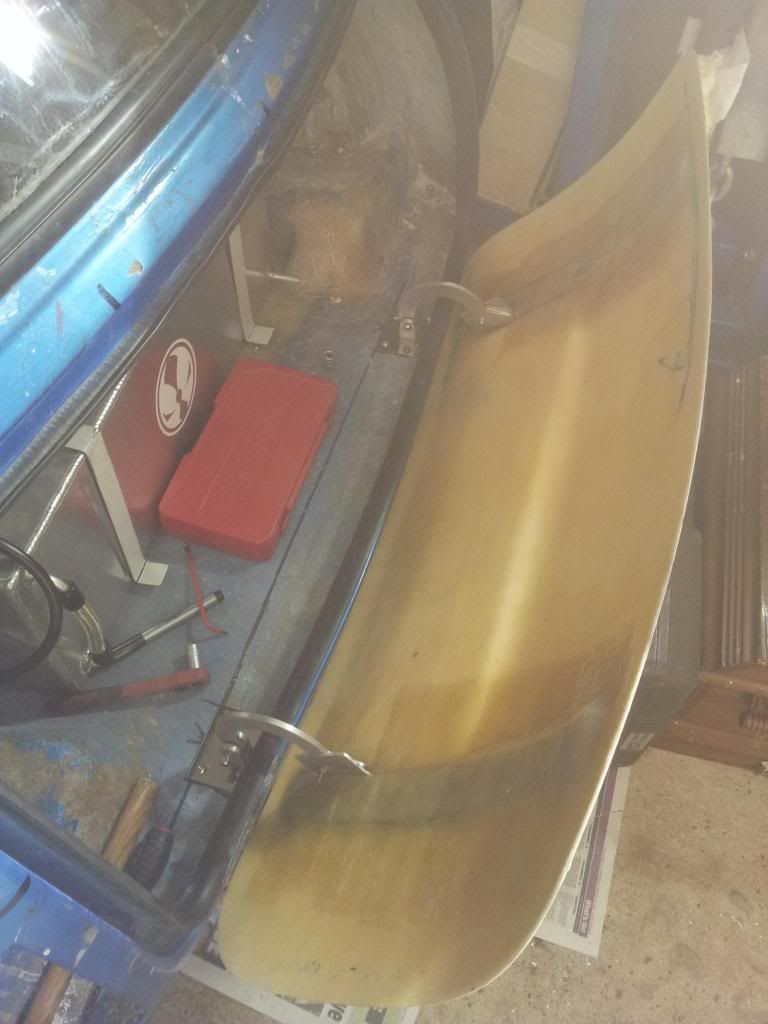
For a more stream line curvaceous look on the bum of the de-seamed i have made up some aluminium internal boot hinges which will be bolted to the floor and brackets moulded to the fibreglass bonnet.
smart brackets!
#348

Posted 20 March 2013 - 01:50 PM
Keep up the impressive work
#349

Posted 20 March 2013 - 09:20 PM
Cheers mate.what a grat build, just read it start to finish! (well looked at the pictures and read the odd sentance)
Keep up the impressive work
Anyway I cracked on with a bit of fibreglassing today like I said I would. I managed to get the bonnet hinges fibreglassed in place ready for a trial fit and test run of the bonnet and hinges(finally).
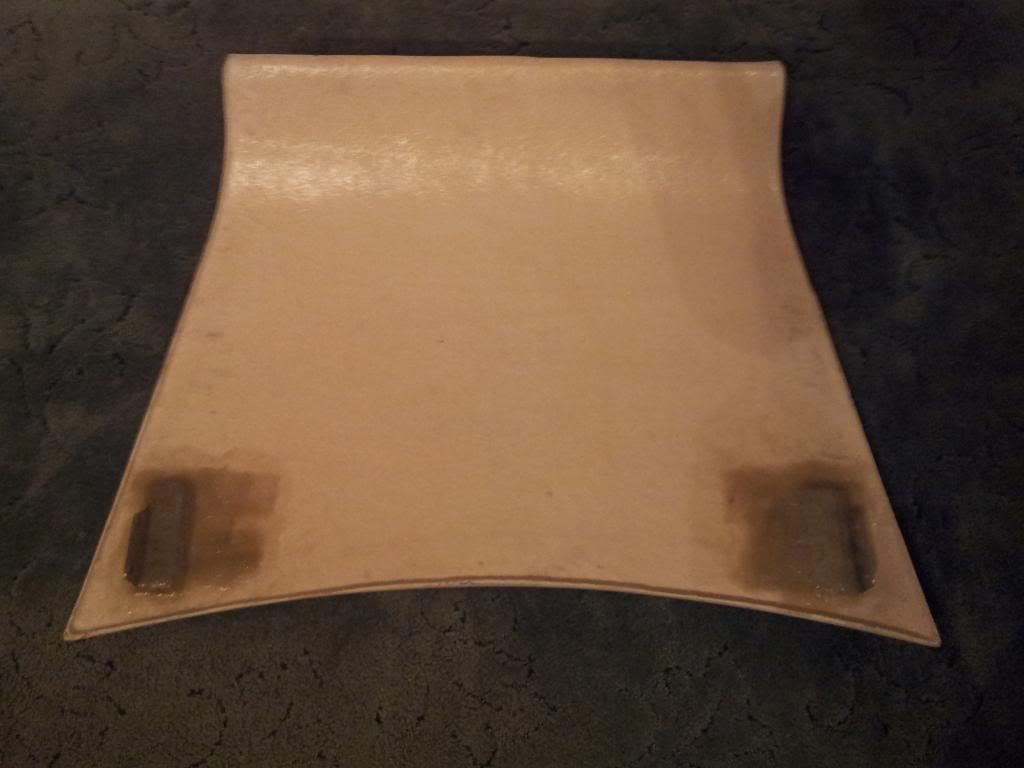
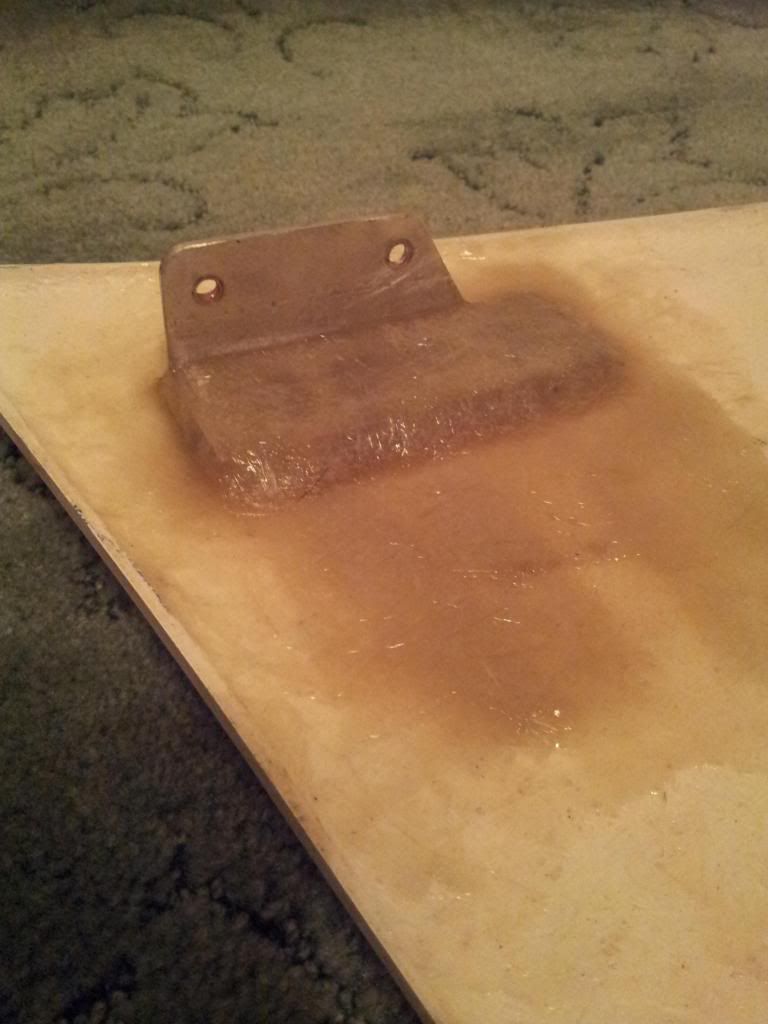
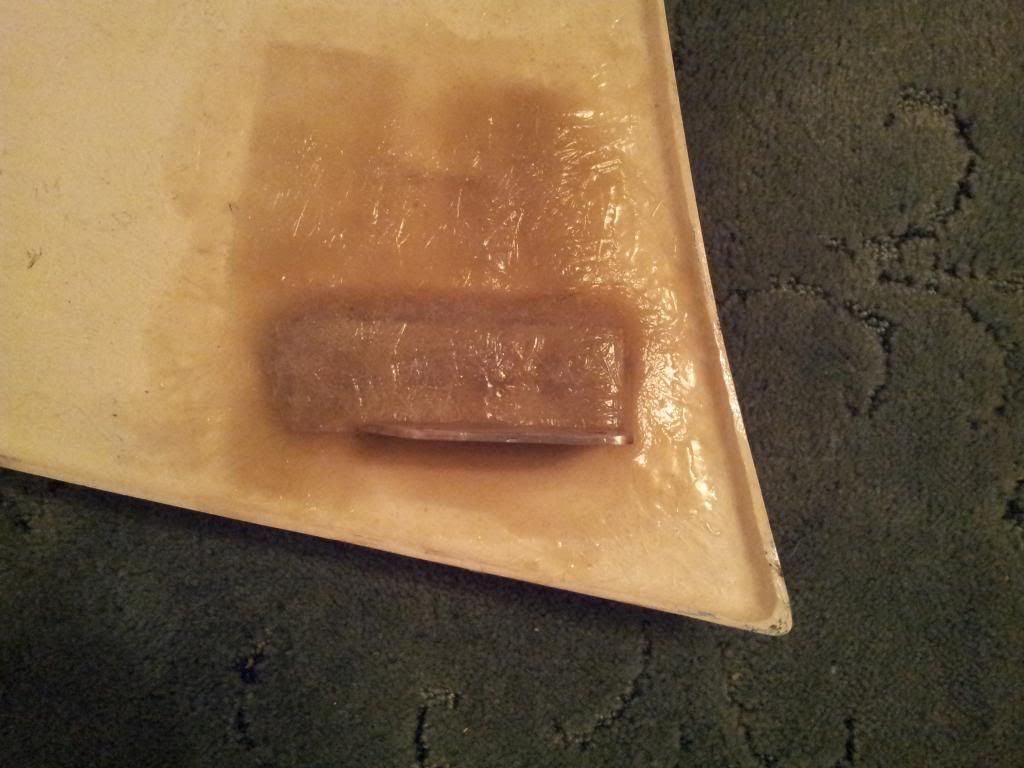
Its not the prettiest looking fibreglassing but i'll clean it up later and it getting covered in a heat reflective material anyhow.
Also finished of the ends of the boot bracket like I said I would:
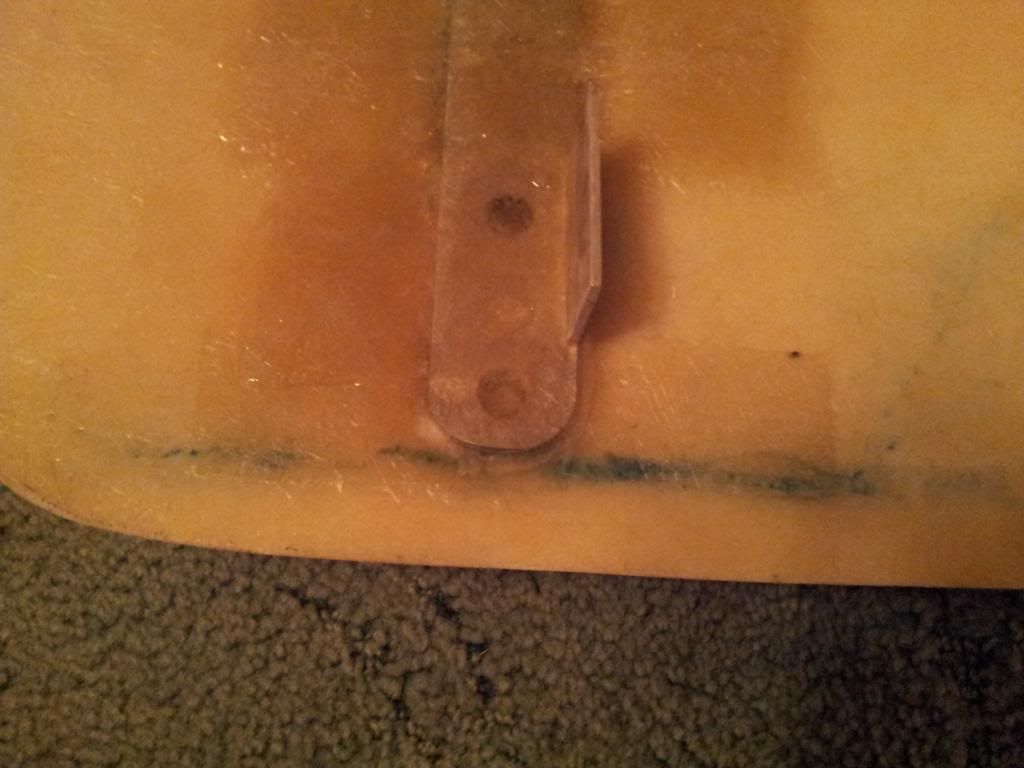
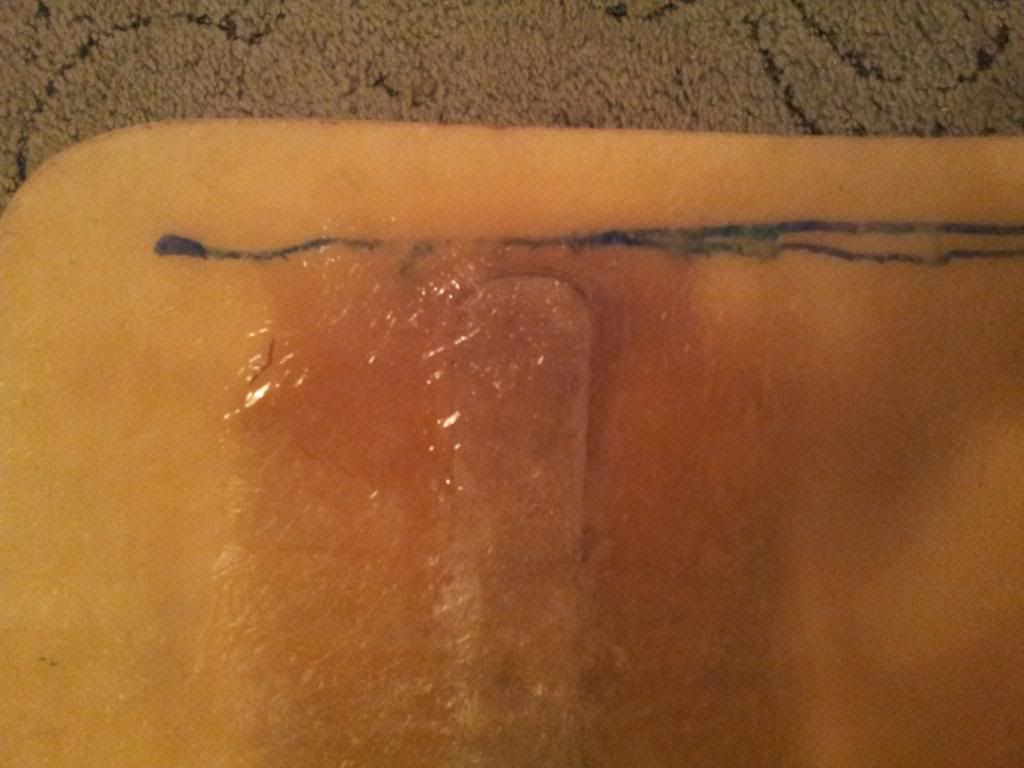
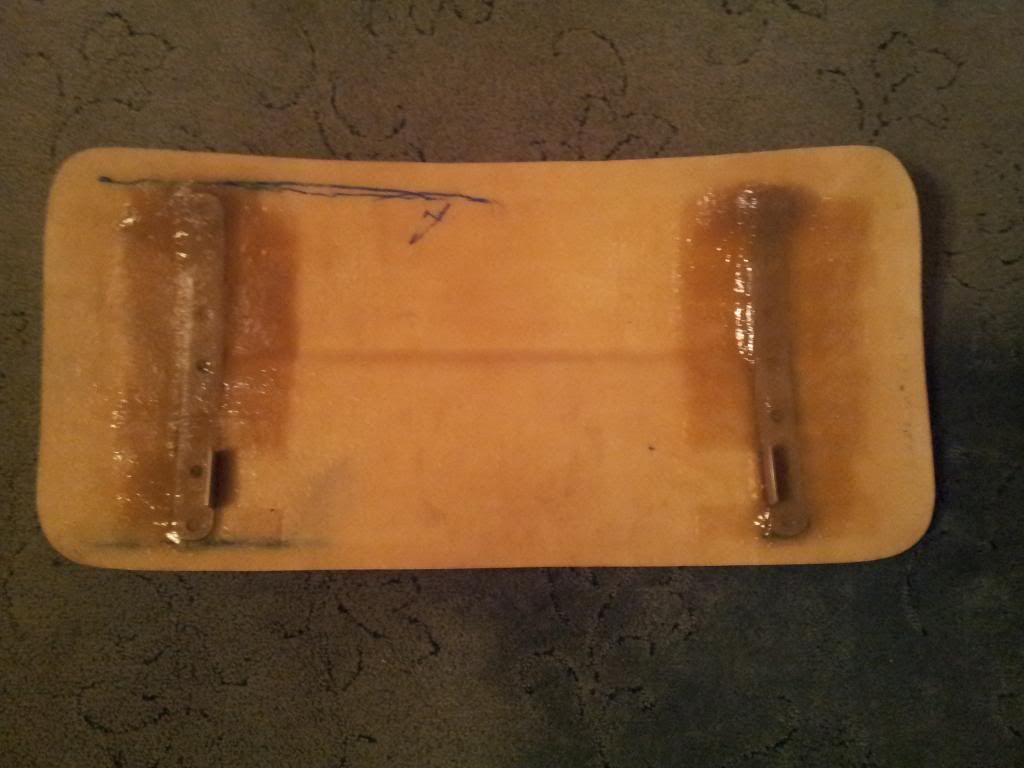
Thats all for today i'm afraid next update will be of the finished bonnet hopefully the carrying on with the doors or the boot hinges.
Regards Blue
#350

Posted 20 March 2013 - 10:09 PM
The hinges are really nice.
#351

Posted 20 March 2013 - 10:31 PM
The hinge I did ages ago i've smoothed them round on the mounting points now. I'm sure there is a picture somewhere. Thanks as ever though Jonny ;)Looking good man.
The hinges are really nice.
Blue
#352

Posted 15 May 2013 - 09:24 PM
will it be water tight? i know my de seemed mini leaks like a sieve through the door seals, amazing build though
#353

Posted 16 May 2013 - 08:28 PM
Yeah hopefully it will be water tight once complete but we shall have to see. Im not sure as to why it won't be on the doors as I will be using new seals and making sure the doors close upon the seals properly so in theory it should be alright. I have not worked on my mini for a while although I have transported it to a new home along with all my tools but my dail driver has been giving me some headaches so my focus has been averted for the time being. Hopefully I will be able to get some work done on it soon.
Regards to all Blue
#354

Posted 29 May 2013 - 08:33 PM
#355

Posted 29 September 2013 - 04:44 PM
Clear.........Clear.......... we gotta faint pulse for this thread!!!
So I have been not doing a fat lot for a long while due to work being mentally crazy but I have finally come back fighting. As many of you know I had designed my hinges and brackets for my car however when I came to install them there were a few bits that completely annoyed me!!!!
So try try again. Problems I had to over come were the boot lid was absolutely everywhere in terms of being too far away from the car due to the original intended boot seals being as tough as hell (I thought it might weaken after a while...wrong especially with the weight of only a single skin boot being against it), solution general compression door seals available from any good caravan shop now I get the seal press right up against the lid and the lid sits just right all the way around.
Now my next problem was panel gaps. Now because I had fibreglassed the boot lid brackets to the boot first trying to drill holes and attach whilst pushing against a rubber seal, hopping on one leg patting your head with hand rubbing your belly with another was way too much work so solution sand away the mounts and clean up for the second attempt. I will be bolting the brackets to the hinge first then put a fast setting glue in place on the boot for initial position then one that has taken fibreglass the lot in place.
The final problem was amount I could open the lid by. The lid opened just fine until it opens to much in which it touched on the bottom of the lid and the valance.
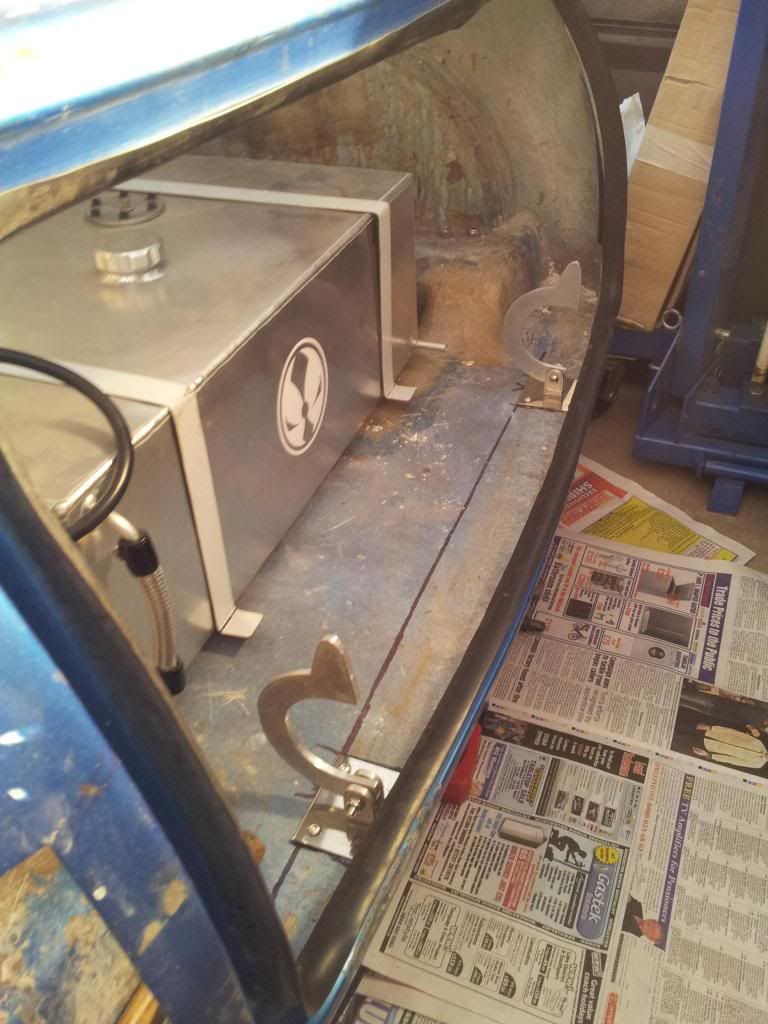
Now this had me thinking for ages I wanted to use the brackets I had made and thought maybe if I made A-symmetric arms or made the arms bigger. I was looking at it all wrong it wasn't the concept that was wrong it was the pivot point placement. I had to get the hinge as close to and low to the boot lid/floor as possible and using the original design wasn't going to work!!! So Using 5mm thick aluminium L bracket I came up with a design and shape + with no welded parts there would be a real area prone to fatigue :)
So this is as far as i've got so far. Now its just a case of taking all final measurements and drawing up some ideas of the arms for clearance ( I may have to cut two slots in the boot apertures lip to accommodate but i'll make it look neat and finish it off with rubber trim. I have also ordered some stainless clevis pins for the pivot part of the hinges and as soon as they come I can start my arm design. Anyway I hope you folks didn't miss me too much.
Regards Blue
#356

Posted 30 September 2013 - 09:19 AM
yay an update!
Thought you might of given up ;).
hinges look good.
#357

Posted 30 September 2013 - 12:25 PM
#358

Posted 30 September 2013 - 04:54 PM
Glad to see you back at it - I've missed your updates Blue! Cracking stuff as usual ![]()
#359

Posted 01 October 2013 - 06:16 PM
MOAR!!!!! :)
#360

Posted 01 October 2013 - 08:33 PM
ha ha good things come to those who wait im waiting on some nylon washers clevis pins and stainless rclips to carry on. Glad people are eager though :)
Regards Blue
1 user(s) are reading this topic
0 members, 1 guests, 0 anonymous users


