Mini Scura Minus
#271
Posted 14 June 2012 - 06:18 PM
I also got round to fitting the quick release poly engine mounts and without the top engine steady they allow the engine to move around loads!!
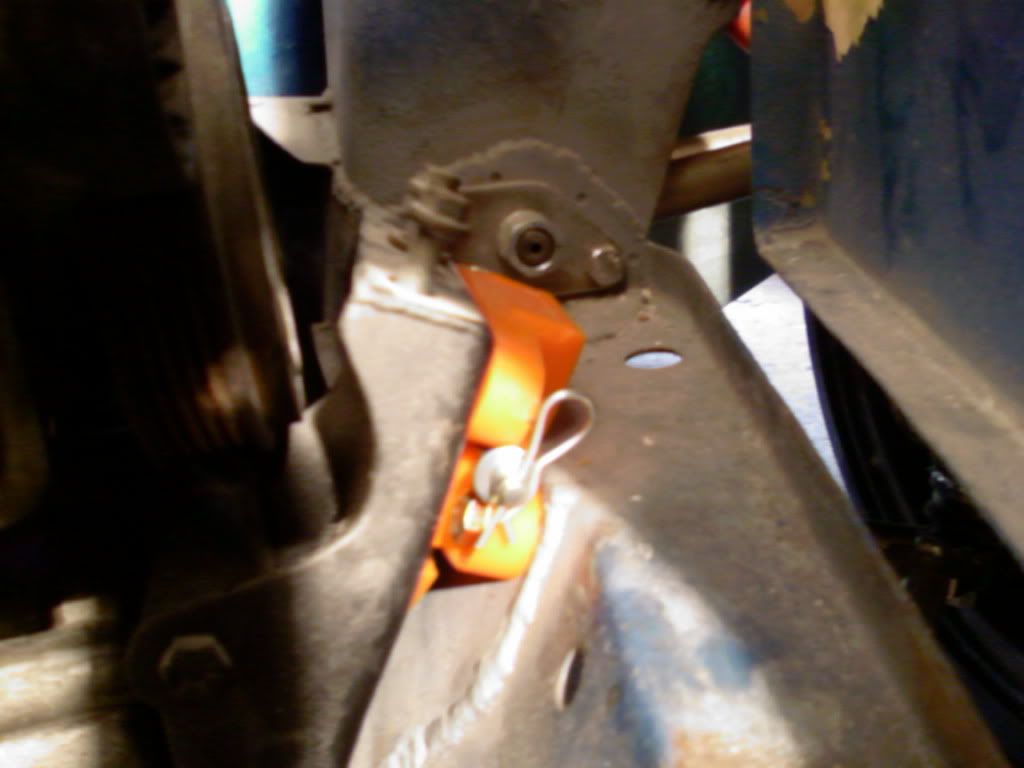
That is it for today again.
Regards Blue
#272
Posted 17 June 2012 - 01:02 PM
I also got round to fitting the quick release poly engine mounts and without the top engine steady they allow the engine to move around loads!!
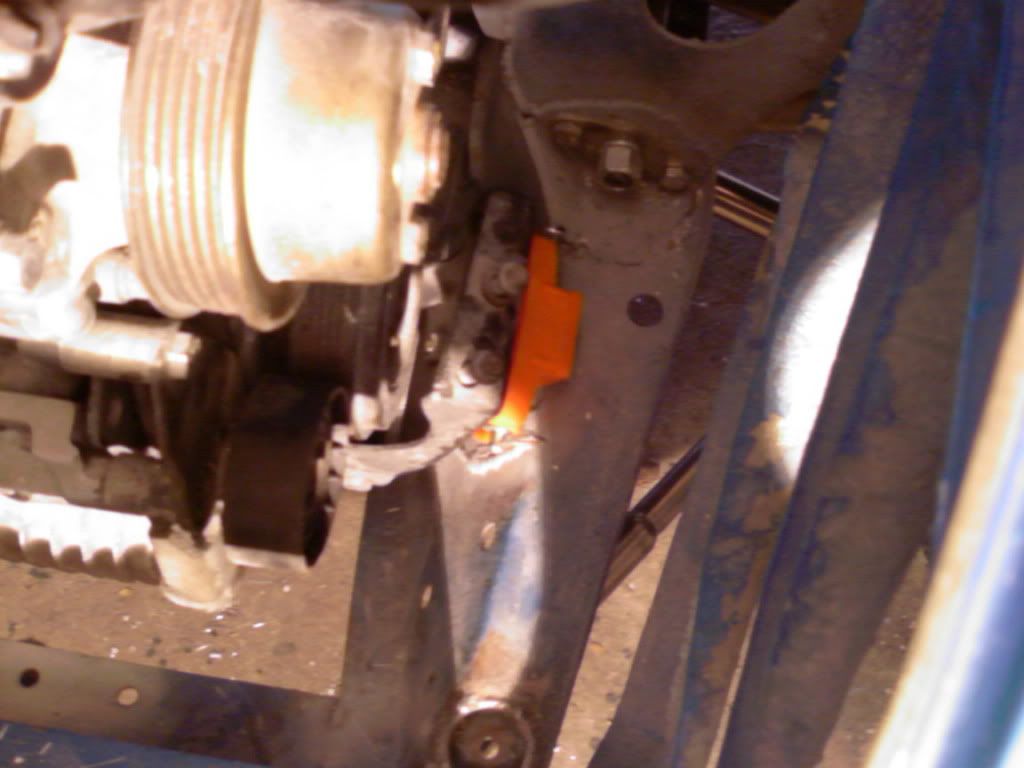
Yup they're horrid things, although it's what I've come to expect from poly. The engine will rock about a fair bit without a steady but these are just silly, I know I wouldn't want my engine held to the frame by two pieces of 6MM round bar.
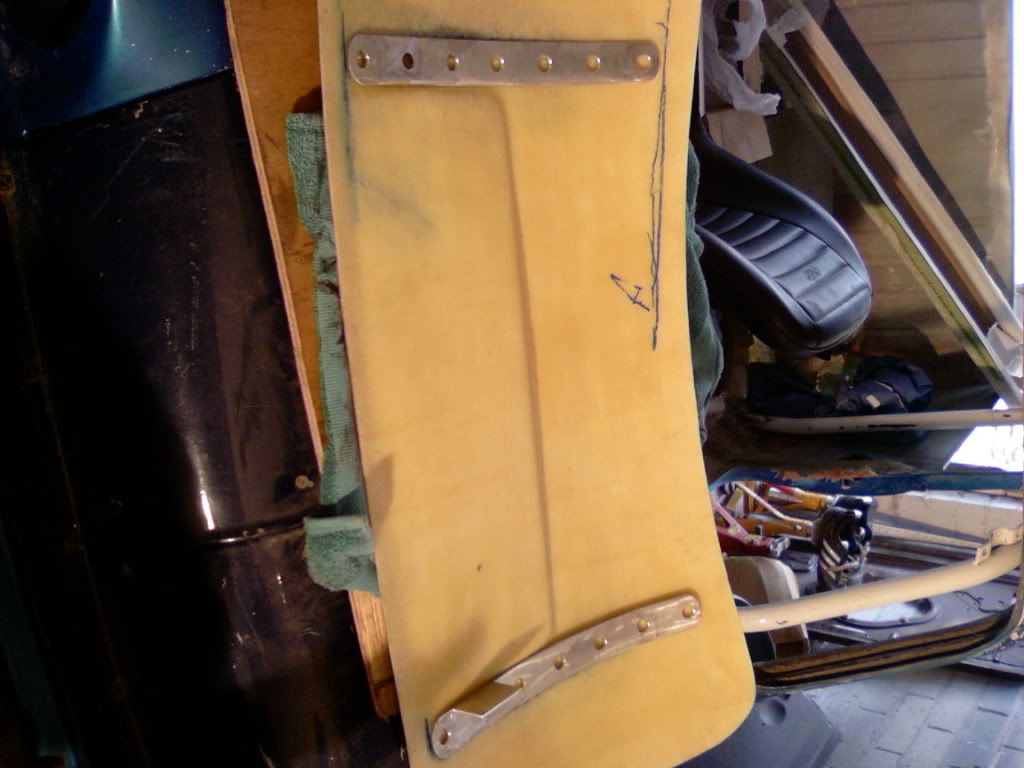
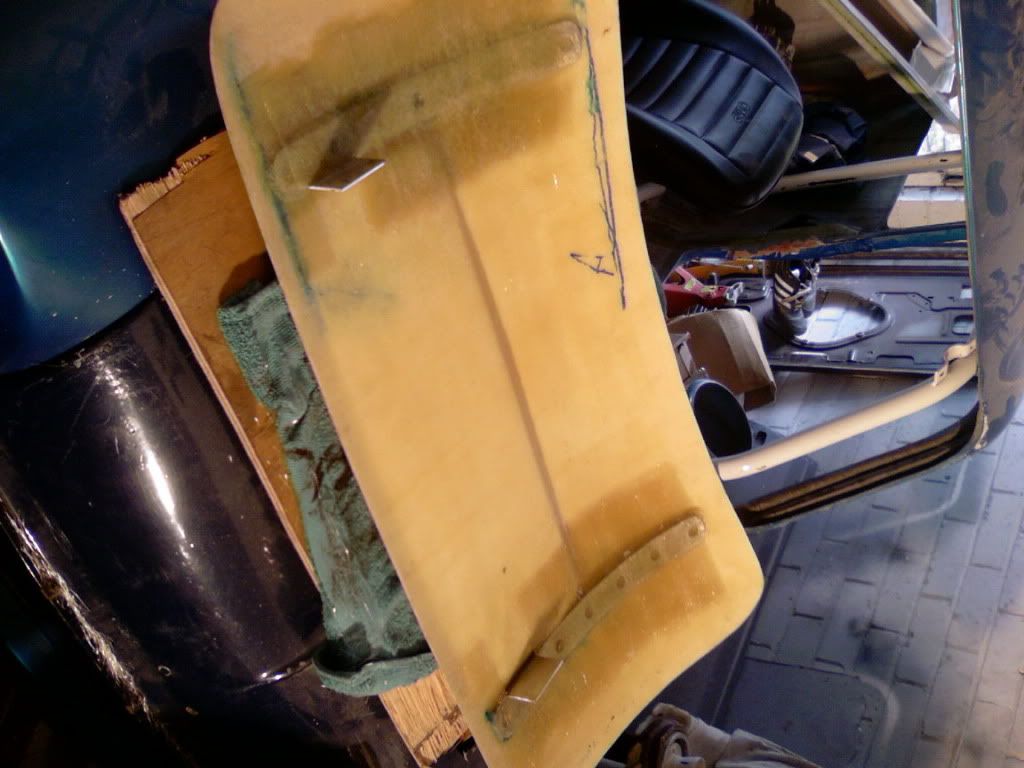
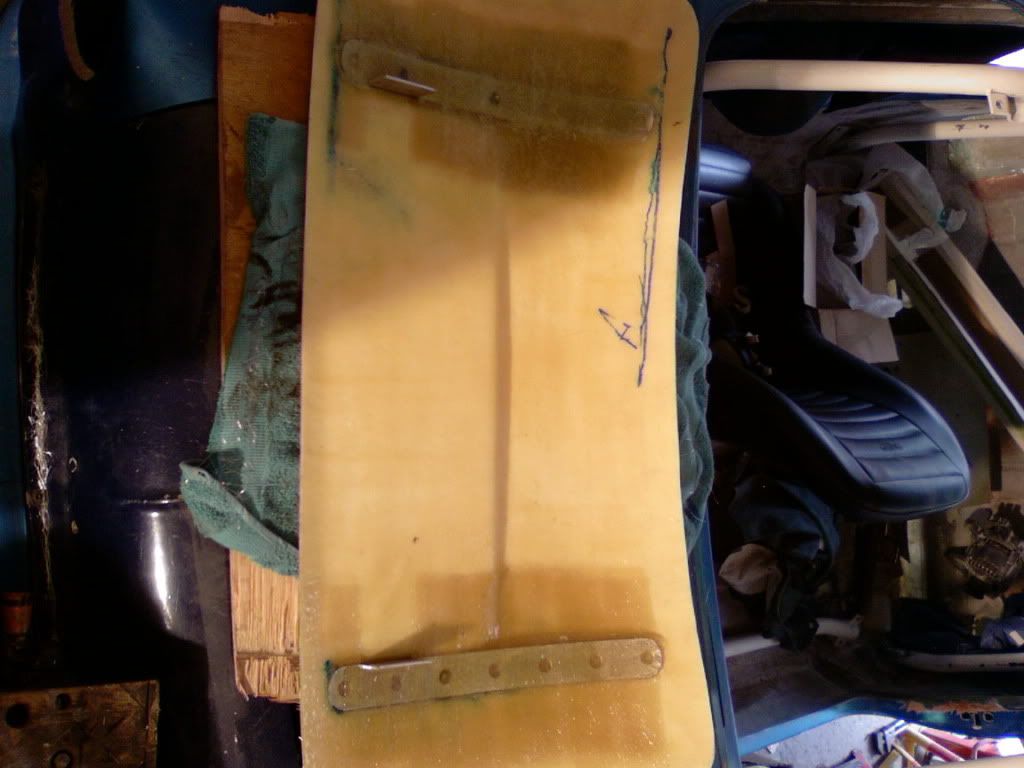
Nice work on glassing the ally brackets into the boot lid by the way.
#273
Posted 13 July 2012 - 07:24 PM
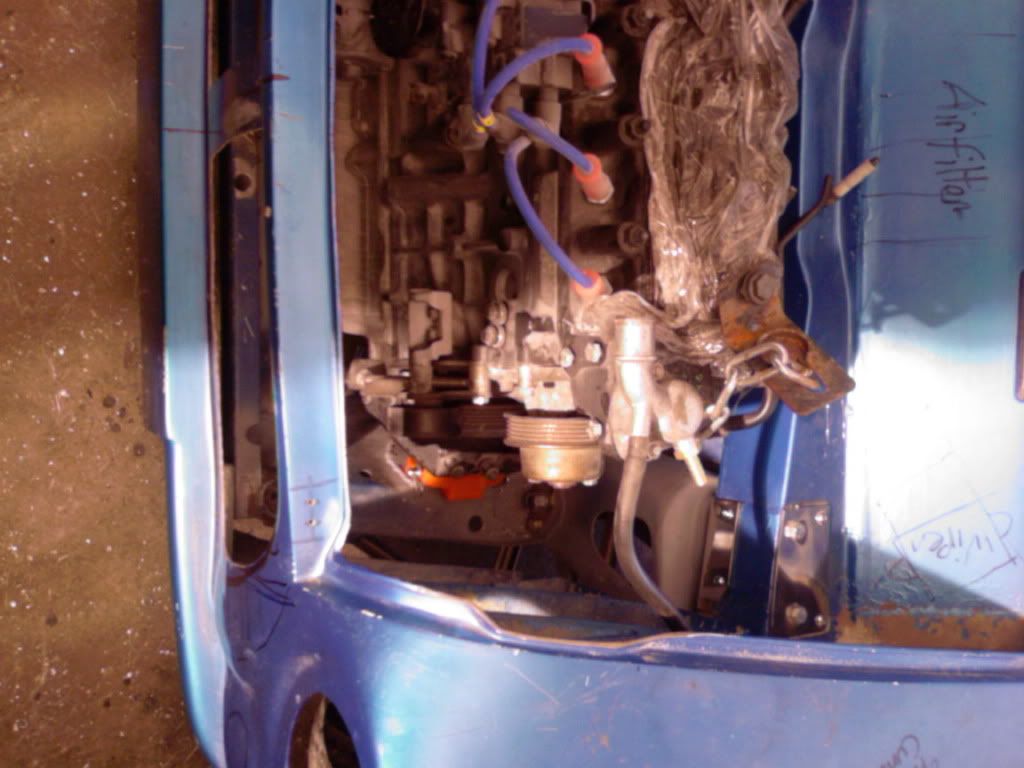
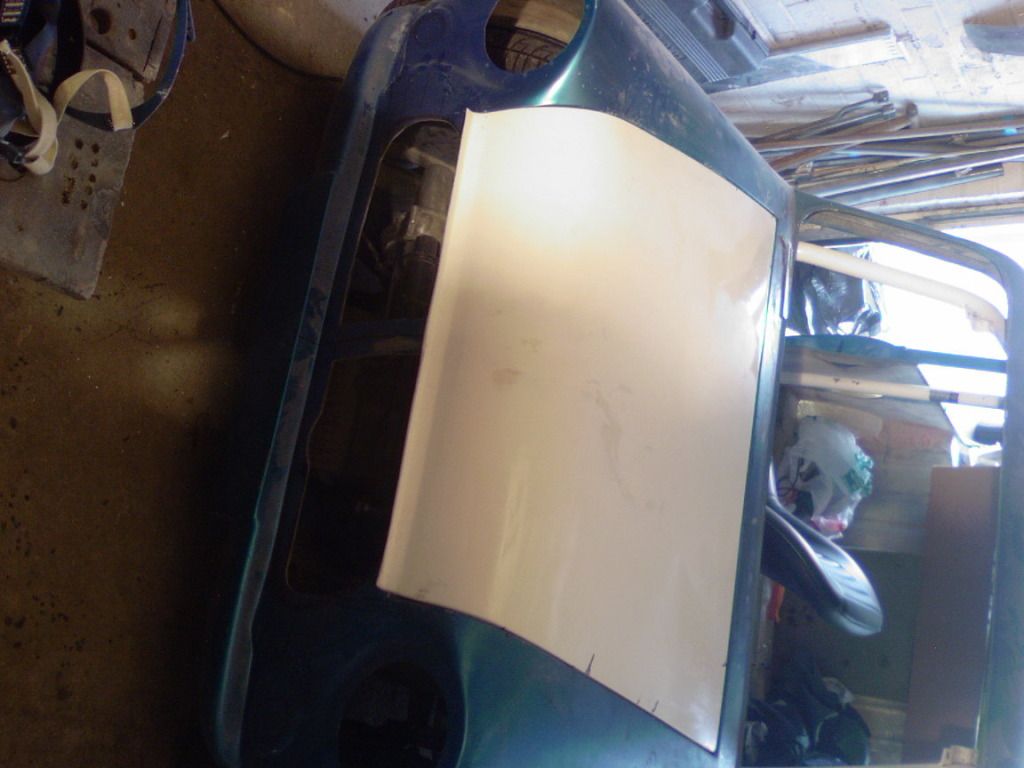
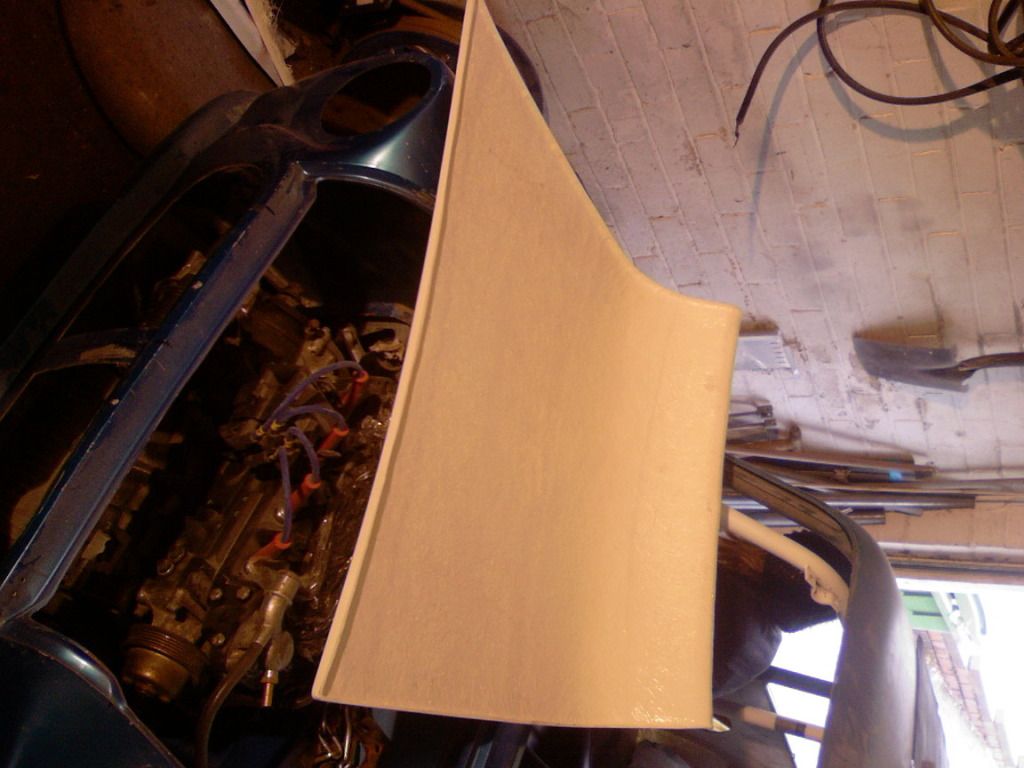
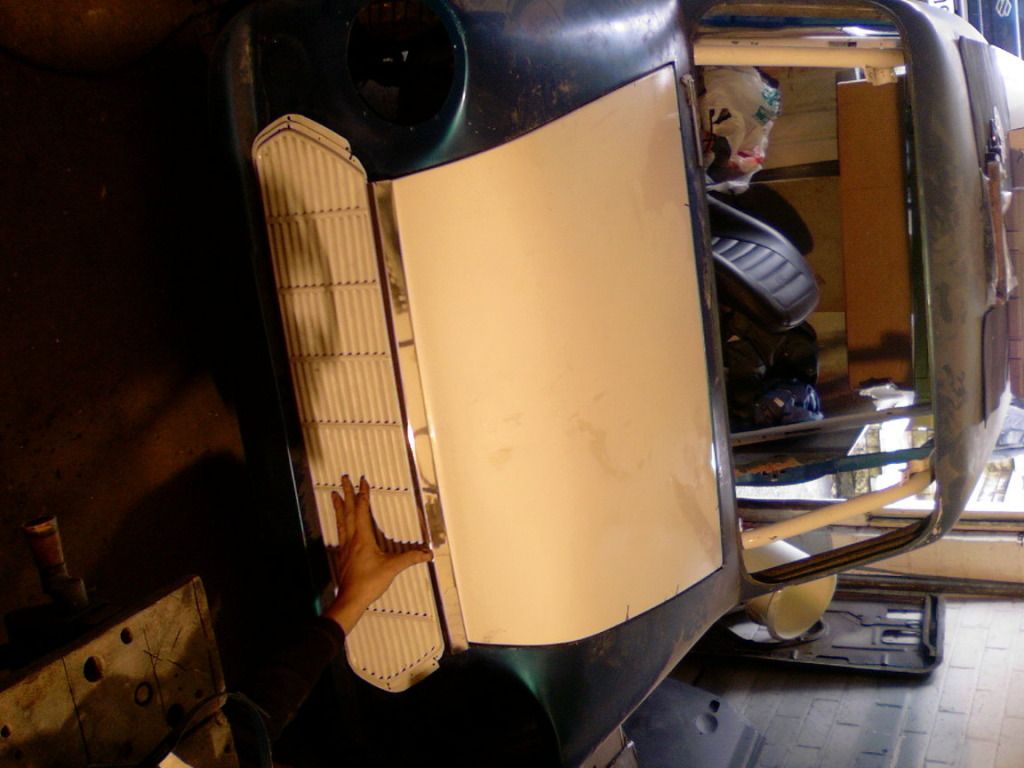
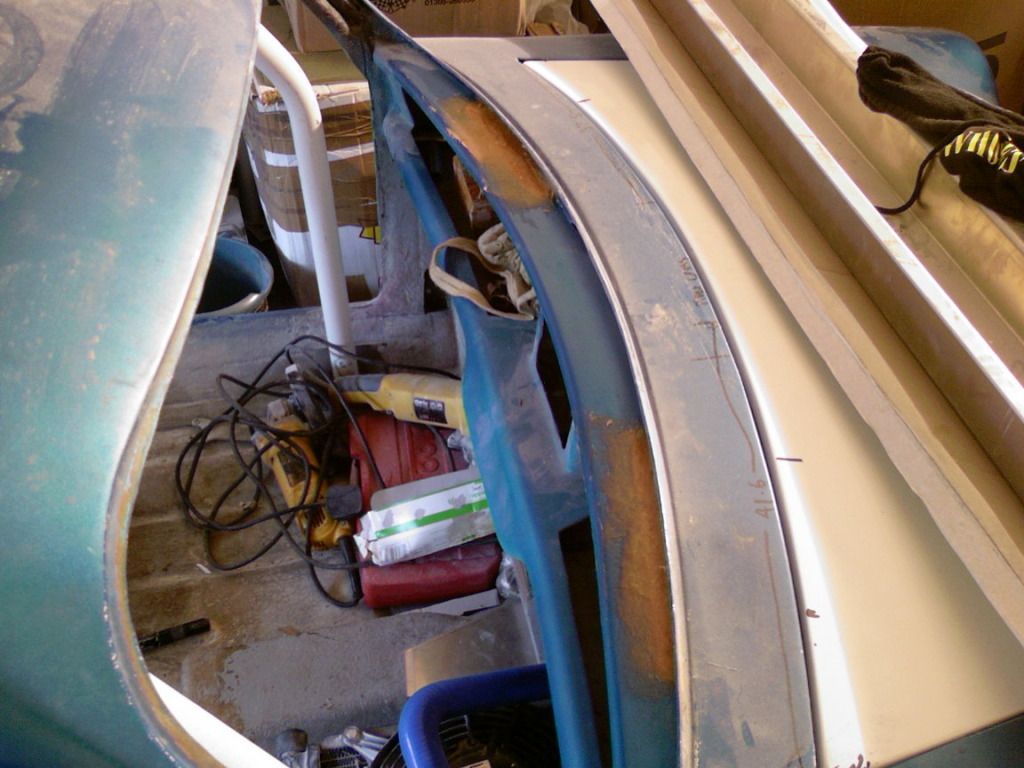
Now after waiting for about 12weeks I have cut out my bonnet to fit it in place (keeping it with all the extra bits on means it keeps its shape, due to the extra rigidity. The reason for this is because it needs to cure and by curing it keeps its shape). Anyway here is the new bonnet which is smoothed, thicker and has a better fit in terms of gaps:
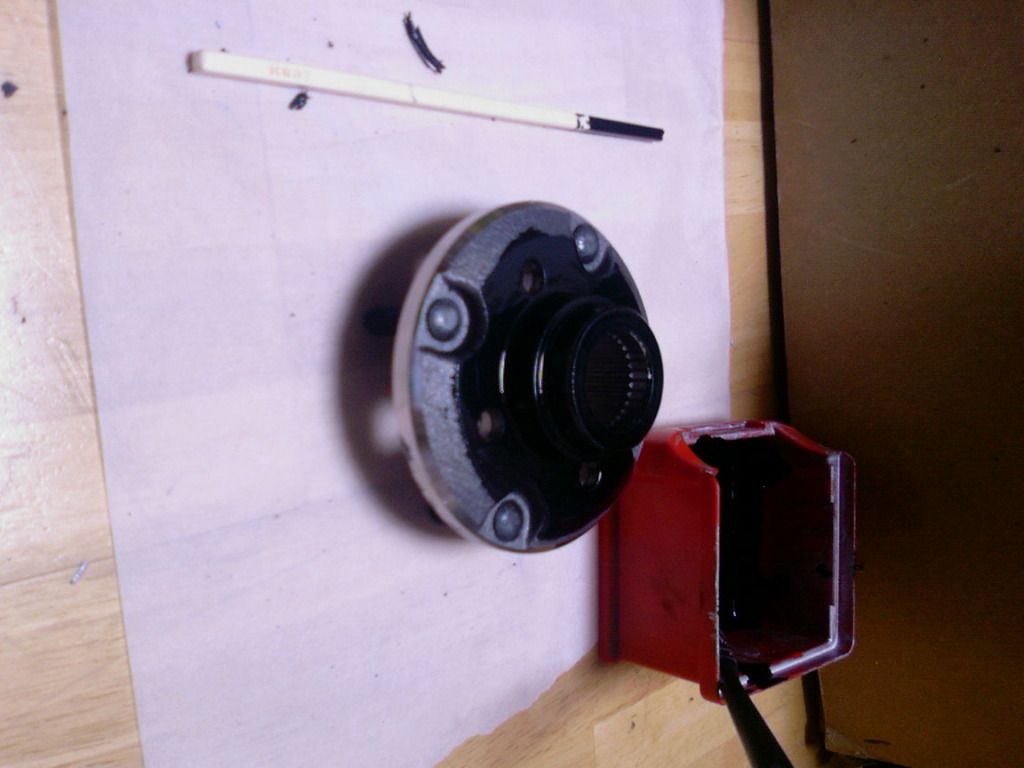
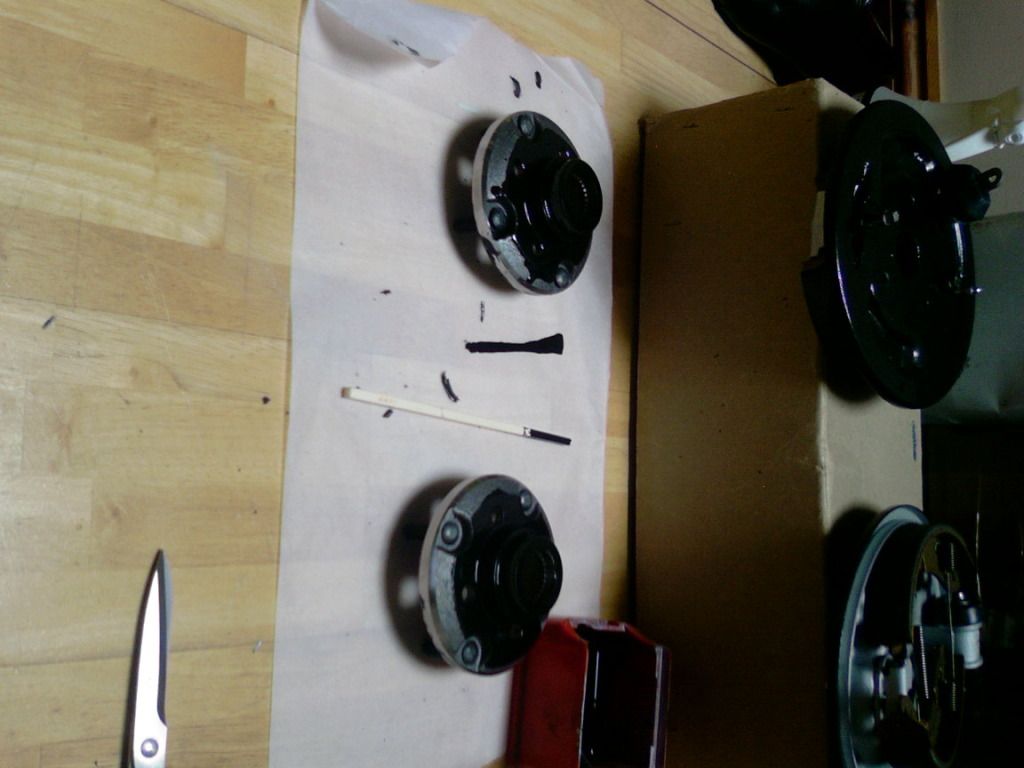
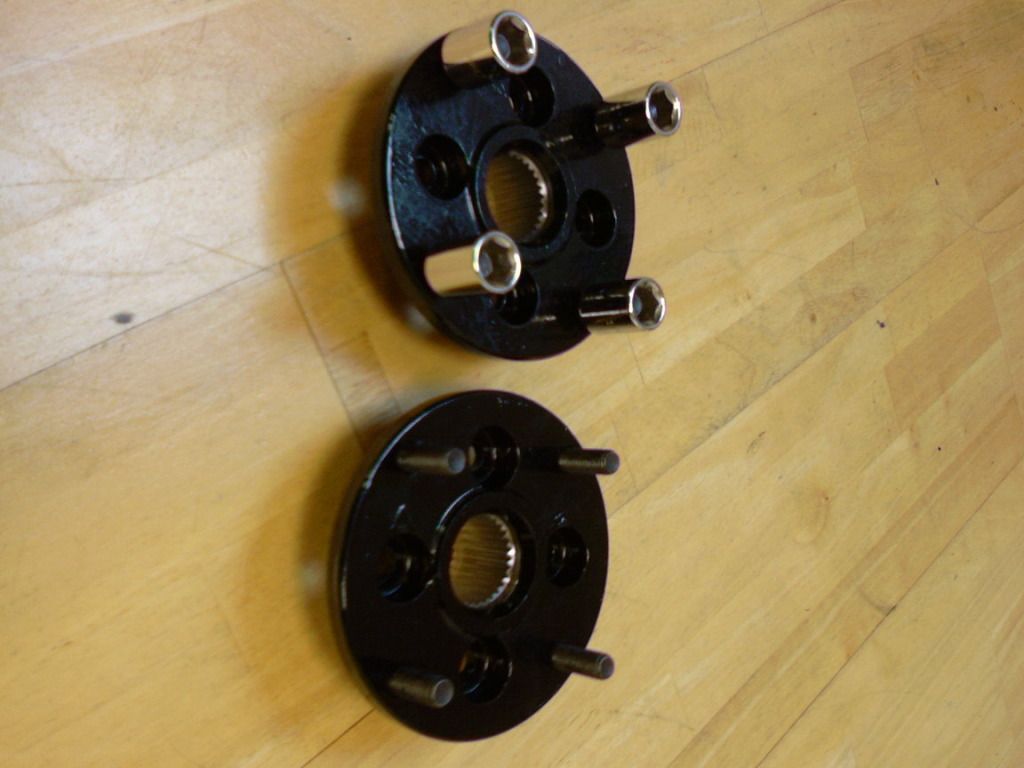
Another purchase of mine was the minispares uprated 8.4 disc upgrade drive flanges. They are made in EN24 steel as apposed to the standard EN8 ( stronger harder wearing steel type) I wanted to use these over something like the alloy ones as I don't feel alloy ones would be a good choice if ever there were two much strain through the drive shaft (as I want to upgrade my engine to a 2.0L unit at a later point in time). Anyhow here they are mid painting and the finish product:
I also painted them in the rust bullet paint, which is like hammerite and por15 made babies which were given steroids!!!! Its that good, but expensive.
Any how hopefully I will get some more done on this soon as I have some new ideas as to how the boot will open (so may possibly be selling my alloy internal boot hinges I made, so keep an eye out for them if you like them)
Kind regards Blue
#274
Posted 14 July 2012 - 03:01 PM
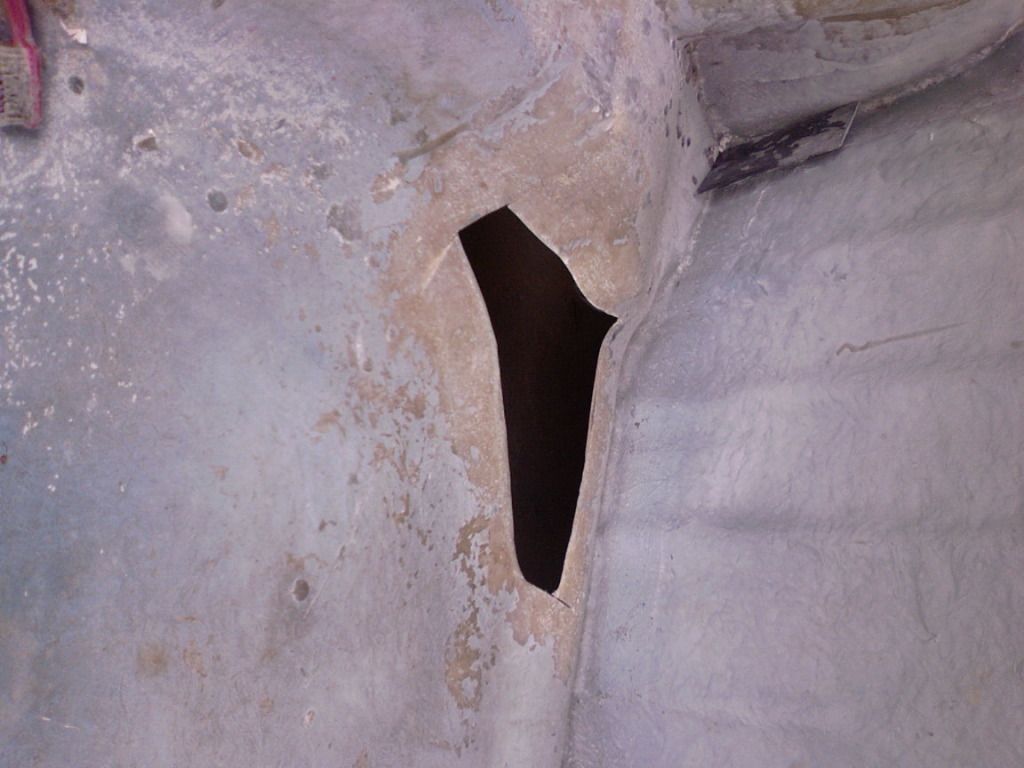
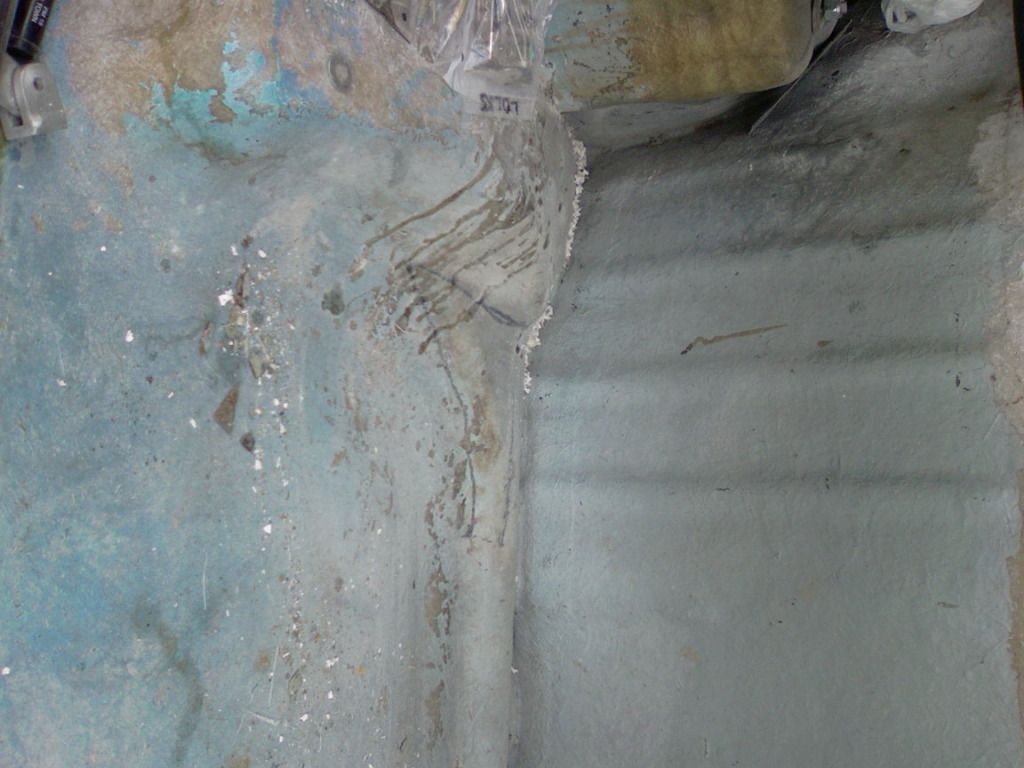
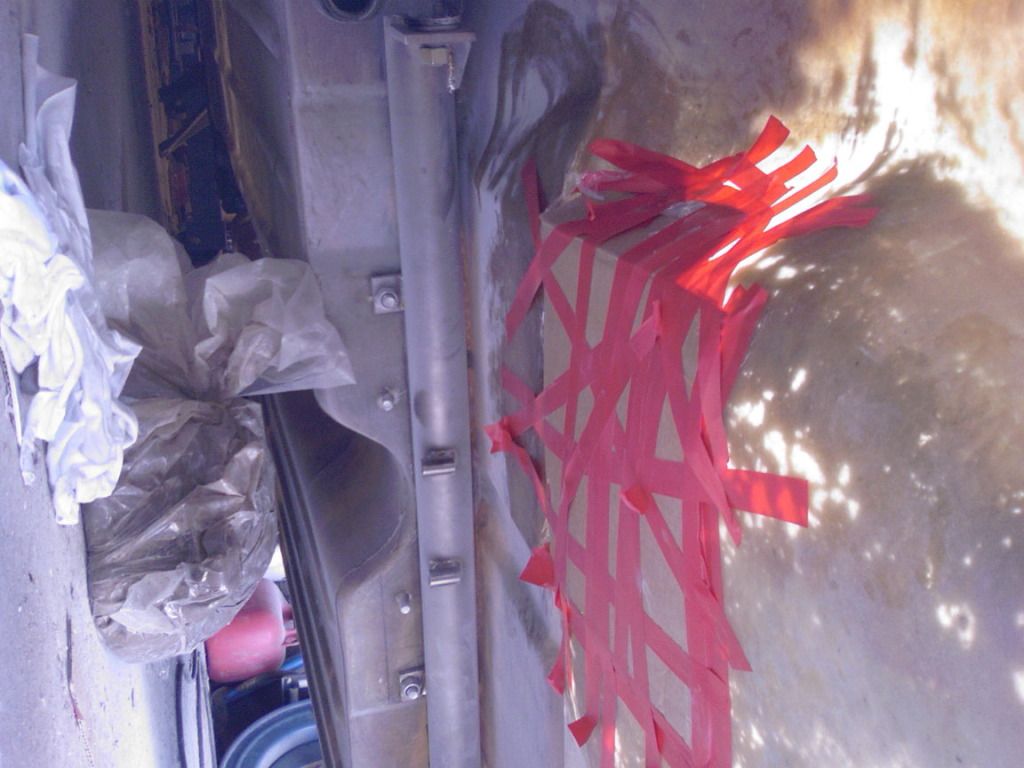
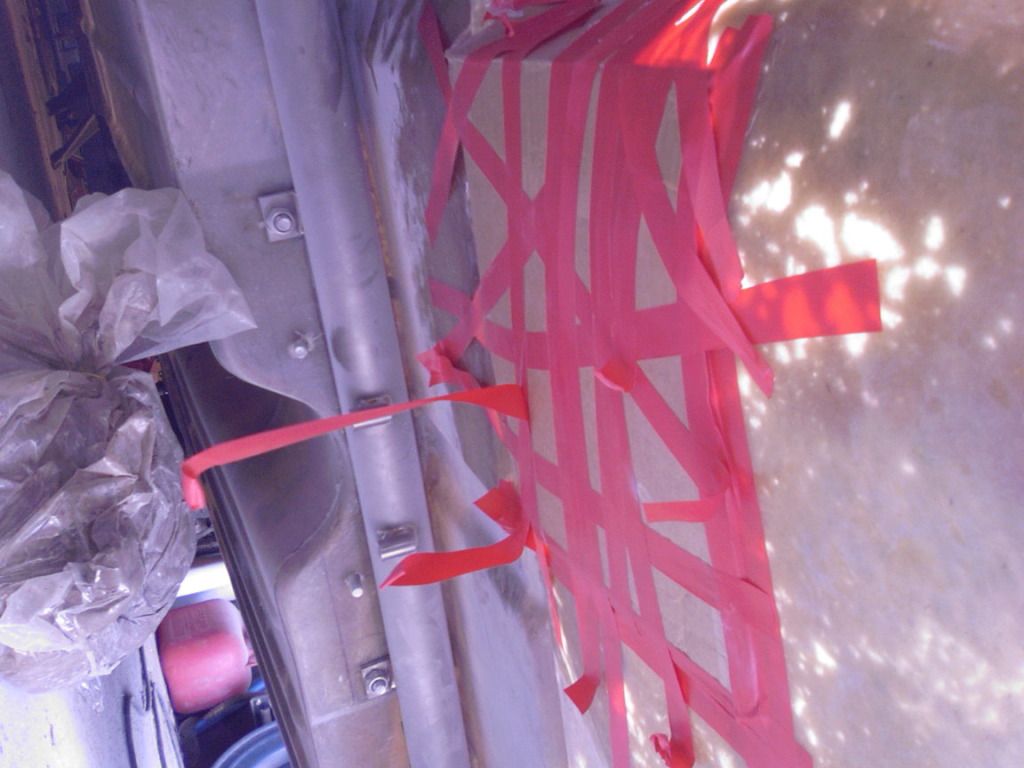
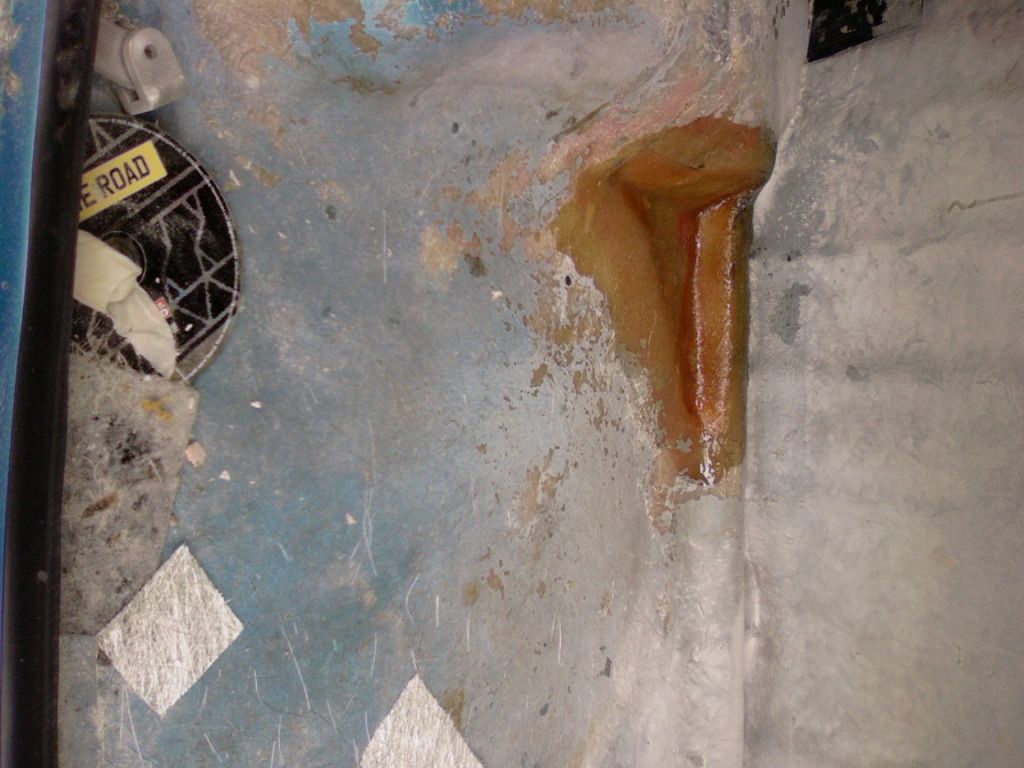
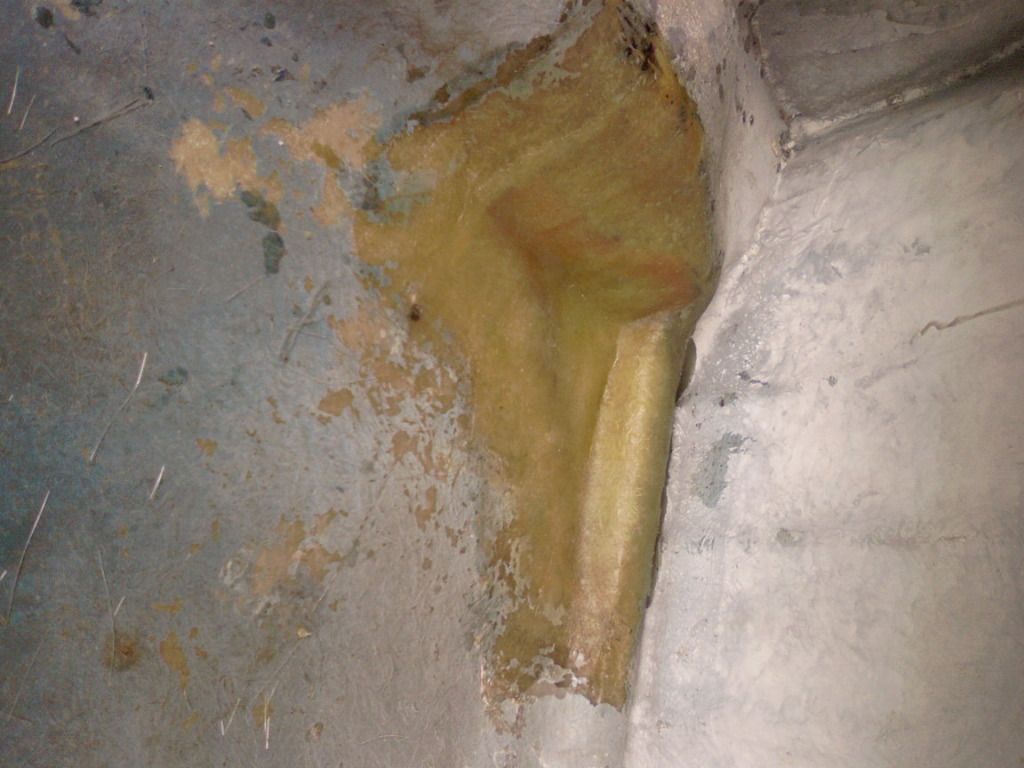
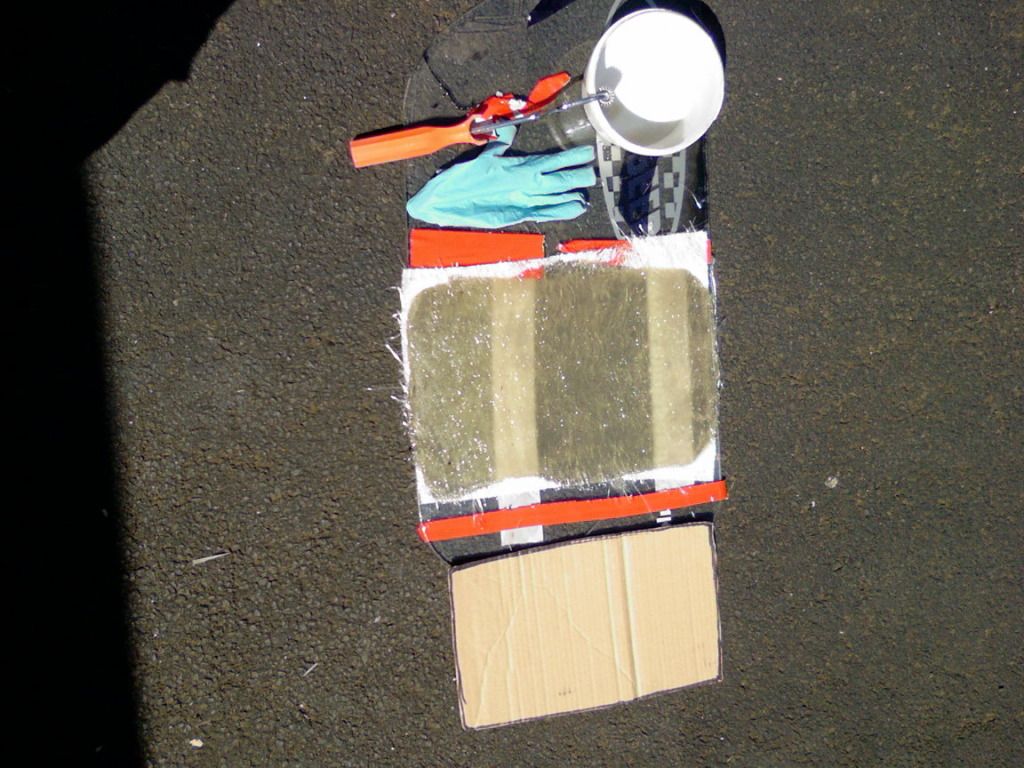
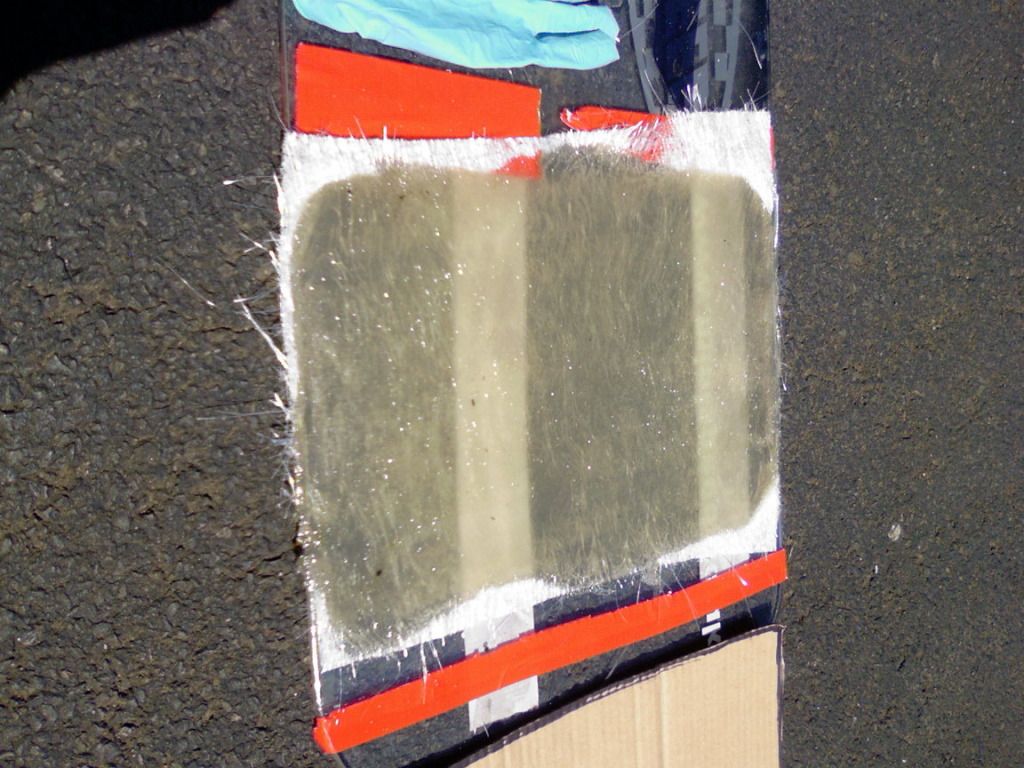
I first made a template covered it in cling film and taped it in place. For the edges I used some fibral filler to arch the gap (but will be sanded off from the other side once I had laid the fibreglass matting on the top). I will eventually sand everything down once it has had time to cure:
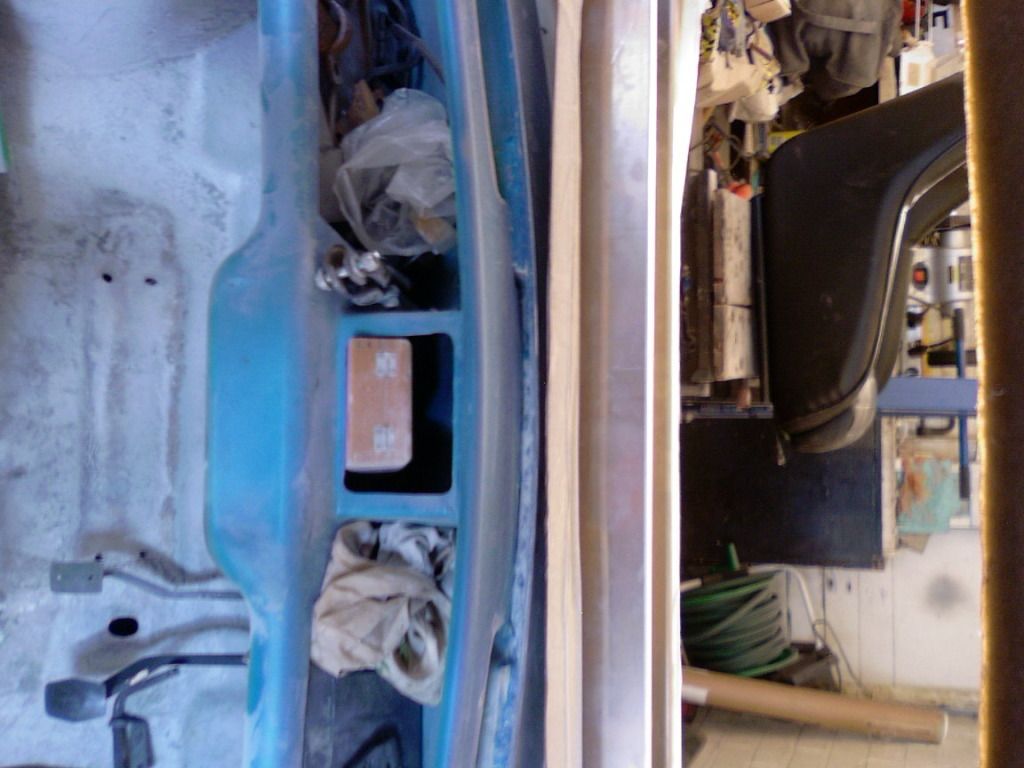
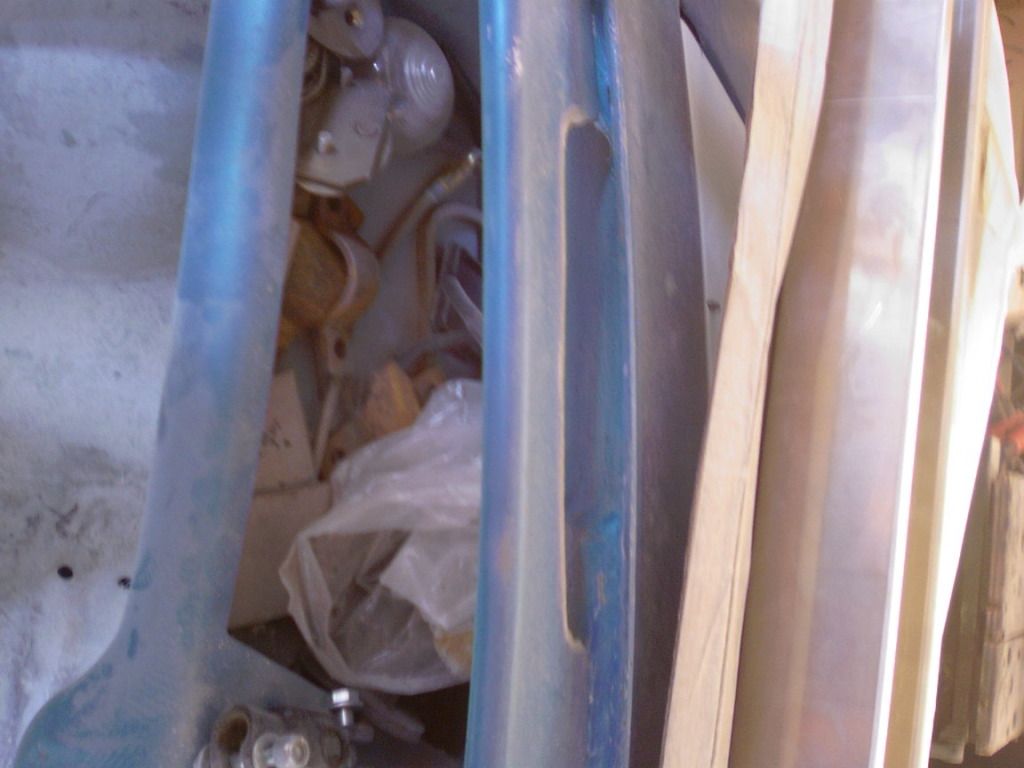
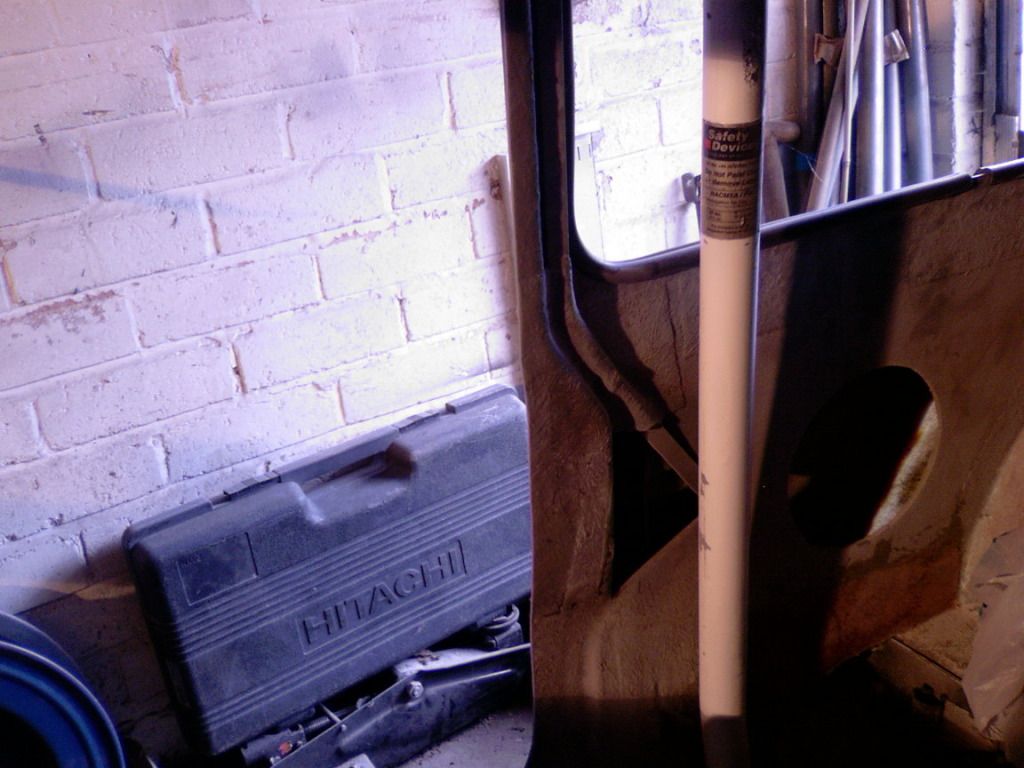
And a few images from yesterday of the door recess' and front windscreen heater vents:
how the doors look un cut:
and cut:
Thats all for today.
Regards Blue
#275
Posted 14 July 2012 - 03:49 PM
#276
Posted 14 July 2012 - 05:11 PM
Fantastic work! I love this!
Thanks mate. Its very itchy work!!
Blue
#277
Posted 14 July 2012 - 07:23 PM
I can't wait to see the end product.
Ha
#278
Posted 14 July 2012 - 07:39 PM
Wow, looking good blue ;) It's asif this has had a female touch!!!!!!!!
I can't wait to see the end product.
Ha
Thank-you babe. I'm not sure what you mean by female touch though as you well know I am male!! ;)
#279
Posted 14 July 2012 - 07:56 PM
Wow, looking good blue ;) It's asif this has had a female touch!!!!!!!!
I can't wait to see the end product.
Ha
Thank-you babe. I'm not sure what you mean by female touch though as you well know I am male!! ;)
Your loyal and devoted other half is female though!
#280
Posted 15 July 2012 - 07:18 AM
#281
Posted 16 July 2012 - 03:58 PM
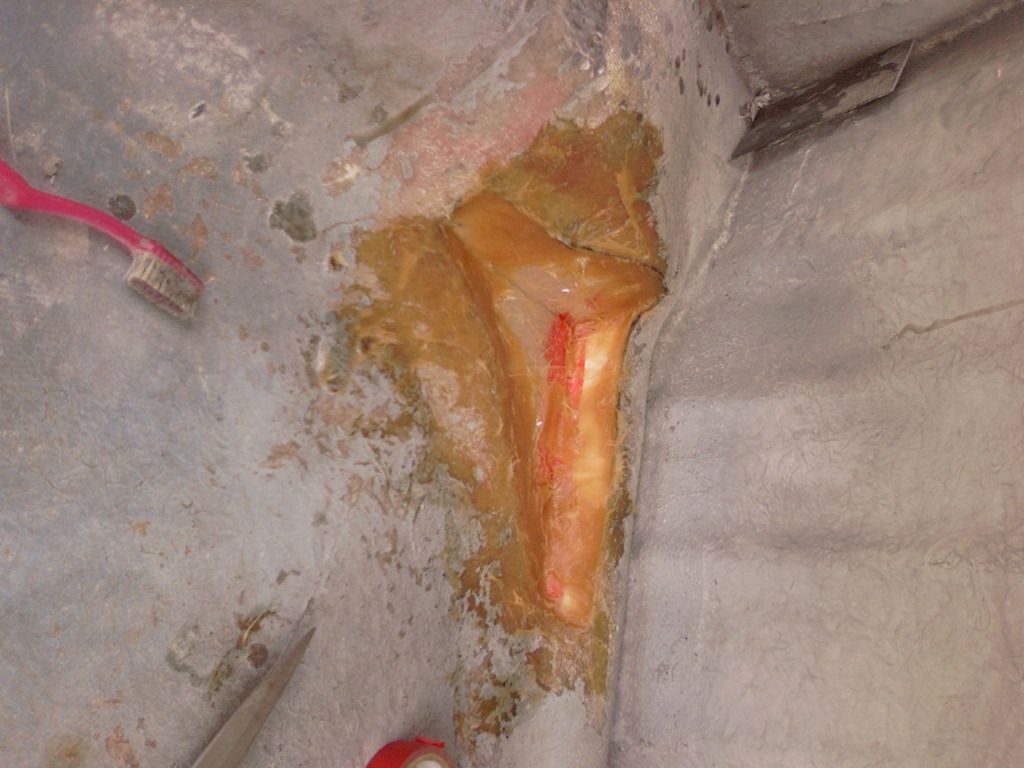
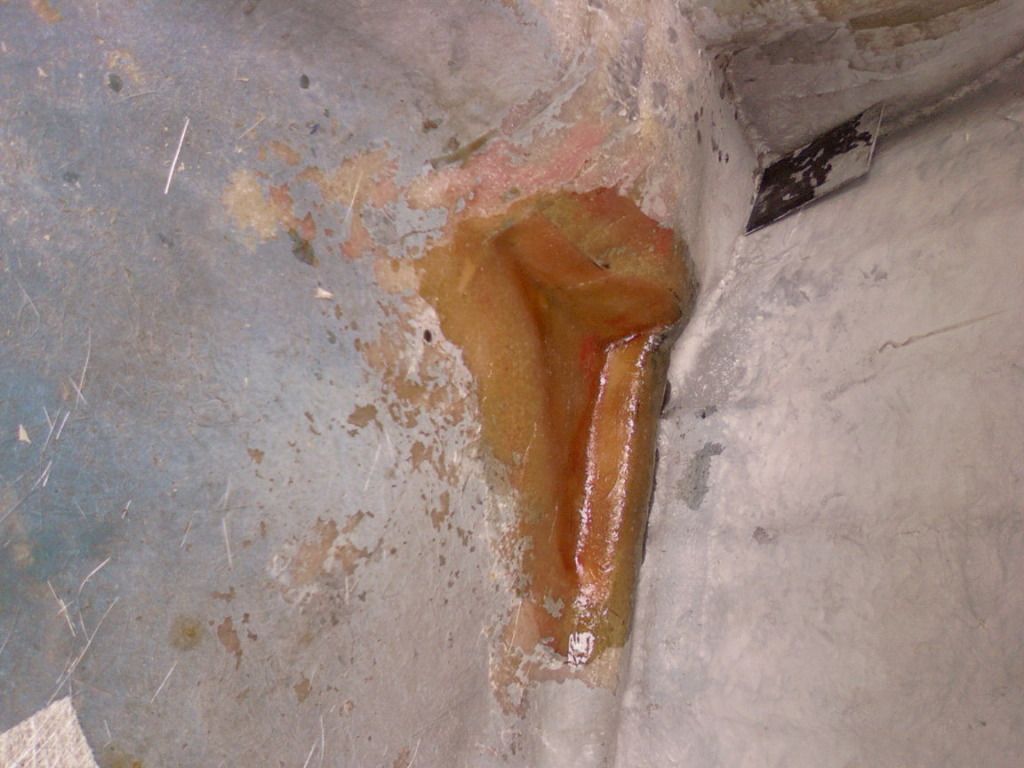
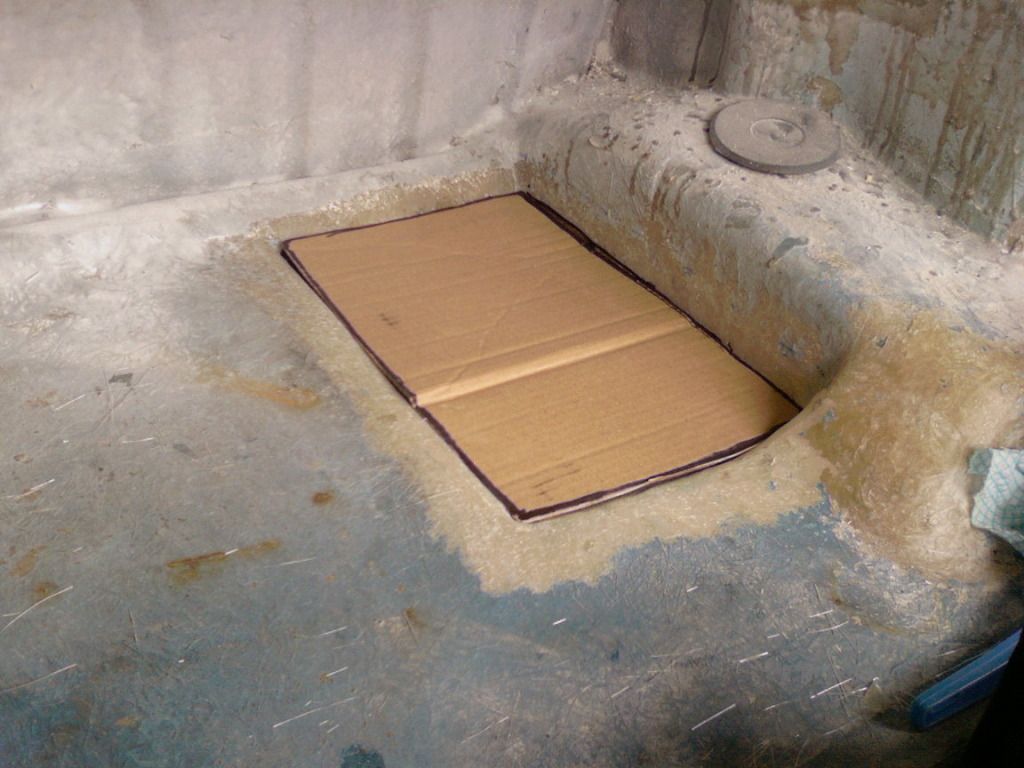
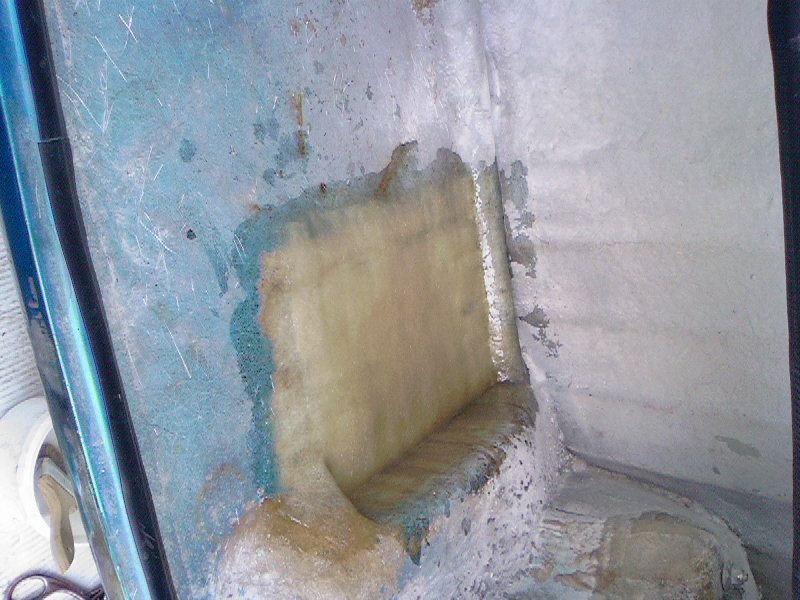
I layered up a bit more fibreglass on the corner section I had taken out and made a template to use for the battery hole I have to fill:
I also took the time to work (with the help of my girlfriend) out where the the holes for the rear roll cage back legs have to go:
And finally I made templates and filled in the front air vent holes which I will sand back once cured:
Thats all for now.
Regards Blue
#282
Posted 19 July 2012 - 09:01 PM
See you at Santapod perhaps ;)
#283
Posted 19 July 2012 - 09:09 PM
Blue, your build is very impressive....your passion for detail is even more so. I haven't been on the forum for ages and to come across this story is truly awesome. The materials that you are using are very very nice indeed and remind me of the time and effort I have spent on my build which sits at about 80% complete after 5 years. I haven't posted mine on here as I wanted to keep as a surprise but there are definitely similarities in the way we work, mate.
See you at Santapod perhaps ;)
Cheers man I really appreciate it. At the end of the day its a car I want to keep and I hate second class standards and bodge jobs!! Again with materials I want this to stand the test of time. I'd be interested to see what you have if you do have any pictures pm me (may get some inspiration). As for Santapod maybe one day in the future ;)
Regards Blue
#284
Posted 19 July 2012 - 09:33 PM
#285
Posted 26 July 2012 - 05:58 PM
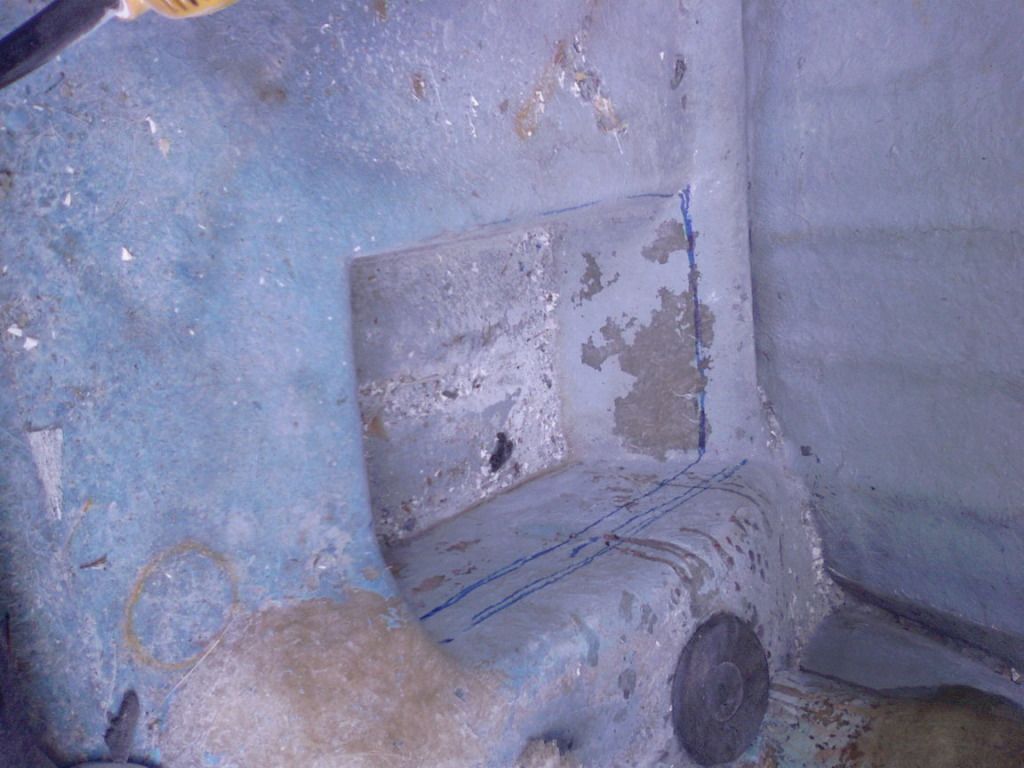
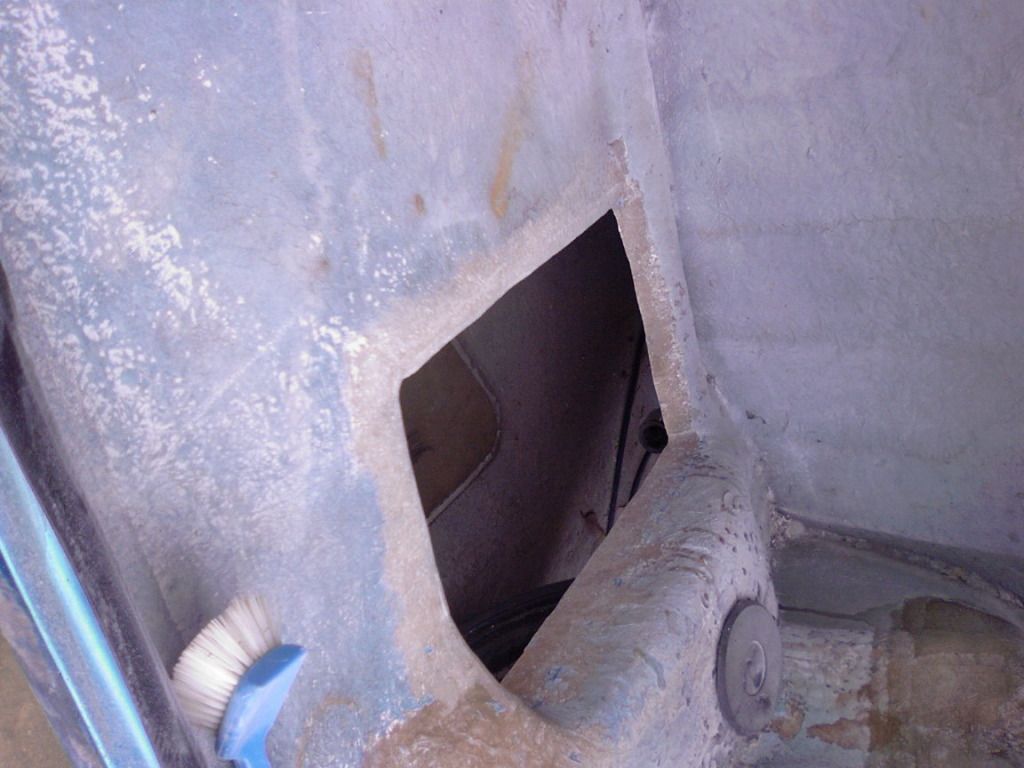
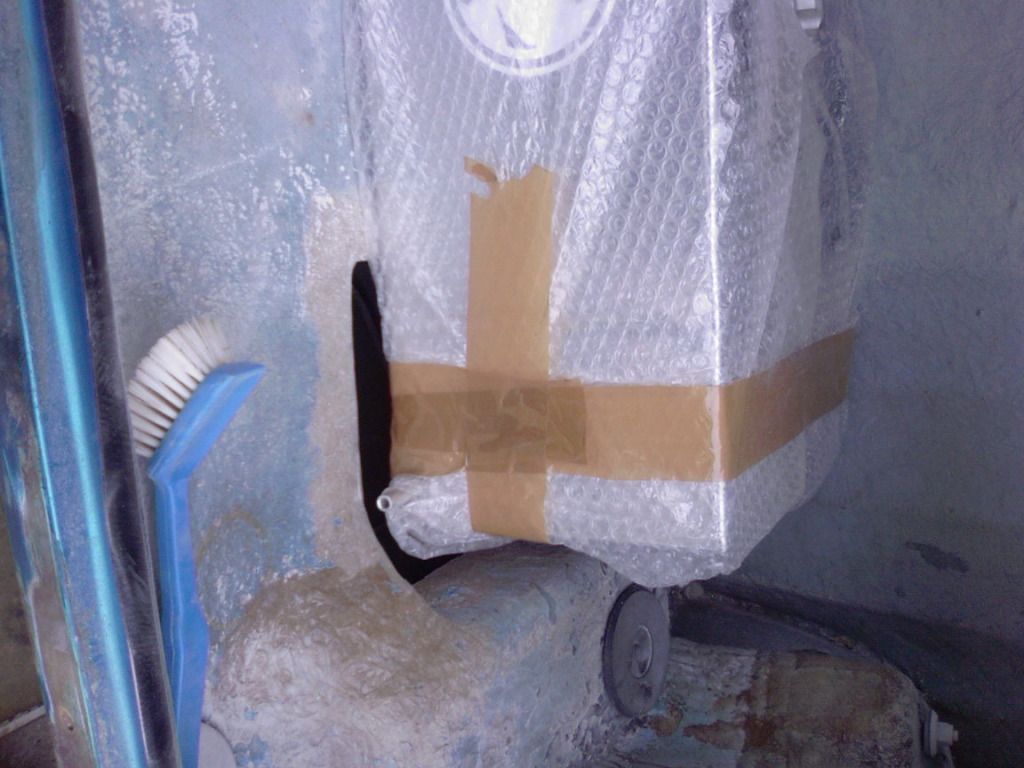
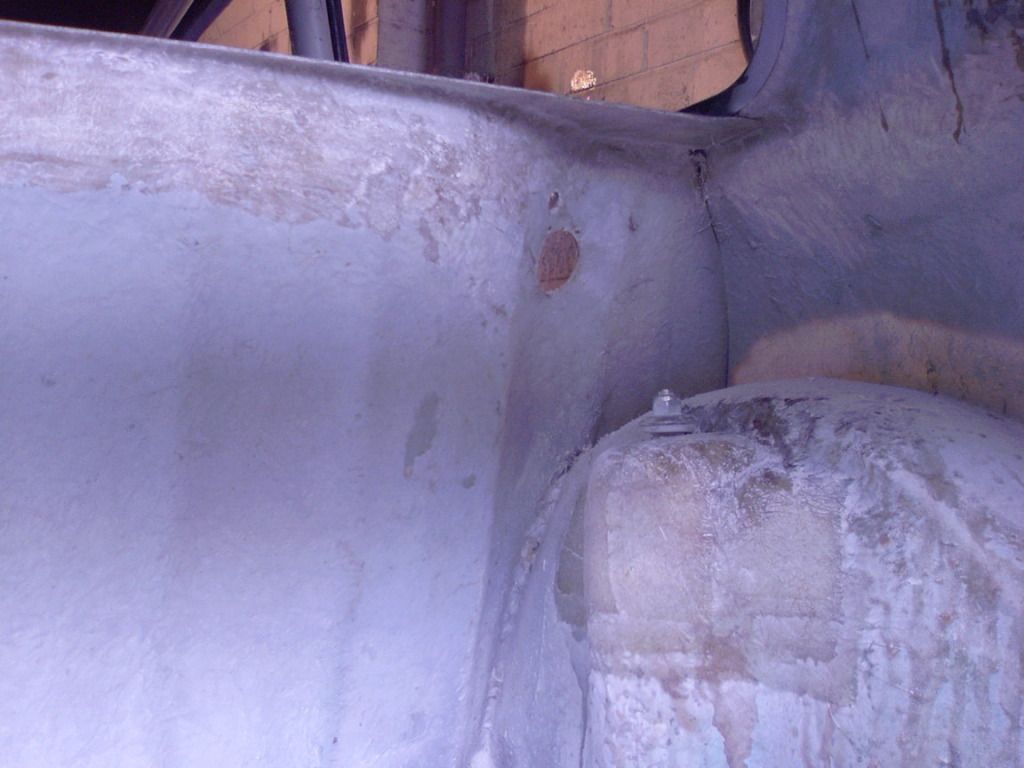
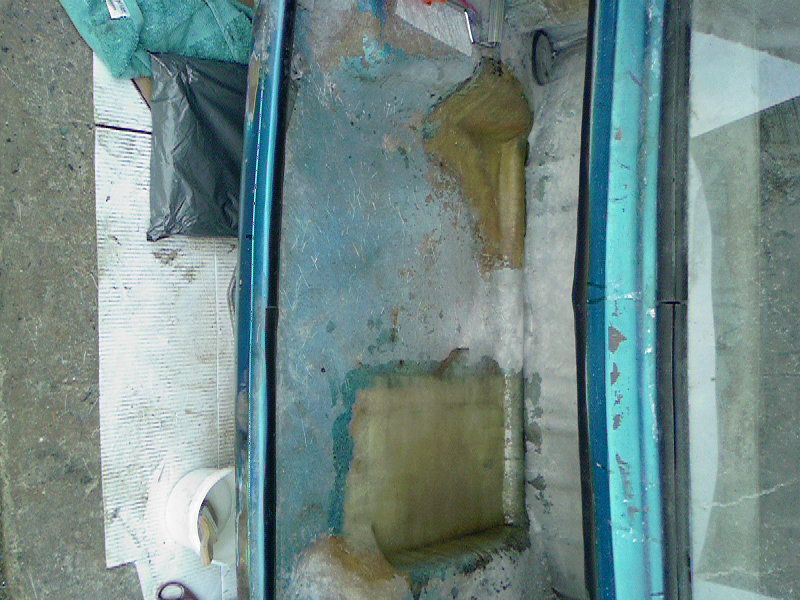
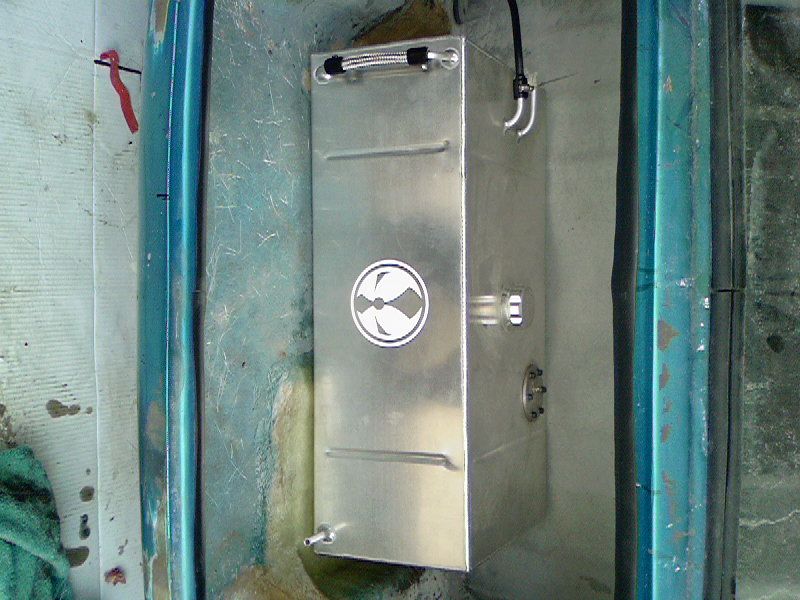
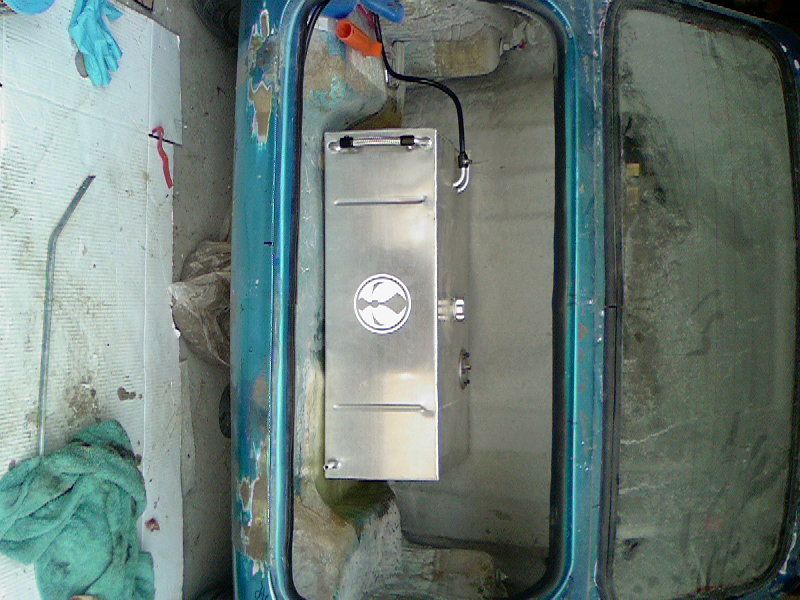
I then made a template of the rear battery box hole marked it on the piece and cut it out with an angle grinder. Once that was done I taped it into place from the underneath and layered some fibreglass strips in place on the top. Then for thickness and strength added two final layers that blanket and sandwich all the strips against the pre-made piece.
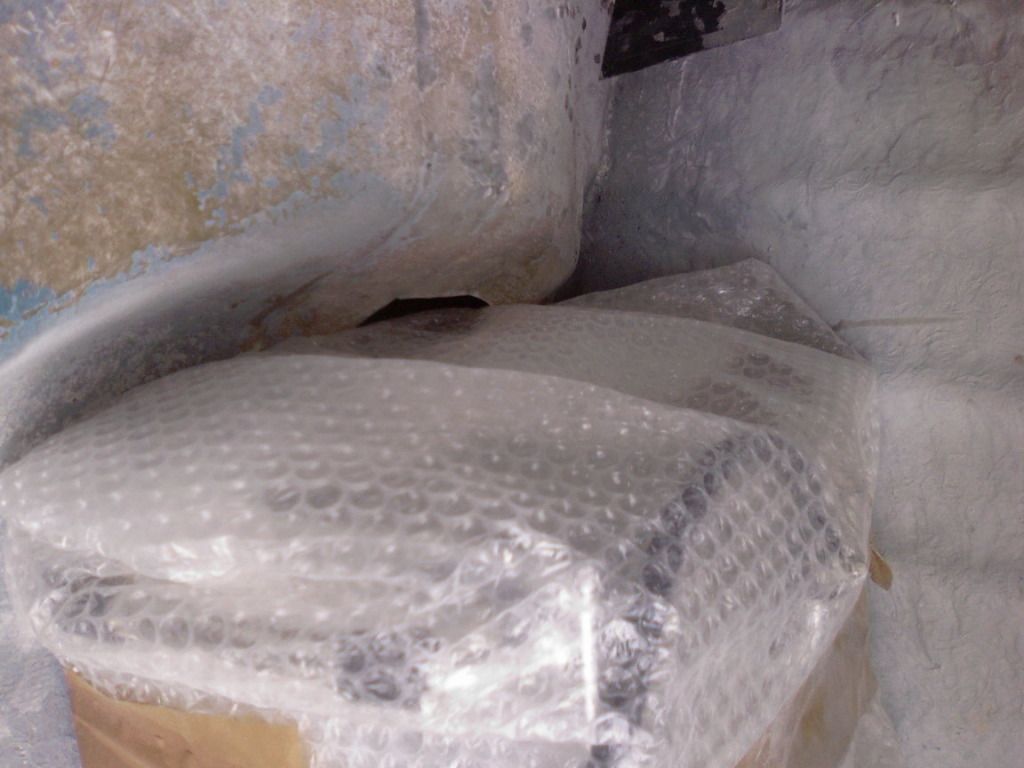
As you can see the alloy fuel cell fits perfectly in place now with now high points.
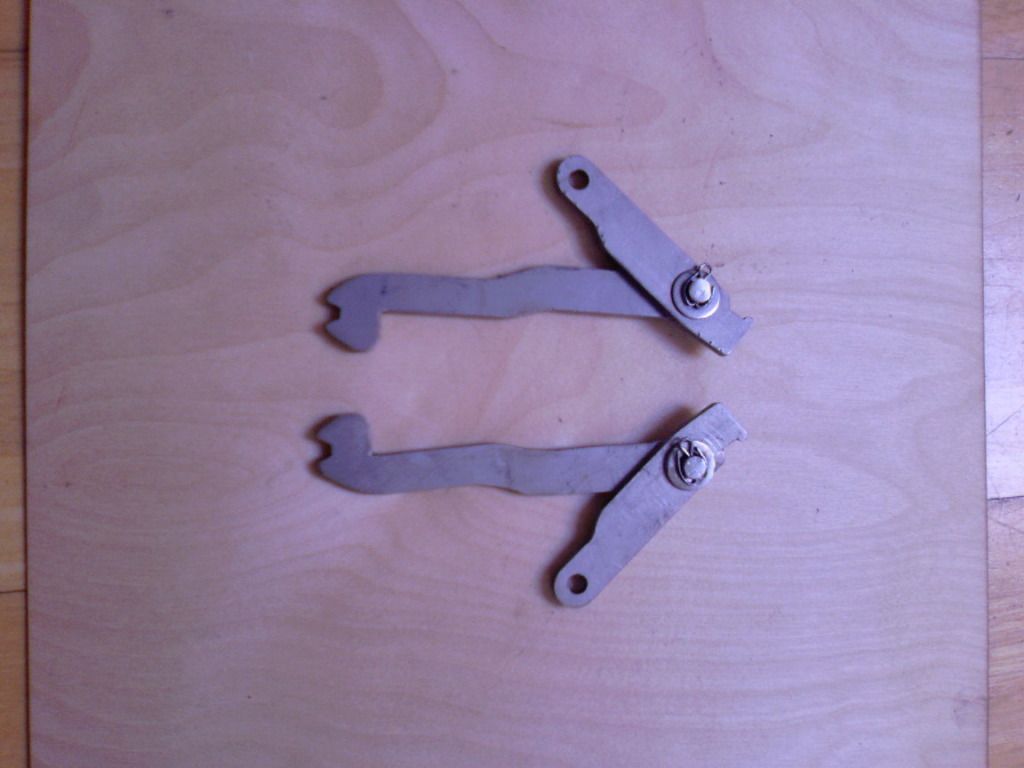
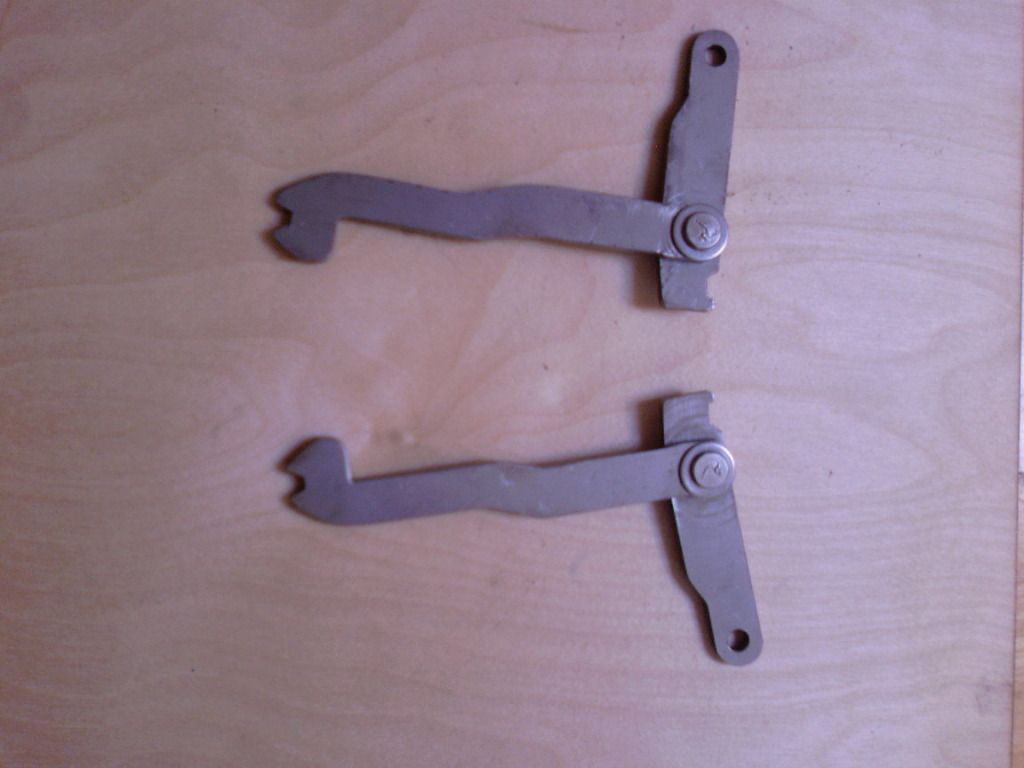
Then I turned my attention the rear brake arms pins. Like mentioned before they are made from titanium but the pins that the engineers put in them were steel and I have a fond dislike to rust so I ordered some stainless clevis pins cut them down re drilled holes in them added washers and a cotter pin and hey presto I ended up with these:
Well thats all for now to show folks still plugging away at it.
Regards Blue
1 user(s) are reading this topic
0 members, 1 guests, 0 anonymous users