Mini Scura Minus
#256

Posted 31 May 2012 - 06:09 AM
#257

Posted 31 May 2012 - 06:59 AM
Minus are still going then?
Does he know the website is gone?
Nice update blue those hinges look good. Could you not space them out a little?
Yeah they are still going and the guy does know his website is down. He is quite a hard guy to contact but I got there in the end .
As for the hinges I have made a couple of templates to see how much I would have to cut out of the side for them to flip up and its about 1cm deep and 6cm long. I think if I used spacers it would look right as they would be floating too far out into the engine bay (wouldn't be as stable and could interfere with something else in the bay).
Impressive build thread you have here... enjoy to follow it and learn quite a lot by reading it! keep up the updates
Thanks Manneke glad you like the thread.
Regards Blue
#258

Posted 04 June 2012 - 08:13 PM
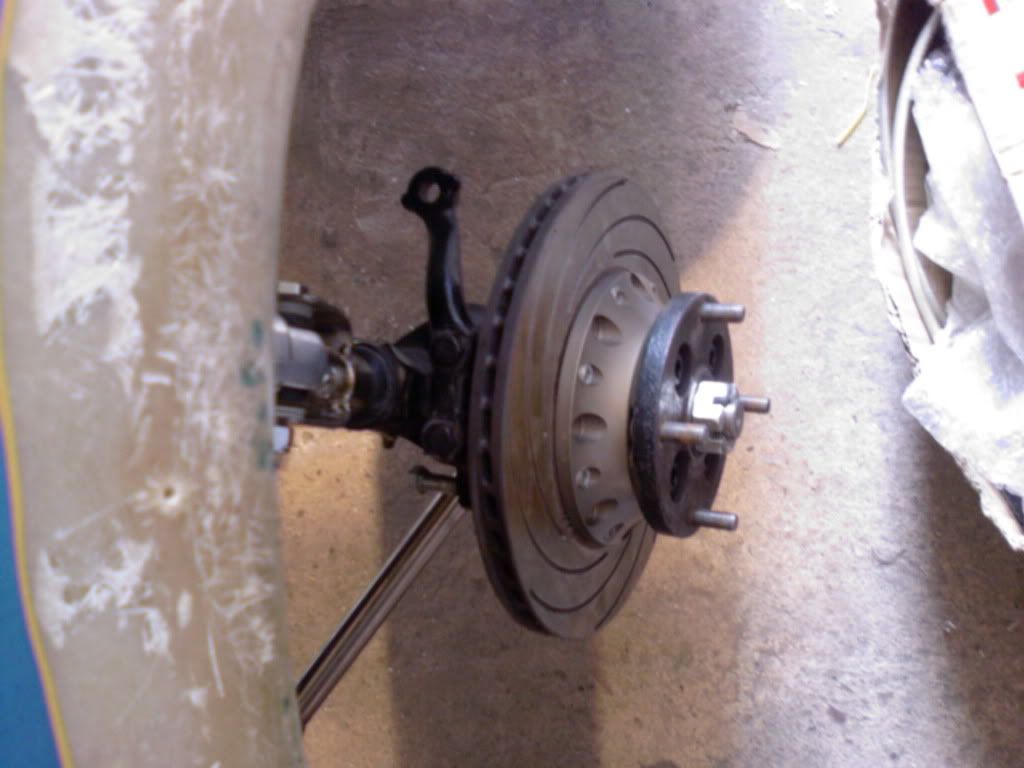
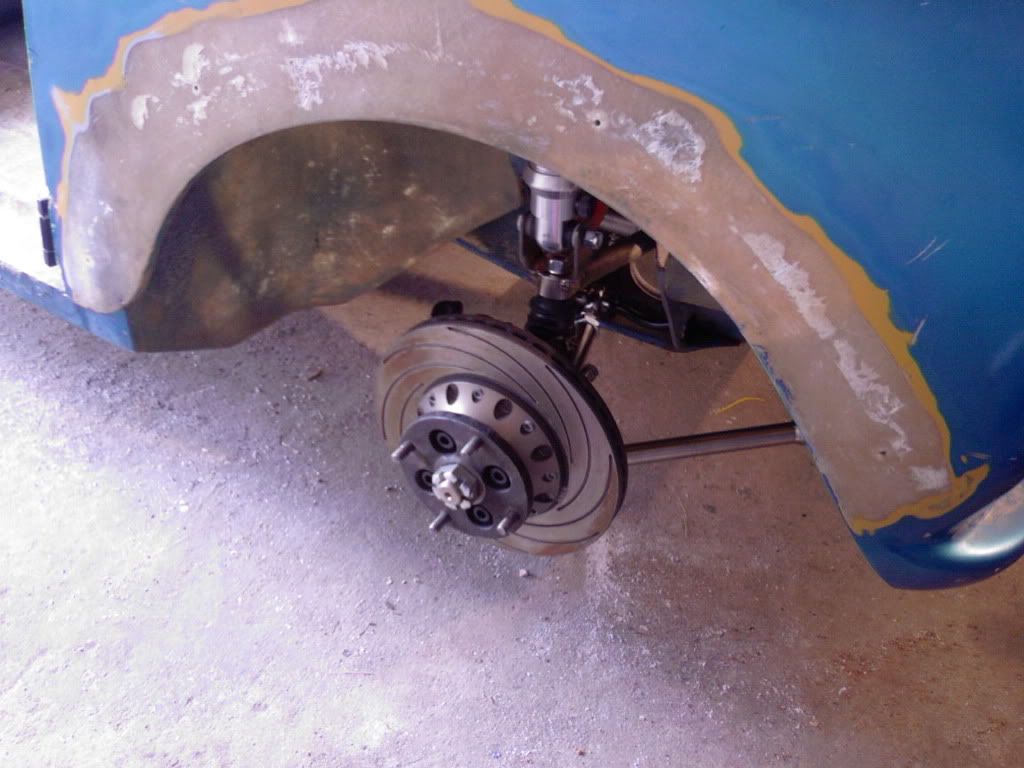
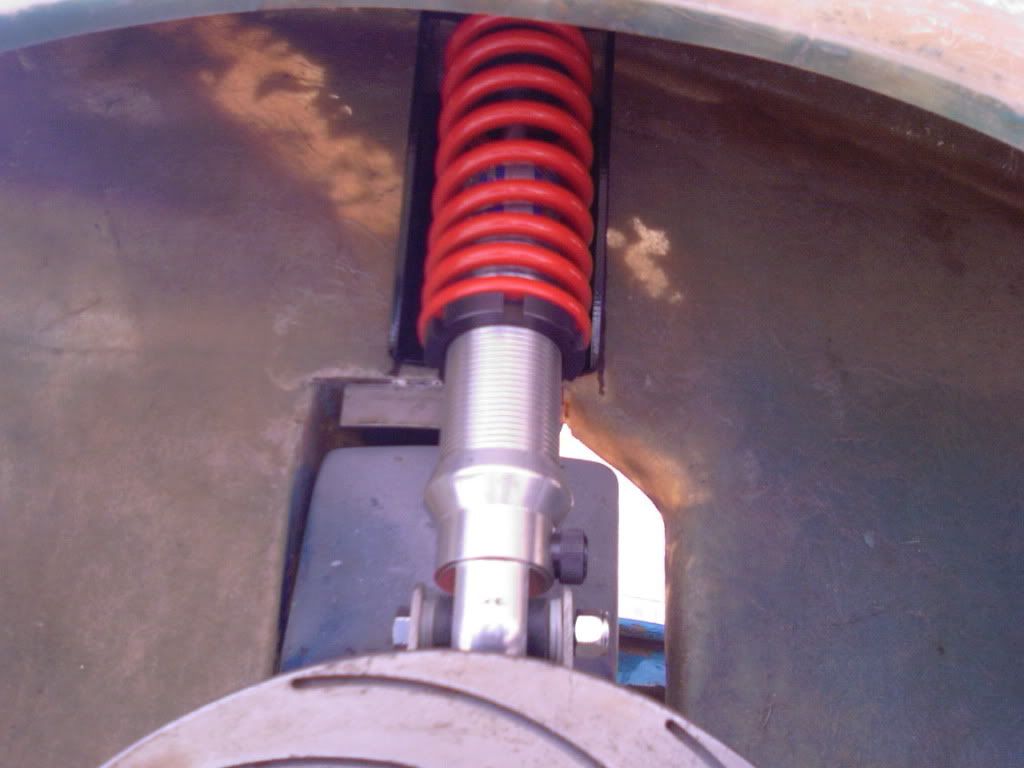
These are only temporary penny washers so I can see the suspension is alright with the engine in.
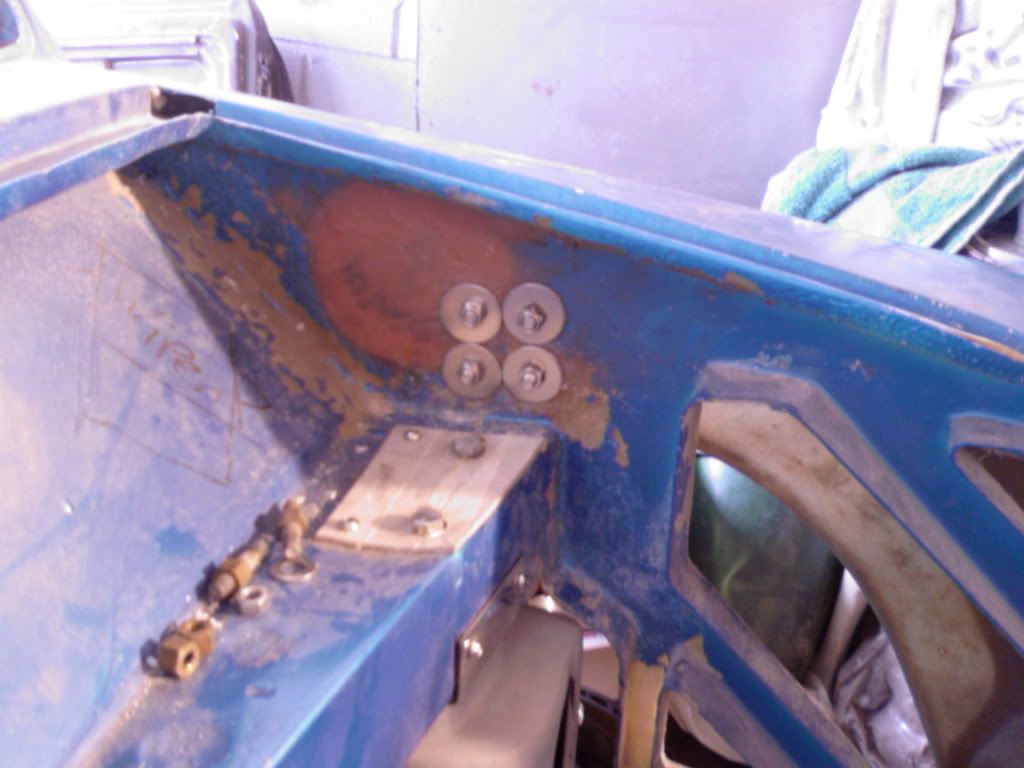
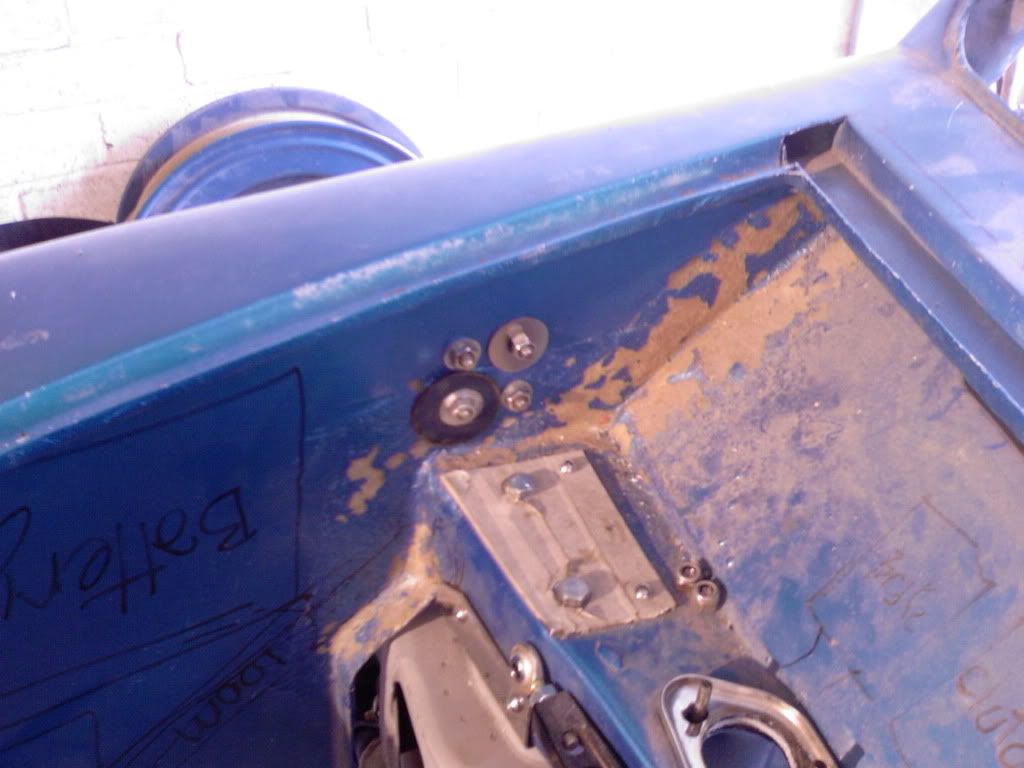
On all rubbers:
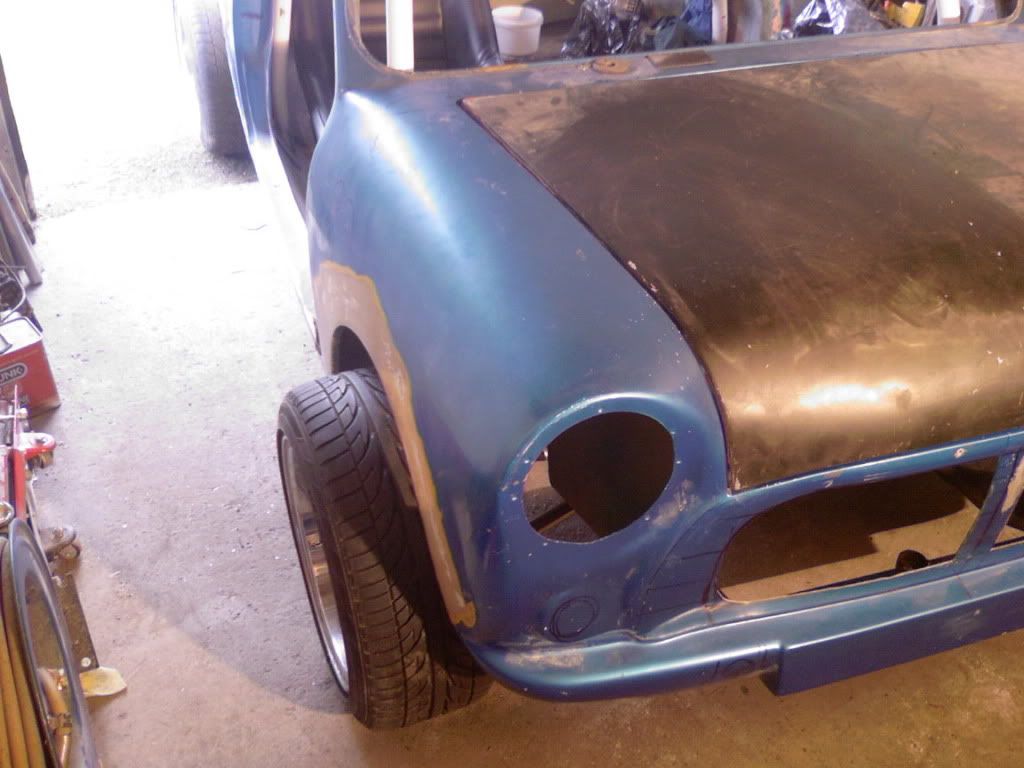
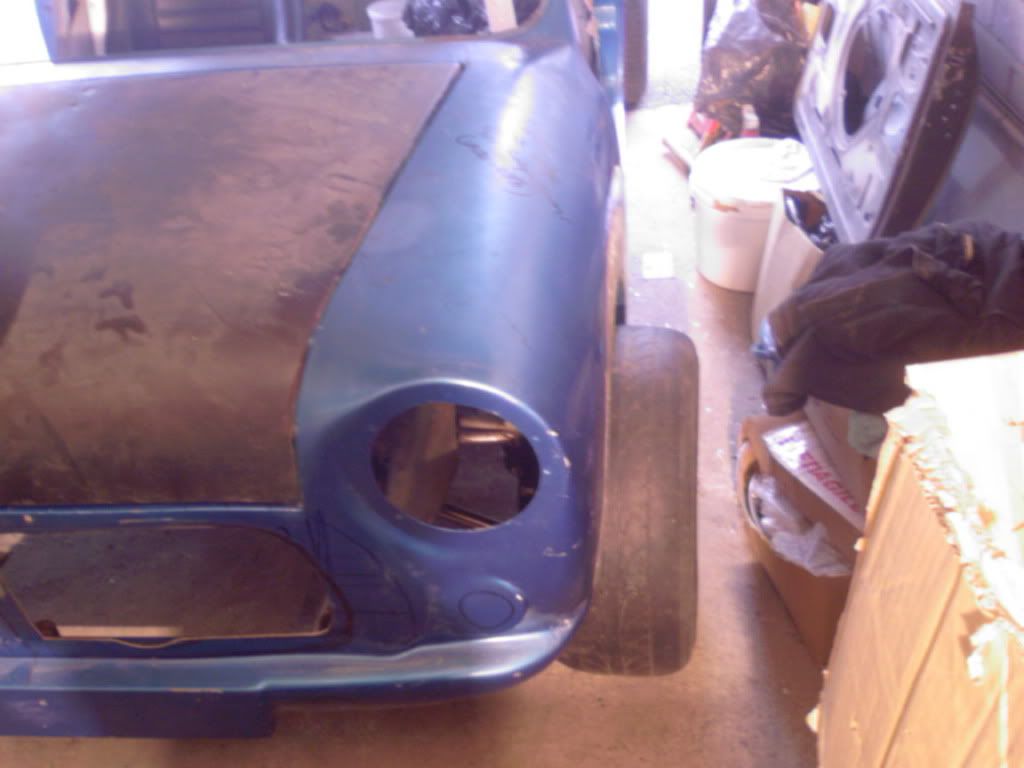
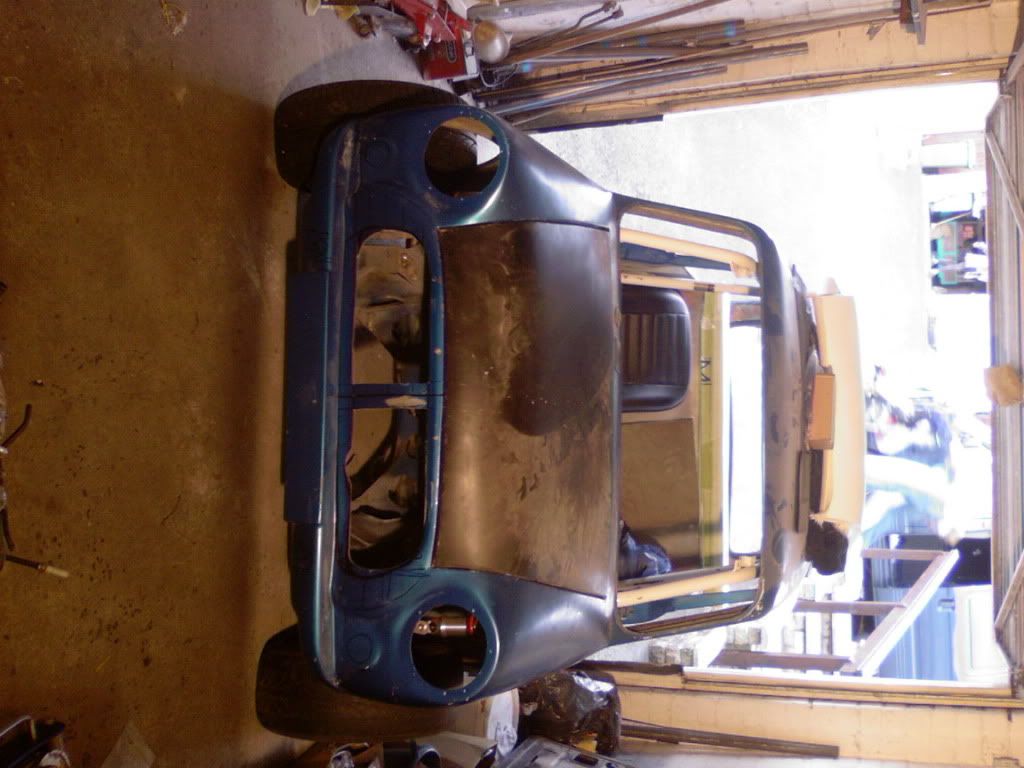
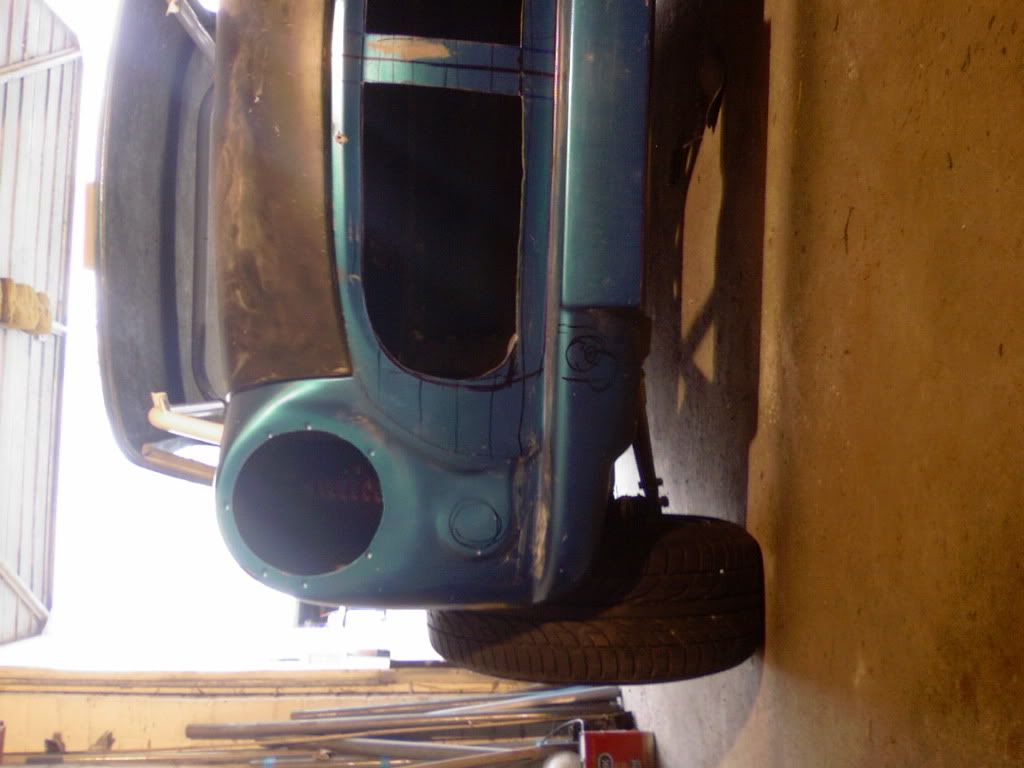
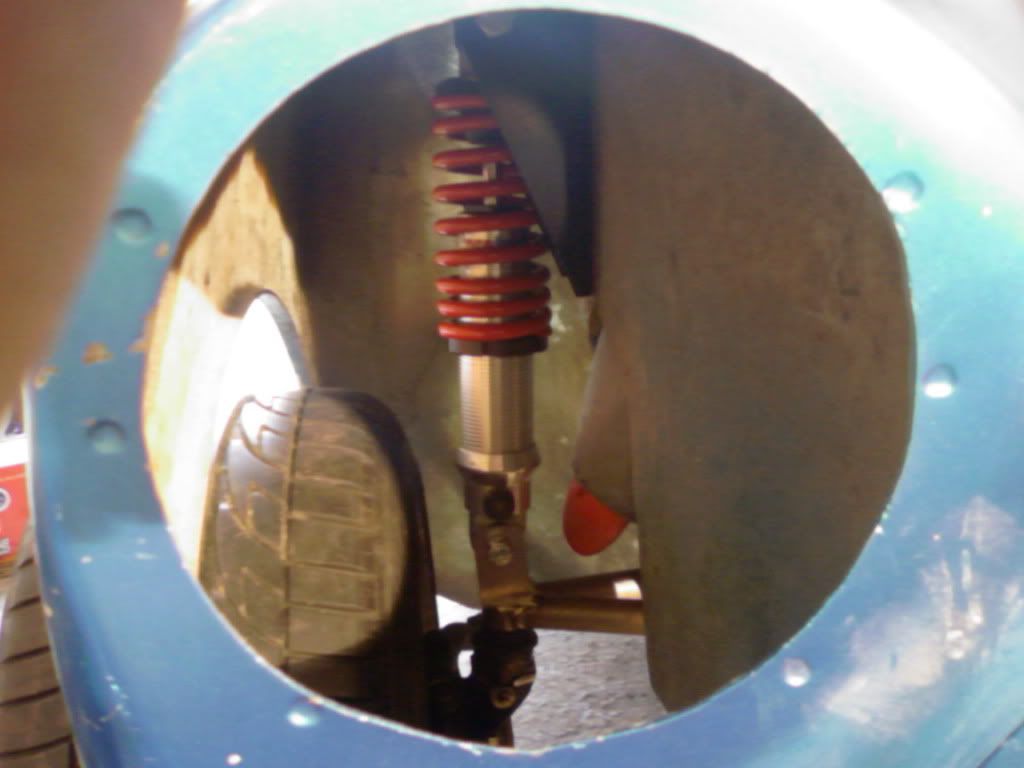
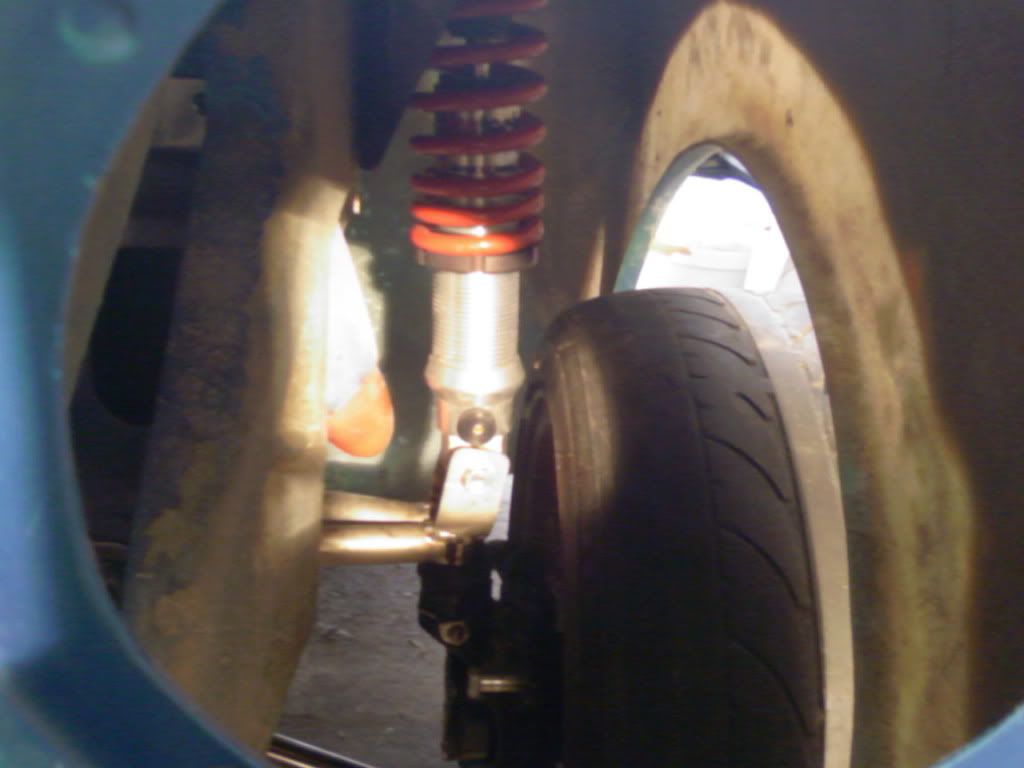
Well thats all today guys. It was a pain in the ass to get this far on the front as I had to cut bolts down for the flanges, take the subframe out a few times to get the correct sides on the lower arms, split all the suspension parts apart to mark measure and drill holes, then drill out the brackets holes larger for metric sizes, then assemble everything basically everything was long winded
Regards Blue
#259

Posted 05 June 2012 - 01:50 PM
#260

Posted 05 June 2012 - 03:19 PM
Love the giant brakes, you need to find a air field once it's done and find out the 0-60-0 time.
I would love to do that especially after putting it through an SVA, then once the MPI unit has exploded use a 2.0L 8 v vauxhall unit like I have planned
Regards Blue
#261

Posted 06 June 2012 - 09:16 AM
#262

Posted 06 June 2012 - 03:25 PM
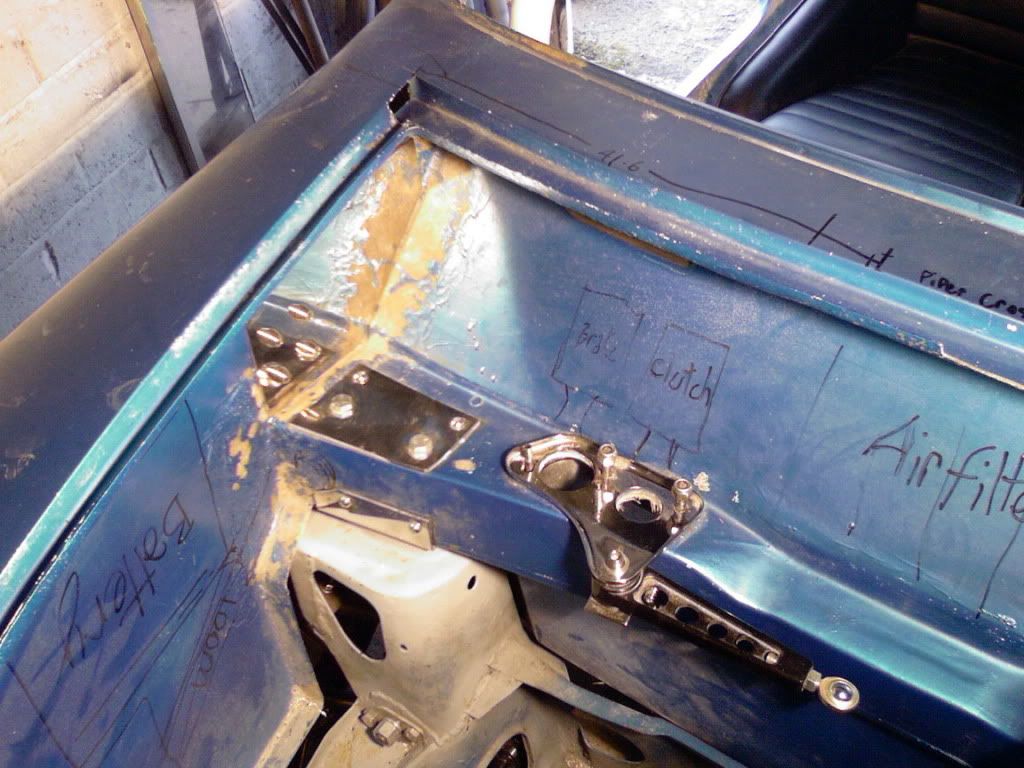
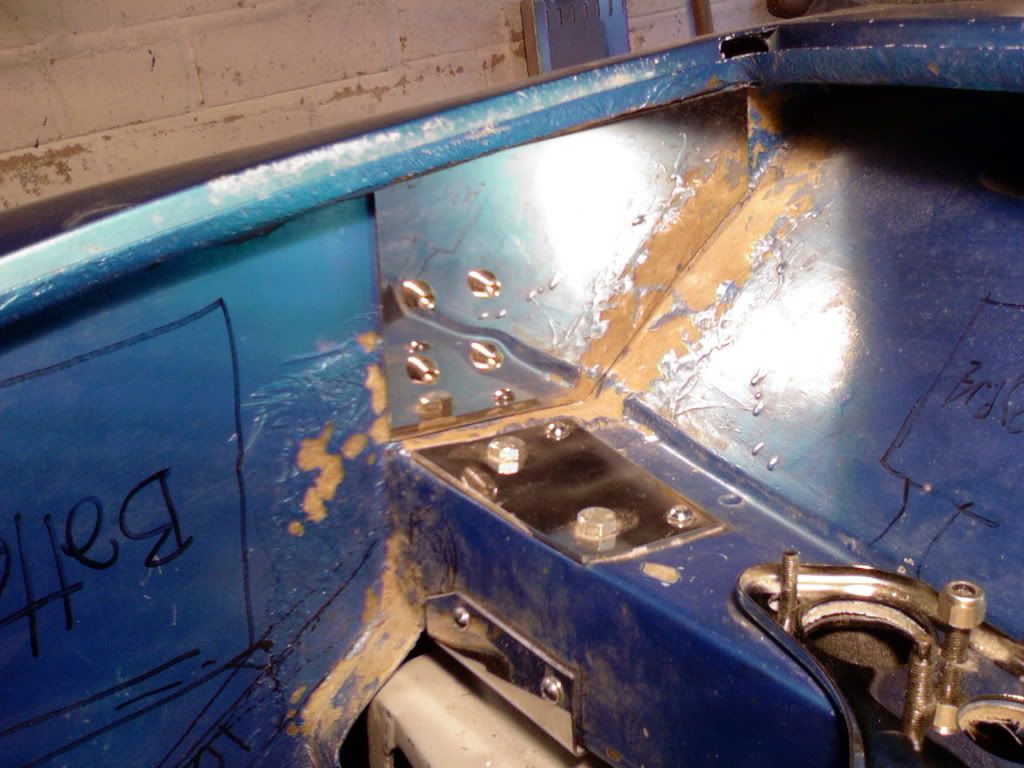
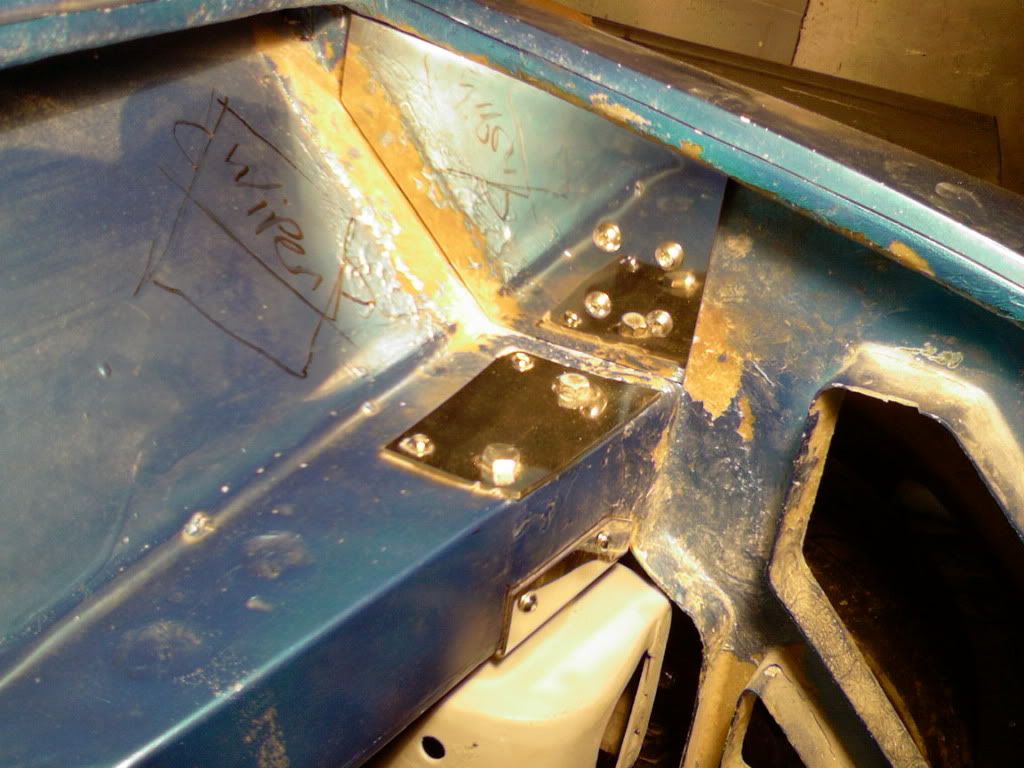
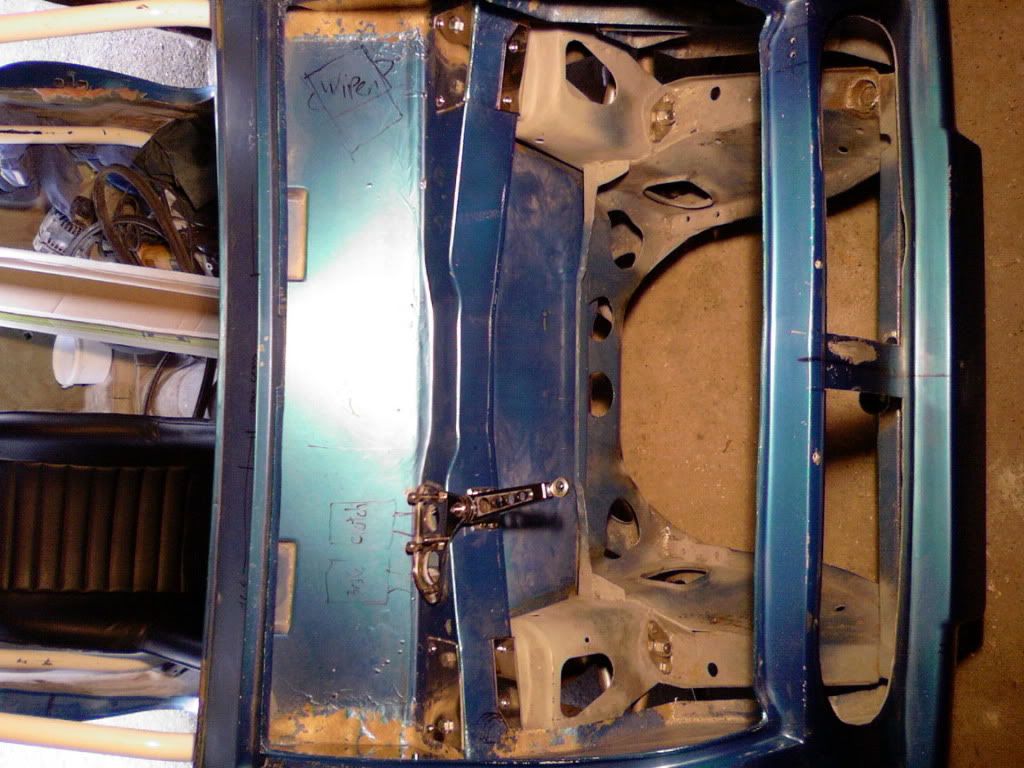
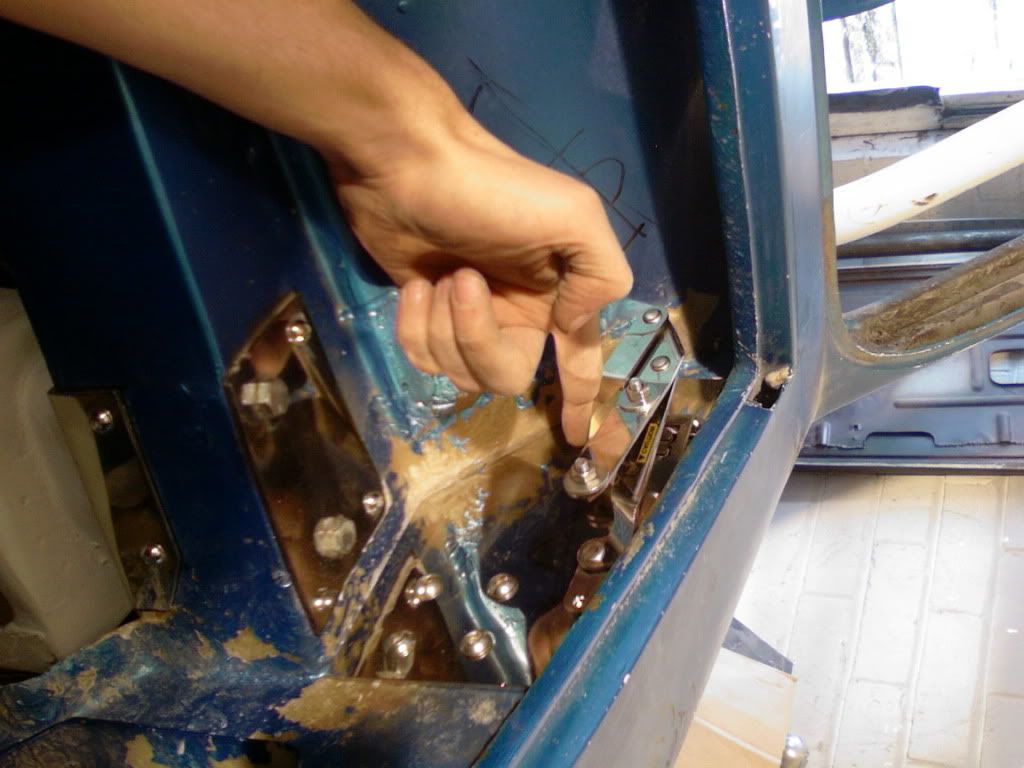
I'm not a massive fan of garish chrome everywhere but do like some polished stainless parts :)
Regards Blue
#263

Posted 06 June 2012 - 09:05 PM
Your suspension looks to be in roughly the same place as mine. The brackets look a little lower, i think i may have to change mine and drop them down a bit as my car sits rather low with no engine in it.
Some very shiney bits in the bay, was confusing my eyes somewhat.
#264

Posted 06 June 2012 - 10:15 PM
Yeah with the amount of polished stainless it is like a house of mirrors under my bonnet!!
Ha
Thanks for the comment Jonny
Regards Blue
#265

Posted 08 June 2012 - 08:41 PM
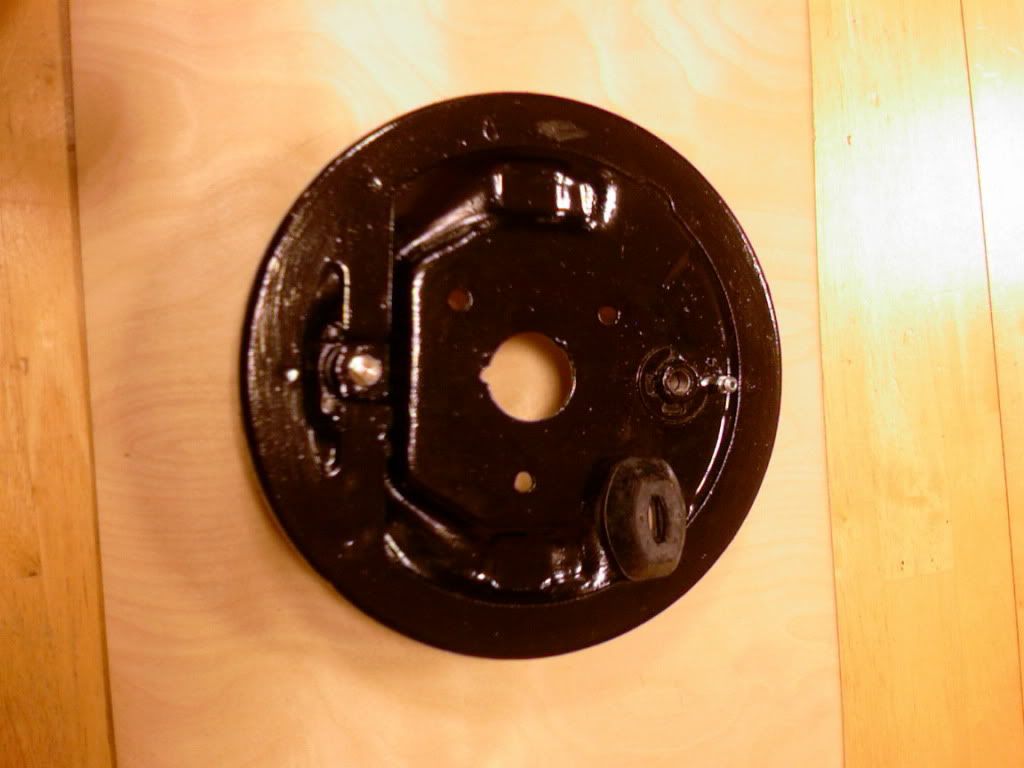
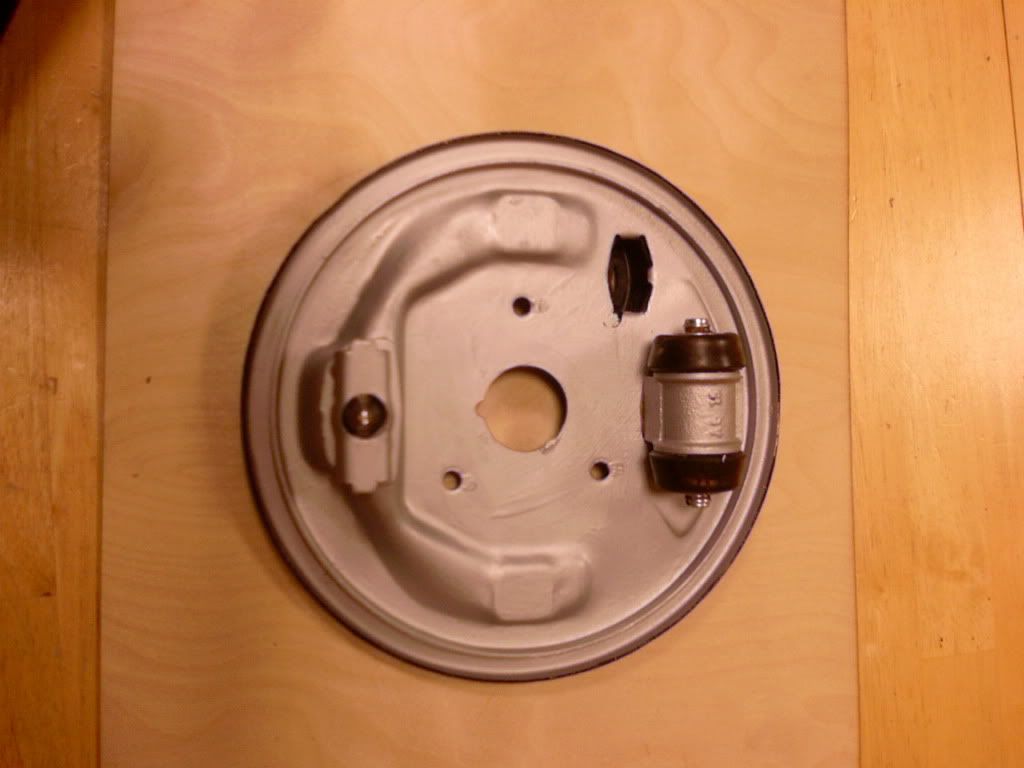
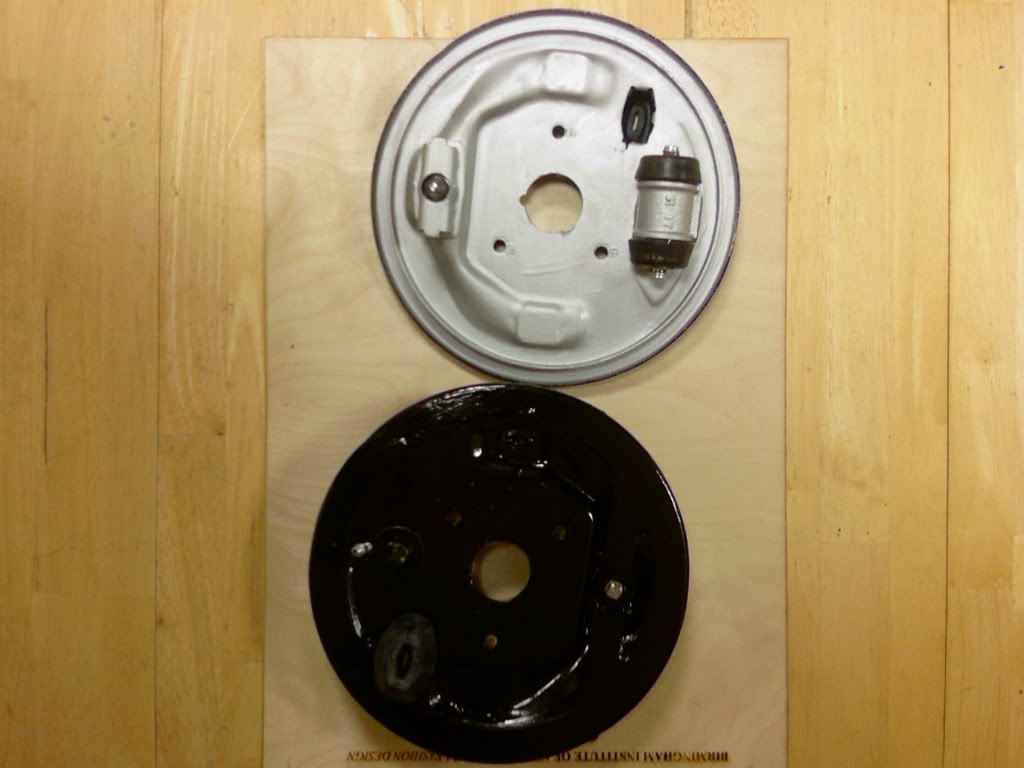
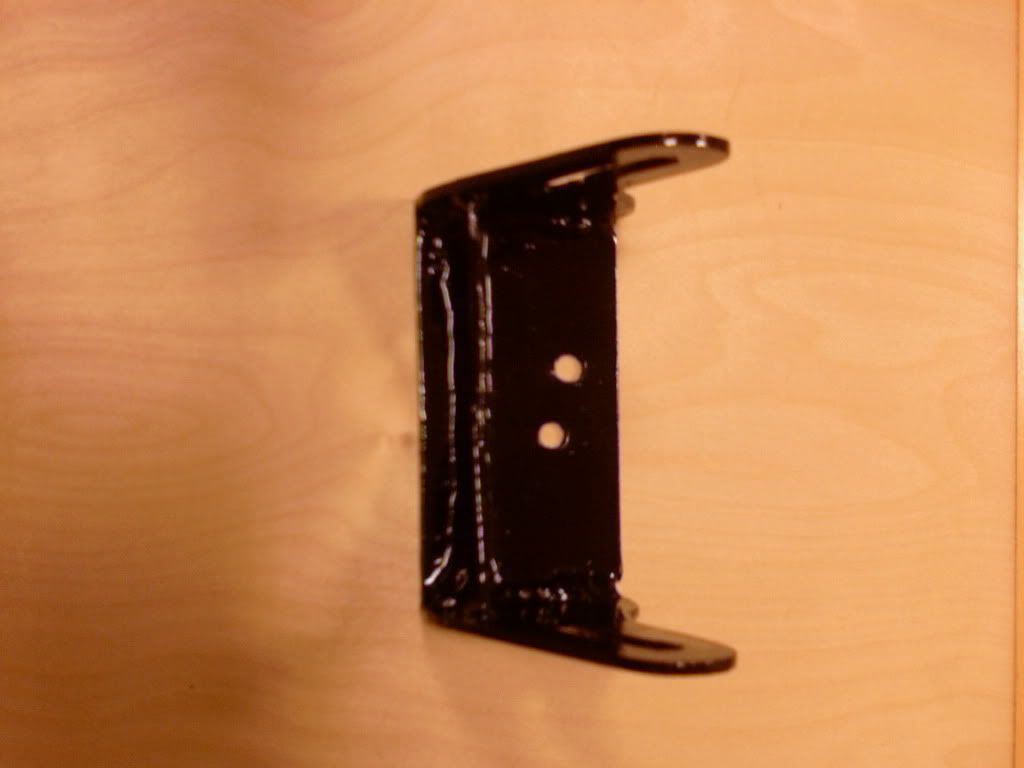
Then I painted the two alternator brackets I had fabricated:
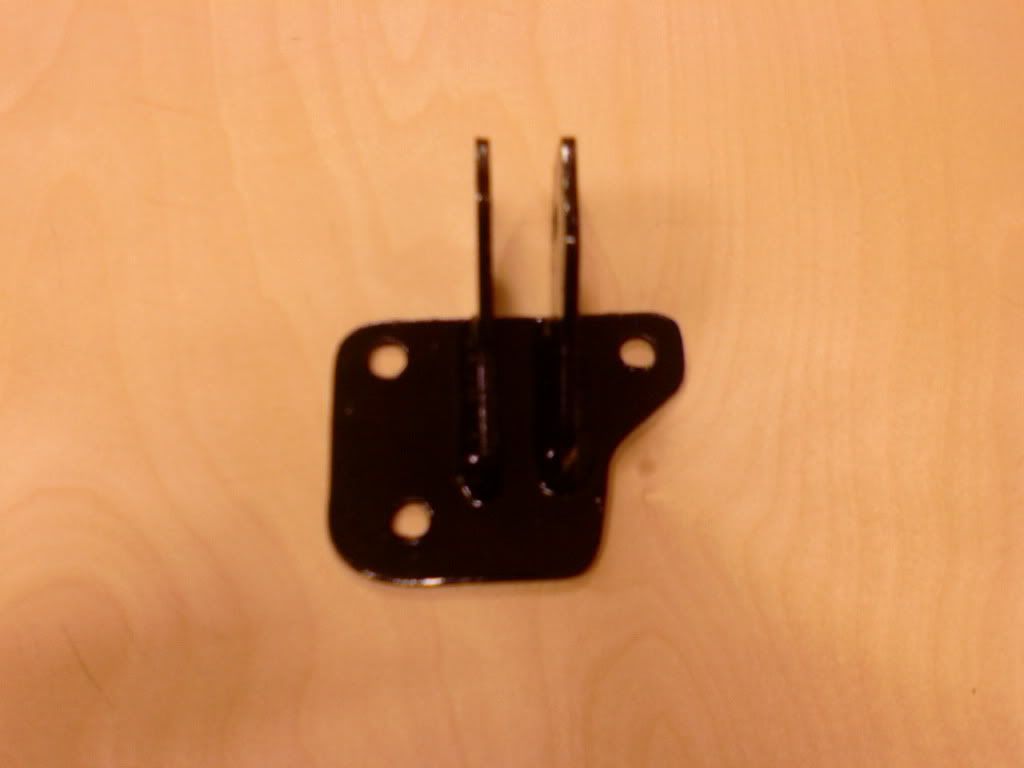
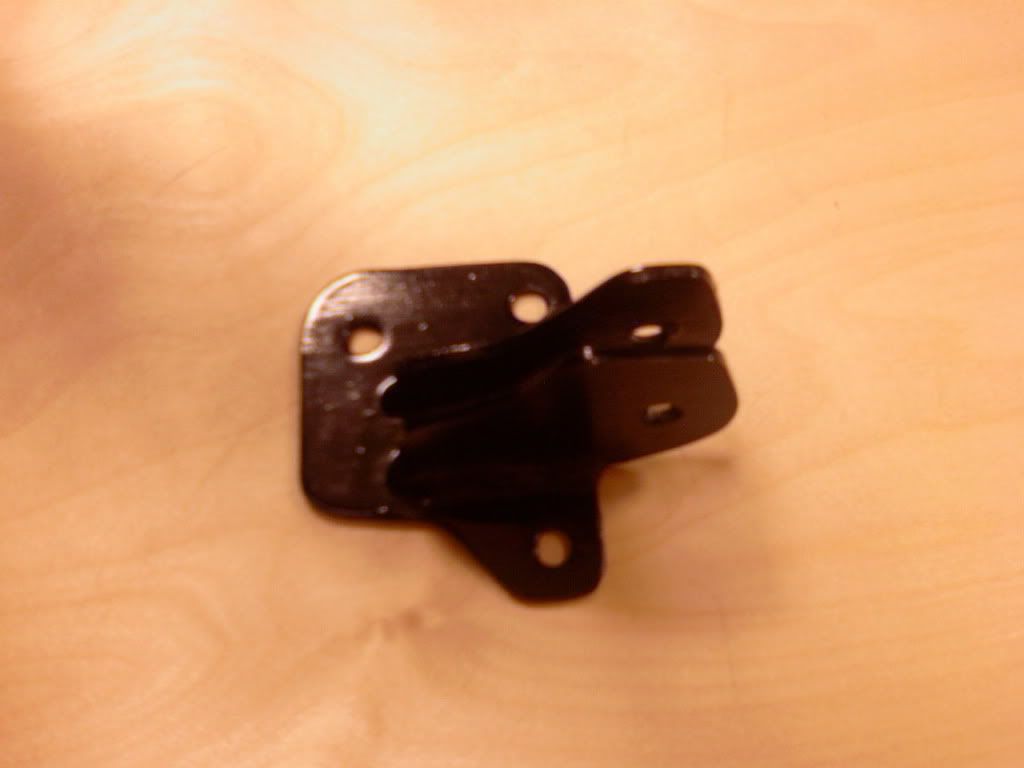
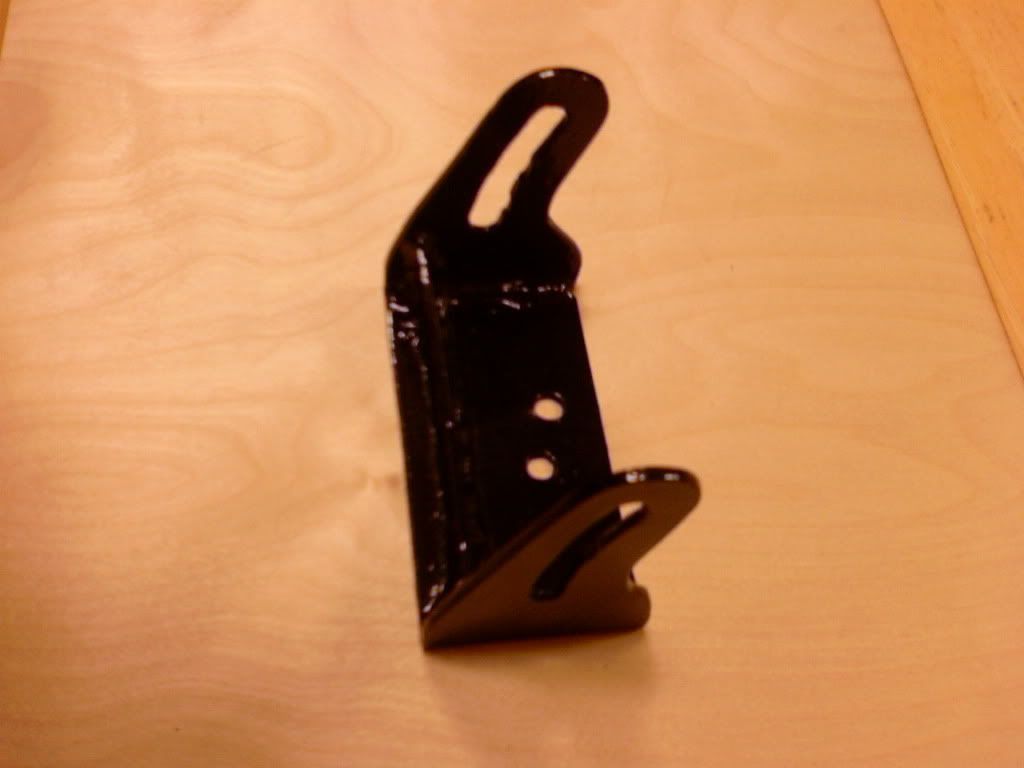
I then purchased some quick release poly engine mounts as it is easier to get my engine in and out as I mostly work on my own:
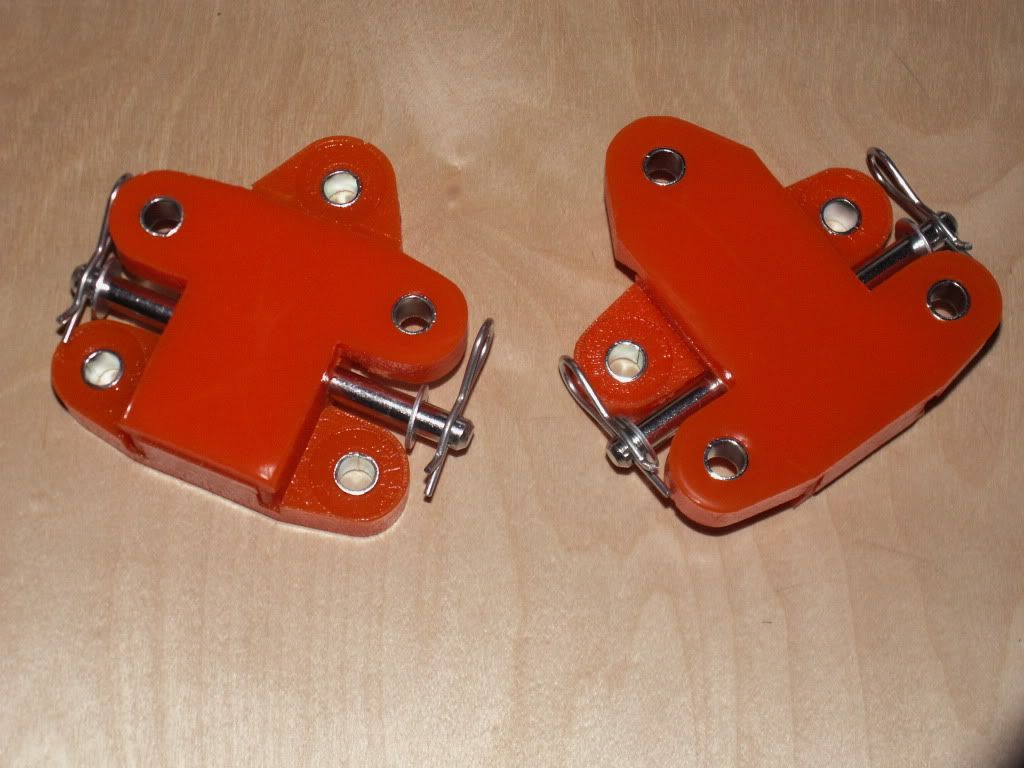
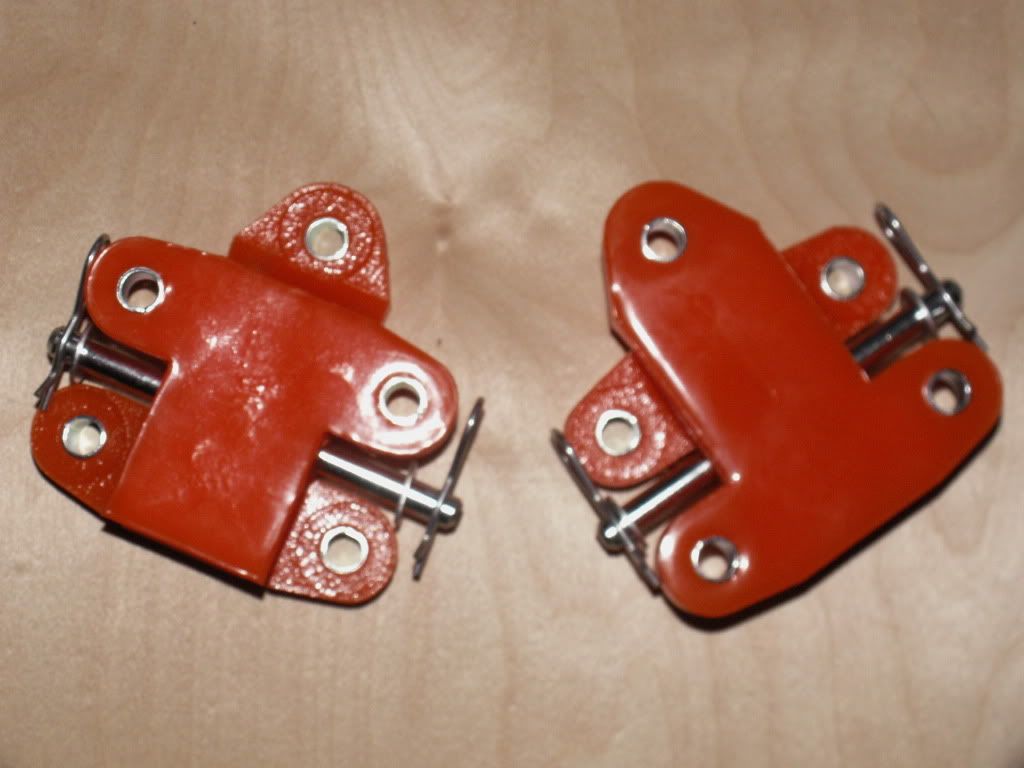
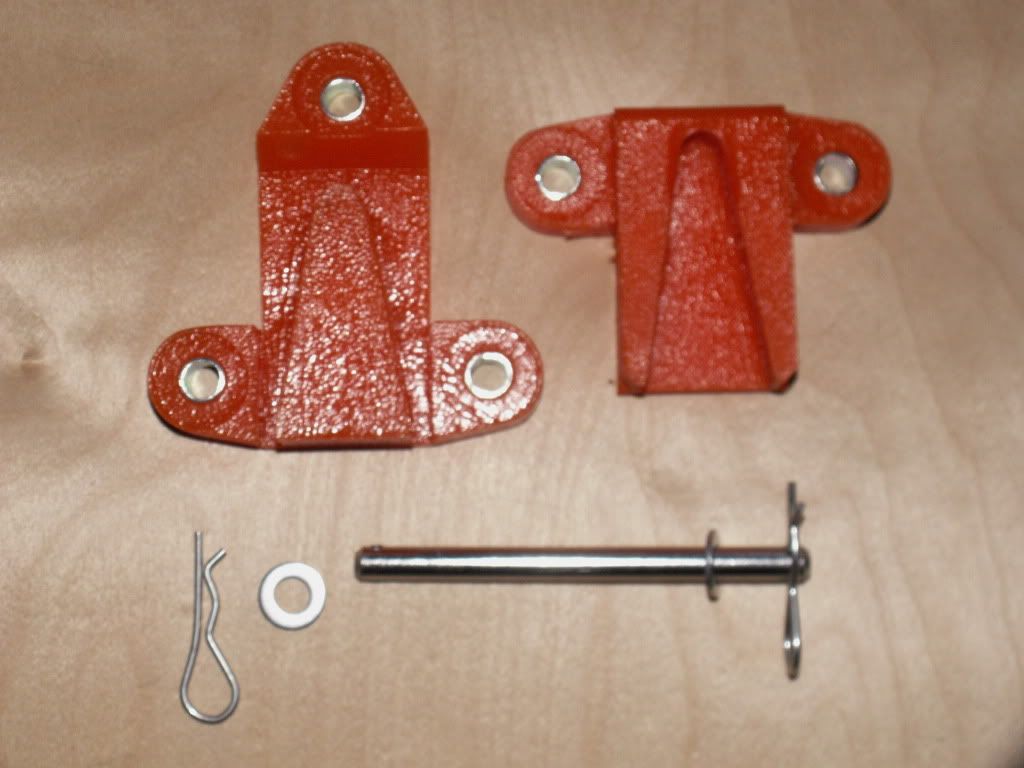
Not much but thats all for now folks.
Regards Blue
#266

Posted 09 June 2012 - 11:58 AM
Edited by blue blood, 11 June 2012 - 10:53 AM.
#267

Posted 11 June 2012 - 10:10 AM
I've heard a few mixed reviews about those engine mount's. Tempted to get some for mine.
#268

Posted 11 June 2012 - 10:54 AM
Regards Blue
#269

Posted 11 June 2012 - 03:09 PM
#270

Posted 11 June 2012 - 07:07 PM
So i decided to make a start on my boot lid set-up. I got as far as cutting the 3mm aluminium angle into the rough shape I needed and drilled holes in it for lightening and better bonding with the boot lid. It doesn't look like much but these are all I have to show for toady:
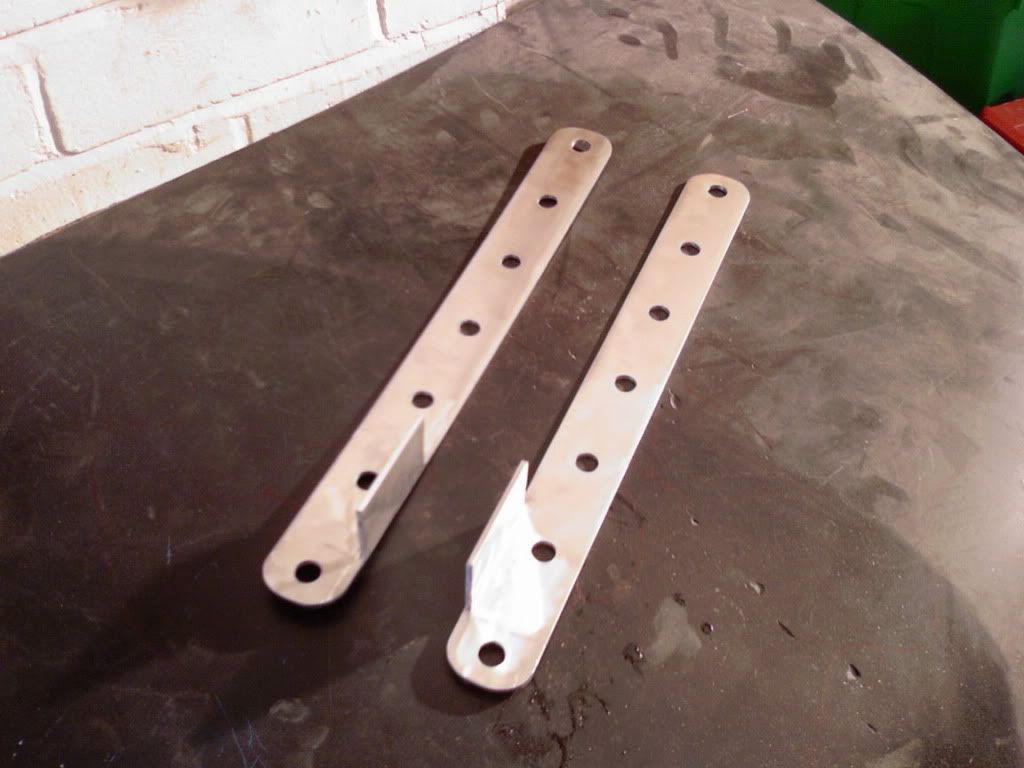
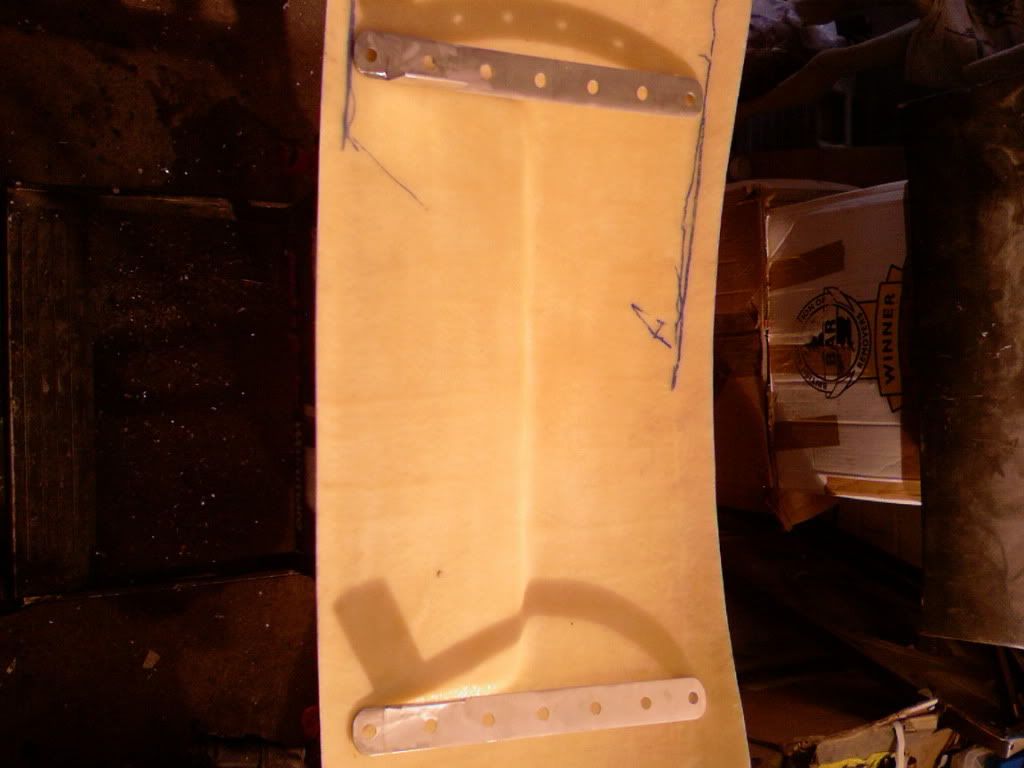
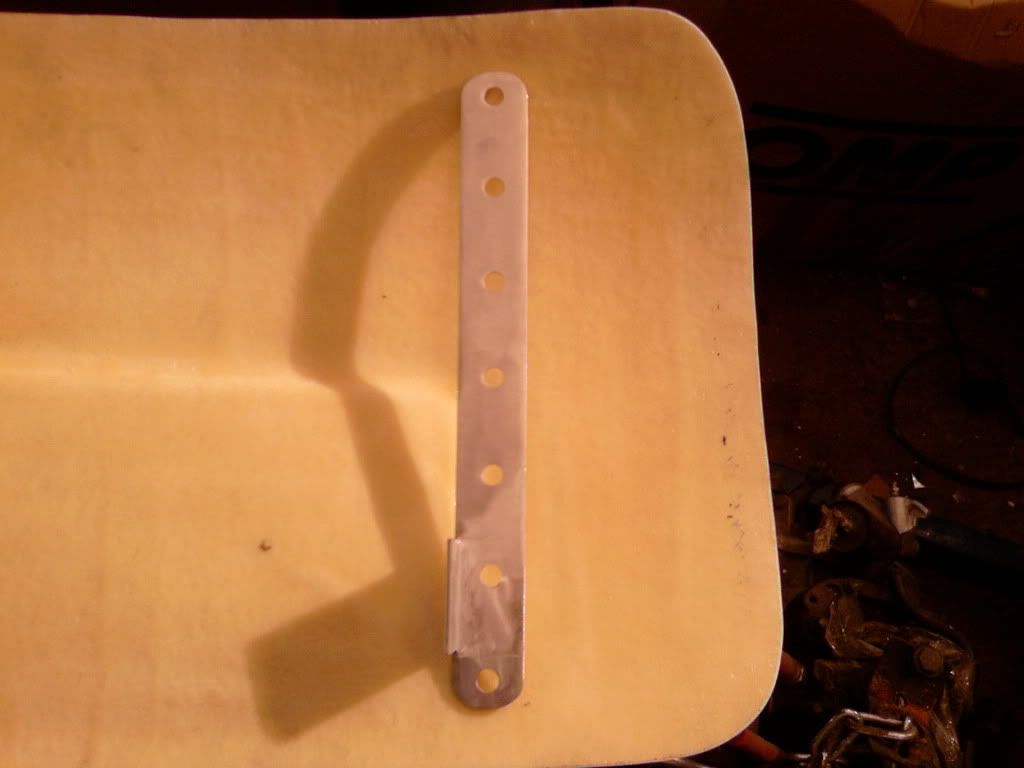
I will put a curve in them and fibreglass them to the boot lid. It should add more rigidity to the single skin lid and make for a good mounting point as there will be a larger anchorage surface.
Thats all for today.
Regards Blue
1 user(s) are reading this topic
0 members, 1 guests, 0 anonymous users


