Mini Scura Minus
#196

Posted 09 January 2012 - 09:18 PM
#197

Posted 13 January 2012 - 09:00 PM
Great attention to detail! Love these updates - keep it going
Thank-you :)
Just a small update today-
I started by cutting out the holes in the piece of carbon fibre I cut for the fuel neck. Used a dremel disk on the circle and sanded it by hand for smoothness. I then used a sanding bit in the dremel to do the holes for the nuts:
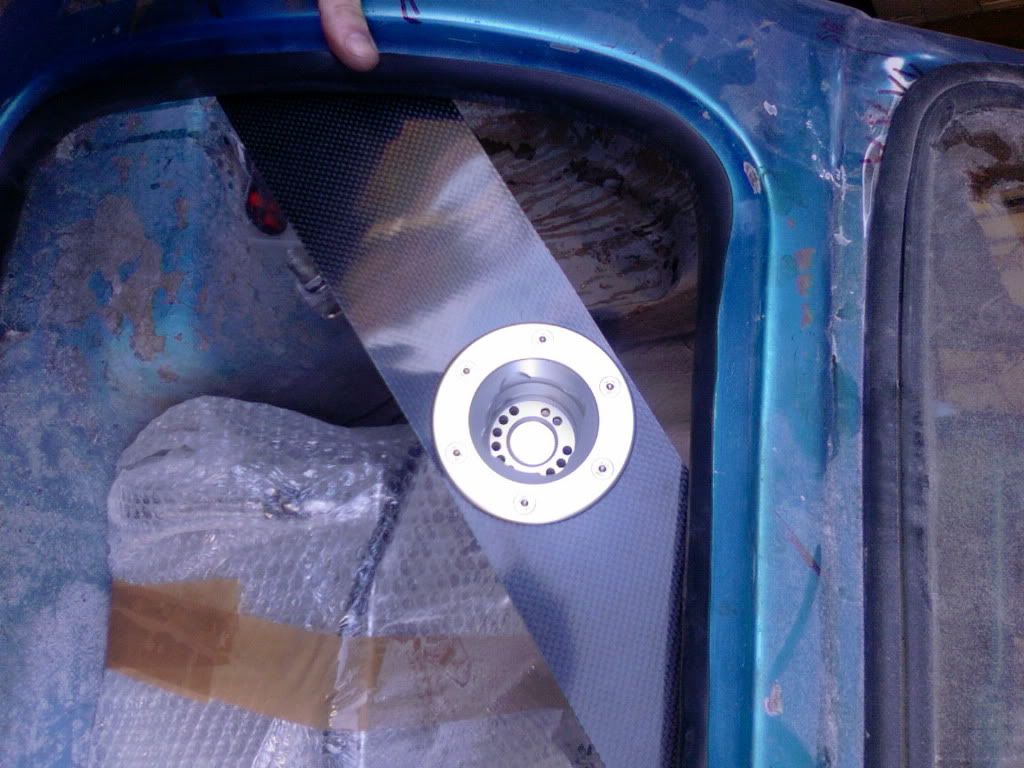
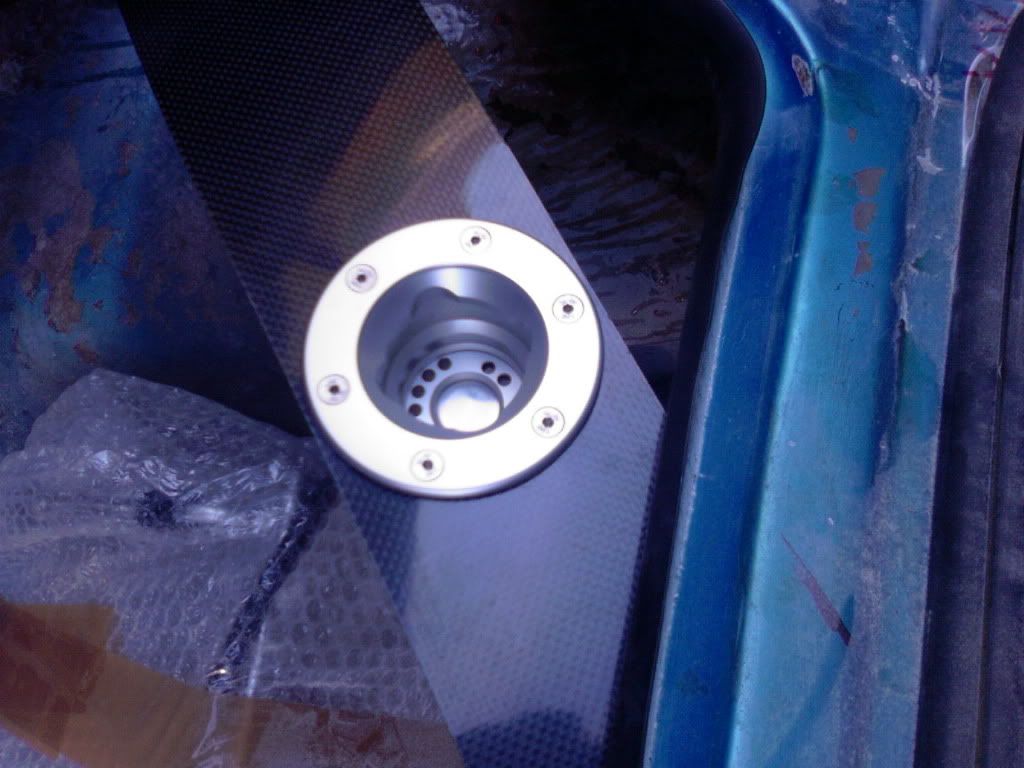
I quite like the finished outcome and think it looks very swish
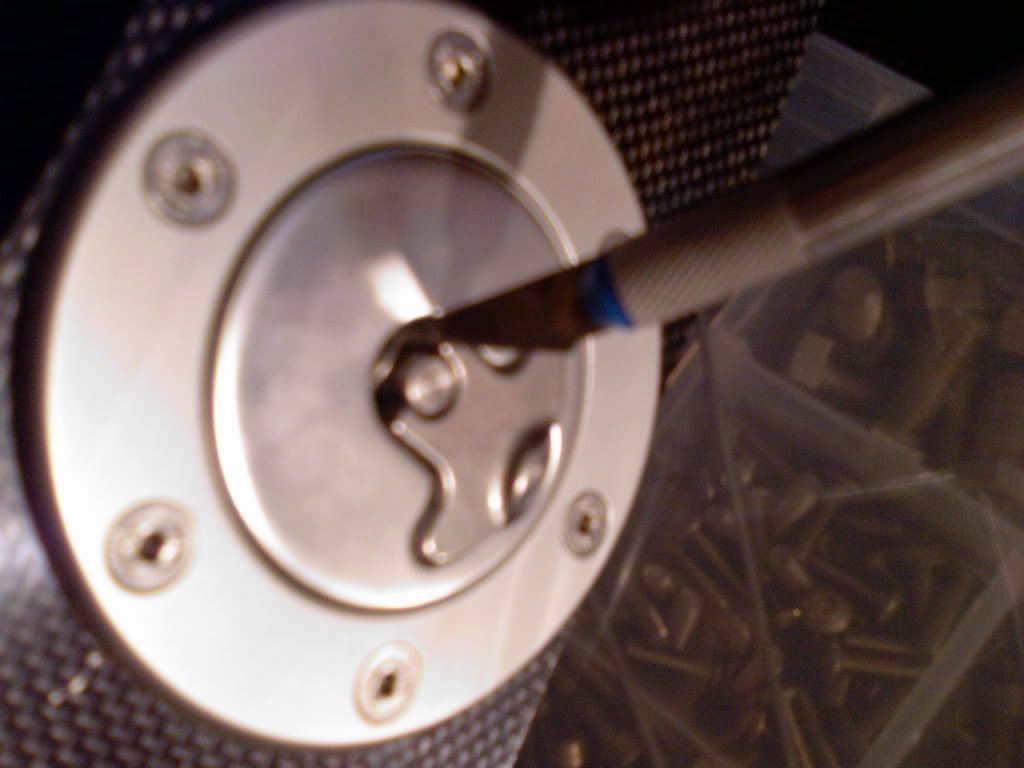
I then set about adapting the cap so it could have a 'tether' on it for the IVA. Basically the fuel cap has to be attached to the vehicle at all time! So instead of drilling into my new fuel cap I disassembled it and began making from a stainless washer a place to tie a piece of wire cord to then tie to the car body. Its hard to see but I took a washer sanded it all down to fit in the recess then hole punched and made a 2mm hole. Fitted al back together and it works fine but as soon as I have an IVA it is coming straight off haha. Anyway here are a few pictures of it:
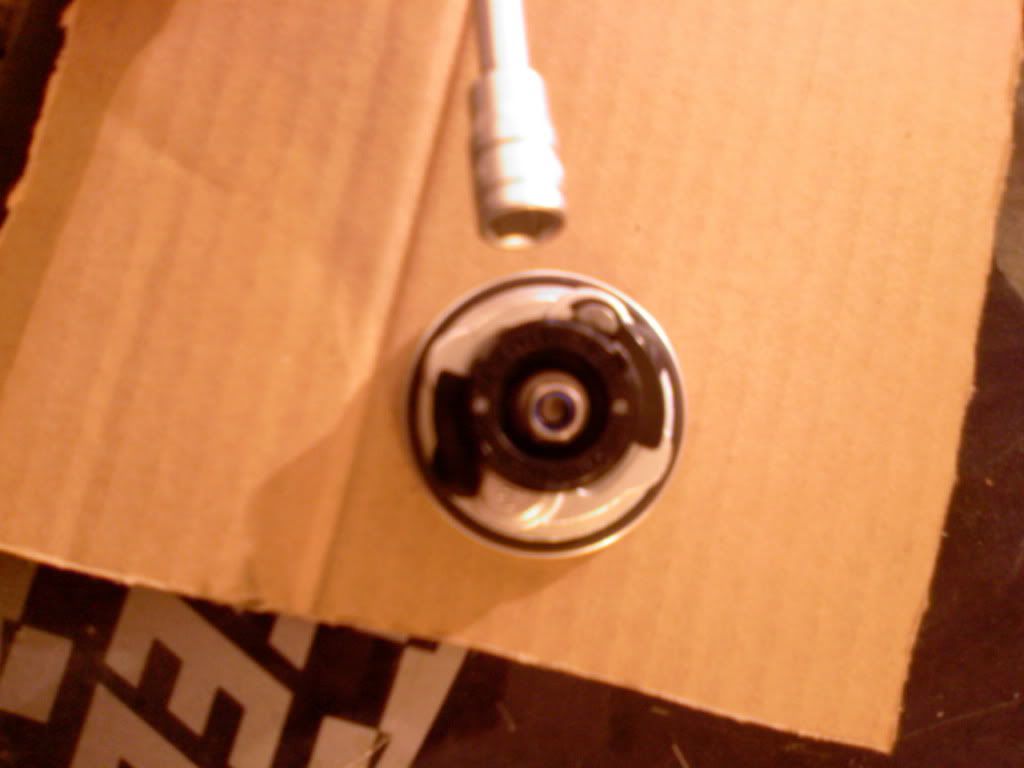
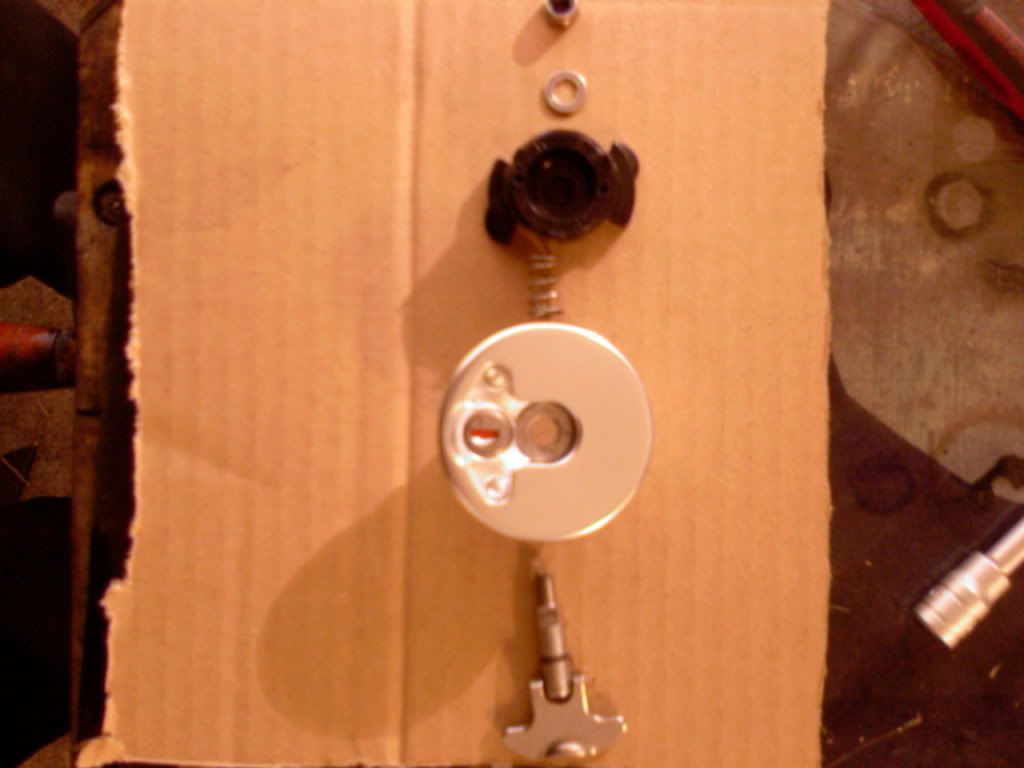
Hard to see but the end of the scalpel is the washer behind the twisting tightening thing:)
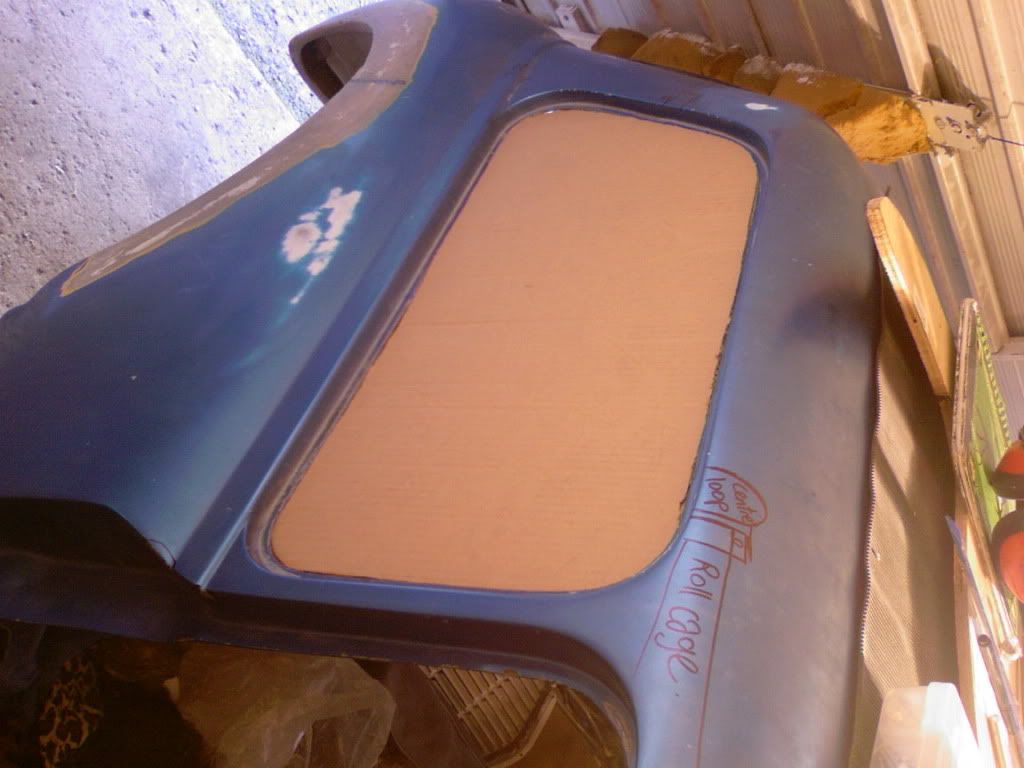
Then started to make a template for my rear quarters as I will be getting plastics for performance to make some up legally for the IVA......but they are fairly expensive!
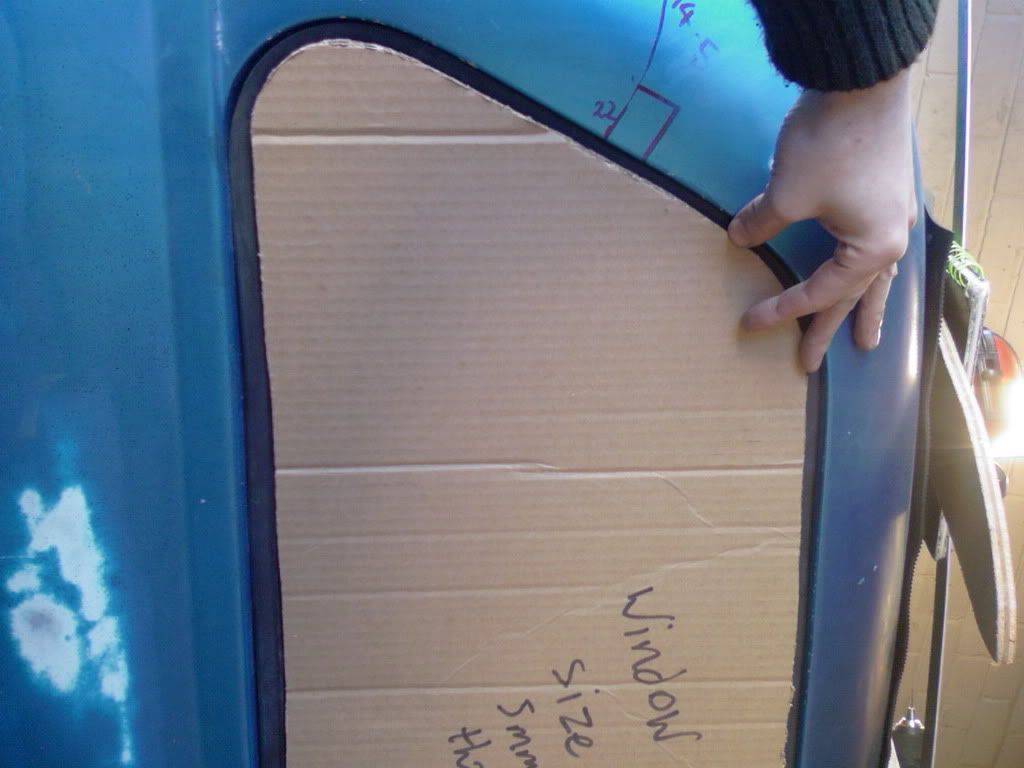
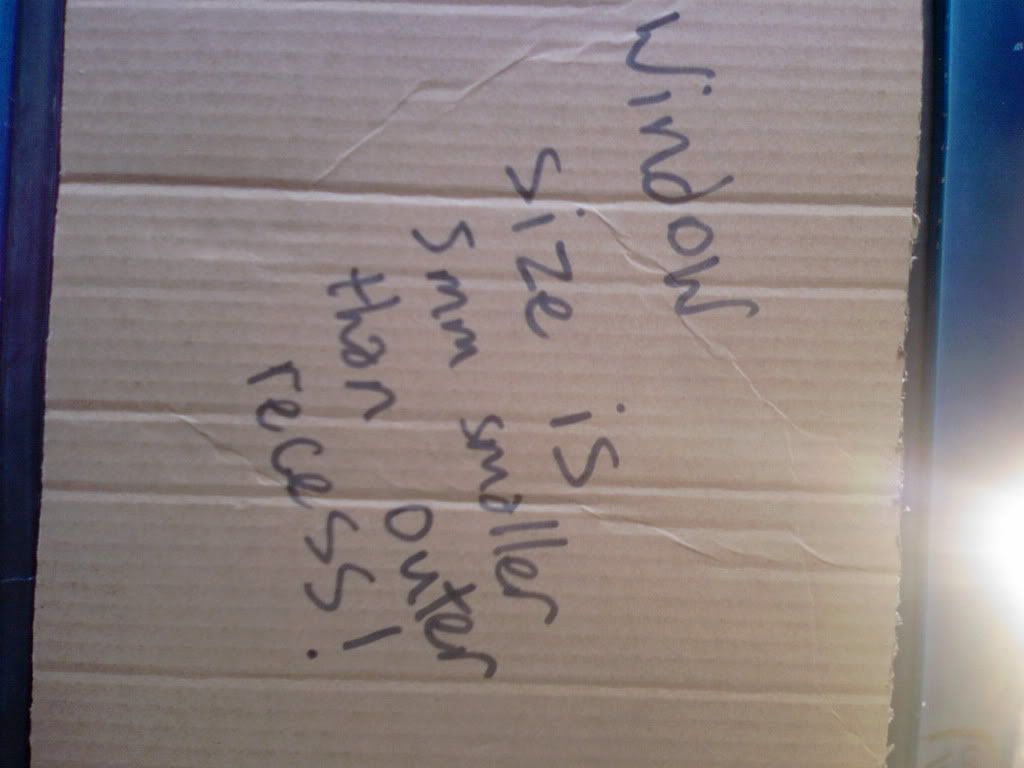
More to come soon hopefully.
Regards Blue
#198

Posted 18 January 2012 - 10:26 PM
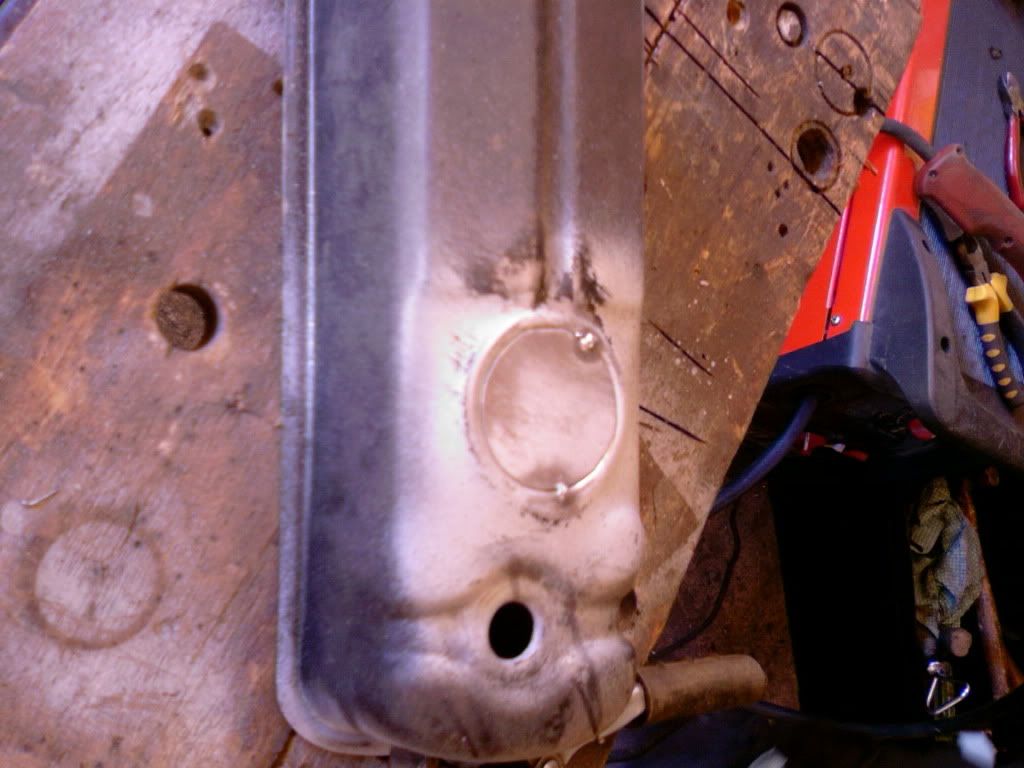
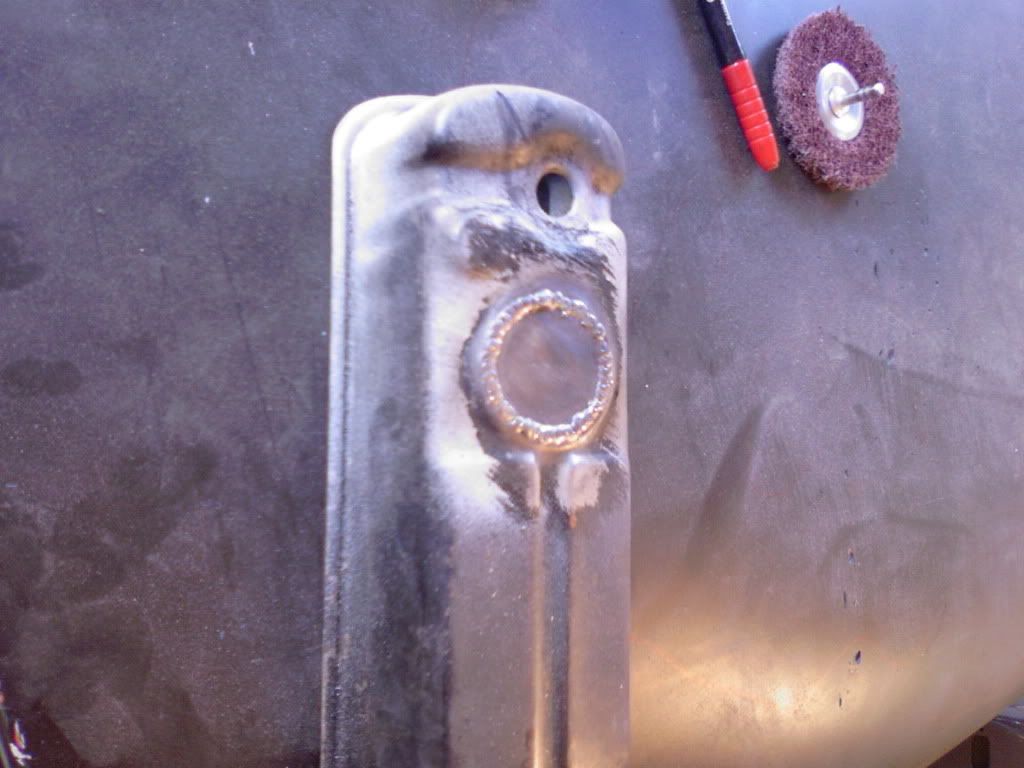
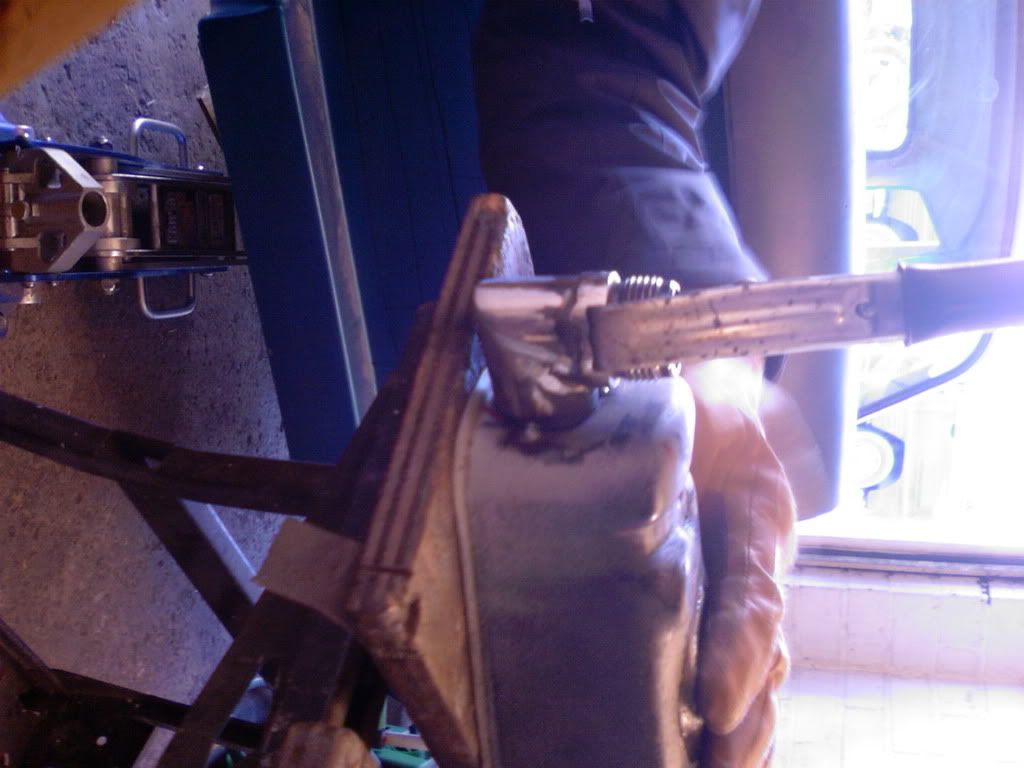
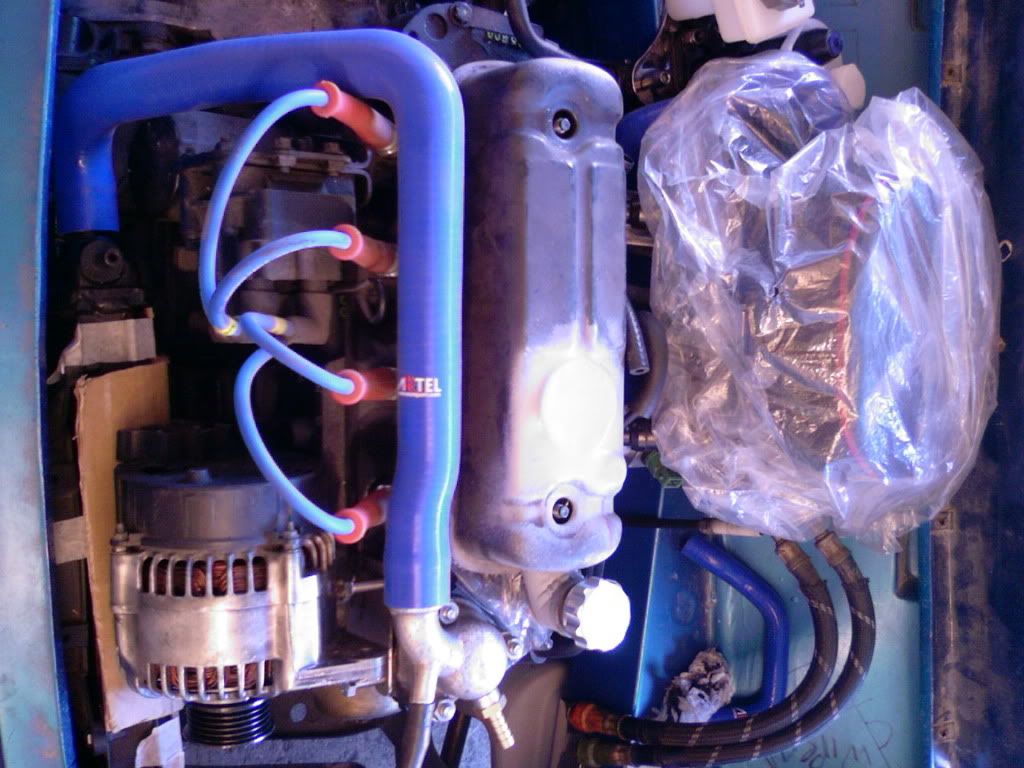
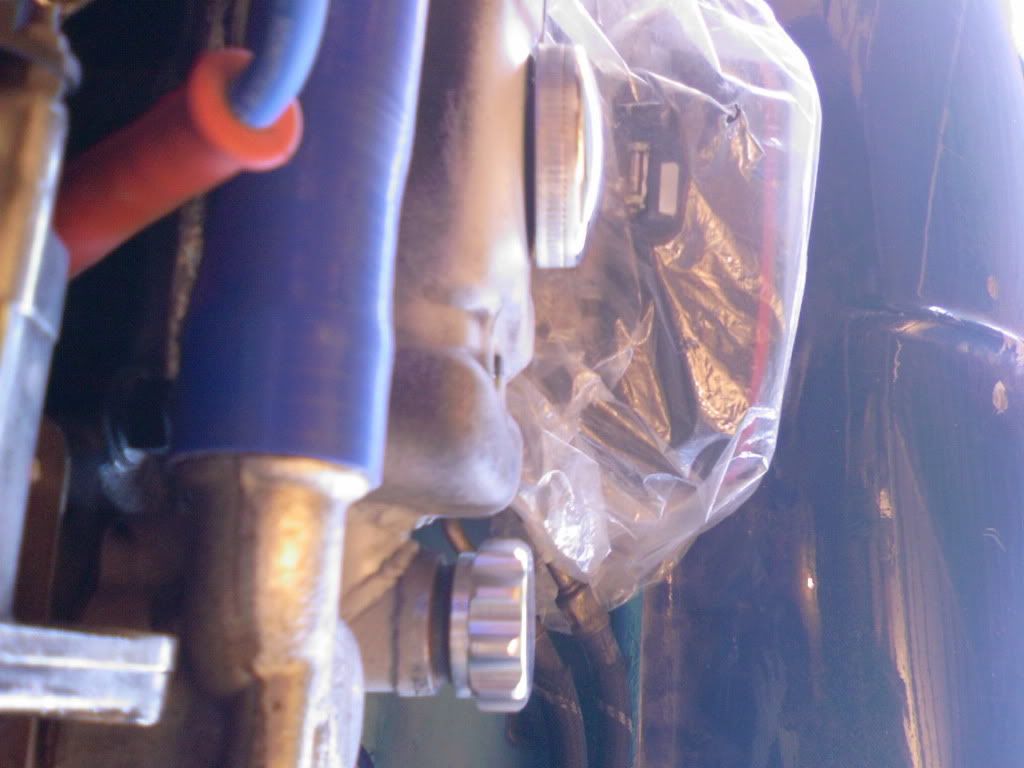
and with the old cap in place:-
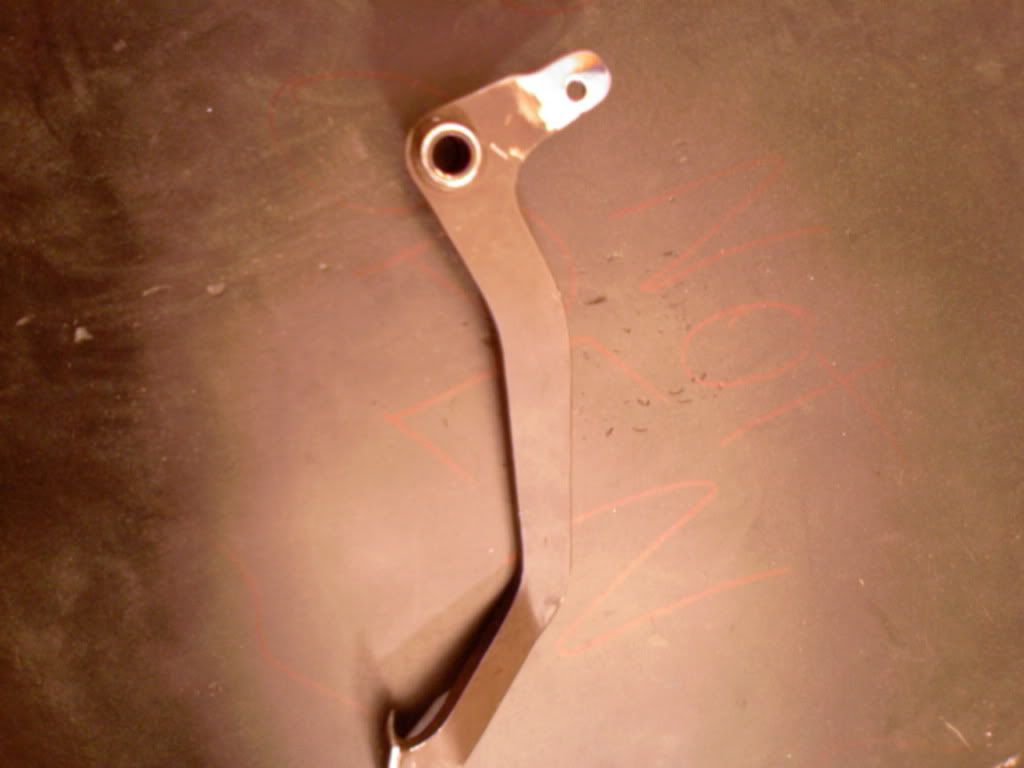
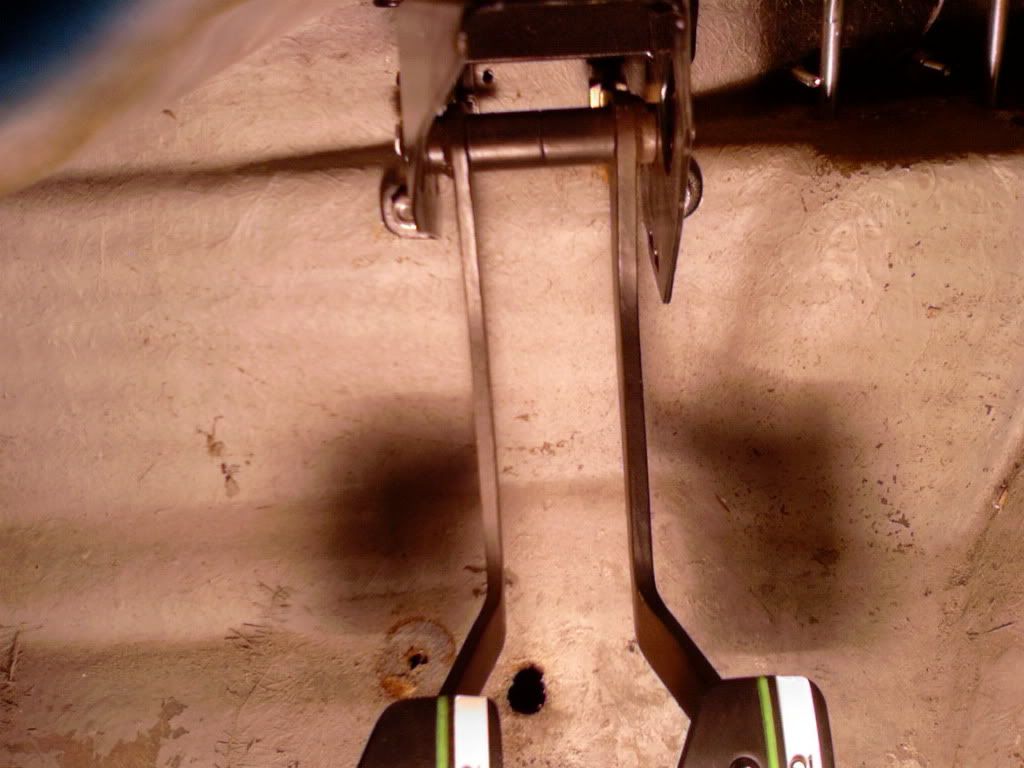
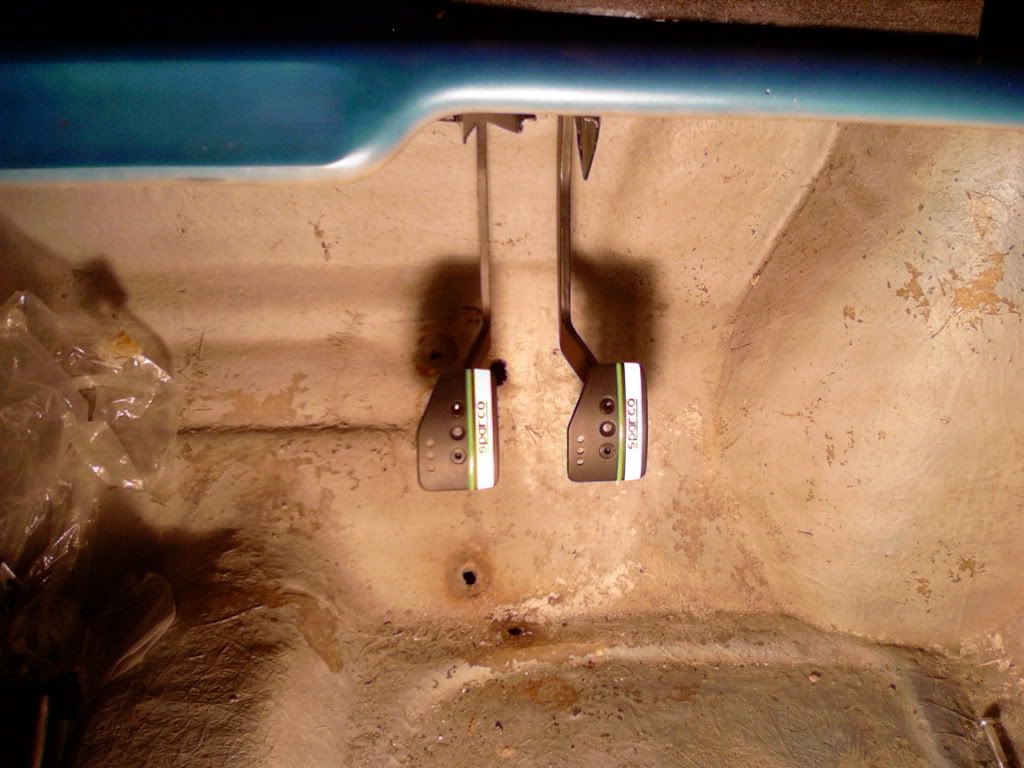
Also started to modify the brake pedal a bit to fit the universal adjuster. I had to plug weld the original hole and move the hole down a bit then cut/grind/sand the top of it to let the rod end move:
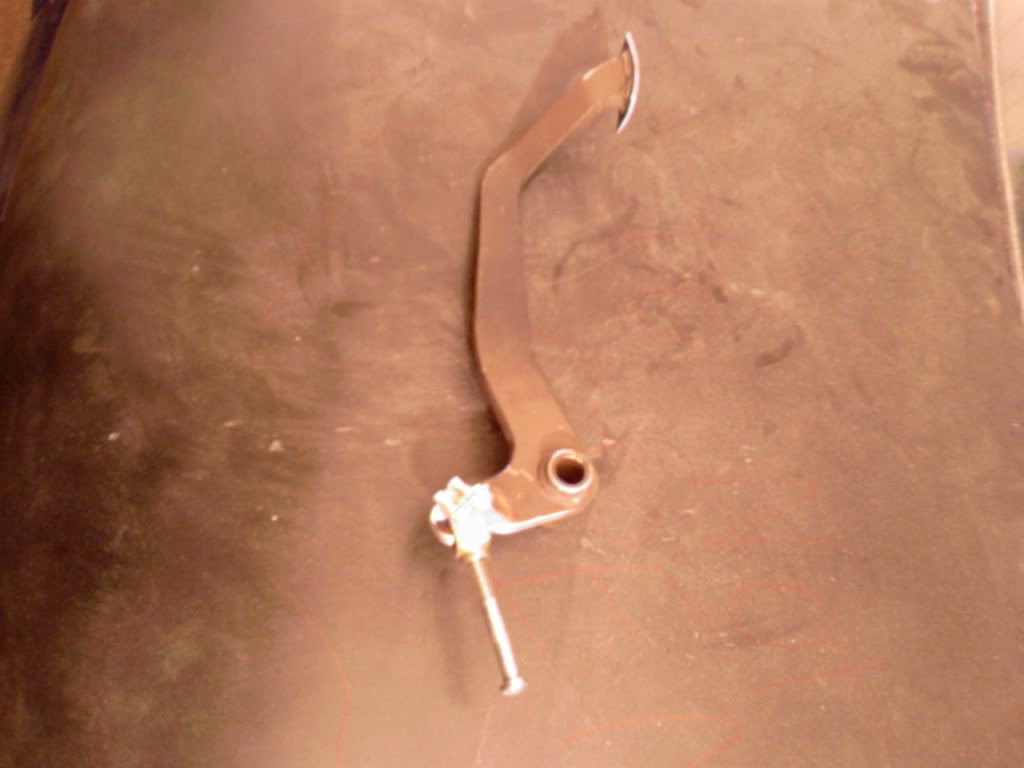
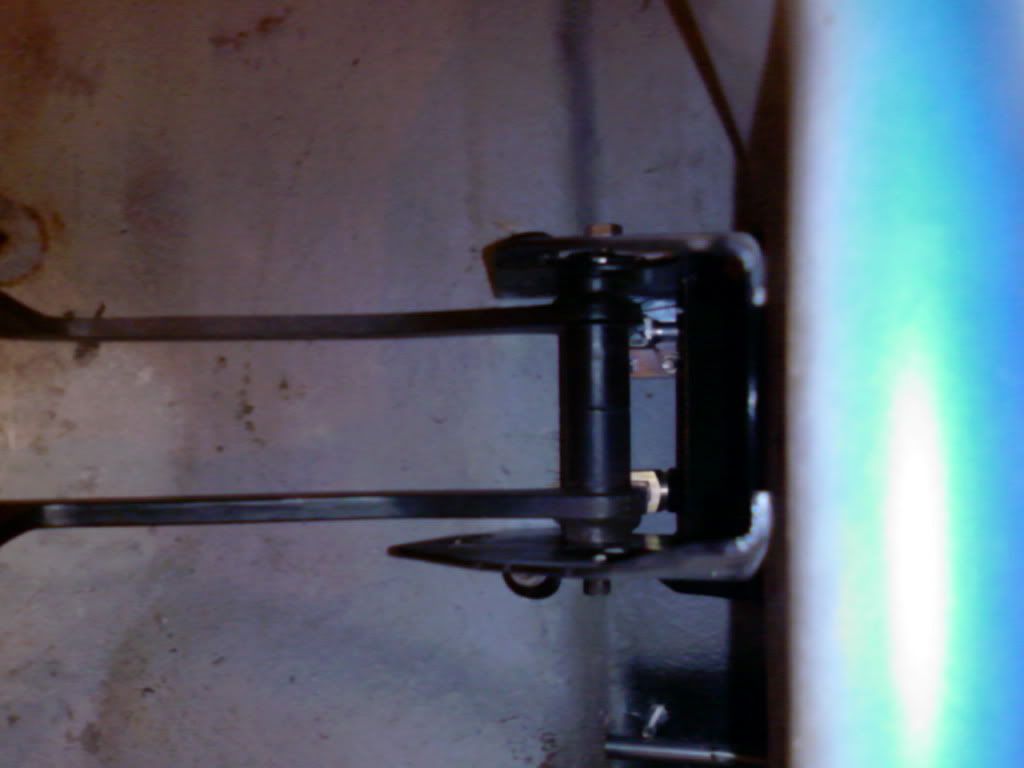
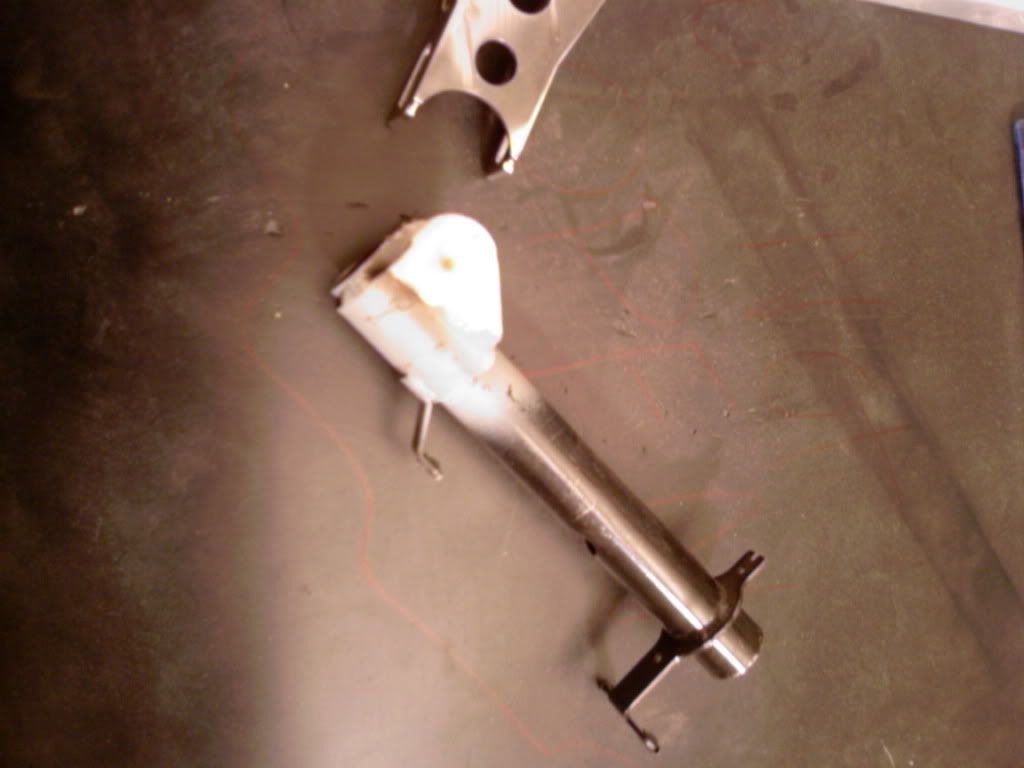
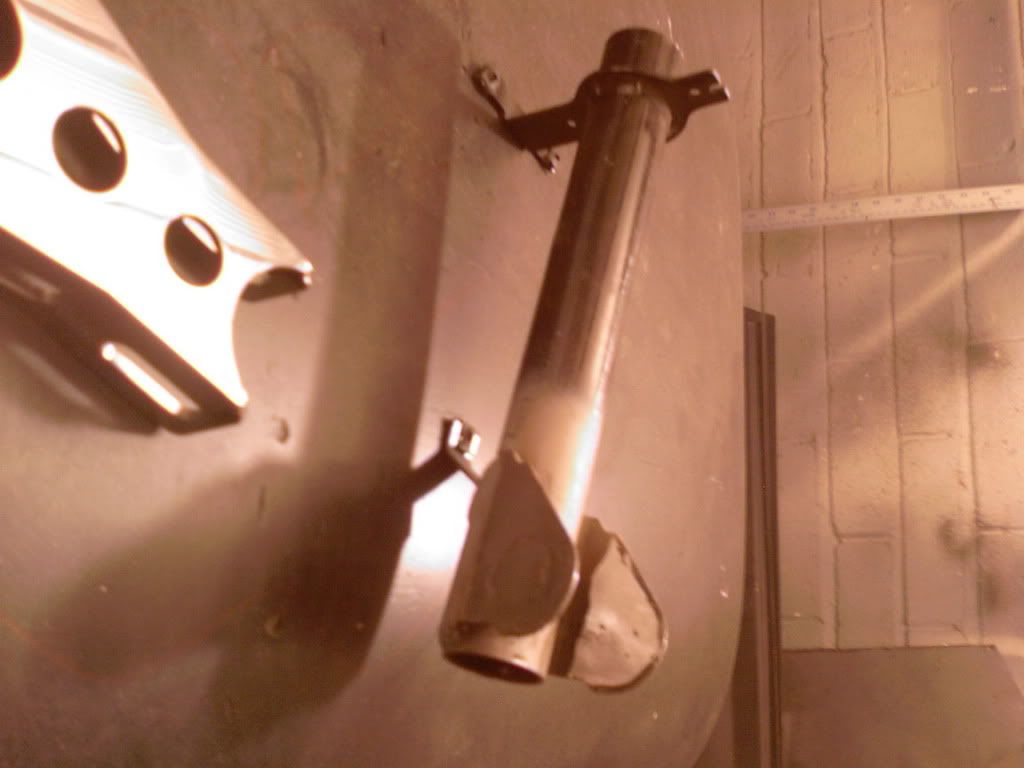
Also finished off the outer steering column. I welded up the original MPI holes and re drilled the size needed(M8) for my stainless drop bracket. It all fits like a glove now and will tighten up perfectly:
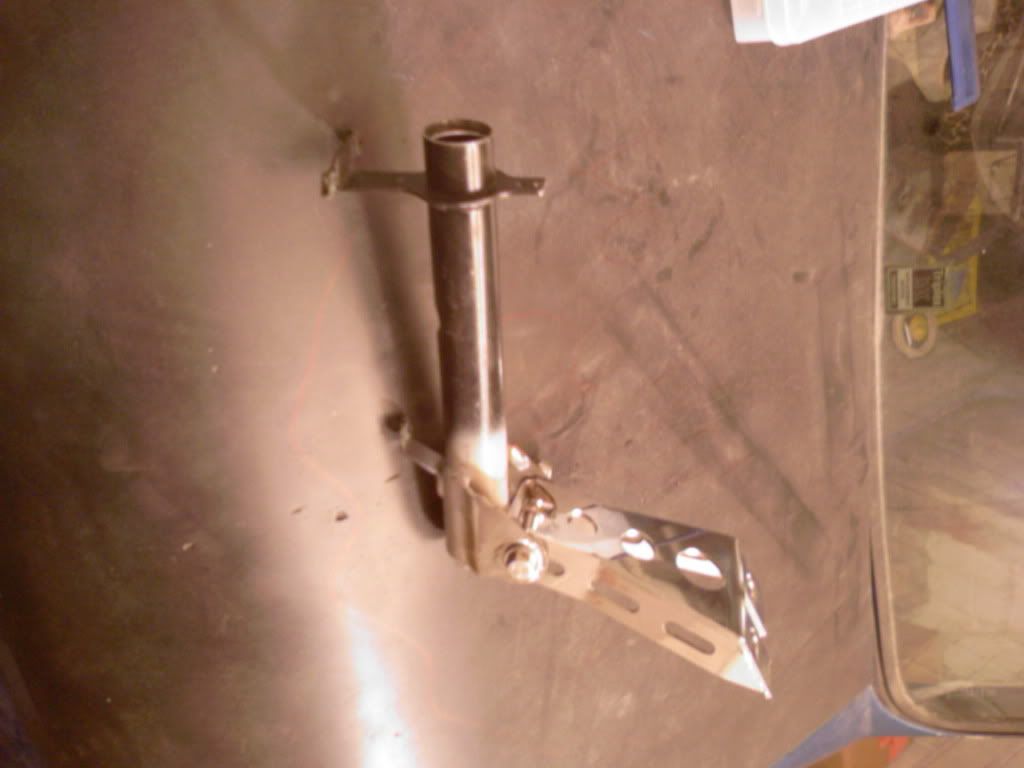
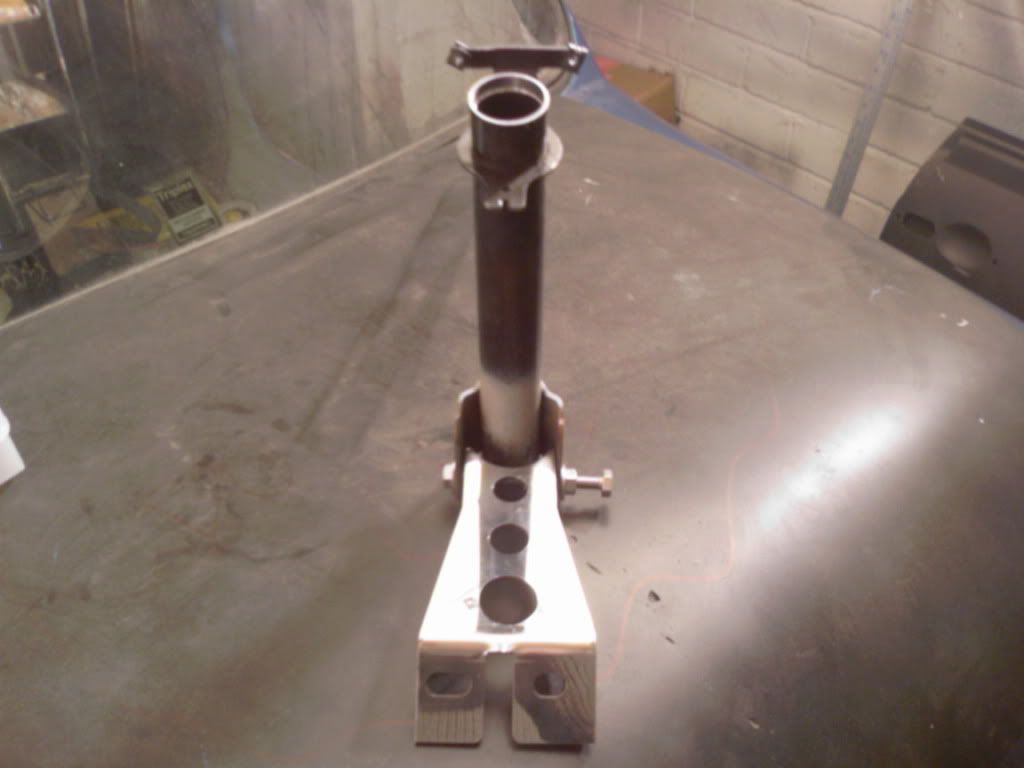
And to round everything off I bit the bullet and cut off my roll cages legs 3inches from the lowest point (hopefully in the right place
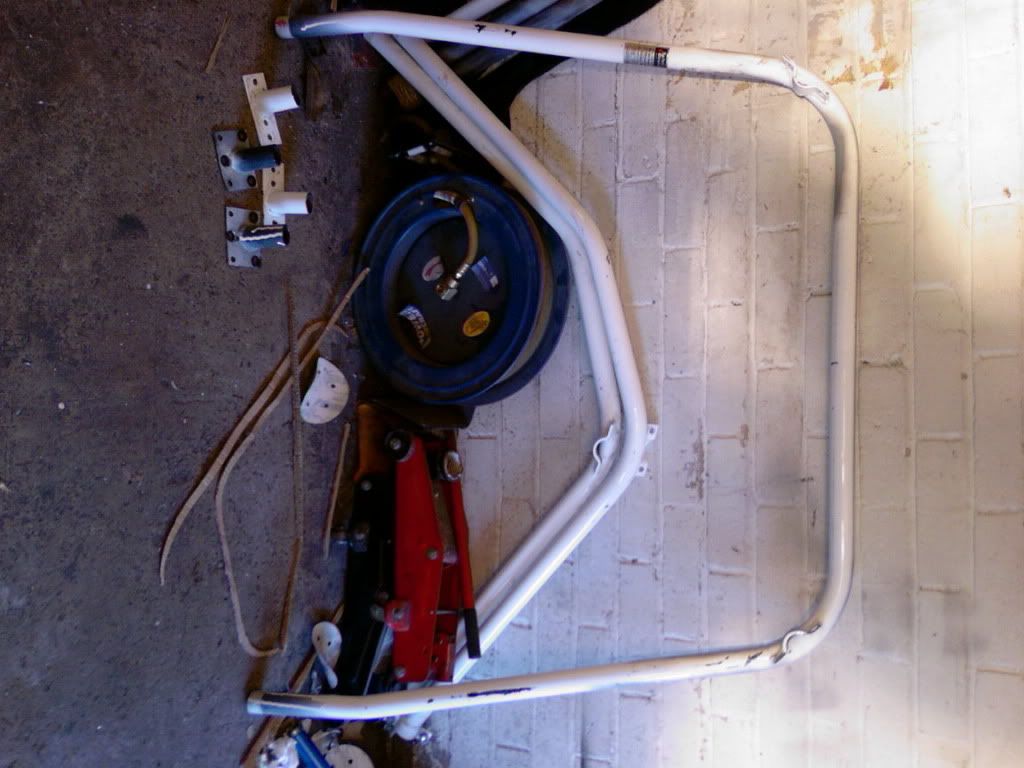
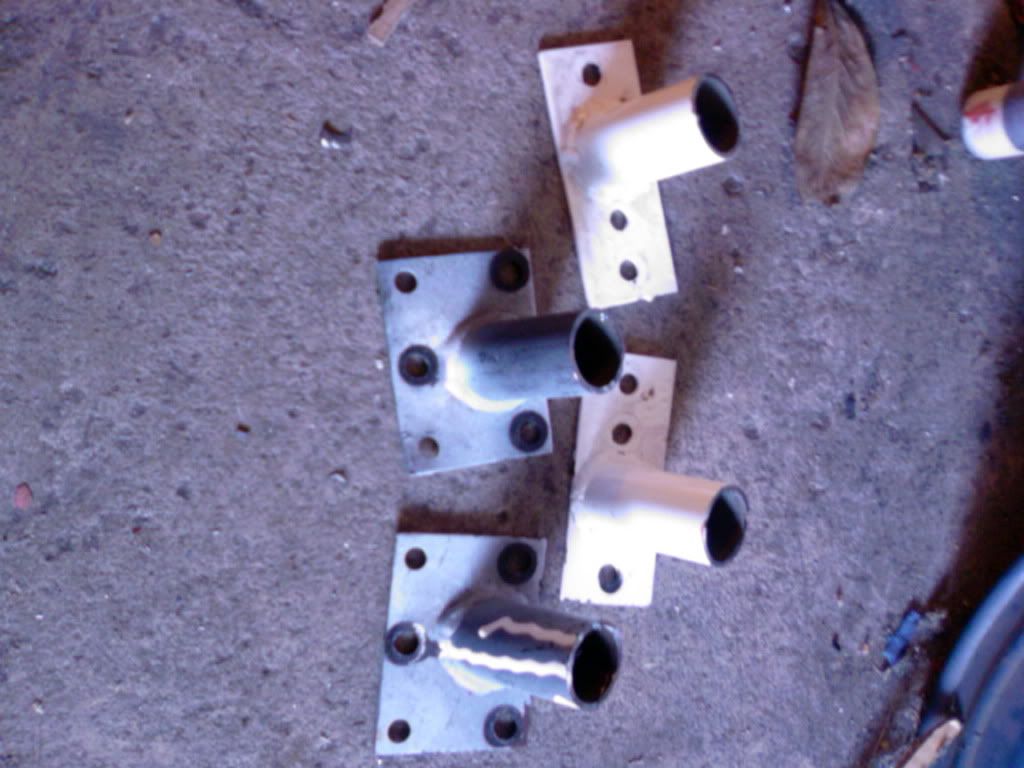
Thats all for now :)
Regards Blue
#199

Posted 19 January 2012 - 12:46 PM
#200

Posted 19 January 2012 - 06:50 PM
I did a few more bits to the brake pedal to get it fitted snug:
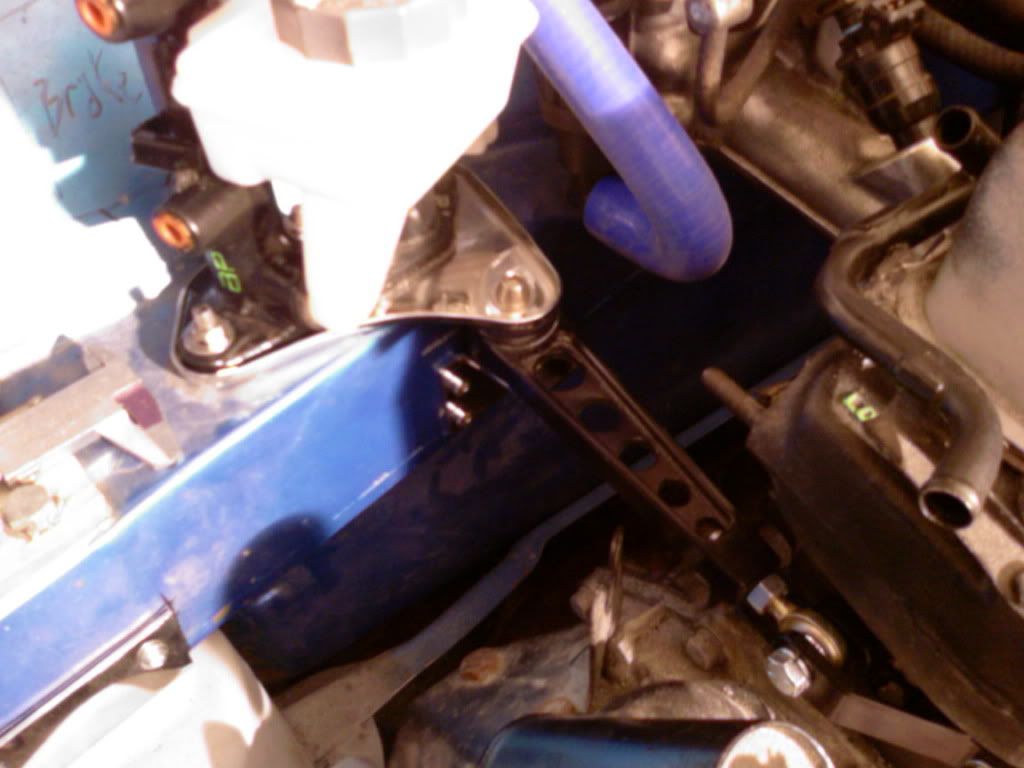
Also a shot of my top engine steady in place:
Regards to all Blue
#201

Posted 19 January 2012 - 11:05 PM
Where did you buy your UJ for the steering column? i have been looking for one suitable that doesn't cost a fortune with no luck.
Also seeing as you are mounting the column off the dash bar, you can cut the bits off the back of the pedal box if you want to save a bit of weight. :)
Edited by george91, 19 January 2012 - 11:05 PM.
#202

Posted 20 January 2012 - 09:10 AM
Also i have been looking at your steering column set up which i like a lot.
Where did you buy your UJ for the steering column?
Firstly than-you very much :) I guess I could loose a bit of extra weight there but I think I will it as it is until after it goes through an IVA.
As for the UJ I got mine from a warehouse company in coventry who specialise in caterhams and west-fields. That is also where I got my inner column stuff from too. I can't remember the companies name though but they were really helpful and even got their in house engineer over for a chat to make sure everything was hunky-dory :) however if you go onto car builder solutions there are a few UJ options: http://www.cbsonline...16_Splines_UJP2
Regards Blue
#203

Posted 20 January 2012 - 07:00 PM
Cheers, George.
#204

Posted 24 January 2012 - 04:11 PM
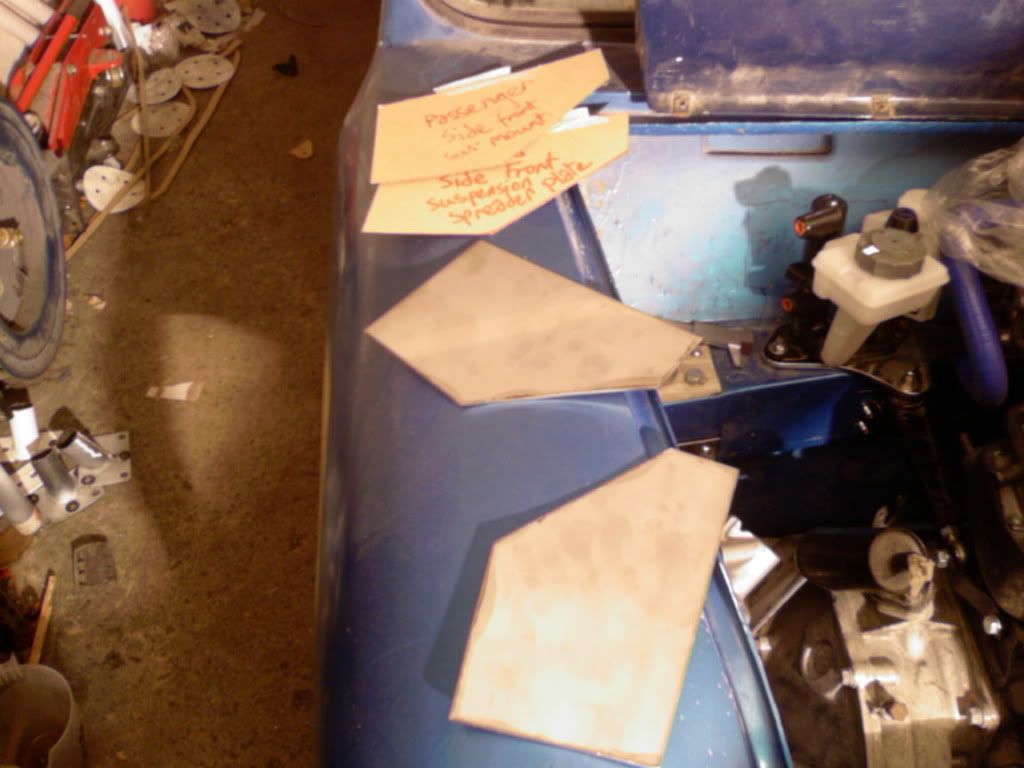
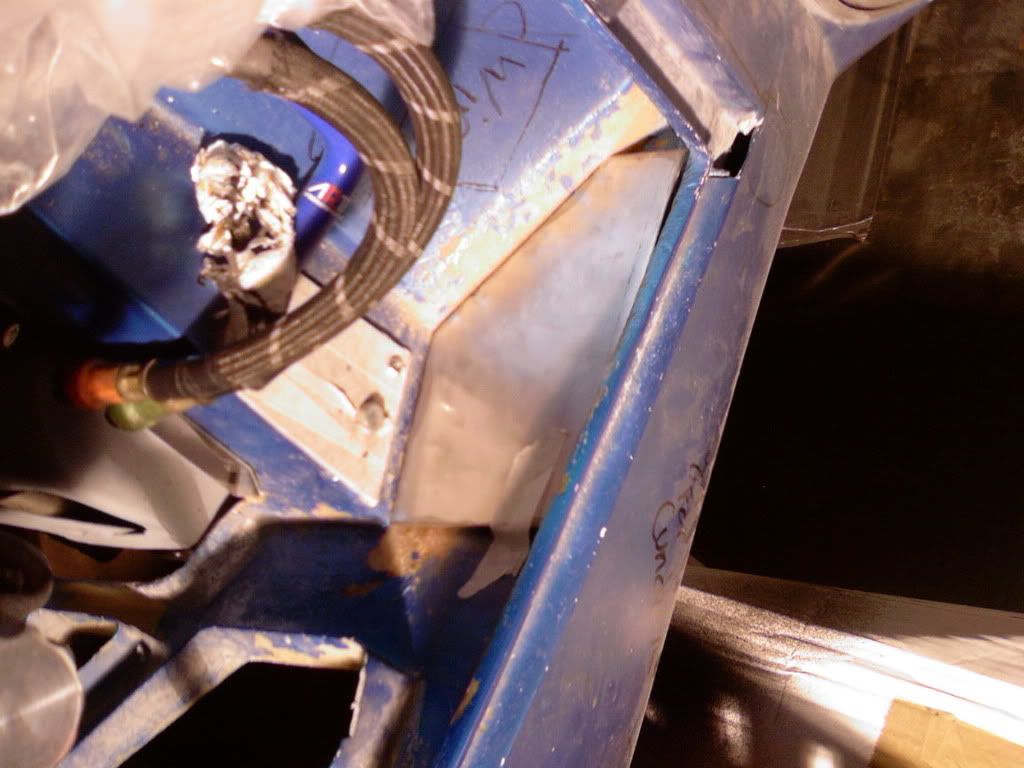
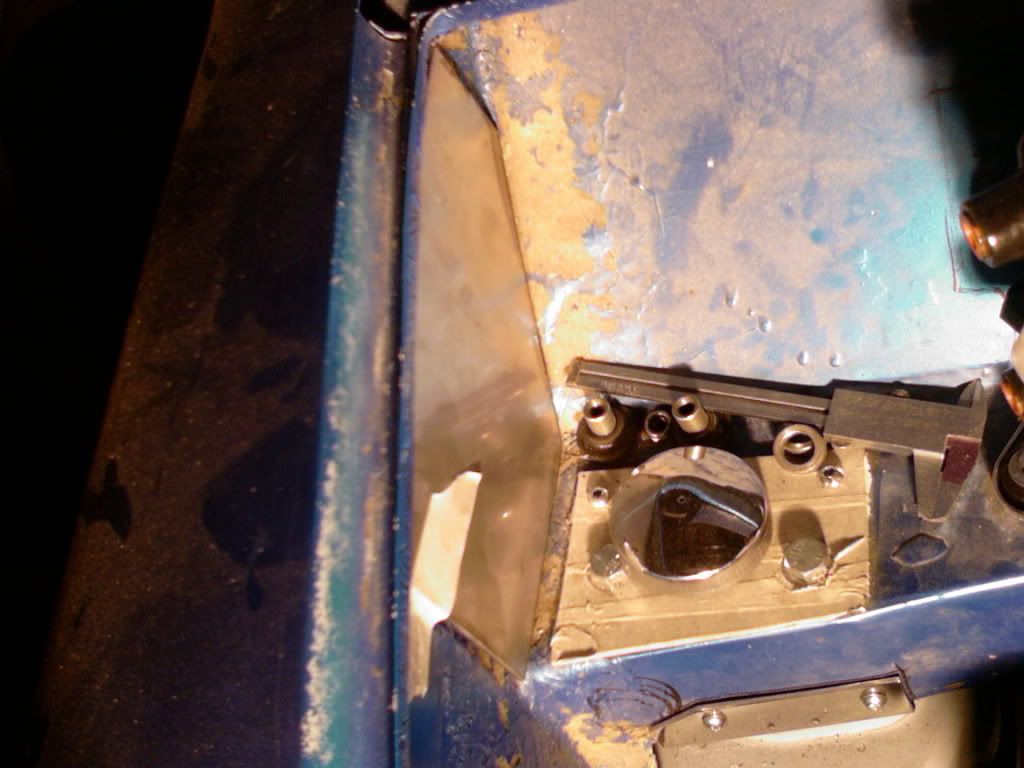
The first things I made were the front suspension spreader plates in stainless:
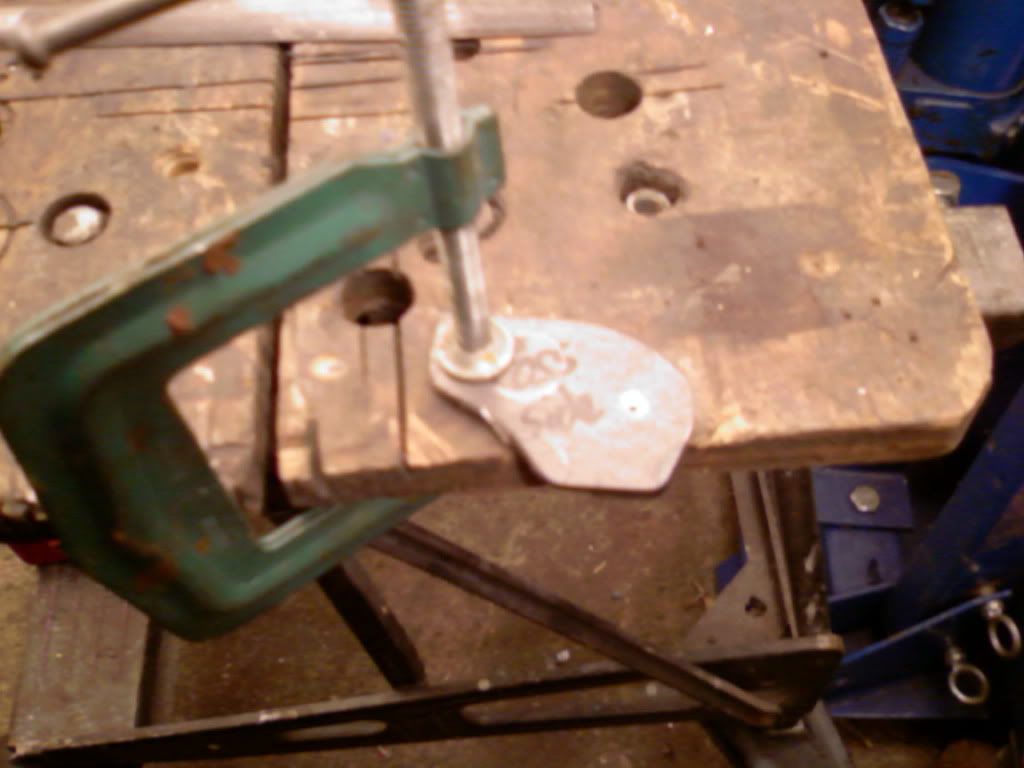
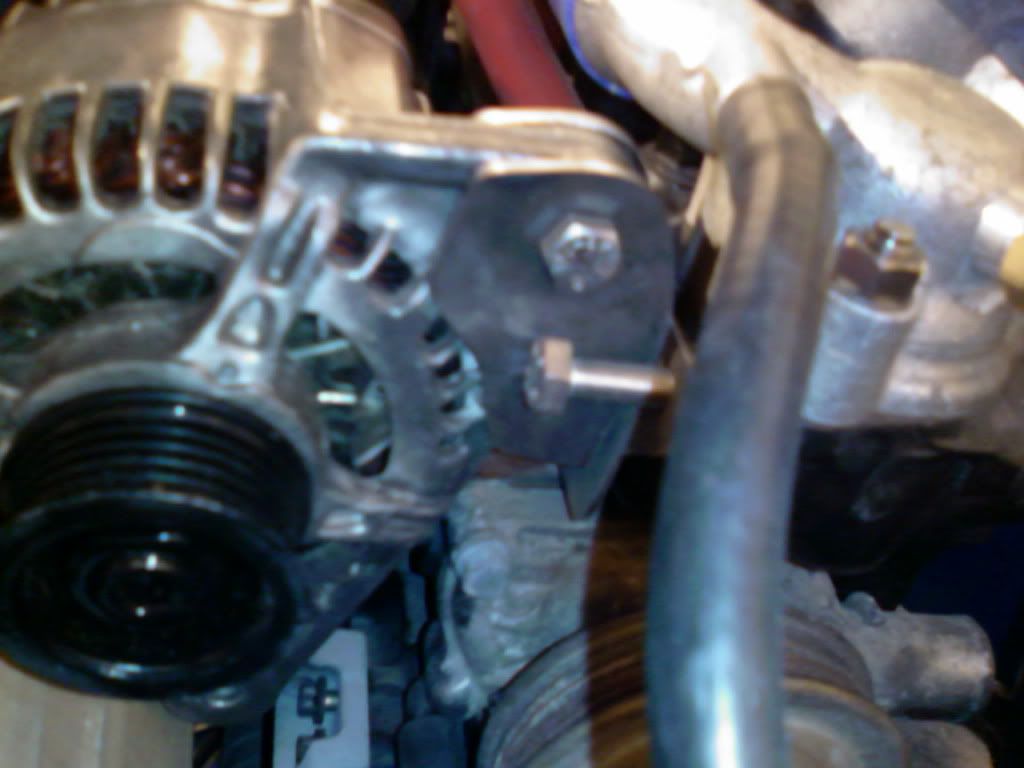
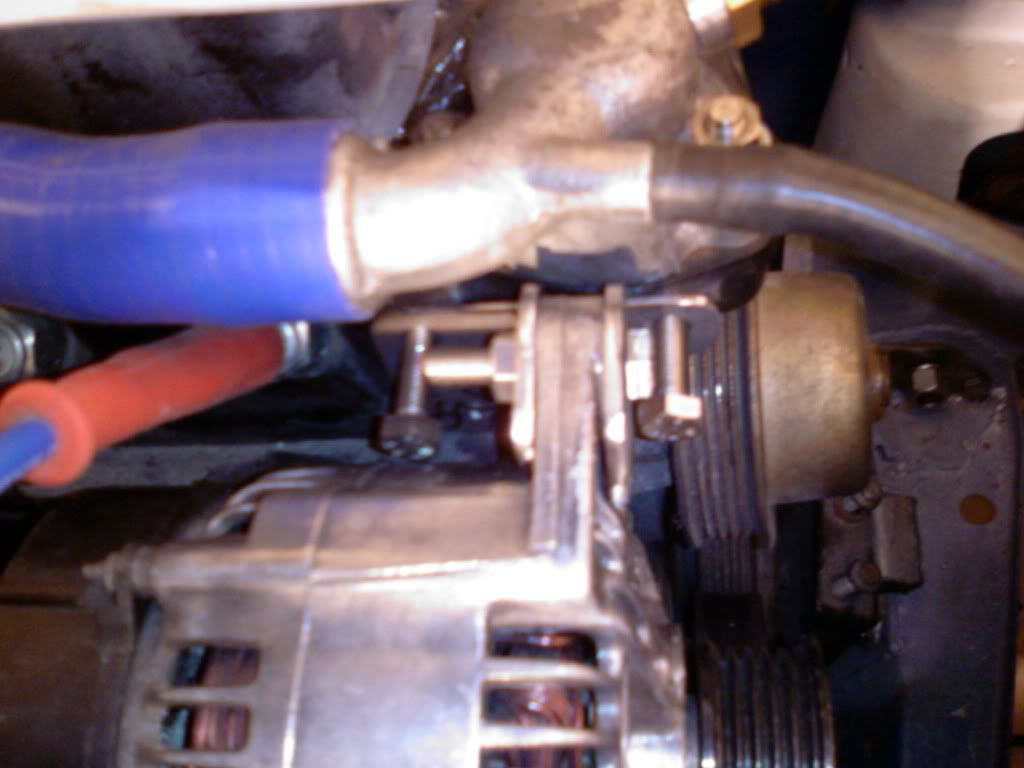
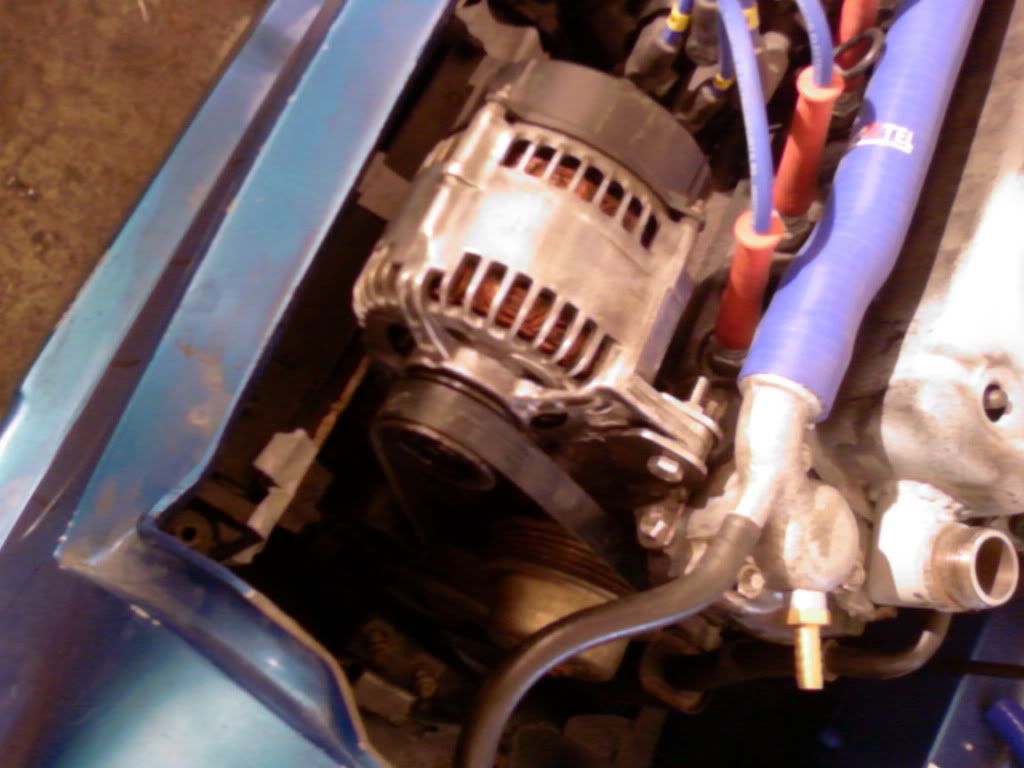
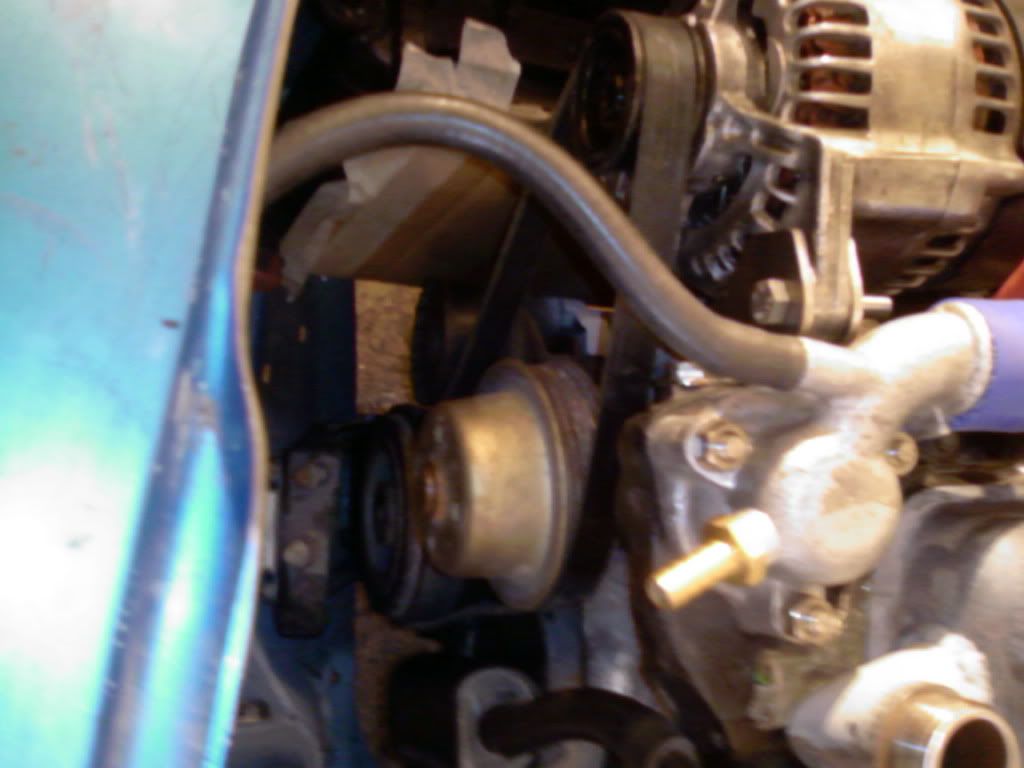
Then I finished off making the alternator bracket parts from the 3mm mild steel:
Finally I made a template for the centre mounting points of my rear beam. It is quite a hefty piece but it will add better compression strength and more of a load area :)
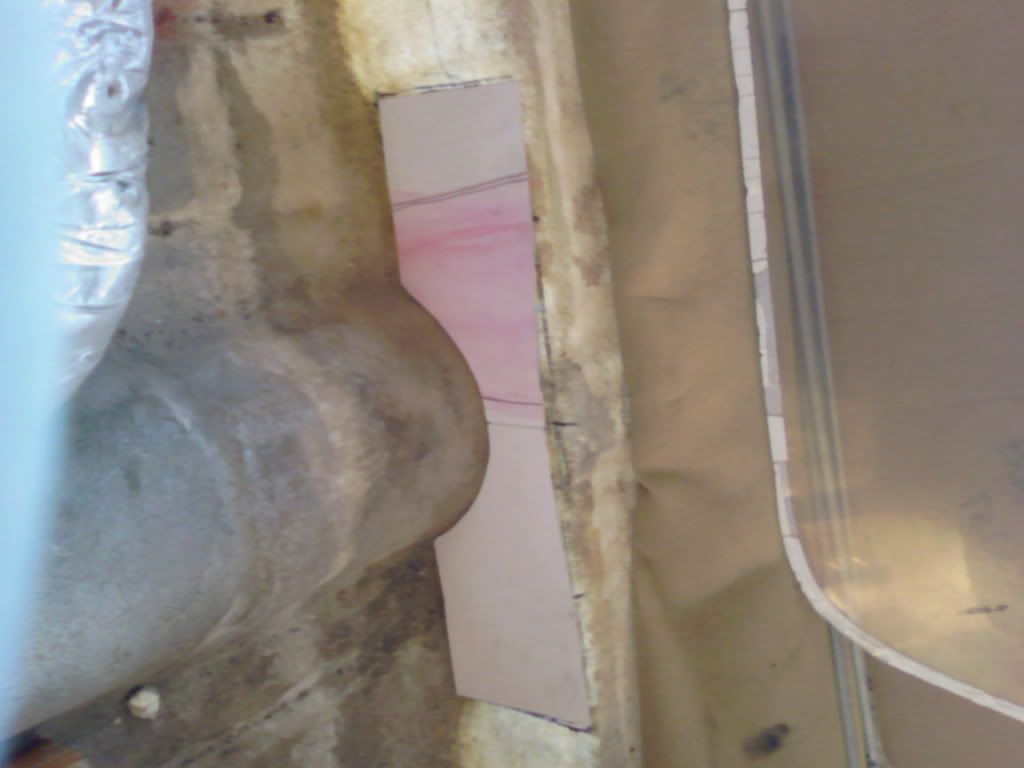
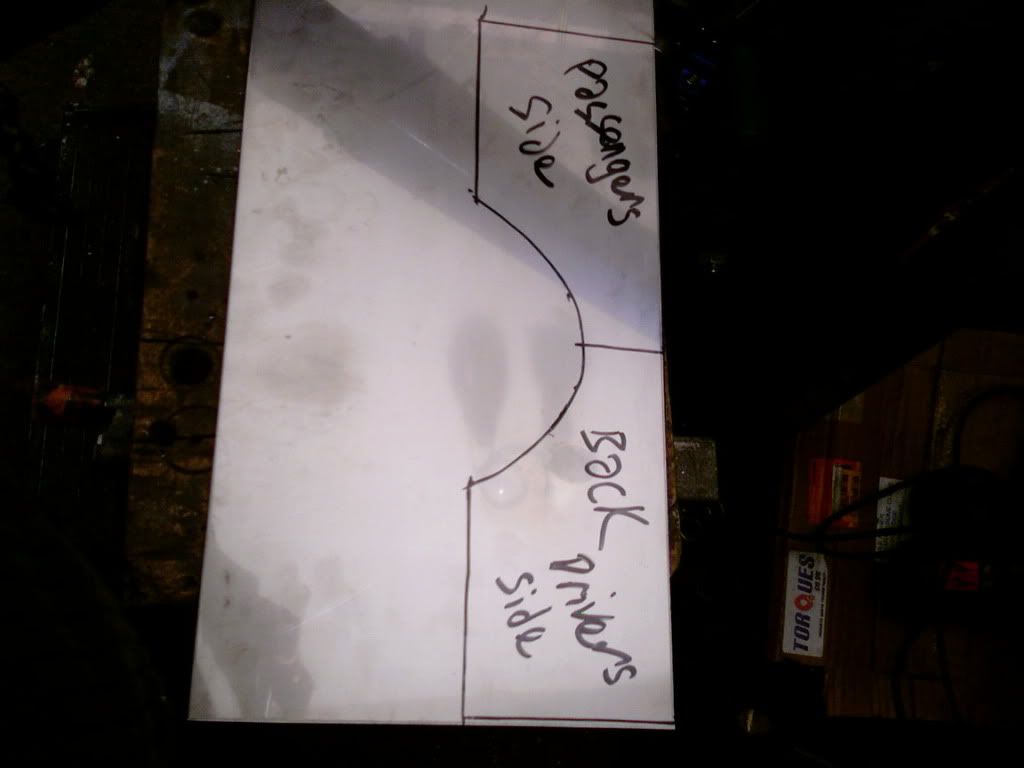
Thats it for today.
Regards Blue
#205

Posted 24 January 2012 - 06:25 PM
I need to make some spreaders for the front coilovers. I have made some for my additional engine steady.
That rear beam one is massive, I was just going to have some big repair washers to spread the load there as there isn't really much load there.
#206

Posted 24 January 2012 - 08:11 PM
Regards Blue
#207

Posted 27 January 2012 - 07:44 PM
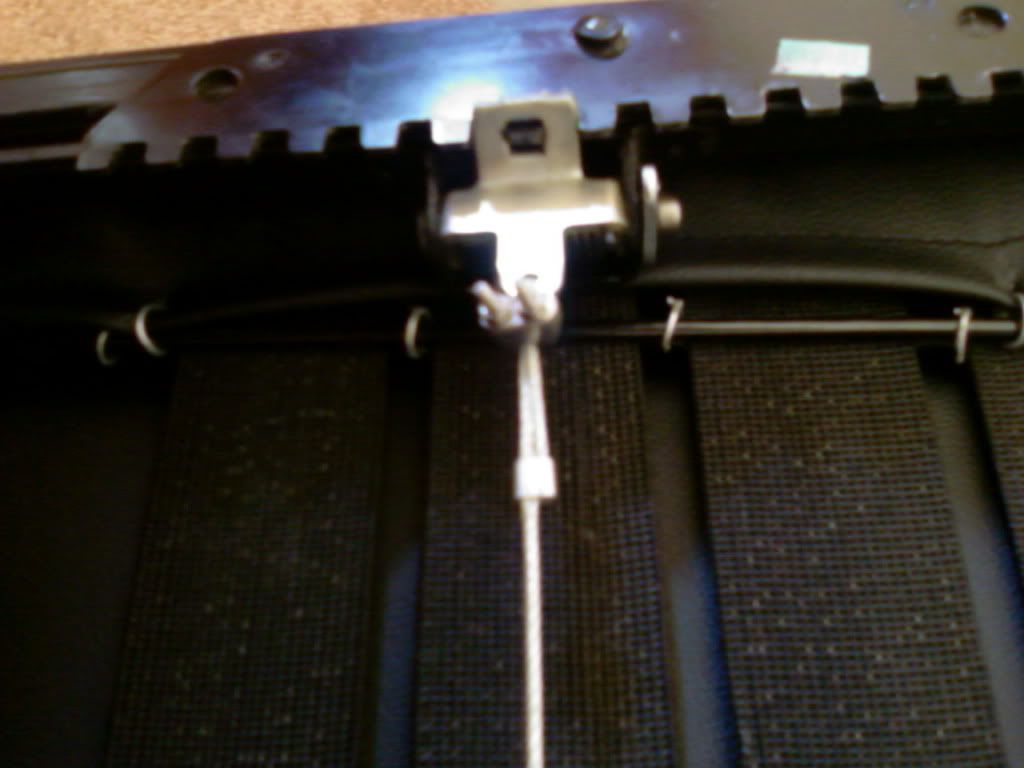
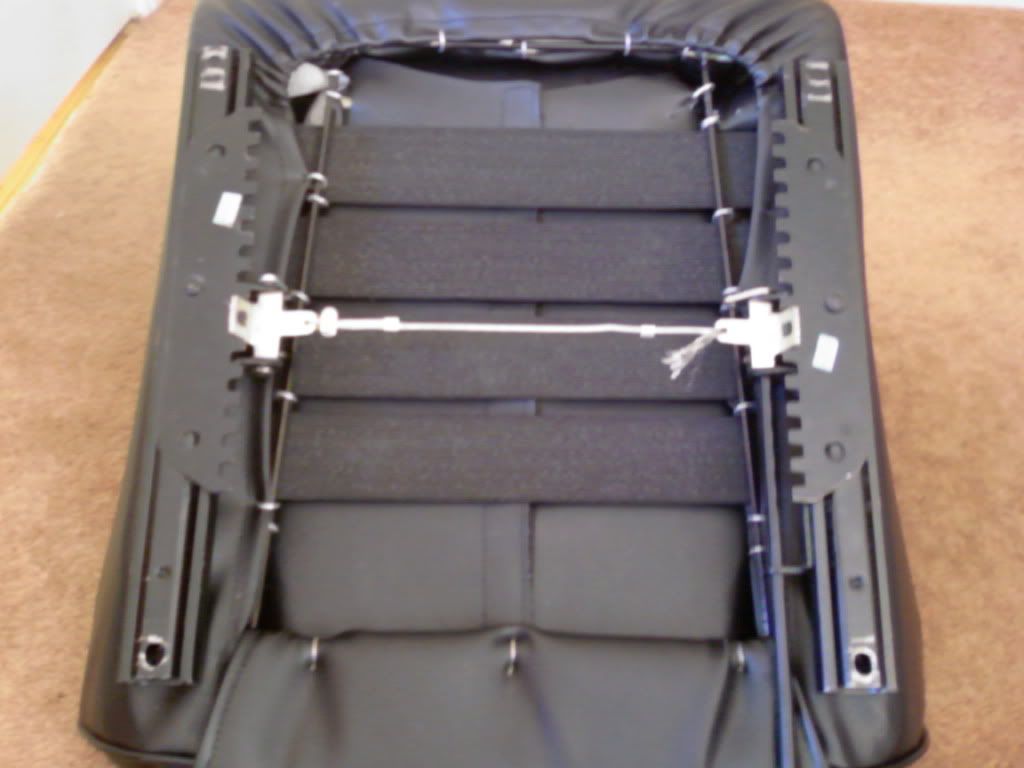
I was sorting out my seat mounts. I have drilled new mounting holes and have been playing around with how to adjust the slider (wire and wire grips):
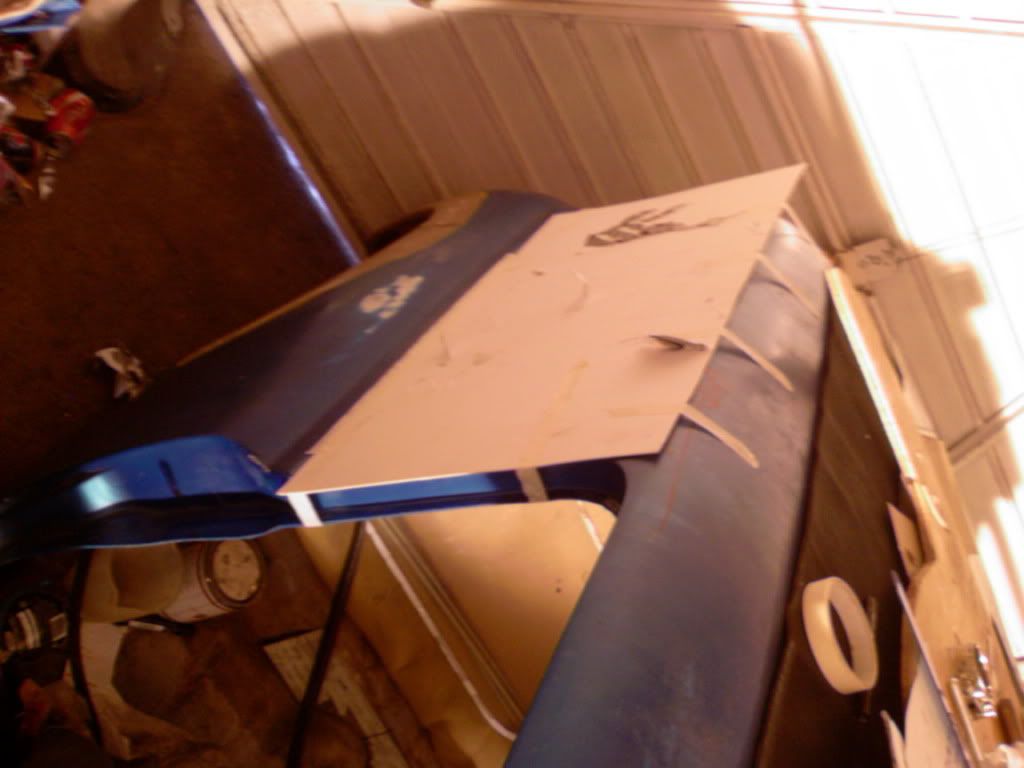
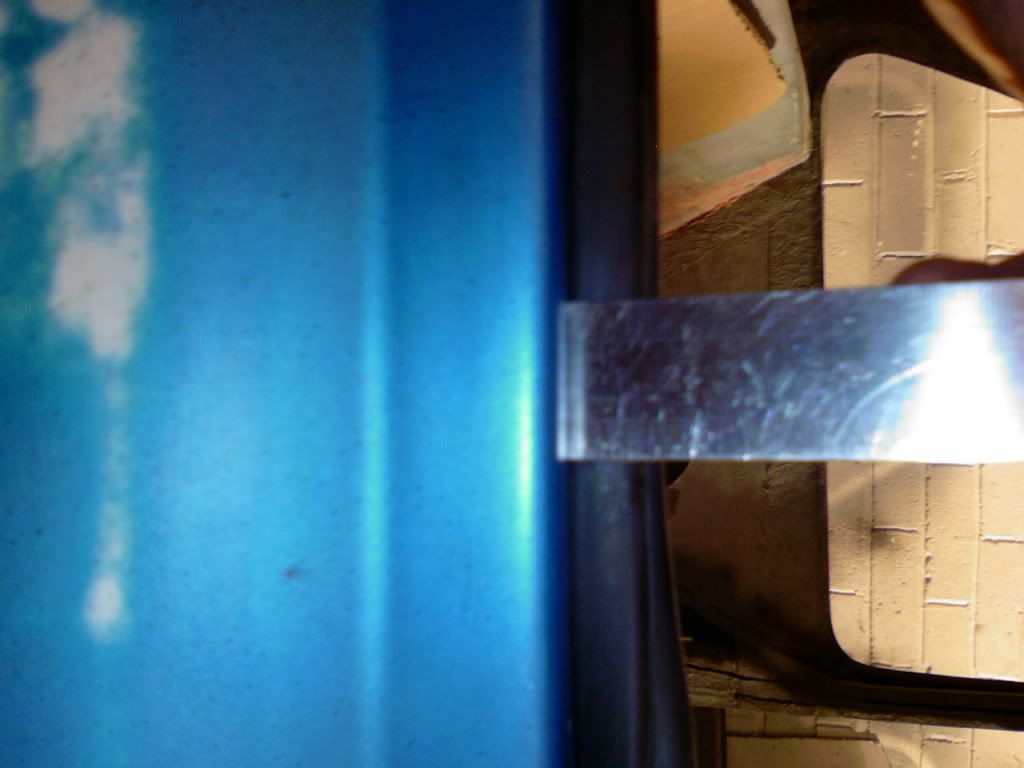
I also sorted out my window template ready to send to plastic for performance:
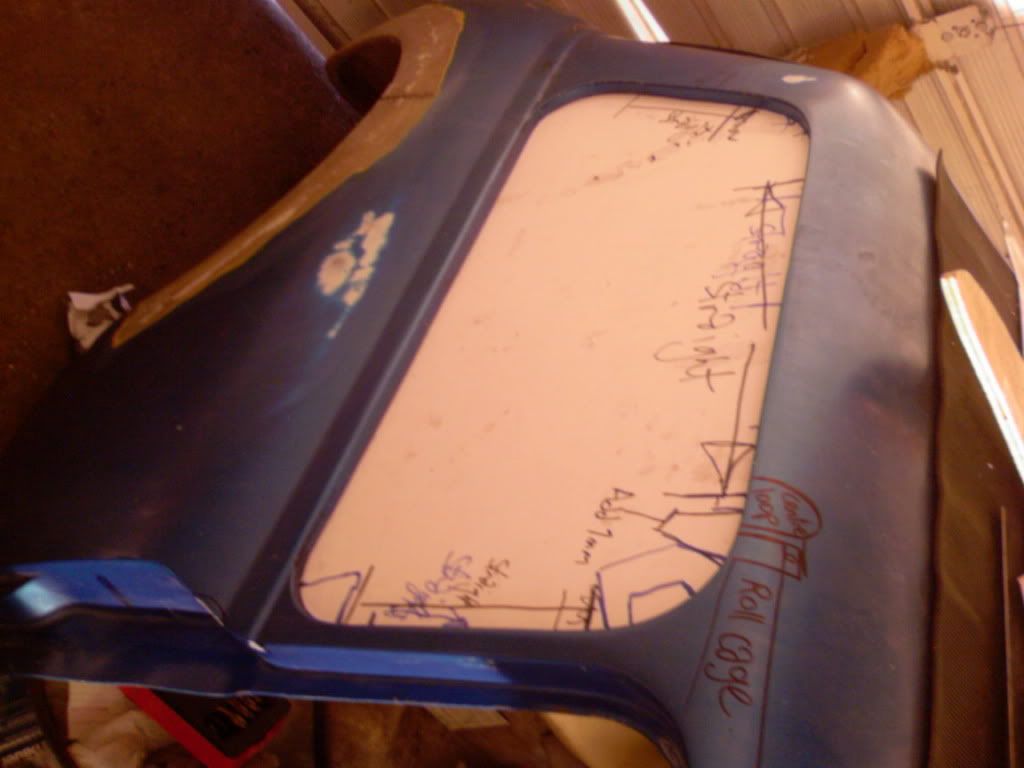
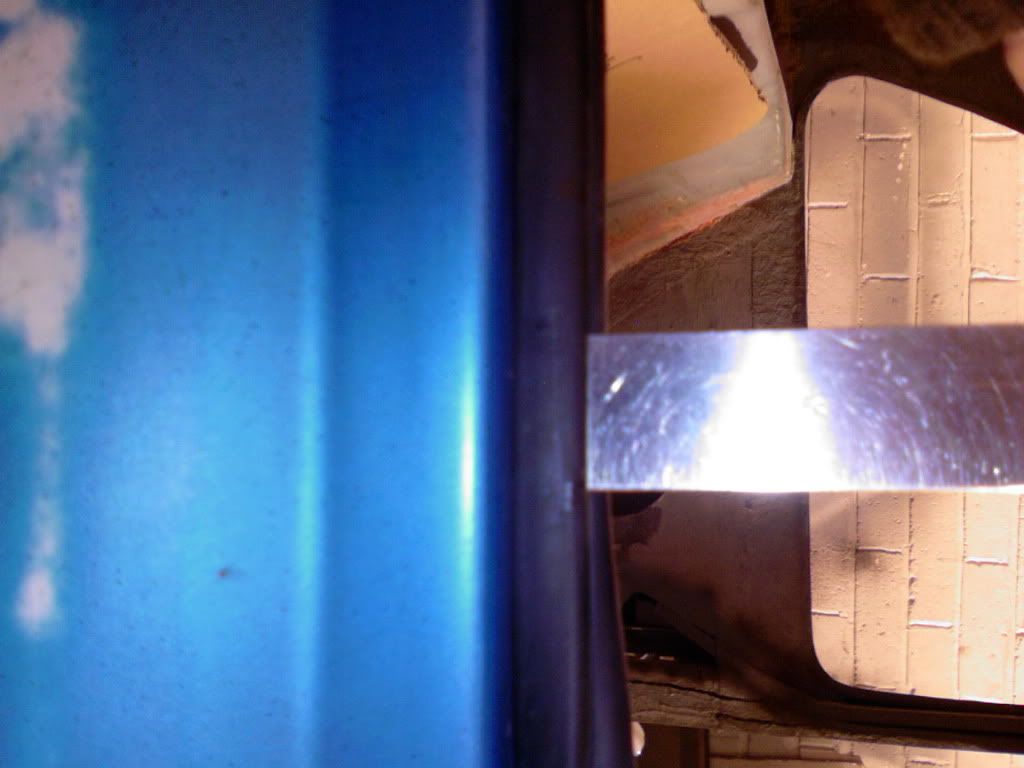
I need to take out 6mm from the total of the recess as you can see by the rubber depth
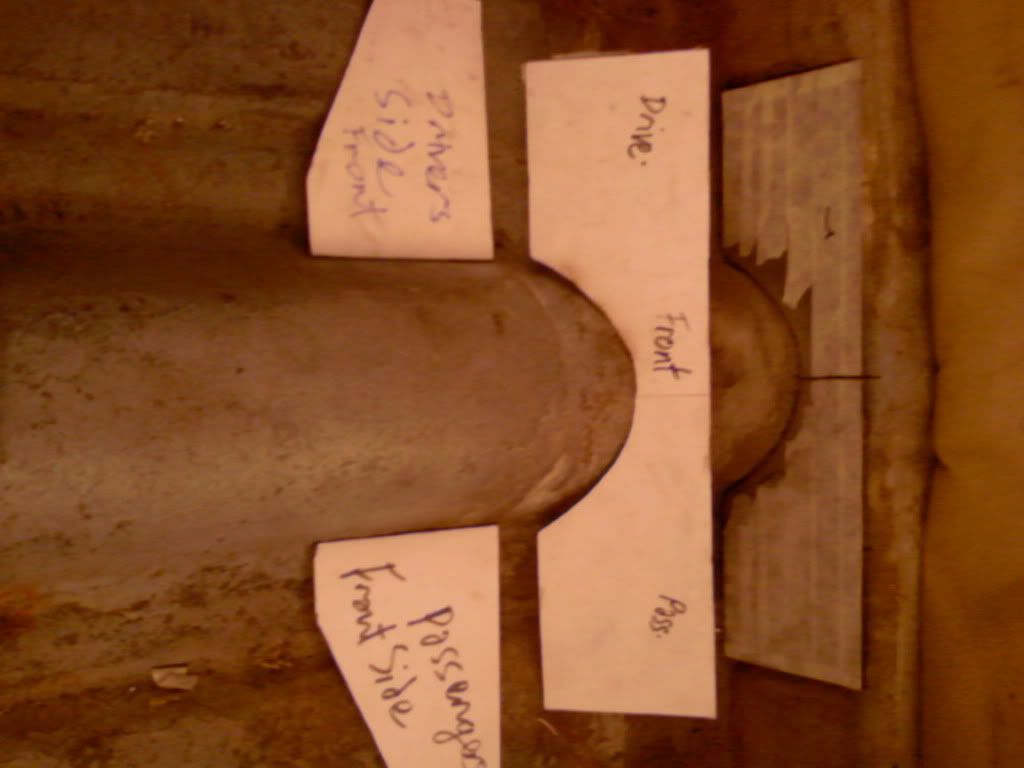
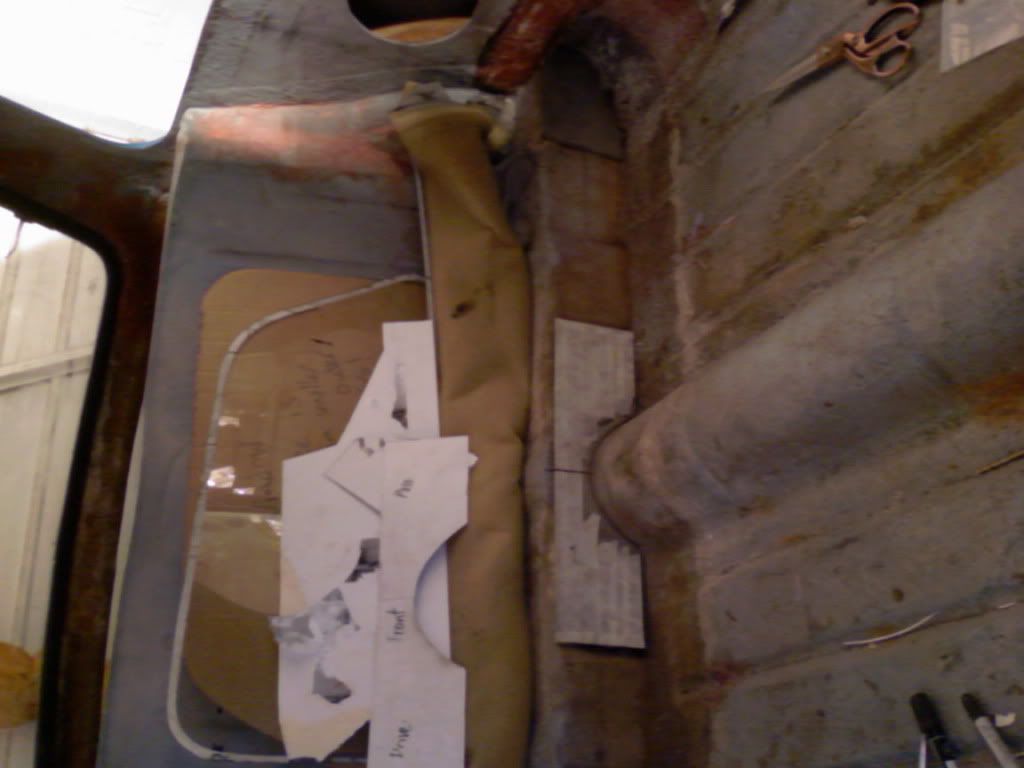
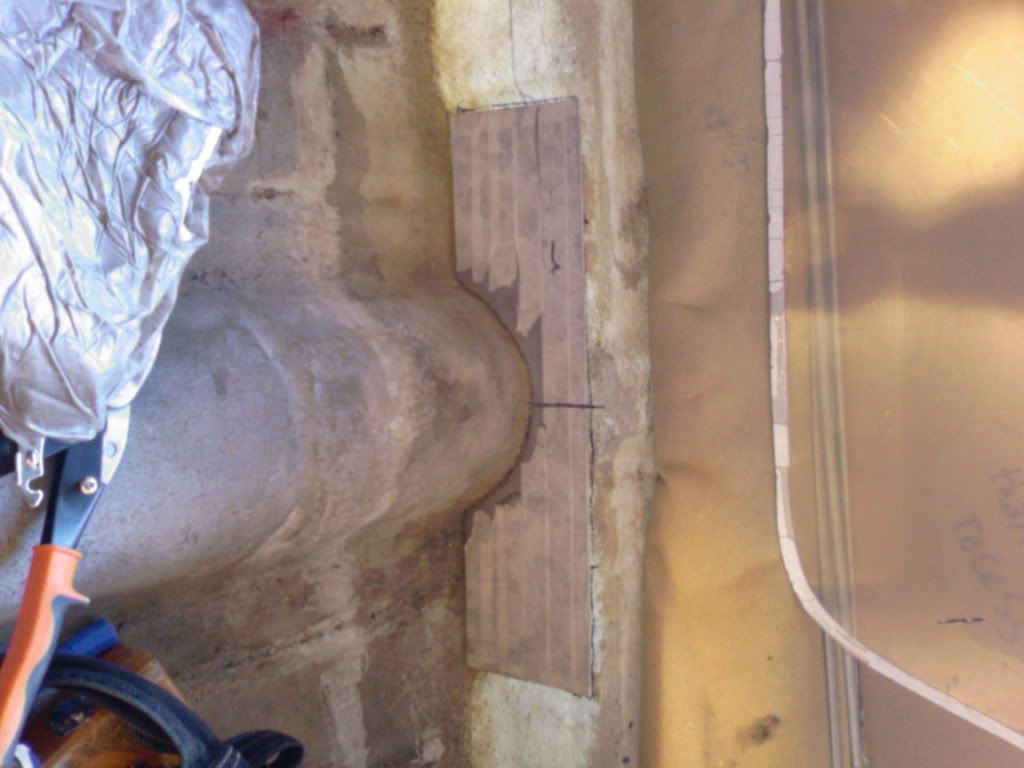
Got to making more templates and cutting them from 3mm stainless:
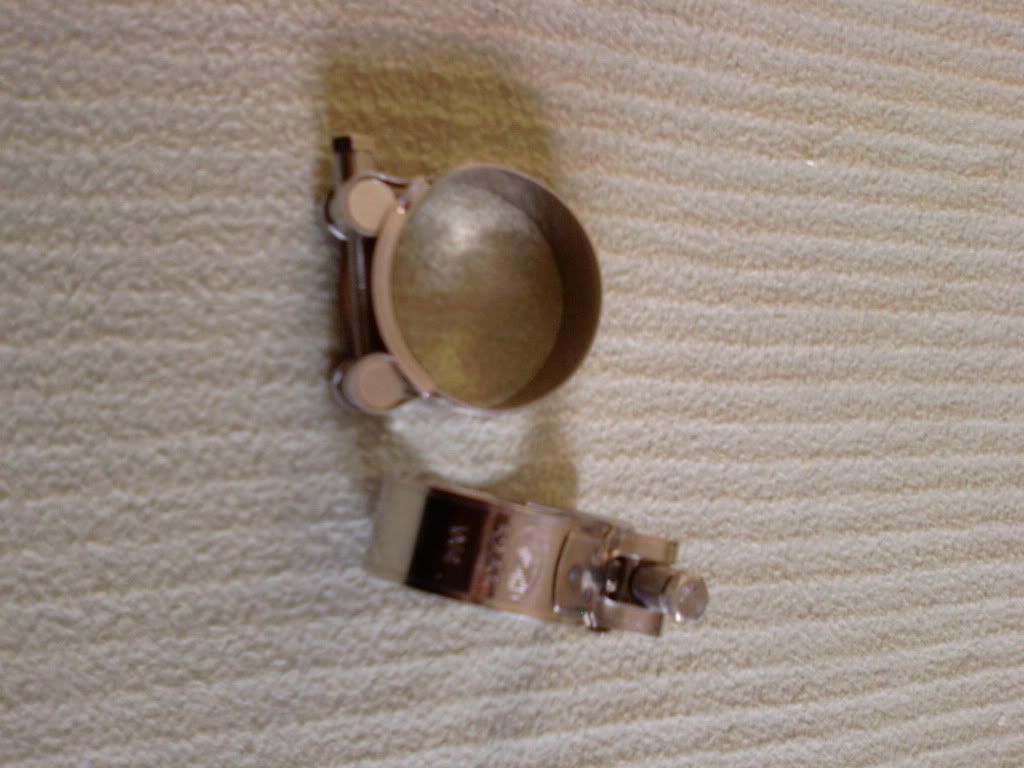
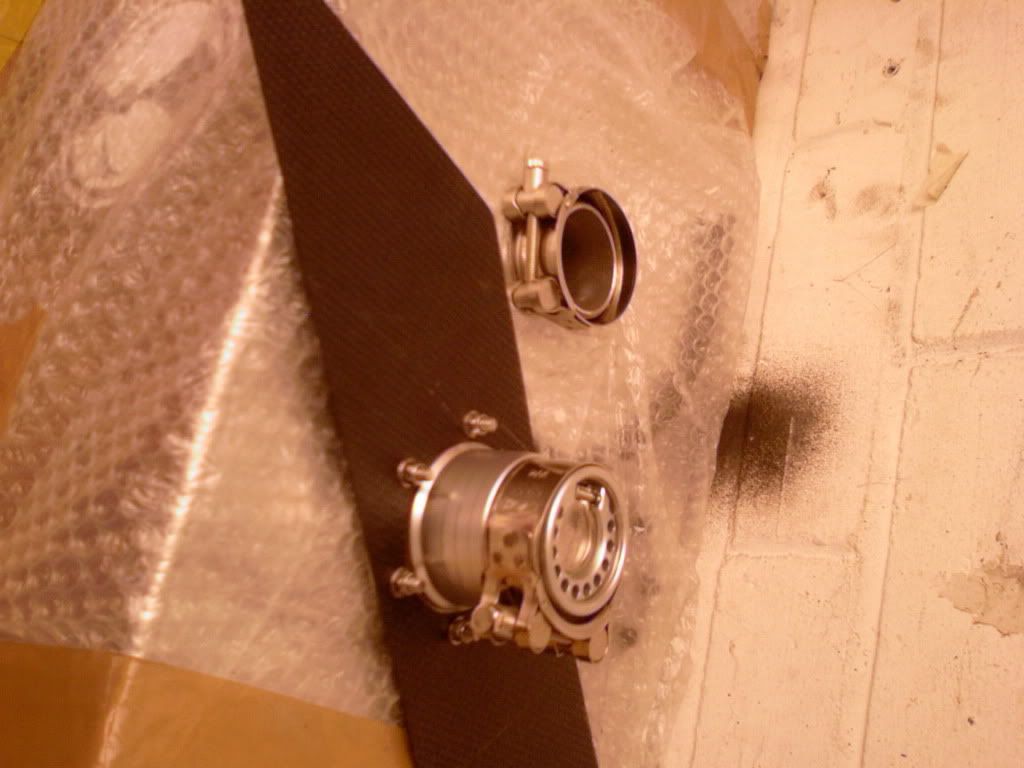
Finally I received these puppies in the post as well for connecting my fuel cap to my fuel cell :
Regards Blue
#208

Posted 31 January 2012 - 10:24 PM
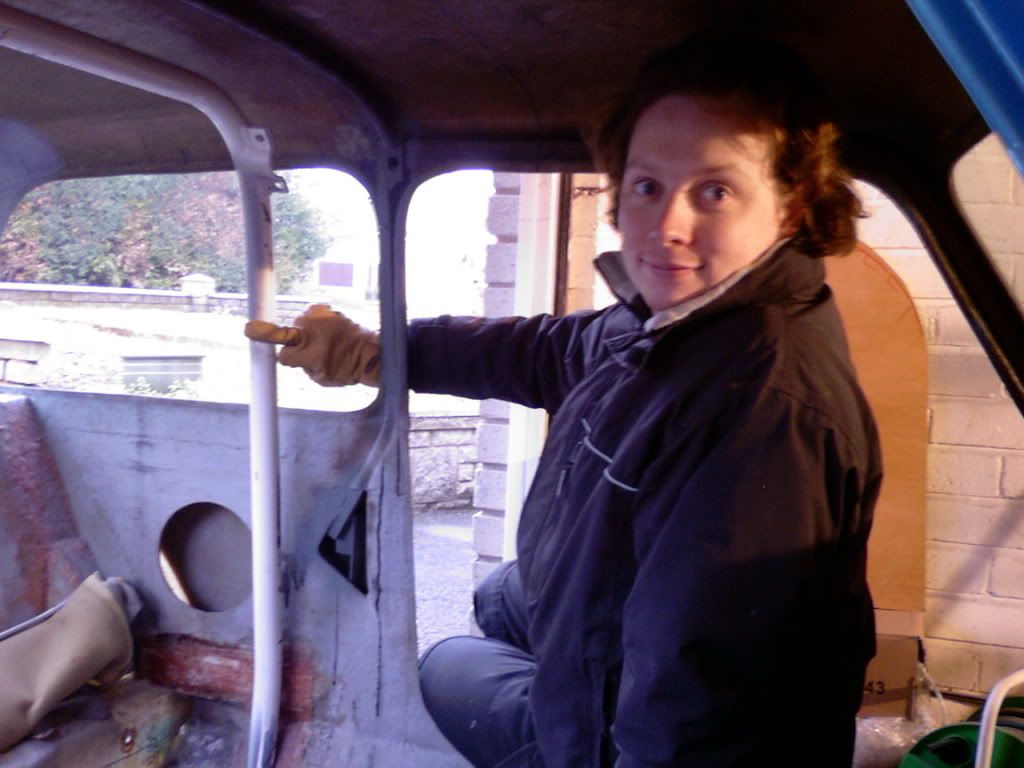
I also started to find mark, measure and cut all the right angles for the rollcage. I spent alot of time with my brother finding out the average angles and lengths needed to be cut. The magic angle is 65 degrees ;)
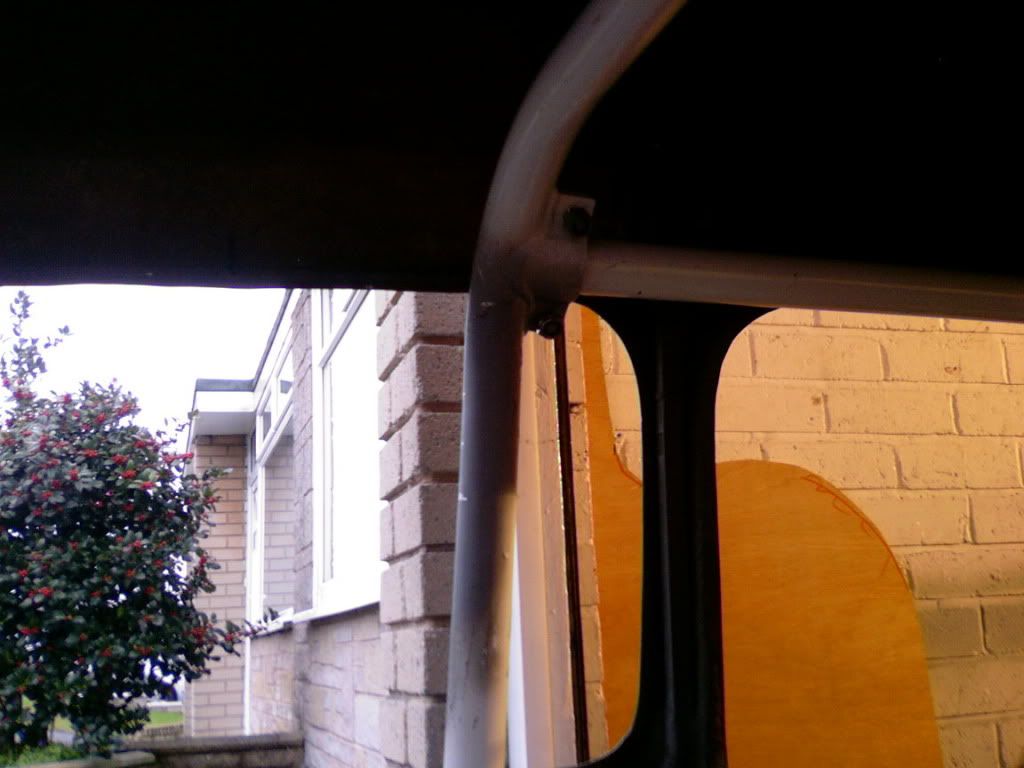
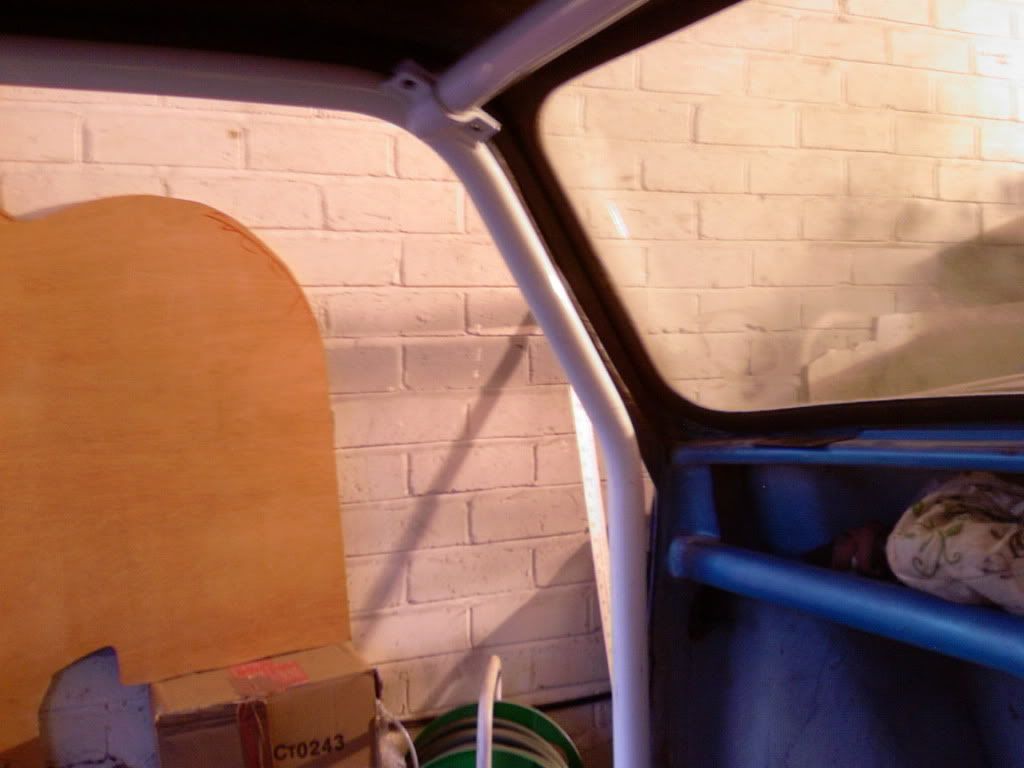
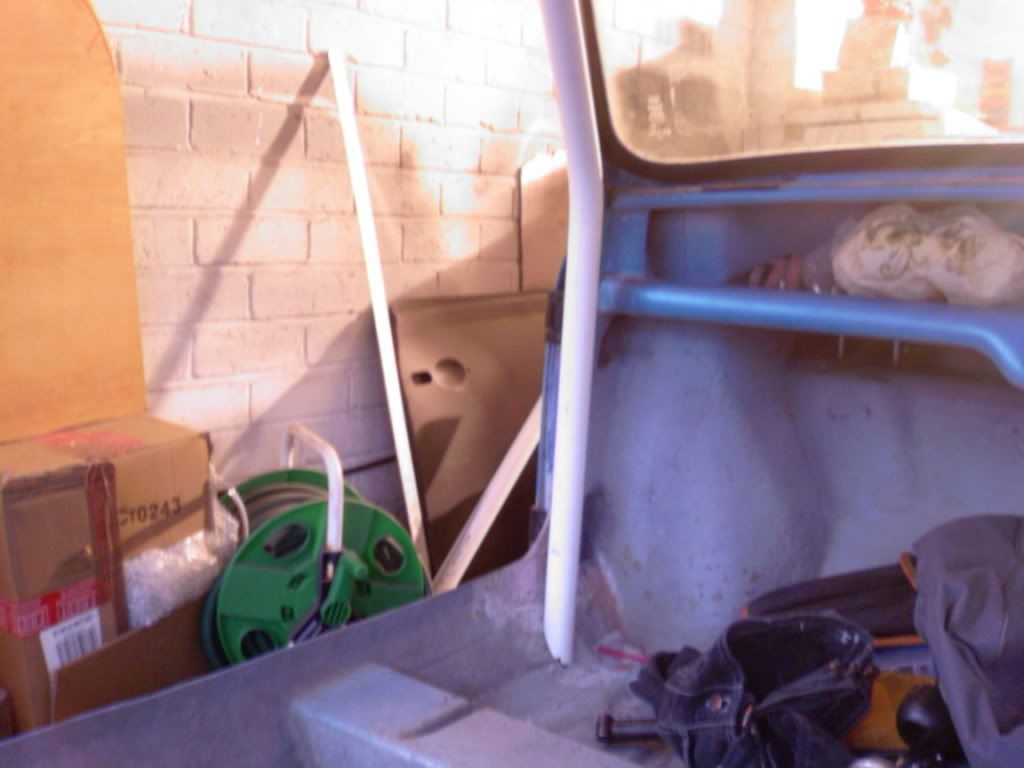
and the gap between the roof and the main bar is low enough so that when I make my custom headlining up it will not foul on the steel support frame inbuilt into the roof :
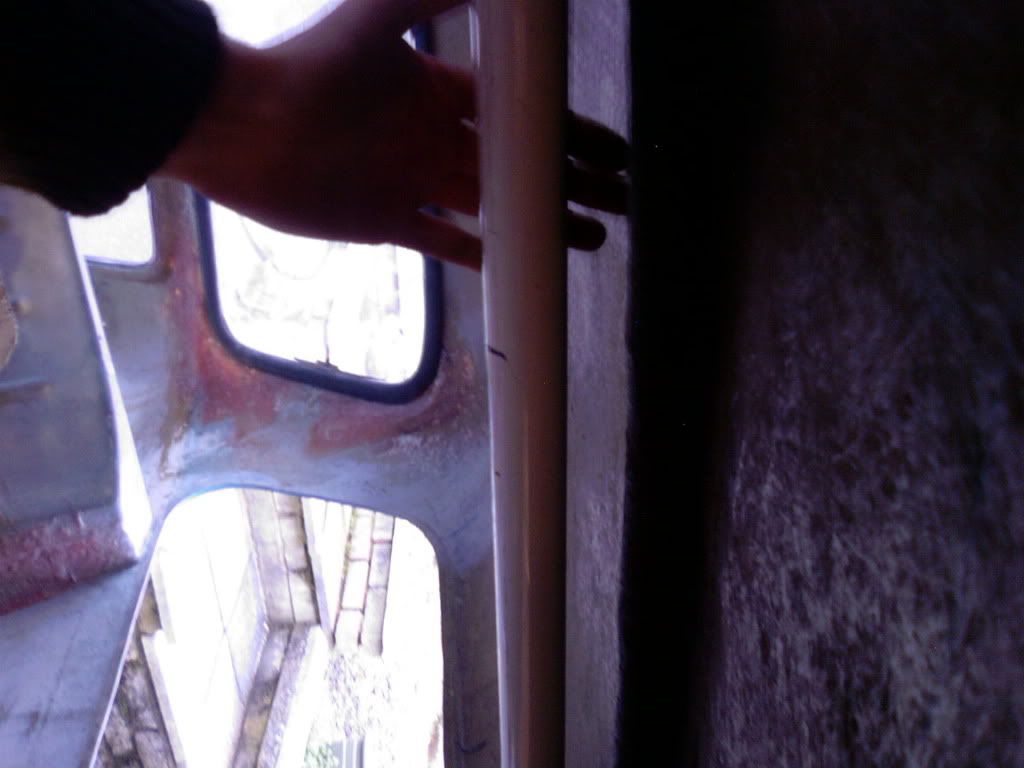
A small but non the less important update
Regards Blue
#209

Posted 13 February 2012 - 10:08 PM
So as a few of you may know i bought some rear radius arms from force racing which were complete and utter garbage as they didn't fit correctly and even hit off the rear beam I had also purchased off him. I had a big dispute with him about it and it ended up him not taking any of the responsibility for it and saying it was down to my shell! So I purchased some standard arms (which are the sizes I asked for from force racing) lo and behold they fit perfectly so 'sods to you Carl Austin of force racing'
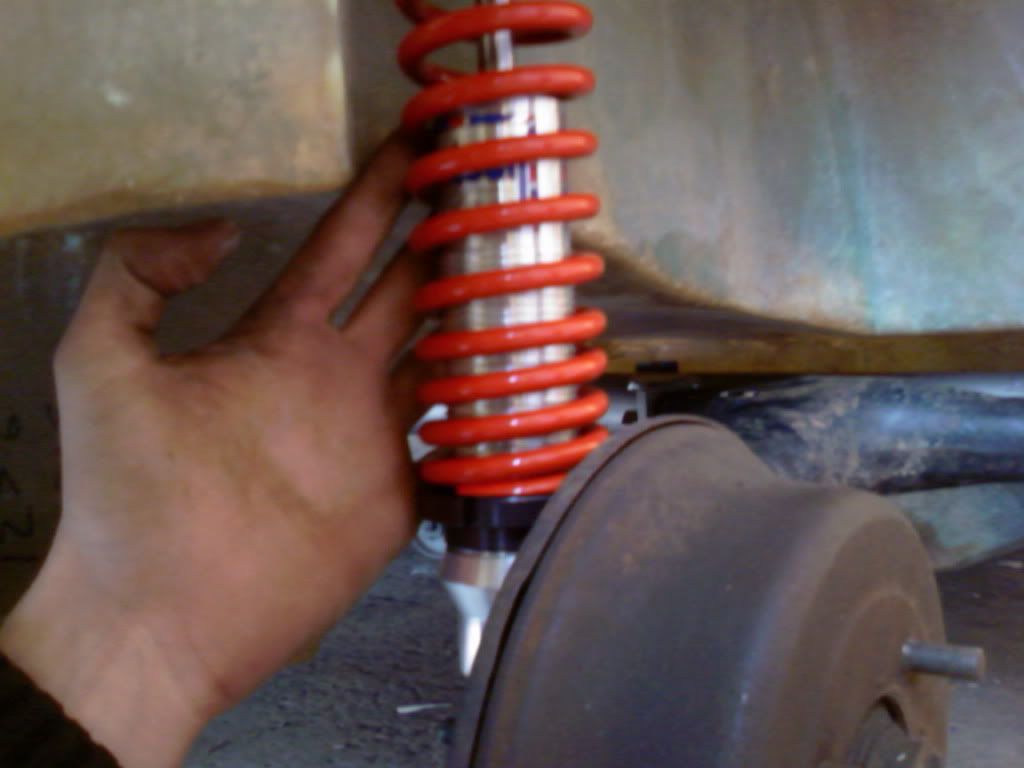
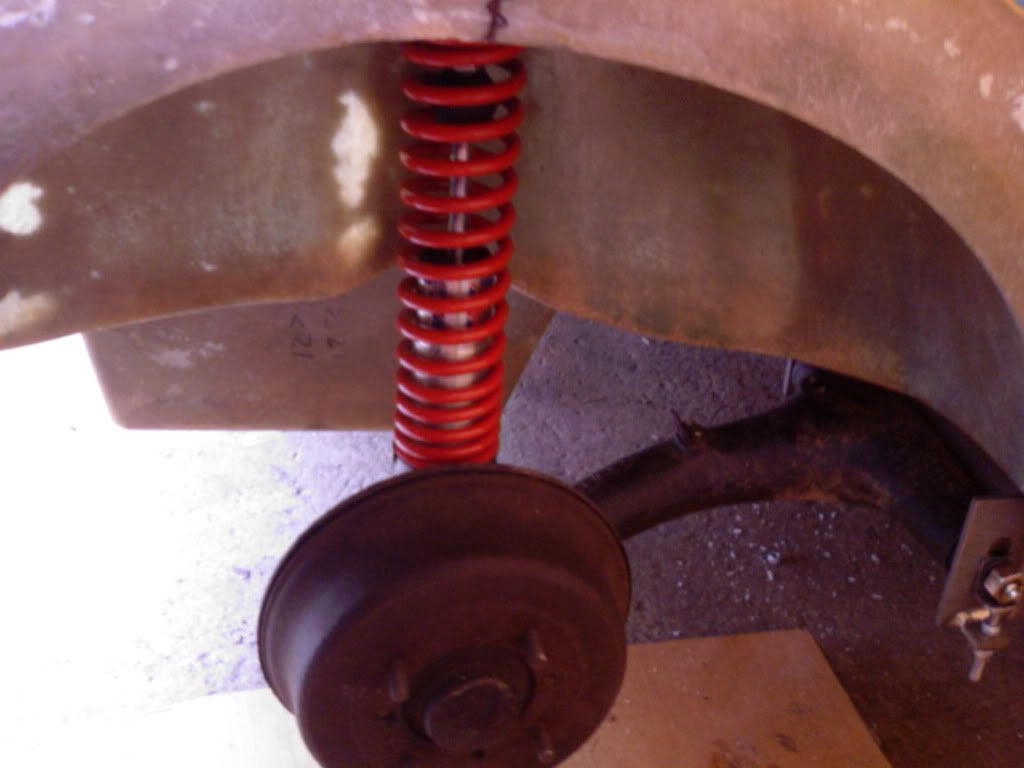
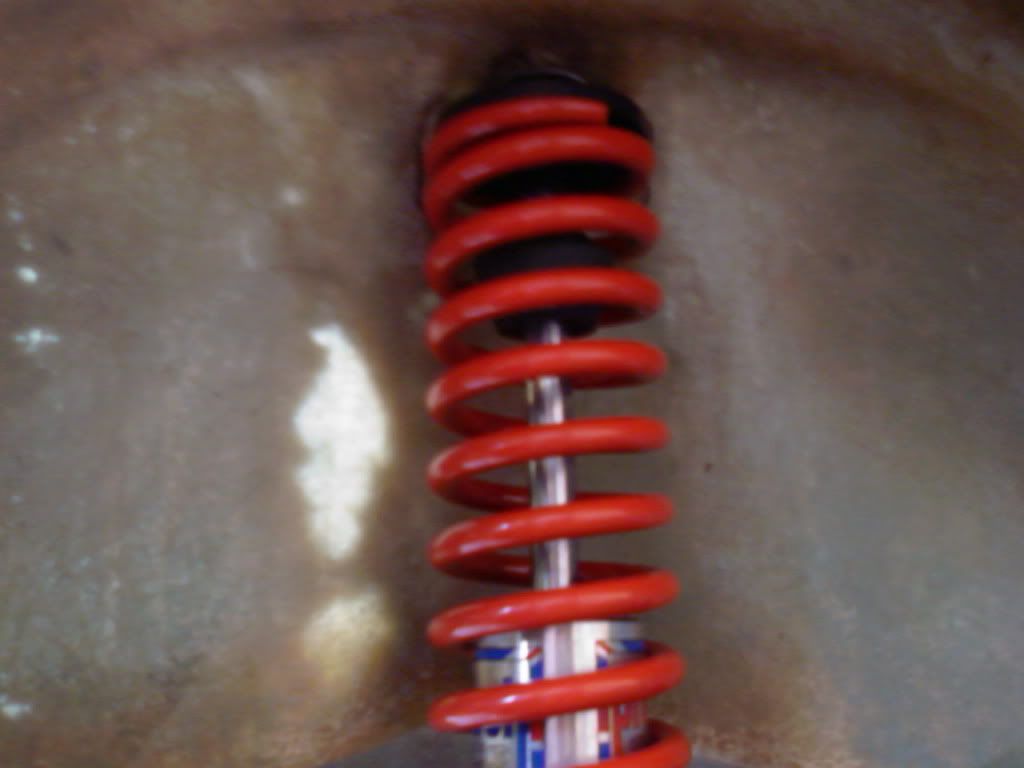
I had to drill a hole in the side of the shell to be able to fit the top bolt in the pins mounting bracket and i will have to do the same on the other side. I will have to find a rubber bung/grommet of some sort to plug it up for a nice finish:
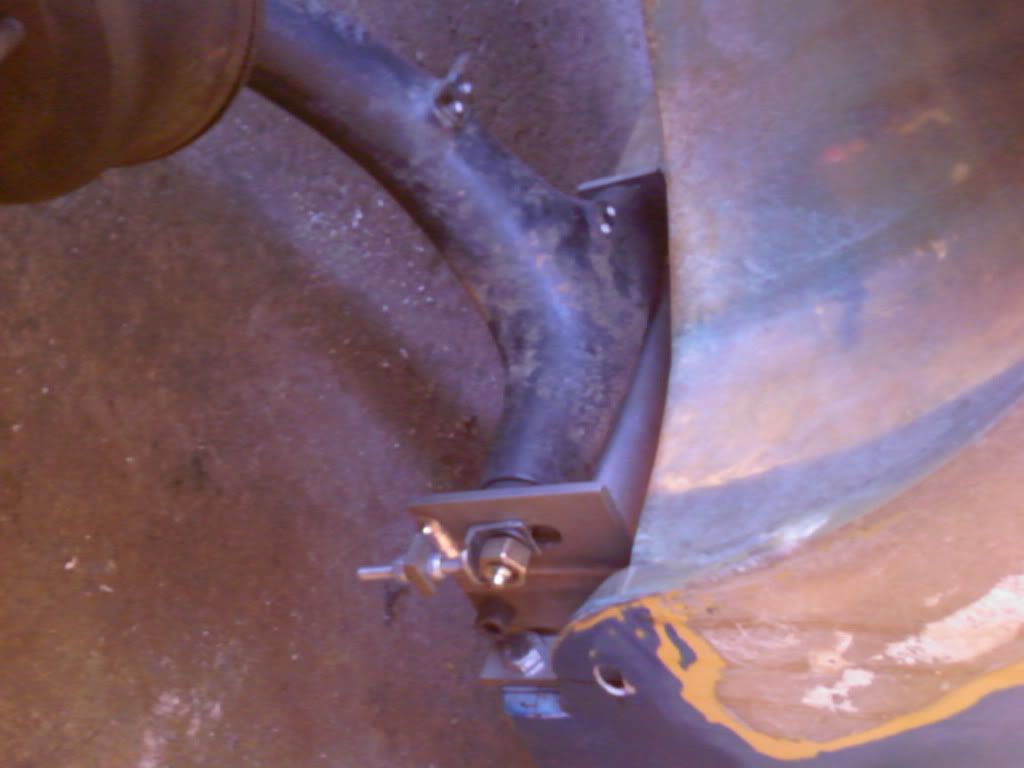
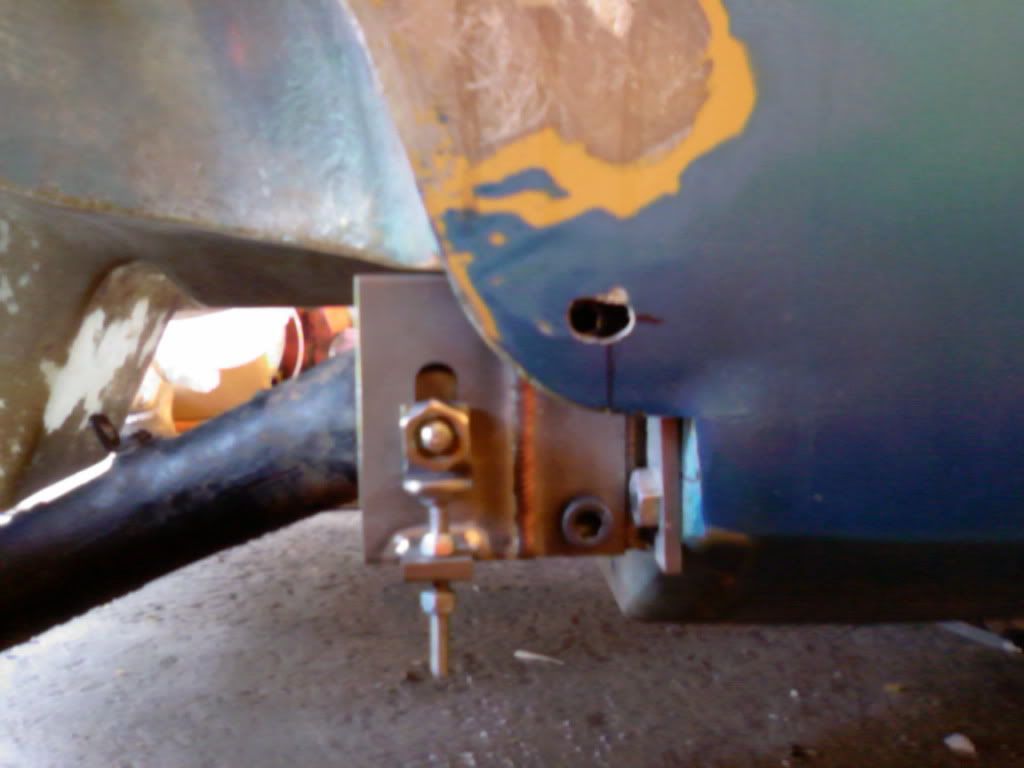
Also drilled and fitted the centre mounting plate for the rear beam:
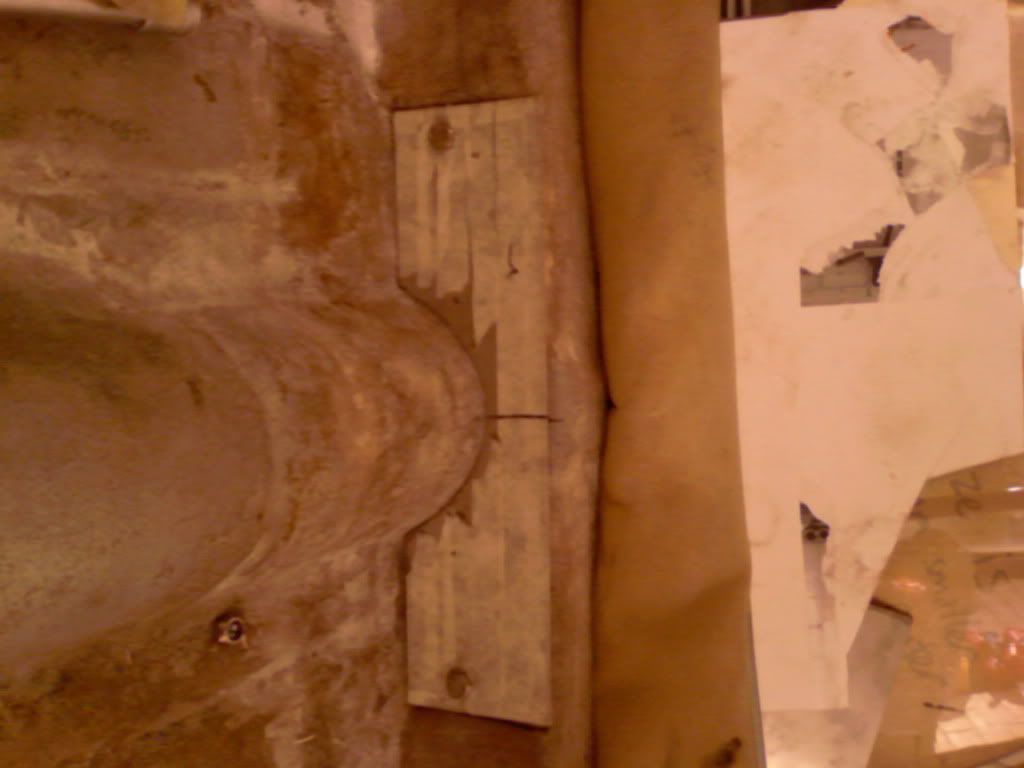
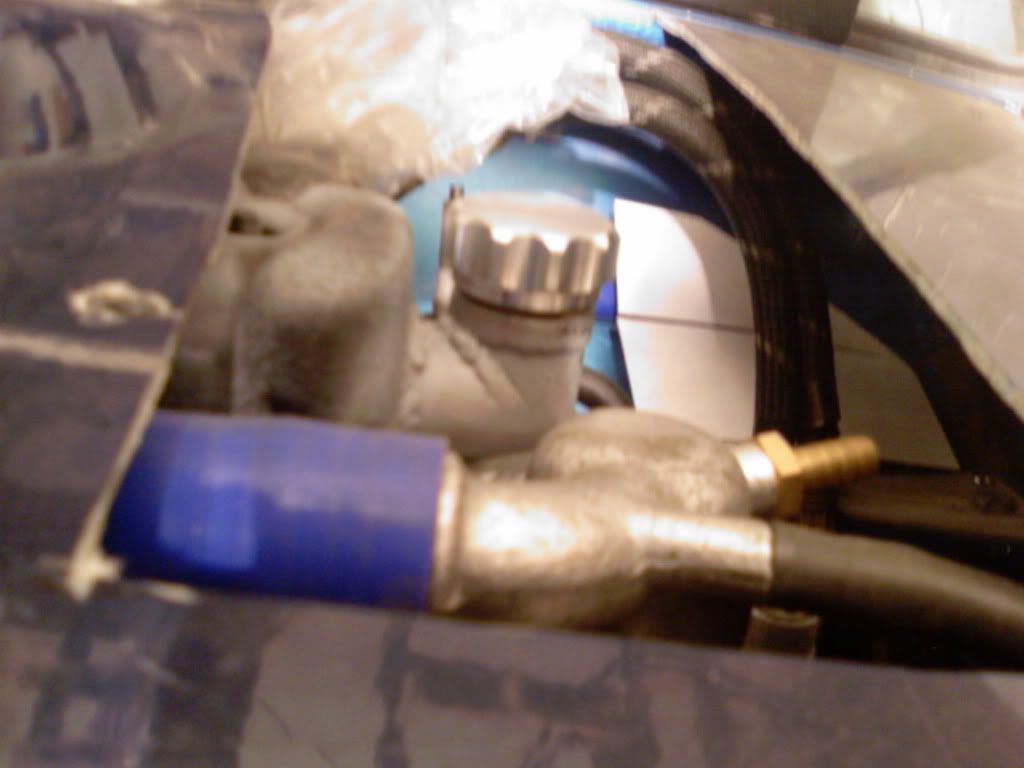
I also sanded the oil filler neck down more for yet more clearance under the bonnet:
Finally i marked out quickly where to cut the wheel arches back for my 13" wheels:
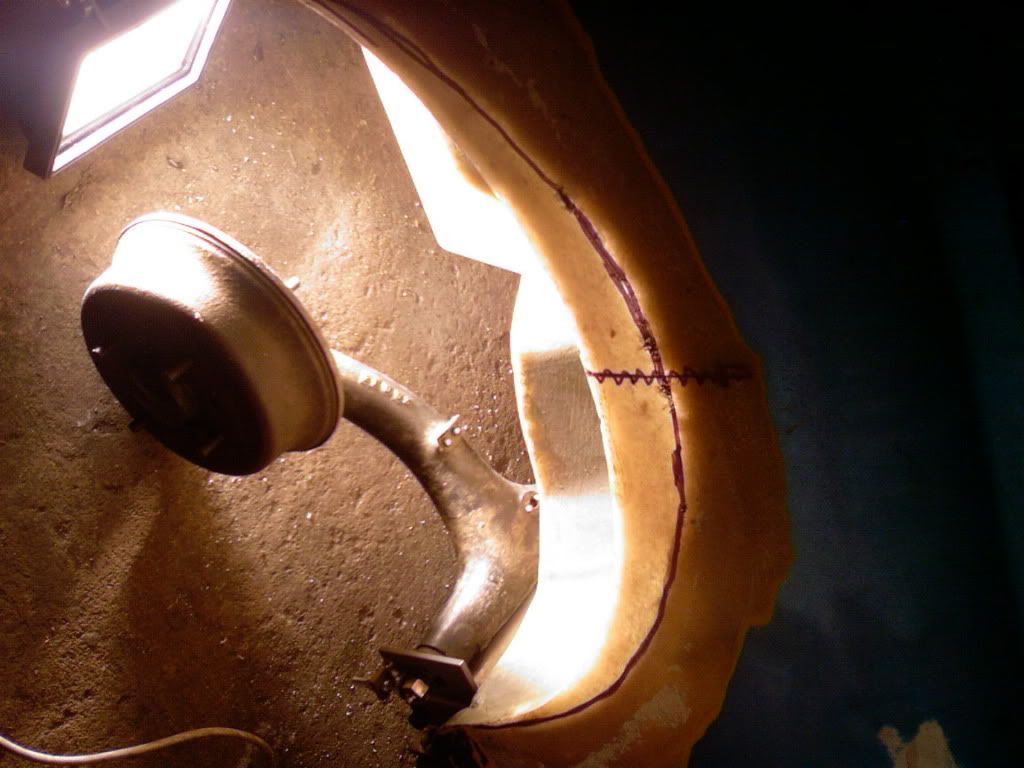
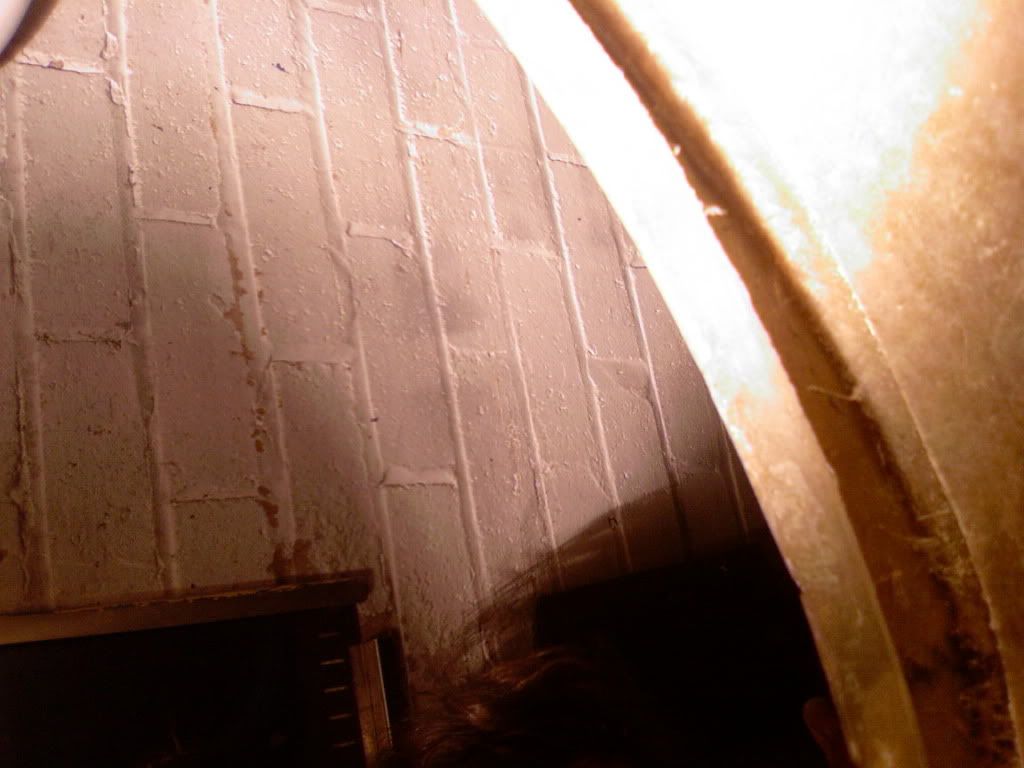
Thats all for now folks
Regards Blue
#210

Posted 20 February 2012 - 09:52 PM
I've got some updates for mine but i haven't taken any pictures, will update soon.

1 user(s) are reading this topic
0 members, 1 guests, 0 anonymous users


