Mini Scura Minus
#181

Posted 29 December 2011 - 11:11 PM
#182

Posted 29 December 2011 - 11:19 PM
The pictures are showing where he has just removed the rear bars that go to the arch. He's moving them so they go through the rear bulkhead and onto the coilover/damper top mount.
#183

Posted 30 December 2011 - 09:08 AM
Regards Blue
#184

Posted 31 December 2011 - 05:39 PM
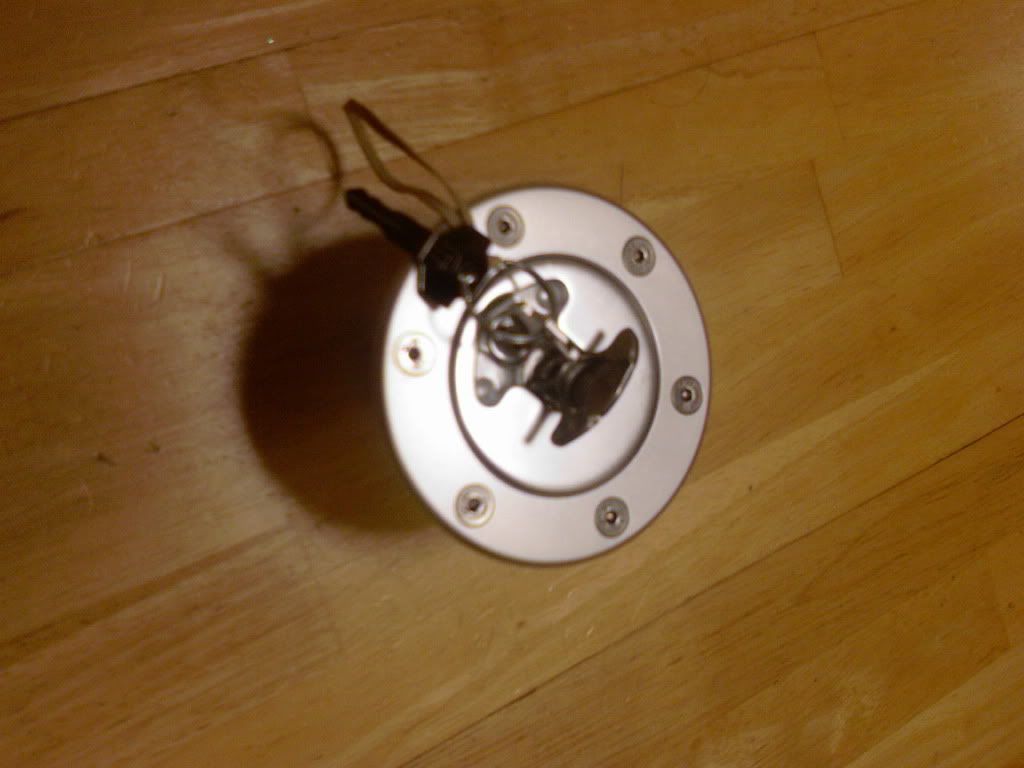
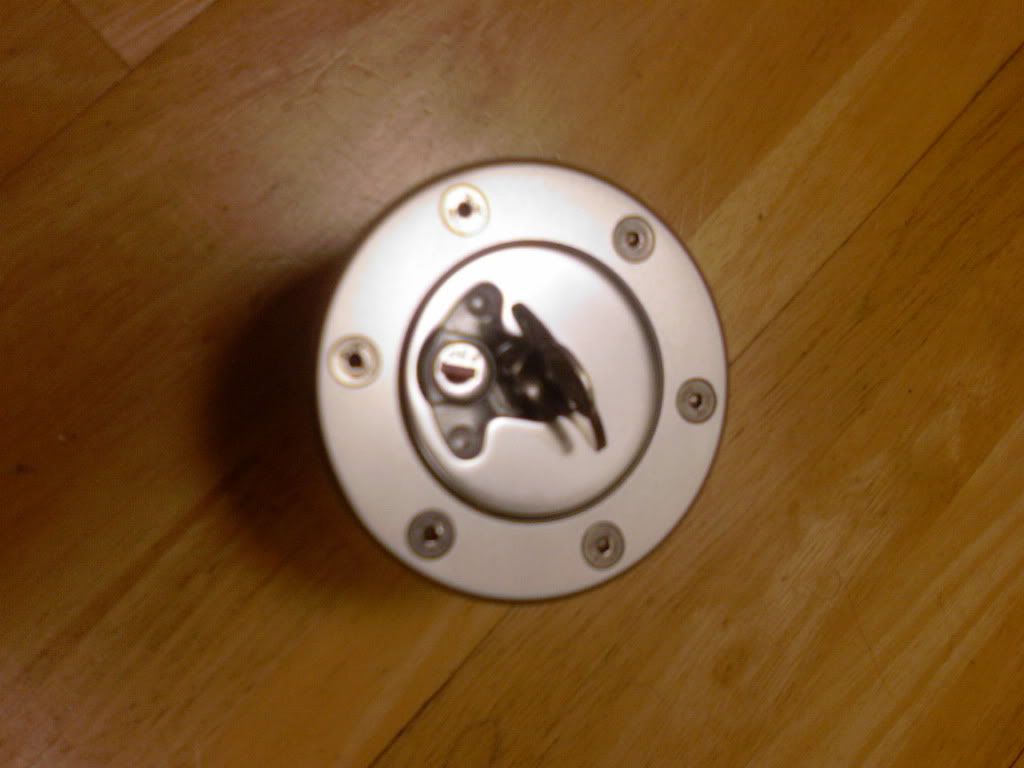
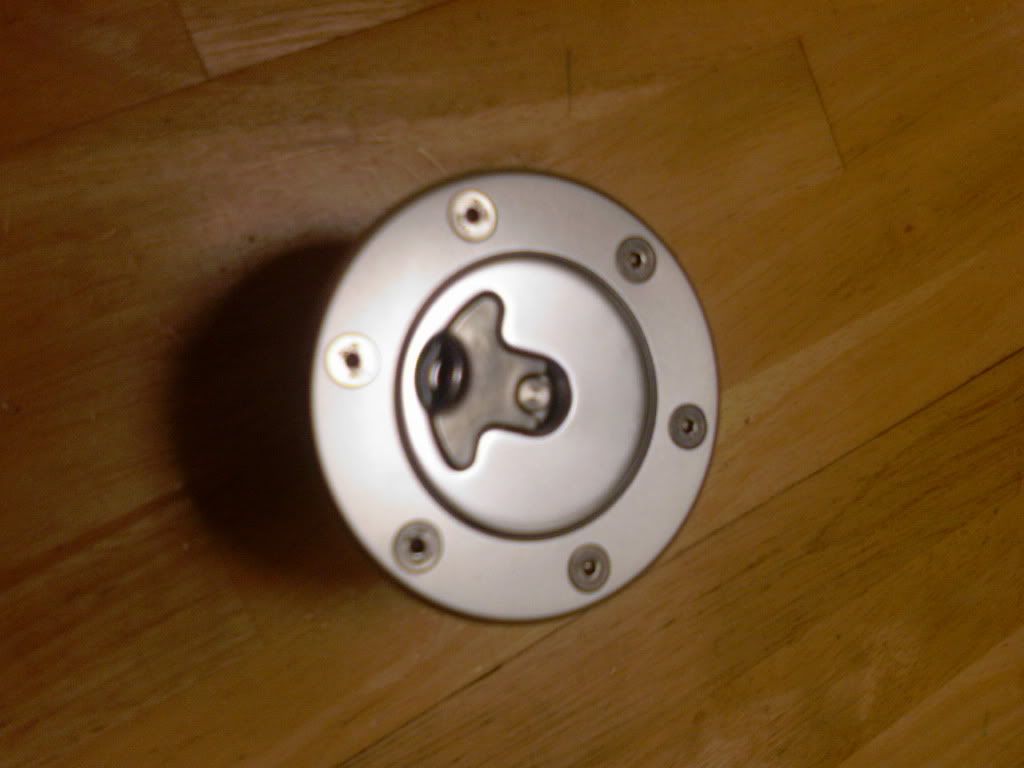
As I have an engine that I will be putting a catalytic convertor on I have to have a restrictor built in. The restrictor is made from aluminium and has a stainless flap, It is retained by a c clip:
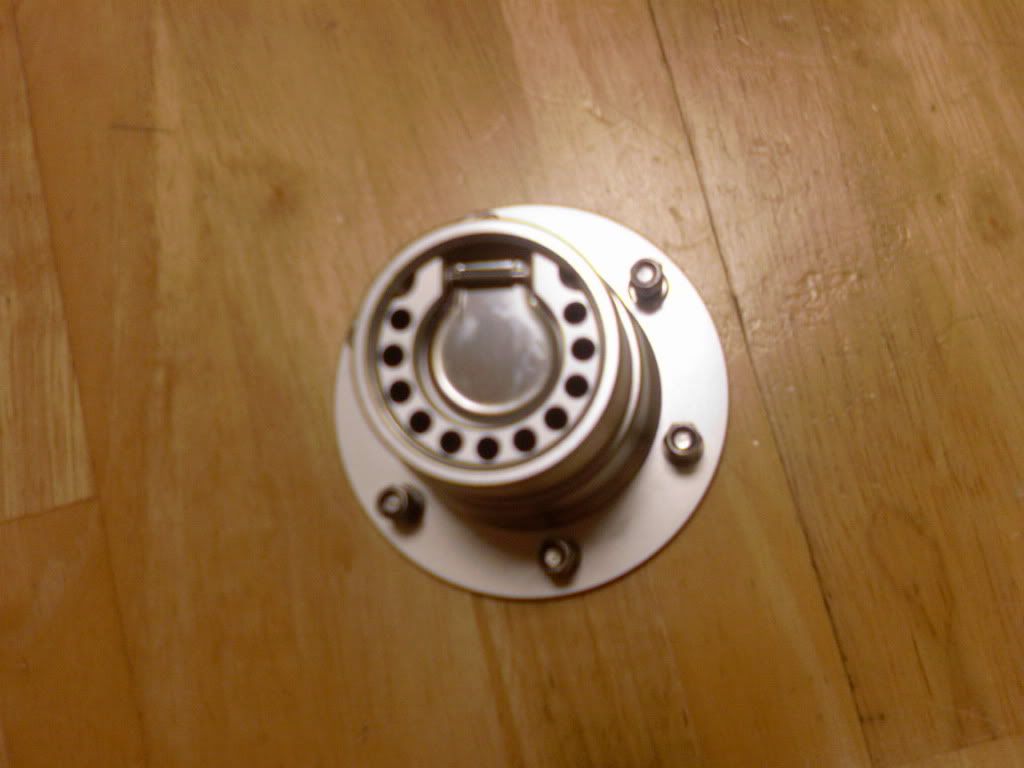
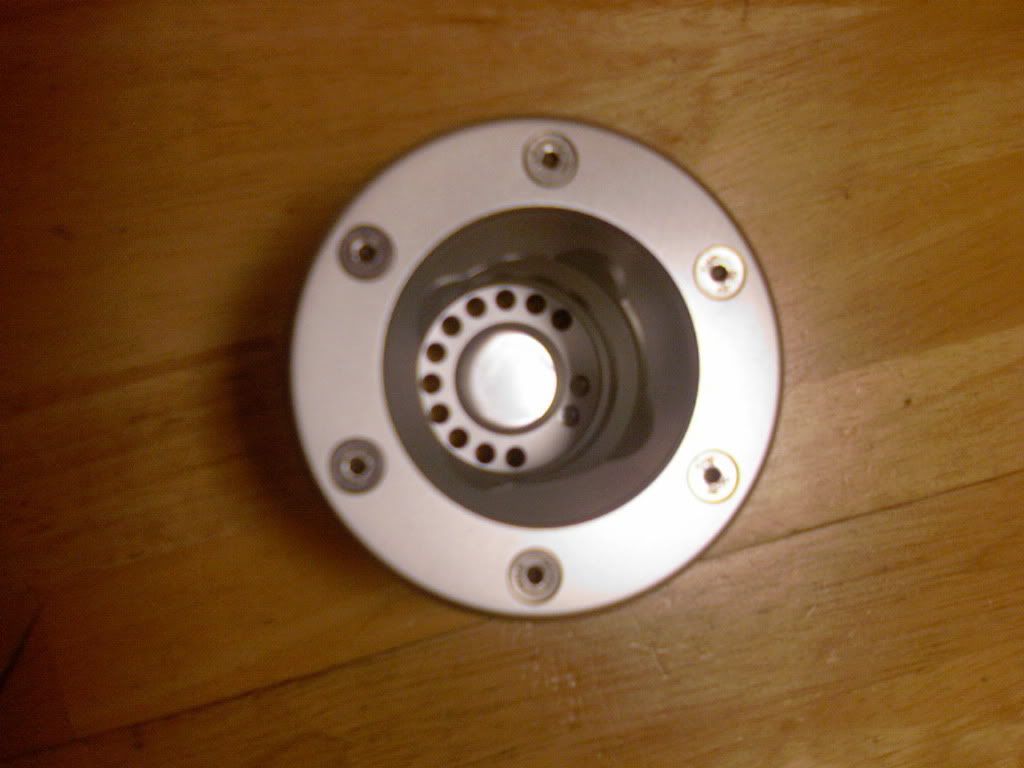
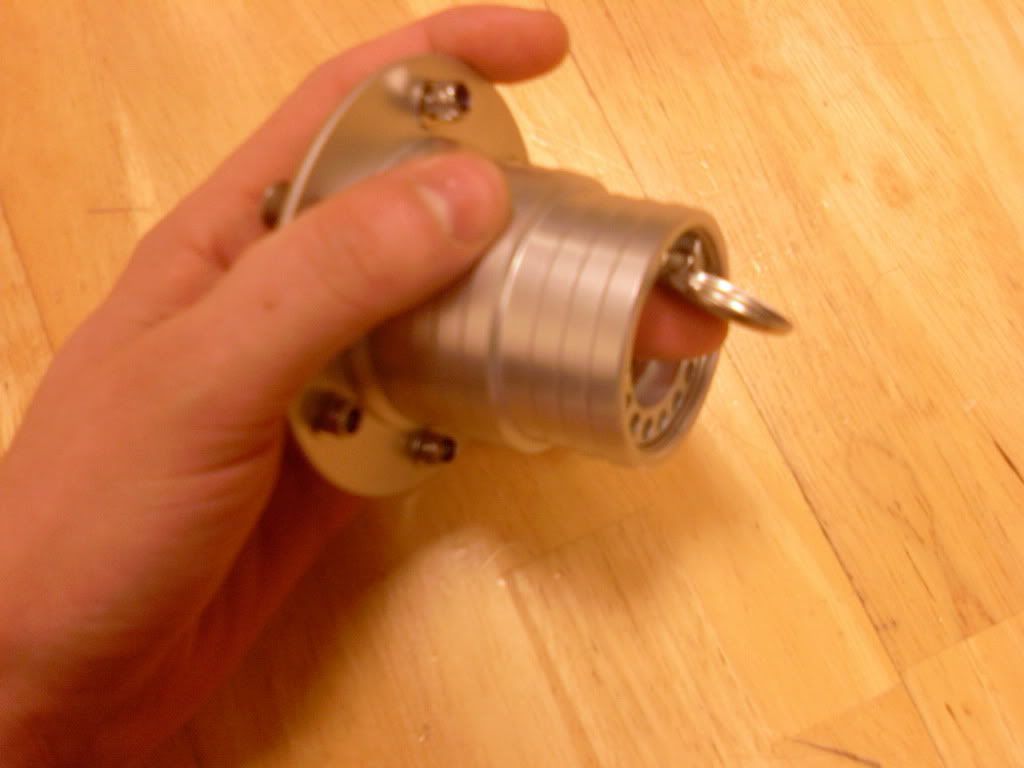
I was thinking of having it mounted in a corner of my boot on a bracket so I don't have to lean in with my boot-lid in the way. So i will have to get some fuel filler hose to connect to it to my fuel cell. I will also have to drill a small hole in the flap of the cap so I may tether it to the neck (for IVA reasons).
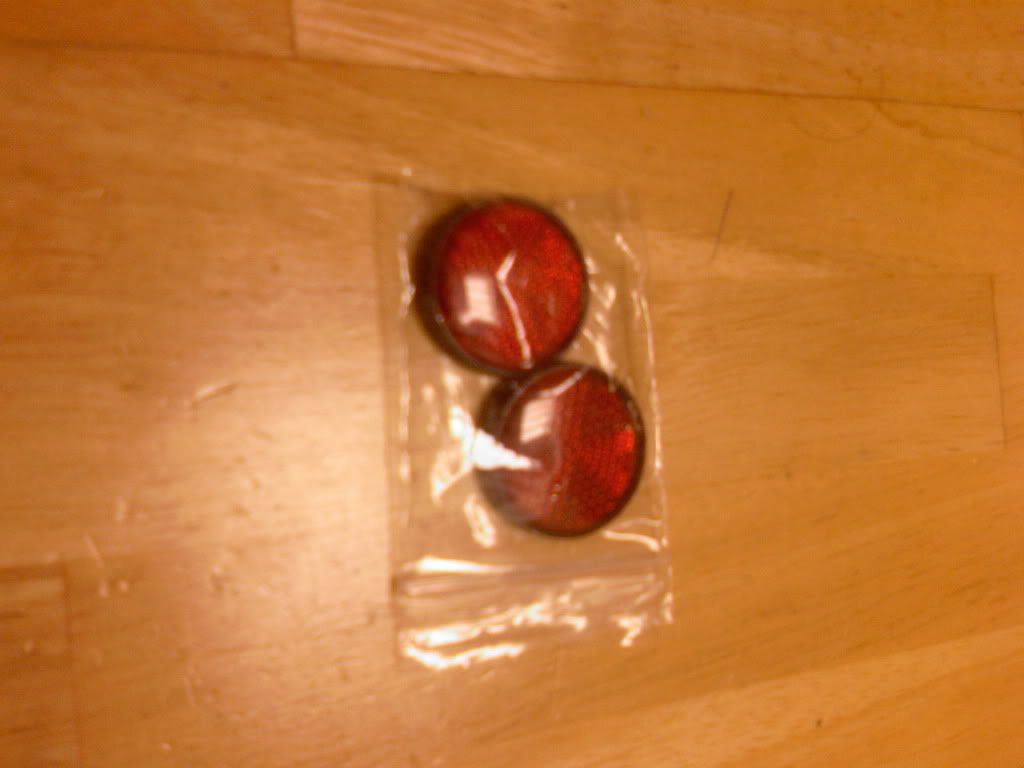
I also bought some small reflectors as I am running with the jewel lenses and don't like the big cheesy fake chrome ones provided in the lens kit!
Regards Blue
#185

Posted 01 January 2012 - 09:38 AM
I was looking at those caps on CBS and coudn't decide which one to go for ;) which one do you have there?
Martin
#186

Posted 01 January 2012 - 04:17 PM
http://www.cbsonline...Aluminium_AERO3
with this spring cover reducer:
http://www.cbsonline...ed_Insert_FCIN2
There are similar on ebay if you search dax that are cheaper like this one:
http://www.ebay.co.u...bd#ht_500wt_971
with this as a reducer but its not stainless and aluminium so could rust after a while
http://www.ebay.co.u...39#ht_500wt_971
Regards Blue
#187

Posted 05 January 2012 - 07:20 PM
To begin with I made the stainless heavy duty drop bracket fit my MPI steering column shroud :
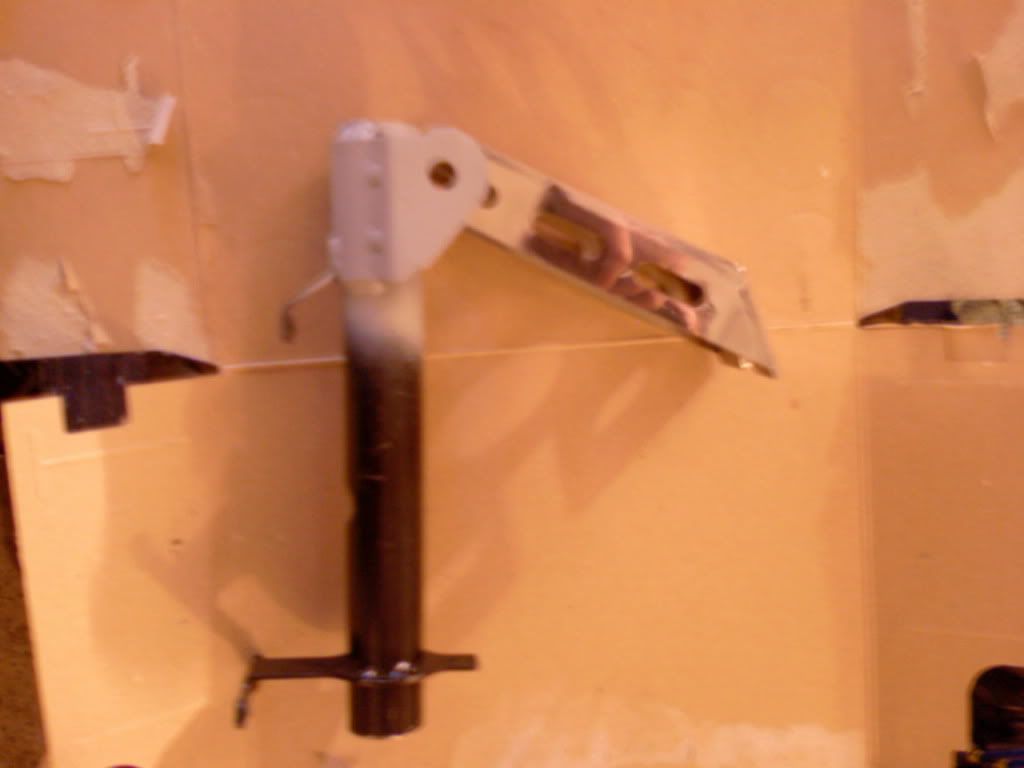
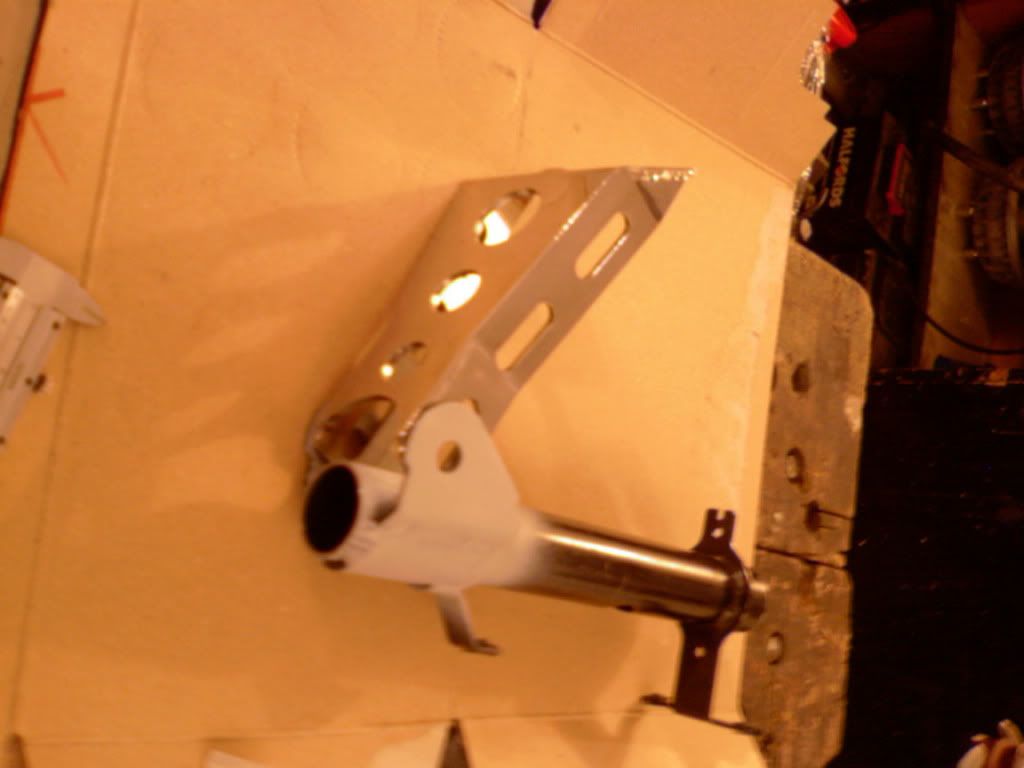
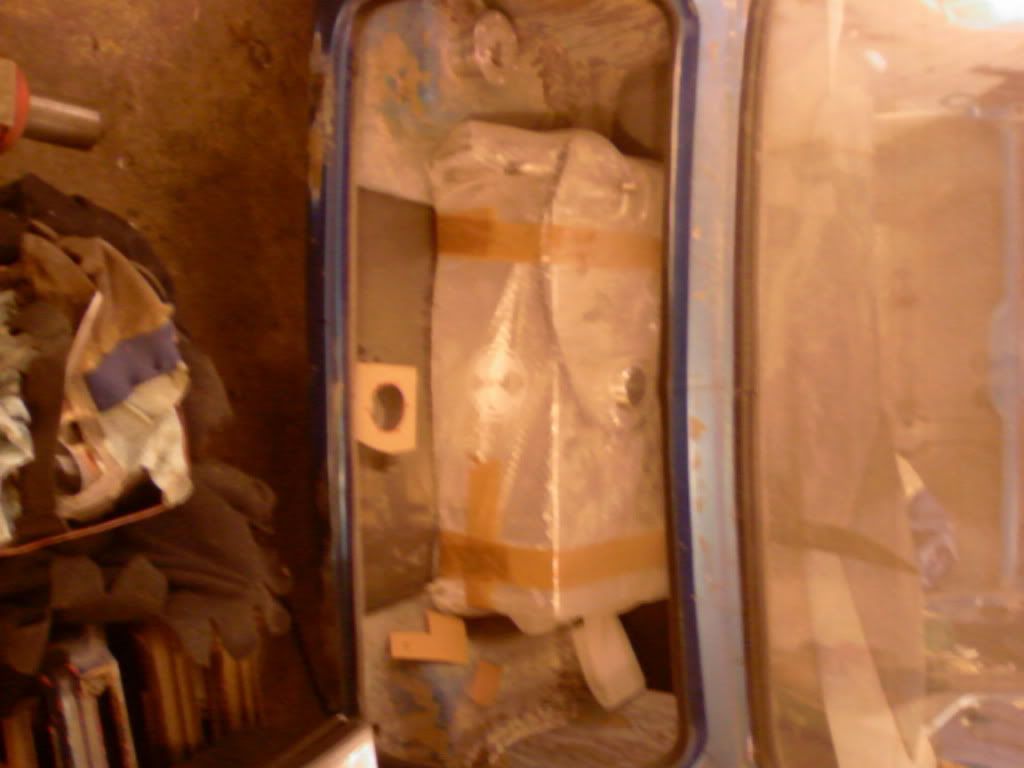
Worked out how to have the filling cap and fuel cell in the boot. I think I will buy some L angle aluminium and have a frame tigged together for me to cradle my fuel cell to keep it level.
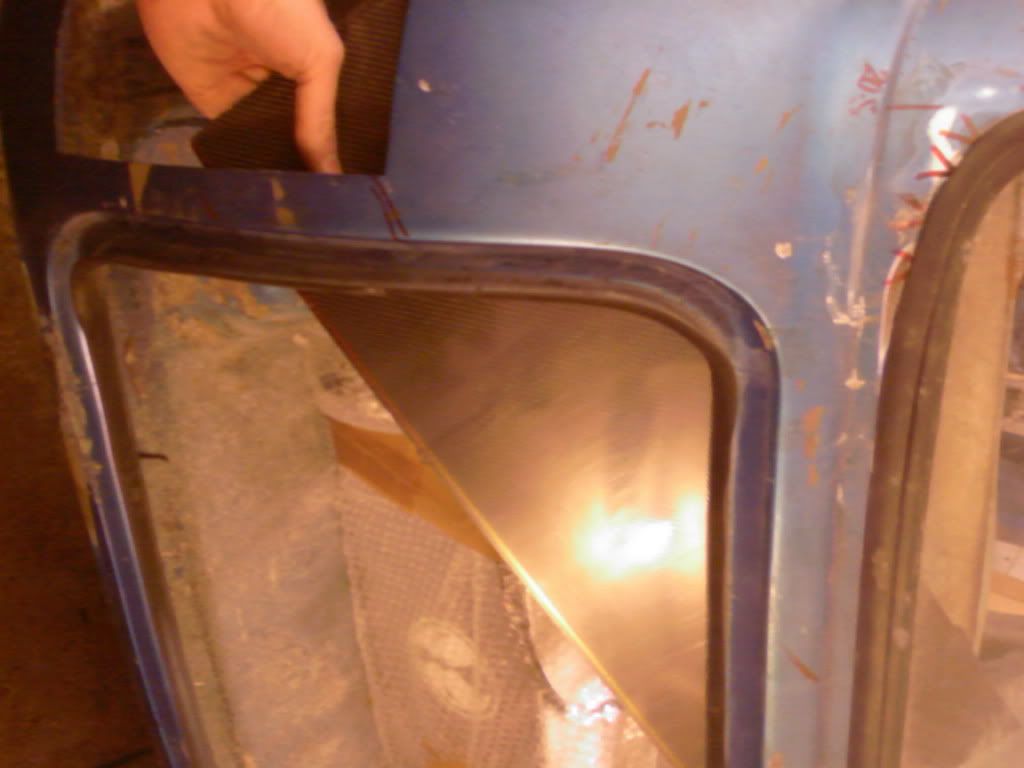
As far as the fuel neck goes i'm going to have it mounted on some carbon fibre sheet to one side :
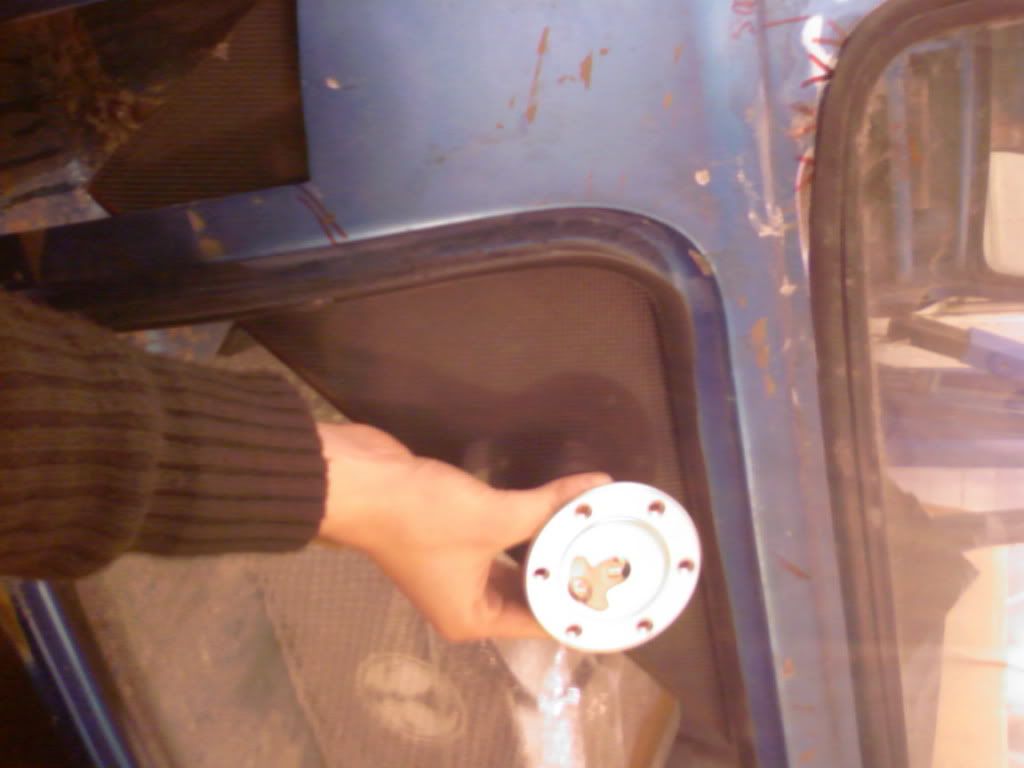
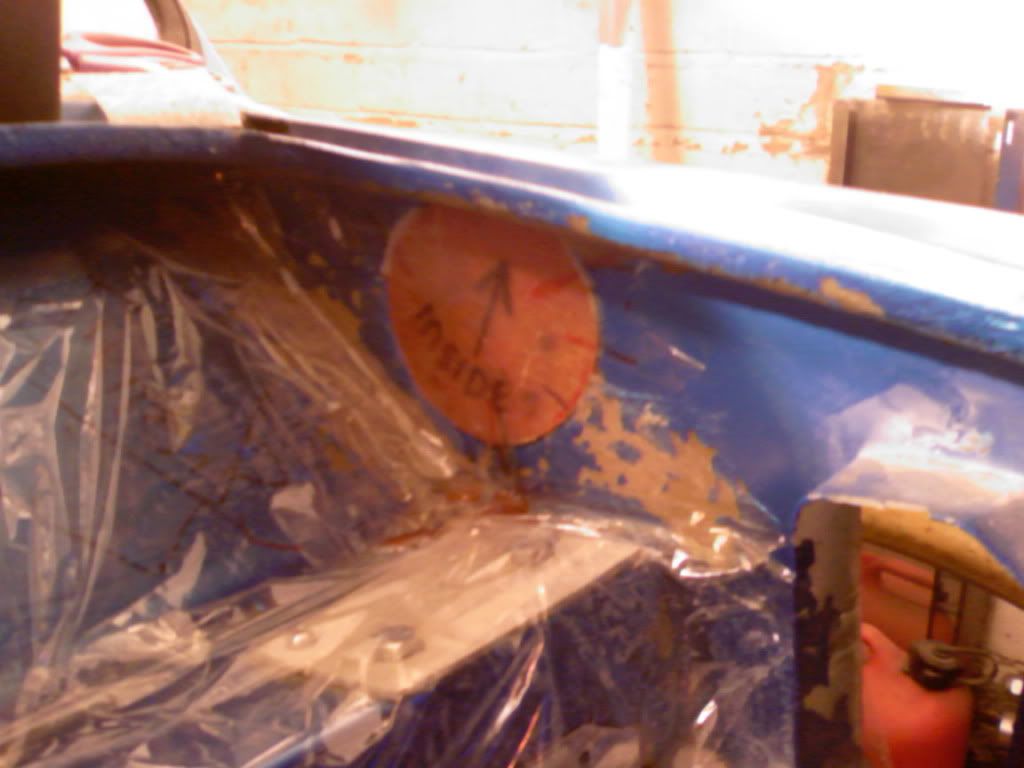
Right the other thing I started was getting rid of a bulge on the passengers side under the bonnet that would interfere with my coil-over bracket. So I cut it out :
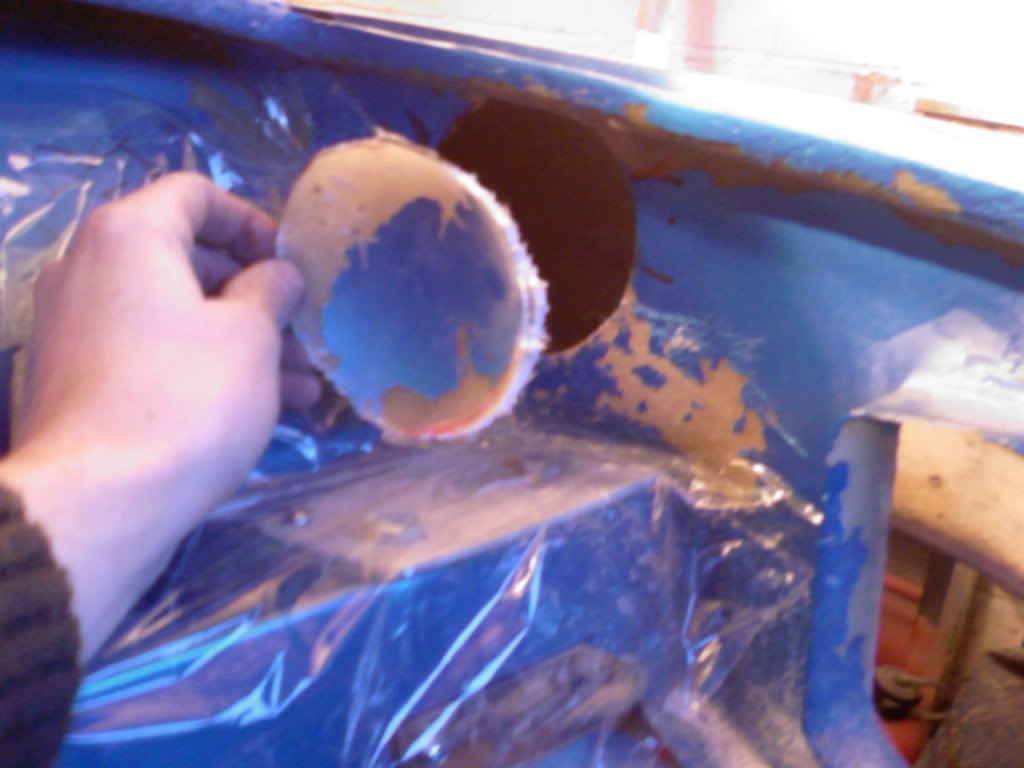
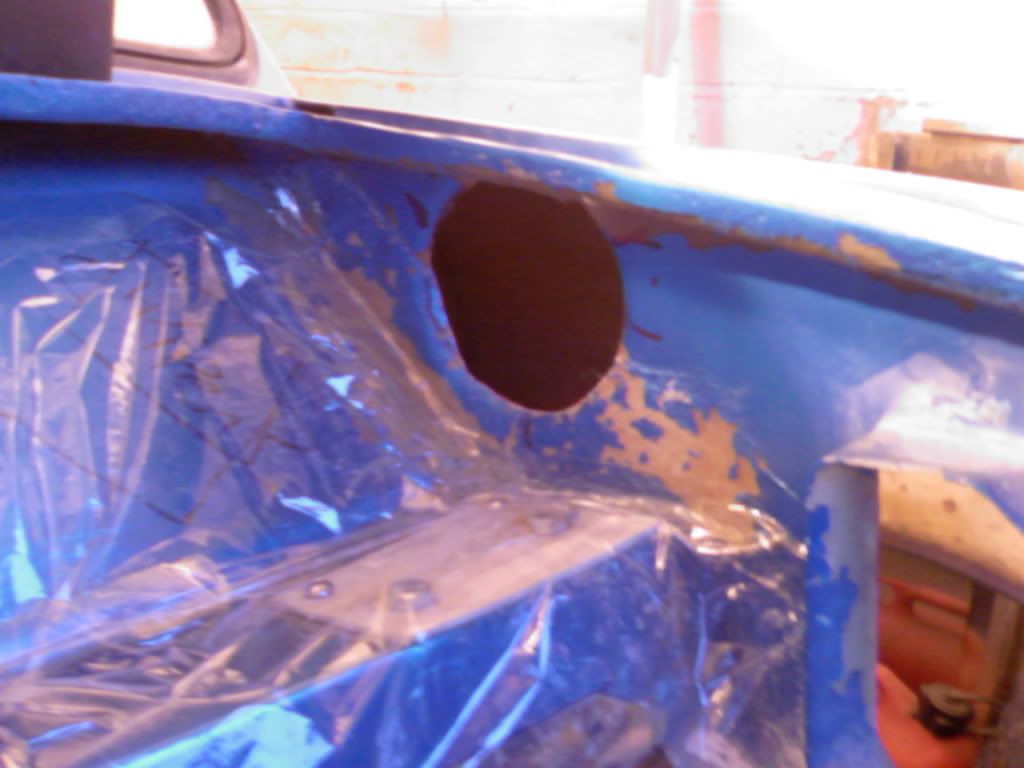
Then on a piece of flat glass lay out smooth some cling film and built up some fibre glass using another piece of cling film to cover so I could roll a round bar gently over the top to make sure there was no air in it:
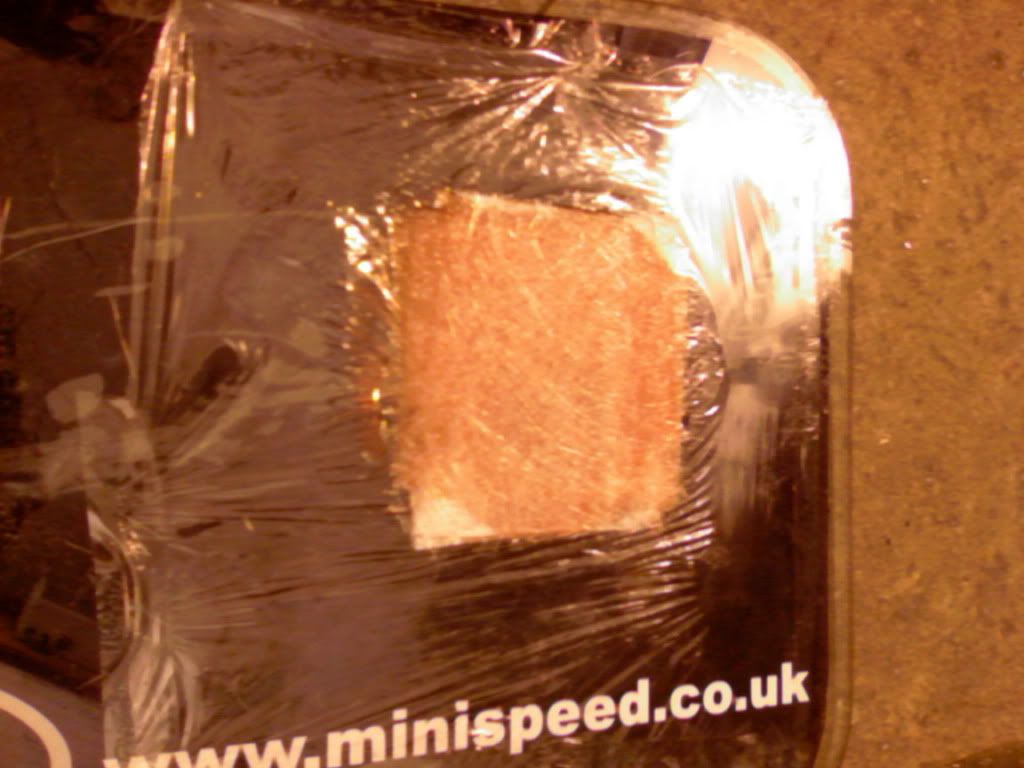
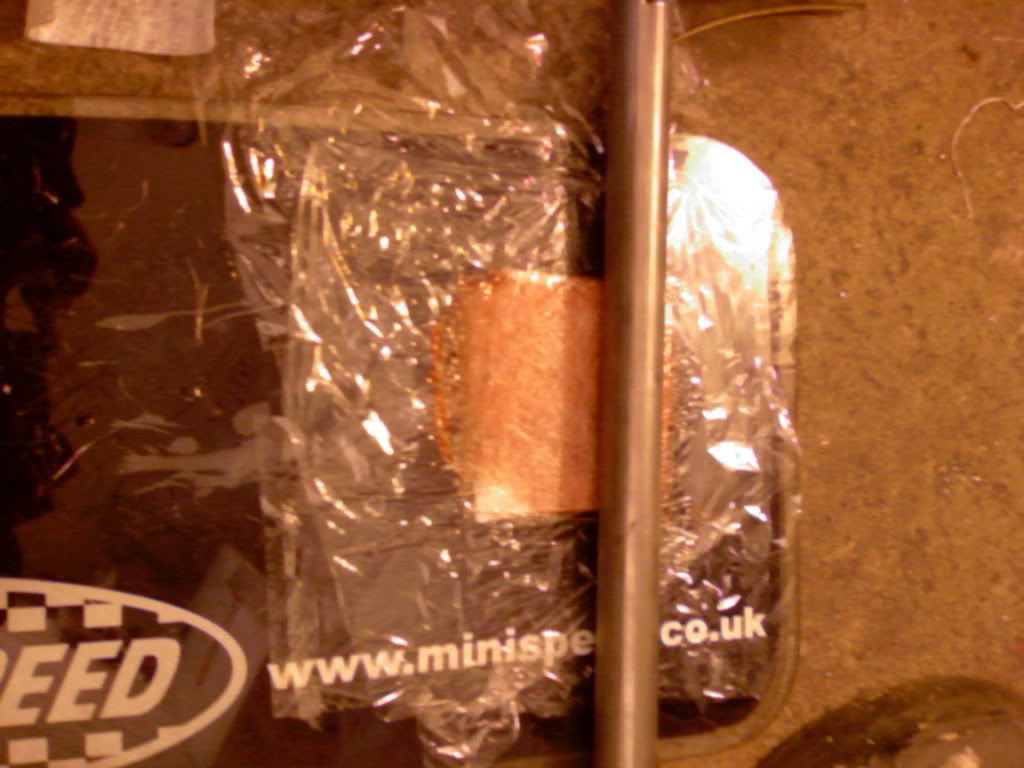
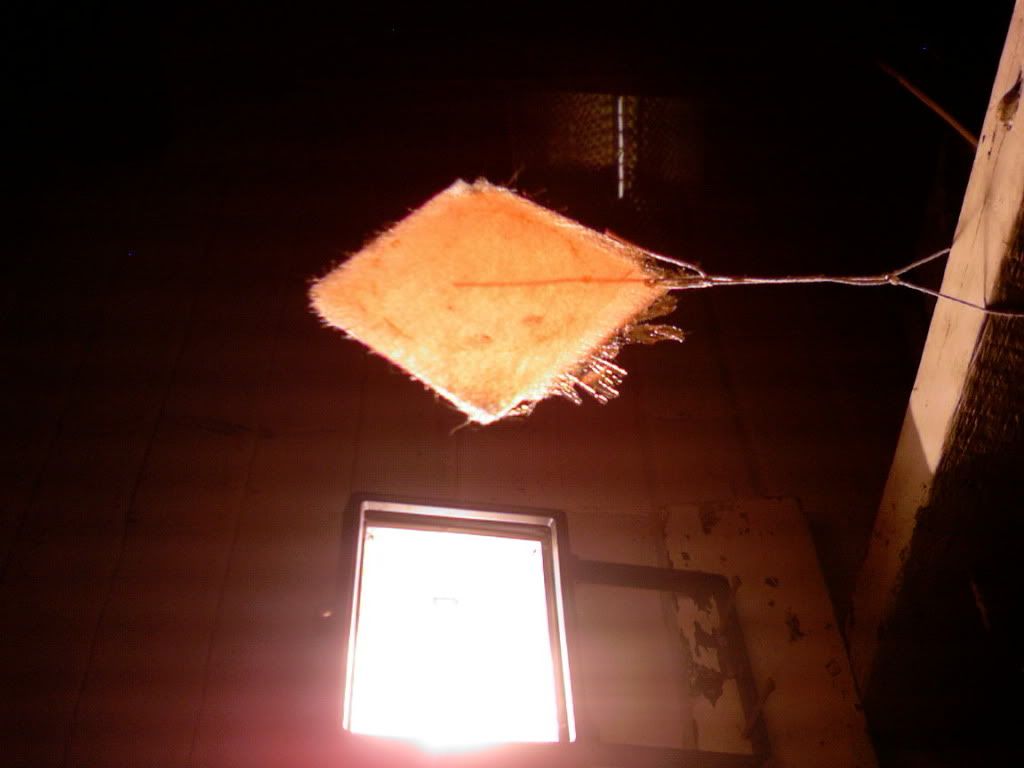
After that I let it cure a bit and then hung it up in front of my halogen light so it would harden quicker:
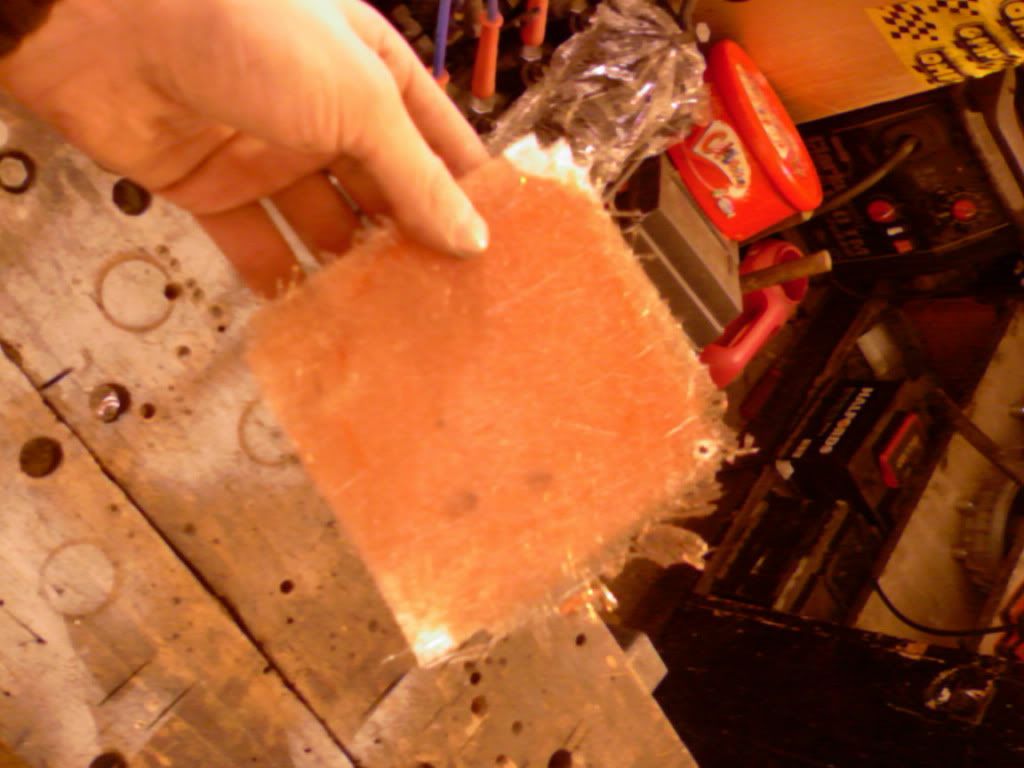
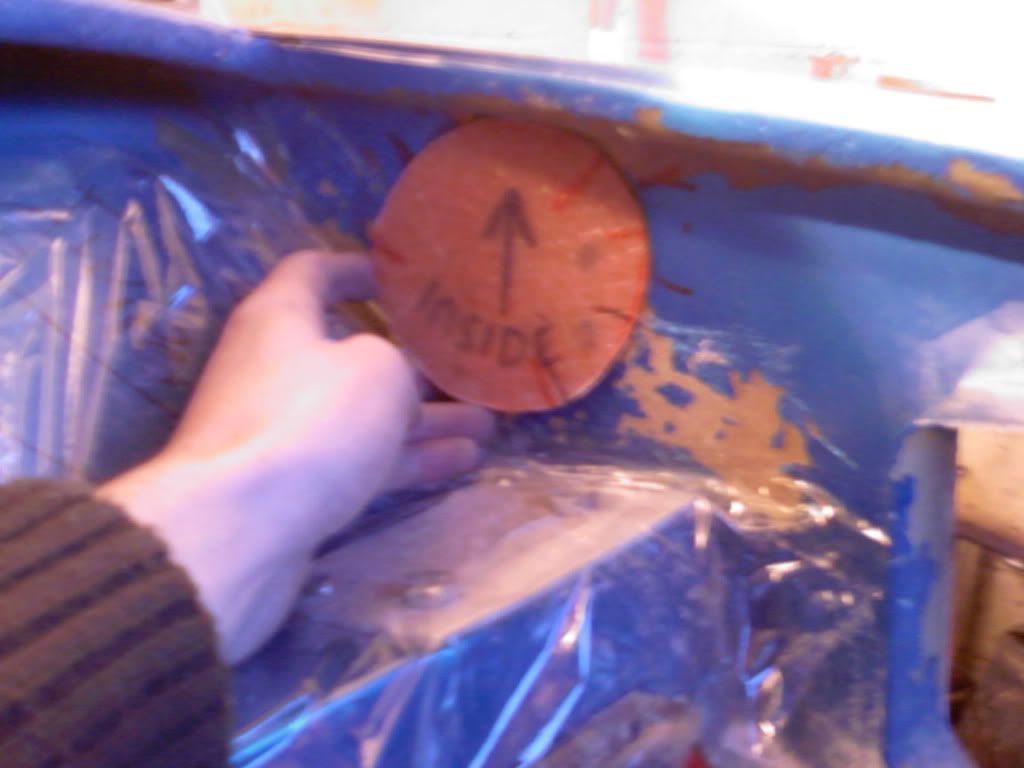
Then I made a template from the hole and cut a circle to shape and had started to fibreglass it into place until I ran out of gloves so had to stop for the time being:
I'm trying to get a few things together so I can get all the front running gear sorted soonish.
Regards Blue
#188

Posted 05 January 2012 - 10:19 PM
You planning on having any extra support for the coilover mounts?
Think i will need to cut out the bulge to.
#189

Posted 05 January 2012 - 10:32 PM
Regards Blue
#190

Posted 07 January 2012 - 09:57 AM
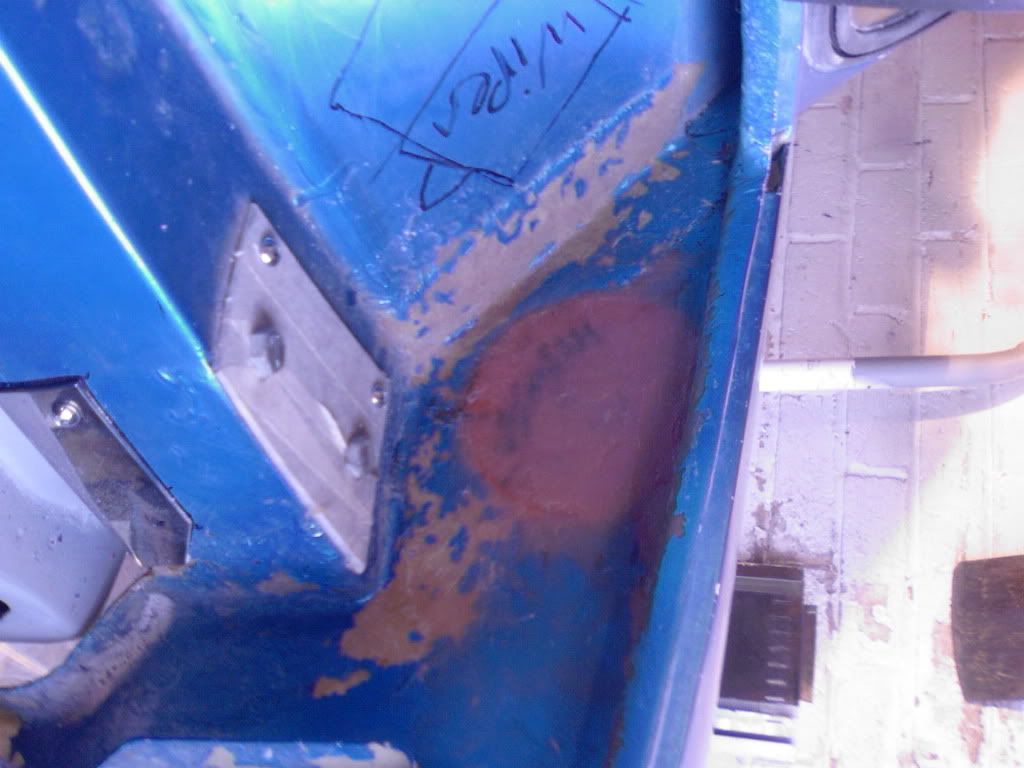
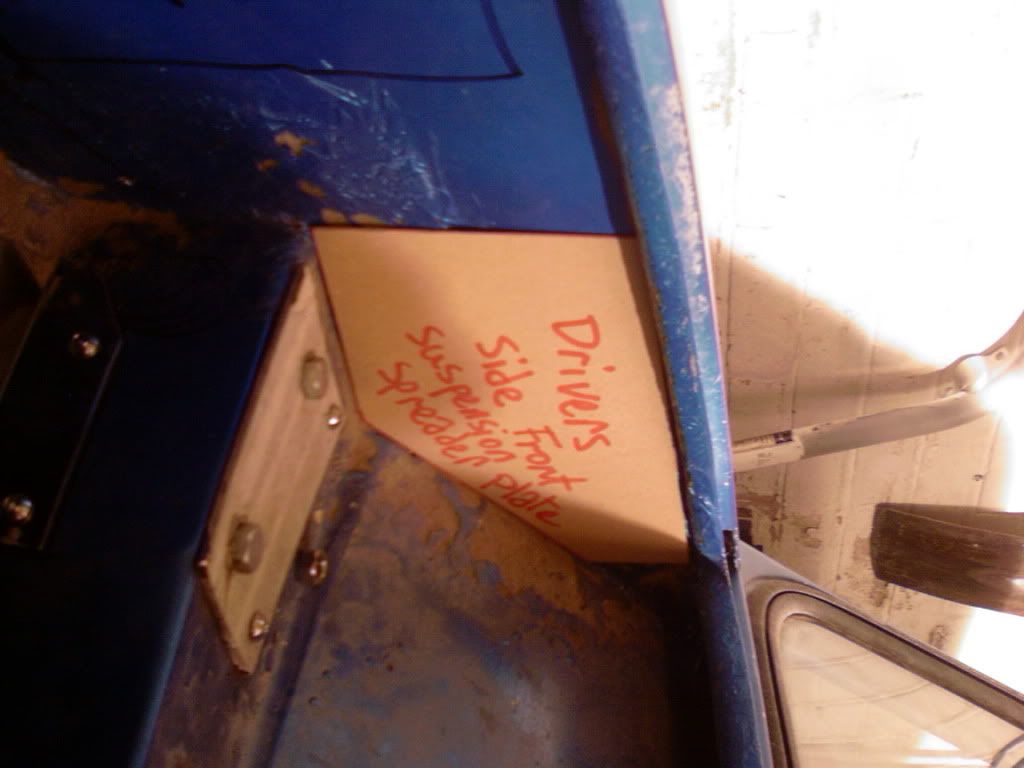
Also made up some templates:
I then did a full trial fit of my top arm. I think I have it on the right side because the top hub hole is more forward but please someone correct me if i'm wrong:
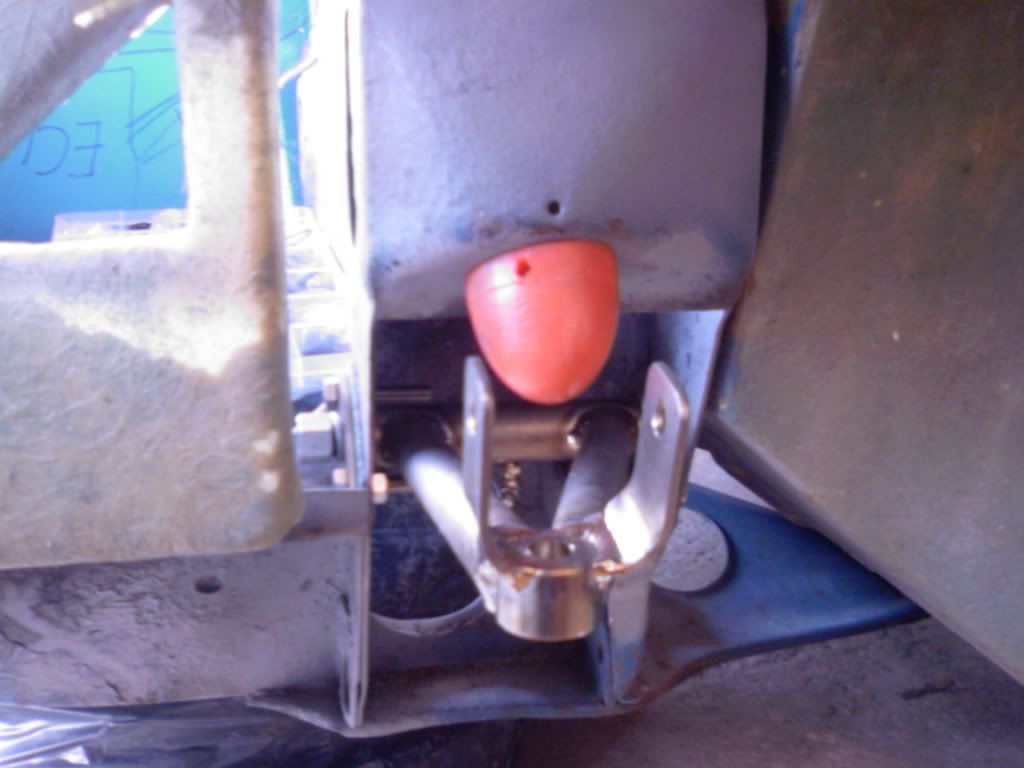
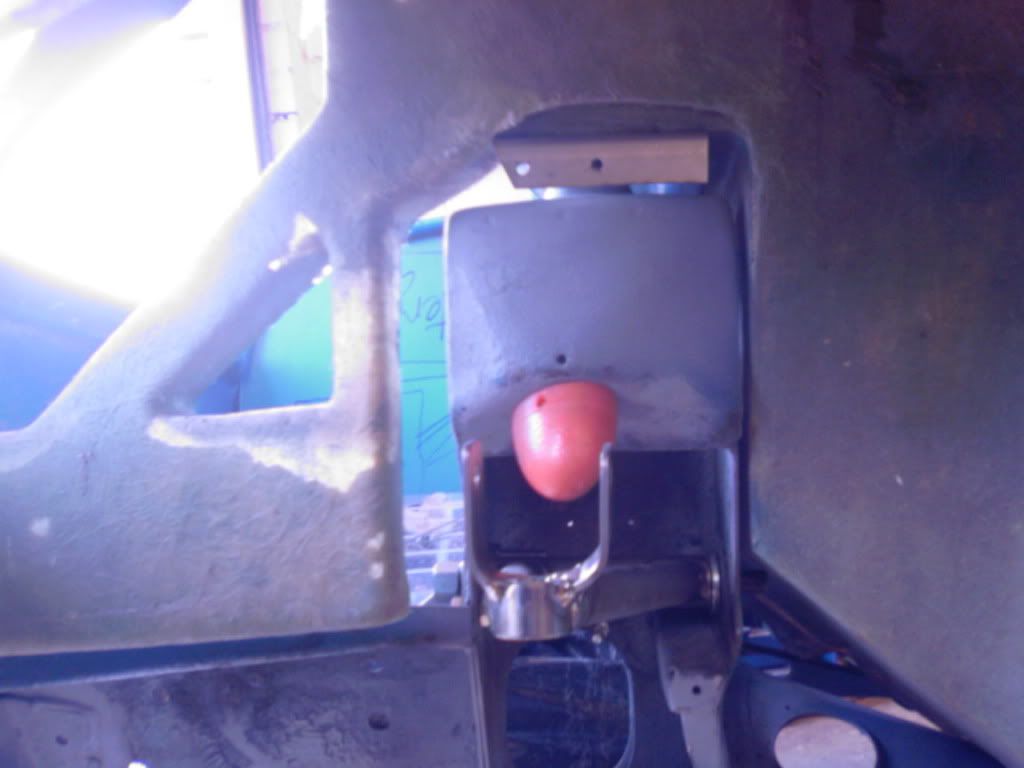
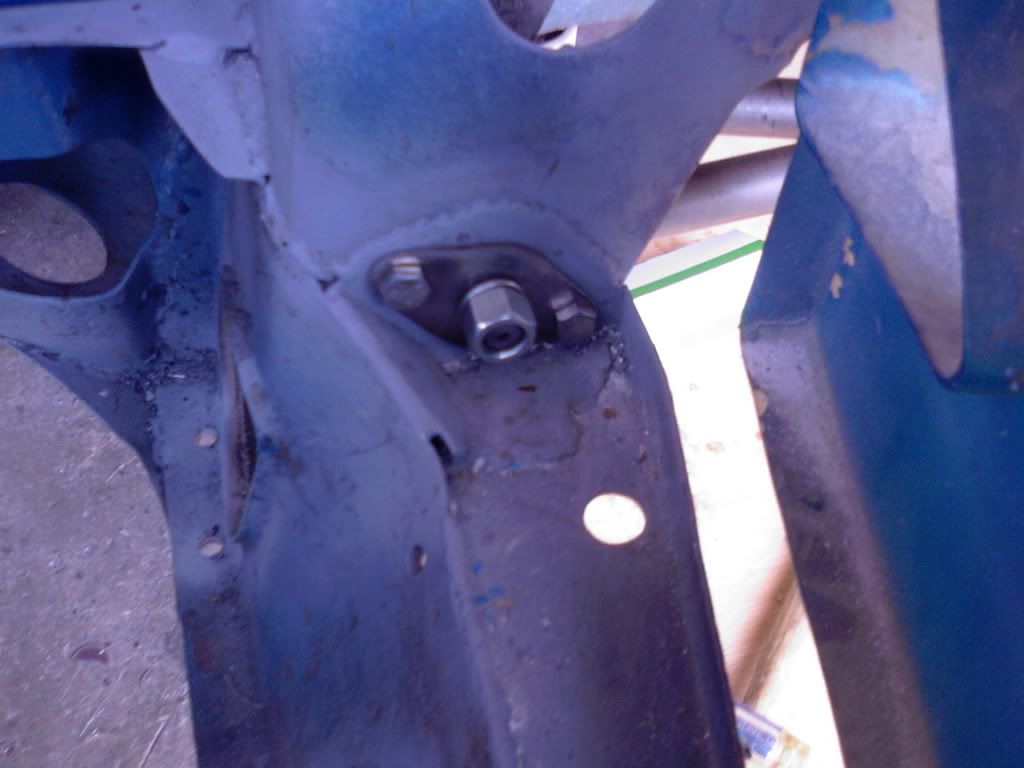
Then i decided to sling the engine in for clearances:
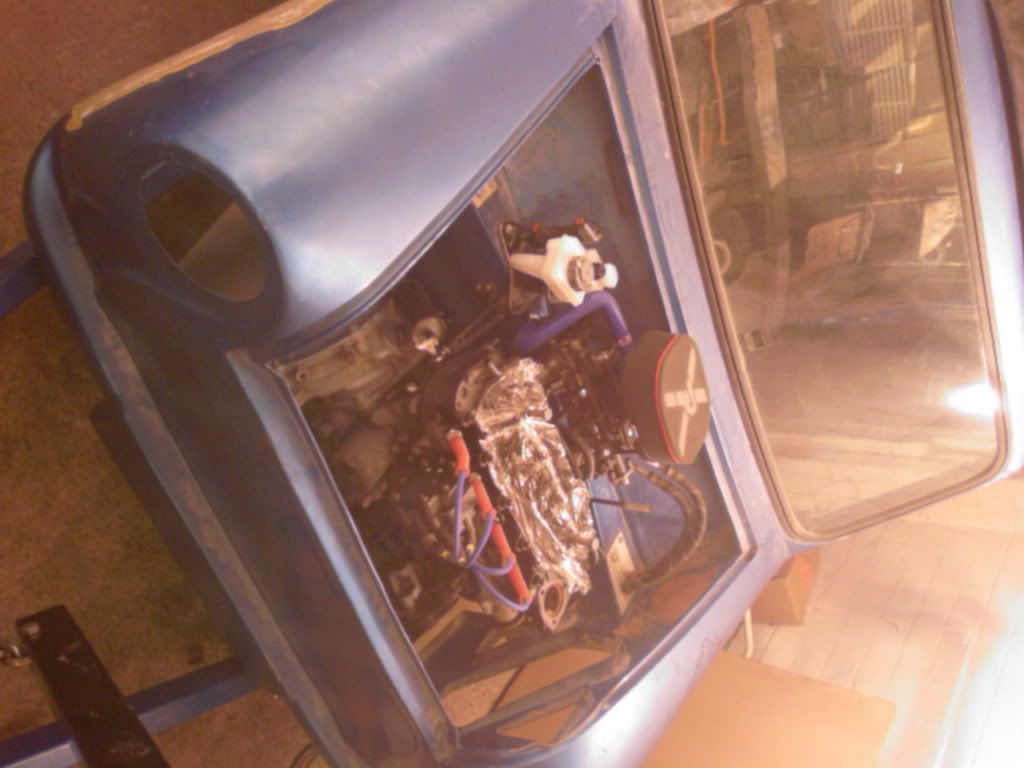
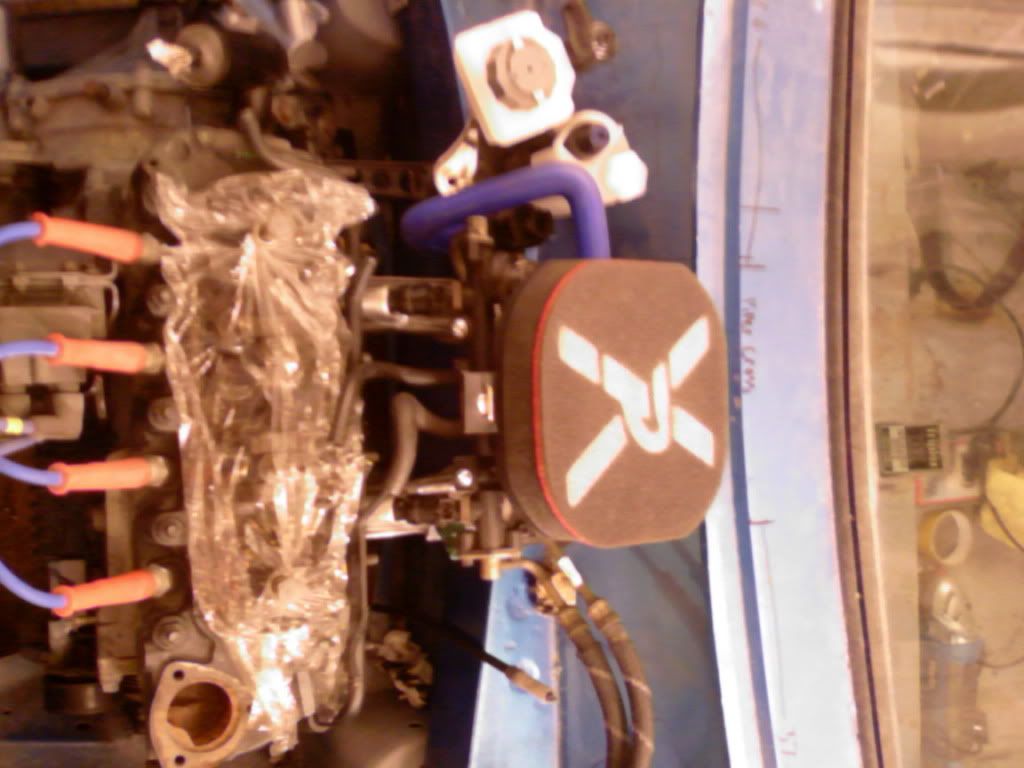
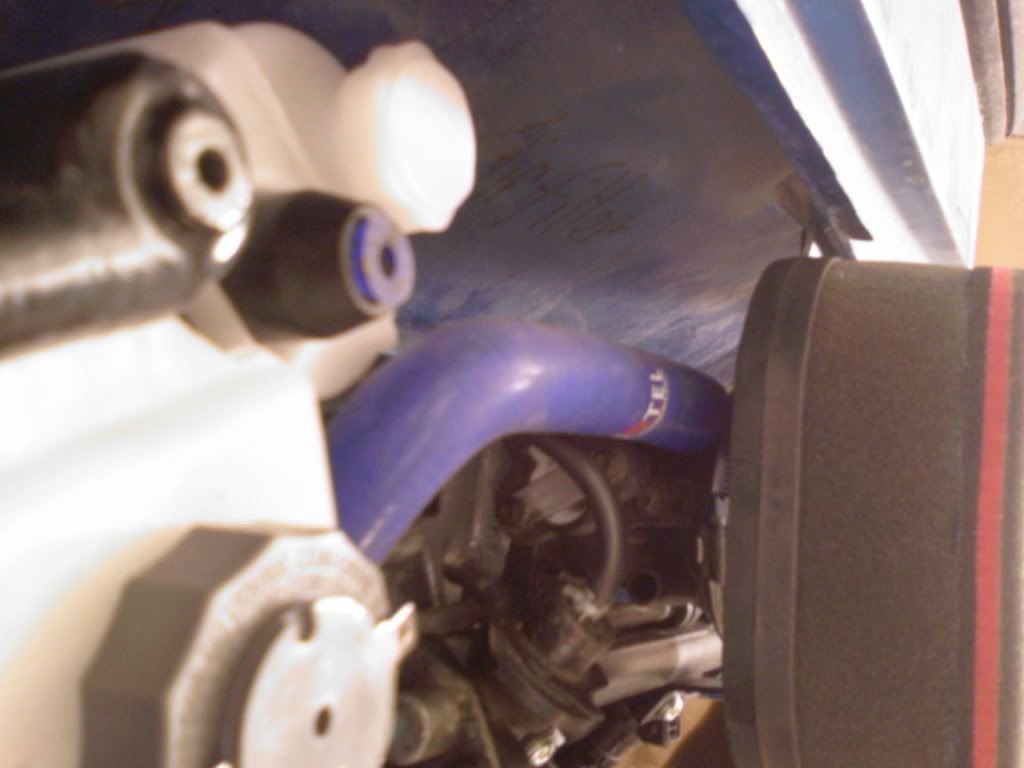
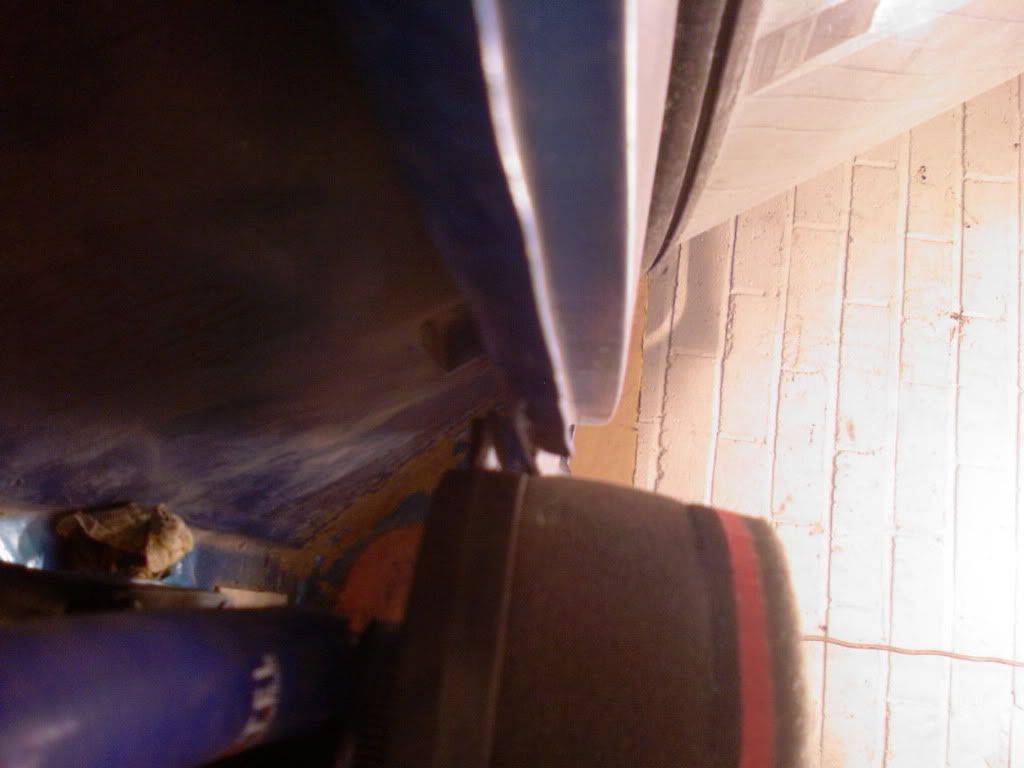
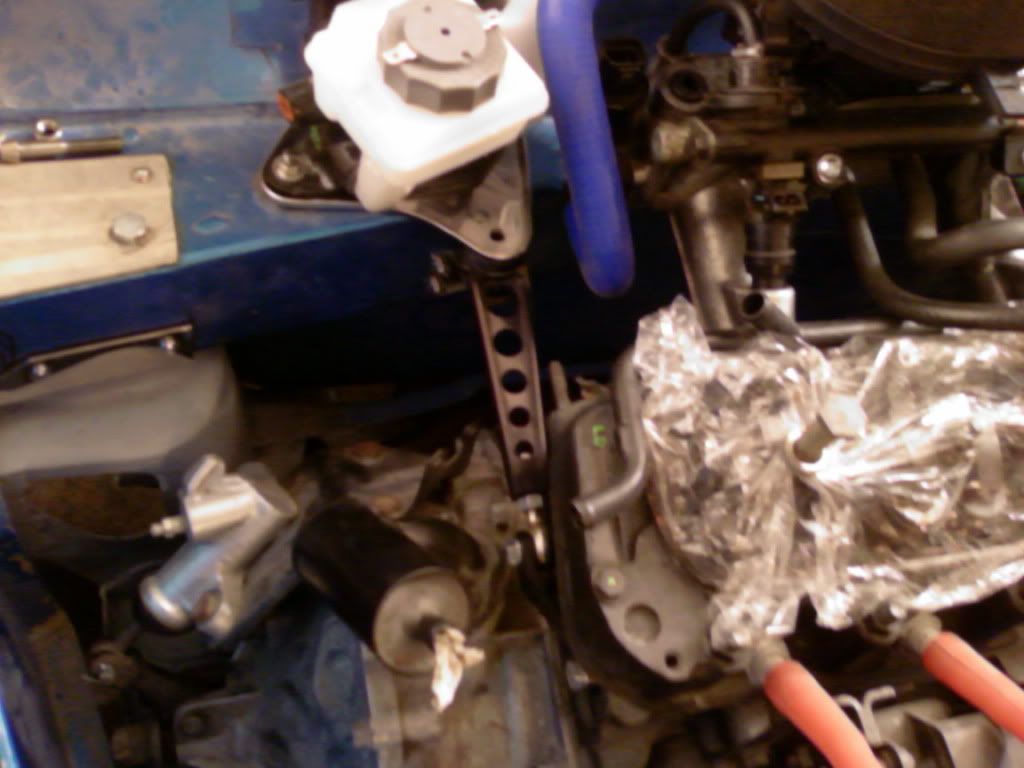
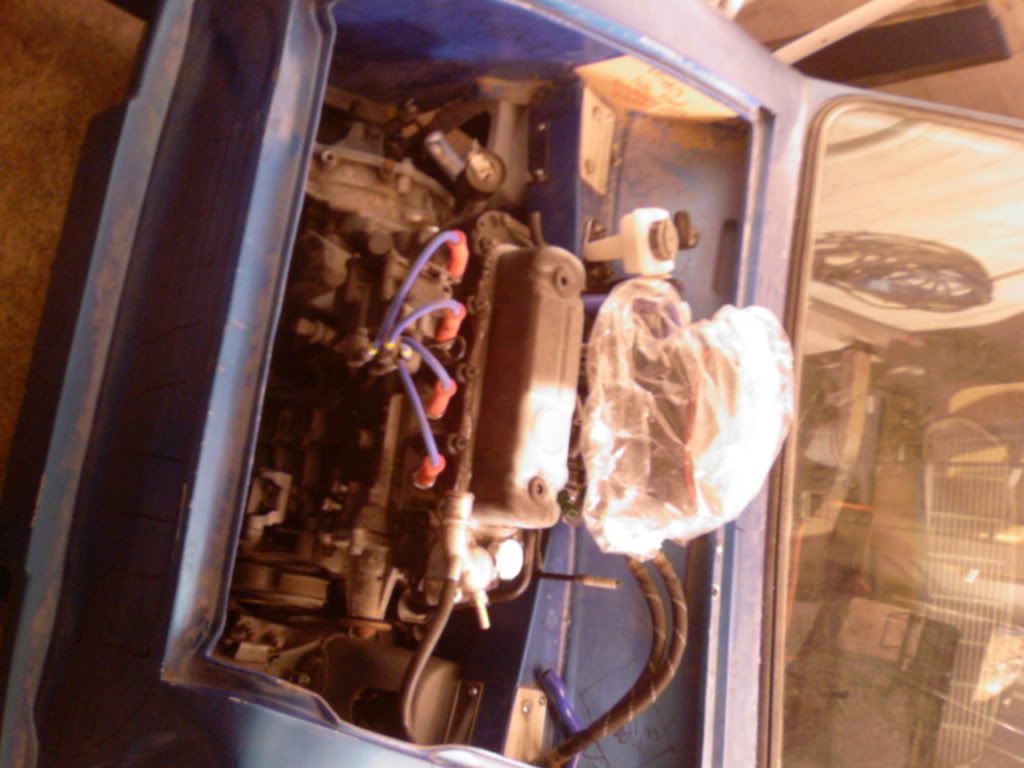
The only bulge i will need in my bonnet is for the air filter by about an 3-4cm:
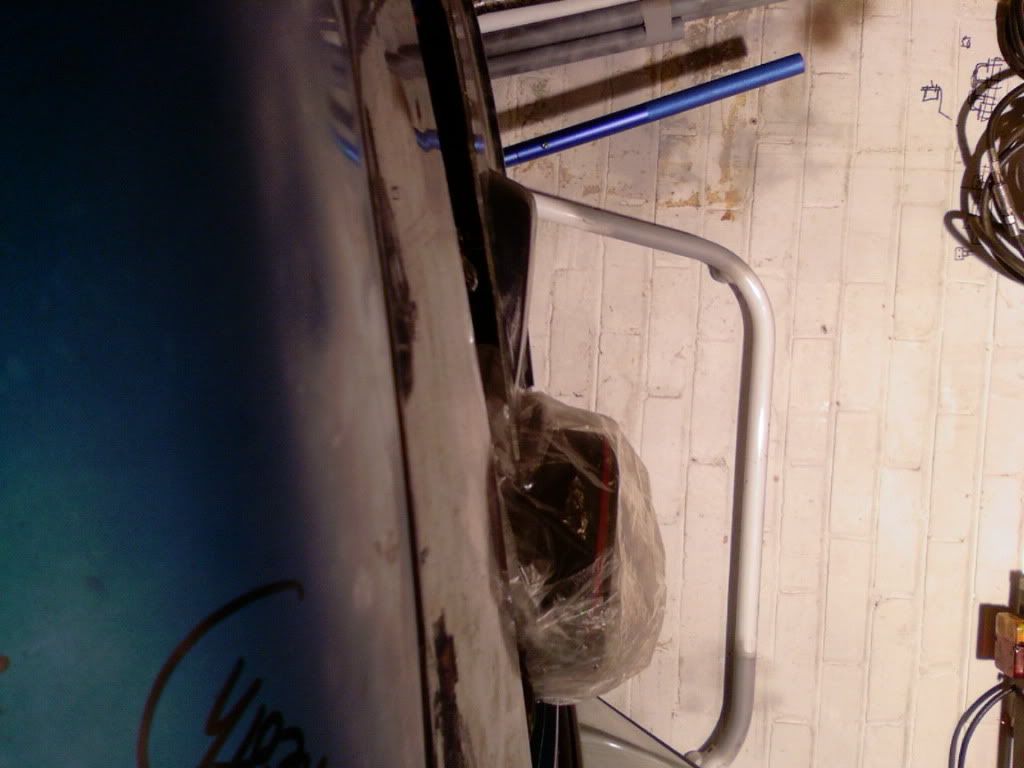
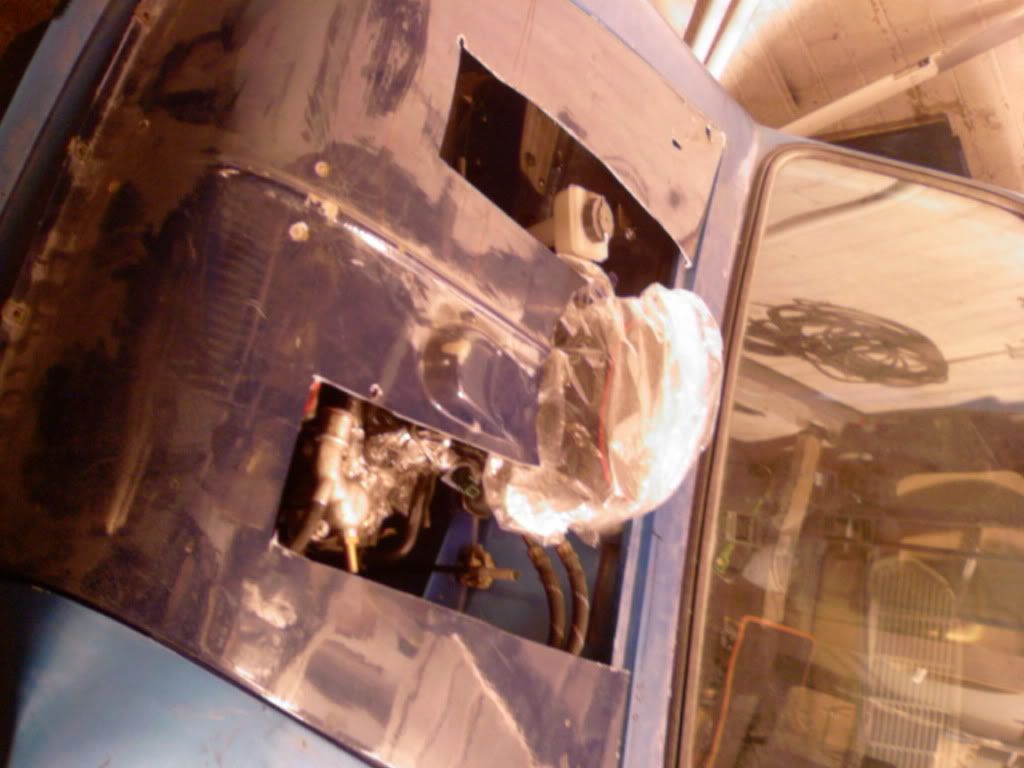
Thats all for now folks.
Regards Blue
#191

Posted 08 January 2012 - 06:36 PM
Well I have started making up some templates so I can make some 3mm stainless spreader plates but I want to spend my limited funds on stuff for getting my front end a rolling shell. I do also need to make up a alternator bracket and weld some cut tube for my radiators rubber feet to fit in. I am on my subframe having some steel welded on like my brother had on his front subframe so the coil-overs can attach on to it as well as the bodywork(just relieves some of the stress on the body). I will be getting my engine in again soon just to work out some clearances and stuff.
Regards Blue
Have any pictures?
Would be intresting to see, don't like the idea of having them mounted to the wing on there own.
Progress looks good! Need to try my engine in once i've got the front subframe in place.
#192

Posted 08 January 2012 - 06:59 PM
I have received my universal brake pushrod in the post yesterday so I can check fitment and stuff next.
Regards Blue
#193

Posted 08 January 2012 - 07:56 PM
I would quite like to have the coilovers independant to the shell. So they are just mounted to the subframe.
#194

Posted 08 January 2012 - 10:03 PM
It took some doing to get to where he was right before he sold it which is a shame. Unfortunately it doesn't have where he got up to on his diary and I don't have any photos of it on my laptop but I can ask him in the week if he has any on his imac.
Regards Blue
Edited by blue blood, 08 January 2012 - 10:12 PM.
#195

Posted 09 January 2012 - 09:14 PM
I started by working out parts for my metro brake master cylinder and the universal pushrod.
Firstly the pushrod did not have enough thread on so I cracked out the tap and die set and got to it:
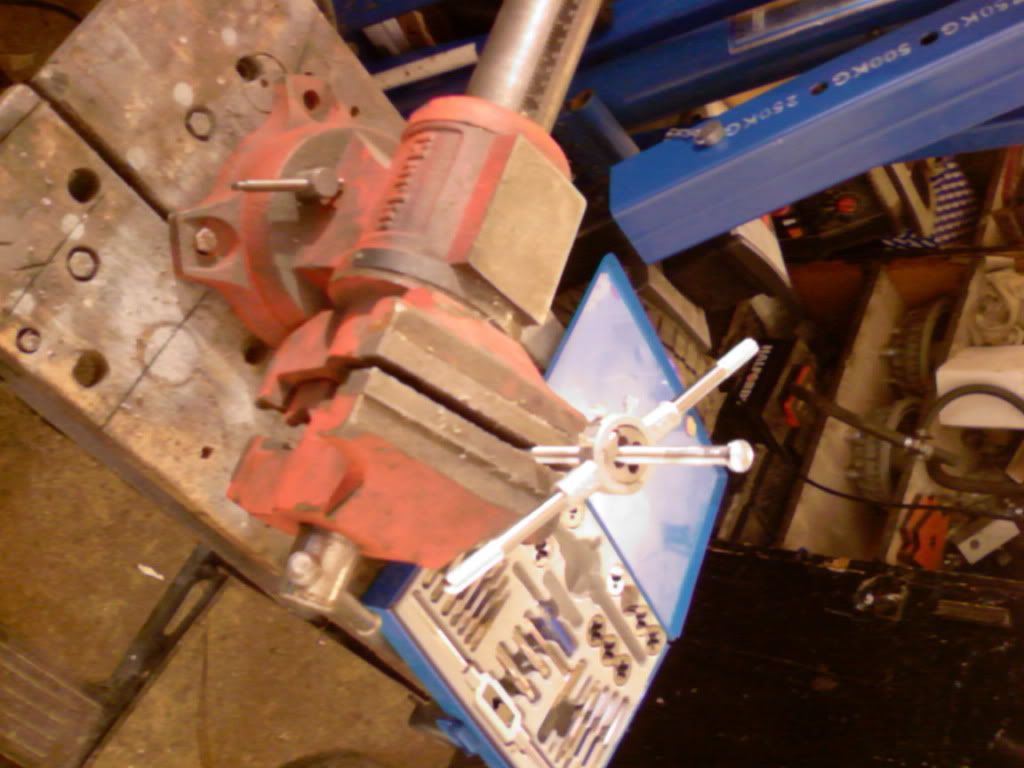
then cut it down a bit to a more manageable size
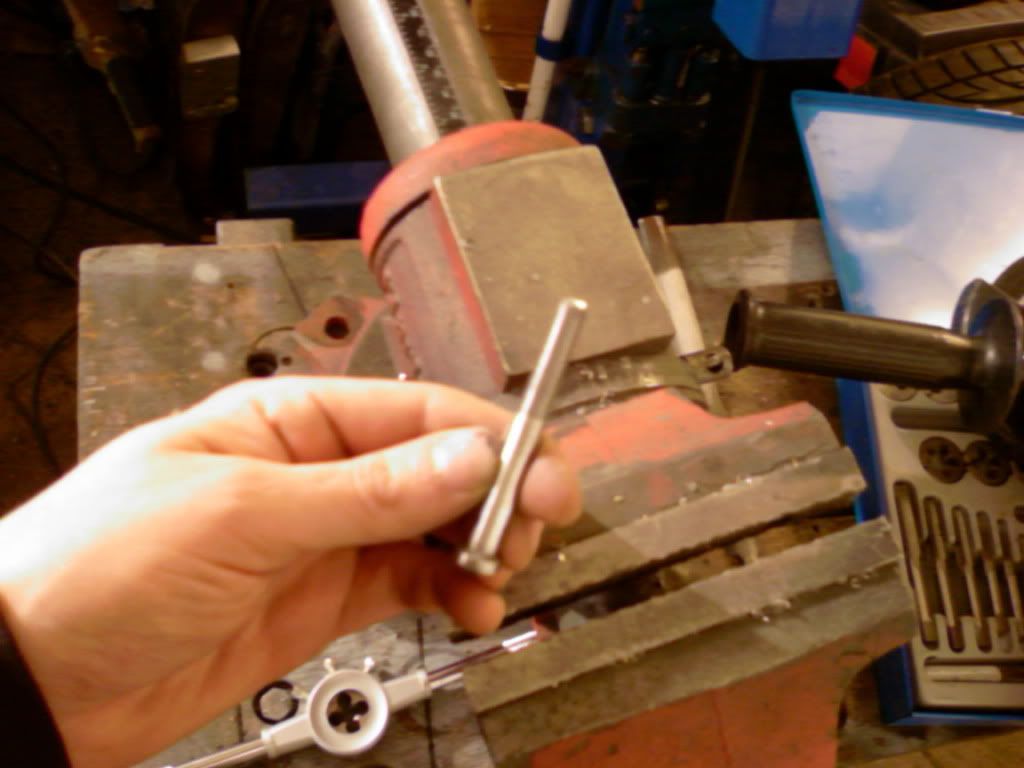
and powerfiled the tip on the end of the rod down ;)
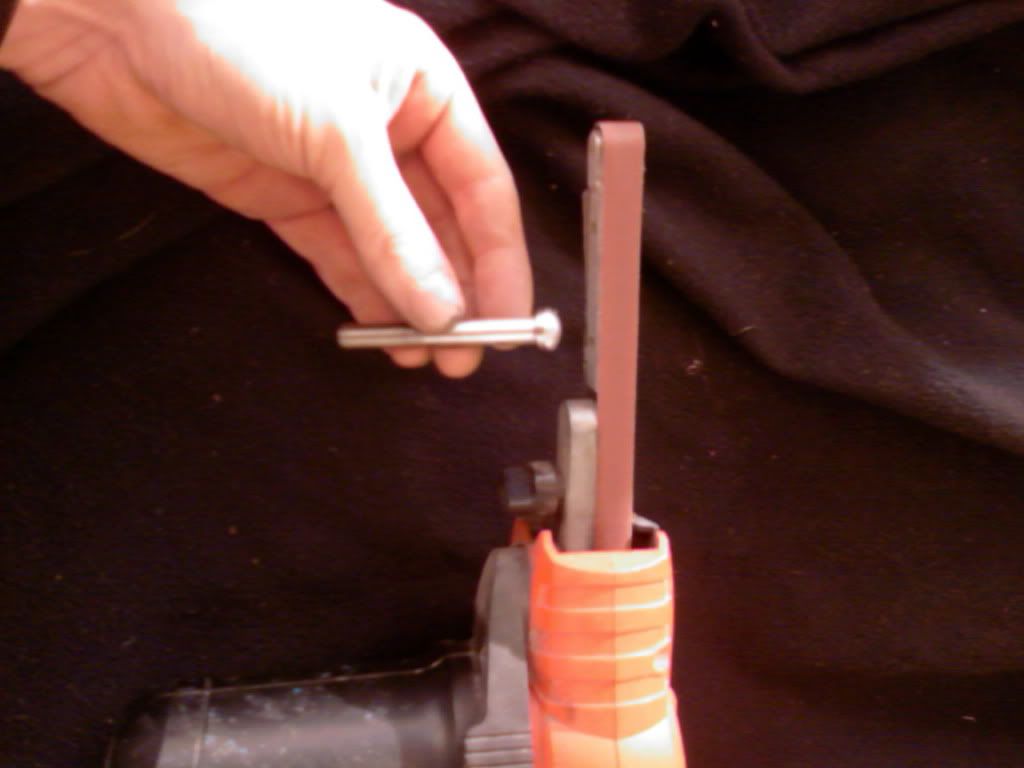
So I was left with this (it isn't the right size yet but the pedal needs attention first)
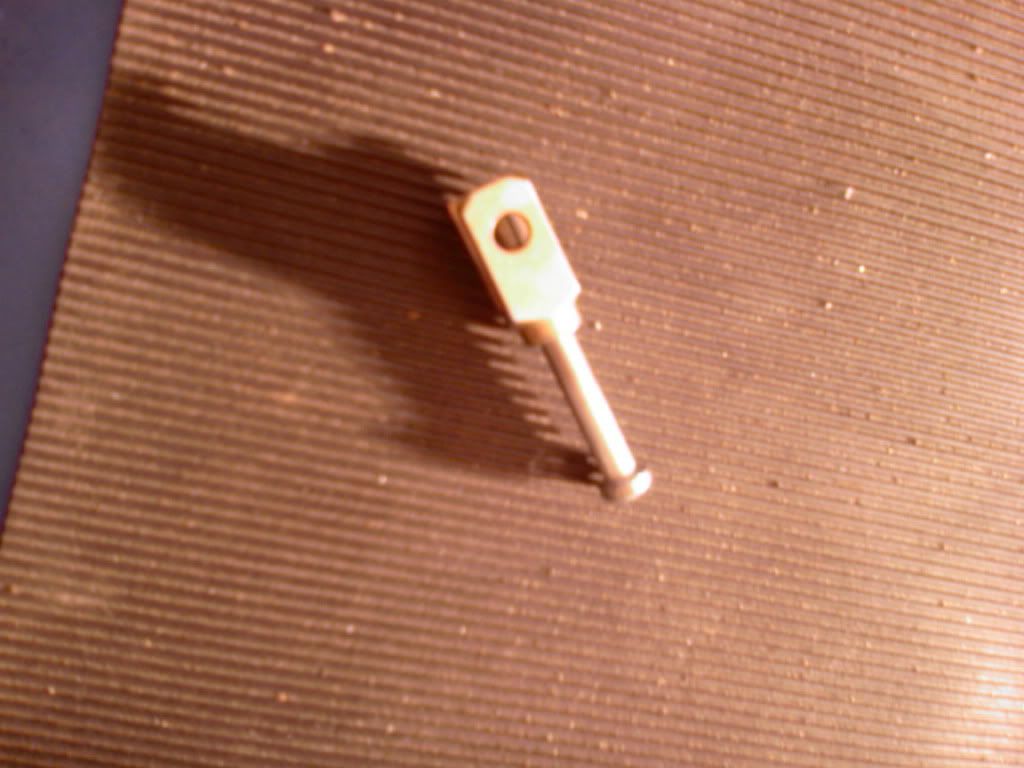
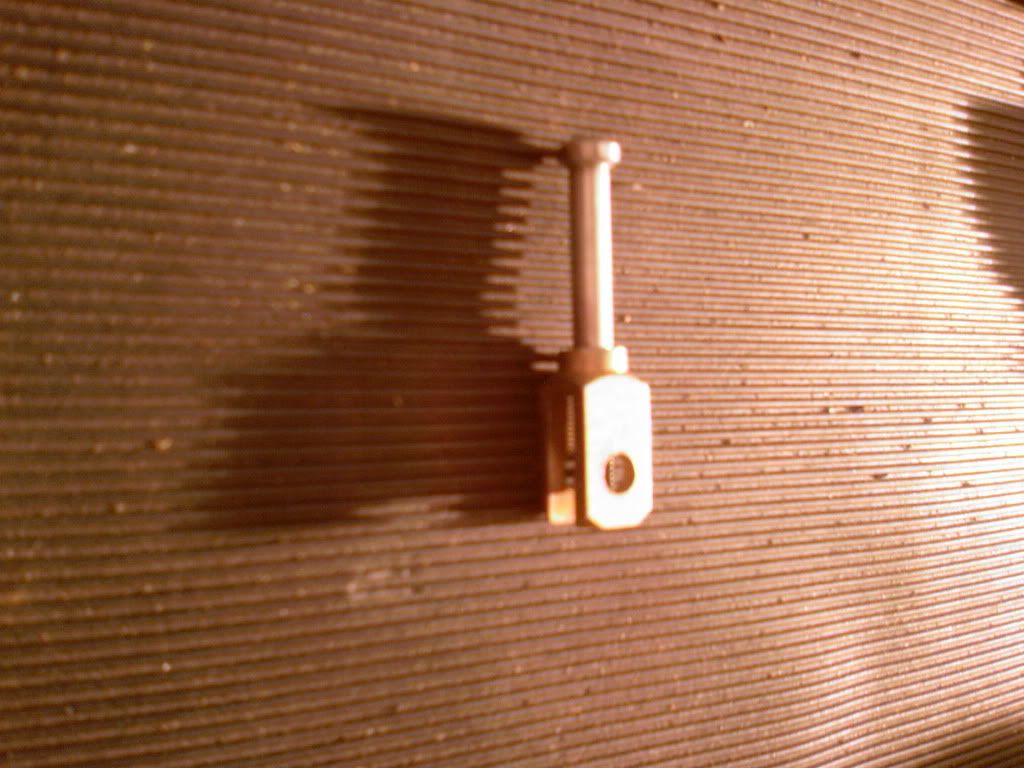
Underneath in the foot well you can see the general restrictions
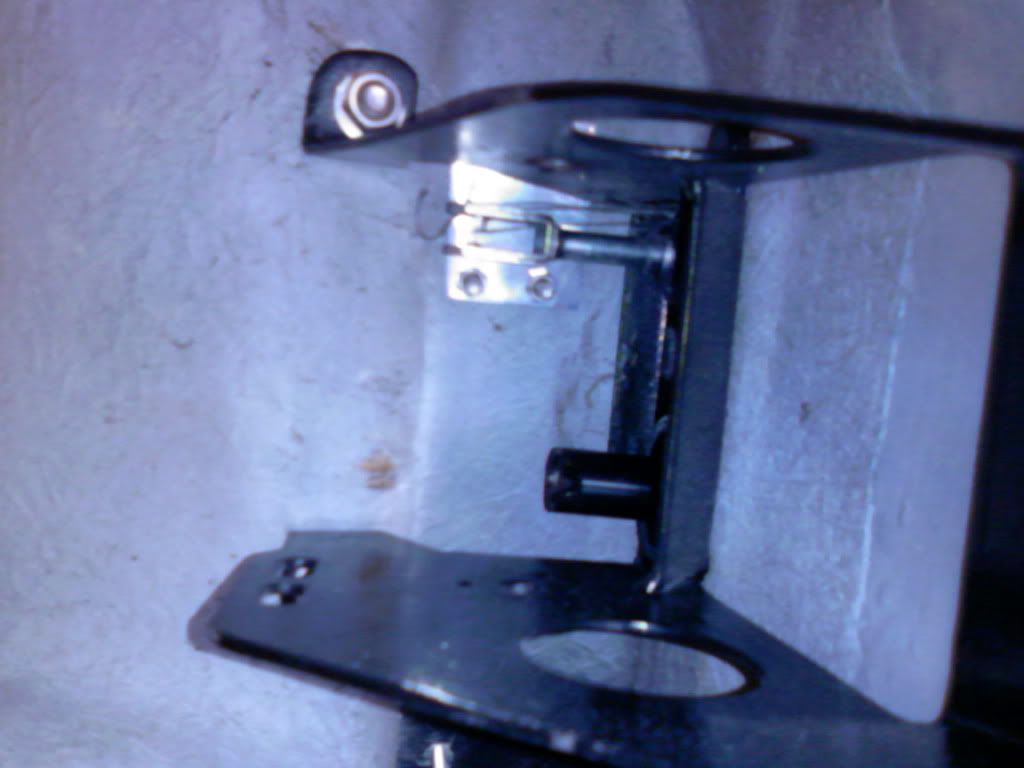
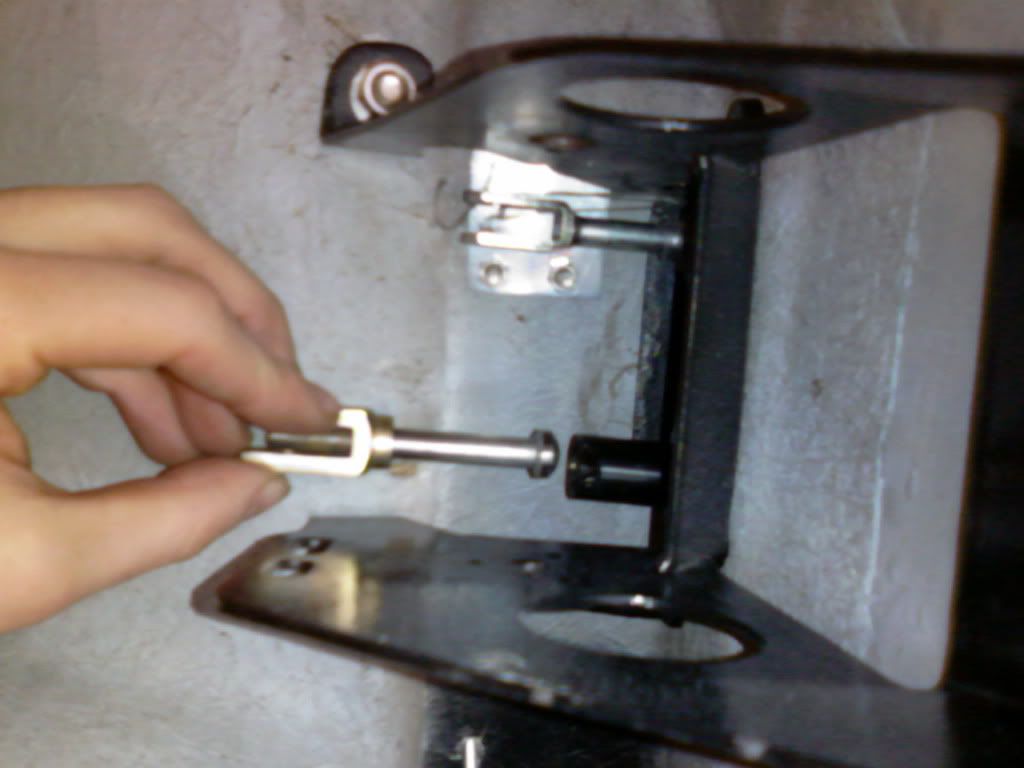
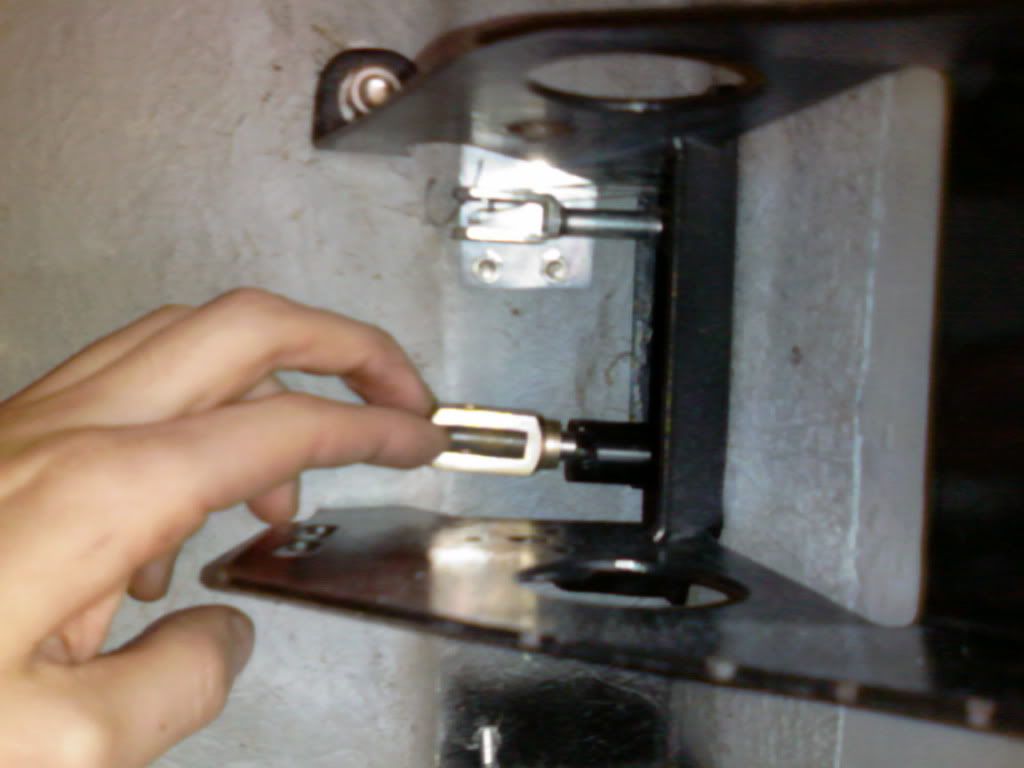
I also got round to starting to shape my mounting board for my filler neck in carbon:
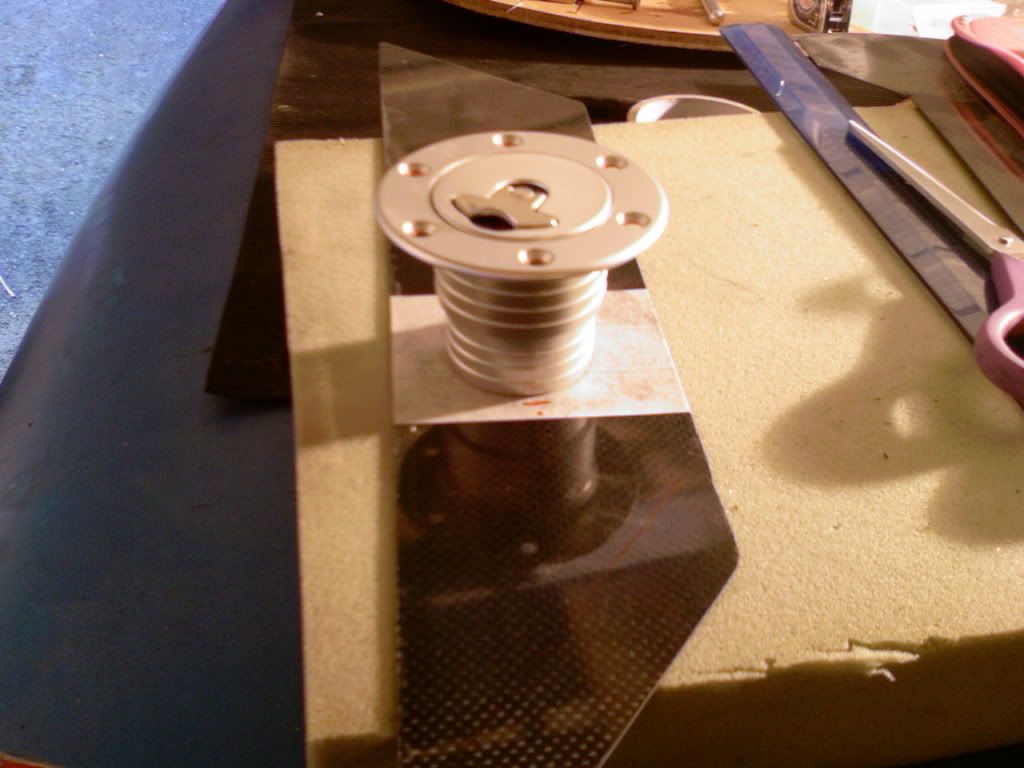
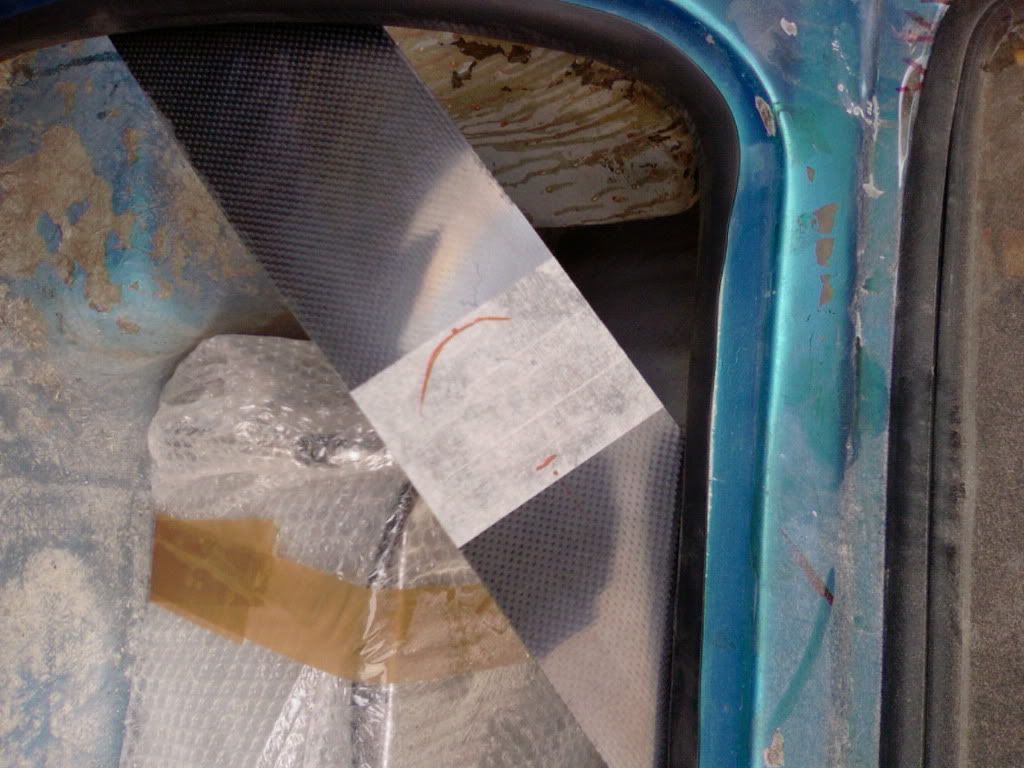
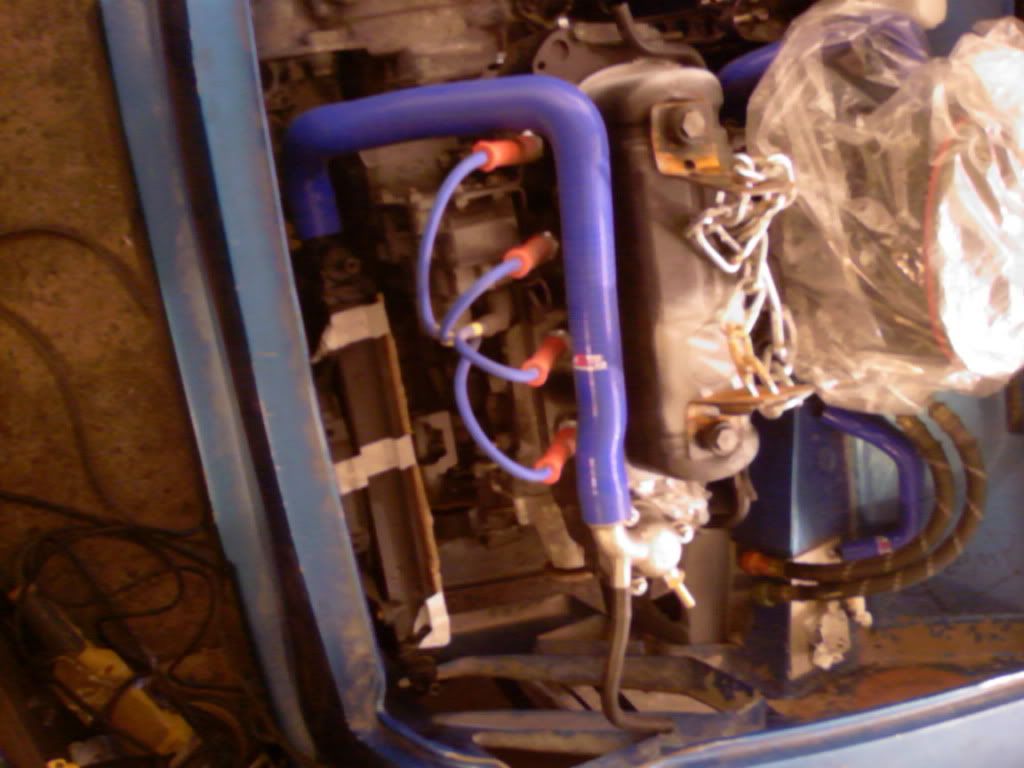
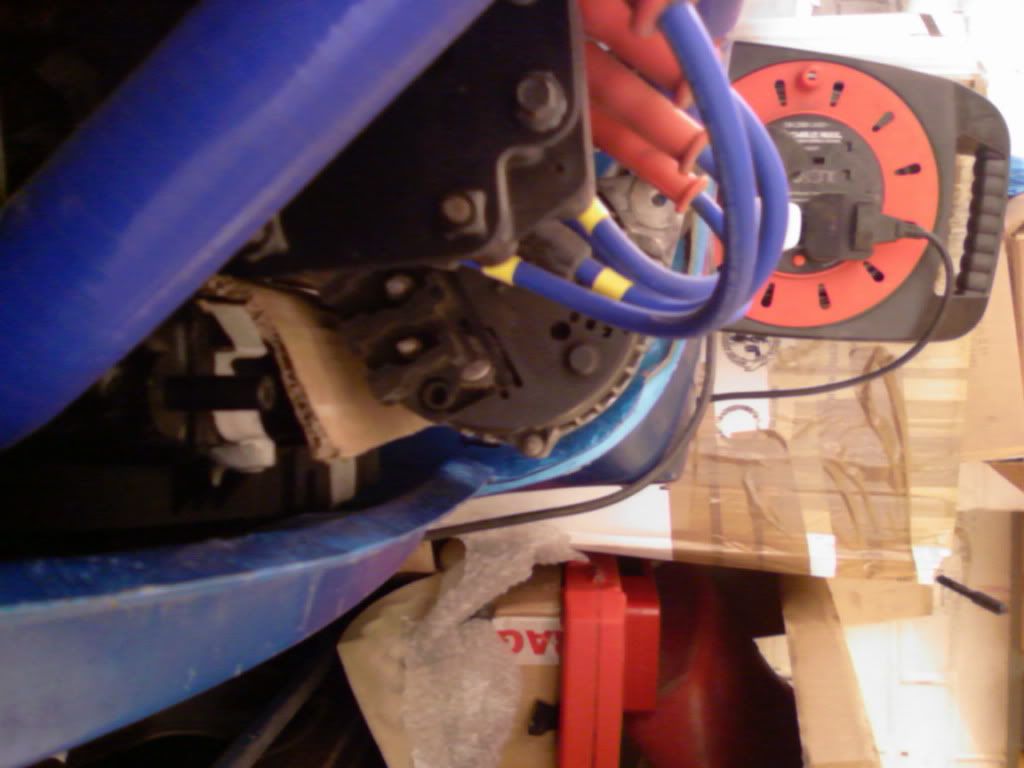
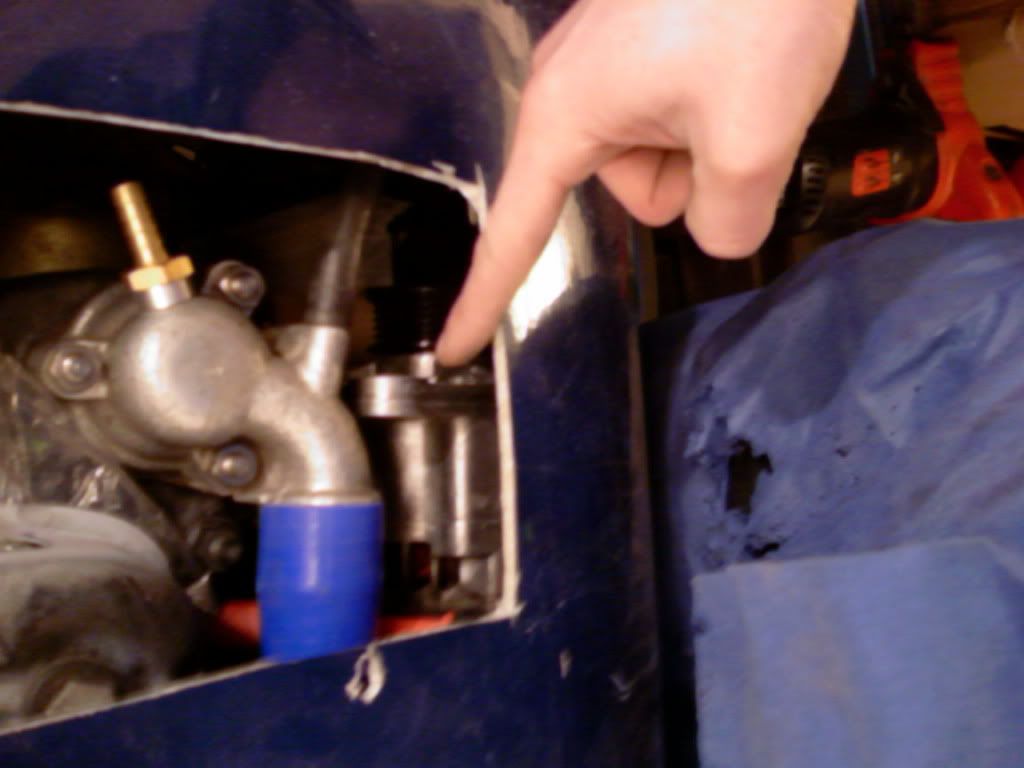
Another thing I have started is making the custom brackets for my alternator as having an MPI engine the alternator bracket is to high and fouls the bonnet! So i firstly fitted the radiator into where it will be (need to weld some small tube on the subframe to cradle the radiators rubber feet) then I offered the alternator in line with the water pump and etc.
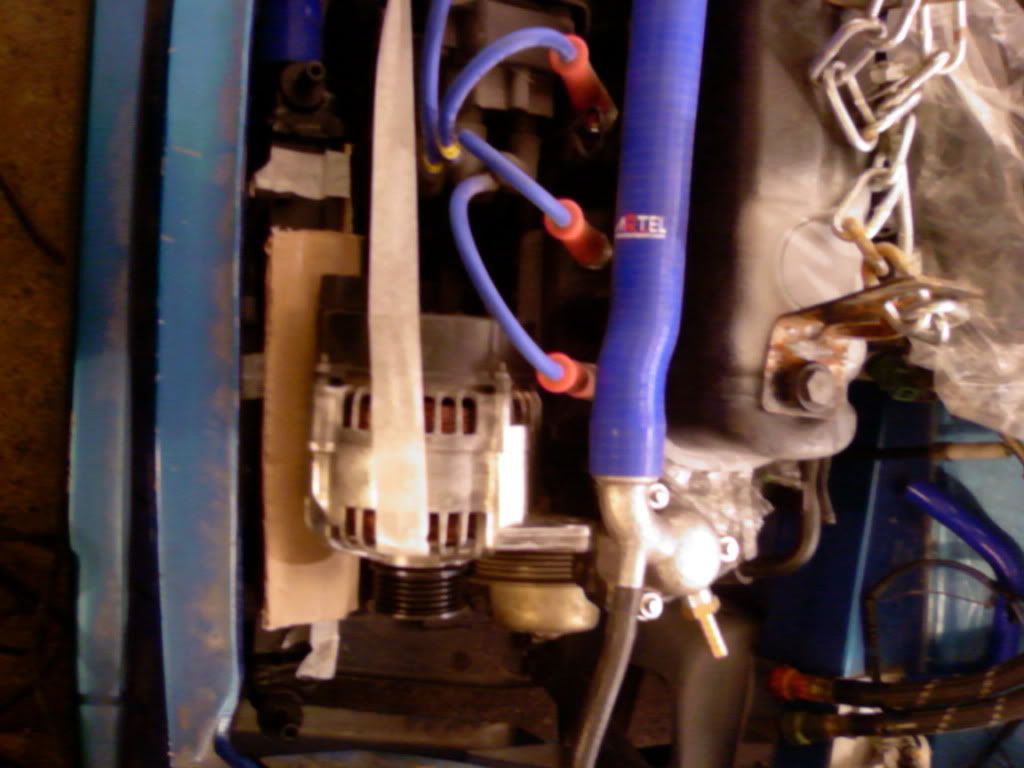
Then I made some templates up with the alternator in place
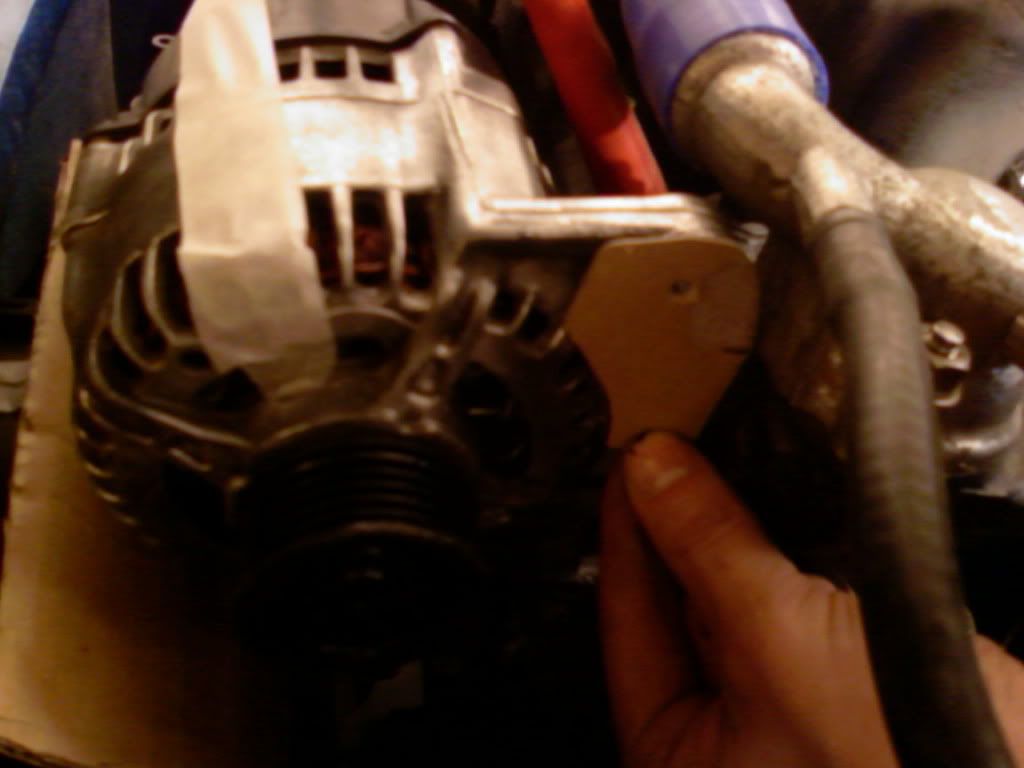
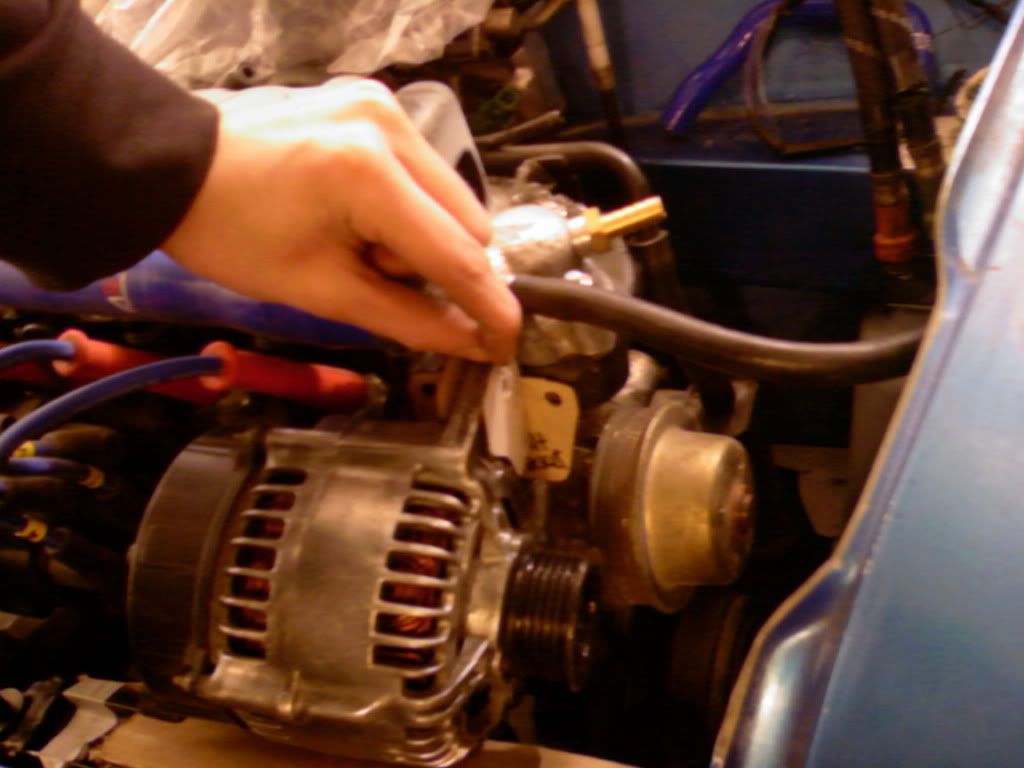
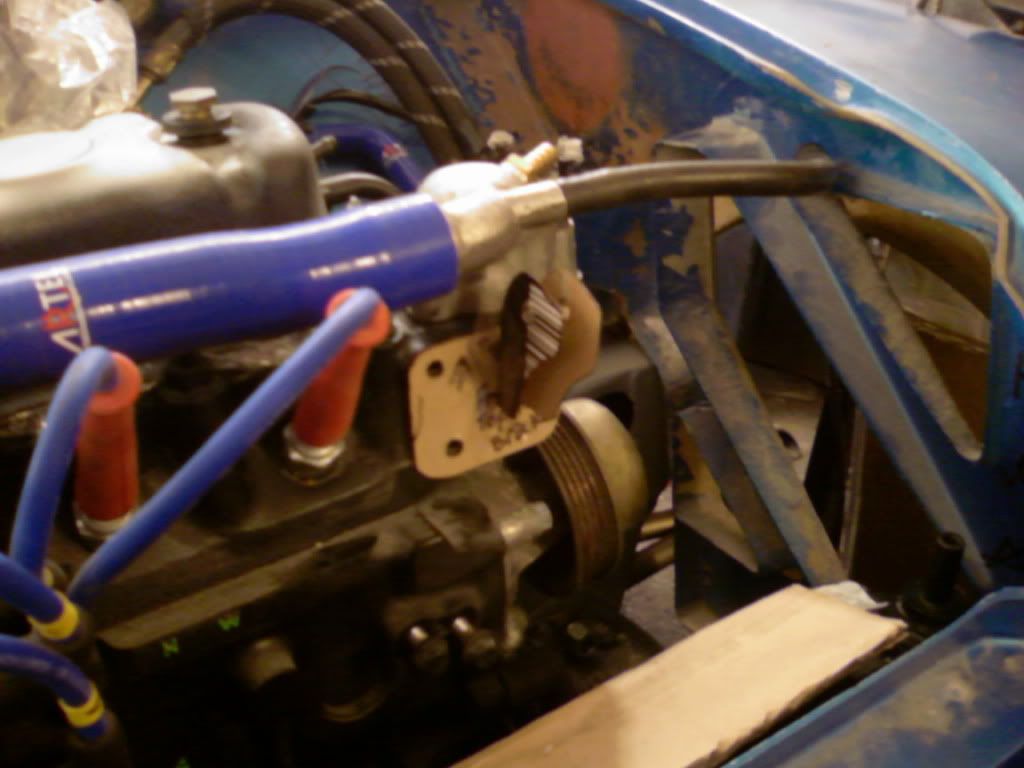
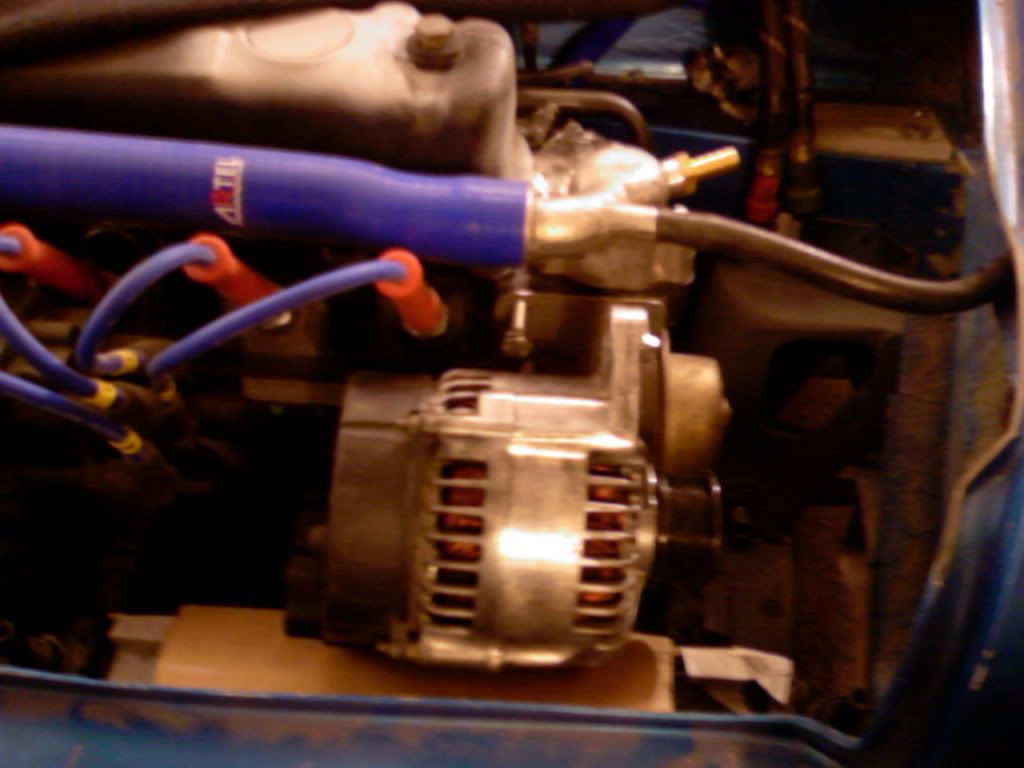
Once i had done the templates I started to cut the pieces out of 2mm thick mild steel sheet, and checked the fit against the cylinder head mounting holes.
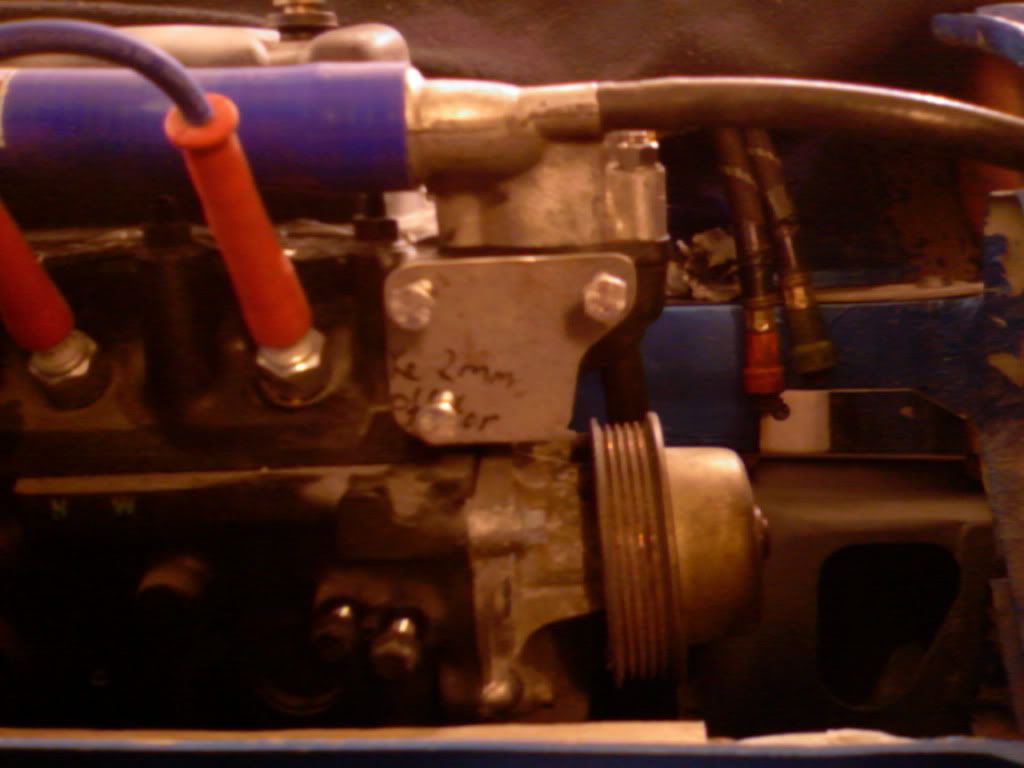
A side view you can see the clearance I have and from an old chopped up bonnet you can see the clearance I have from the top of the bonnet (about an inch)
Thats all for now
Regards Blue
1 user(s) are reading this topic
0 members, 1 guests, 0 anonymous users


