Mini Scura Minus
#151
Posted 06 September 2011 - 09:40 PM
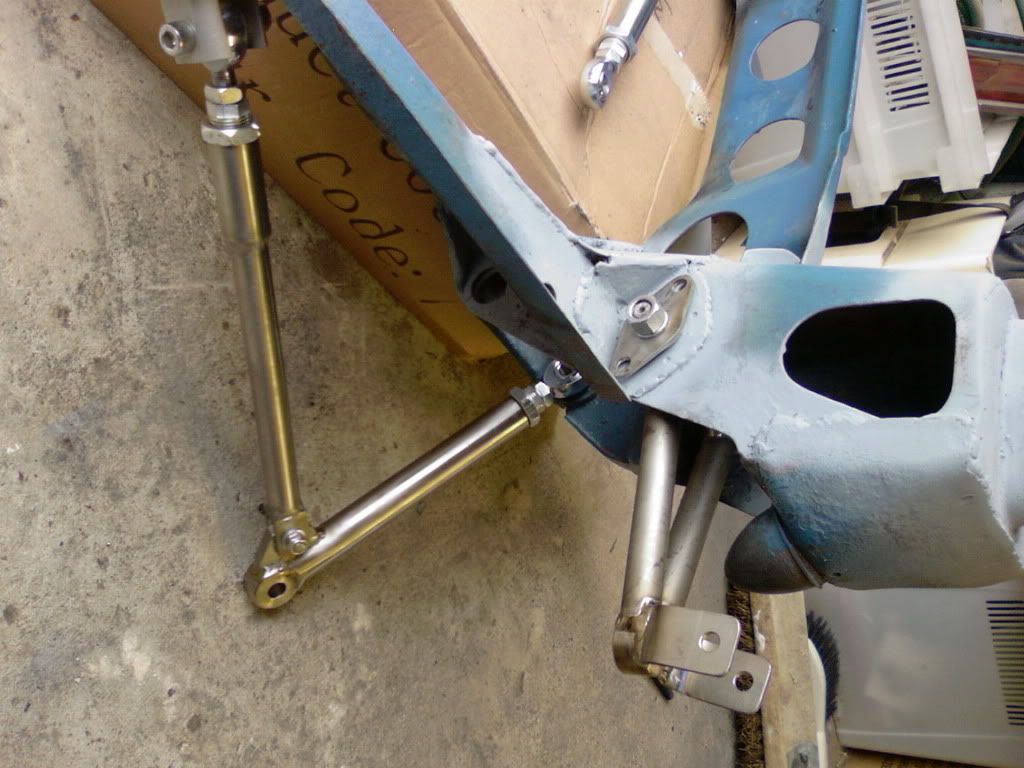
I first off finished drilling and mounting all the mounting brackets i made for the front subframe, and polished a load of stainless allen head button bolts to tighten them into place:
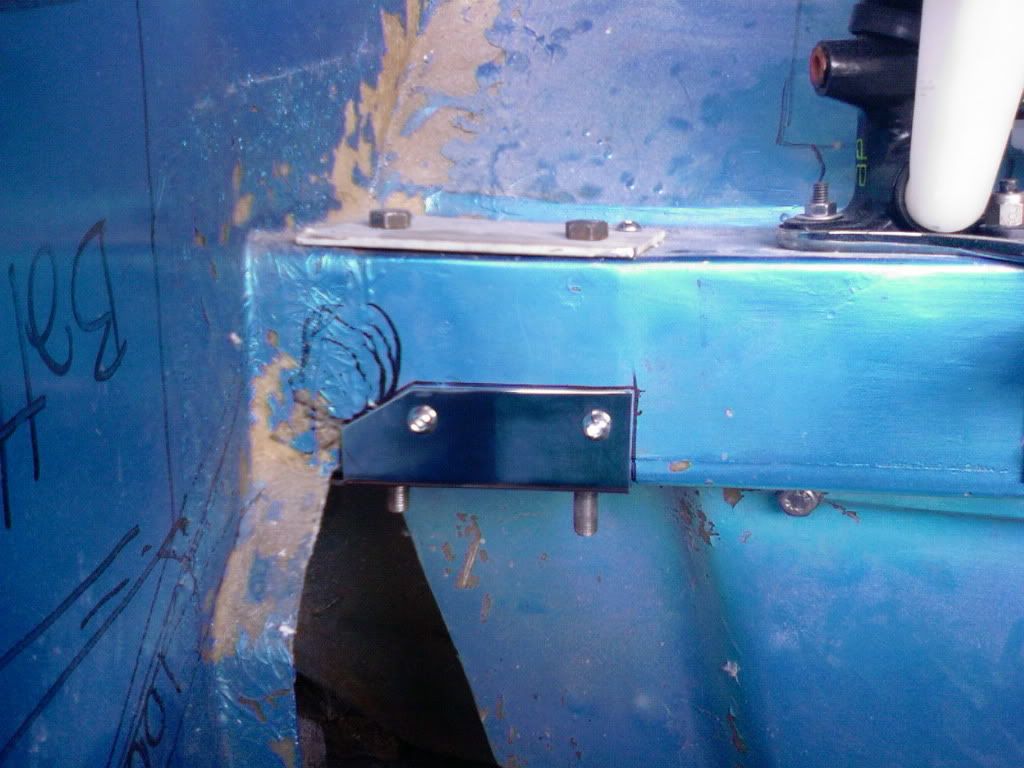
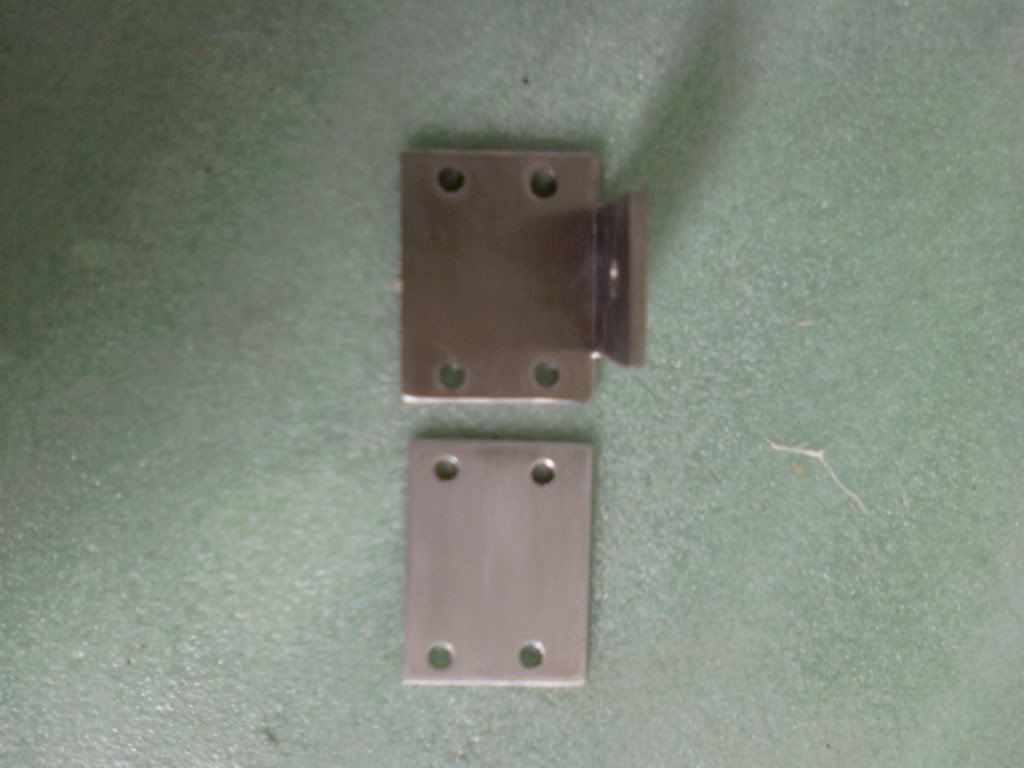
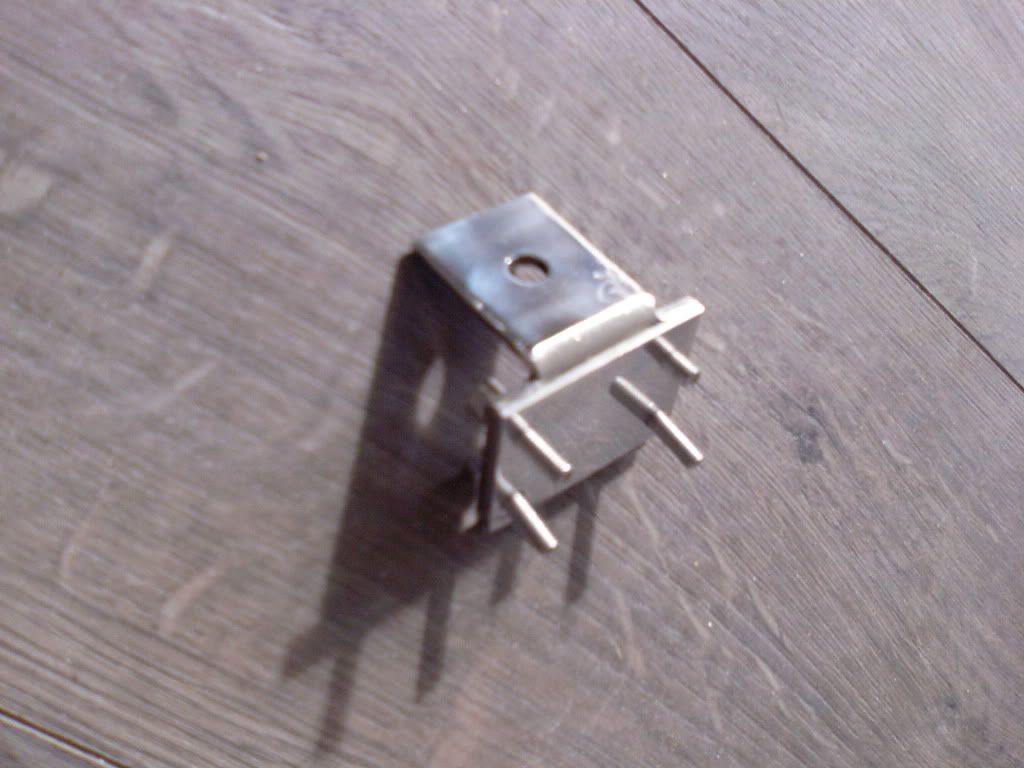
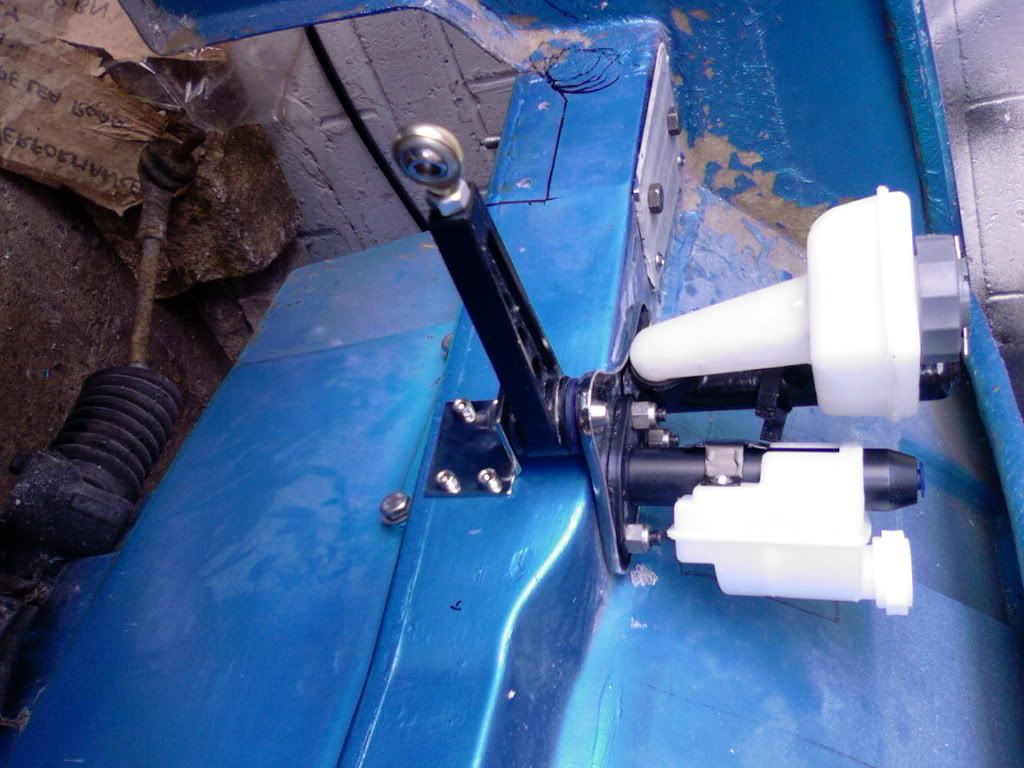
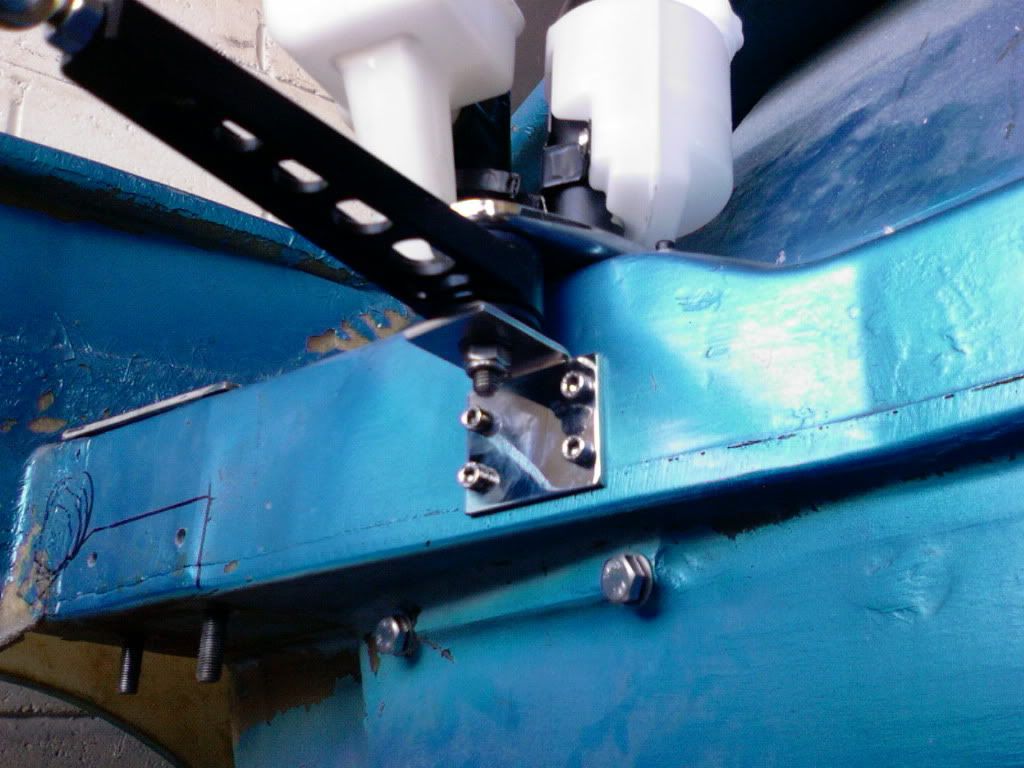
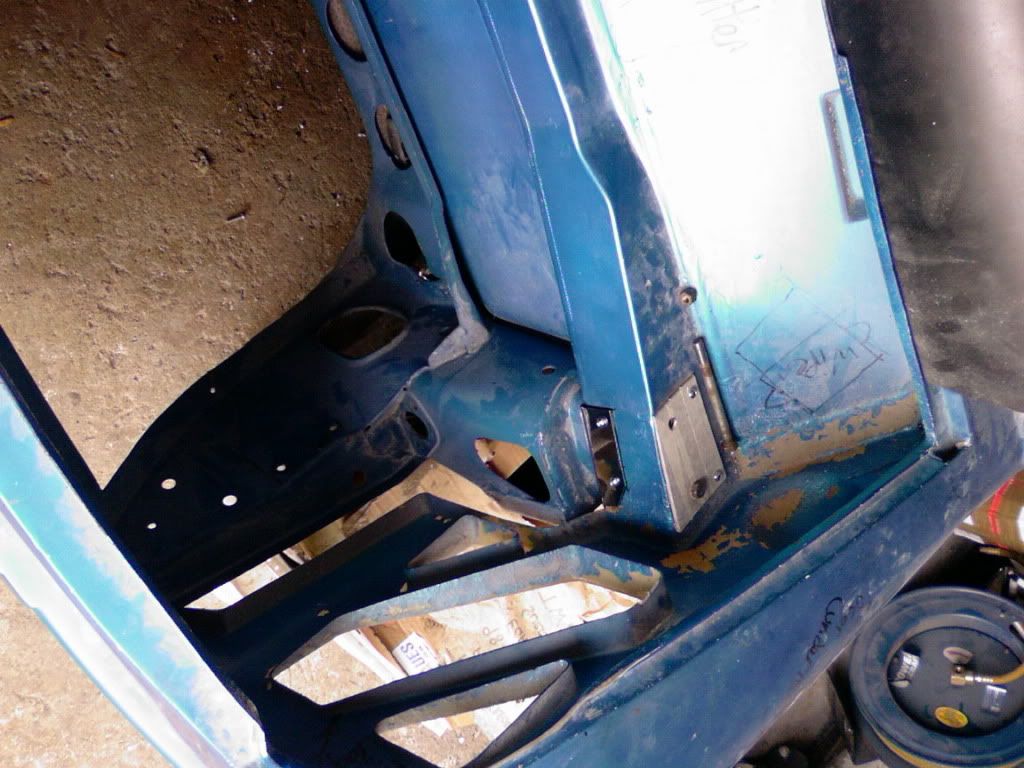
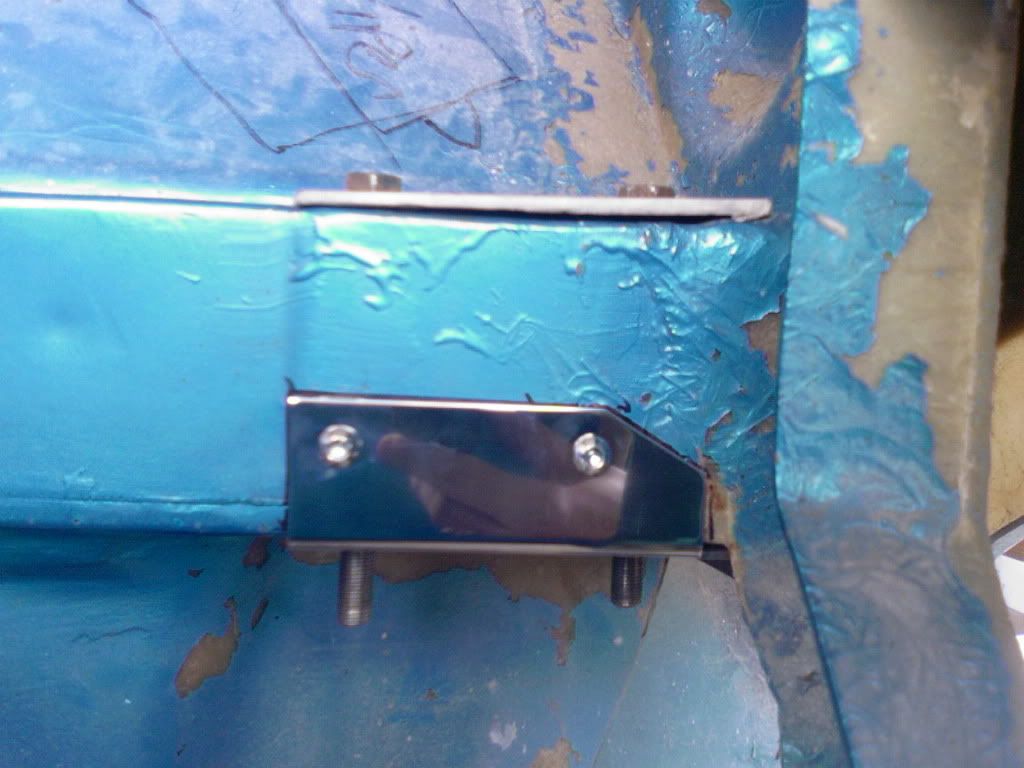
Then i went about making a 3.5mm thick stainless engine steady bottom bracket (instead of any thin flimsy steel item usually spot welded to the bulk head). With this i also made up a spreader plate for inside the cab in 2mm aluminium:
Then i polished them:
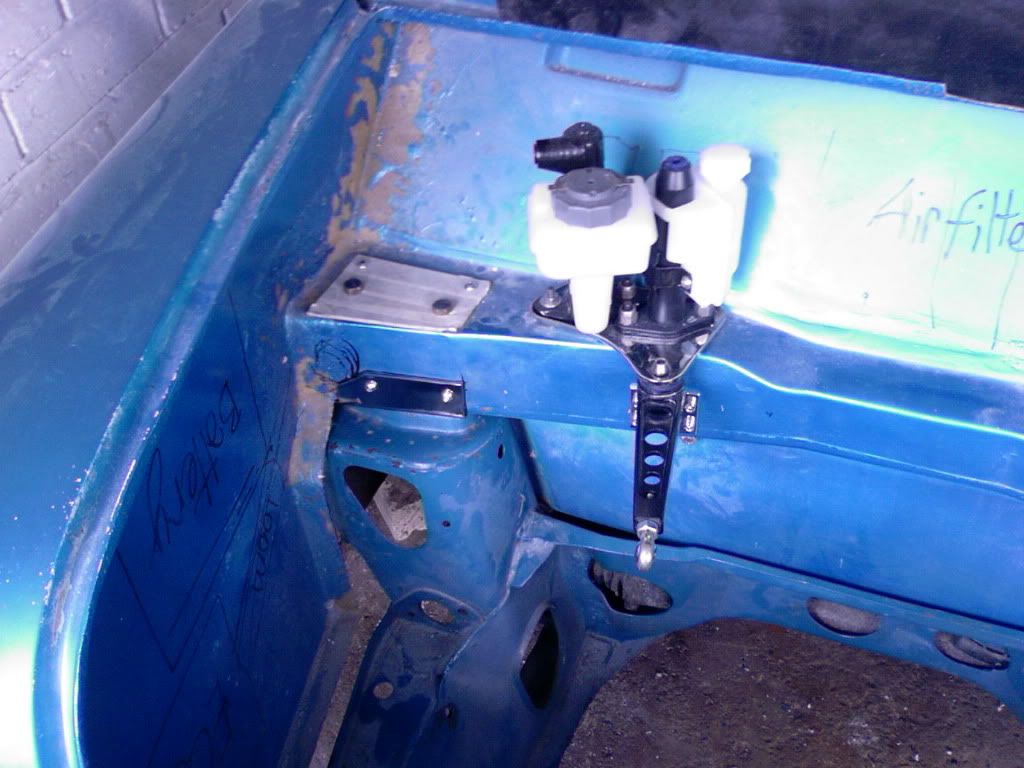
Then i fitted them:
With all that sorted i also fitted the front subframe to make sure all the spreader plate were fine (which they were)
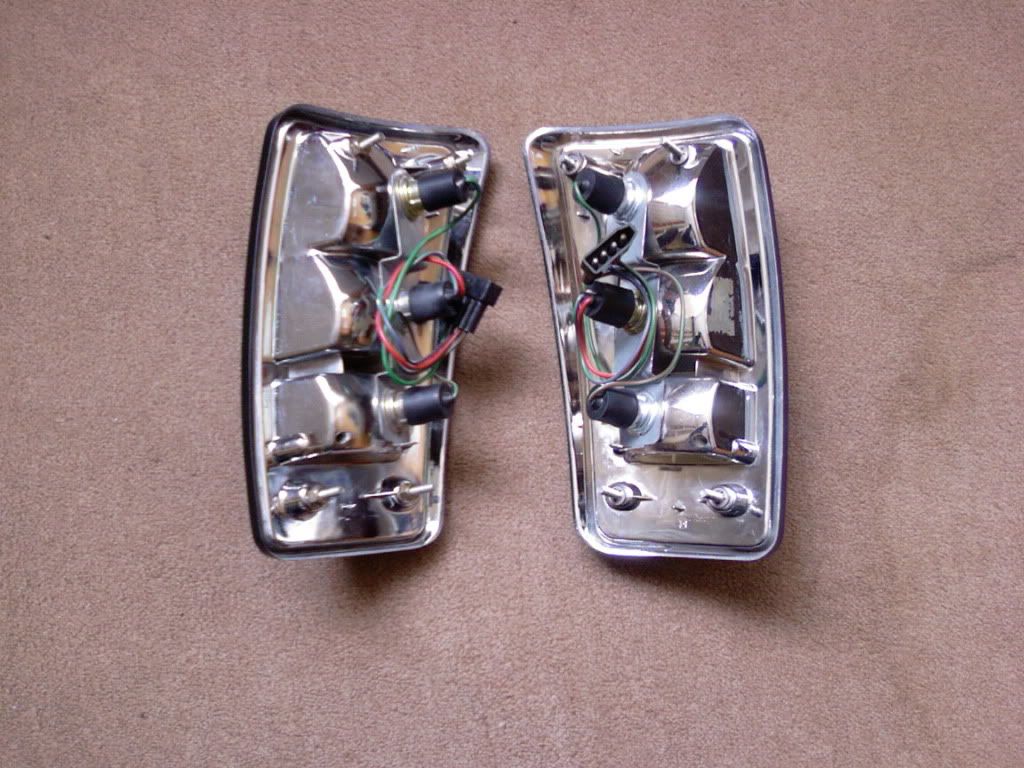
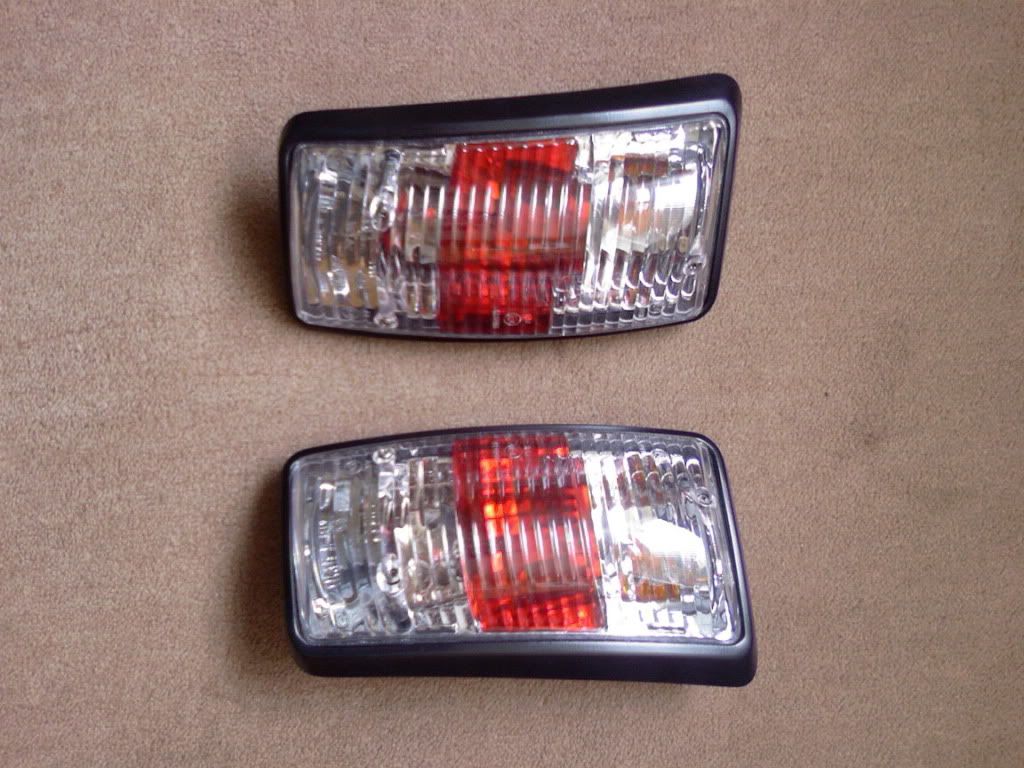
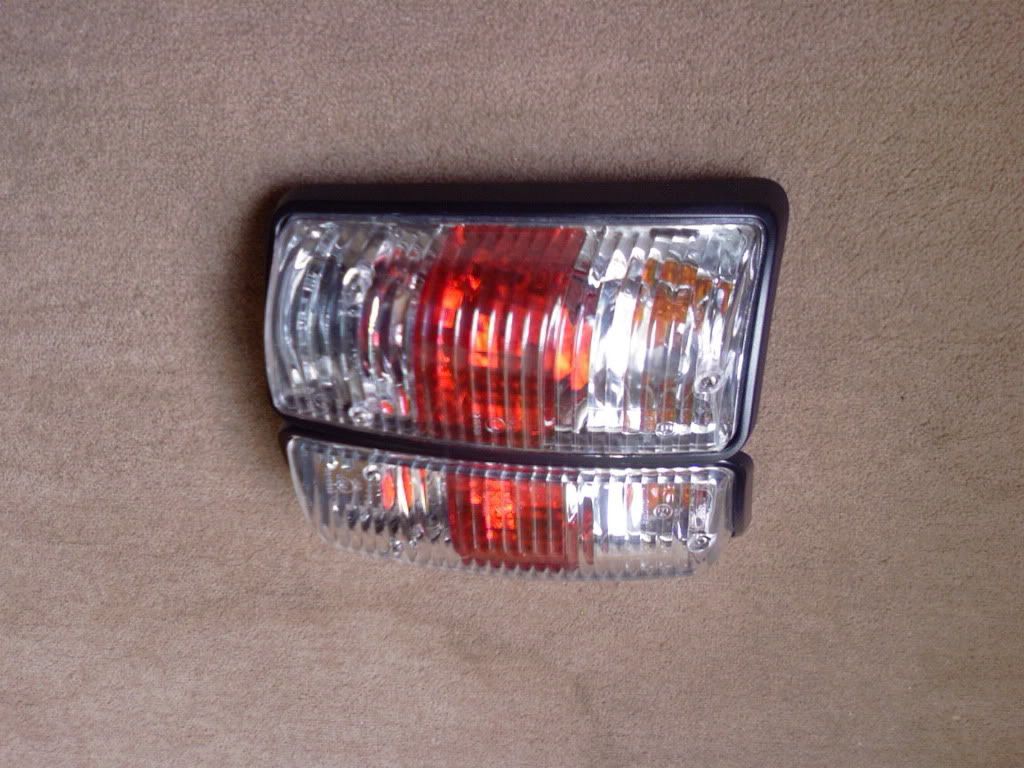
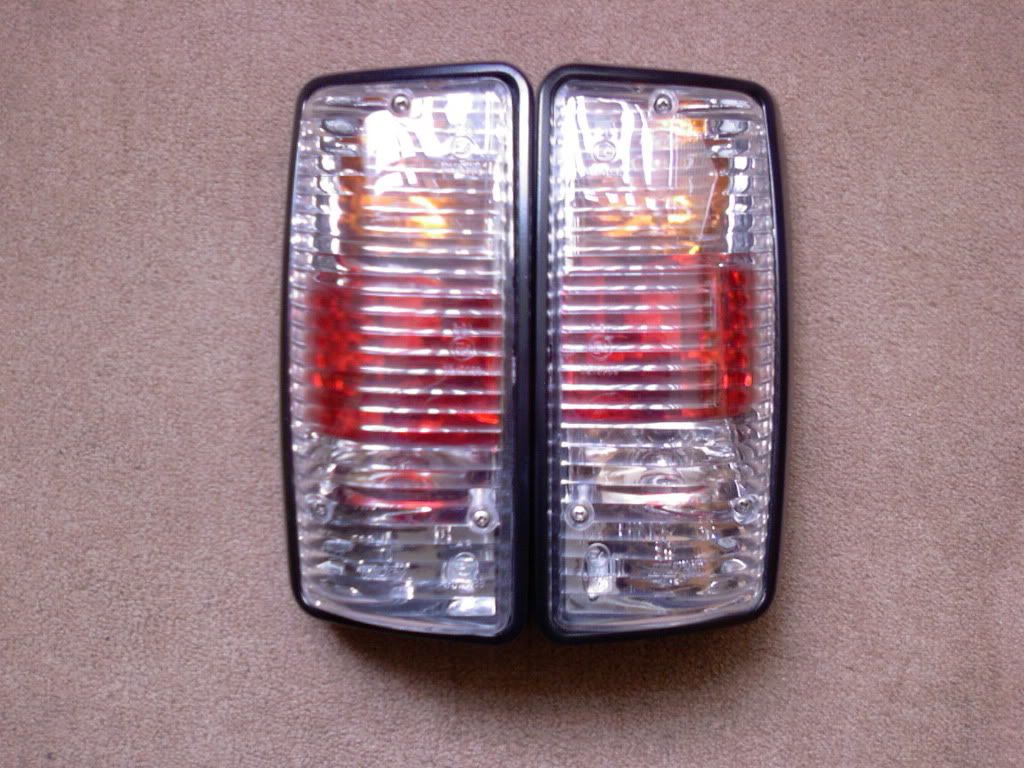
I also stripped back my jewell lens lights,cleaned them, filled in 2 dents and a crack in the plastic, keyed, masked, primed and painted them up in satin black. The results of doing a small job like that make a world of difference:
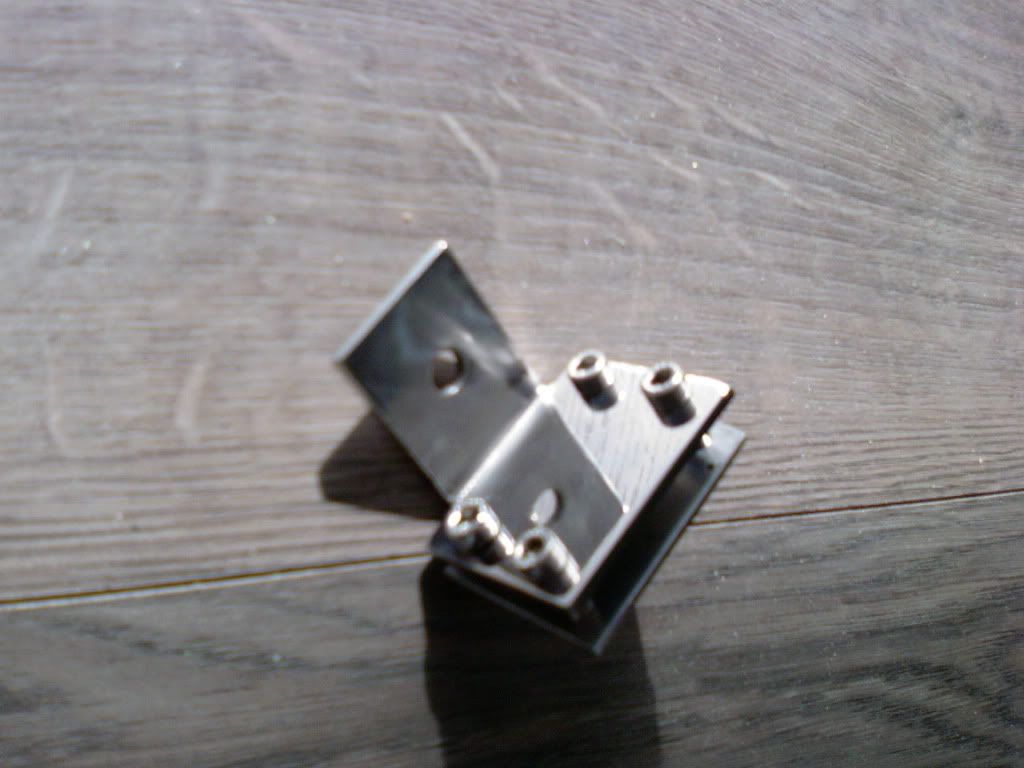
I have also made some stainless spreader plate for my boots internal door hinge and shaped the hinge mounting points but i am in the middle of polishing them up. I have also taken measurements for me to start making up some brackets for my headlining ribs to be fitted in so that i may make my headlining from my alacantara fabric i have.
Hope you all have enjoyed the up dates.
Kind Regards Blue
#152
Posted 07 September 2011 - 05:58 PM
Keep the updates coming - it's a great project It's nice that someone else is doing fibreglass! Just out of interest where do you get your matting and resin from?
#153
Posted 07 September 2011 - 07:36 PM
Utterly epic. I wish I had your fabrication skills and budget!
Keep the updates coming - it's a great project It's nice that someone else is doing fibreglass! Just out of interest where do you get your matting and resin from?
Thank-you very much i appreciate the comment I just use the davids kits but i'm going to actually start buying from this site http://www.fiberglas...resin_kits.html because it will be more cost affective.
Regards Blue
#154
Posted 11 September 2011 - 08:31 PM
Been hording parts for mine recently. Really need to get started properly.
#155
Posted 16 September 2011 - 12:37 PM
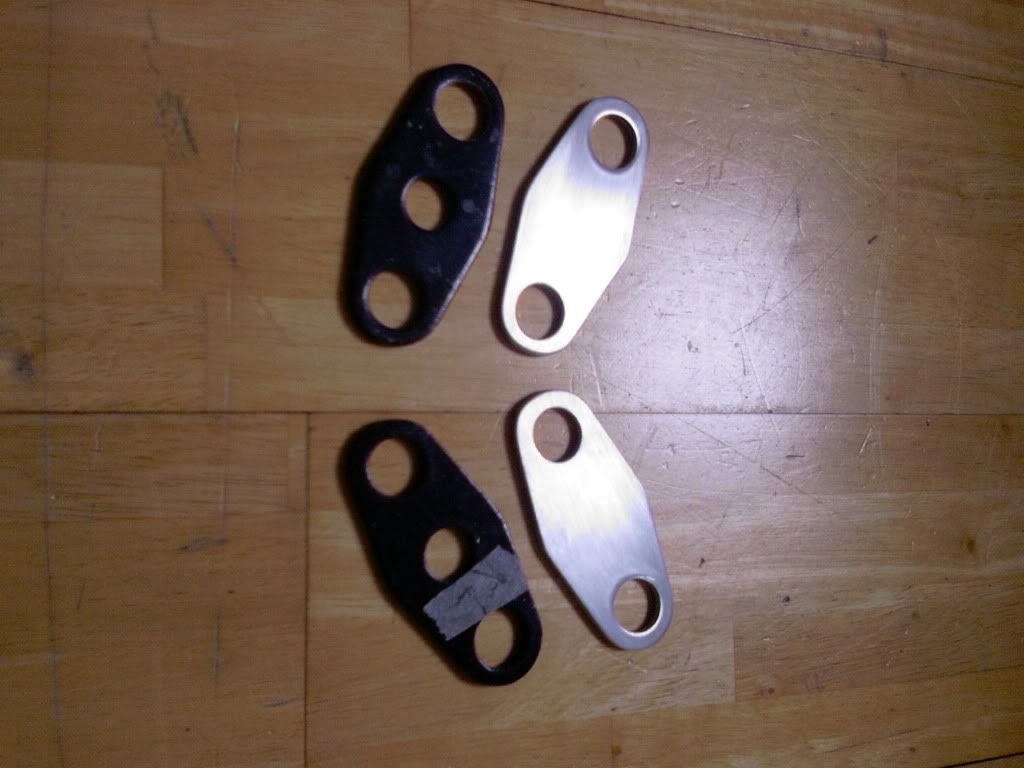
Anyway as far as the project itself is going i have worked out how exactly i will be doing my headlining and i have manufactured some front subframe to bulkhead spacers from aluminium:
I have not drilled a centre hole in them as its not needed as the subframe is an early 4 bolt frame. They have been rubbed down to be anodised in black along with quite a few other bits.
Regards to all Blue
#156
Posted 27 October 2011 - 11:37 AM
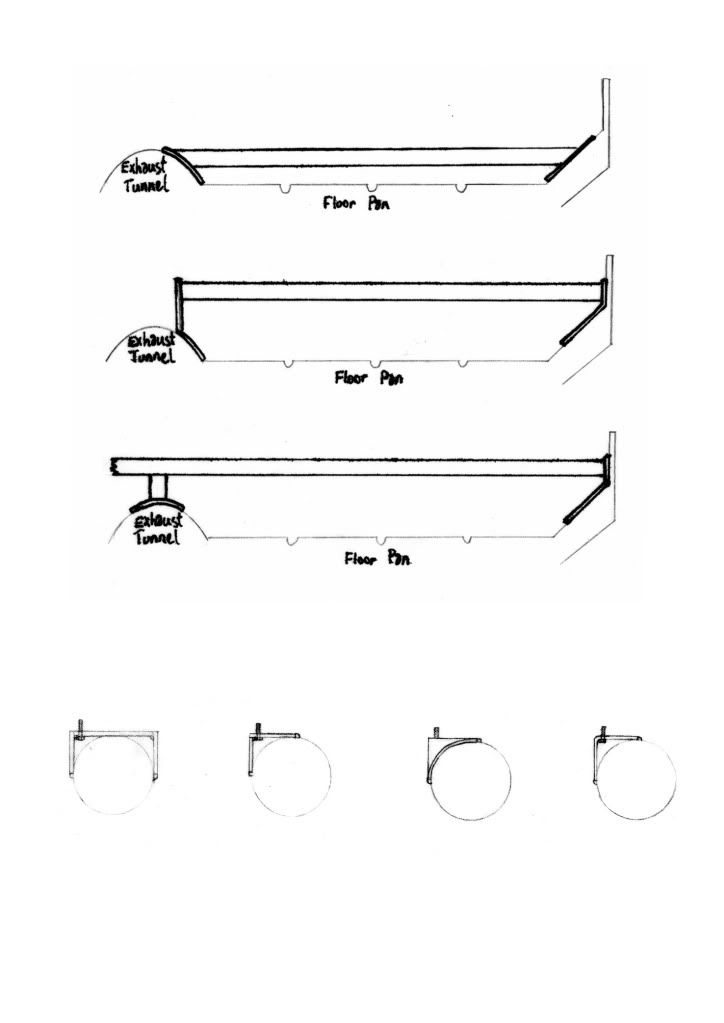
Firstly i have been designing how my front seats will be held in place at the rear. I have decided i will do an adaptation of something similar to what Mr Jon Betts sells but a bar that goes across from one side to the other in one length. Here are a few quick sketches i did to illustrate what i mean.
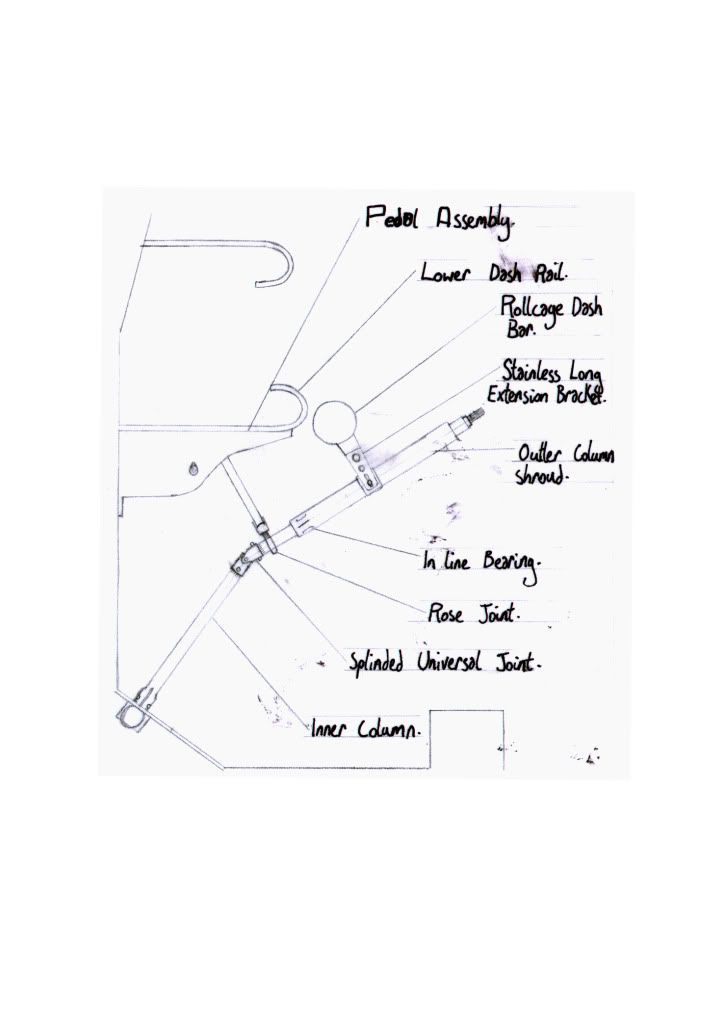
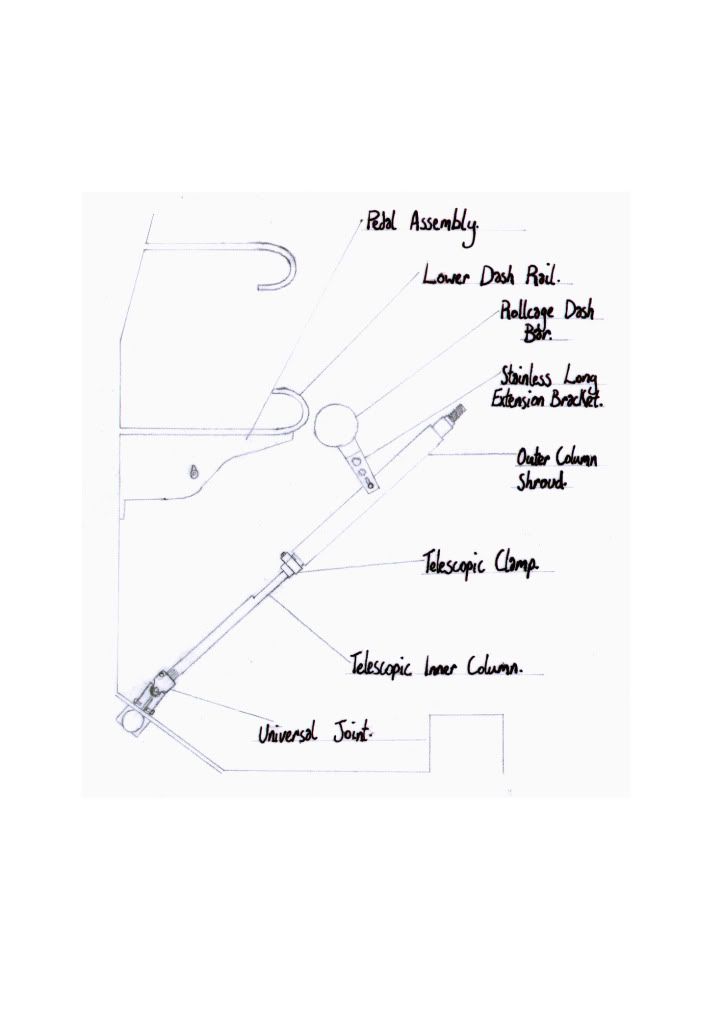
So after doing some brain storming for the front seat i went back to thinking about my steering column which has to be adapted in order to pass an SVA test. A normal standard mini steering column would fail an SVA! So in order to pass an SVA the steering column needs to have either a UJ or a telescopic section. After a trip to a motor-sport suppliers in Coventry i bought both SVA approved components to make my steering column at cost and it came to a grand total of £60.
My initial idea was to have splines cut in to the original MPI inner column and have a UJ like this:
But now my steering setup will be like this:
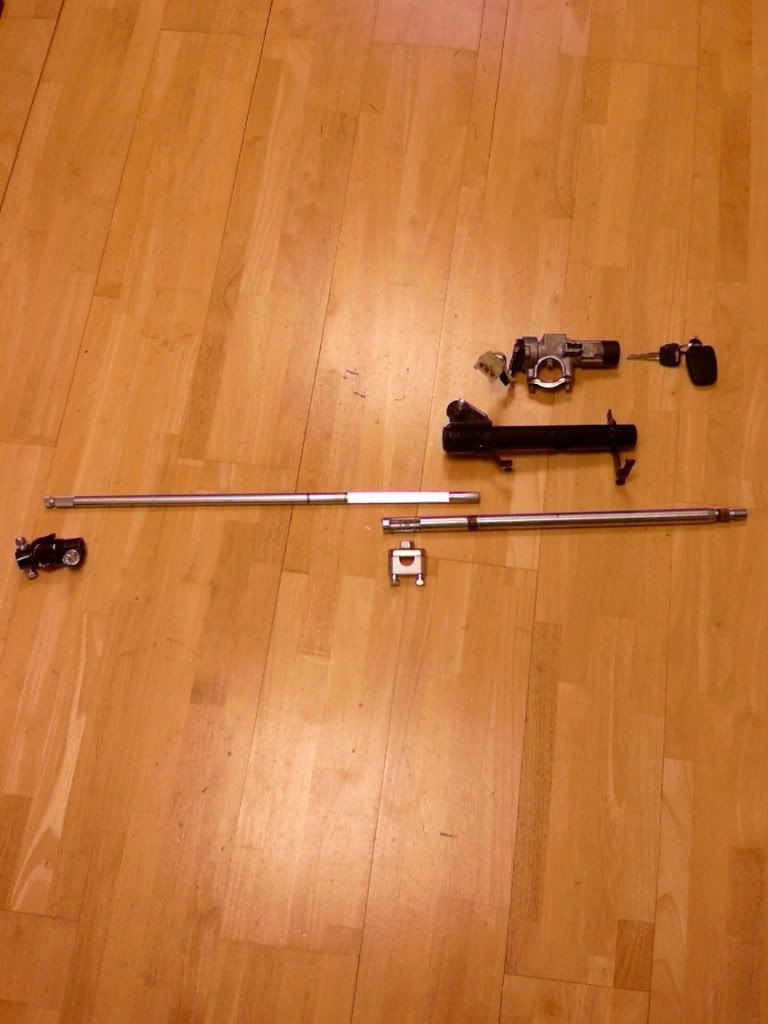
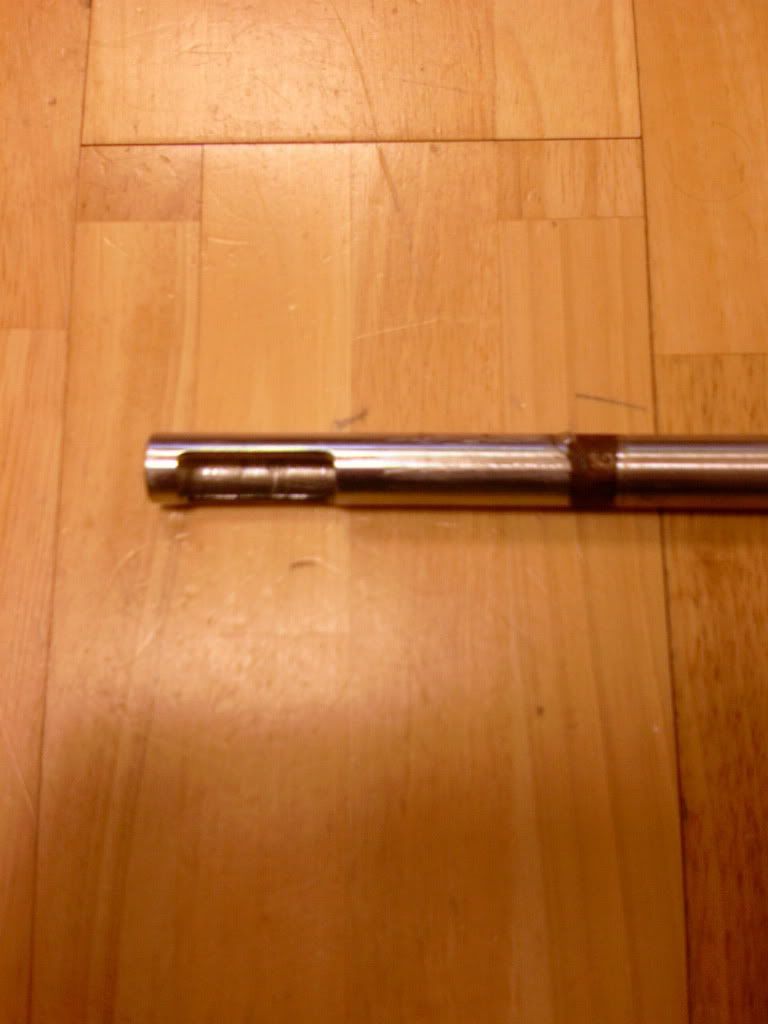
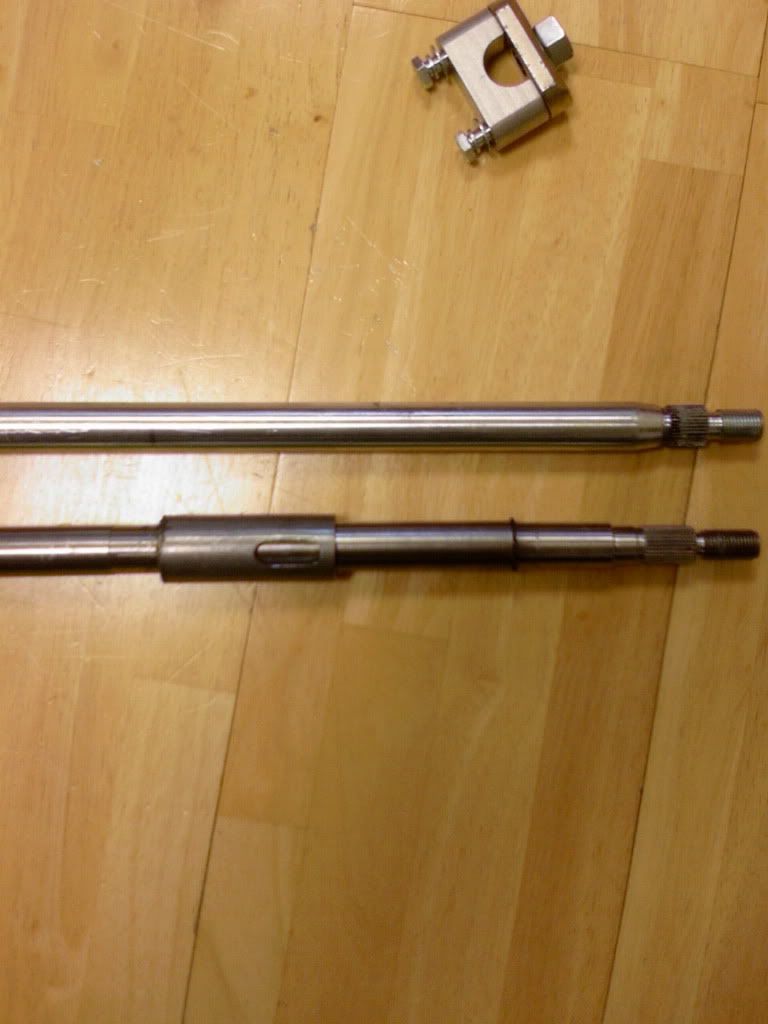
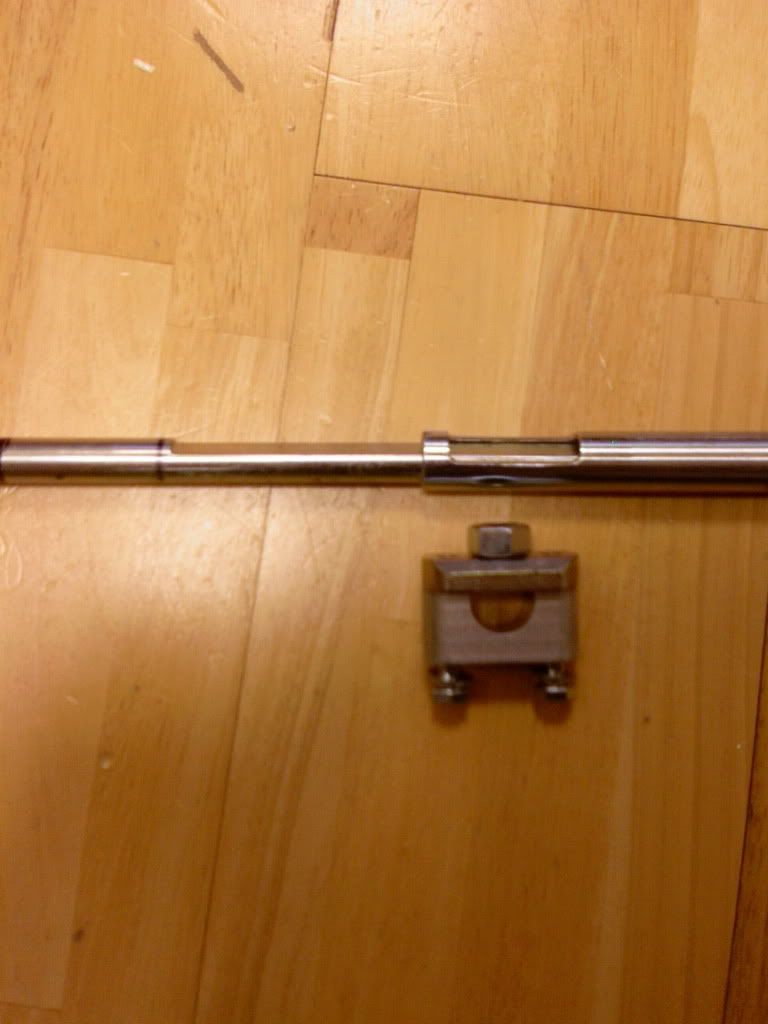
So these are all the components. I need to have the inner part of the telescopic column shortened and milled, with two nylon/PTFE bushes turned to replace the MPI's outer columns inner bearings. I also need a sleeve to be turned and welded on for the steering lock mechanism.
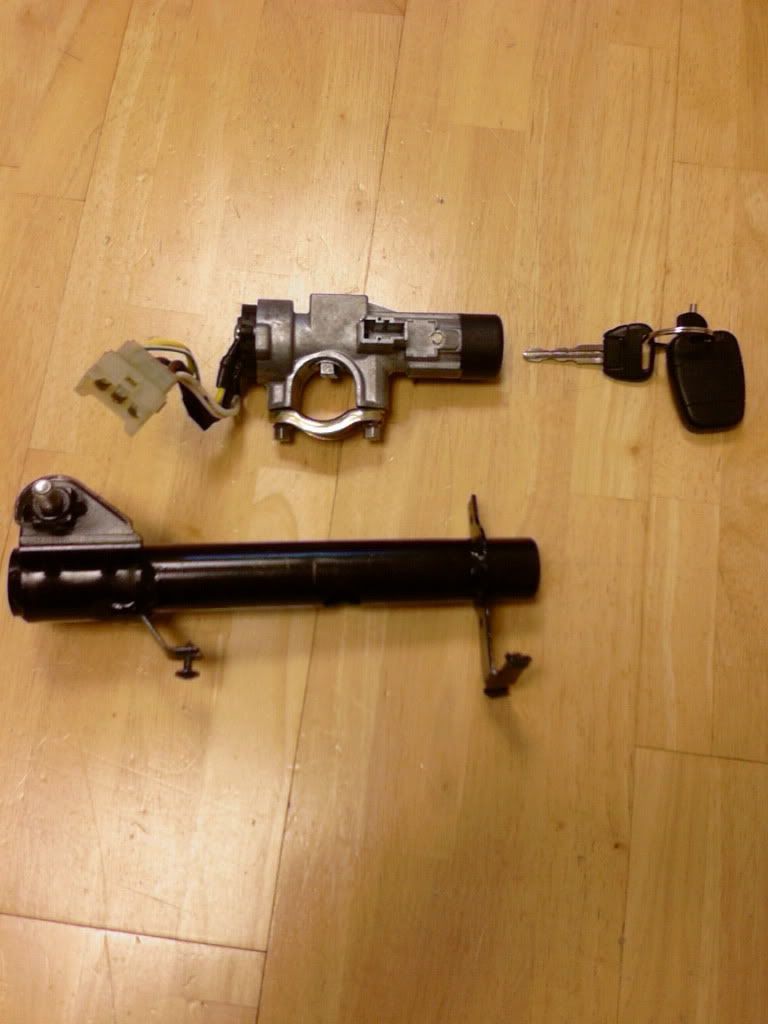
Cut down MPI outer steering column:
Old steering lock collar removed:
Telescopic fixing parts:
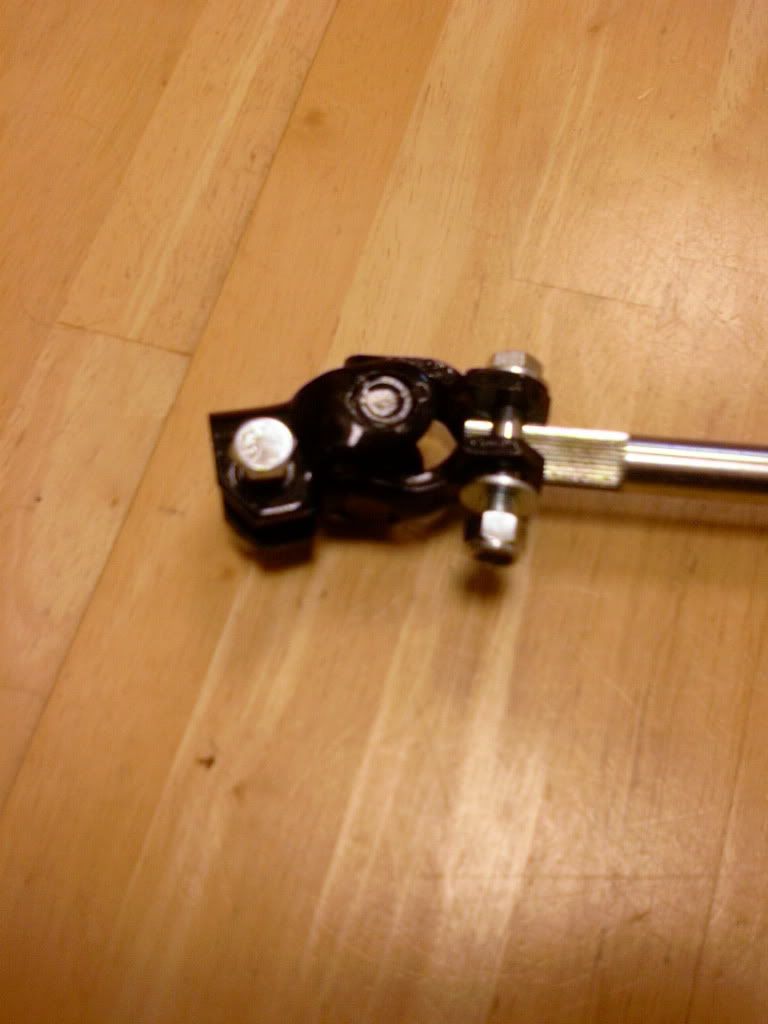
Universal joint to connect onto the steering rack:
Old MPI columns collar for steering lock that needs replicating:
So thats my lot for today.
Regards Blue
#157
Posted 30 October 2011 - 03:29 PM
Out of interest what are the rules regarding the master cylinder i was thinking of using a pedal box setup.
Like the following... http://www.obpltd.co...-clutch-obp0305
#158
Posted 30 October 2011 - 10:34 PM
Regards Blue
#159
Posted 31 October 2011 - 05:05 PM
There was one on eBay I was quite tempted by but after seeing those reviews I don't think I will touch it.
Seems a shame some companies can make such awful products and get away with it.
#160
Posted 01 November 2011 - 10:05 PM
Regards Blue
#161
Posted 14 November 2011 - 04:00 PM
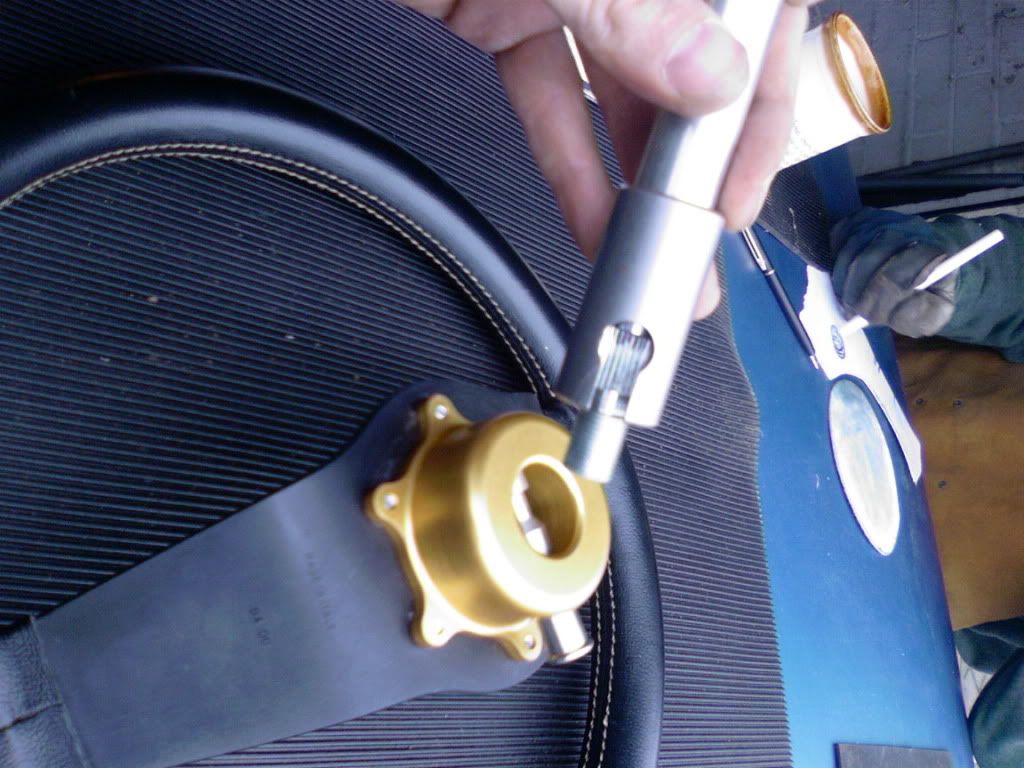
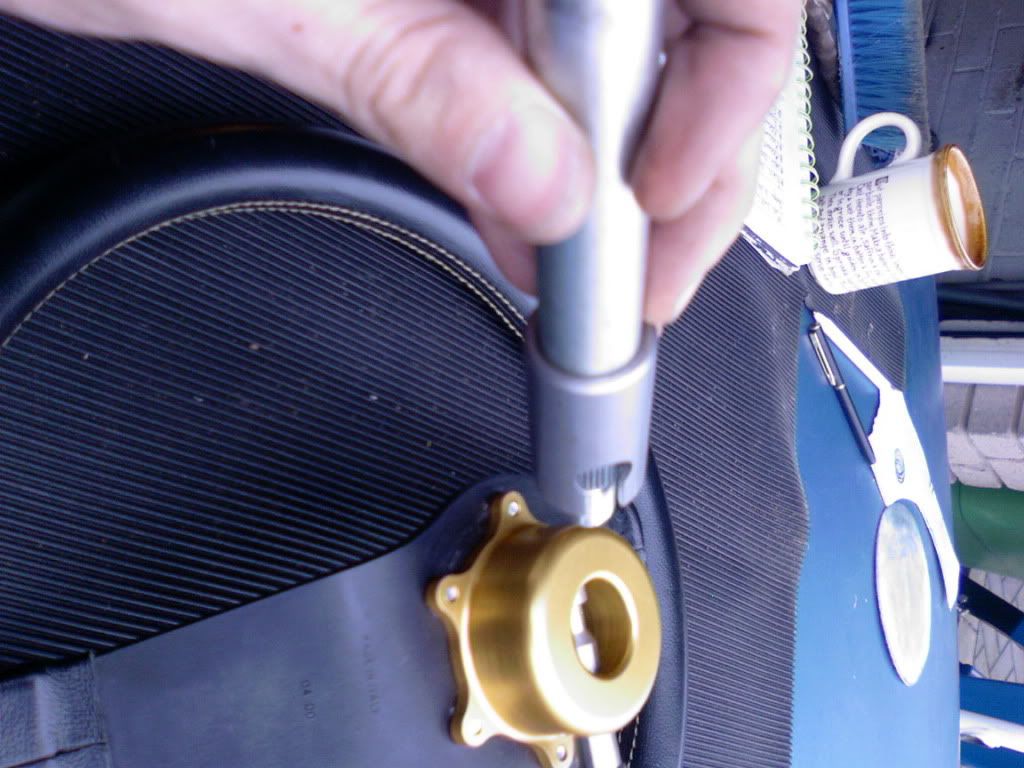
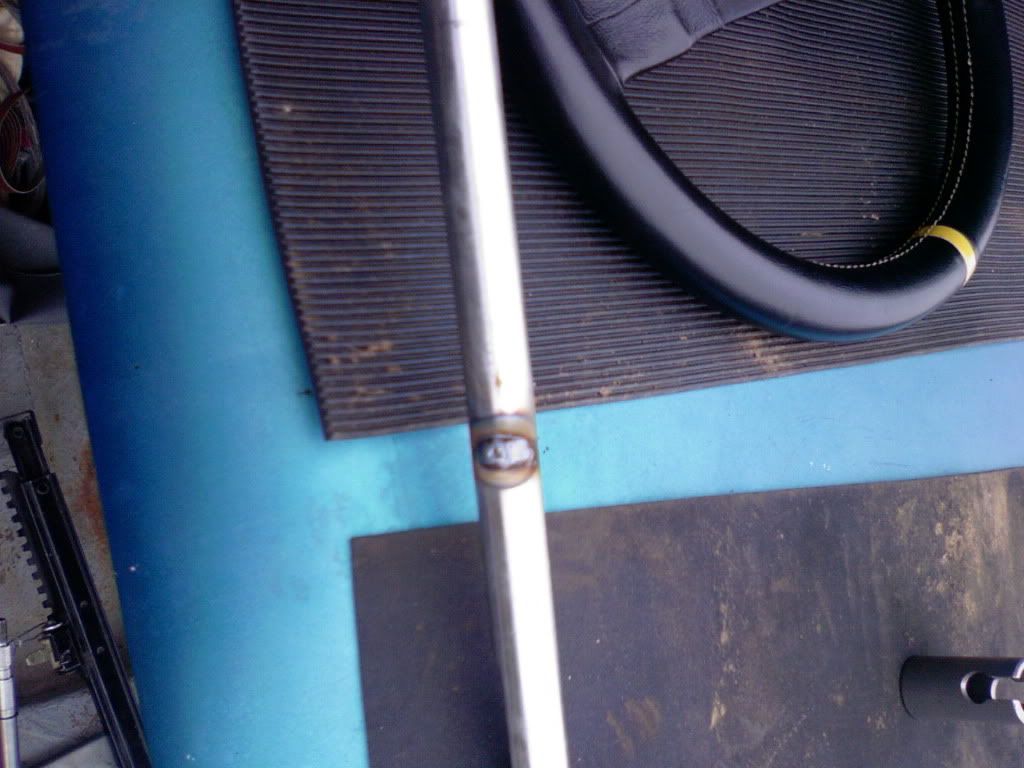
So i started off by working out a few things to do with my steering column. I checked for the fitment of the boss adaptor on my new column, on the MPI column i would of had to have a sleeve made and hardened to weld between the column and adaptor (which is a bit unsettling with so much heat being passed through the column and a lot more parts that were involved) Thankfully though the adaptor fits perfectly to my new column:
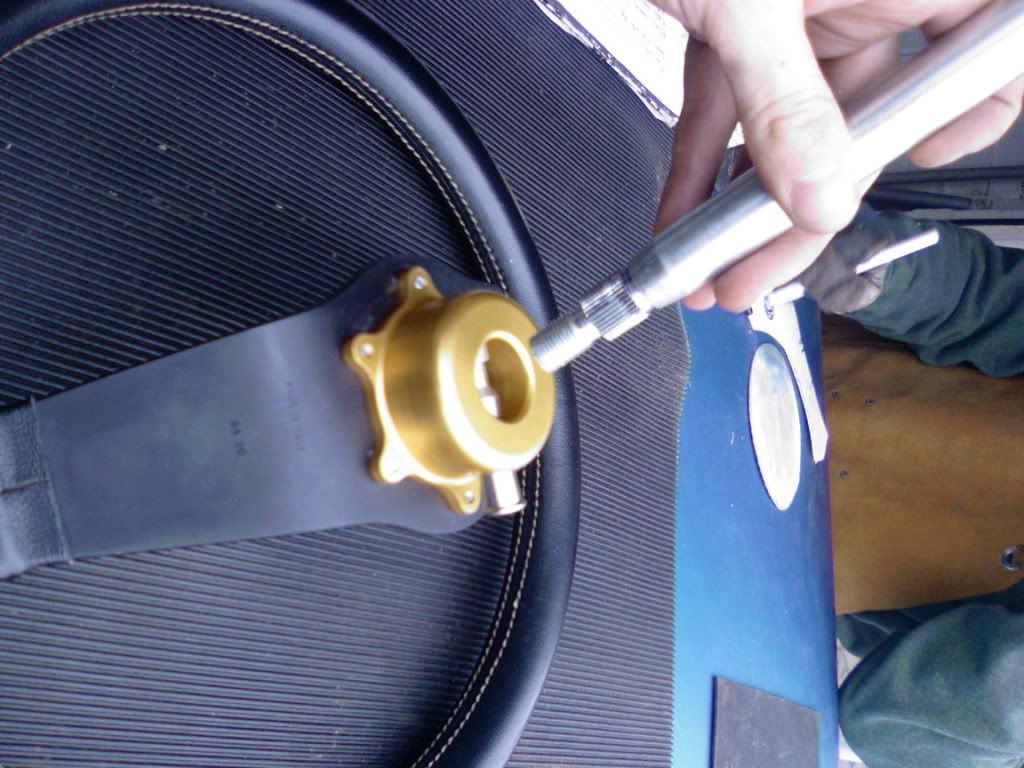
Obviously i will have to cut off the splined part before welding and boss fitment but its just to illustrate fitment. However i will not be fitting my boss before an SVA test because SVA stipulates that snap off boss' are not allowed.
Also on my column from taking off the old collar i had taken a few nicks out so i have had them filled in with weld and will have them lathed down to be uniform with the rest of the column.
I have also started to dismantle my safety devices roll cage:
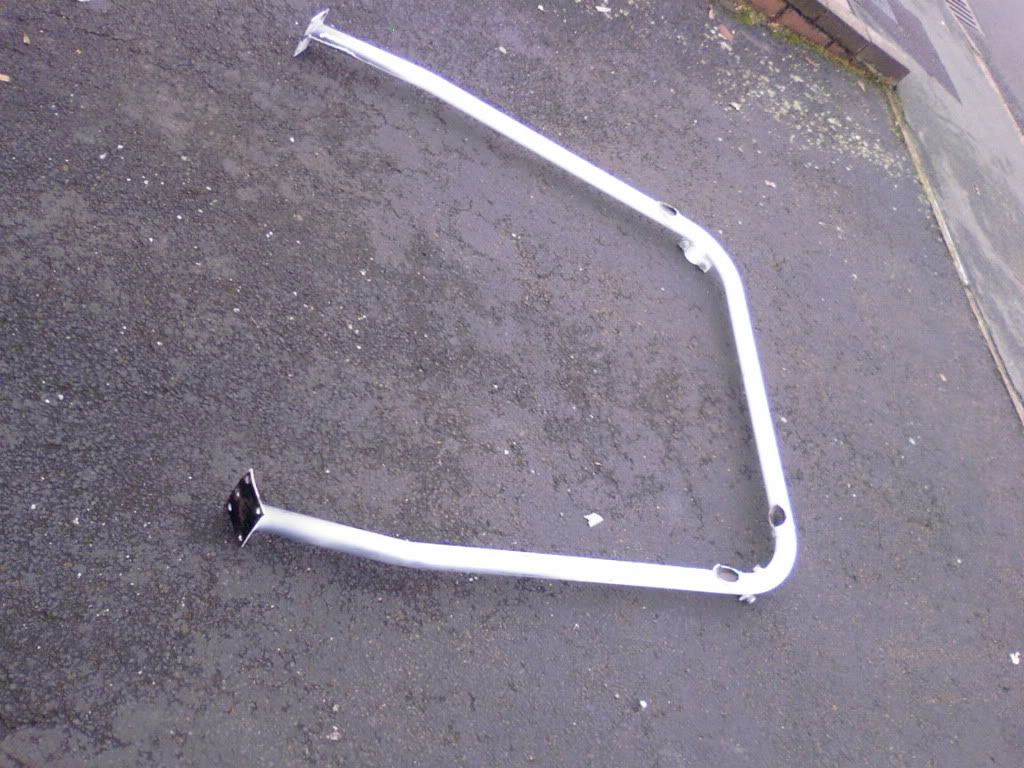
It will have to be smaller due to the minus being shorter in the body and i am going to add in some of my own needs. I am going to be having the rear arms going to the suspension turrets to make things more rigid, coupled with a cross on them for more weight at the back. I am also going to be having a harness bar before the arms go through the rear seats back board. This is a quick diagram to illustrate what i mean:
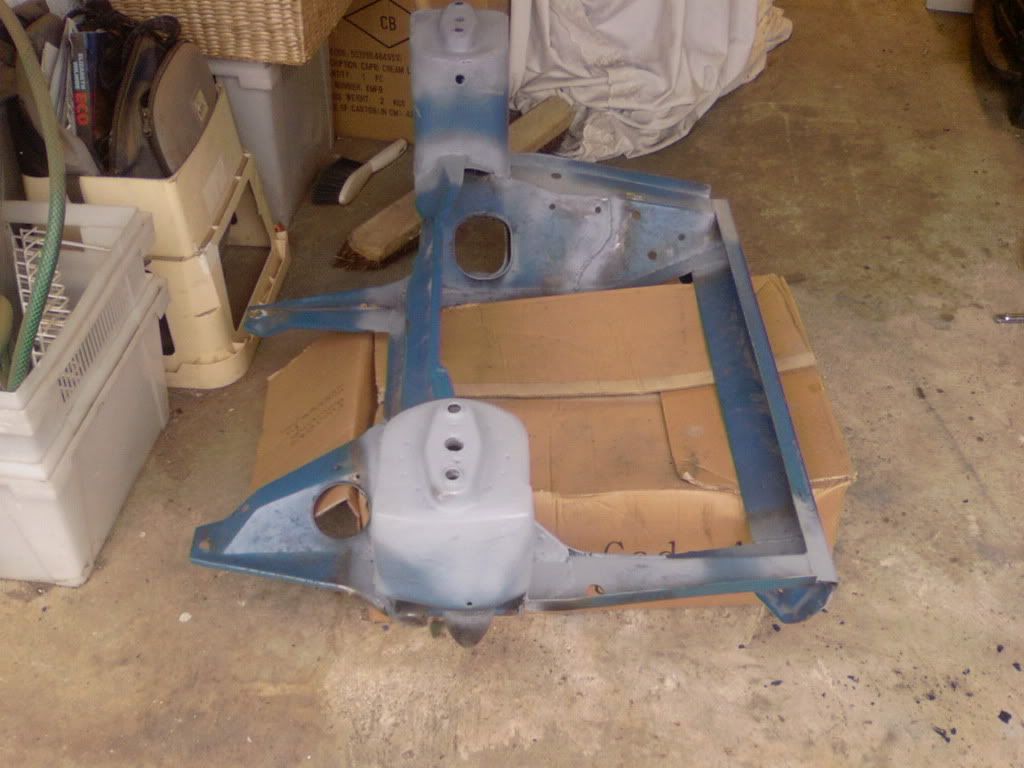
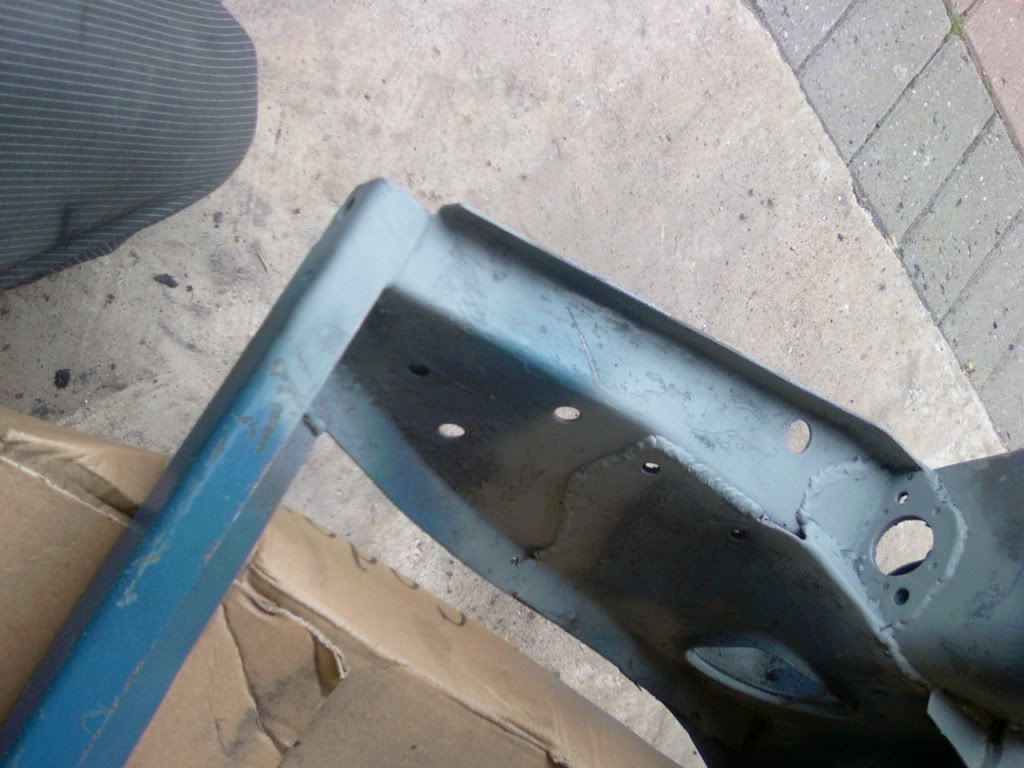
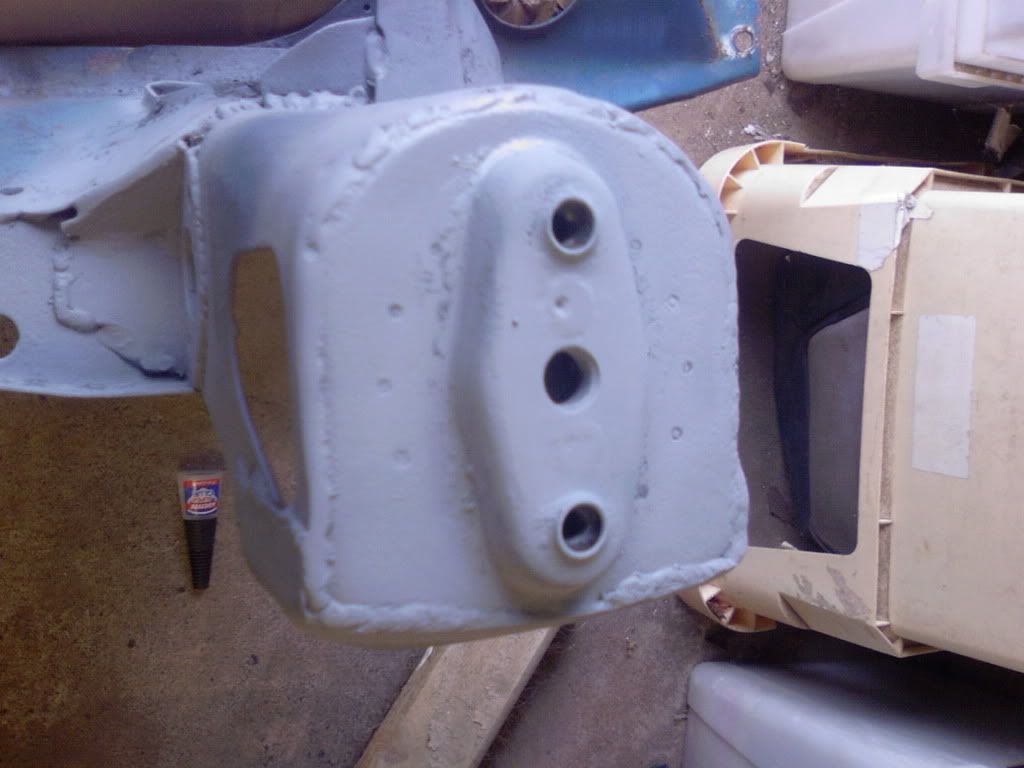
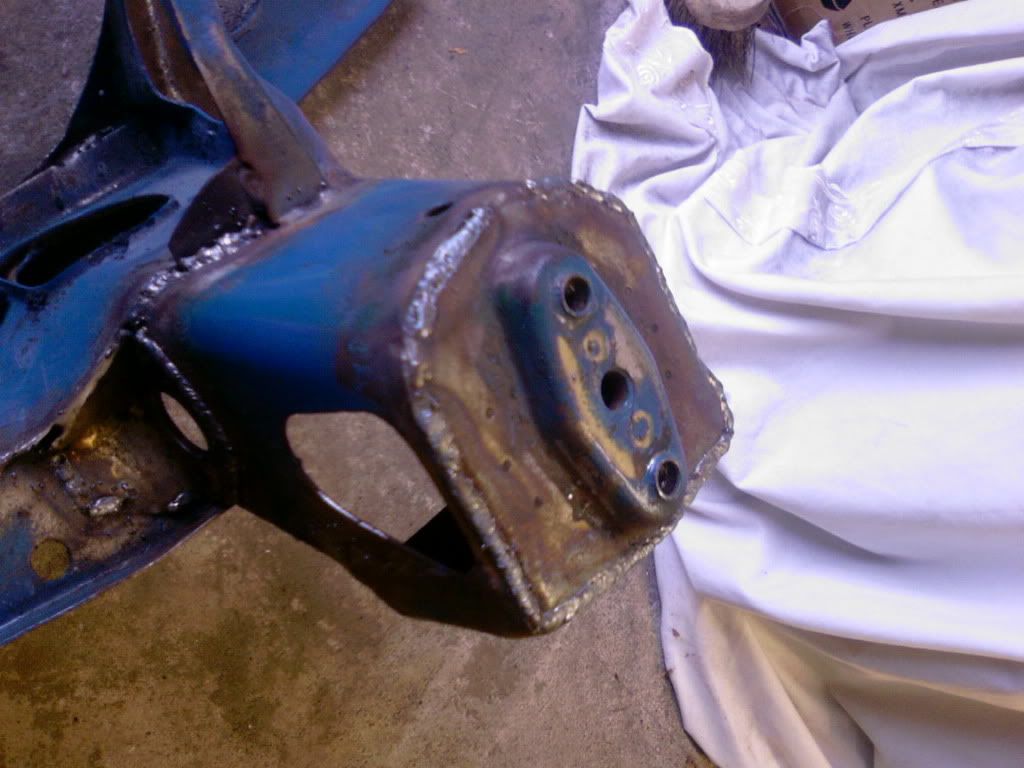
So another thing i have started is my front subframe. I have seam welded it all up for more strength.
To begin i used nitromors on it to help lift and strip the paint on the areas that needed welding then used a wire brush tool in my drill to get the metal clean:
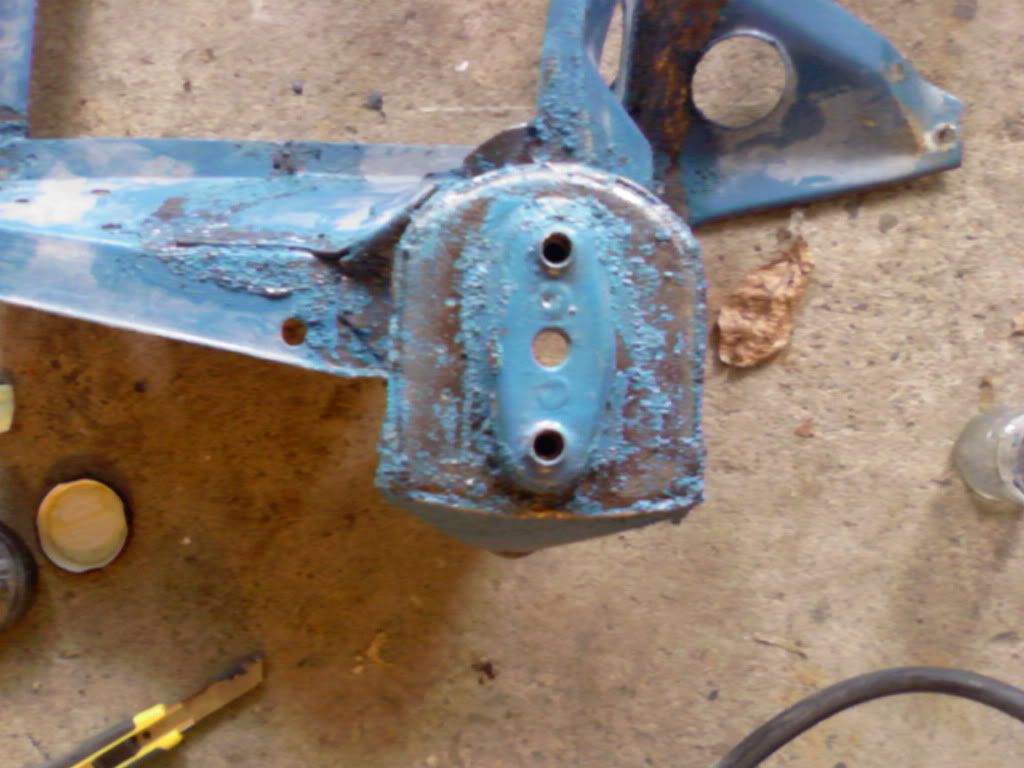
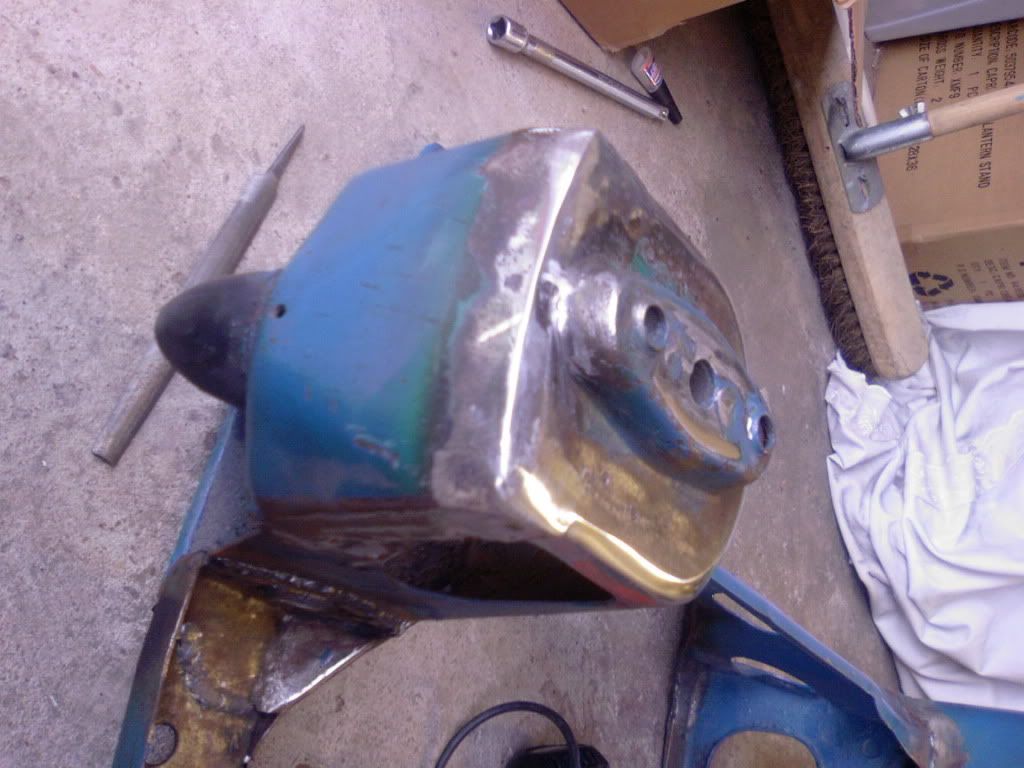
So here are the two towers welded up:
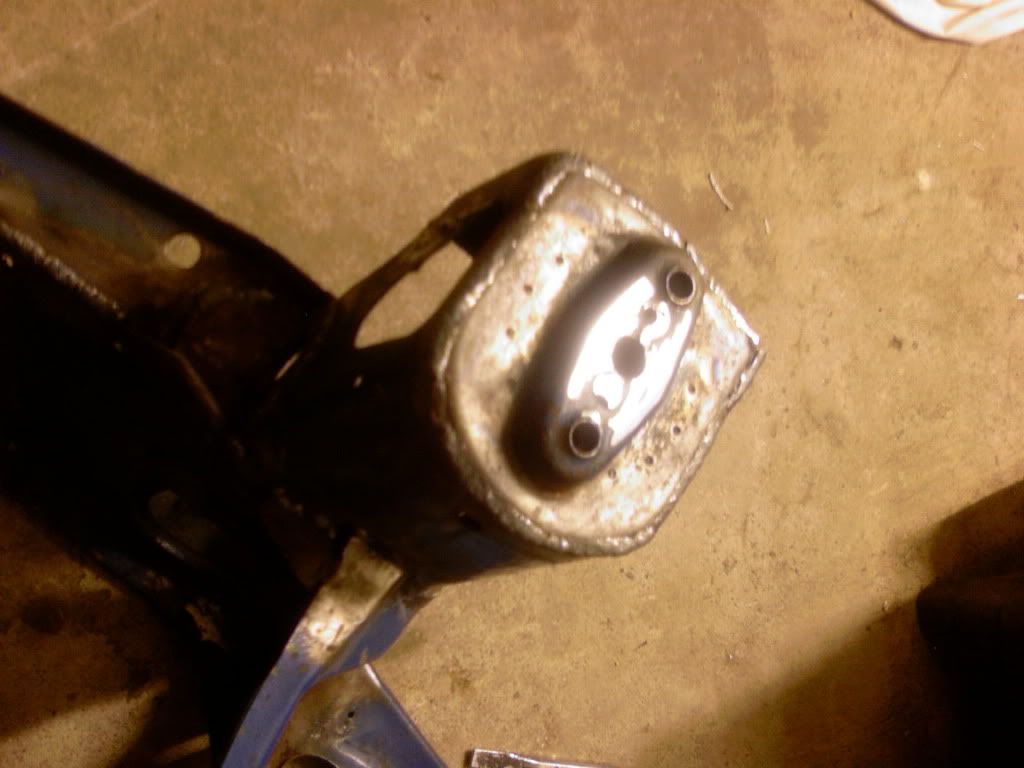
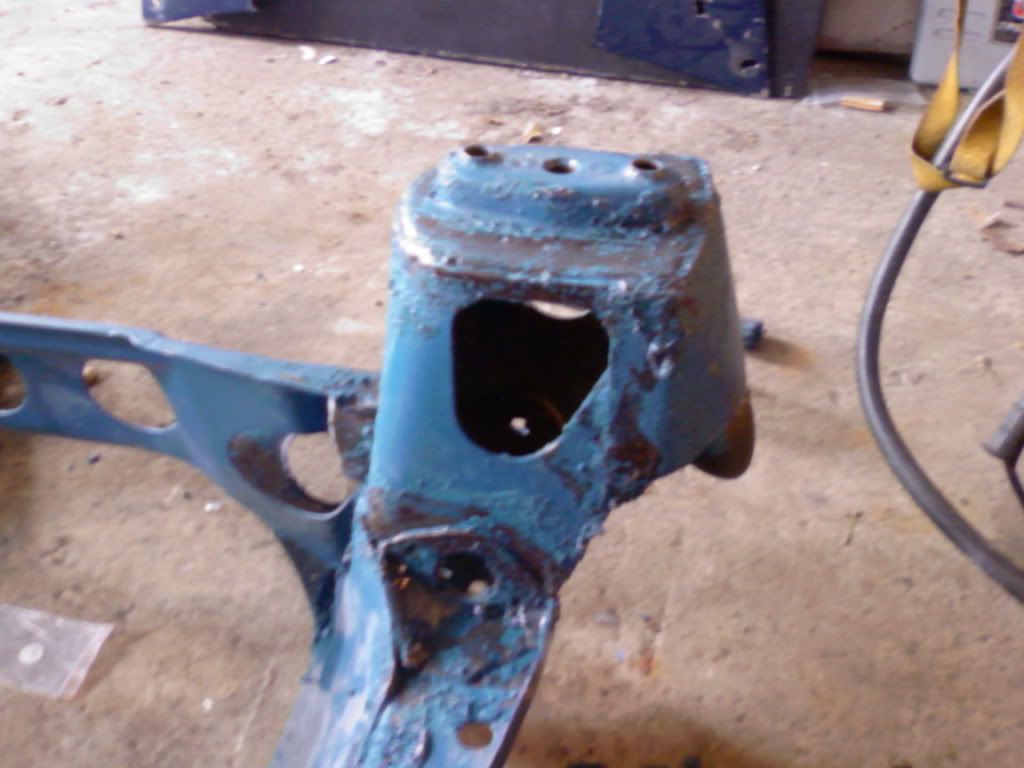
There was quite a surprising amount of rust on this subframe but it is still useable. I started to dress all the welds up but as i said i did not finish all of the dressing due to some holes that need working in to:
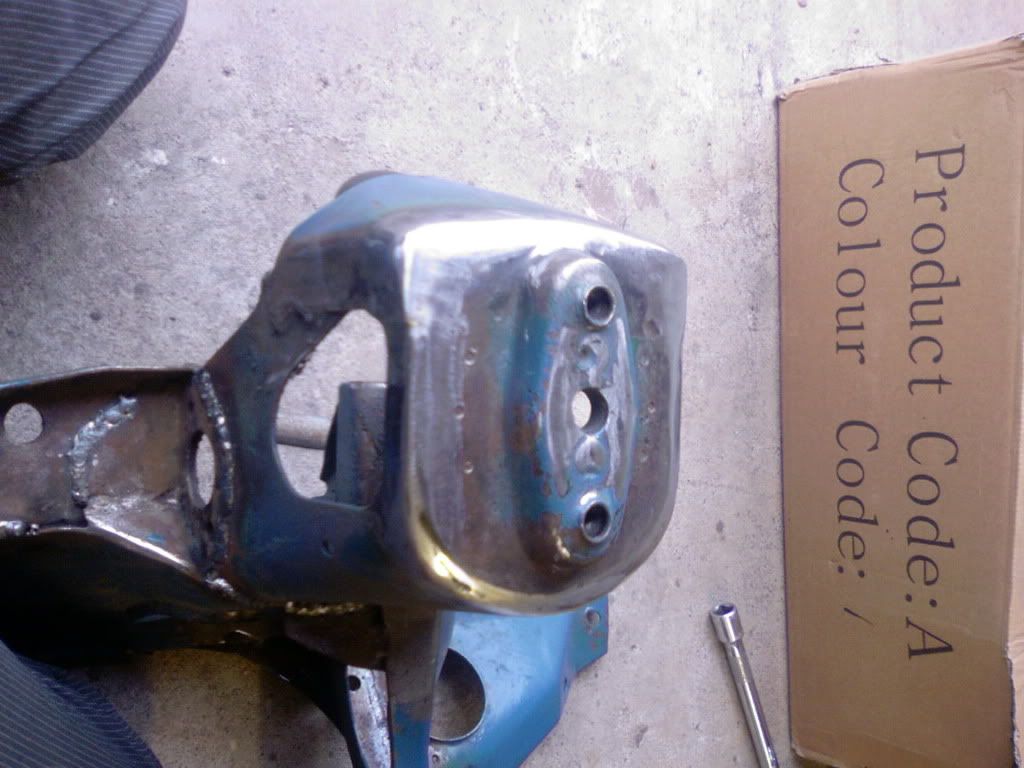
In the end i gave some areas a lick of primer to stop rust forming but i will be sending the frame off once its been test fitted and gone through a dry run setup to be sandblasted and powder coated.
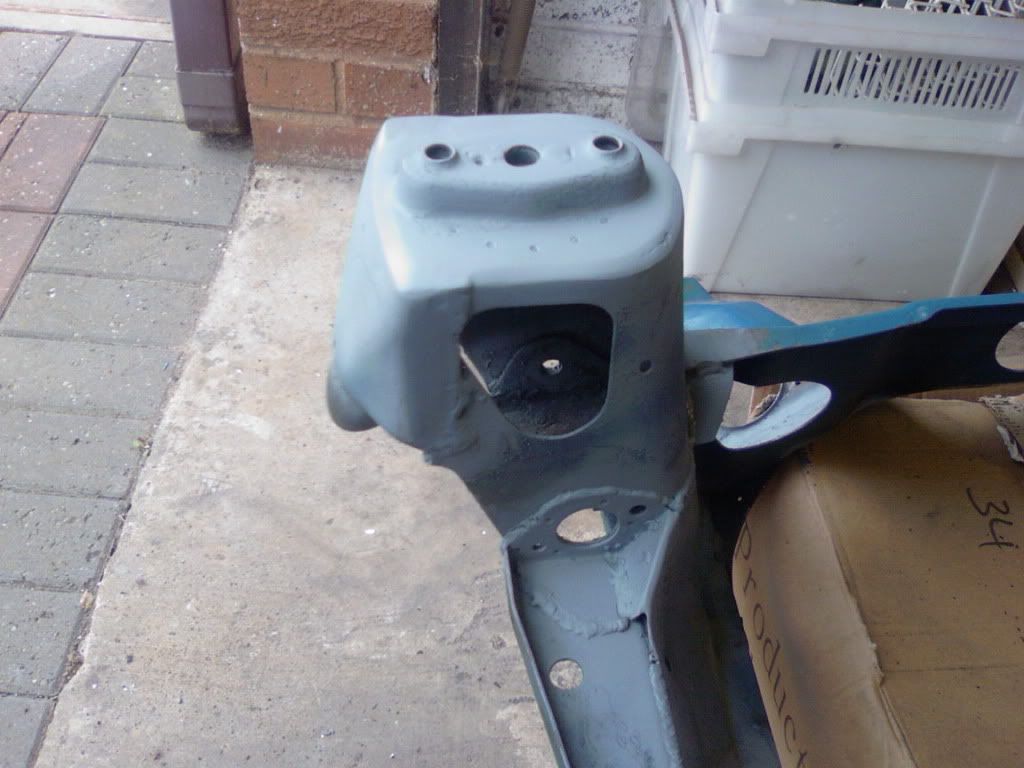
As you can see more weld and work needed on this one
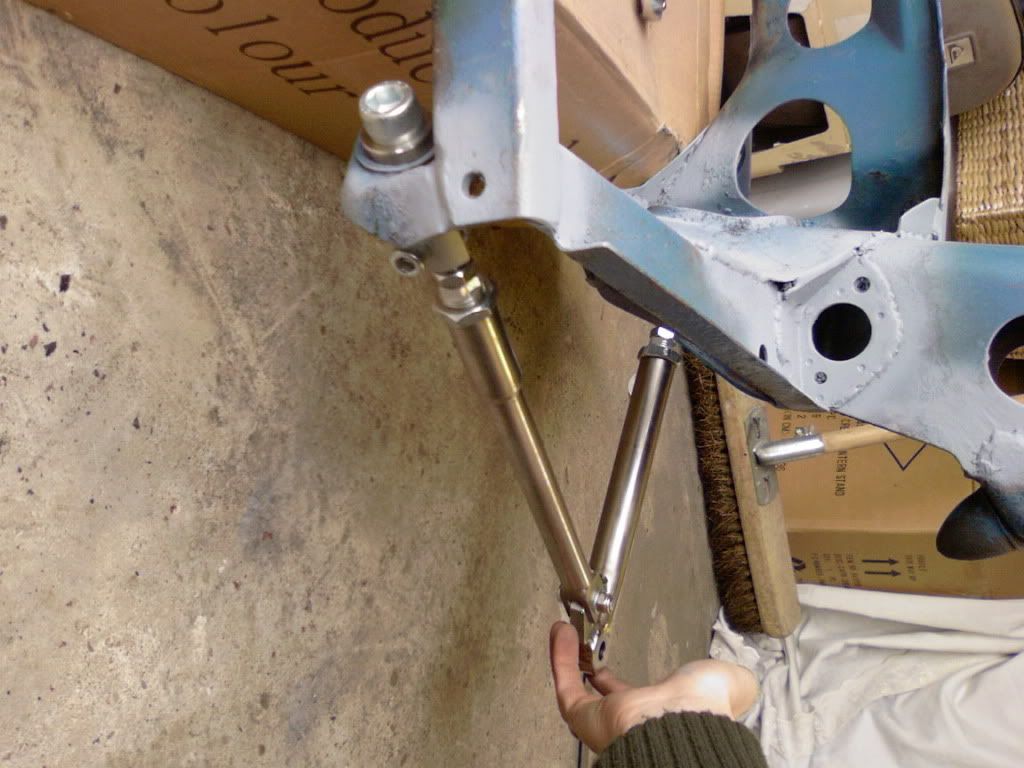
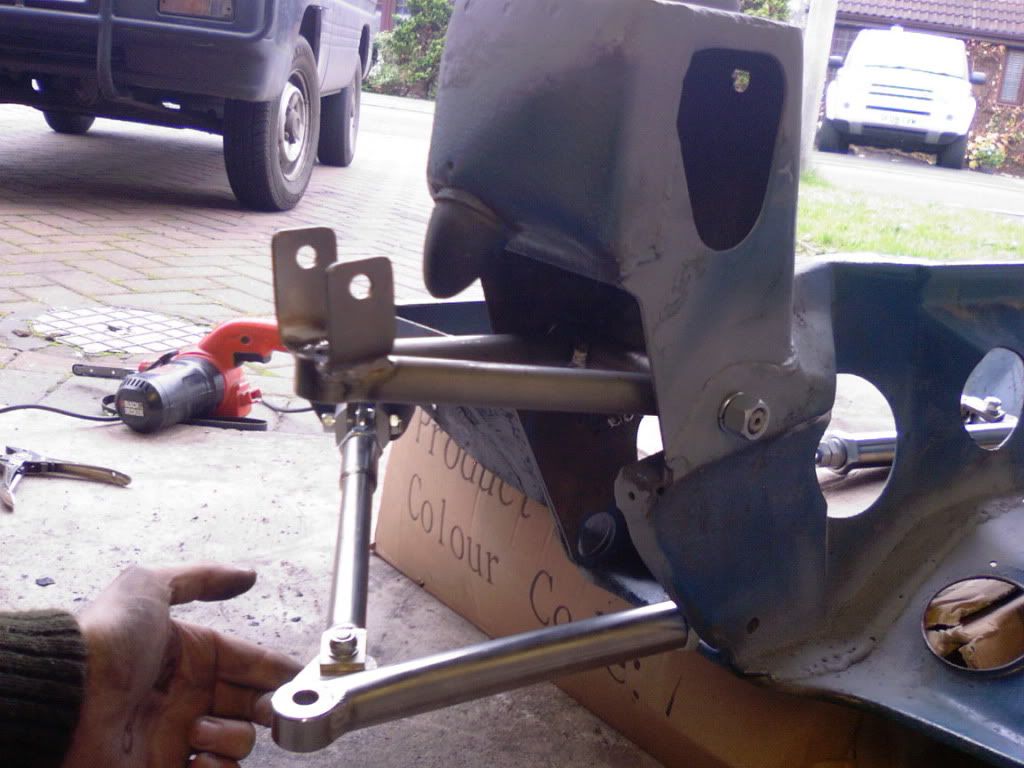
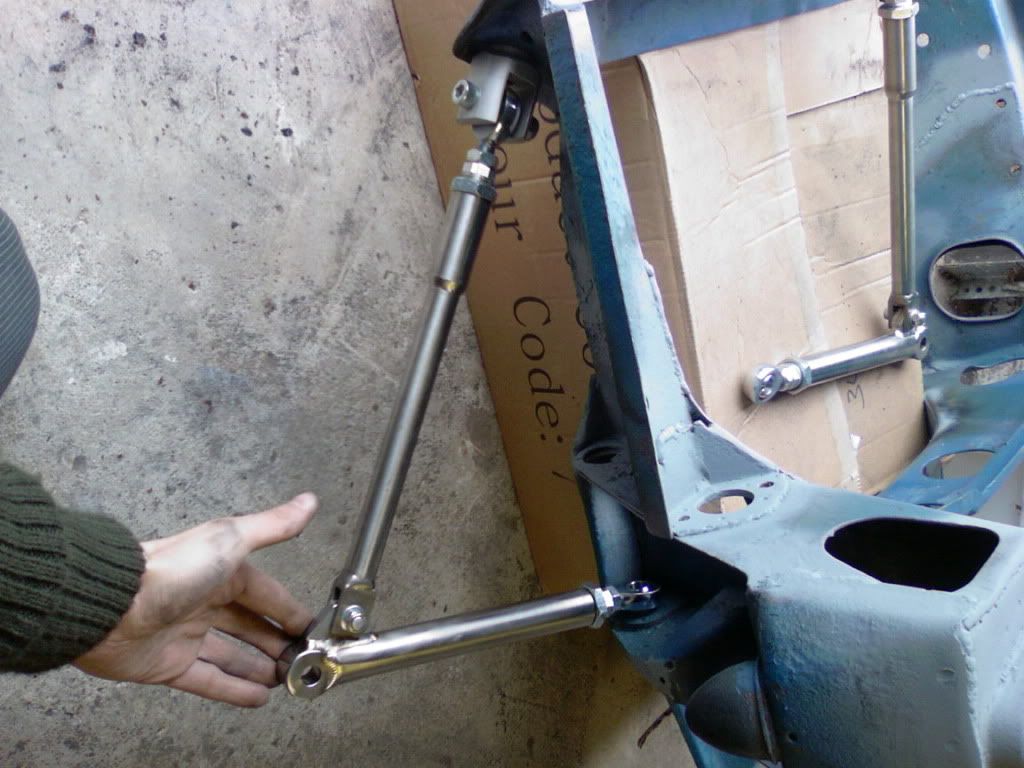
With some spare time i decided to check the fitment of the titanium arms i have and they do seem to be alright as i had a lot of issues with the rear radius arms i purchased.
Well thats all for now folks
Regards Blue
#162
Posted 20 November 2011 - 08:49 AM
Liking your steering column solution, particularly interesting as i was under the impression two universal joints were required for SVA
Edited by rustandoil, 20 November 2011 - 08:50 AM.
#163
Posted 20 November 2011 - 04:20 PM
No as far as i am aware just the one is needed or a telescopic part but obviously i am utilising both things. Thank-you for the compliments.Very nice work, good attention to detail which set s a project apart
Liking your steering column solution, particularly interesting as i was under the impression two universal joints were required for SVA
On another note i'm in this months mini magazine
Regards Blue
#164
Posted 20 November 2011 - 04:32 PM
#165
Posted 25 November 2011 - 08:46 PM
You have talented fingers.
1 user(s) are reading this topic
0 members, 1 guests, 0 anonymous users