Dan.

My Poor Wee Mini Sky
#76

Posted 15 January 2011 - 09:34 PM
Dan.
#77

Posted 16 January 2011 - 12:15 PM
Chris
#78

Posted 18 January 2011 - 09:32 PM
Thanks a lot Ryan, Mel, Dan and Chris.
Sorry nothing to report - no further on.
I was hoping I'd have the flitch panel welded by now but I have been measuring doors and checking fit before doing so. The drivers door has never sat right since I got the mini. It always stuck out a bit at the lower back corner and has never latched well. I had thought it was flex in the hinge panel - I checked the hinges Chris, but there is no wear. The hinge panel certainly flexes just now. Here are pictures of the fit of the door.
Big gap at top front even bolted as high in the holes as possible

Rubs at top rear if not carefully opened and shut


There are no shims - I wish there were to take some away.
And the better passenger door


There is a shim top and bottom of the passenger door hinges.
Do I go ahead and weld up to stiffen things up?
Do I elongate the holes to bring the door up a bit?
I have measured both door apertures accross from the top hinge bottom hole to the door striker (96.3cm) and also from the door step to the top door lip where the rear of cross member inside the car is (92.8cm). They are the same give or take 2mm.
Could a pattern door of poorer fit have been fitted at some time?
Sorry to bother
Hugh
#79

Posted 19 January 2011 - 09:13 PM
and the back
and the back
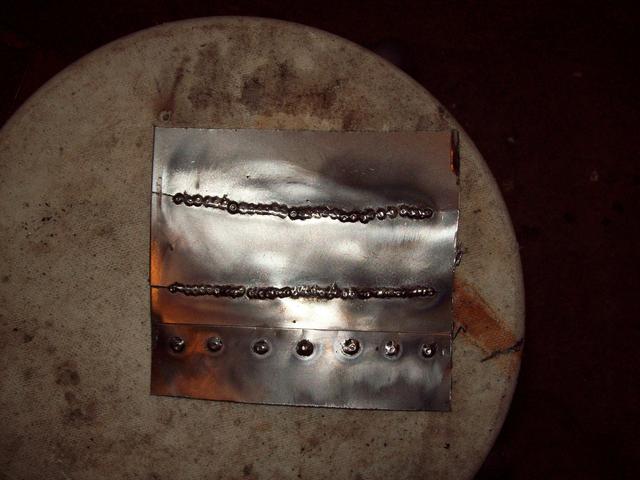
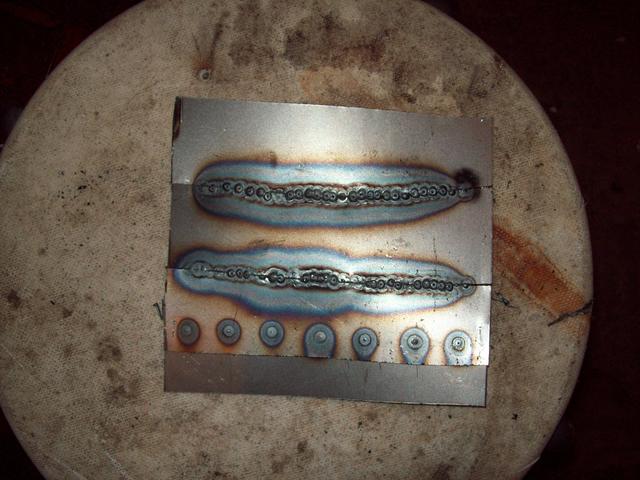
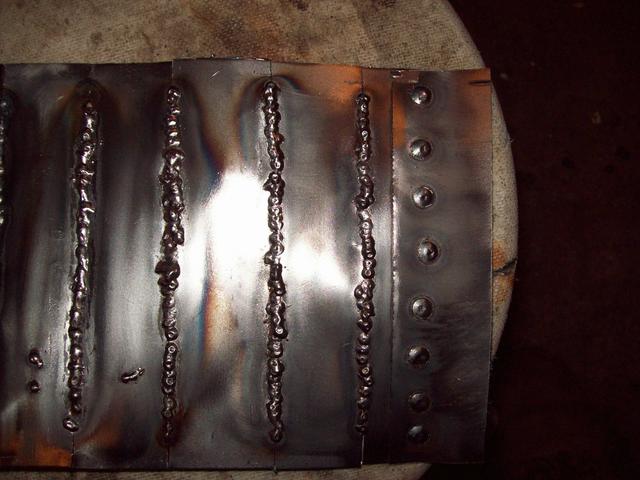
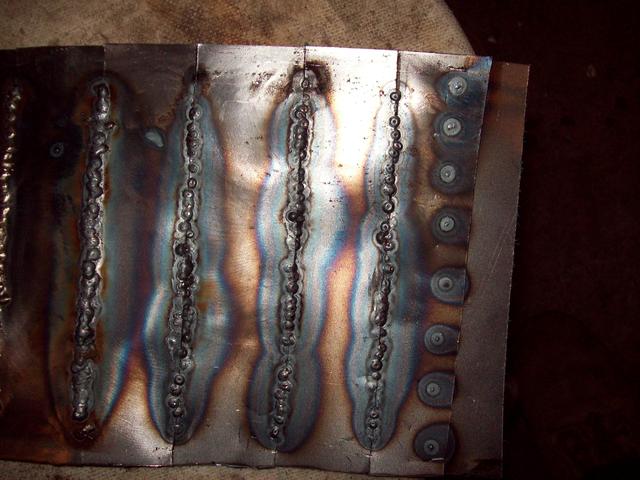
Looks like you need a tad more power/flow or slow down a wee bit
#80

Posted 20 January 2011 - 08:52 PM
Well no one screamed out - don't weld it in!! So I welded in my first panel. It shows how stupid I am. I couldn't understand why my tacks and first wee weld were so awful. I was blaming the weld through primer - No! I forgot to put the gas on.

From inside there is penetration


And tidied up with the grinder

Still at the bottom of the learning curve. I tried to take Dougie's advice and hold the weld that bit longer. It did blow a couple of times but it was fairly easy to stop and fill back. I do hope it gets more beautiful.
On the door side - its still a poor fit. Maybe when I have developed some wonderful skills I can alter the door a bit.
Grinding on
Hugh
#81

Posted 20 January 2011 - 09:48 PM
#82

Posted 20 January 2011 - 09:53 PM
I love it when I get emails saying someone has replied to this topic!
#83

Posted 20 January 2011 - 10:14 PM
The gapping issue with the door skin can be dealt with by several ways. You will be no doubt re skinning the doors so you can move things around a bit before folding over the edges. If you still have large gaps then you will need to add metal. Use 3.4mm welding rods and weld these to the door edges. You can then grind these down to get a nice even gap. If you have no gap at the back of the door then you can section the quarter panel but if you do this then you will need to use a 1mm stainless steel cutting disc to get a nice thin cut.
You can go the hammer route to try and increase the gap but this will distort the panels causing more grief.
The window frame can be bent a bit but to get the gap closer at the top without having a huge gap at the bottom then you may have to go the same route as me by welding in small extension pieces to decrease the gap.
You have been reading the Project Erm thread so you can see exactly how i went about doing all of the above. As a matter of course both of the doors that were fitted to Erm when we got the car were not the original doors so this contributed to our problems.
You are doing well and your welding is coming on really well but i would recommend getting a panel beating kit (Hammers and Dollies) as this will help you. I will be sorting out the r/h door window frame shortly so you will be able to see what i have done with that.
#84

Posted 21 January 2011 - 12:30 AM
Dan..
#85

Posted 21 January 2011 - 03:51 AM
Chris
#86

Posted 21 January 2011 - 07:58 AM
great start to your welding. That is where I started and it is so satisfying when you get the first bit done, especially when it is so neat, keep it up.
Graham
#87

Posted 22 January 2011 - 05:12 PM
I have done a bit but it doesn't show for much.
A 'scoosh' of etch primer


I moved over to the passenger side flitch panel - making a big hole

Then trying the panel for fit

I have a few repairs to do and then a bit of rust treatment before this can be welded in. I can hardly believe it but I am quite looking forward to the welding!
I hope to finish repairing the inner wings and then patch the bulhead. Its the roof channel after that trying to remove the roller weld. Then hopefully get the windscreen surround panel in. Its easily typed!
My mentor, Neil, I should instantly put your advice into practice. I did remove the wiring loom on the drivers side but didn't the passengers. Yes I put my grinder right through it! That's me. Thanks for the advice on the doors. I have read all that on your post - several times. I also got the thin cutting disks on your advice. They are brilliant but you don't half go through a lot of them. The other thing I seem to use up is spot weld bits.
We grind on
Hugh
#88

Posted 22 January 2011 - 05:43 PM
have you been daring enough to remove those front shock mounts yet? think you might find something lurking behind them
#89

Posted 24 January 2011 - 10:53 PM
Dan..
#90

Posted 25 January 2011 - 12:53 AM
Seemed to have started in a similar place to mine, I haven't got as much rust, but working on similar panels, your welds have improved massively.
Just thought I would post my repair to the front as everyone else did
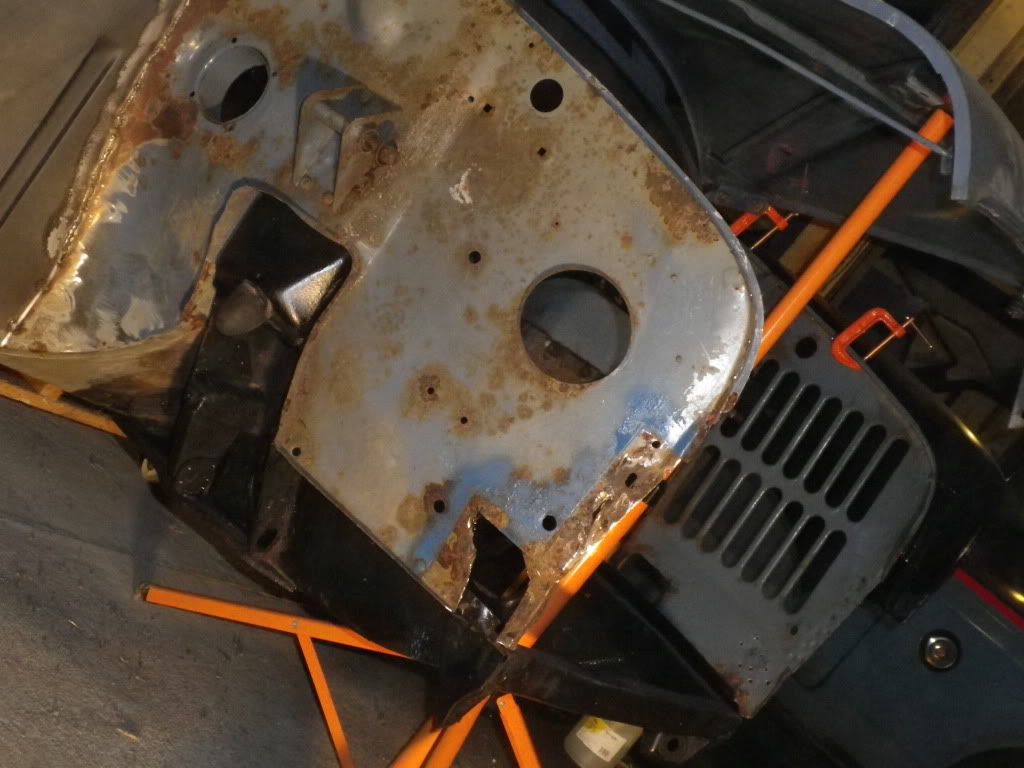
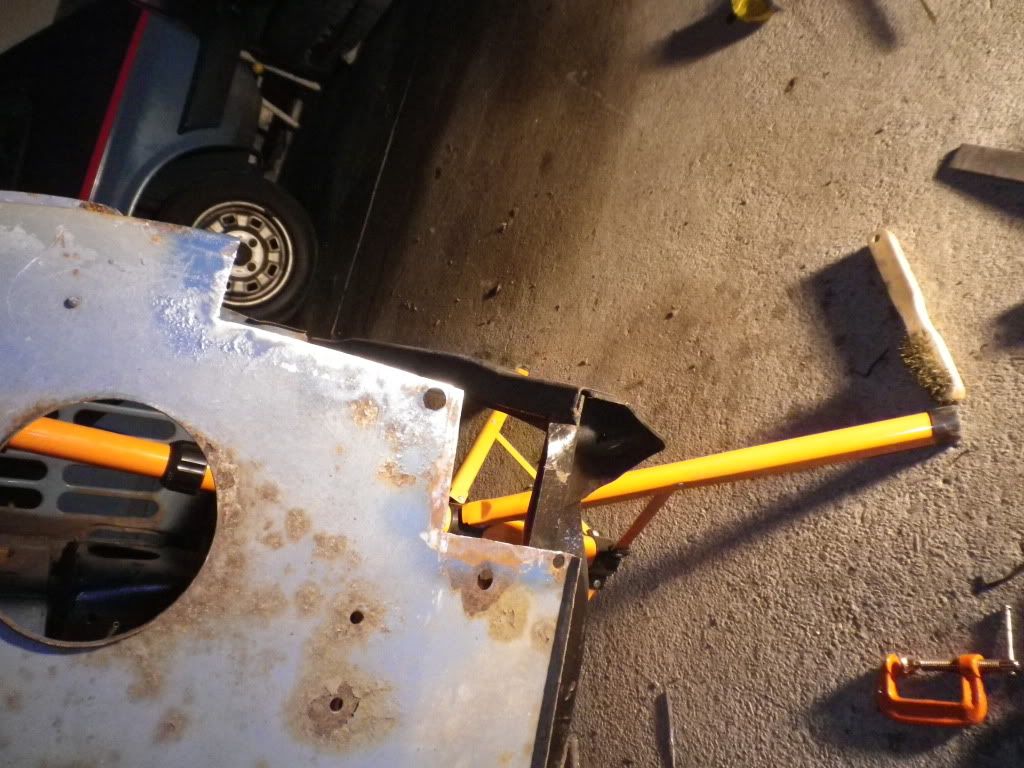
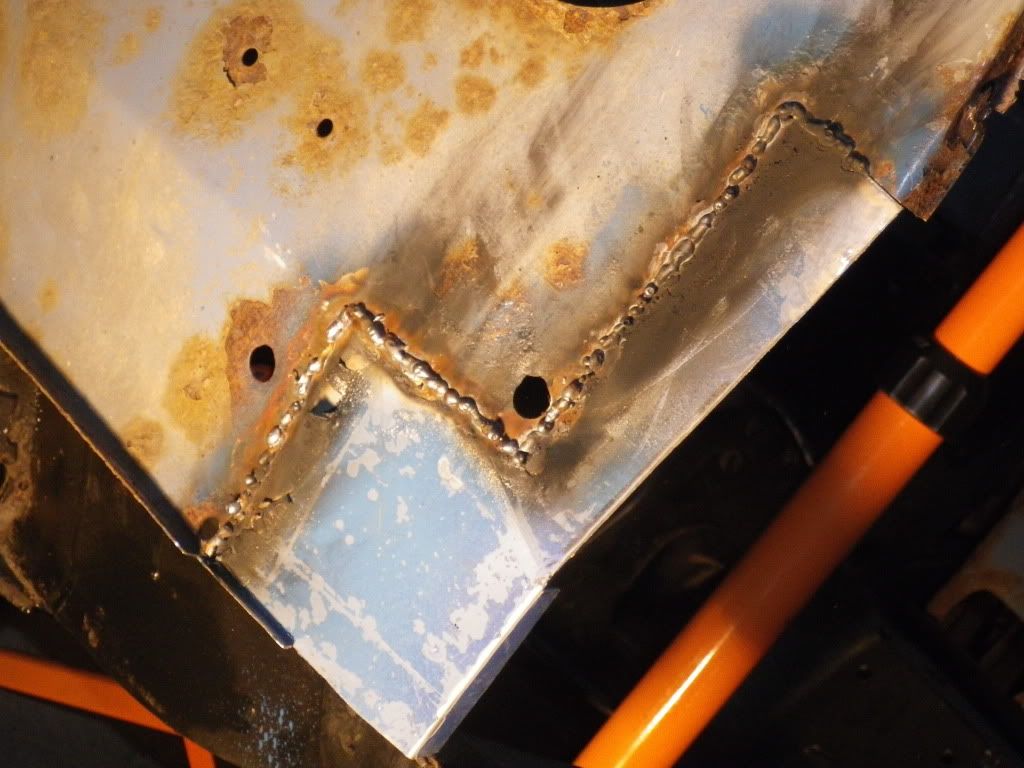
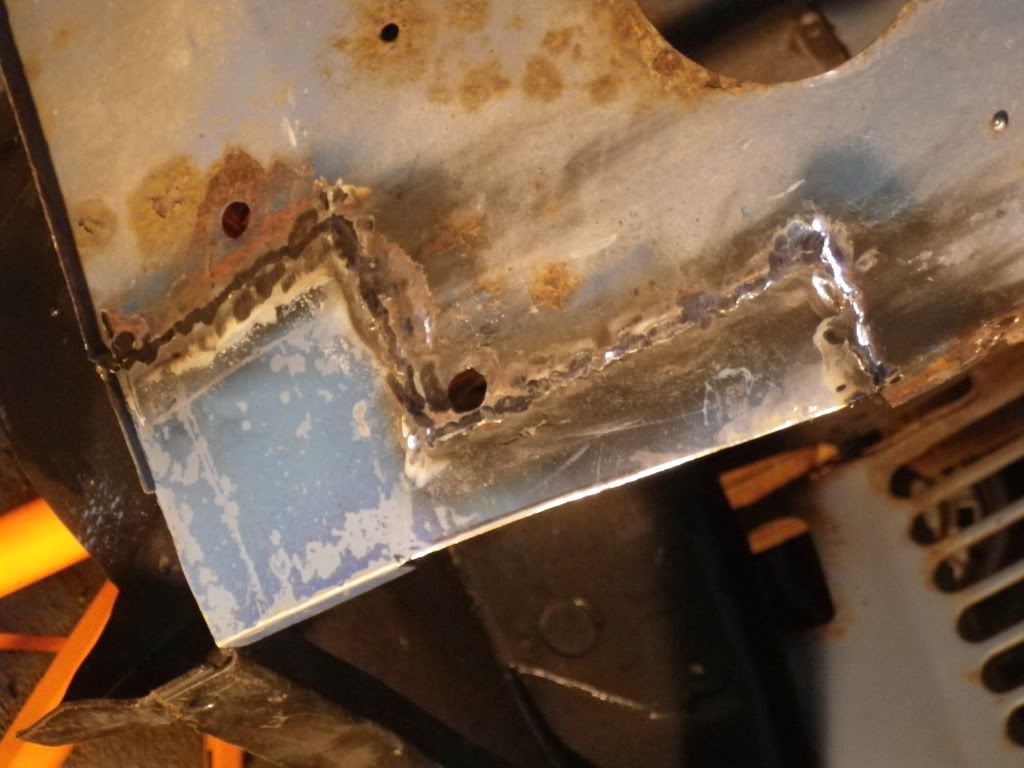
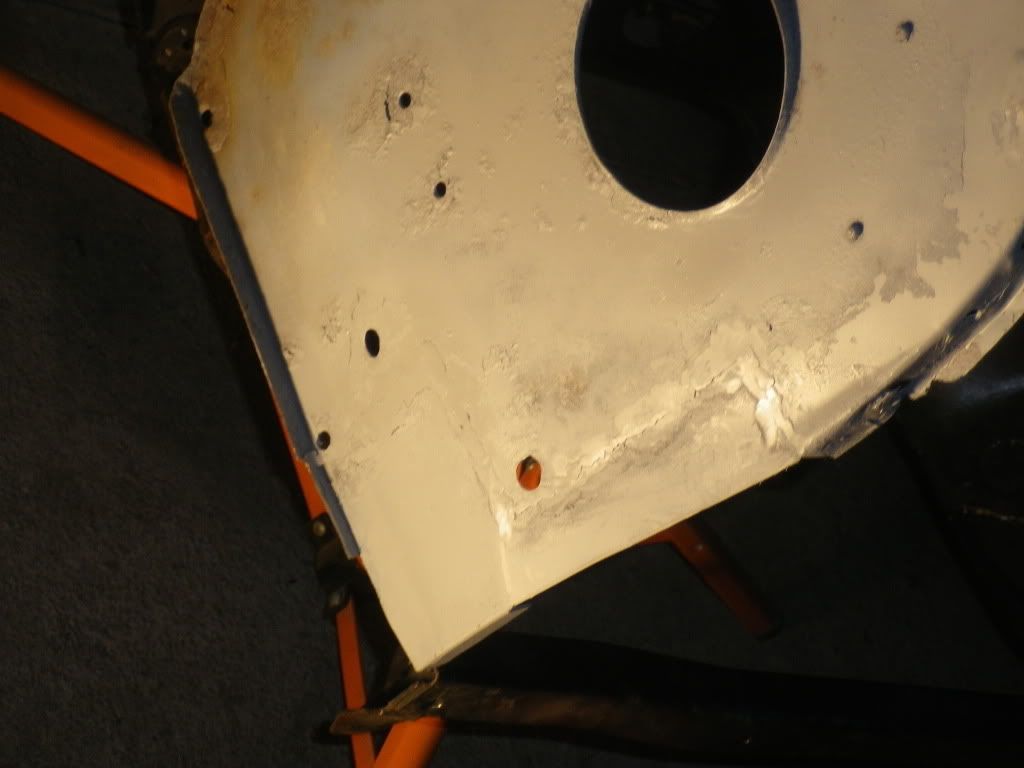
Keep up the good work, the welding does get better, and I went from seeing it as a chore to enjoying it
Subscribed
Matt
1 user(s) are reading this topic
0 members, 1 guests, 0 anonymous users


