
My Mini Resto
#676

Posted 01 June 2014 - 10:12 PM
#677

Posted 01 June 2014 - 10:35 PM
The rear looks so awesome!
I love it too, I think it's my minis best angle, just looks right being deseamed and mk1 and brings that retro badass look. Also it should be the best angle amount of work that has gone into both the deseaming and mk1 rear lights
#678

Posted 01 June 2014 - 10:53 PM
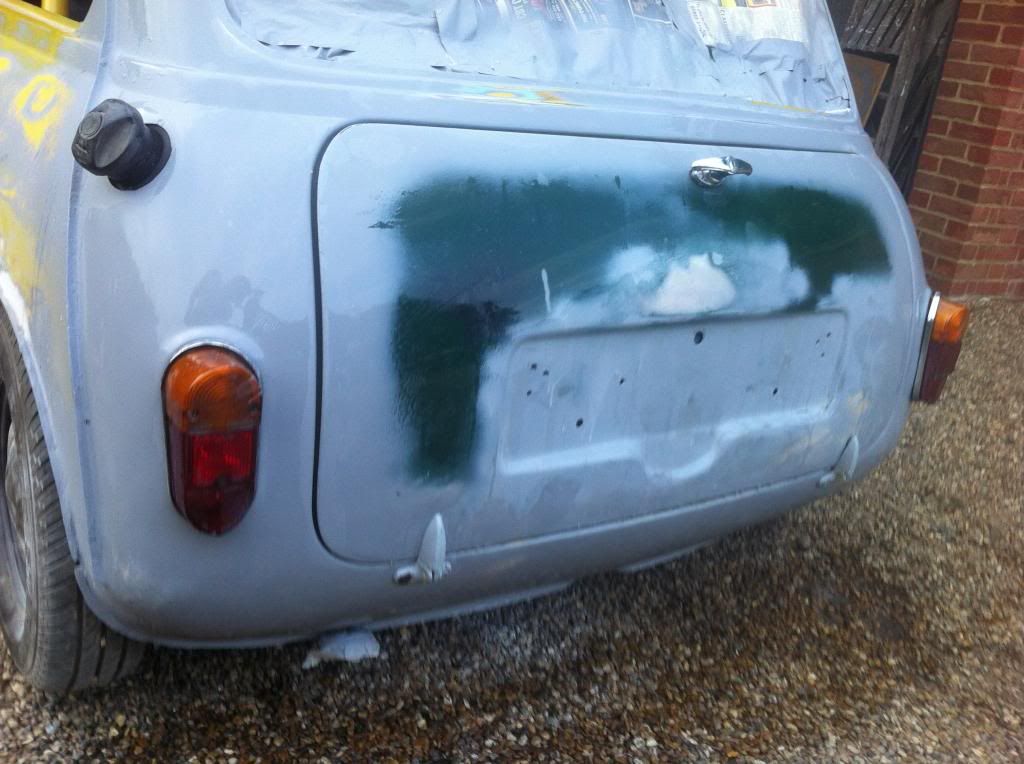
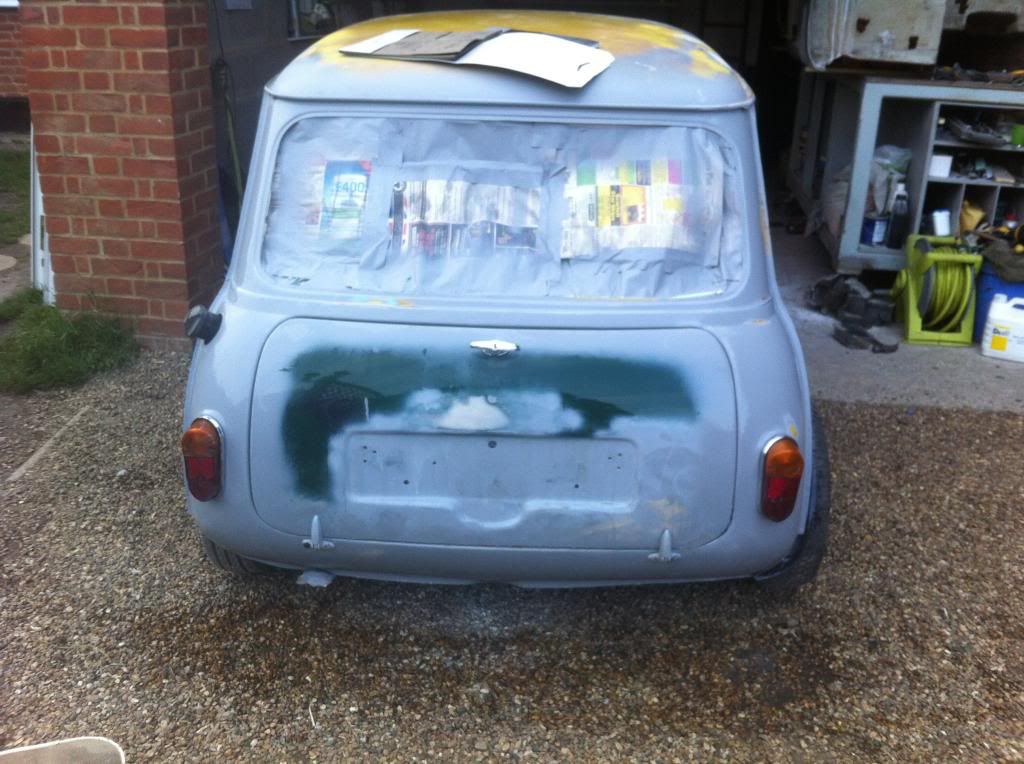
Applied filler
http://i1026.photobu...zpslruq01mn.jpg
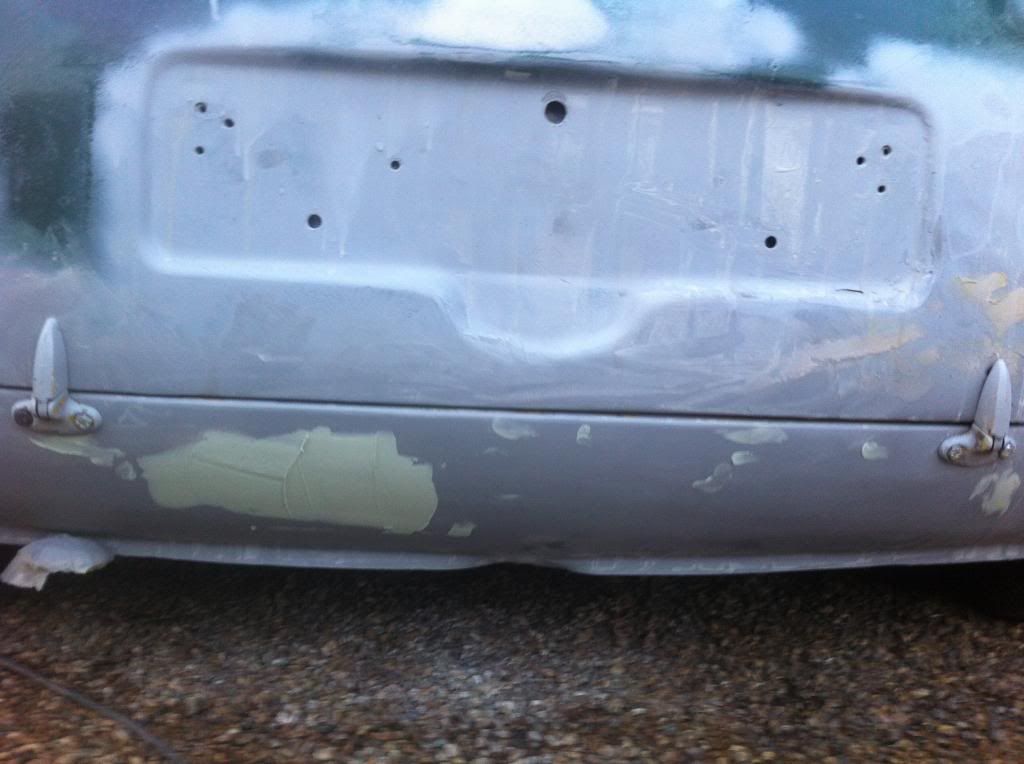
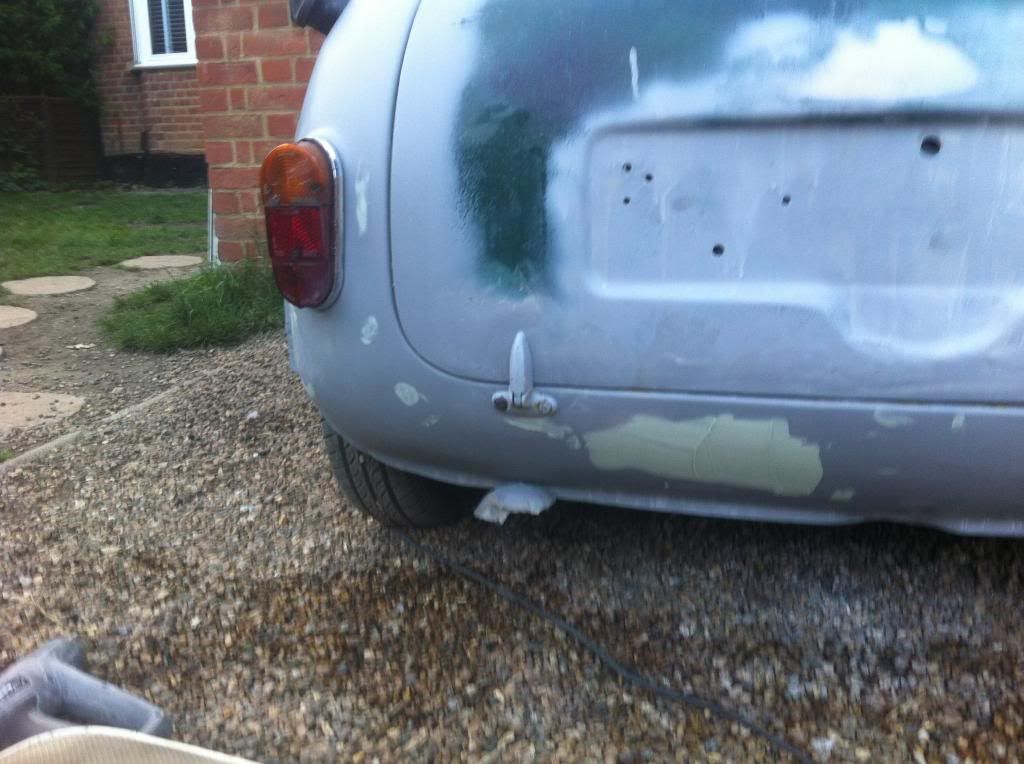
If it rains tomorrow then I will work on the drivers side and the bootlid, hopefully it doesn't come to that.....
#679

Posted 05 June 2014 - 08:59 PM
update
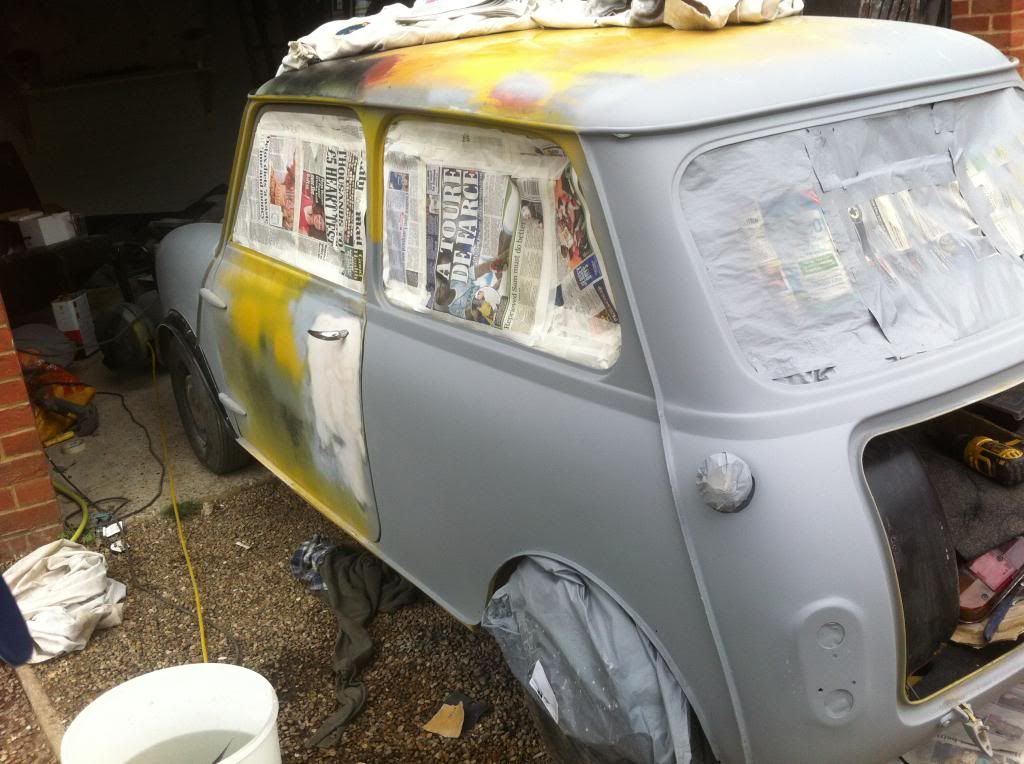
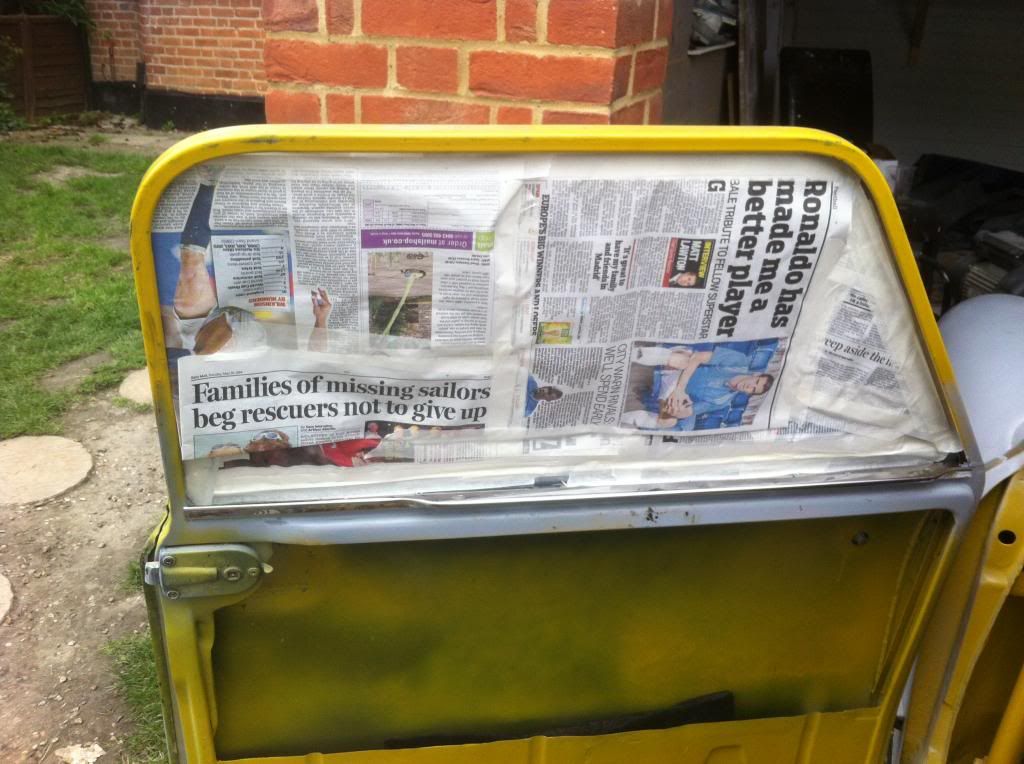
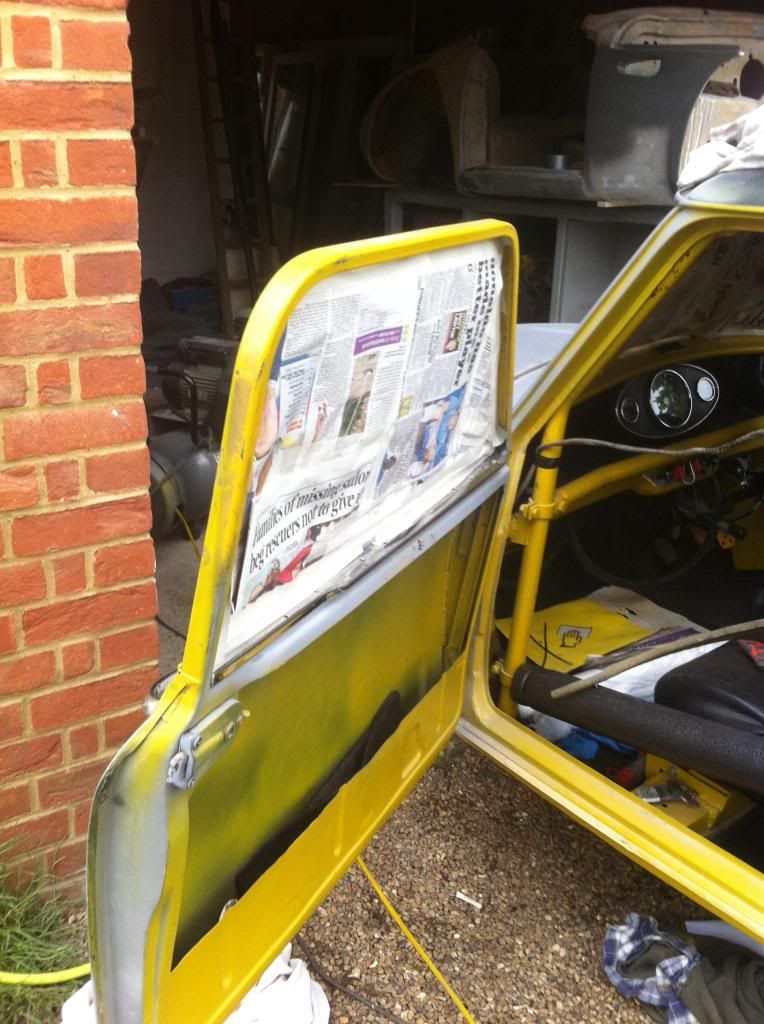
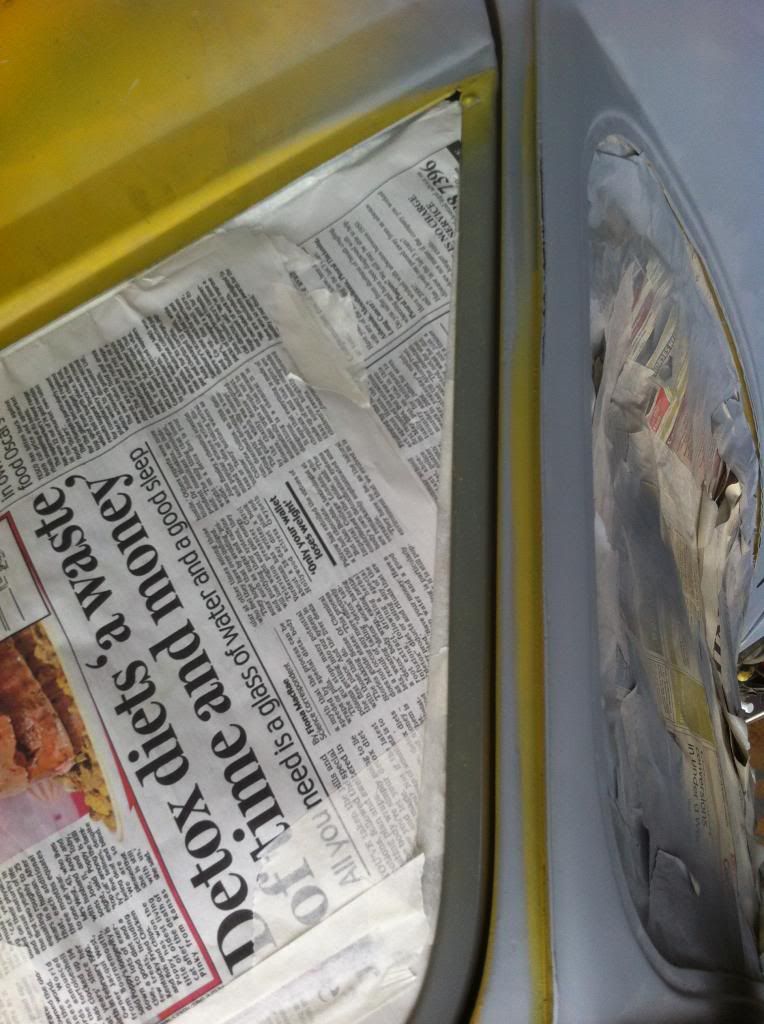
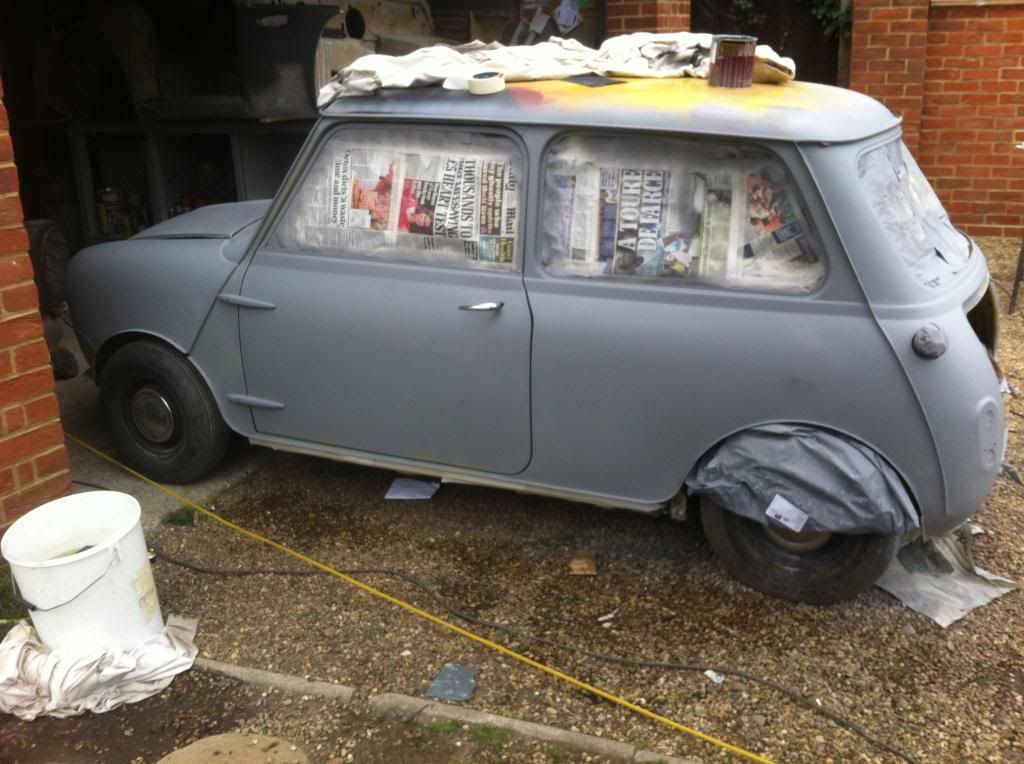
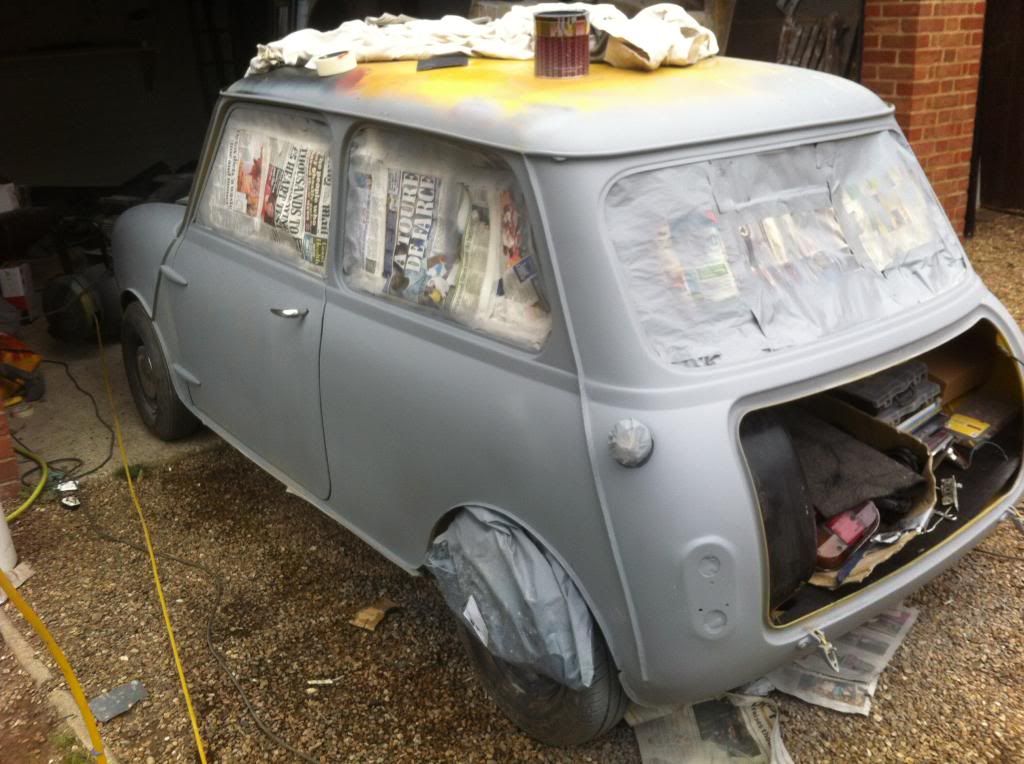
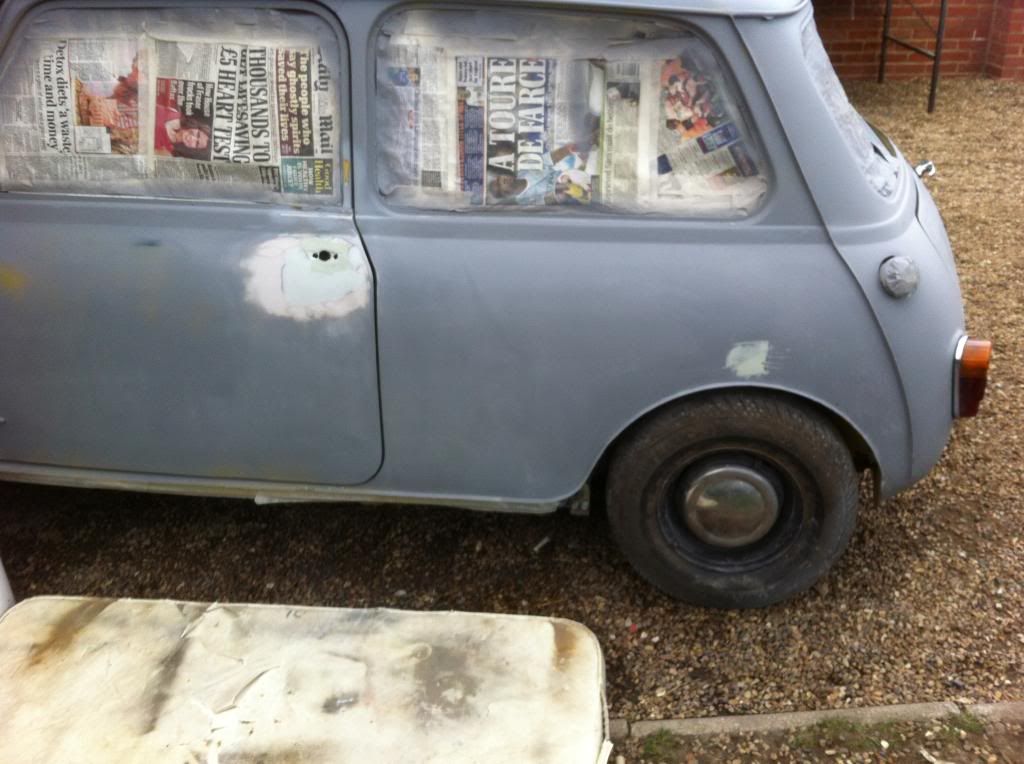
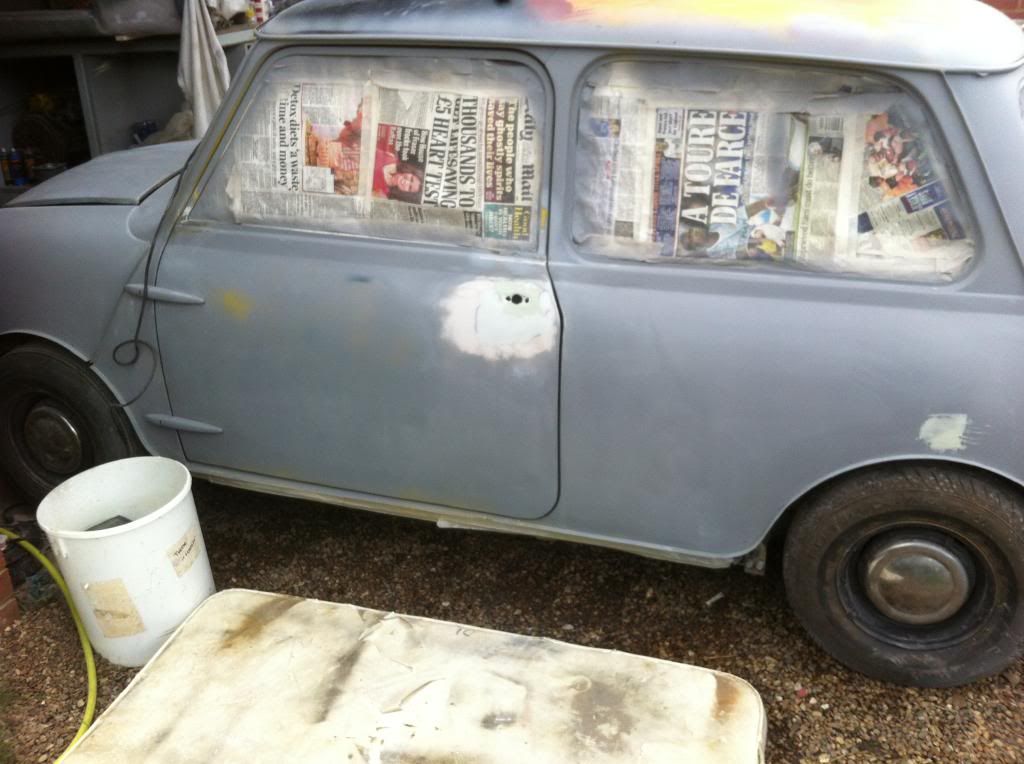
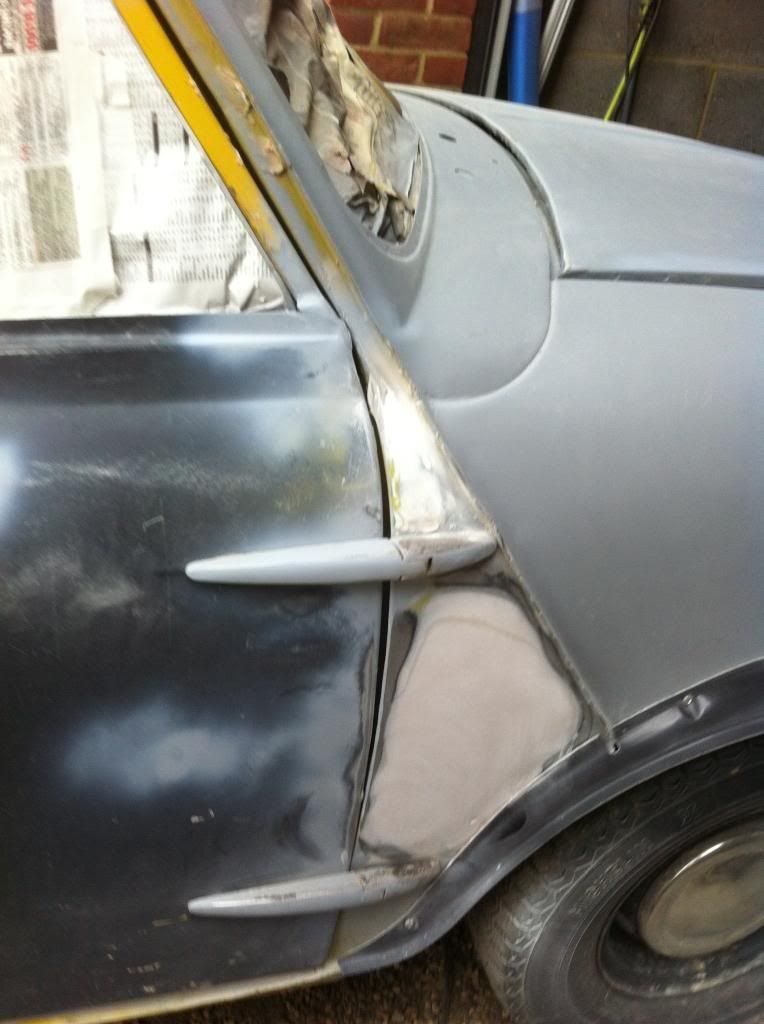
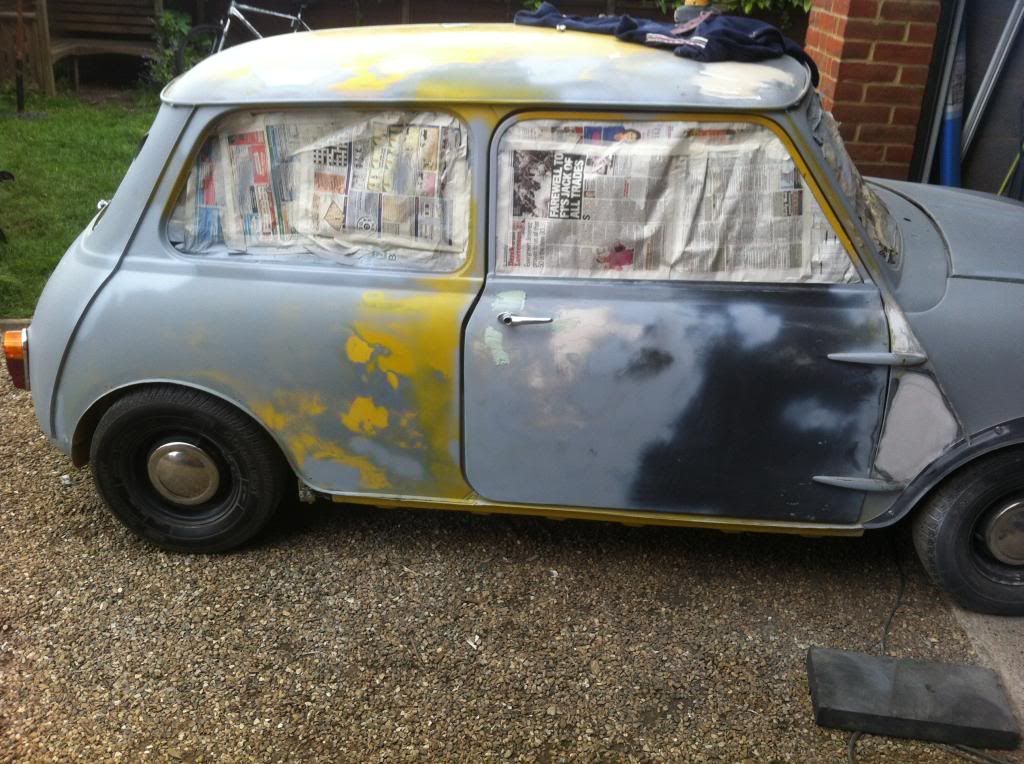
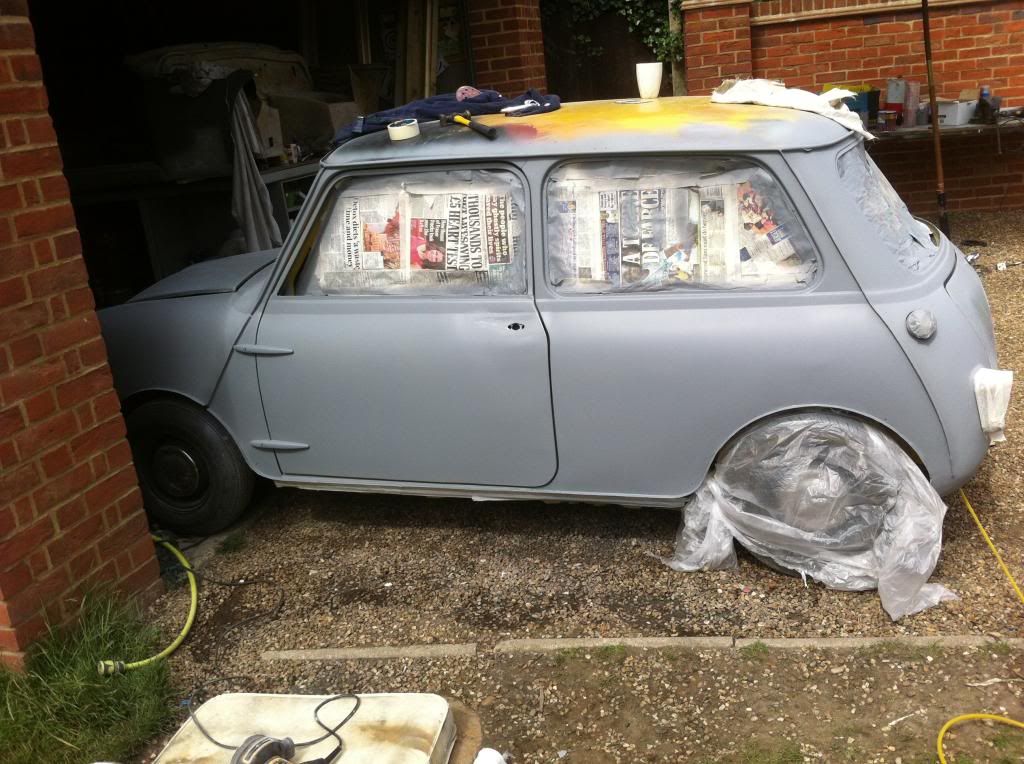
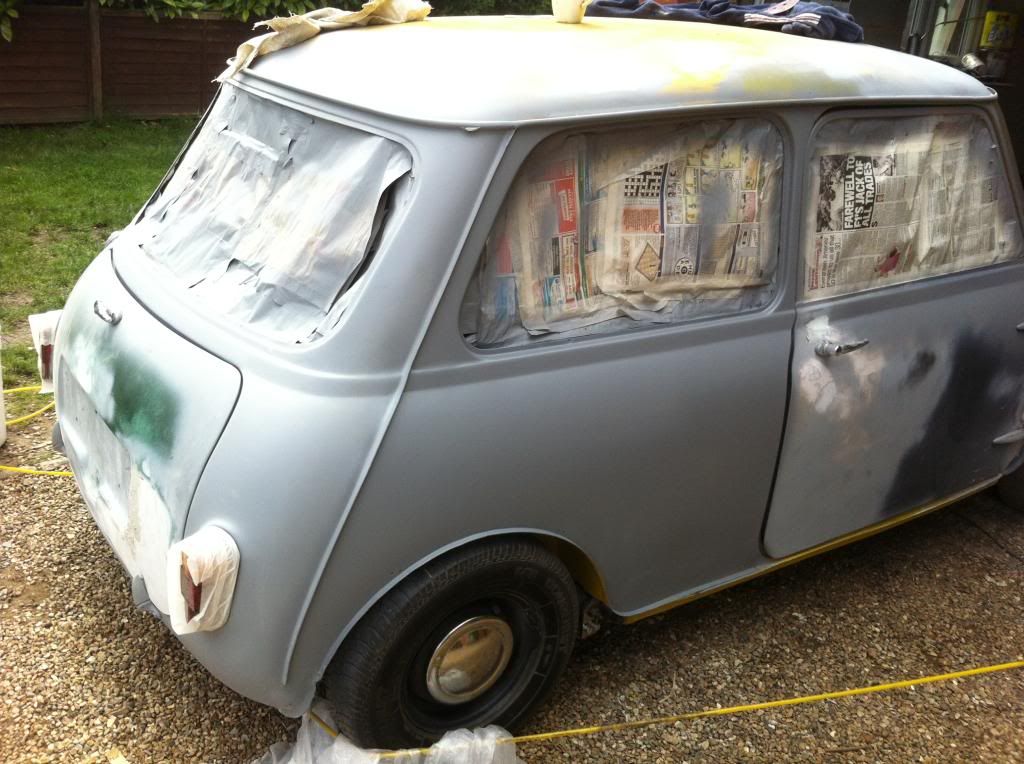
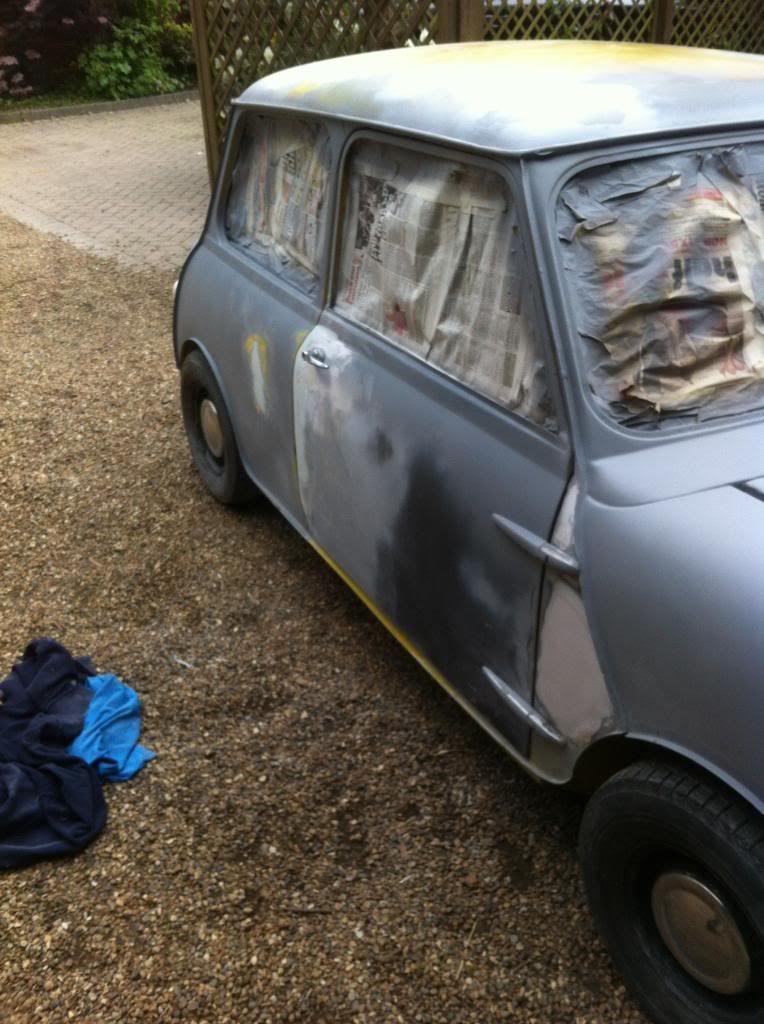
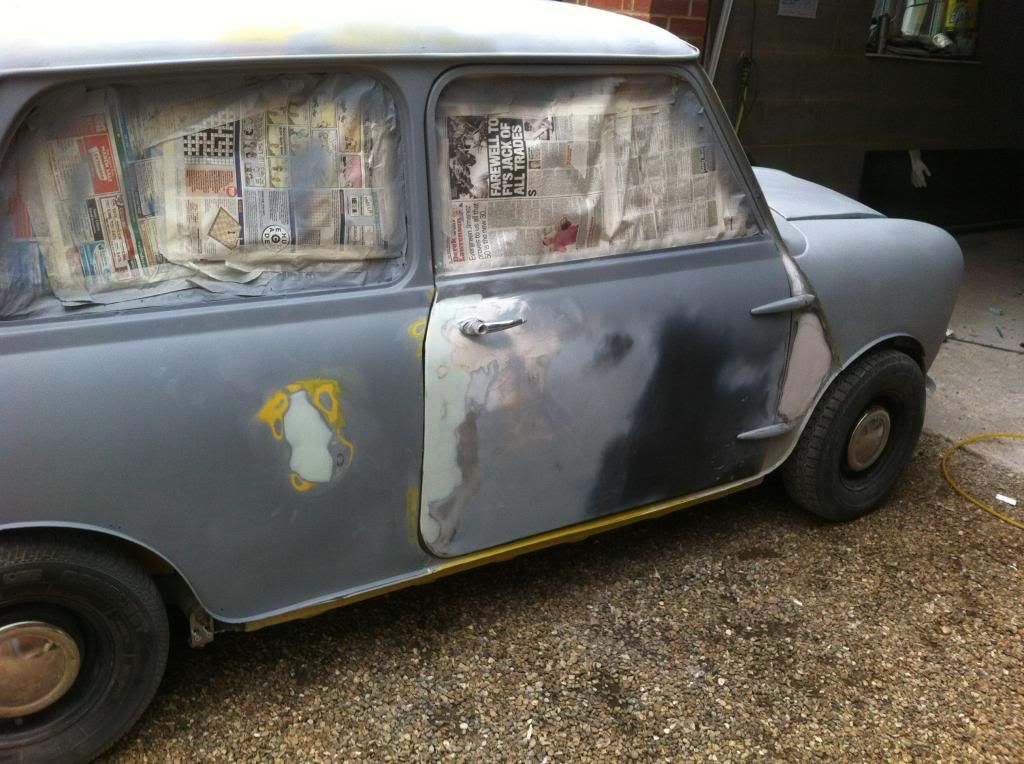
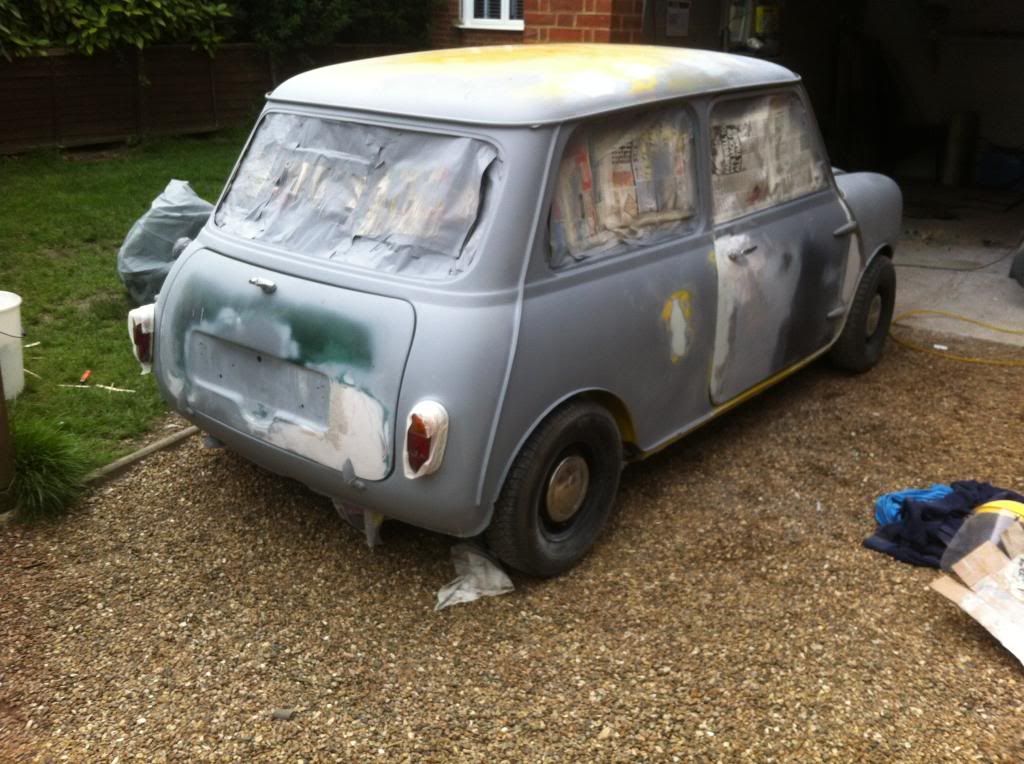
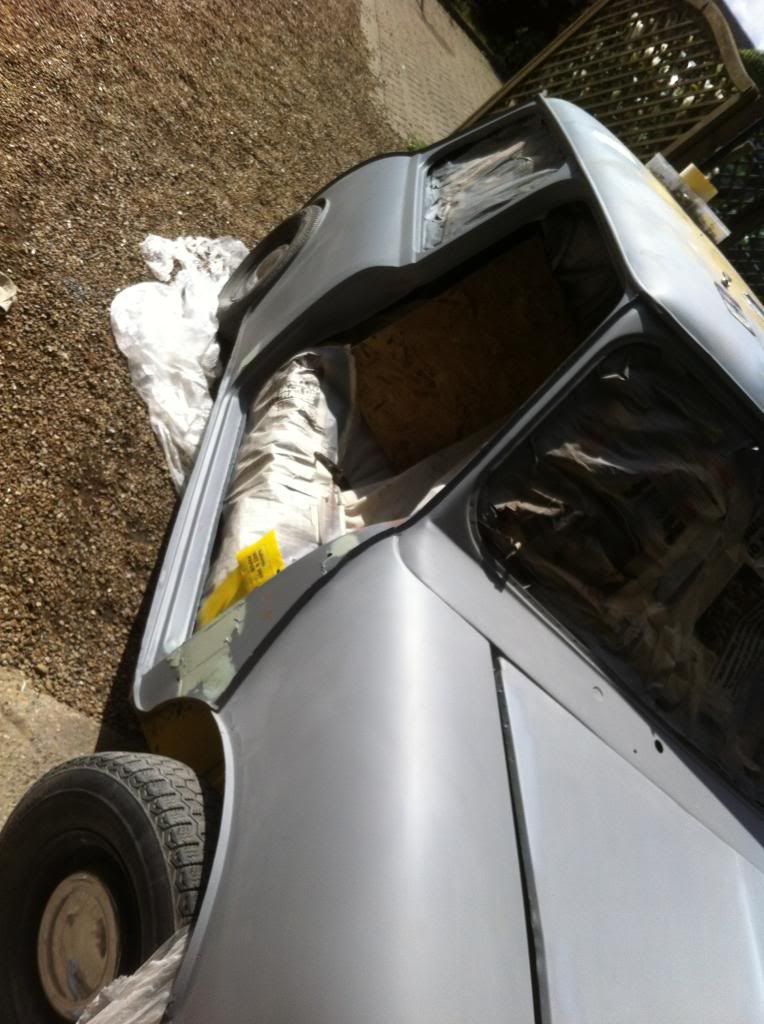
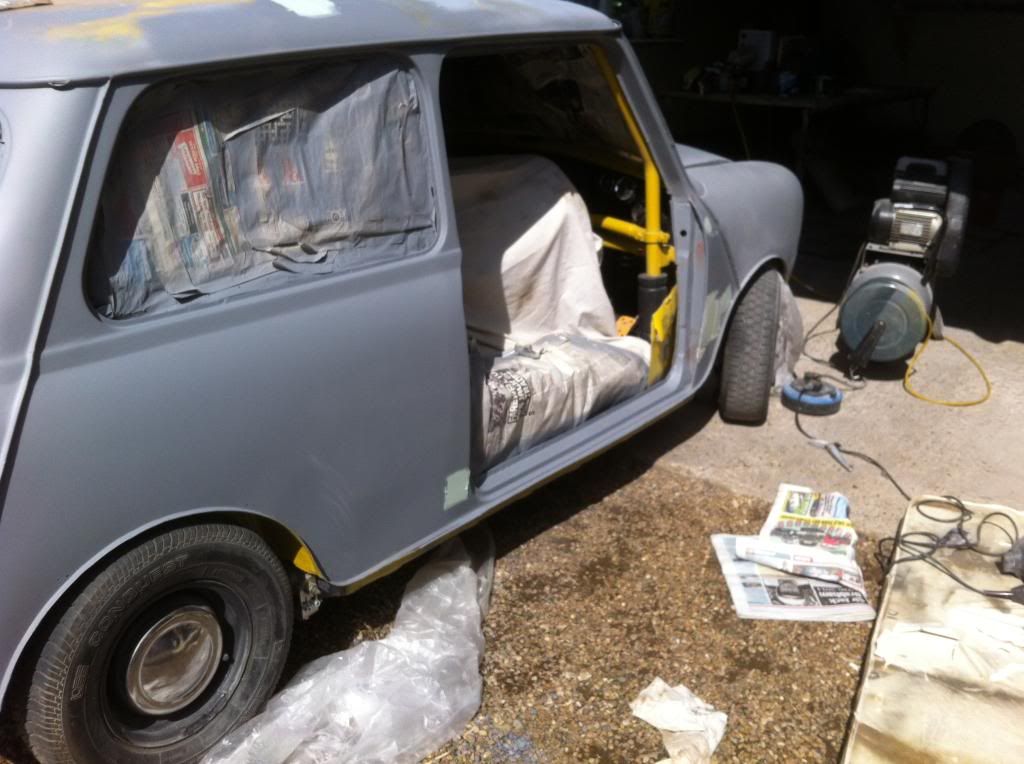
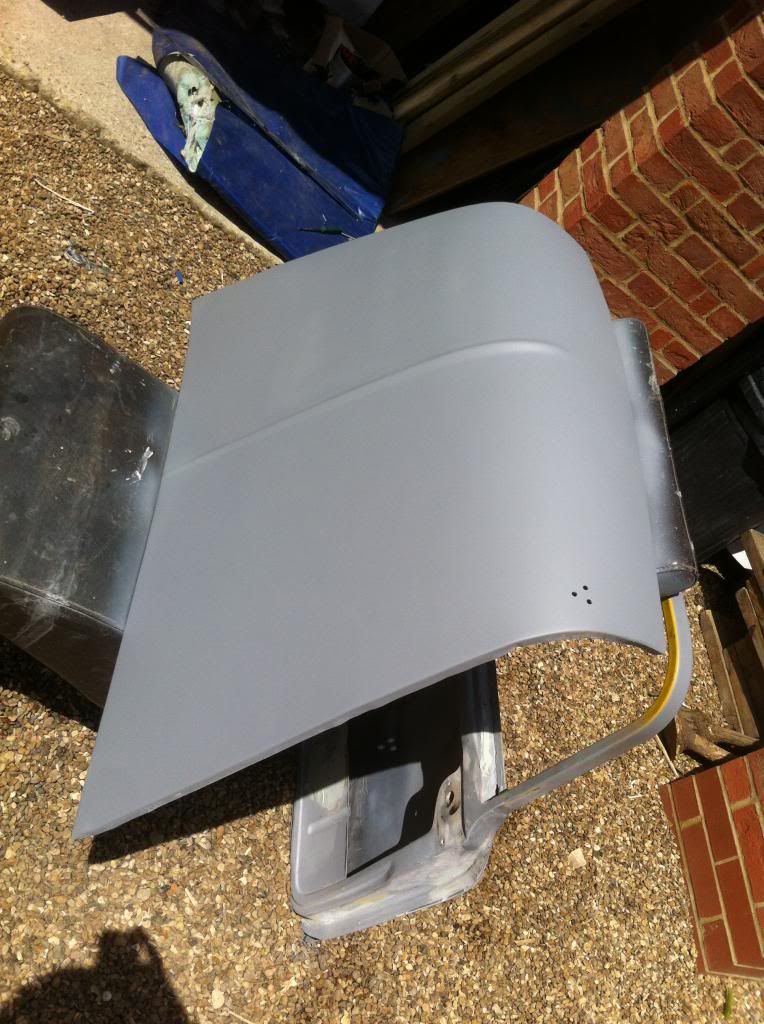
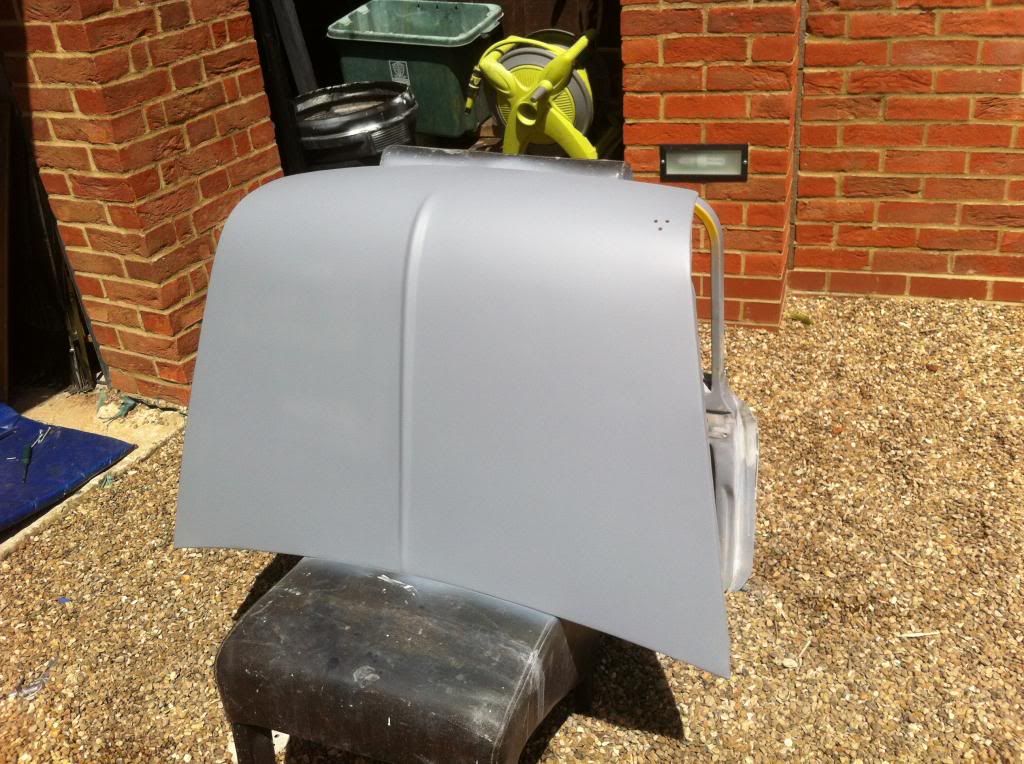
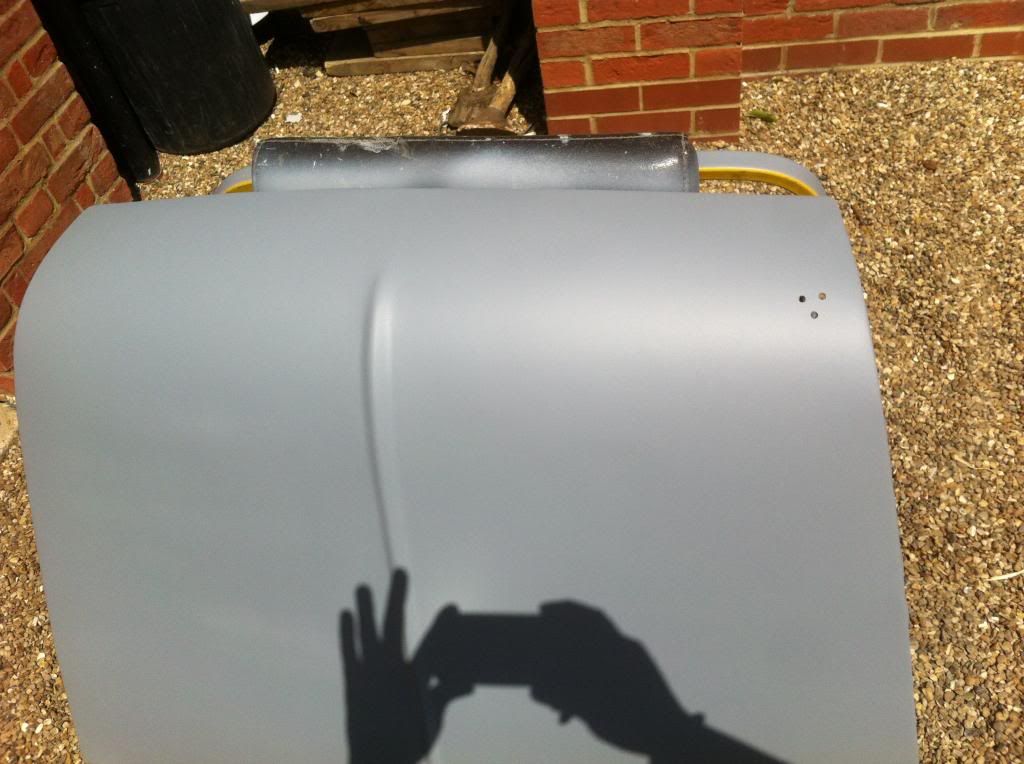
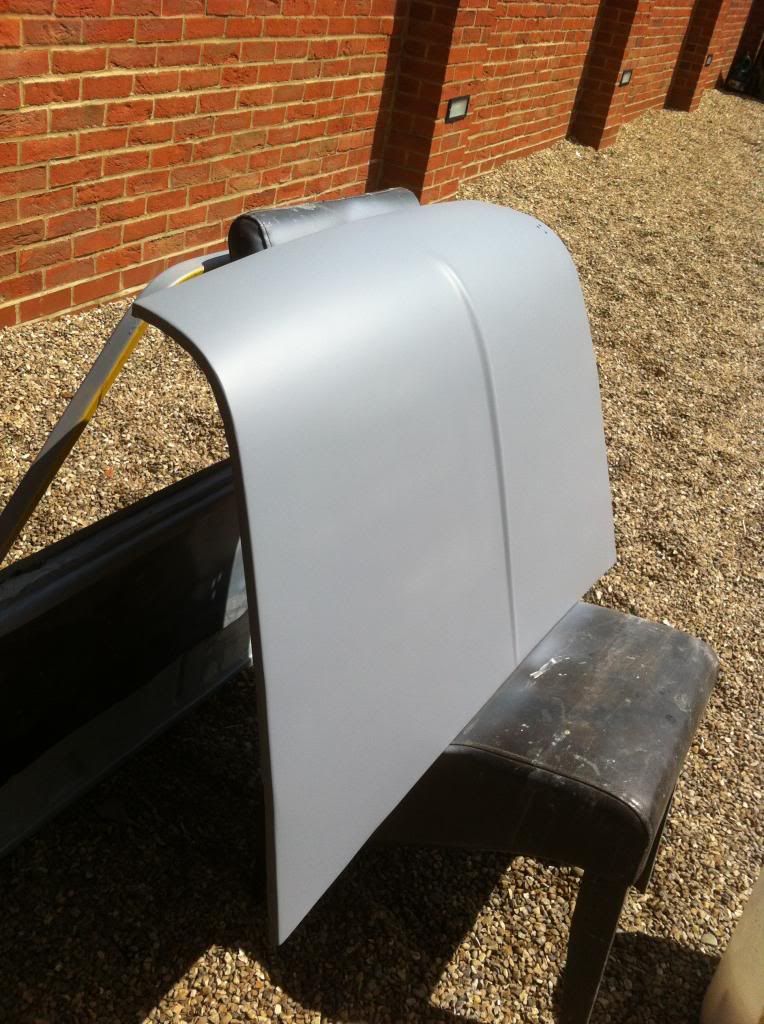
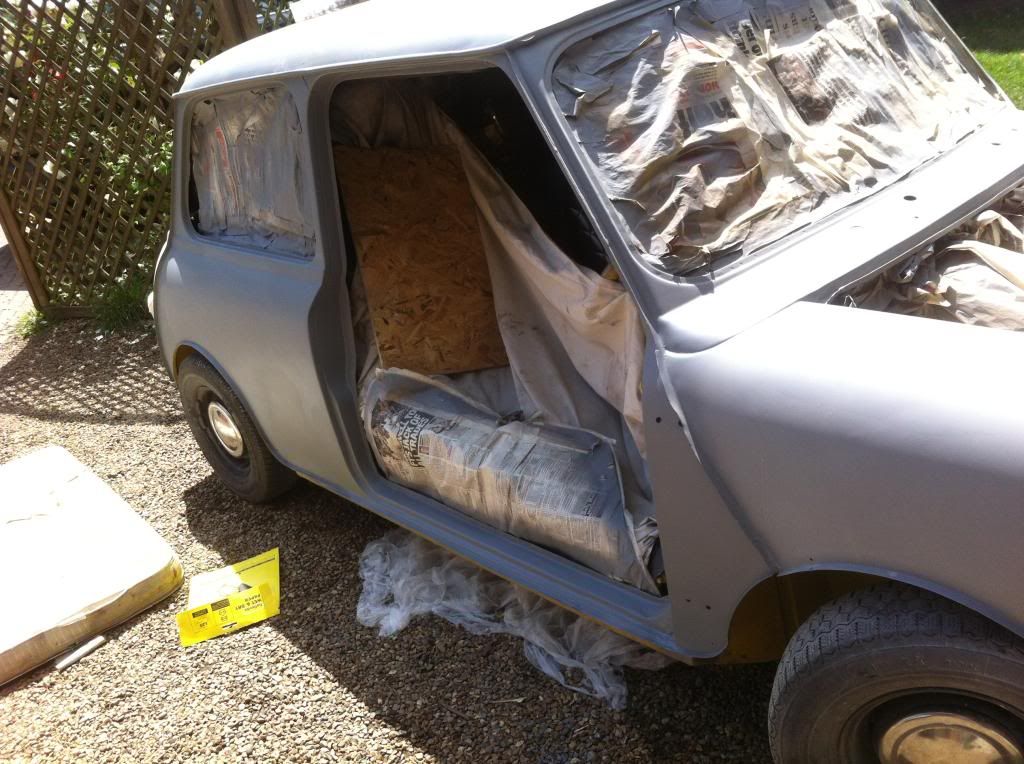
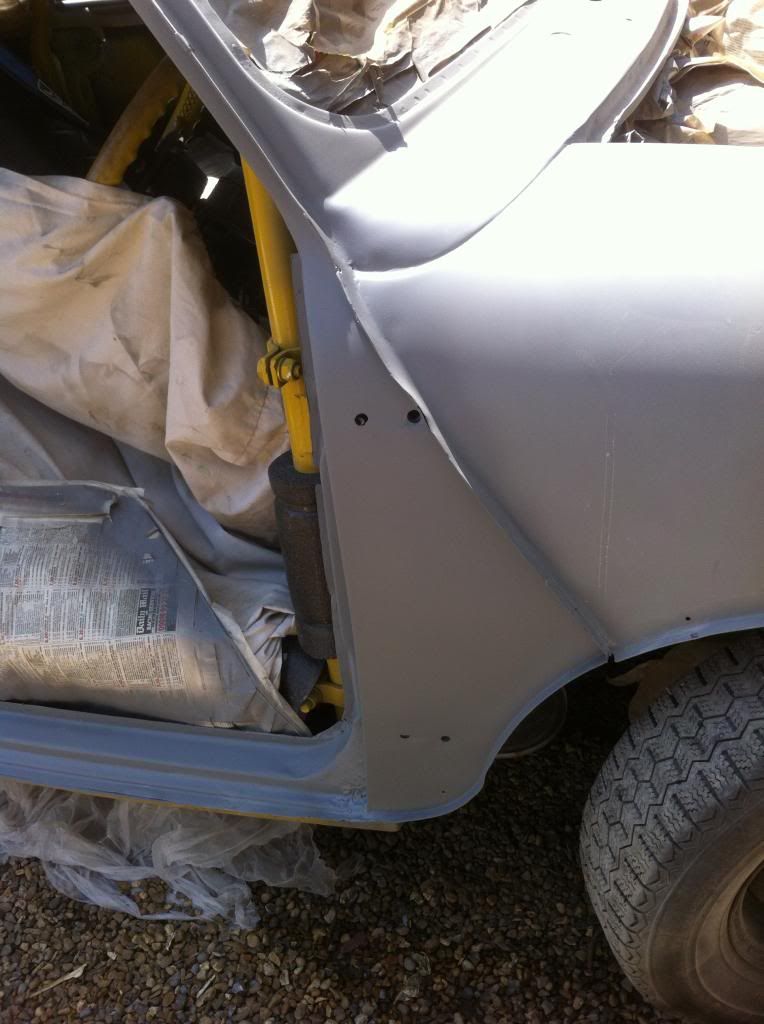
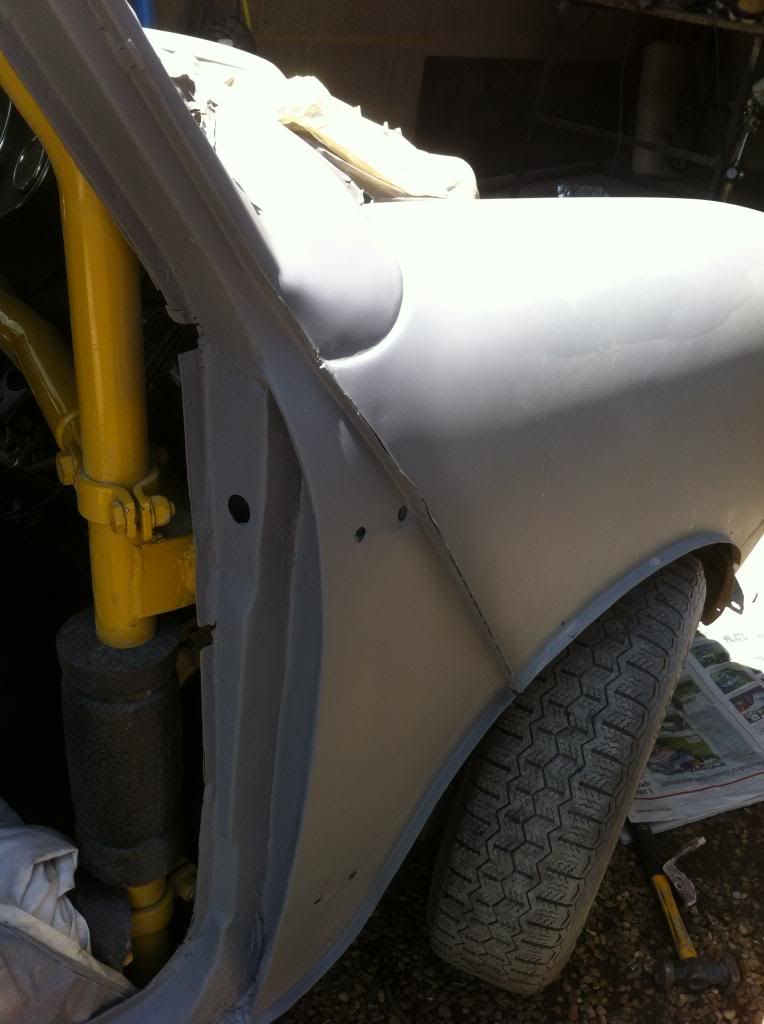
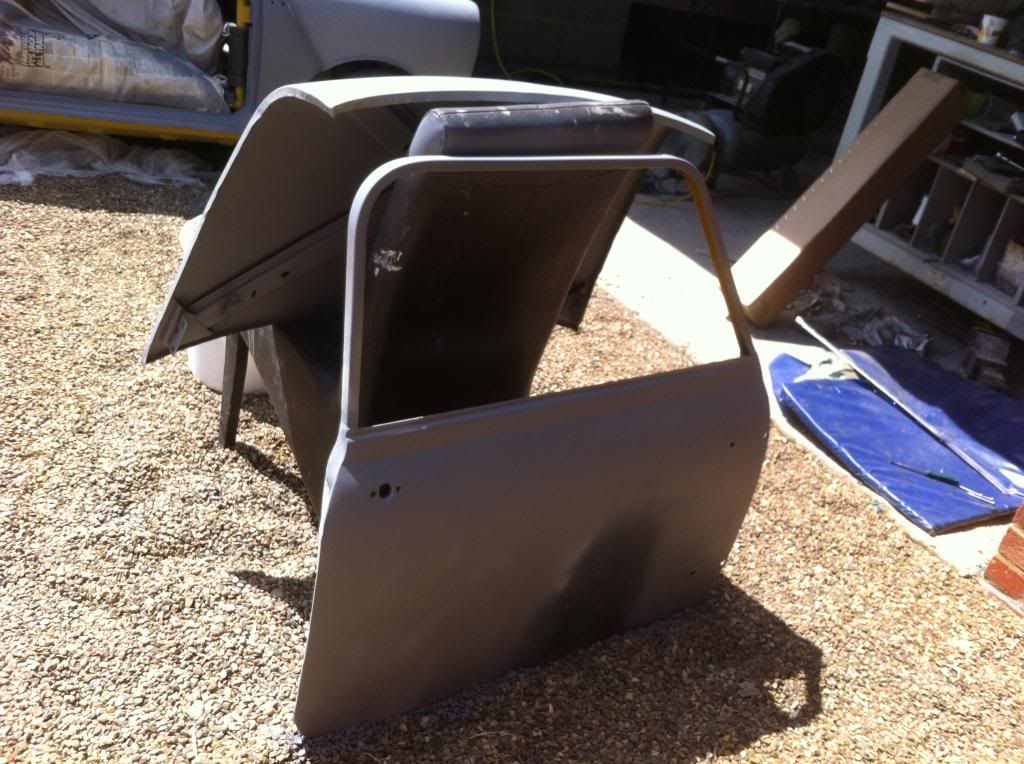
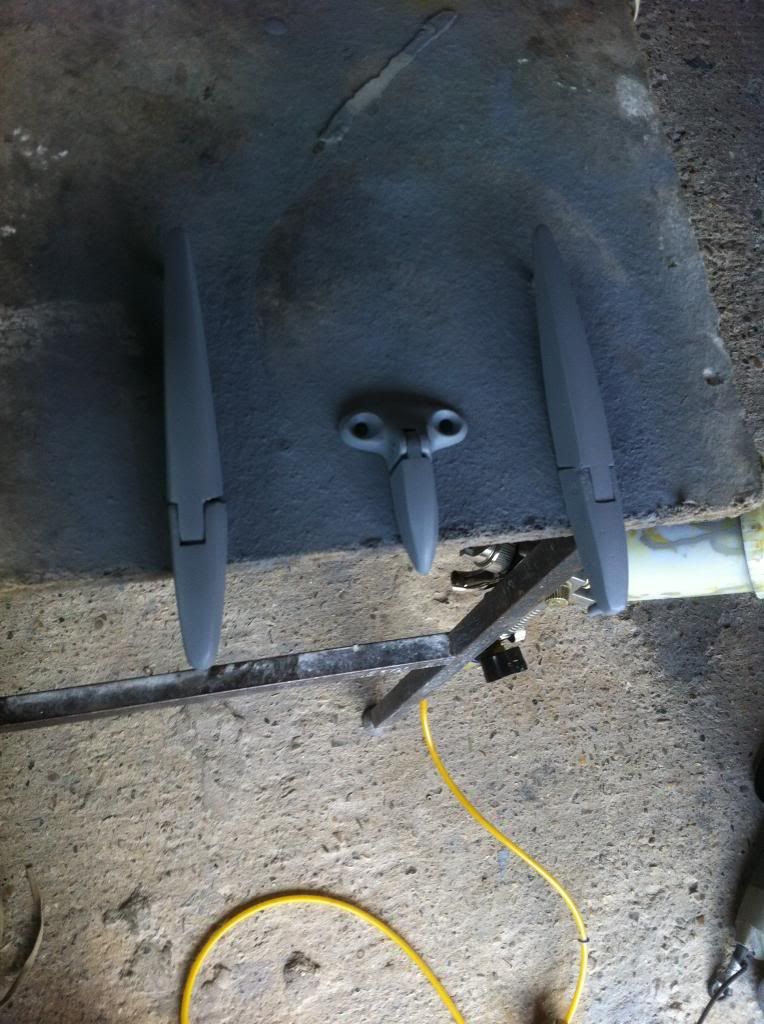
finished priming most of the car only have the boot lid and roof left to do which means i should get the car in top coat tomorrow
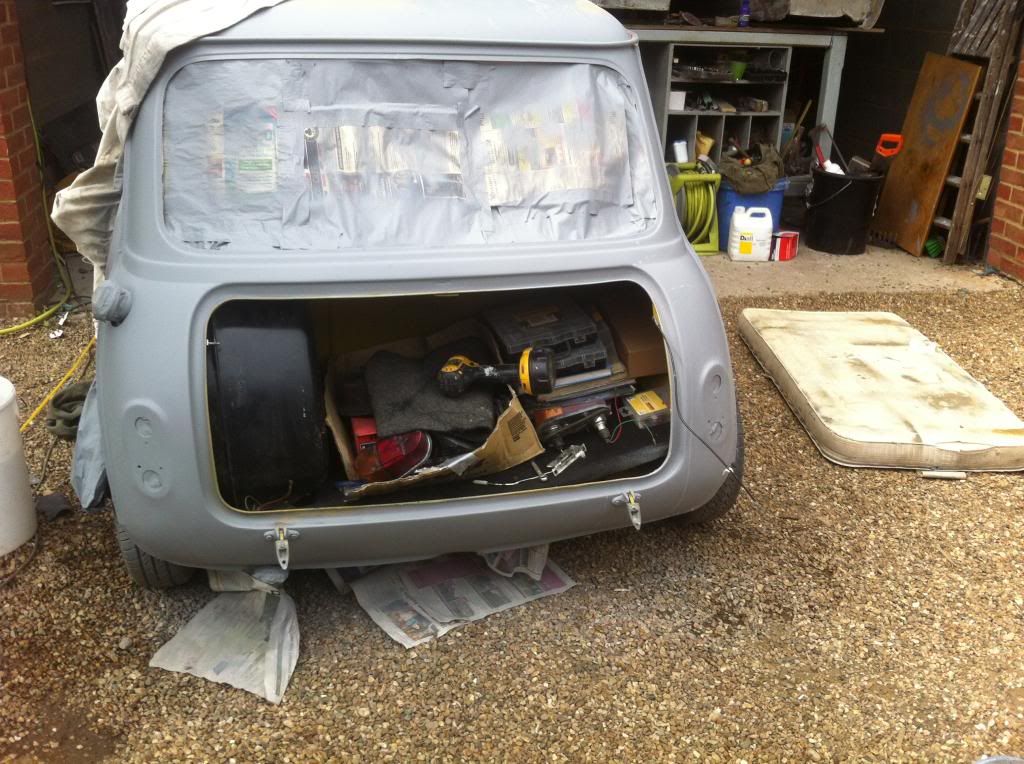
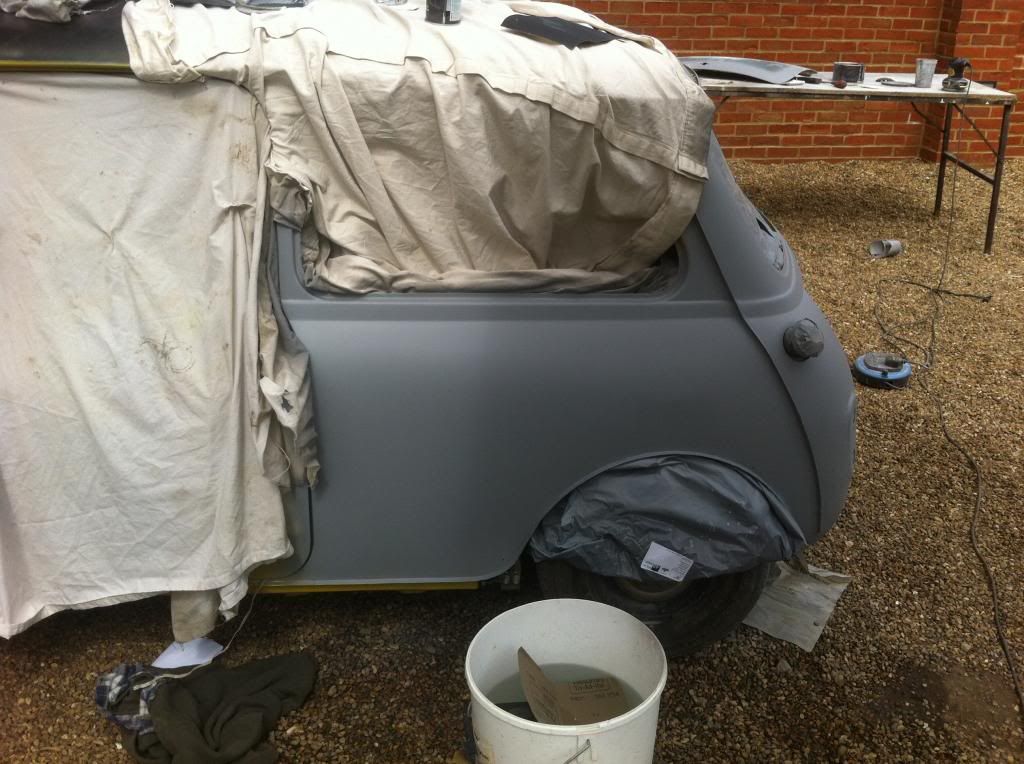
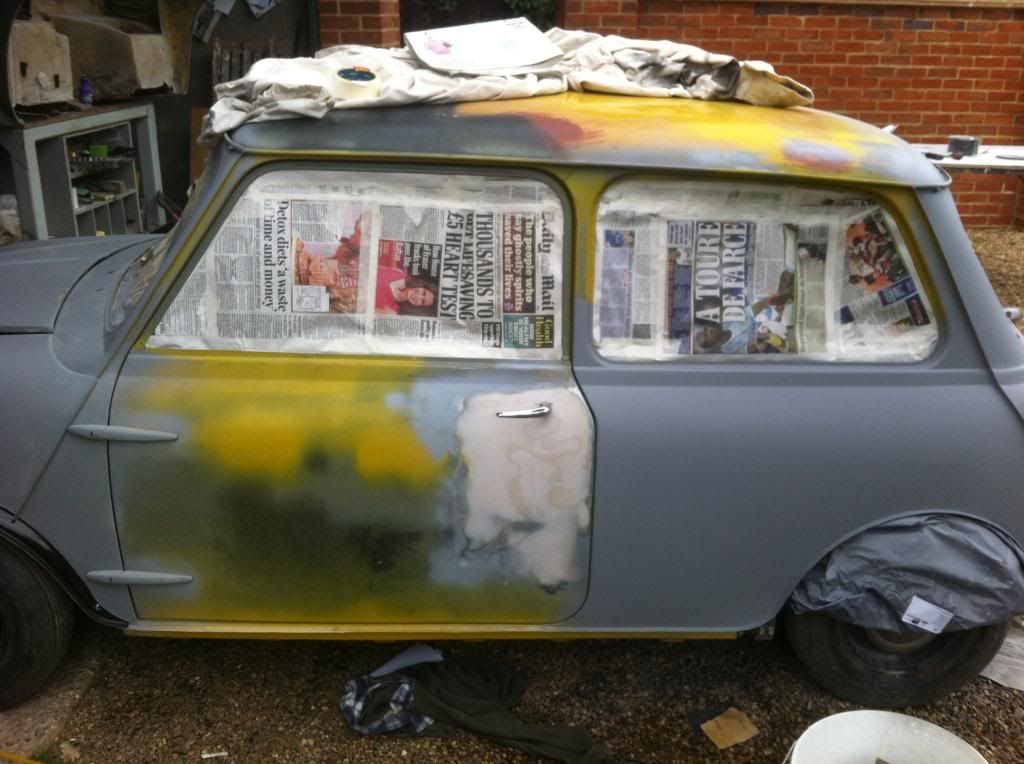
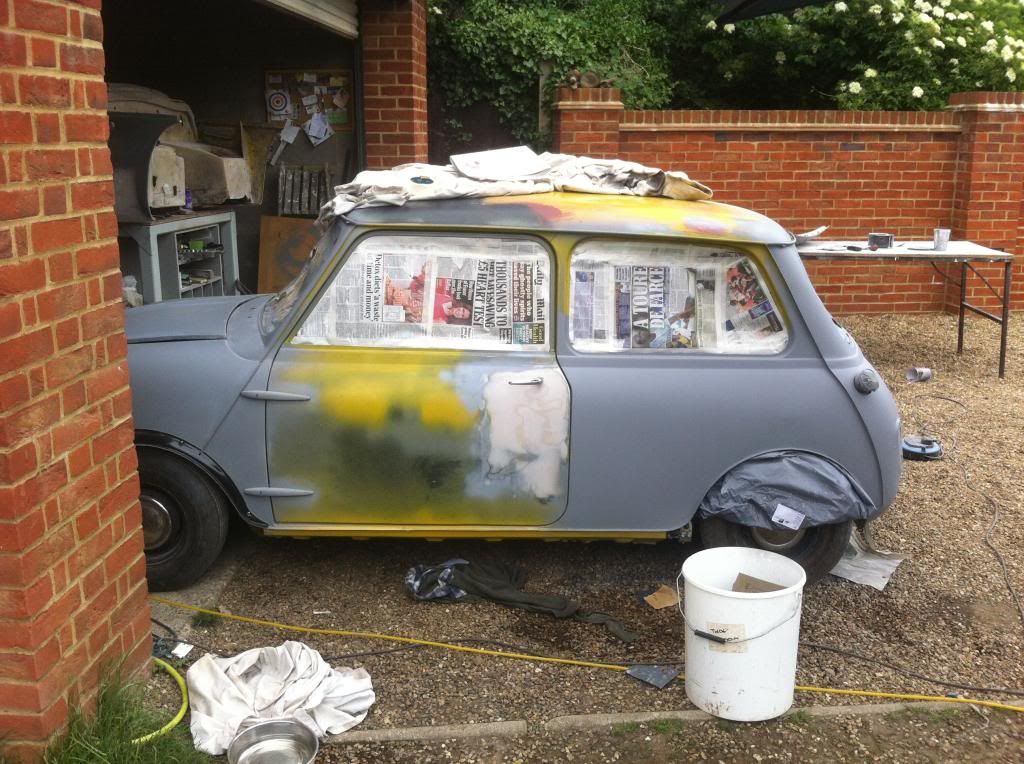
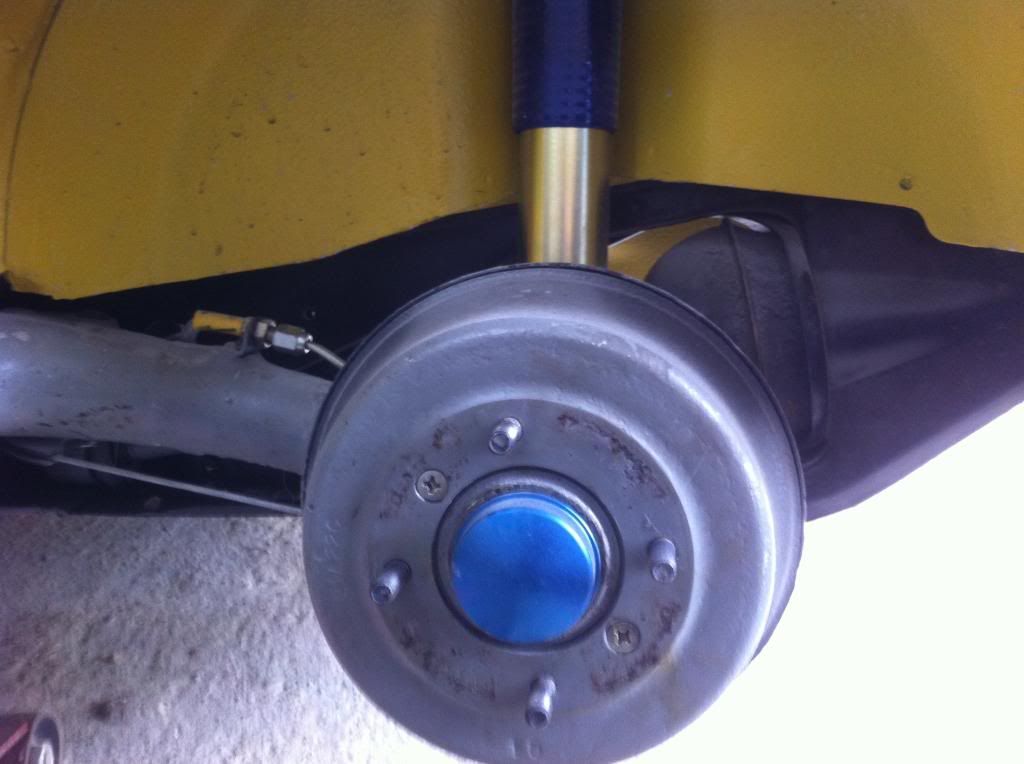
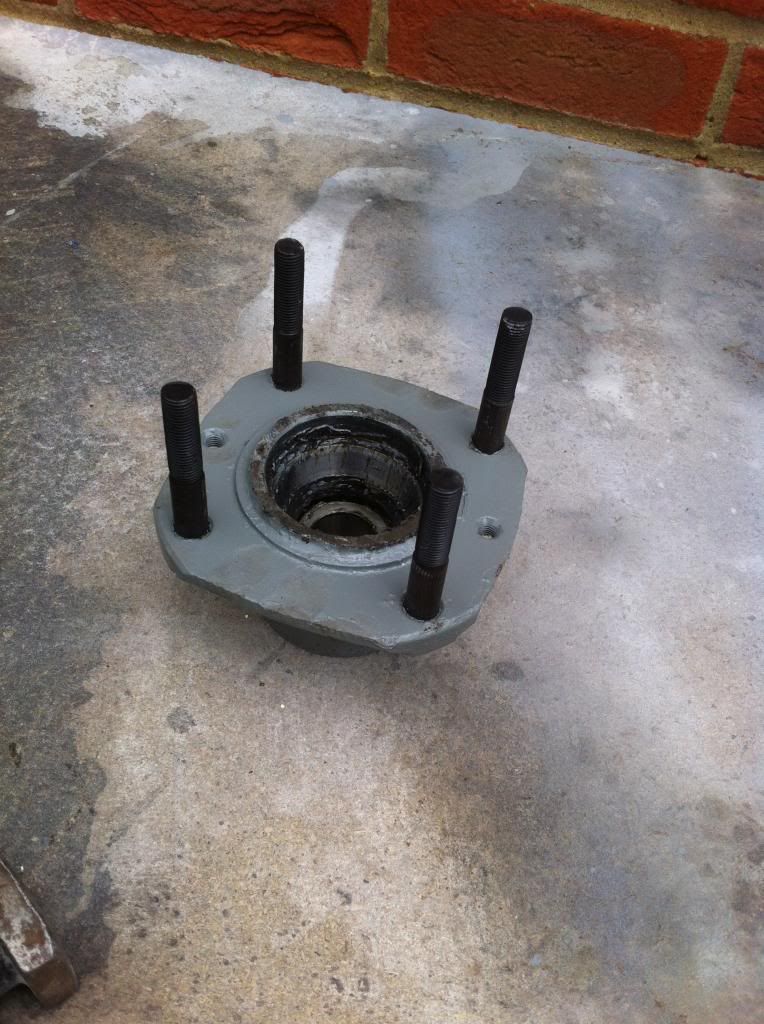
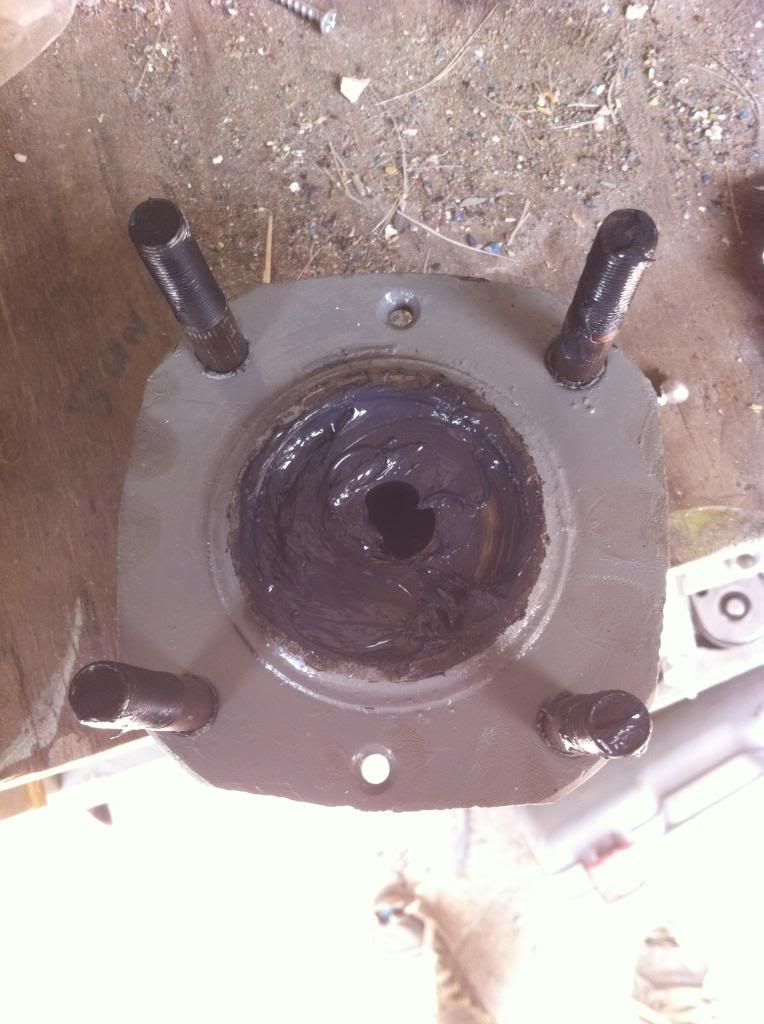
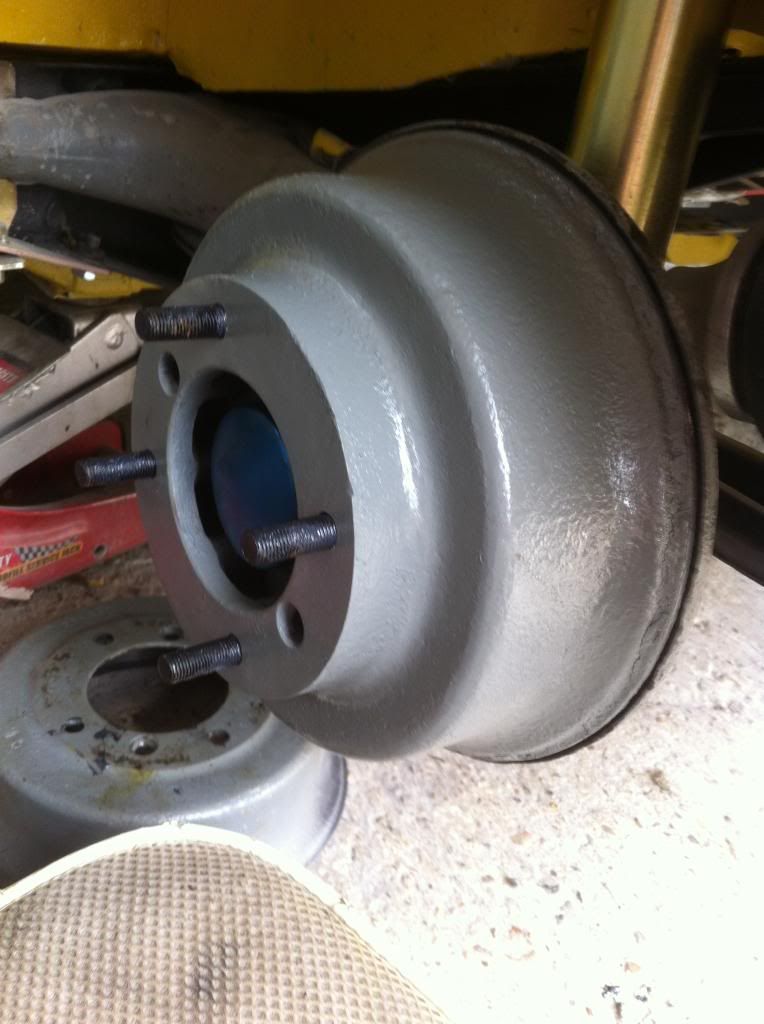
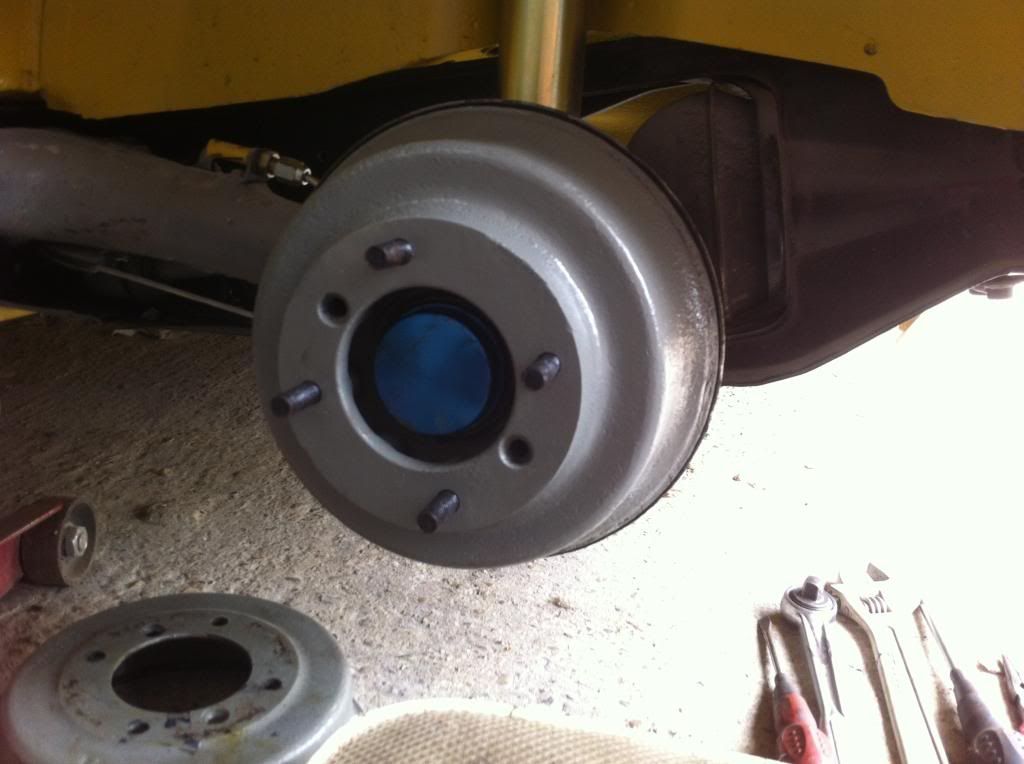
fitted my extended studs and space red drums
#680

Posted 05 June 2014 - 09:00 PM
#681

Posted 05 June 2014 - 09:04 PM
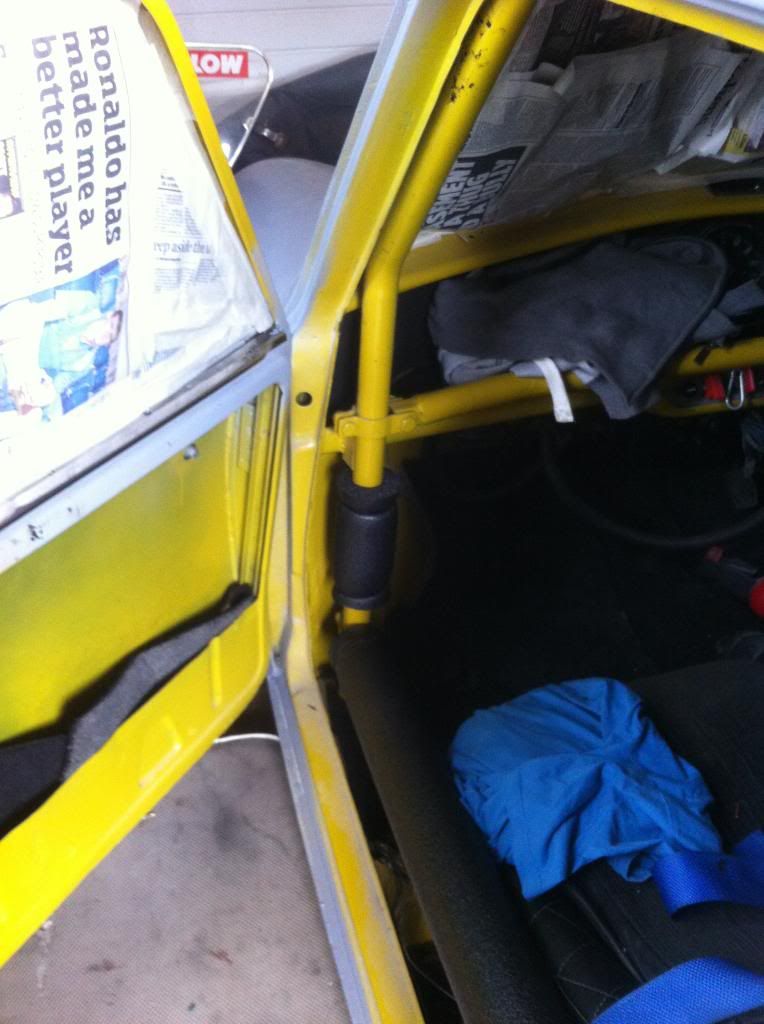
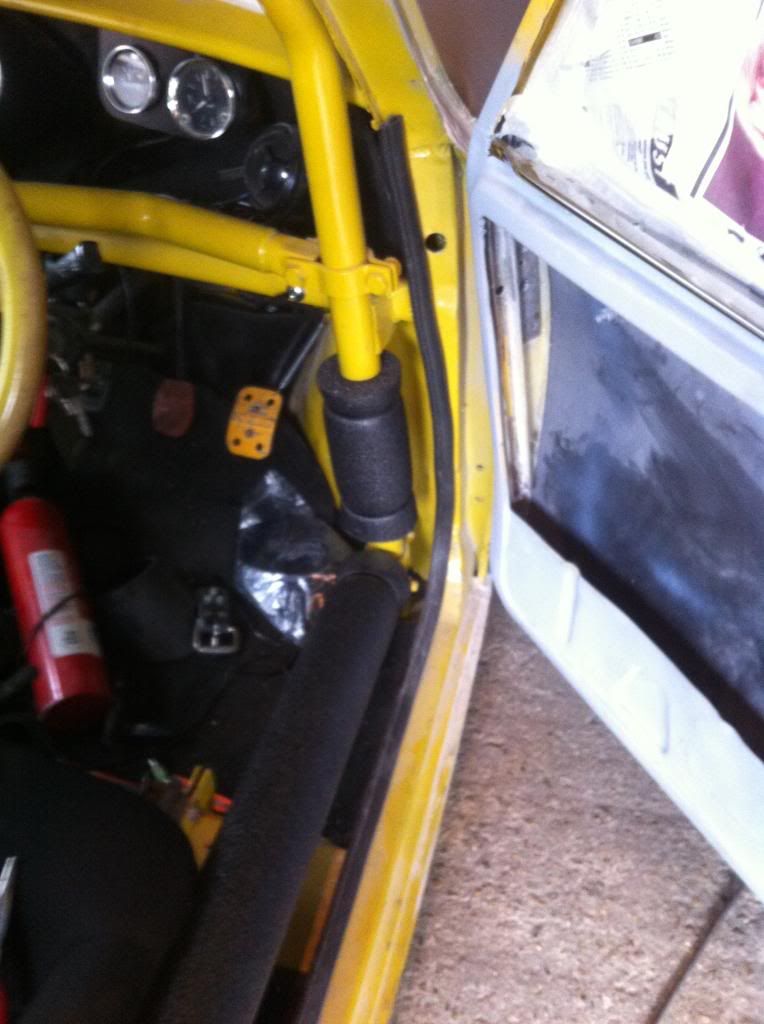
also extended my loom as I'm running it along the floor
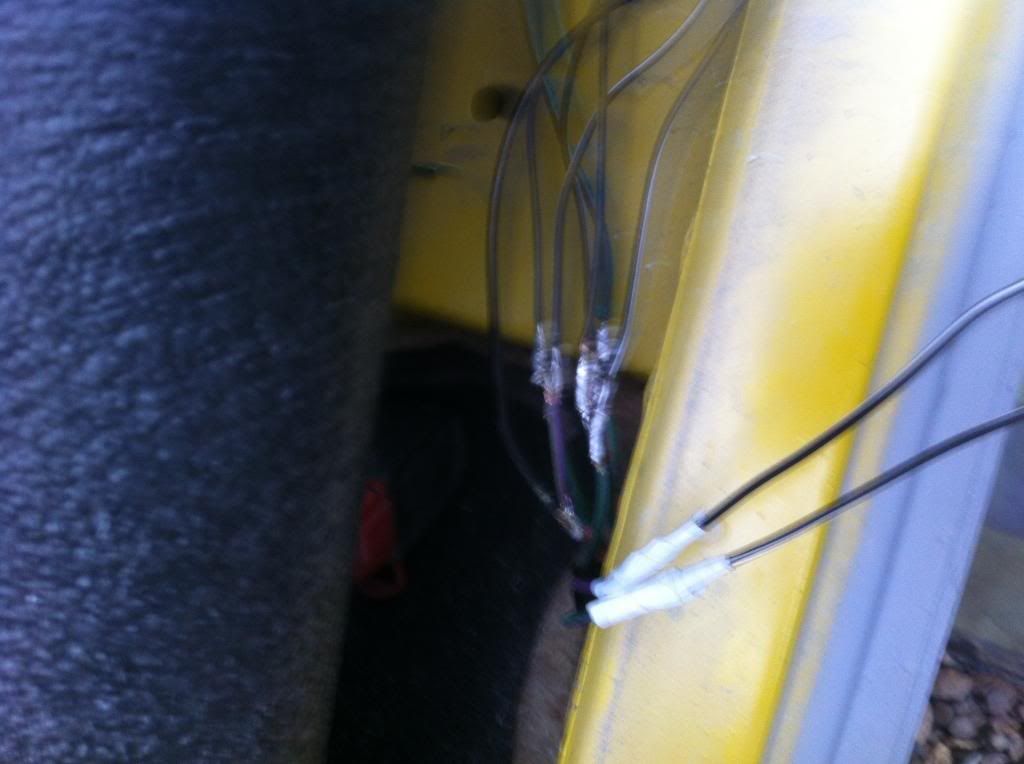
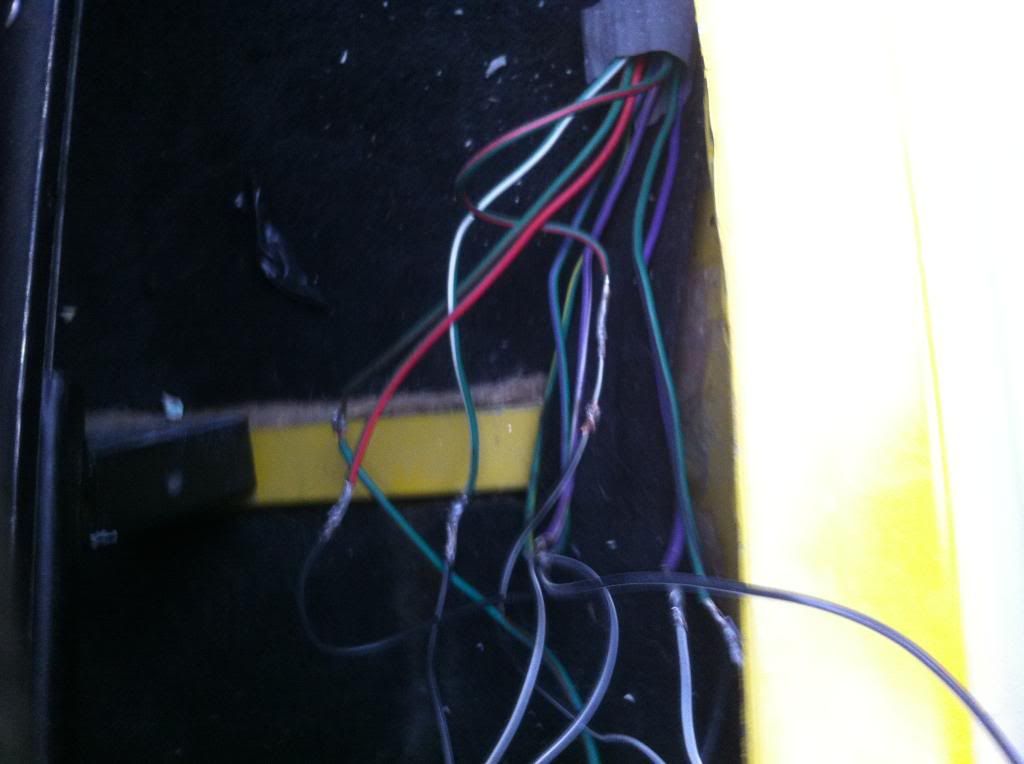
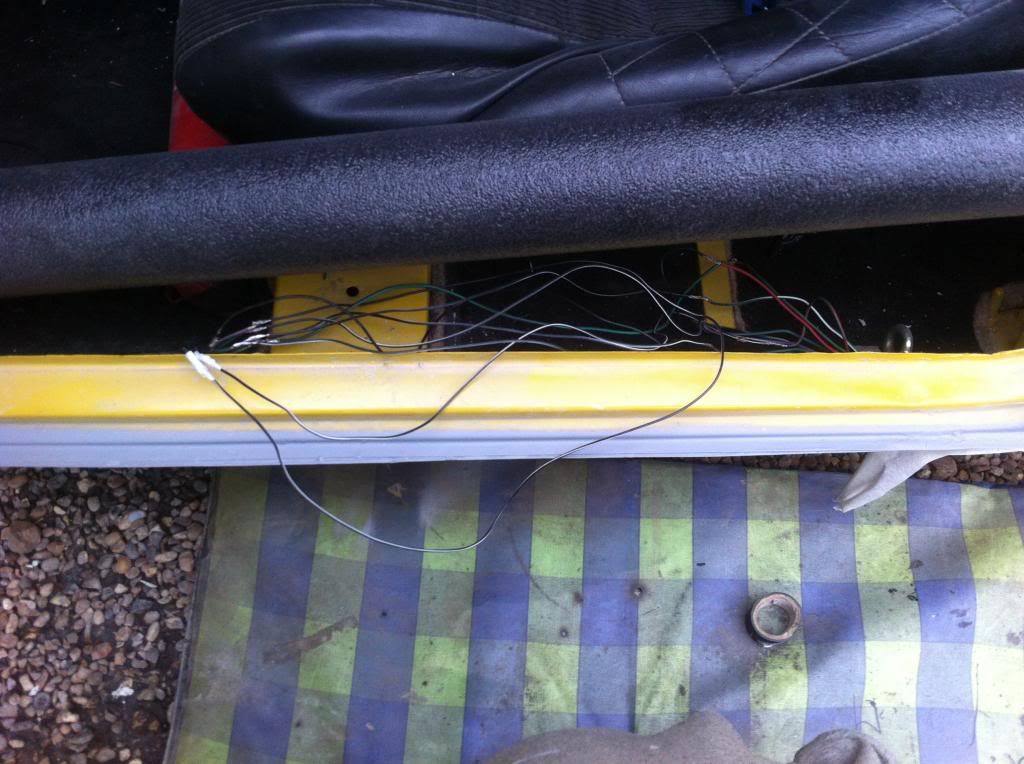
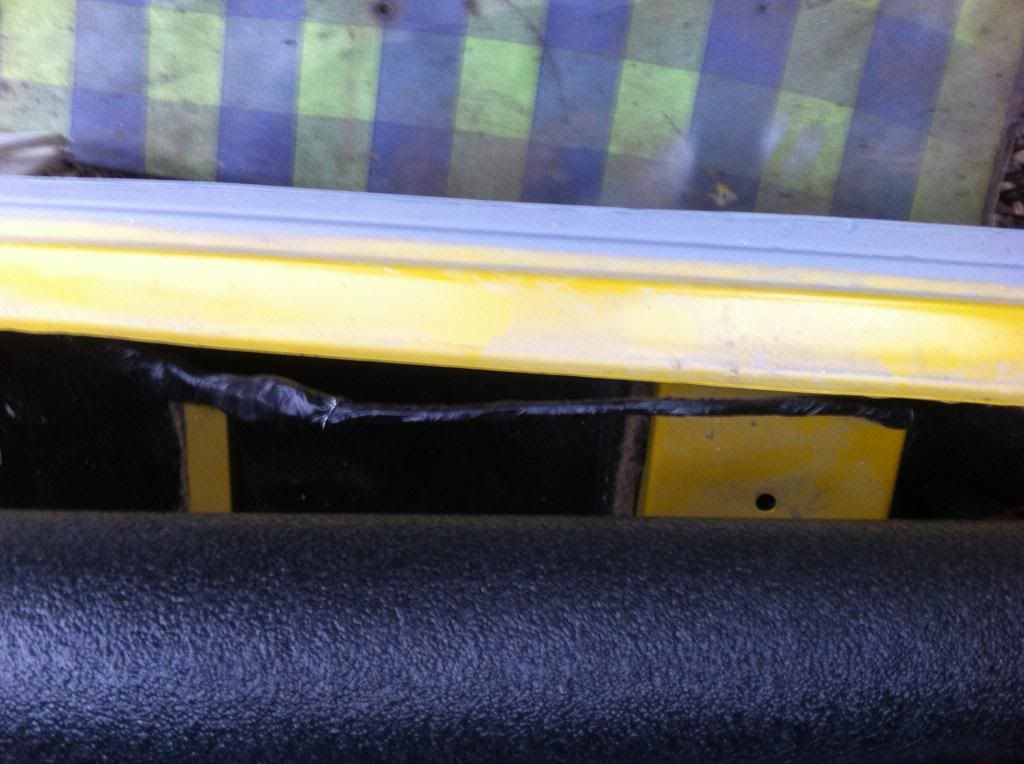
#682

Posted 05 June 2014 - 09:08 PM
only allows certain amount of pictures in each post so rather than wasting my time uploading and then having to delete them i will spread them out, just incase anyone was wondering why i haven't done them all in one post
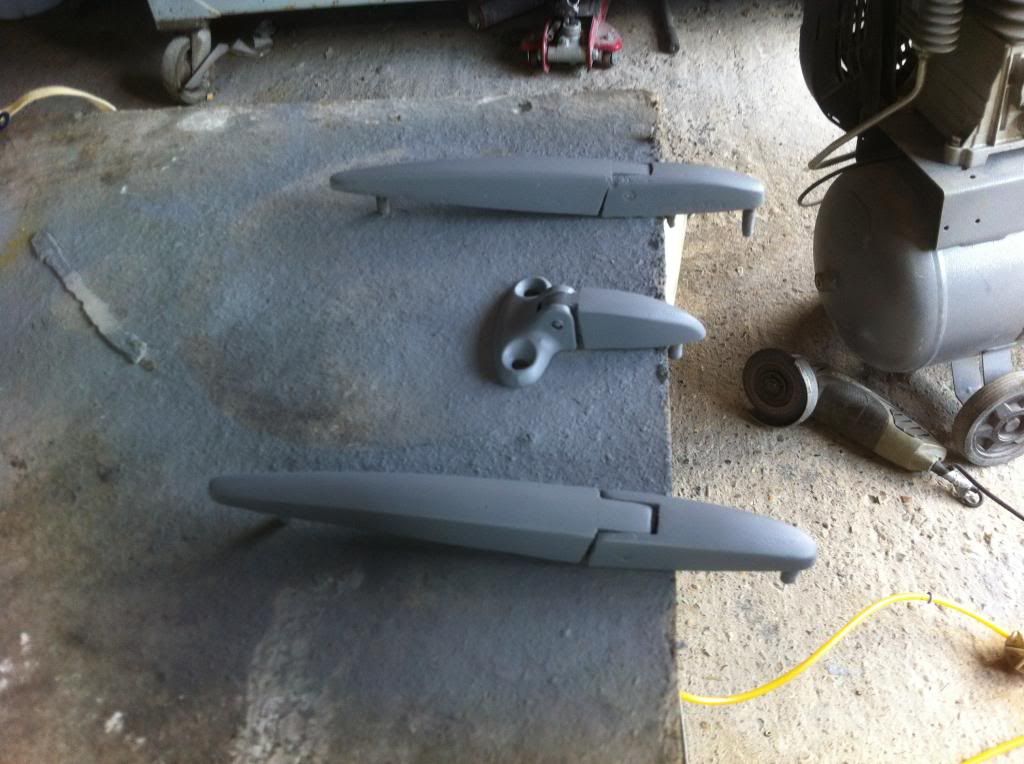
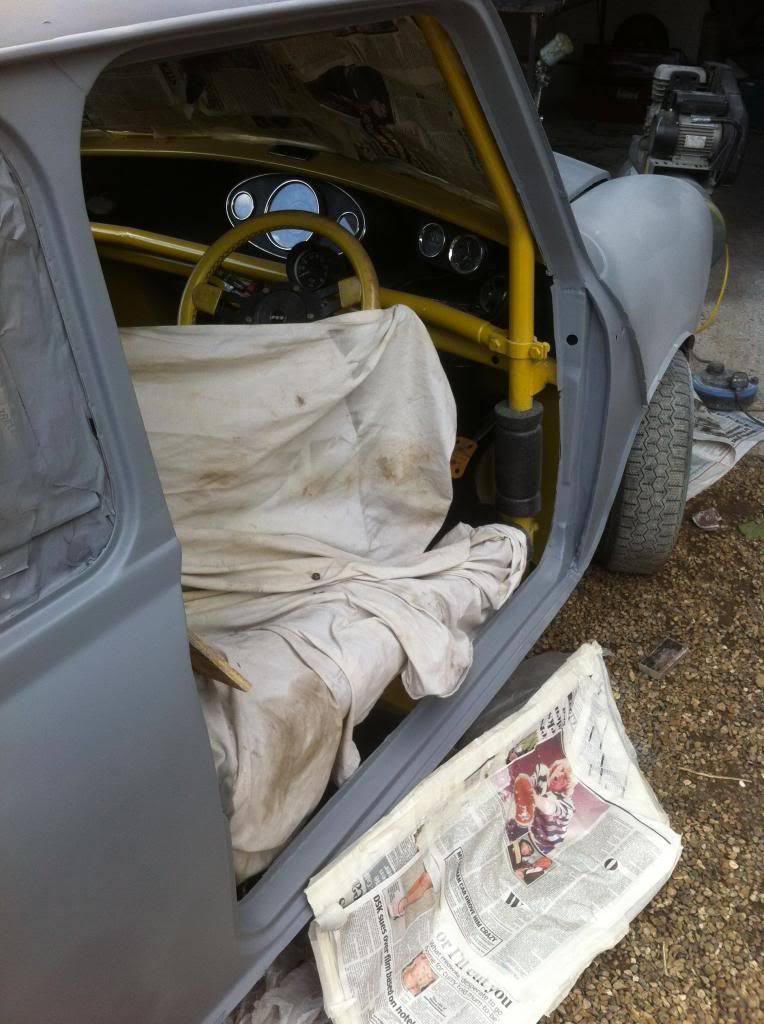
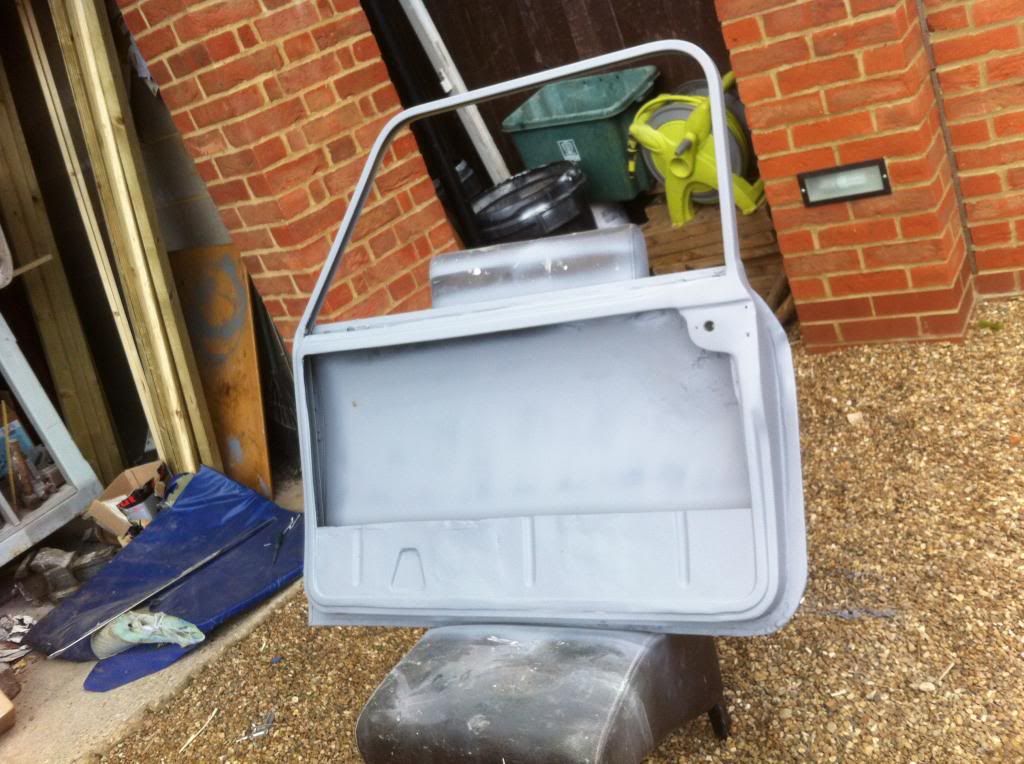
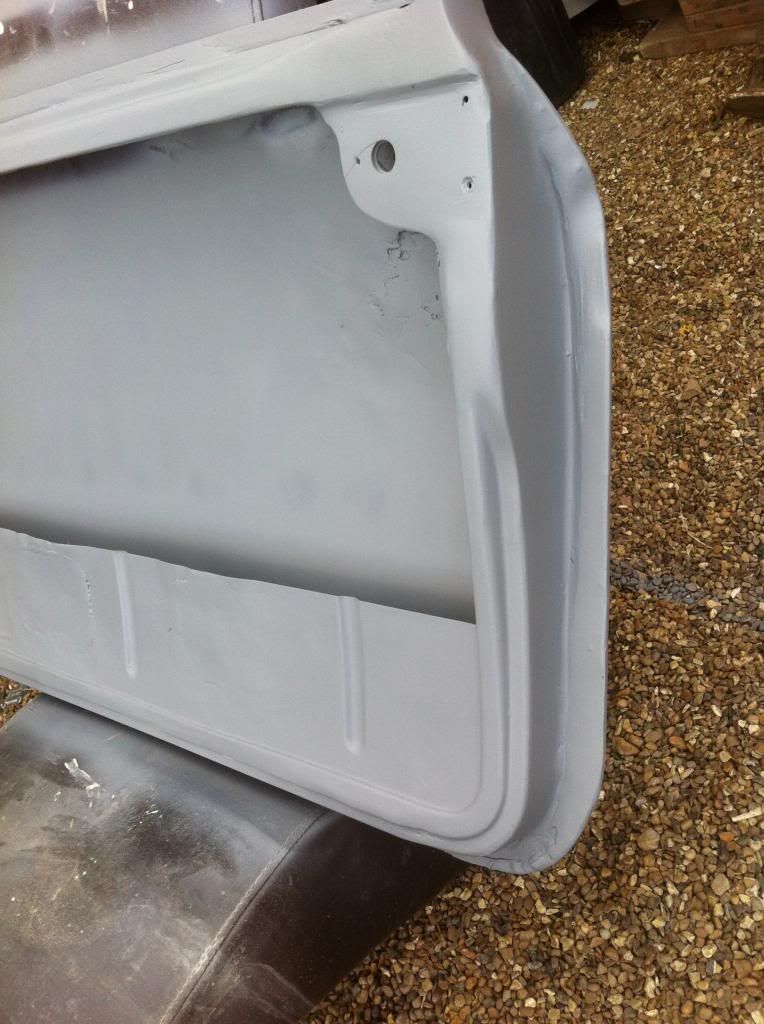
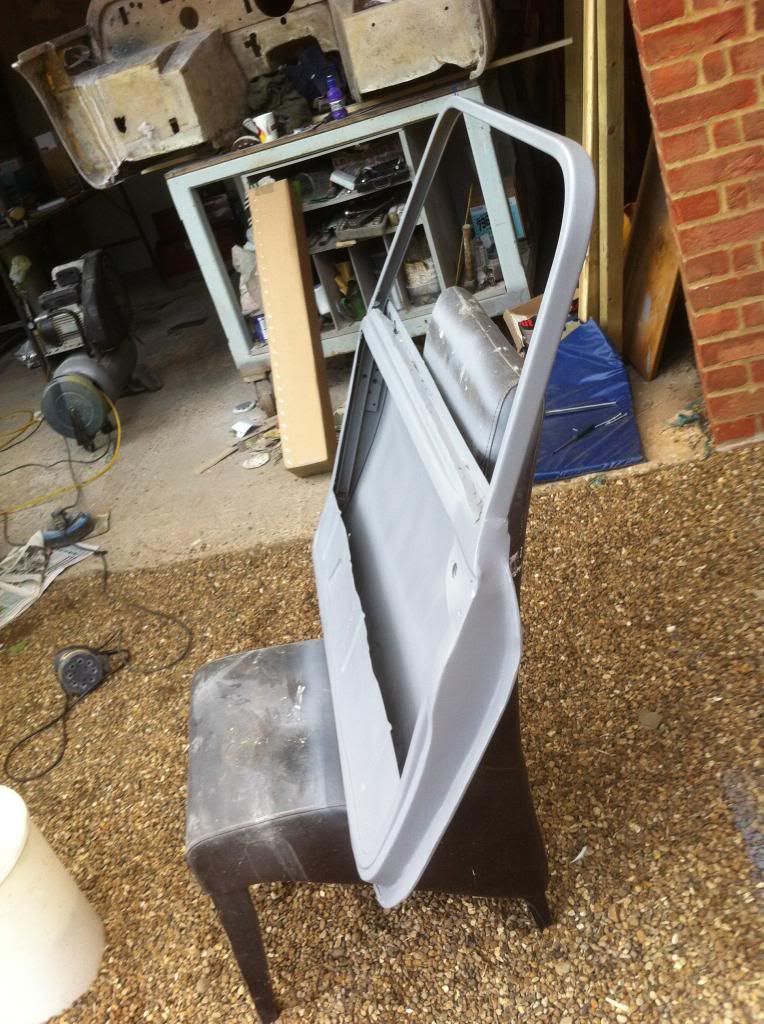
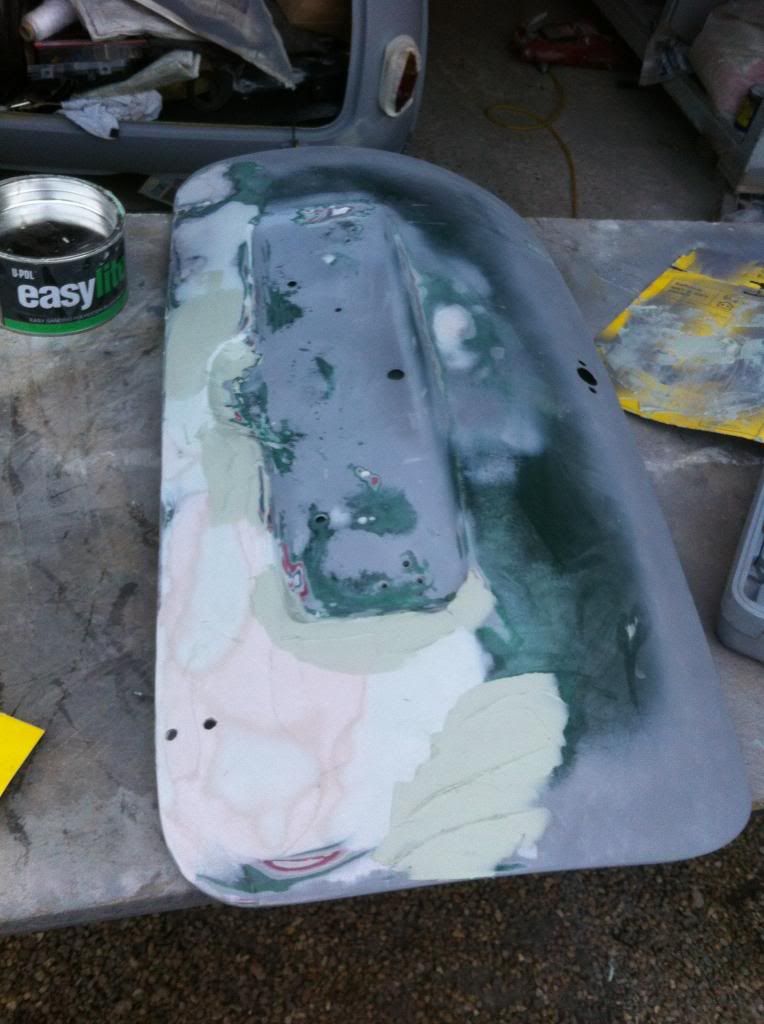
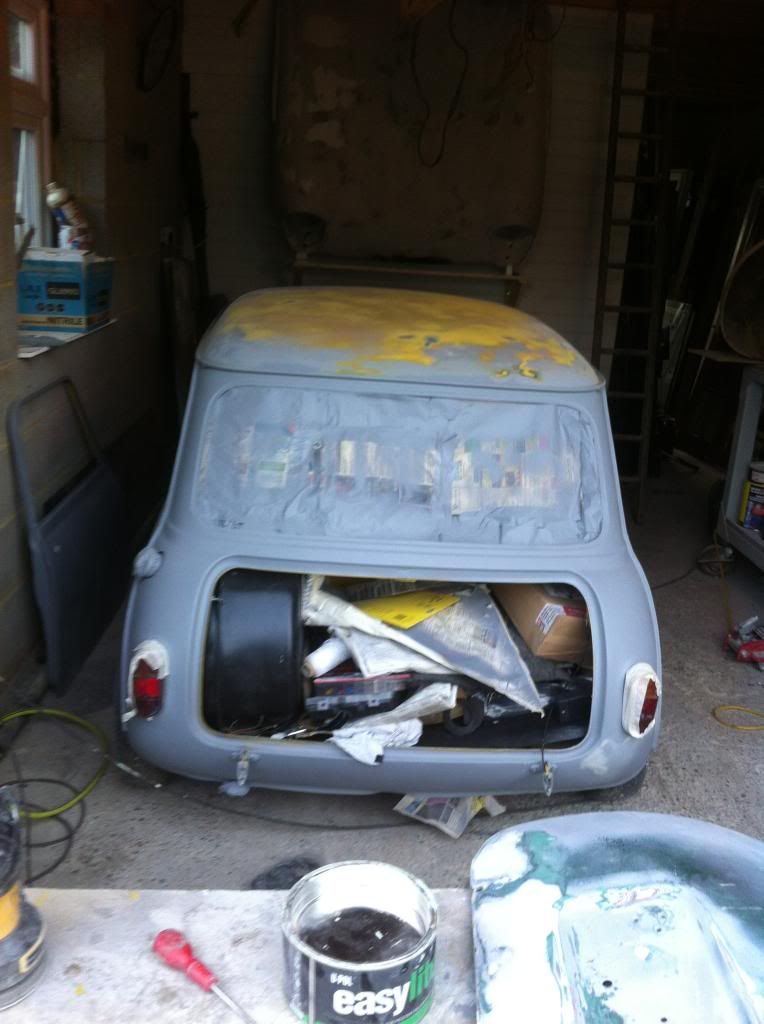
have to sand the filler on the roof and finish my boot lid then primer both and its ready for top coat so no reason it shouldn't be in colour tomorrow
#683

Posted 06 June 2014 - 02:07 AM
Hi mate!
Looking good and looks like you are soon going to be ready for the final top coat.
Not sure if you noticed but your drivers side front wing has a massive filler edge right in the middle and will stick right out when painted.
I am not criticising, its just i have been watching you put all this hard work in and wouldn't want you to be disappointed once you have painted it.
Look forward to the bright yellow!
Ben
#684

Posted 06 June 2014 - 06:13 AM
#685

Posted 06 June 2014 - 01:08 PM
Ok mate, A good way to tell if you have any edges that might show once its painted is to wipe each panel over with plenty of panel wipe so its 'wet' This gives the primer a shine and then you can look down the panel and any ripples or edges that remain will show up really well.
It will give you a chance to sort any bit you might have missed before the top coat.
Thats a trade secret ![]()
![]()
Ben
#686

Posted 06 June 2014 - 05:23 PM
I do this when I'm wet flatting back all sprayed up now though :) update tonight
#687

Posted 06 June 2014 - 07:31 PM
Ok mate, A good way to tell if you have any edges that might show once its painted is to wipe each panel over with plenty of panel wipe so its 'wet' This gives the primer a shine and then you can look down the panel and any ripples or edges that remain will show up really well.
It will give you a chance to sort any bit you might have missed before the top coat.
Thats a trade secret
Ben
use white spirit it stays wet longer then clean with panel wipe trade secret from a bloke i know used to work for rolls royce
#688

Posted 06 June 2014 - 08:21 PM
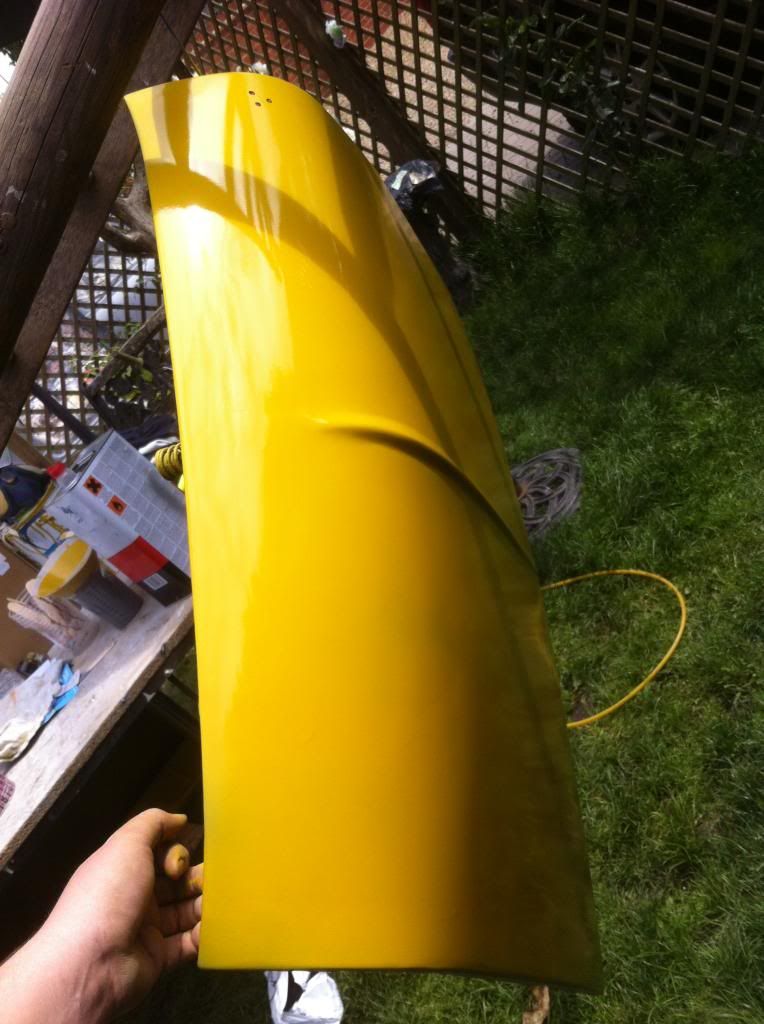
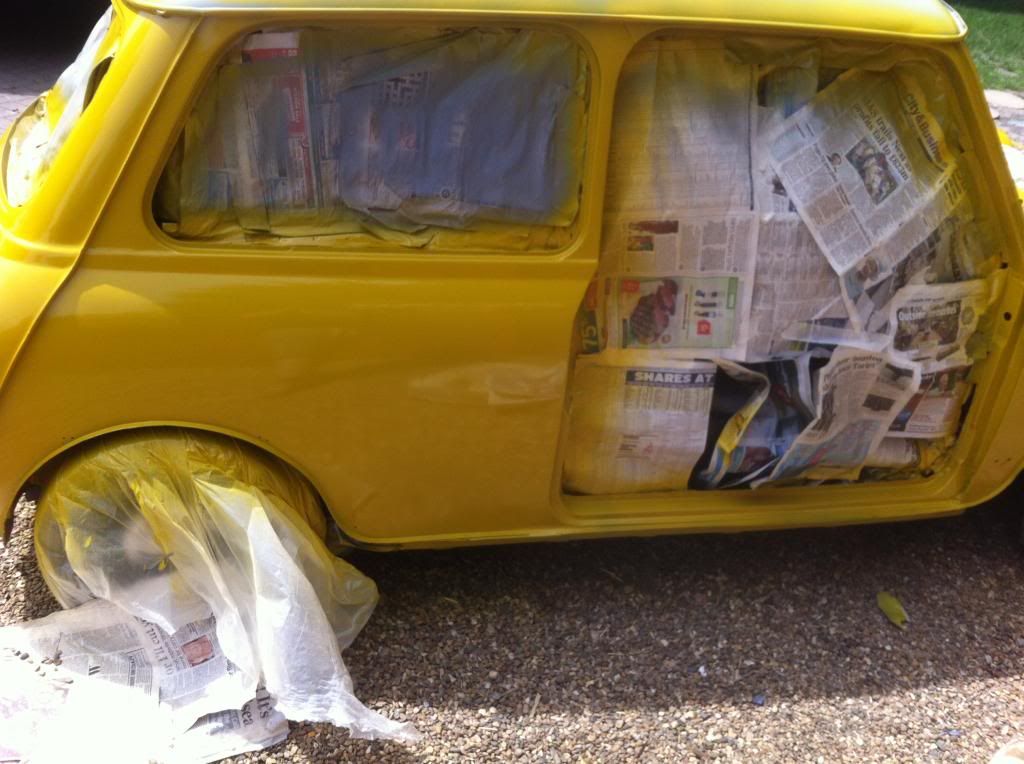
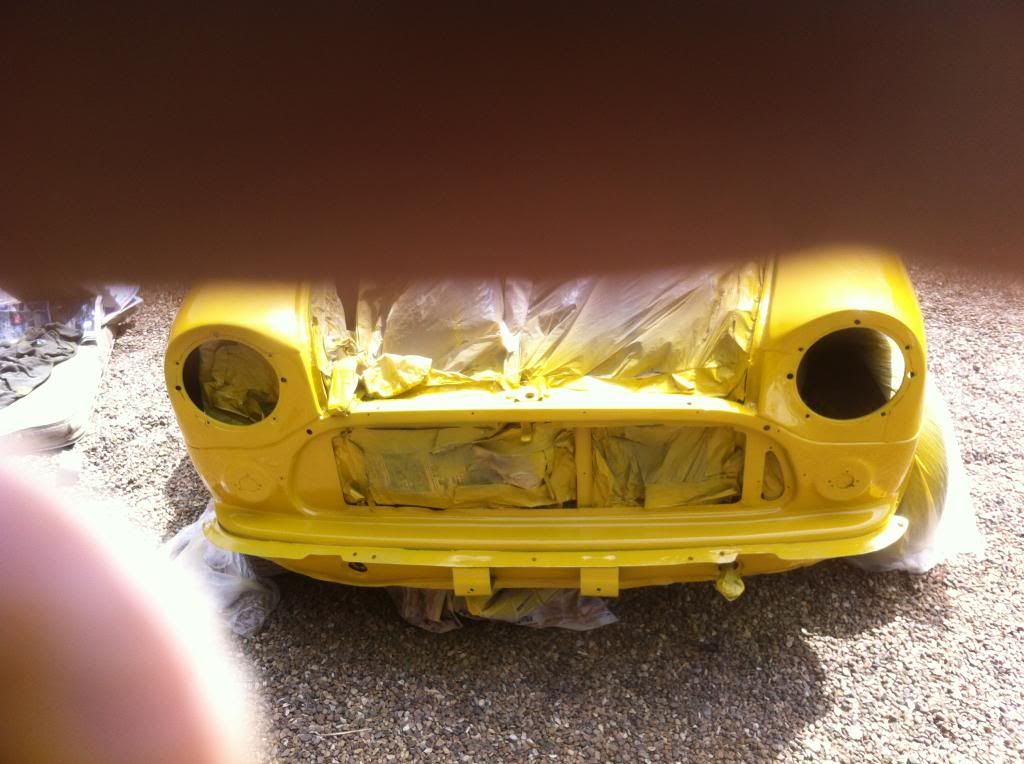
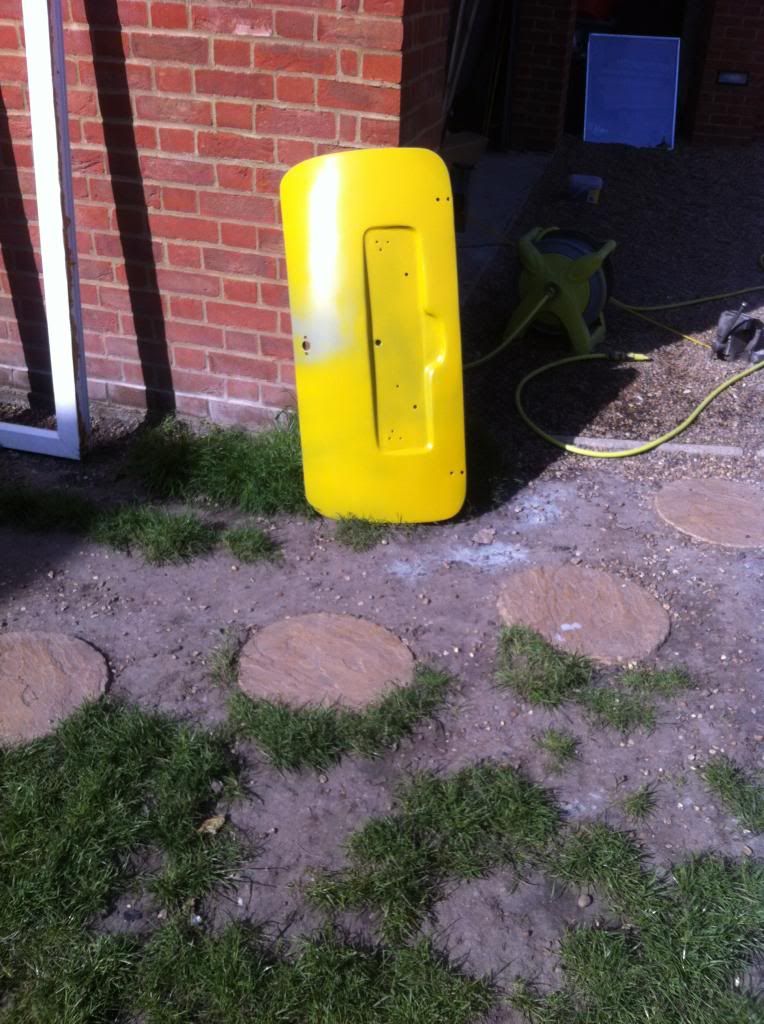
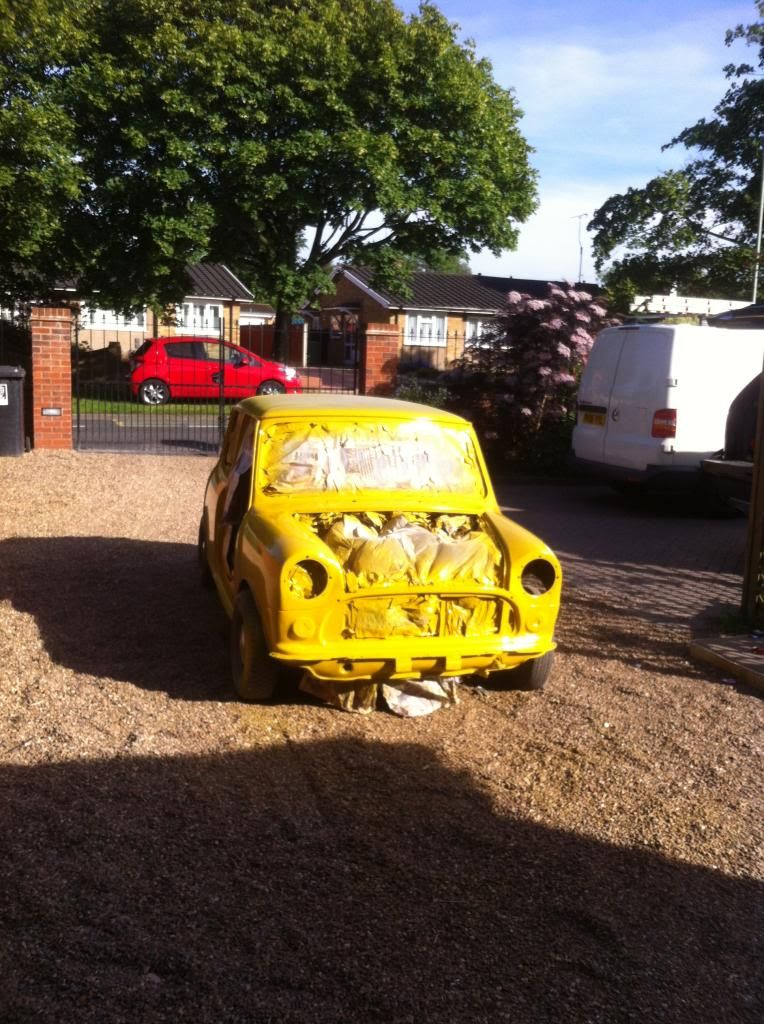
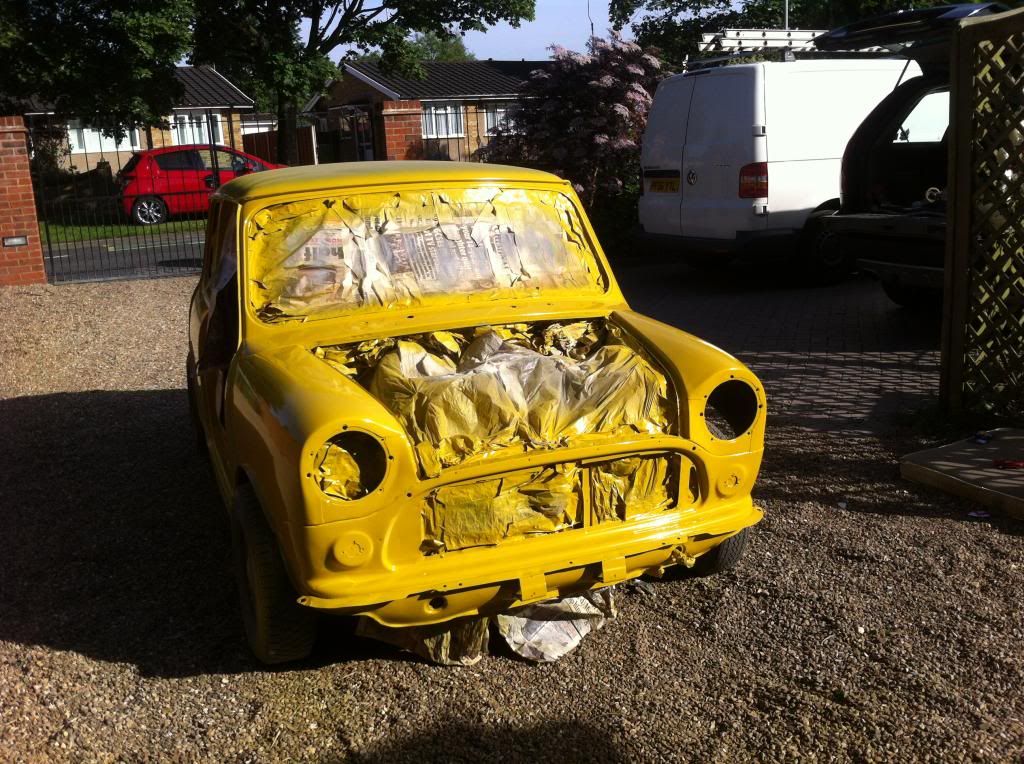
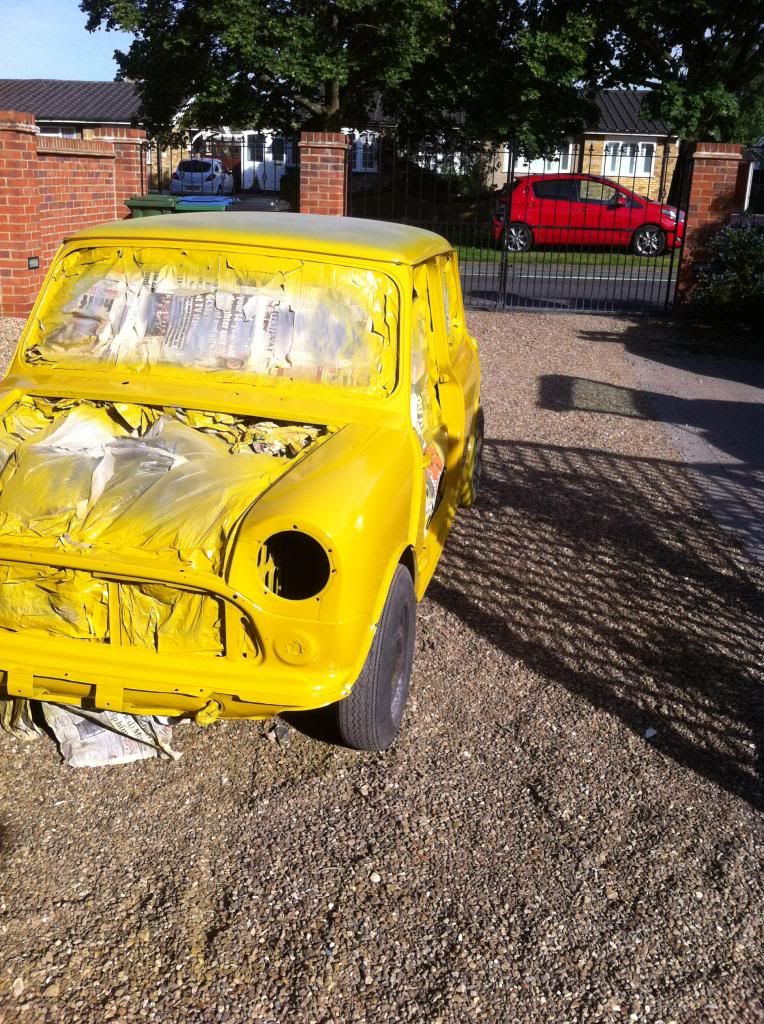
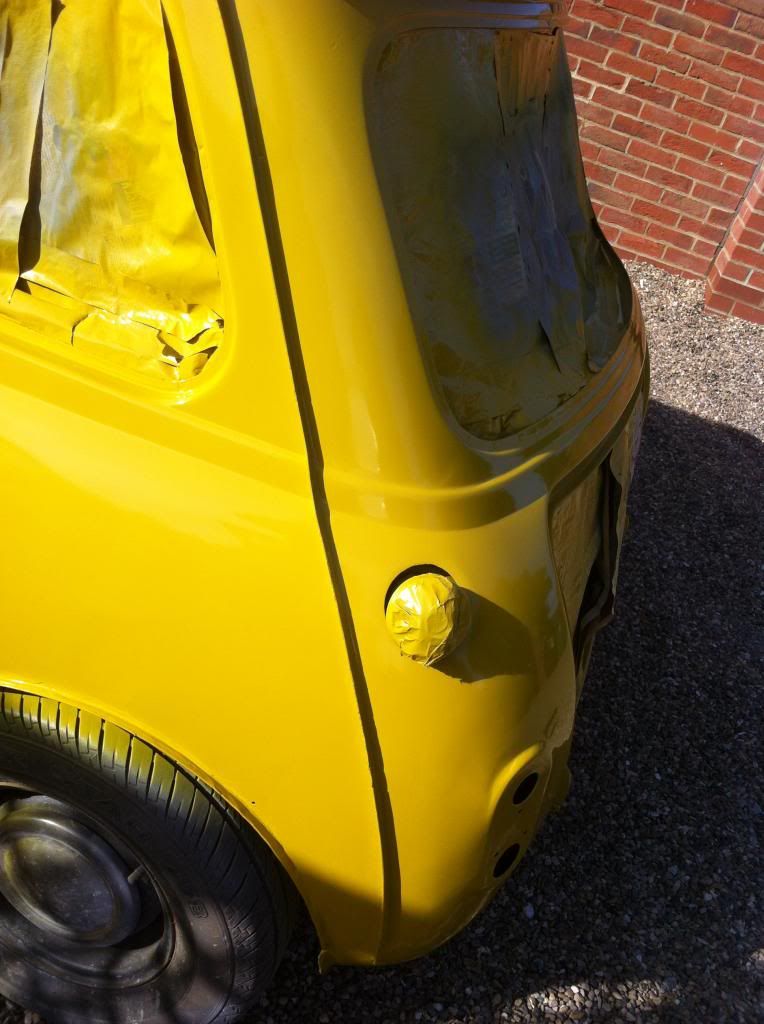
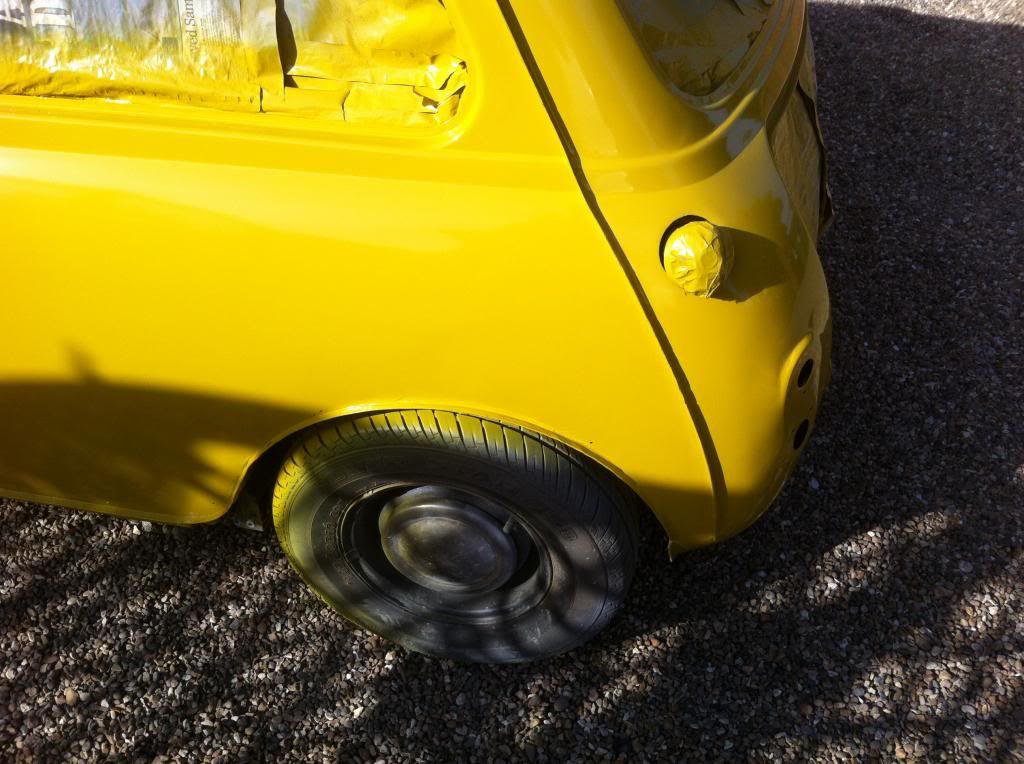
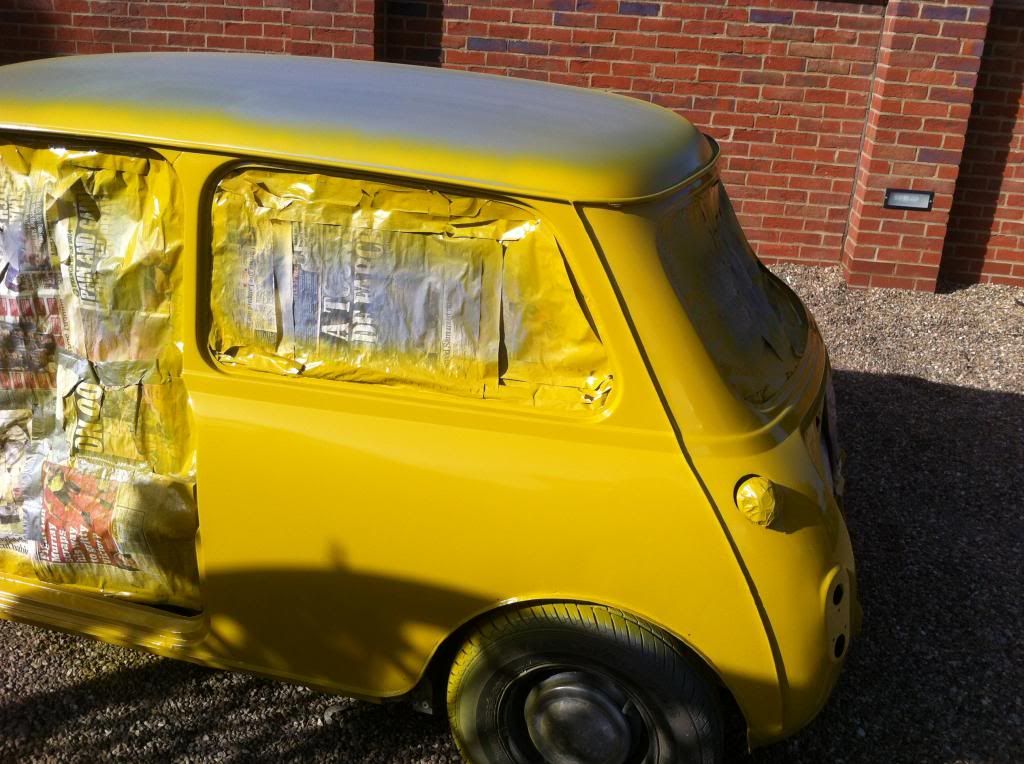
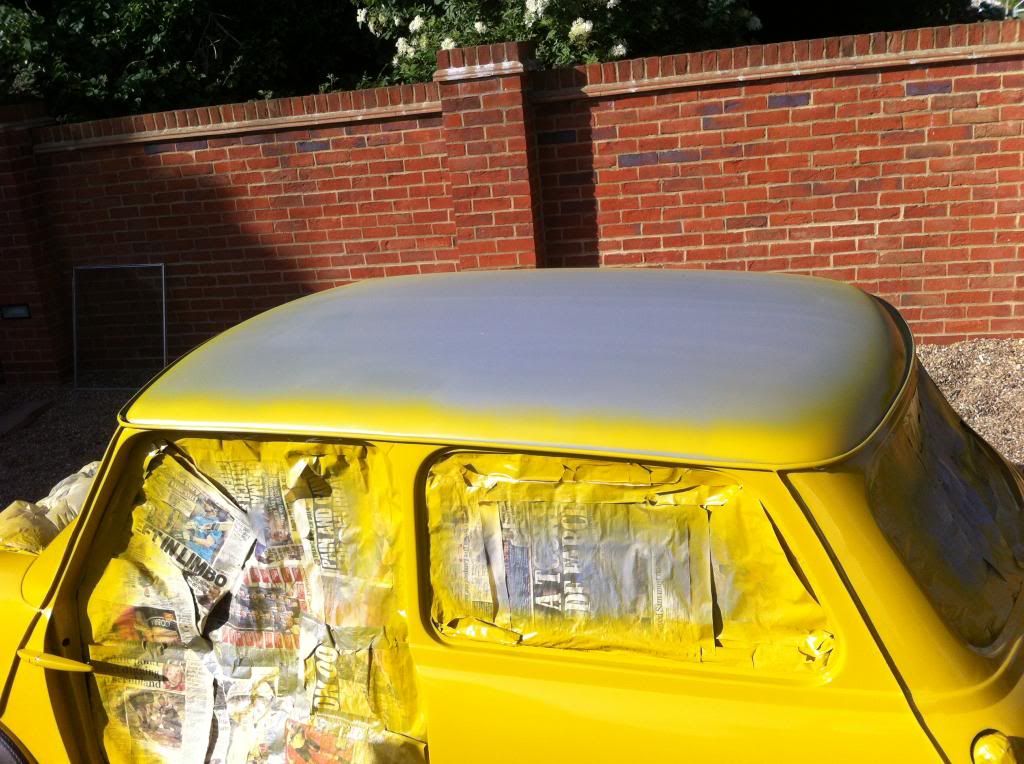
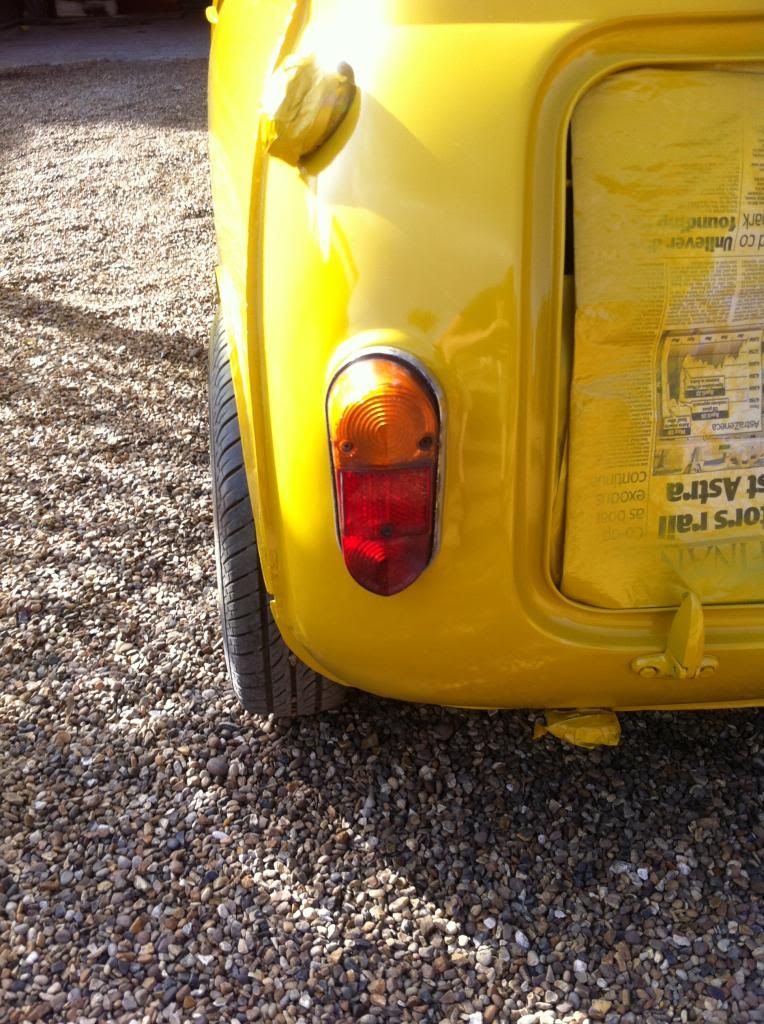
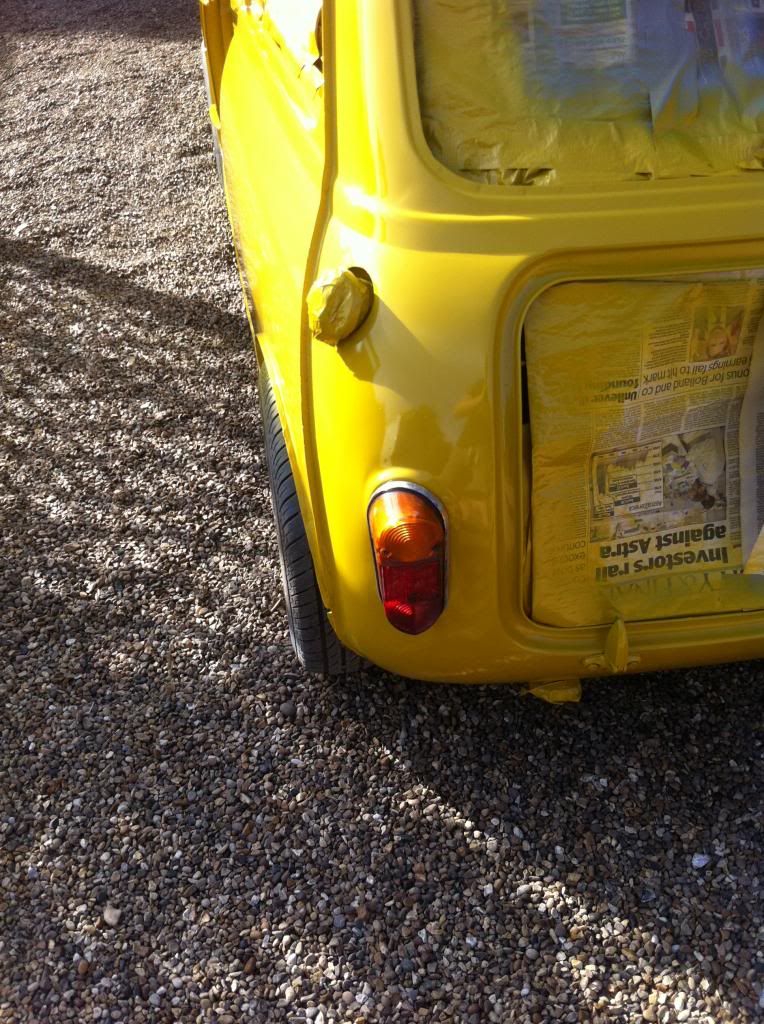
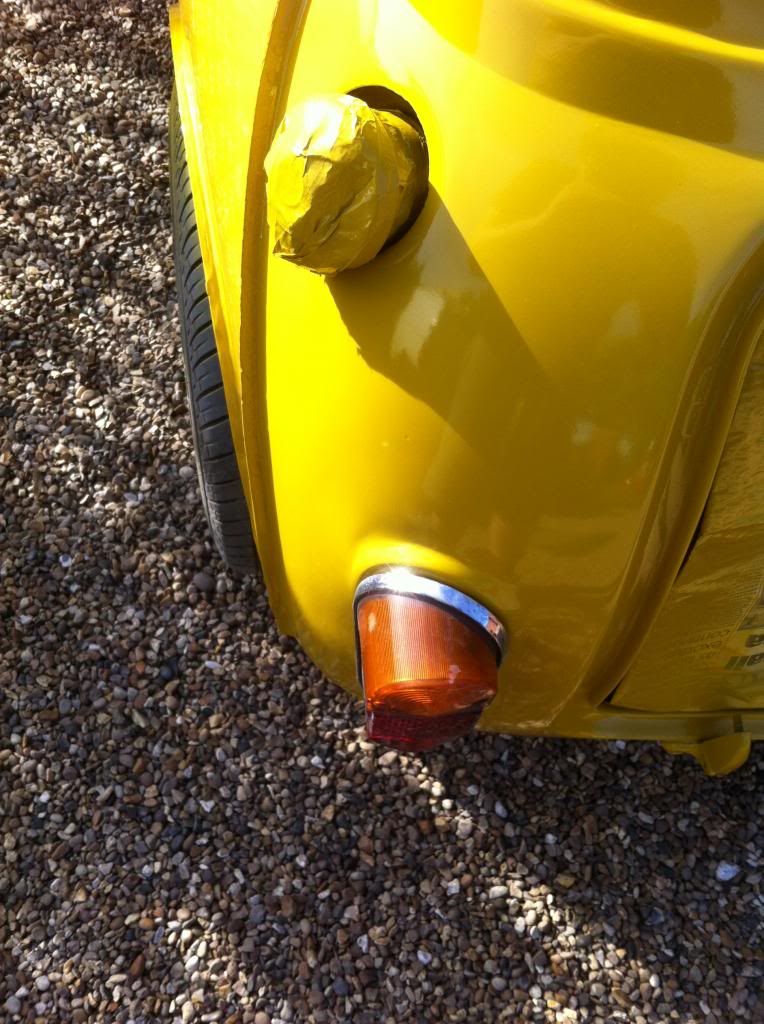
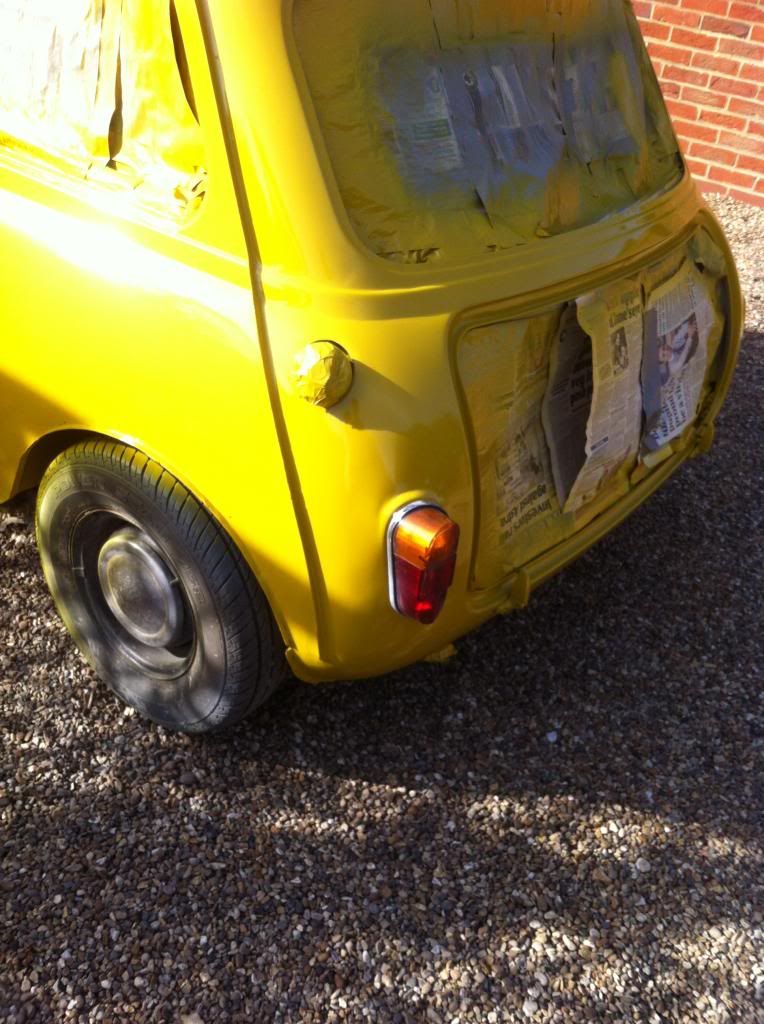
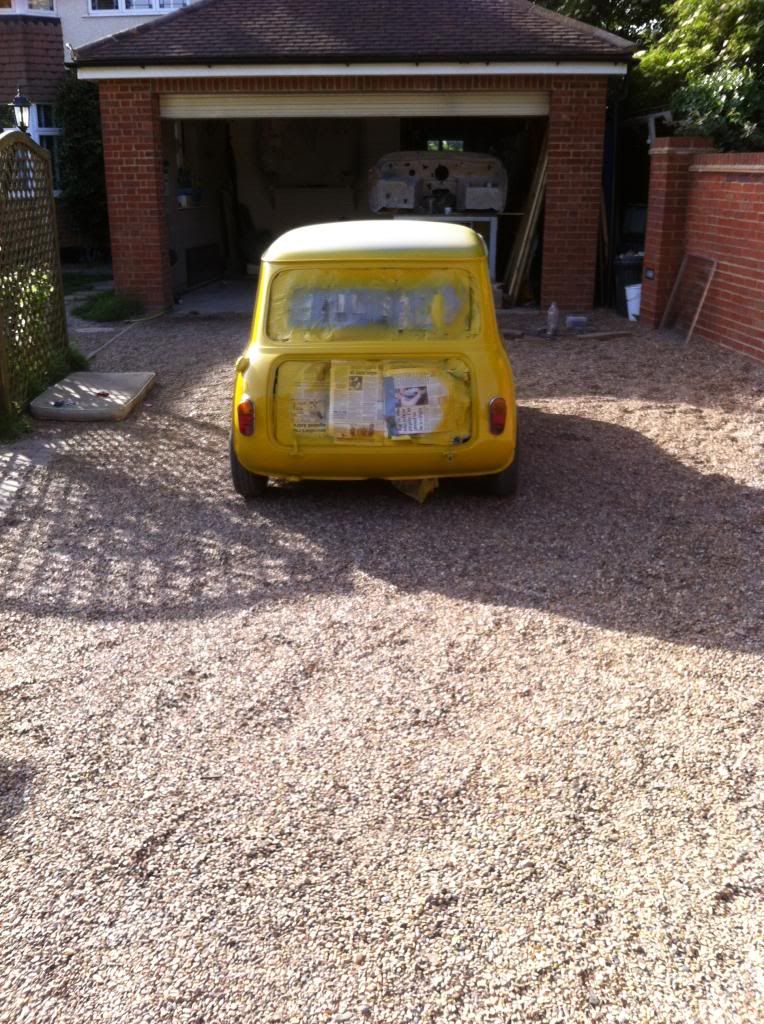
in top coat so here are the pictures, its being 800 wet tomorrow all over then i will give another 3-5 coats of paint with a 25% paint 75% thinners ratio, for that ultra shine.
overal i am happy with the finish so far, there are a few bugs and bits in the paint and 2 runs but these are only minor things that will come out in the wet sand tomorrow, the car has a really good shine considering it was a 50/50 ratio mix and no flatting back has been done, it has had 3 coats so far. so excited by it,can't believe I'm this close to being finished. have been waiting so long to have my car in paint, has some reacting on the roof which i sorted all that needs now is a flat down and then its ready for some gloss black! this will be most likely next weekend possibly sunday if tomorrows weather is okay, however i need to get the paint first.
boot lid still needs to be sanded on the inside and there are some pinholes on the passenger door which need sorting but I'm well chuffed with it, for a first time spraying i think the finish isn't bad and I'm not even done with the paint yet, there are a few marks and 1 or 2 dents but i can live with that, it will be a daily, not a show car. i have never restored a car before and have learnt everything for the first time that i have done along the way anyway here are the piccys </p>


Edited by minimk1, 06 June 2014 - 08:24 PM.
#689

Posted 06 June 2014 - 08:27 PM
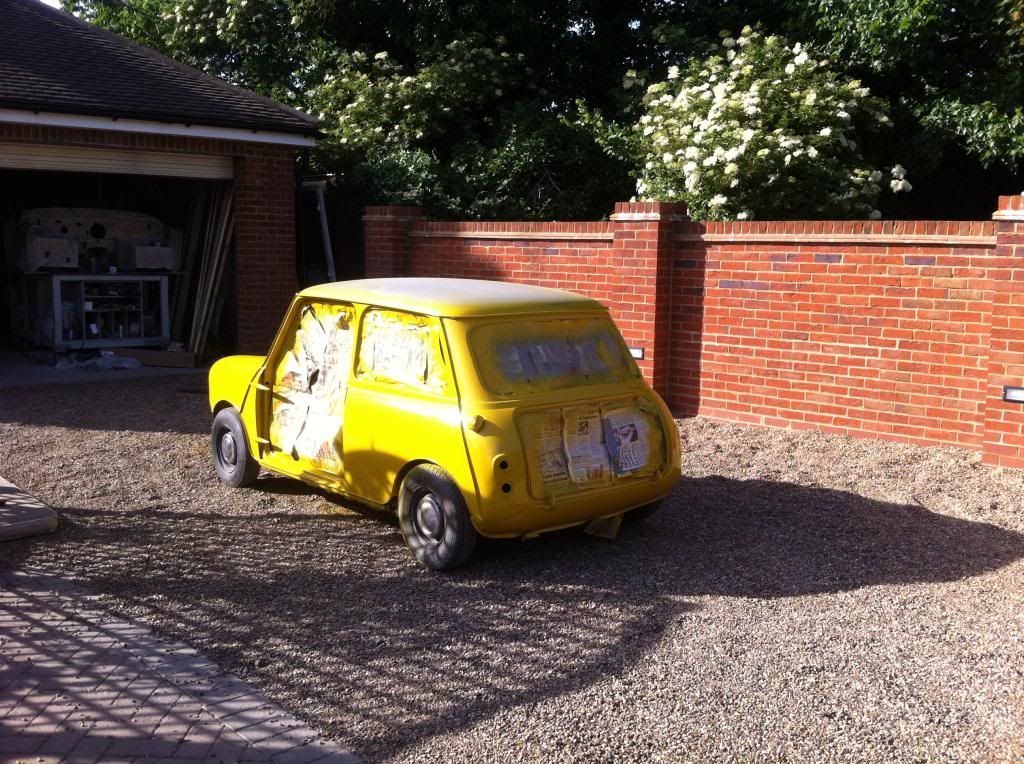
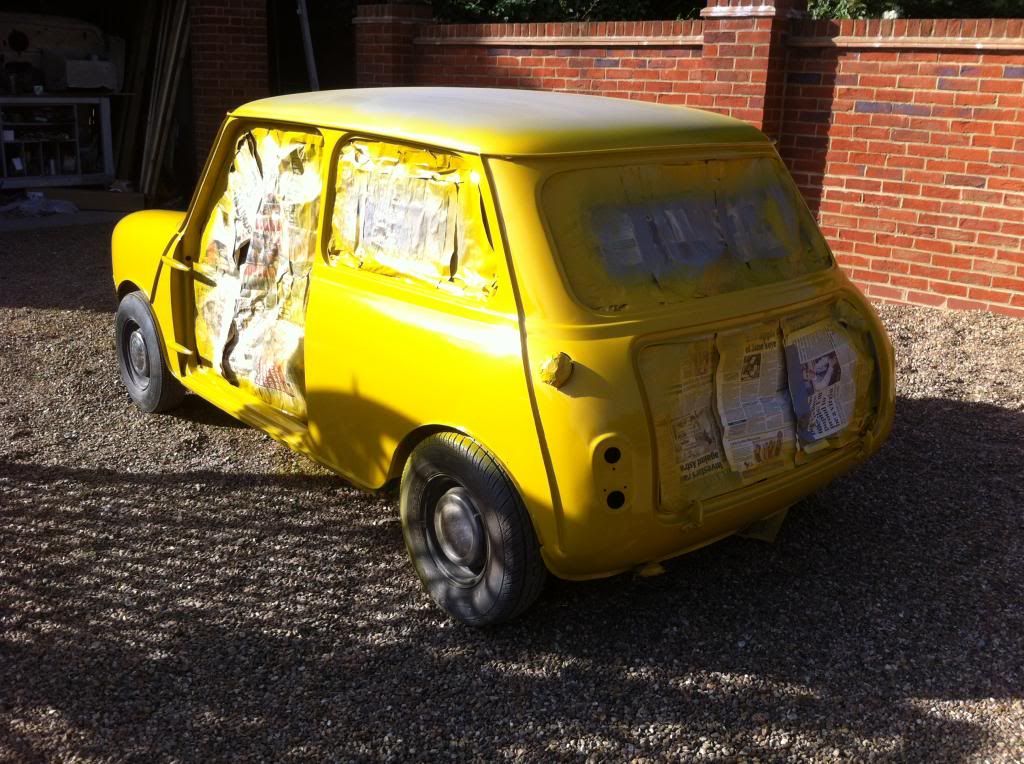
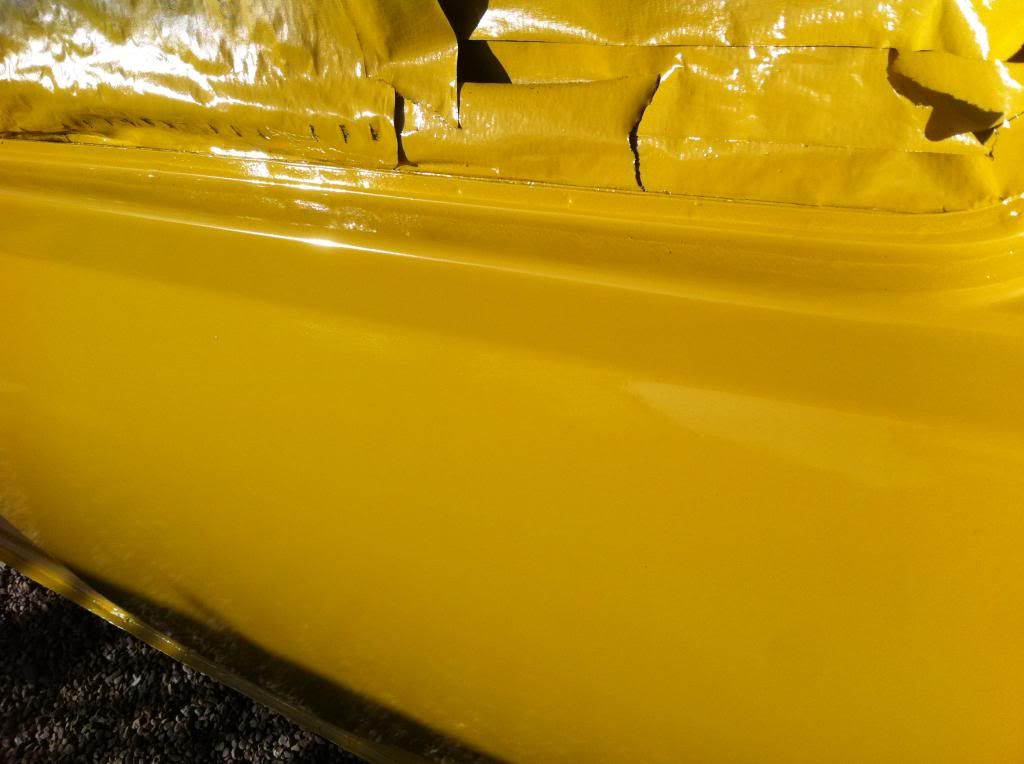
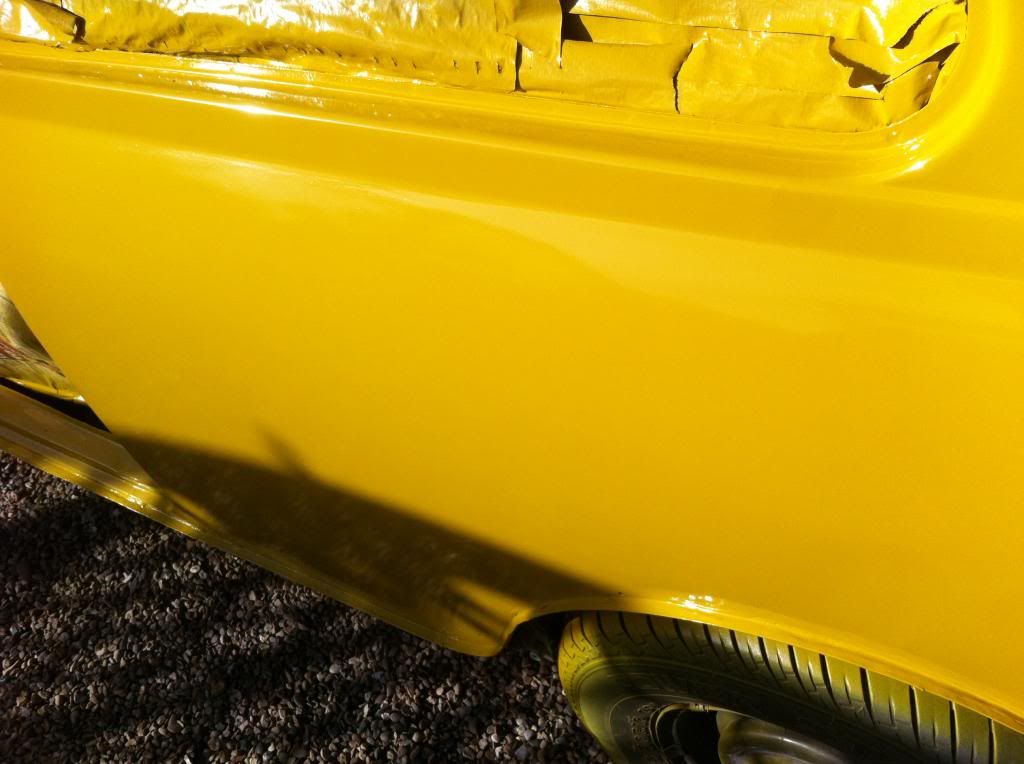
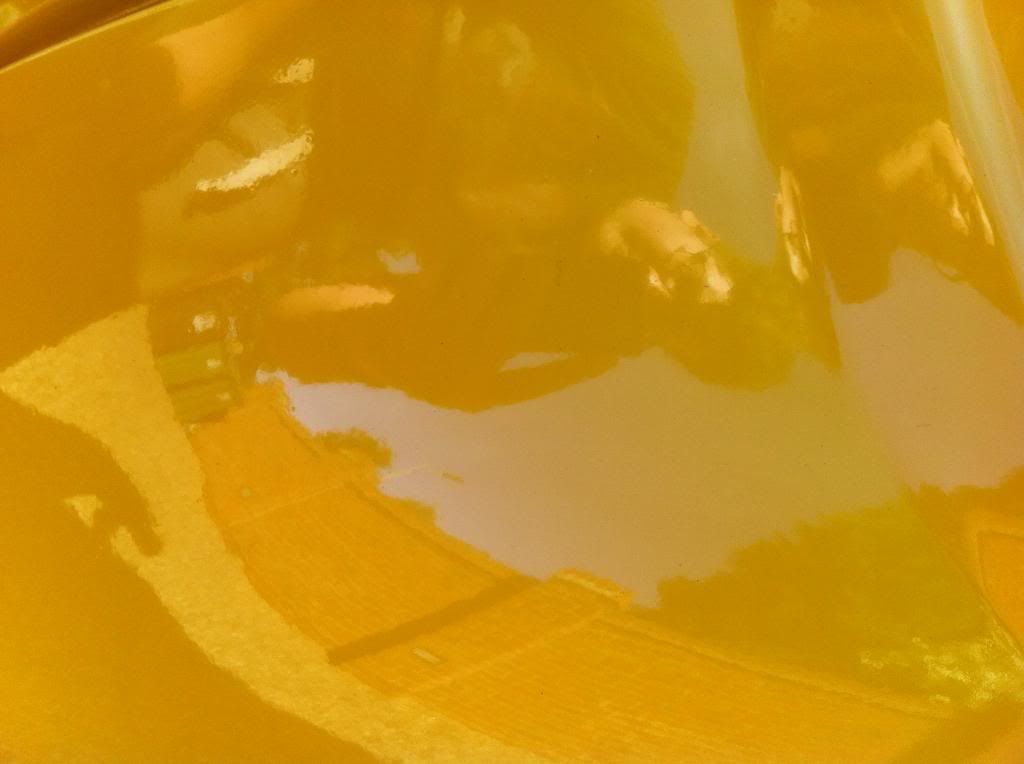
that shine out of the gun
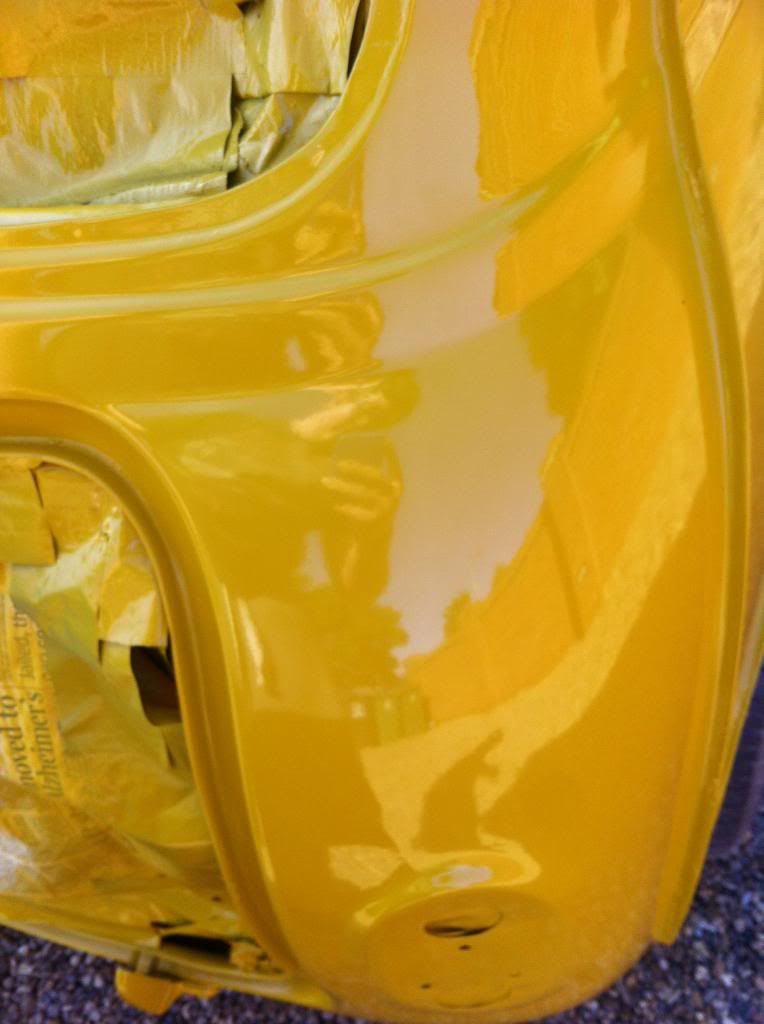
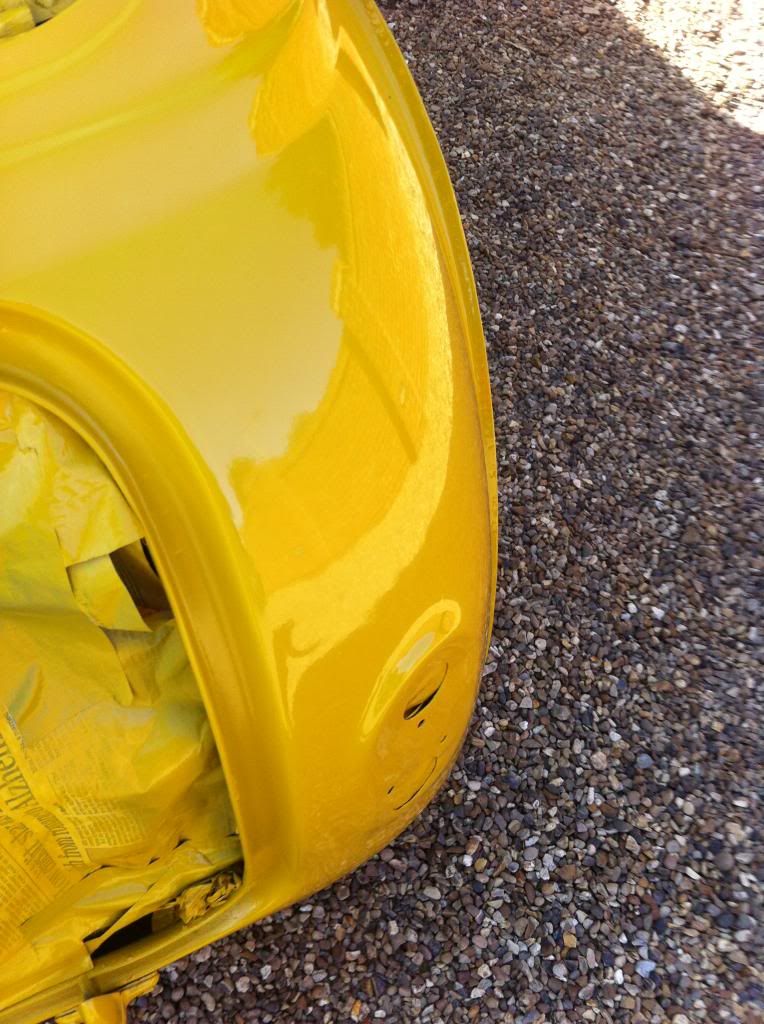
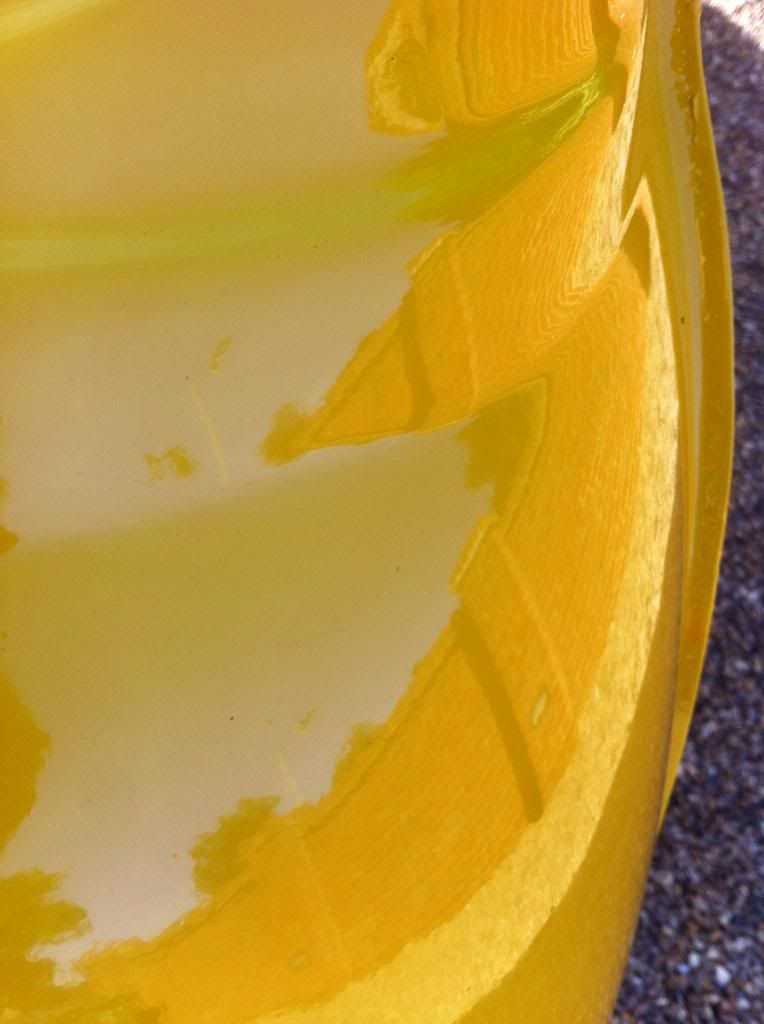
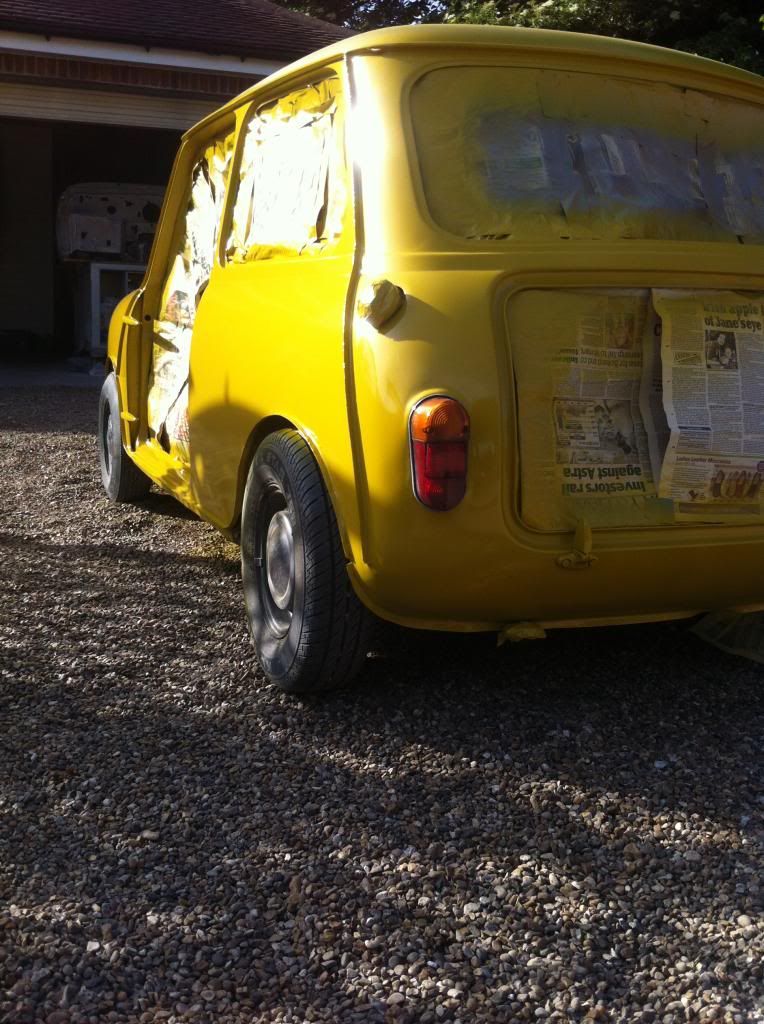
looks lush with mk1 lights on, there there not bolted in yet so may not be sitting right in the pictures, but you get the idea
#690

Posted 06 June 2014 - 08:31 PM
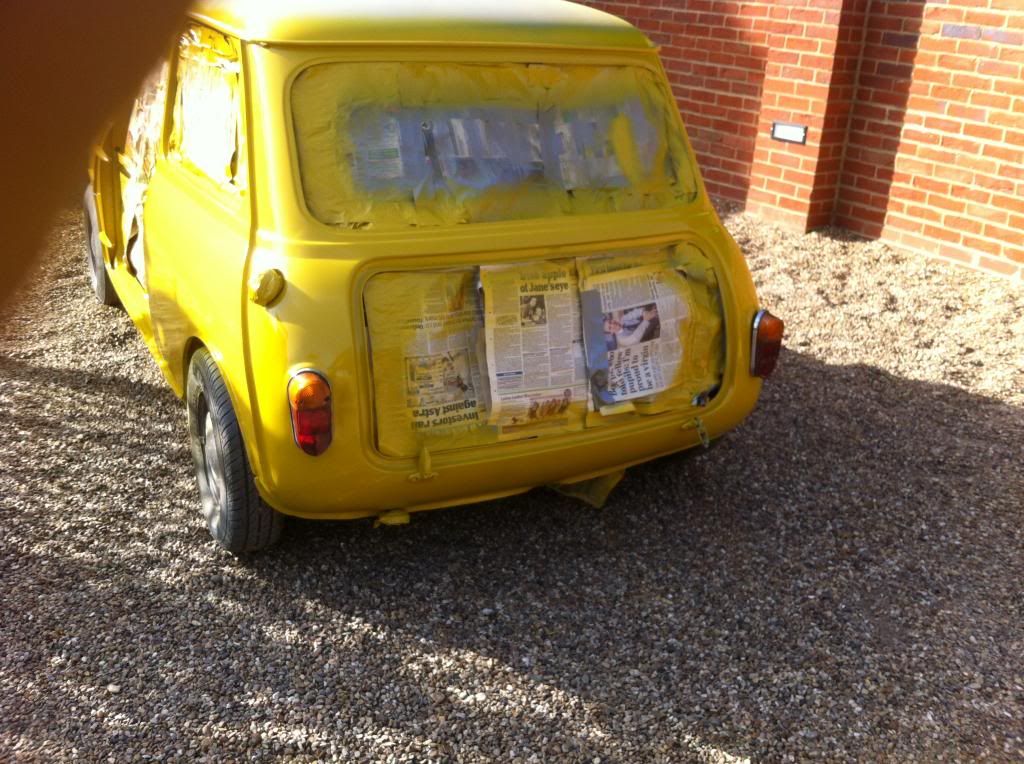
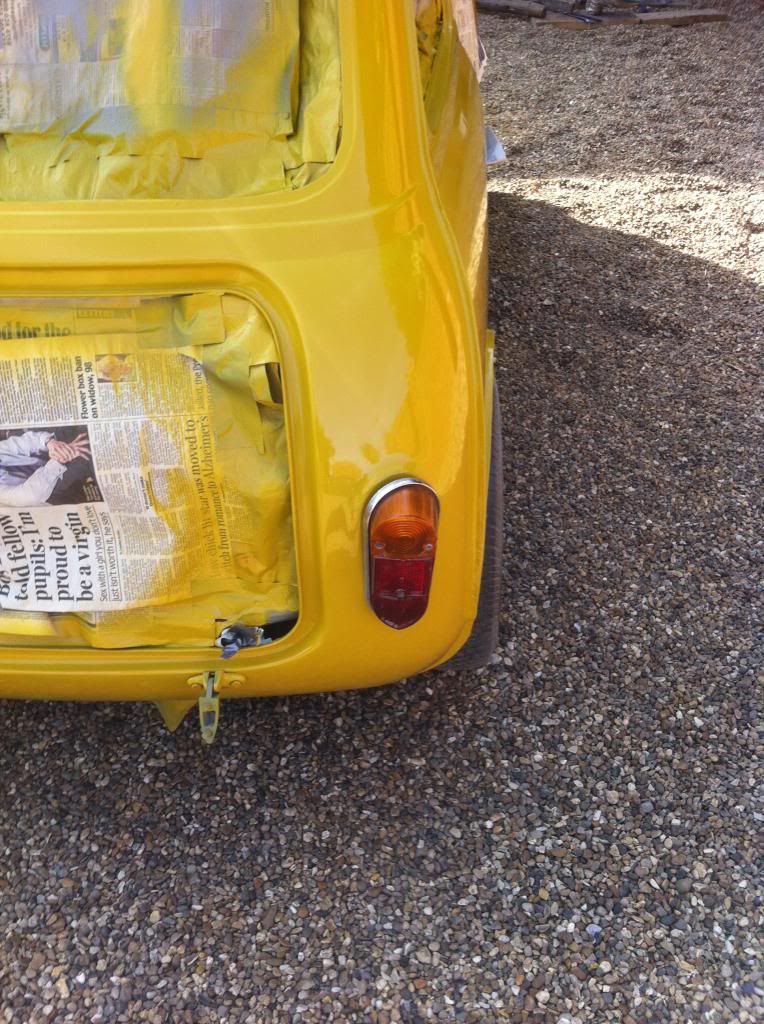
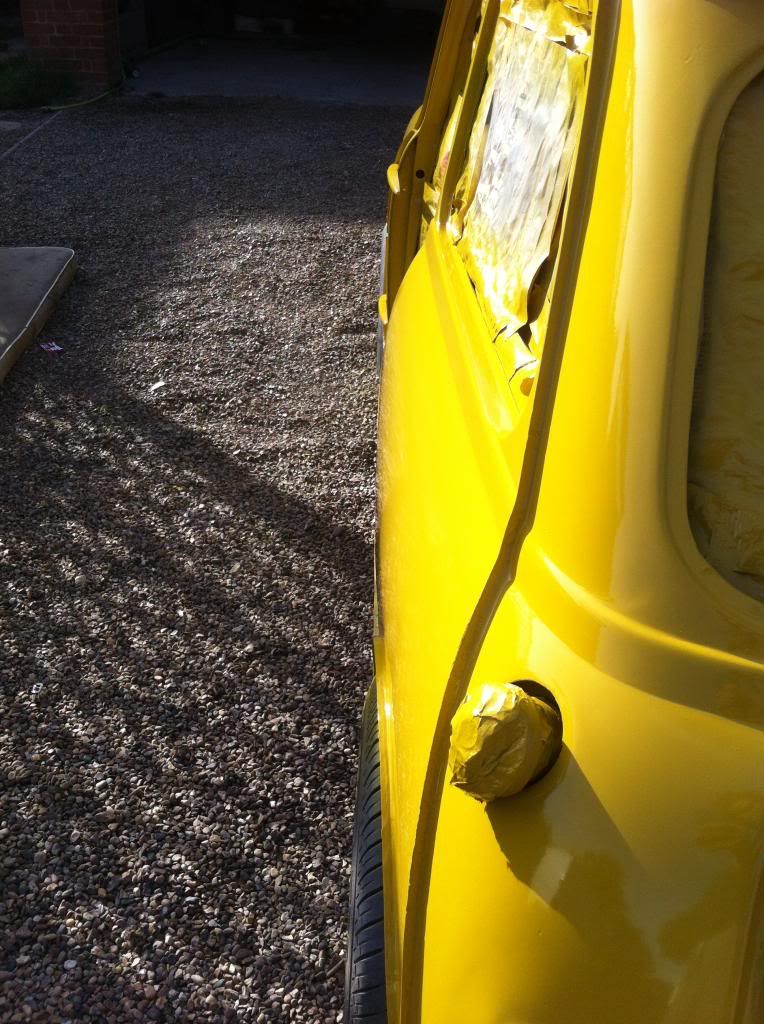
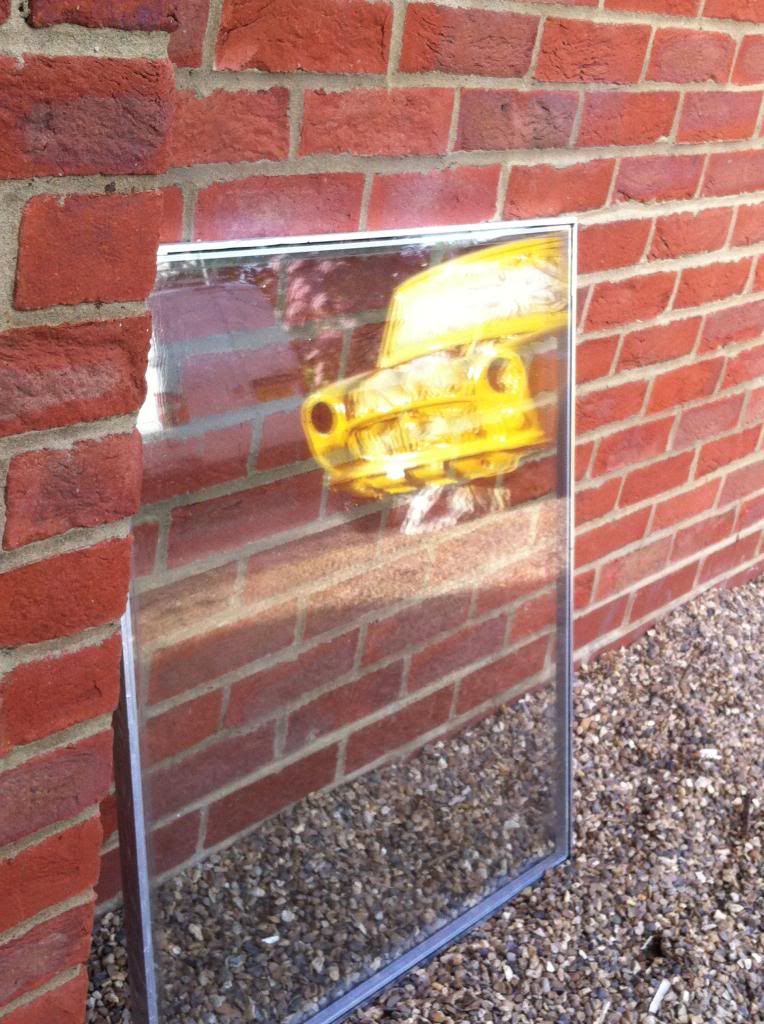
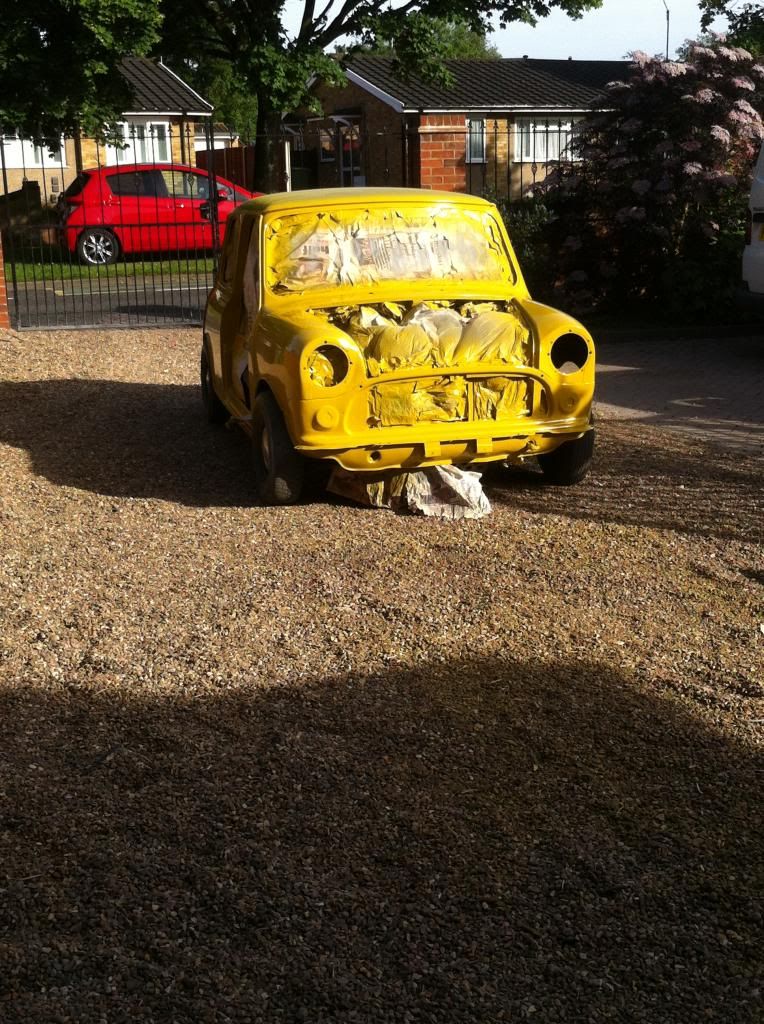
now in the garage for the first time with paint on
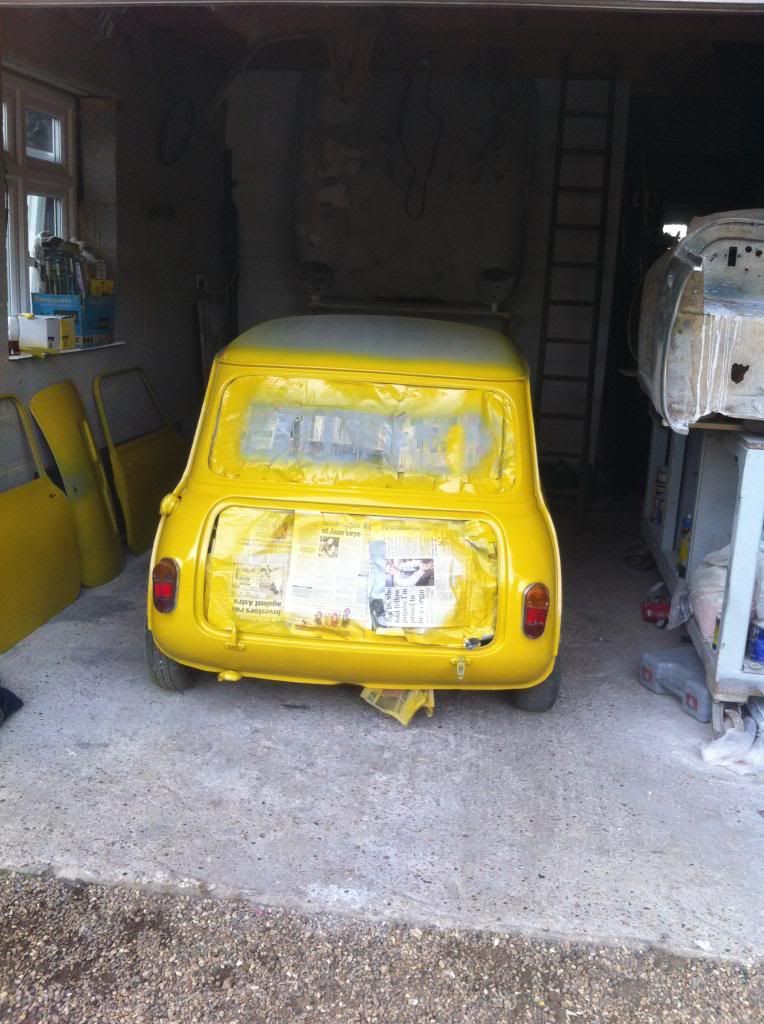
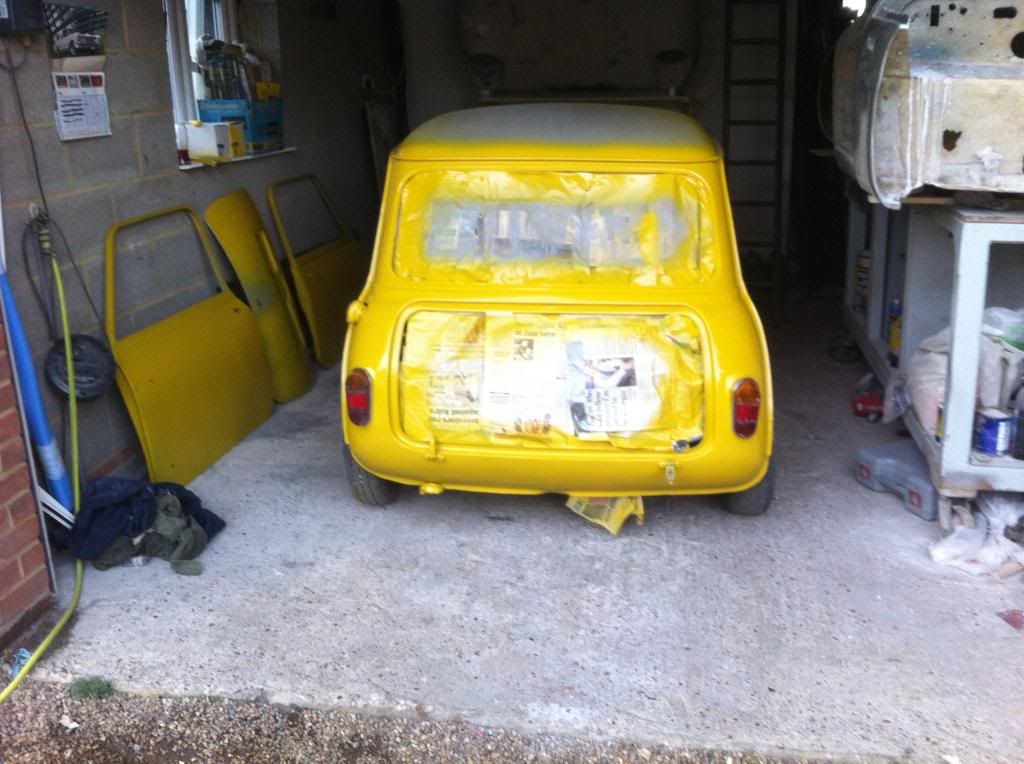
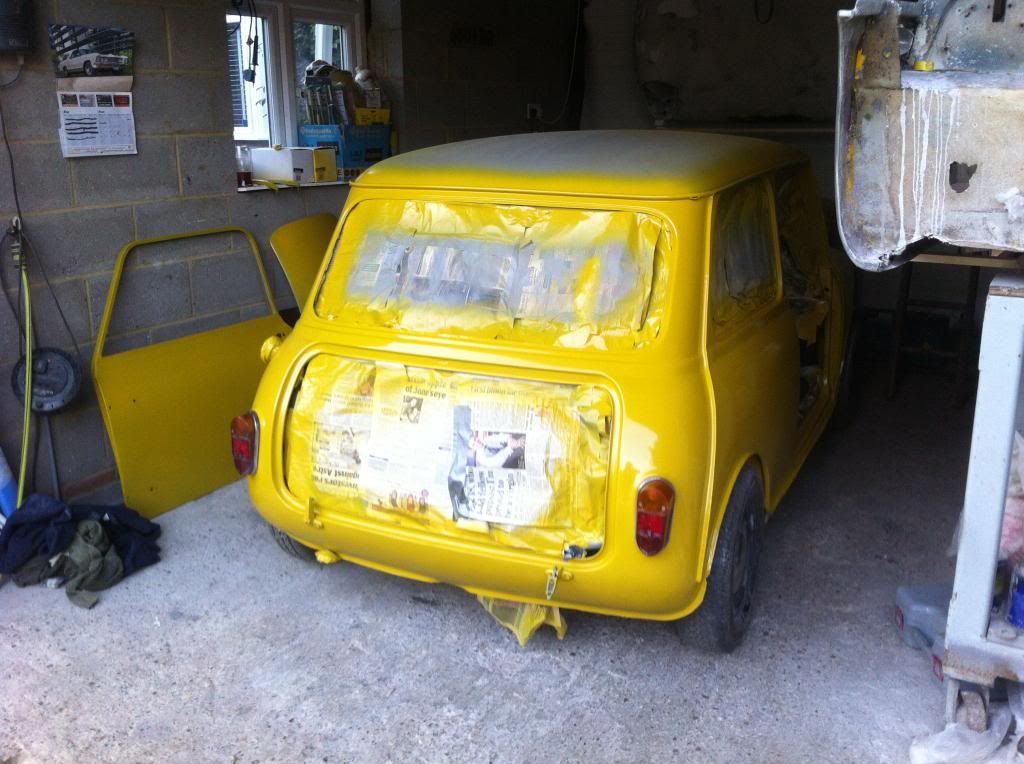
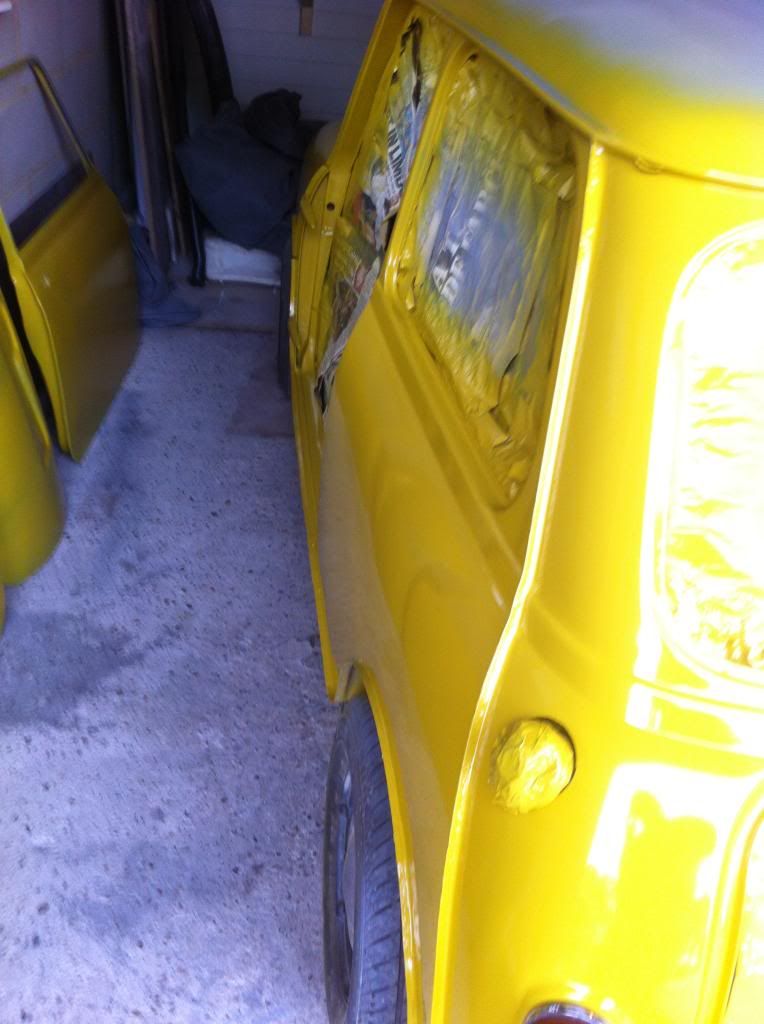
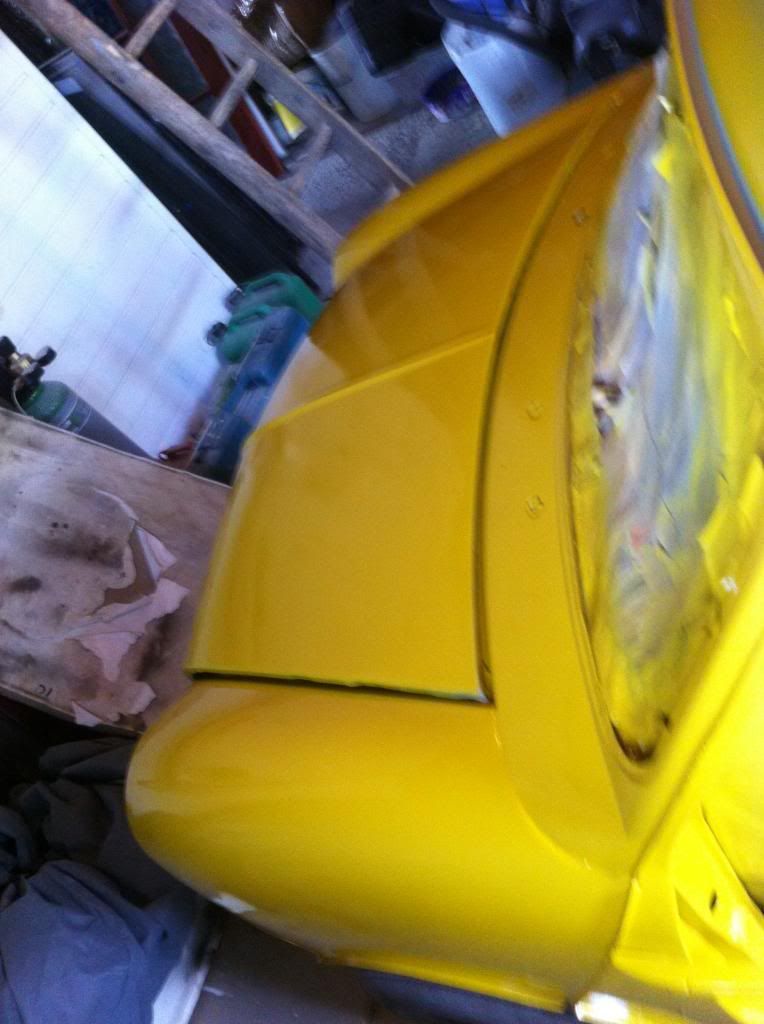
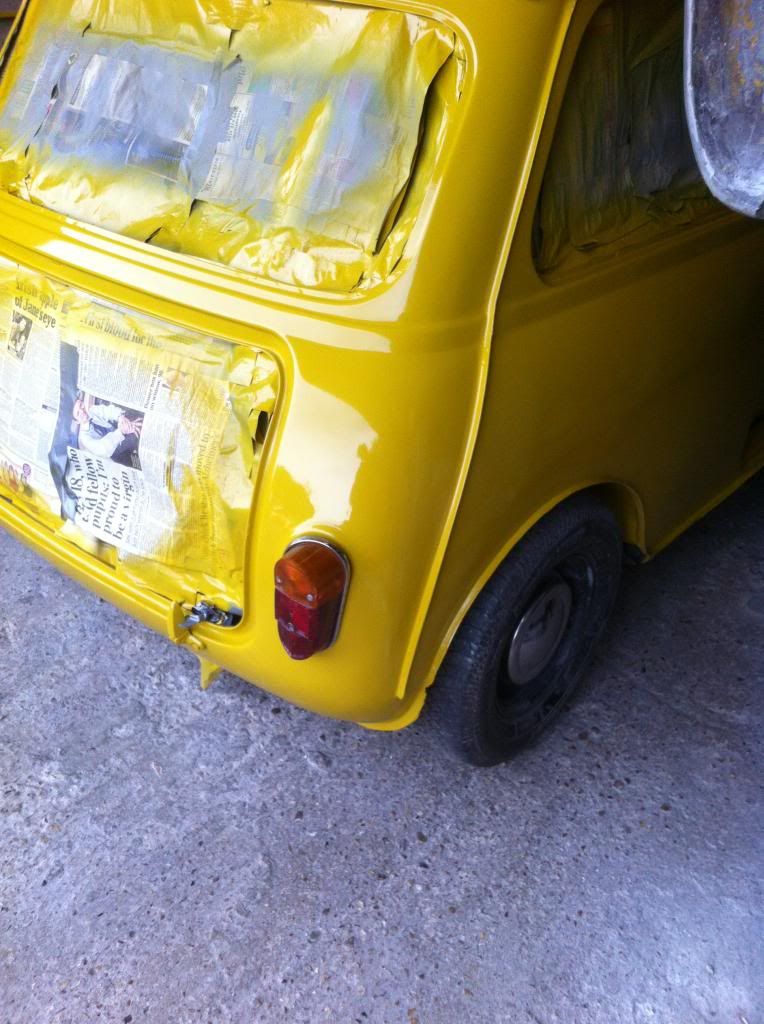
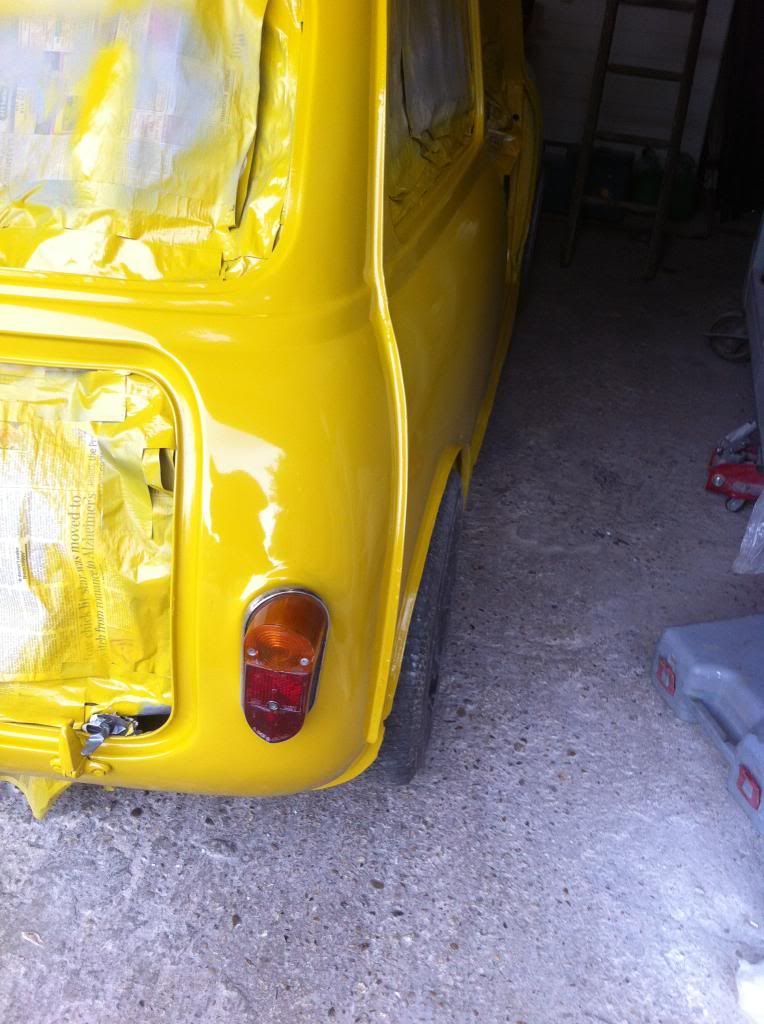
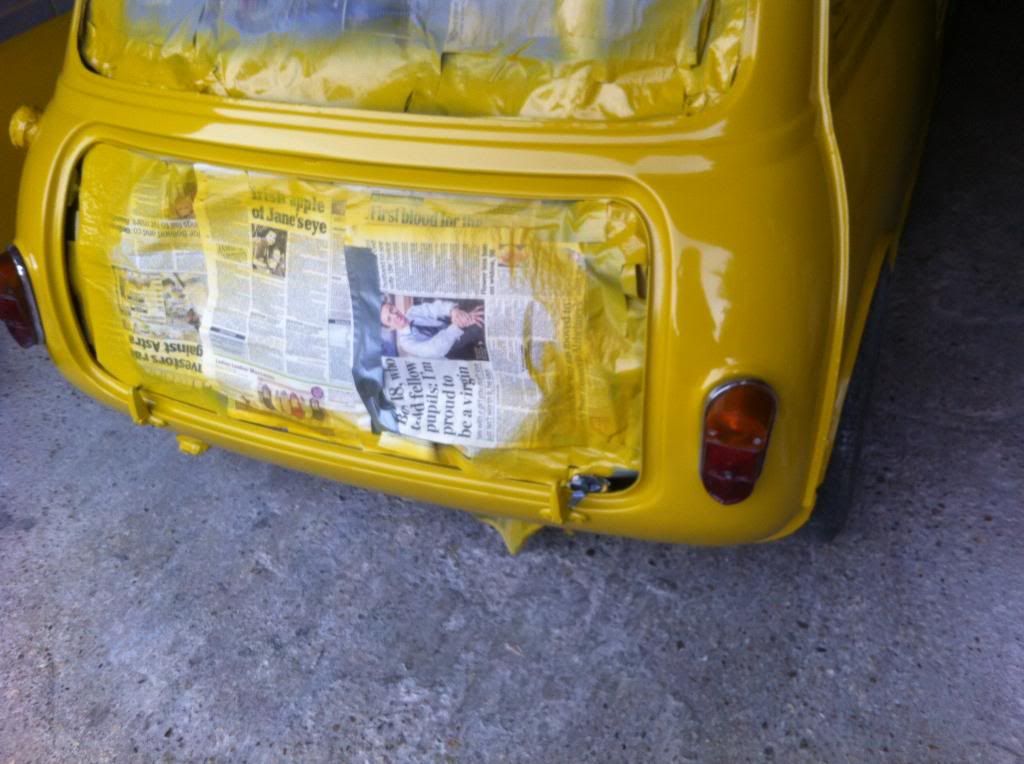
I'm pleased with how the deseaming turned out
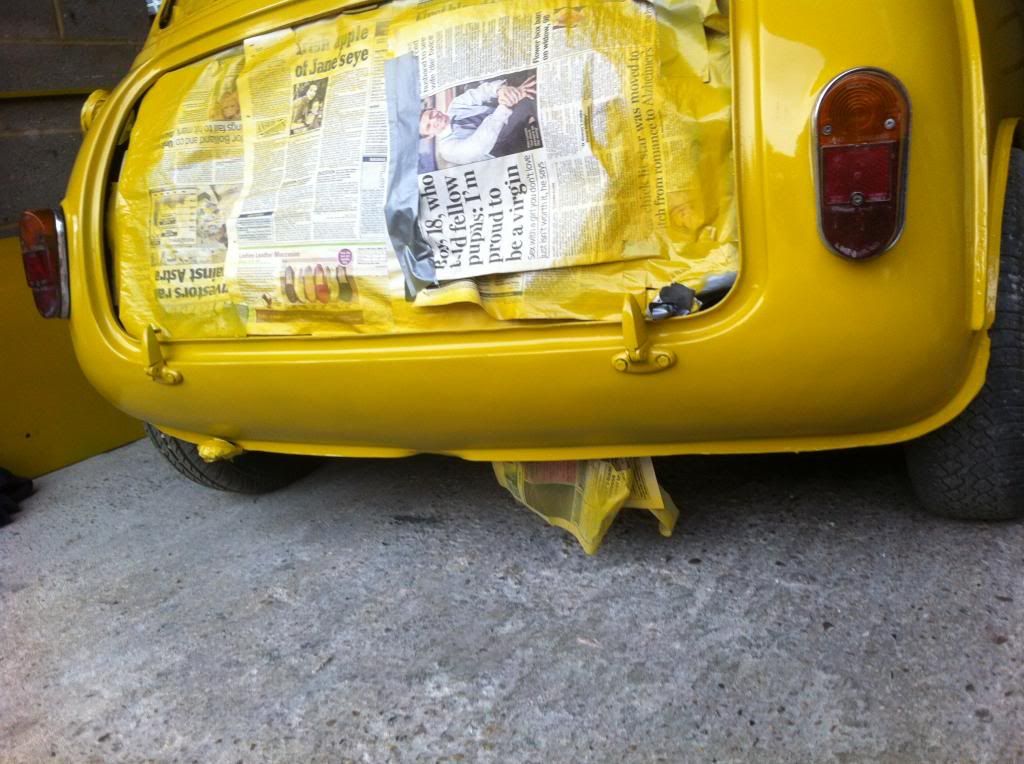
that is all until tomorrow, paint has been a big step in the resto of this car and it shows that it is all coming to the end of the resto build....
1 user(s) are reading this topic
0 members, 1 guests, 0 anonymous users


