My Mini Resto
#316

Posted 10 September 2013 - 07:29 AM
#317

Posted 10 September 2013 - 07:40 AM
Hopefully these will help:
http://www.theminifo...7824-mk3-shell/
http://www.theminifo...he-mk3-and-mk4/
http://www.theminifo...mk4-mk5-or-mk6/
#318

Posted 10 September 2013 - 11:08 AM
#319

Posted 10 September 2013 - 03:10 PM
Lol, I will post up a few links. Nice car though, it's coming on well
Thanks
#320

Posted 12 September 2013 - 10:54 PM
i have supposedly purchased off of ebay i say supposedly as the guy is saying i can collect and taking an age to reply each time however he said i could collect tomorrow it is
mk1 steering wheel
mk1 steering column
mk1 indicator stalk
mk1 rear lights and reverse lamp
mk1 bumper overiders
mk1 wiring loom
i aim to convert the car totally to mk1 and i believe that the mk1 loom is the easiest option as it means very little wire changes as i am using all the mk1 stuff like engine switches etc, you might ask why but i just like the older more simple way of doing things like the washer pump you manually pump the fluid out so very little can go wrong and it makes you feel more connected to the car as you are more of a part of it anyway has anyone done this? and will the mk1 column fit the mk3 rack i already have ?
#321

Posted 15 September 2013 - 05:59 PM
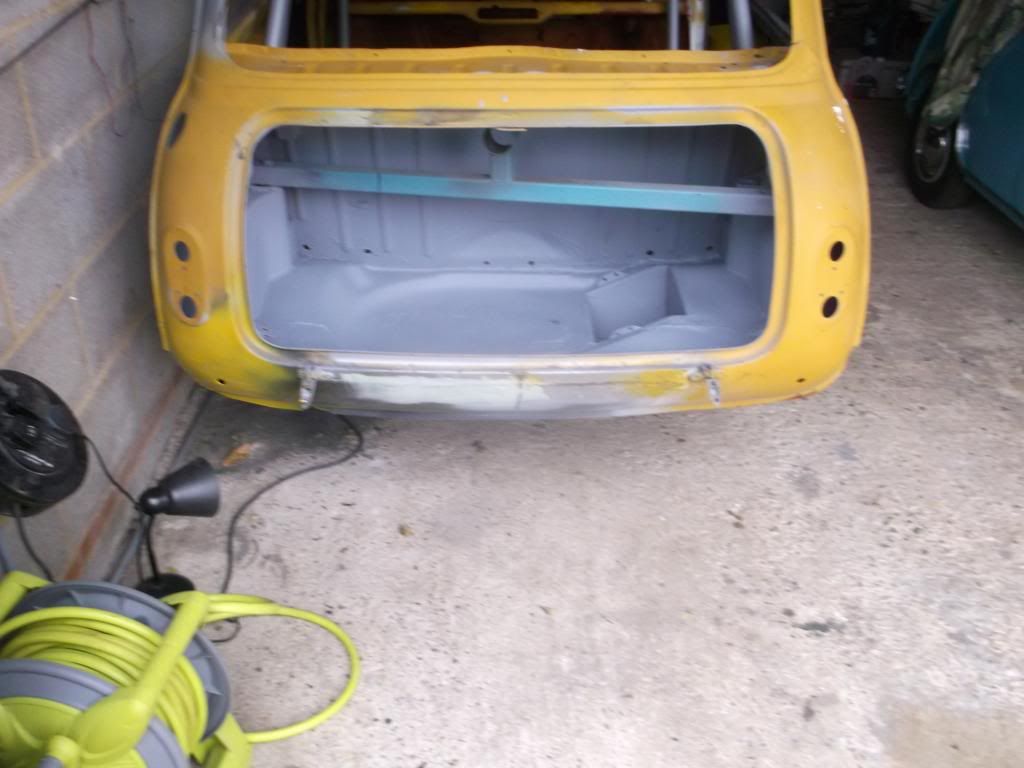
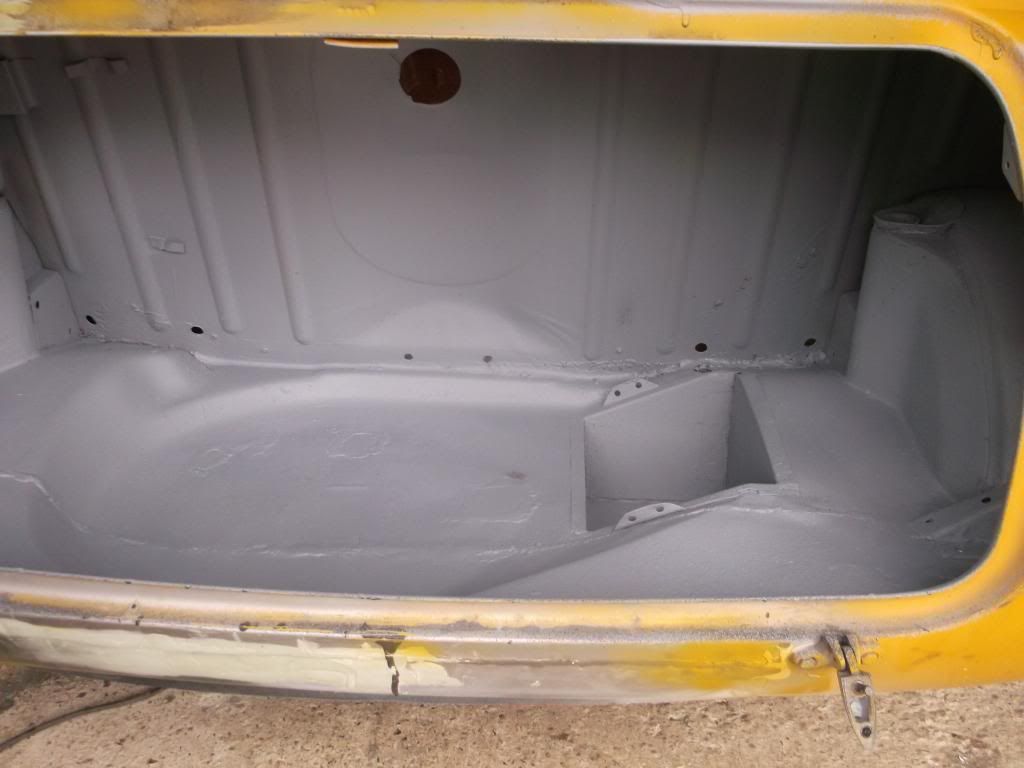
small update as the boot is now ready for paint !!!! i have slaved over the last 2 days to try and get rid of all the mucky gunk and crud out of the boot removing all of the old seam sealer and then re doing it in between the 1st and 2nd coat and it looks lovely i was worried about the boot repair as the panel was absolute rubbish and didn't fit at al making it a hard job to weld but i think its come out well considering and i'm not going for a show room finish so the more practical stone-chip in the boot will mean i can put all my tools and spares in there without having to worry too much only two pics as we seem to have a shortage of any charged batteries in our house at the moment, hoping to get one section ready for paint each weekend, however i might not get too much done next weekend as i'm of on a field study in wales for my a level studies , we leave on the sunday so i might be able to get abit done if i do my packing on the friday ive got to get the:
underside floor
underside wings
engine bay
boot floor
all done by my next holiday in 4 weeks time, i have a week off then and this is when i want the whole underside,boot and engine bay sprayed on my car, this then means i can build my subbys up, paint the inside and then put my engine and everything in then mask the whole lot up and spray the exterior meaning i wont scratch the paint buy putting things back in like the engine and means the car will be more finished in less time, anyway here are the pics
#322

Posted 21 September 2013 - 03:53 PM
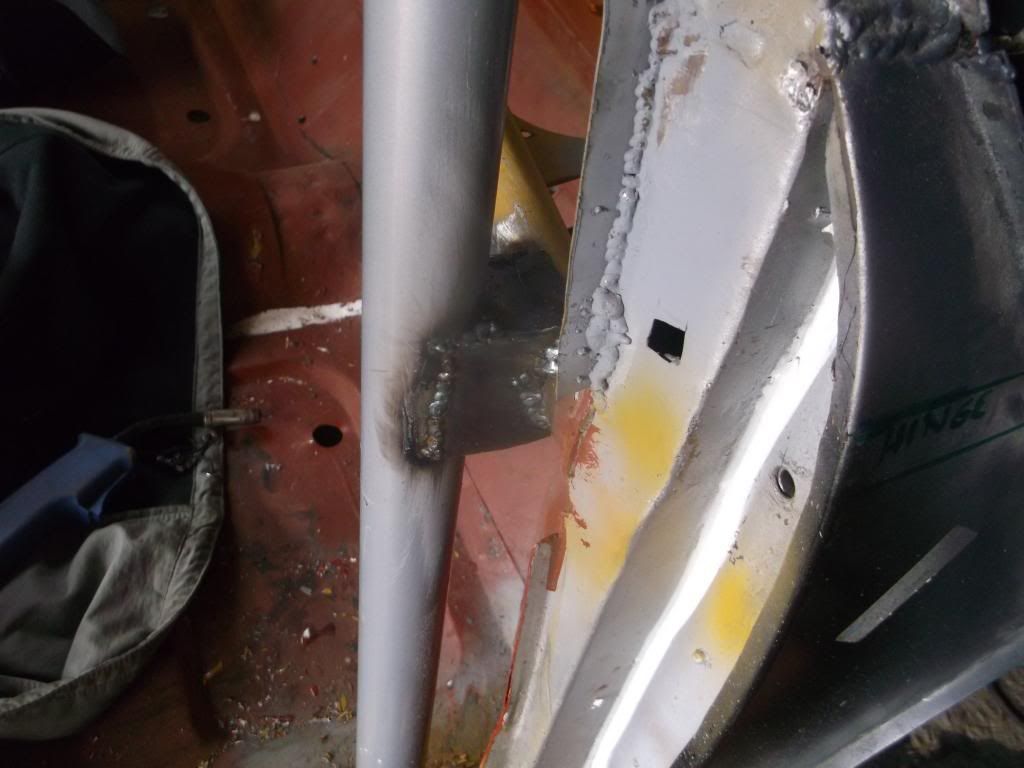
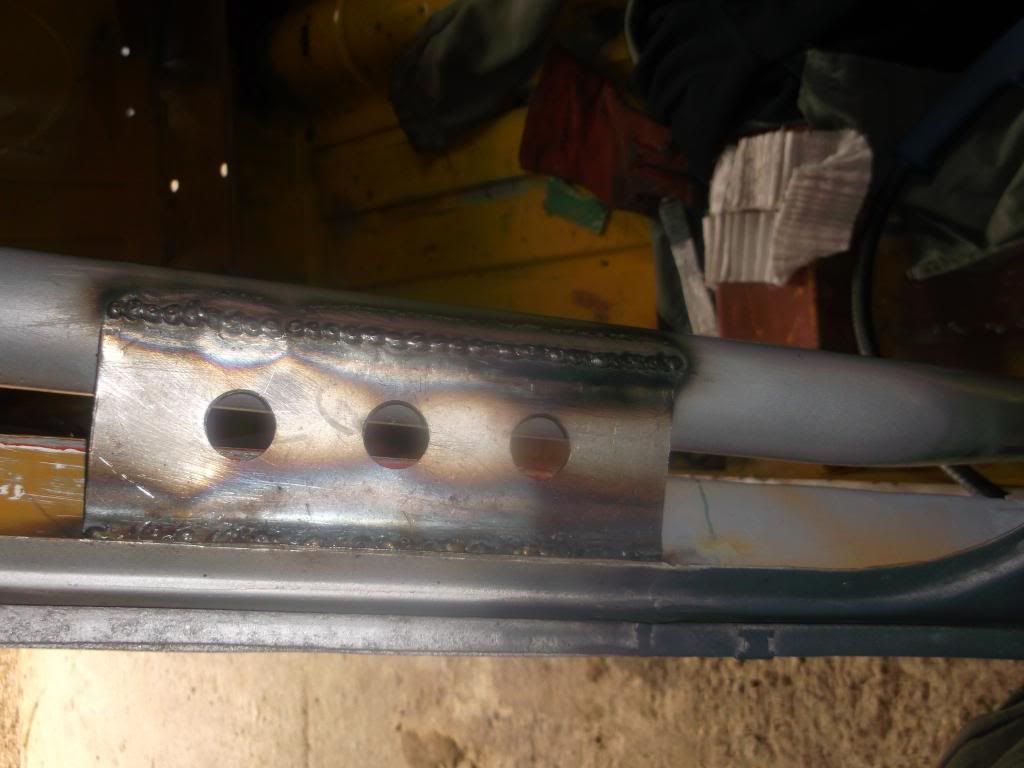
been busy today on the roll cage today making gussets from the cage to the car in several places i received my step drill bit today so i could cut holes up to 32mm, it works really well, was meant to go to minispares today but by the time we were ready it was closed ![]() so next weekend i shall be going there to get my mighty minis harness bar and door bars here are todays pics
so next weekend i shall be going there to get my mighty minis harness bar and door bars here are todays pics
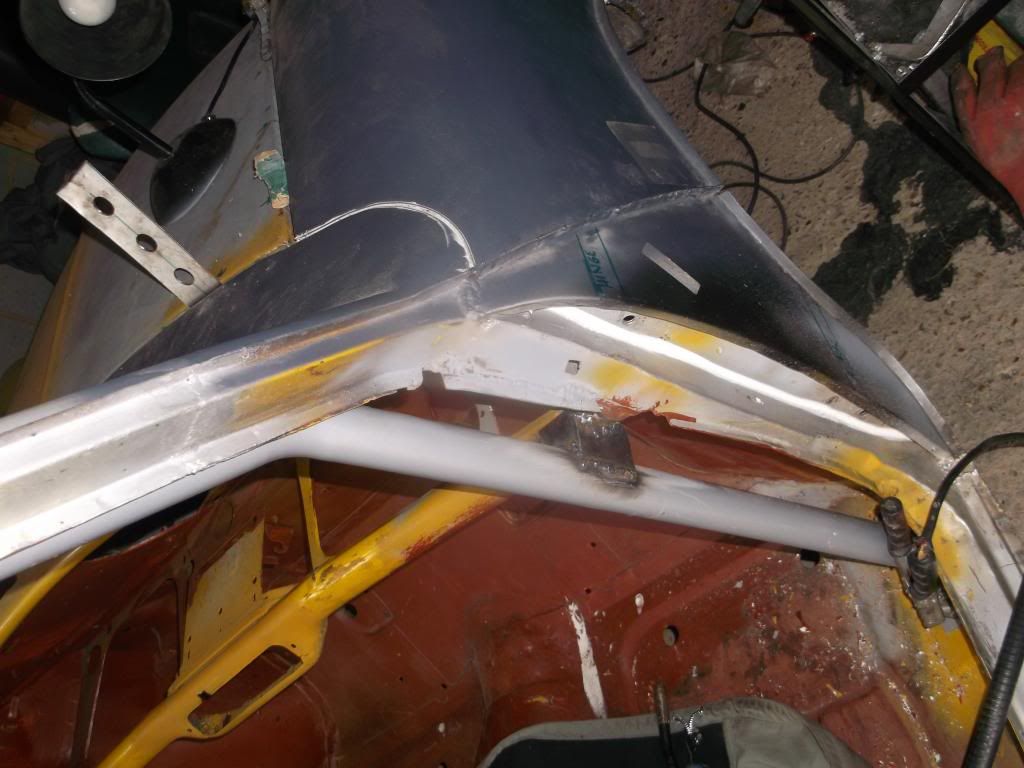
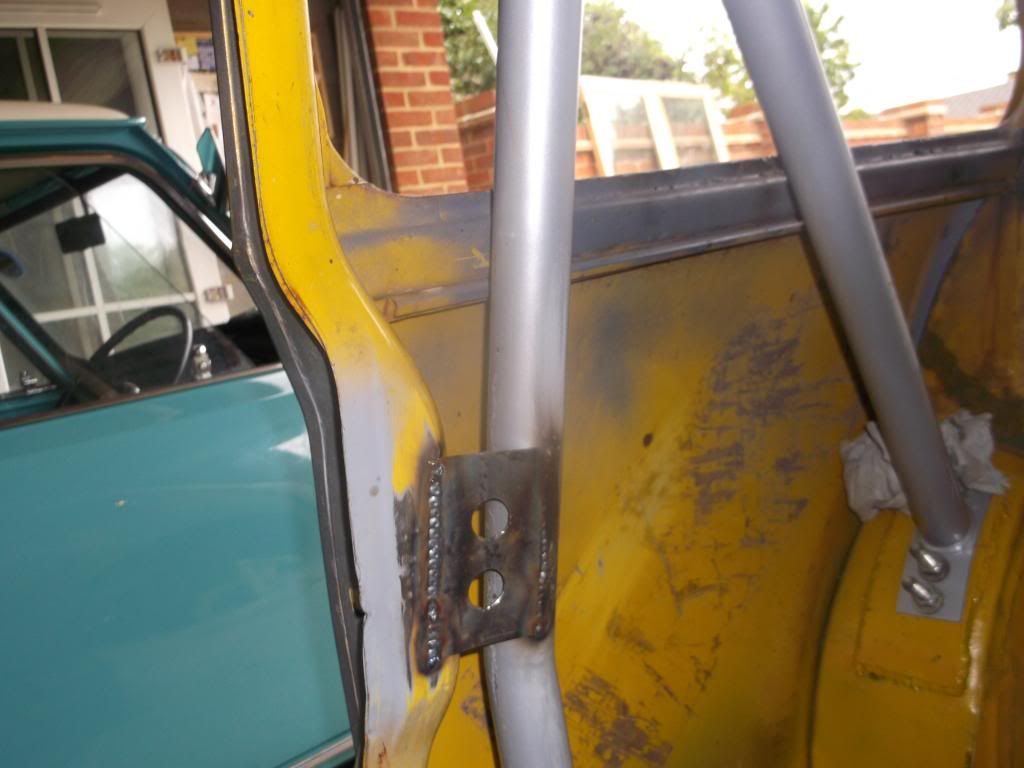
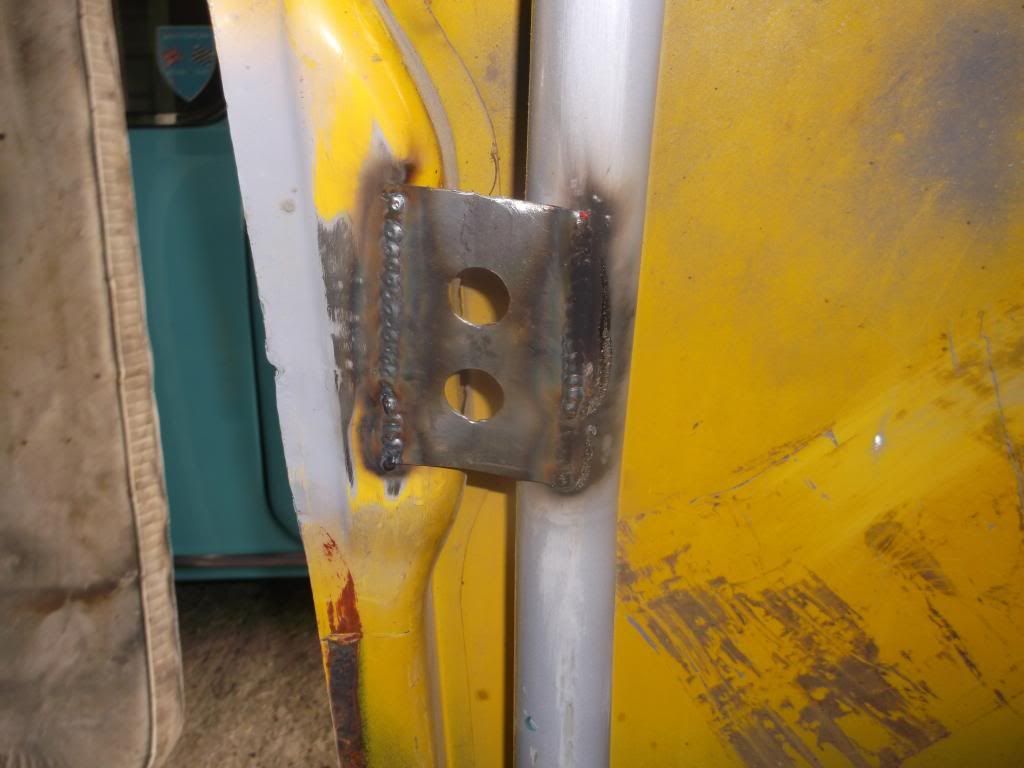
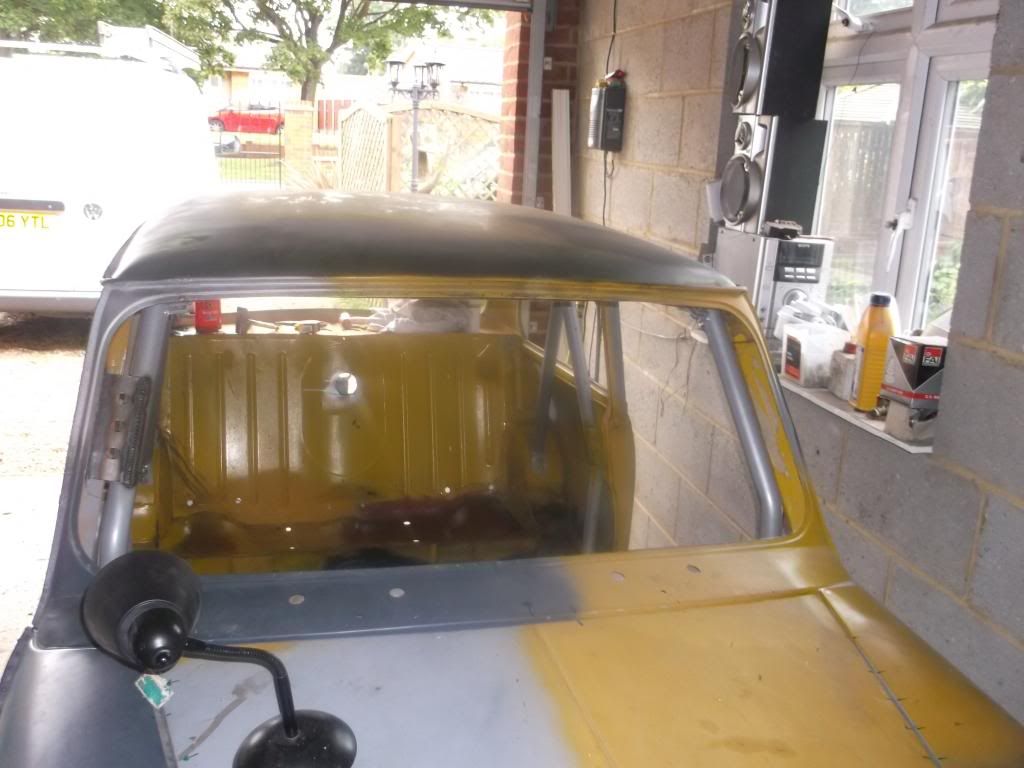
#323

Posted 21 September 2013 - 04:18 PM
Neat stuff! Looking good
#324

Posted 29 September 2013 - 12:36 PM
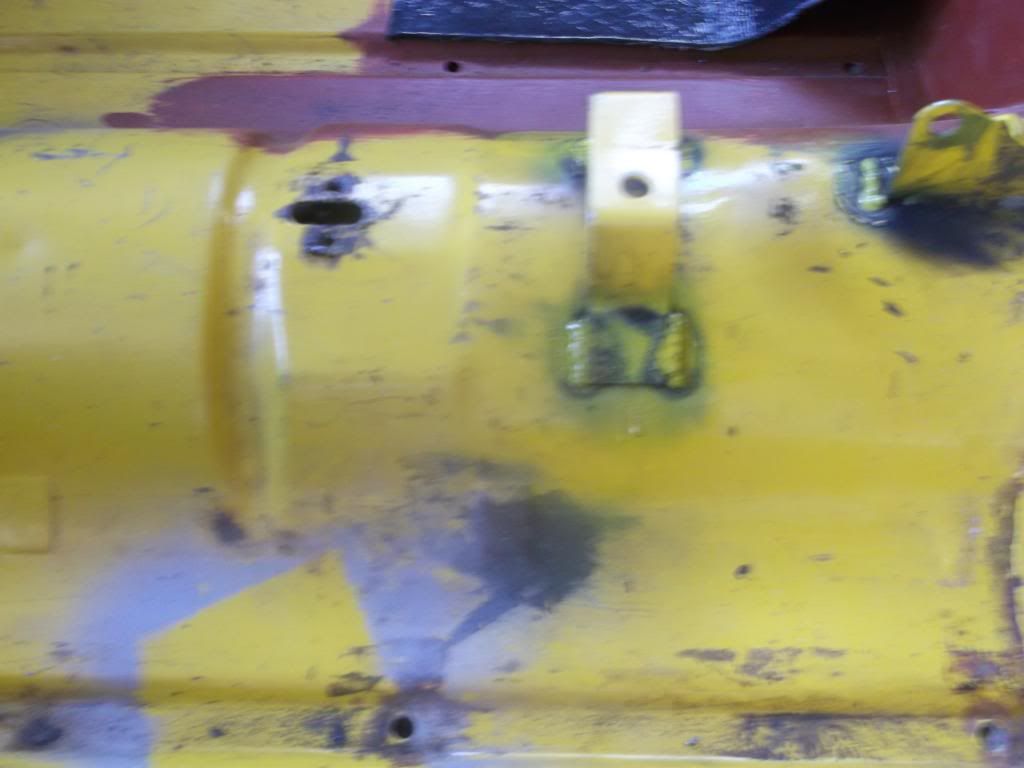
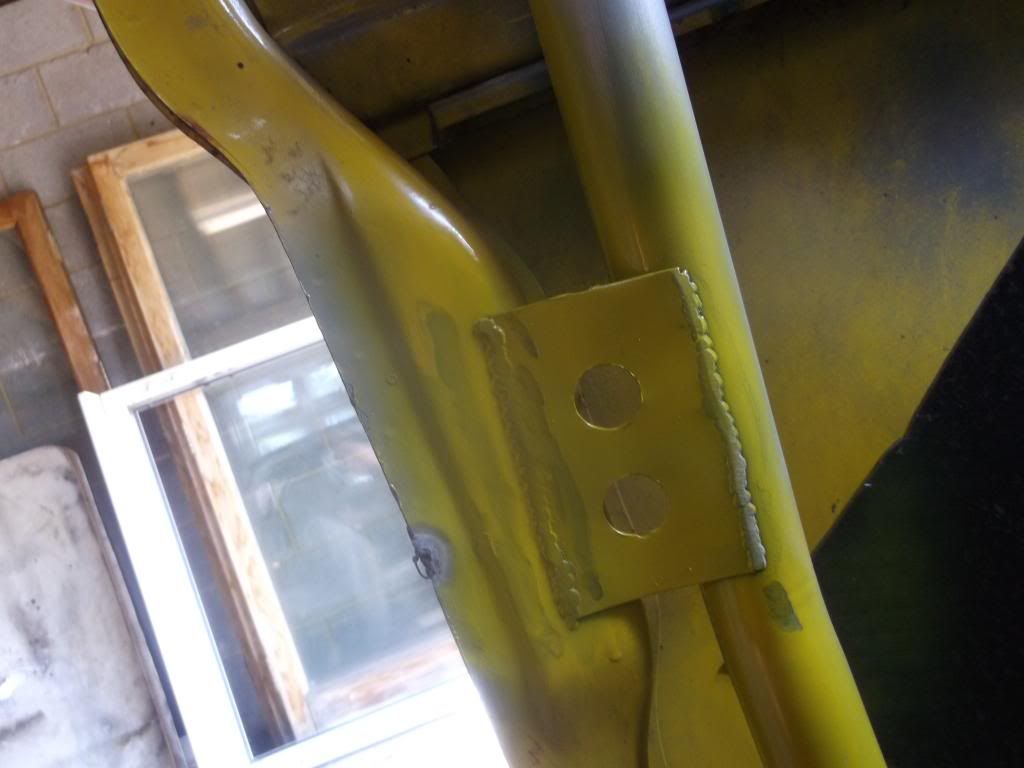
update !!! i have done all the gussets on the other side of the cage now and have ground the welds down n all of them, i run out of primmer so i have been spraying the only paint i have which is inca yellow top coat onto bare metal ![]() however it should keep the rust off till i get some primer, i have also made out some little strengthener plates for where the rear bins joined the pillar as there is a massive gap here on both sides, i have welder up the tunnel ash tray holes and seam welded the hand brake mounts up for when i get a little bit childish with the handbrake
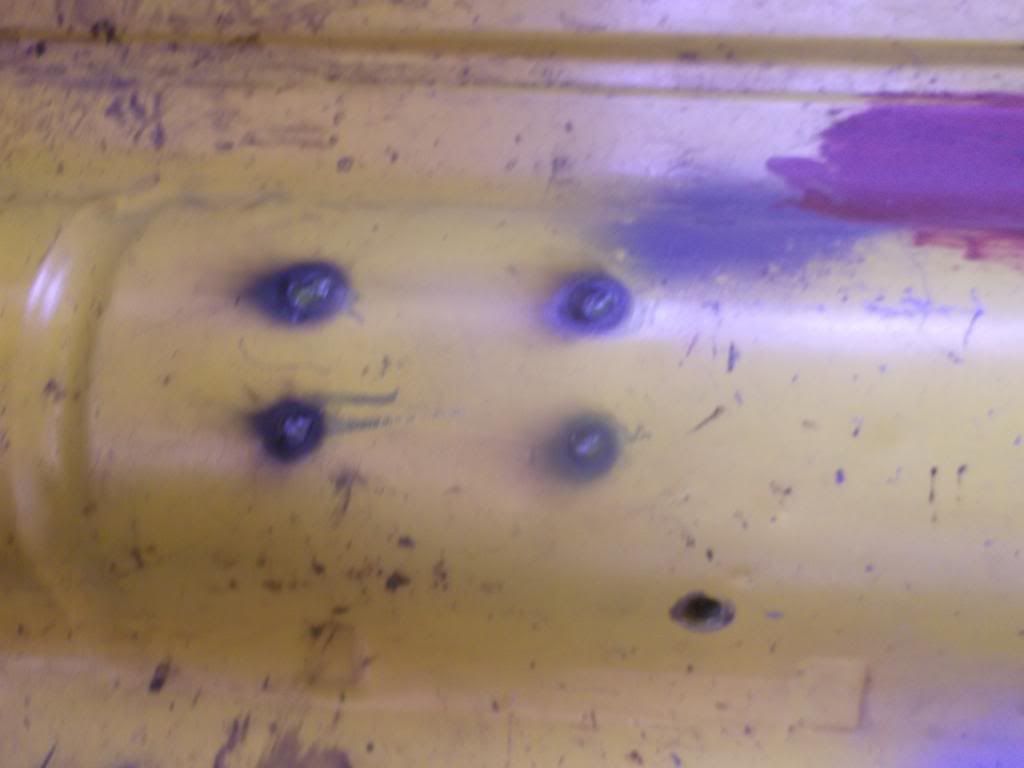
however it should keep the rust off till i get some primer, i have also made out some little strengthener plates for where the rear bins joined the pillar as there is a massive gap here on both sides, i have welder up the tunnel ash tray holes and seam welded the hand brake mounts up for when i get a little bit childish with the handbrake ![]() . dad being the worlds best person at finding expensive things cheap on ebay has found my some twin 1 1/4 su carb trumpets witch are ally with a golden coloured gauze these should look and sound amazing, thats it for another week i also ordered some sound deadening pads which you can see in the pic there £20 for 4 and i have cut on in half for the quarters and will do the same for the spare ones on the doors these are alot thinner than the std mini pads so should be abit lighter
. dad being the worlds best person at finding expensive things cheap on ebay has found my some twin 1 1/4 su carb trumpets witch are ally with a golden coloured gauze these should look and sound amazing, thats it for another week i also ordered some sound deadening pads which you can see in the pic there £20 for 4 and i have cut on in half for the quarters and will do the same for the spare ones on the doors these are alot thinner than the std mini pads so should be abit lighter ![]() haha but they make such a big difference to sound resonation
haha but they make such a big difference to sound resonation
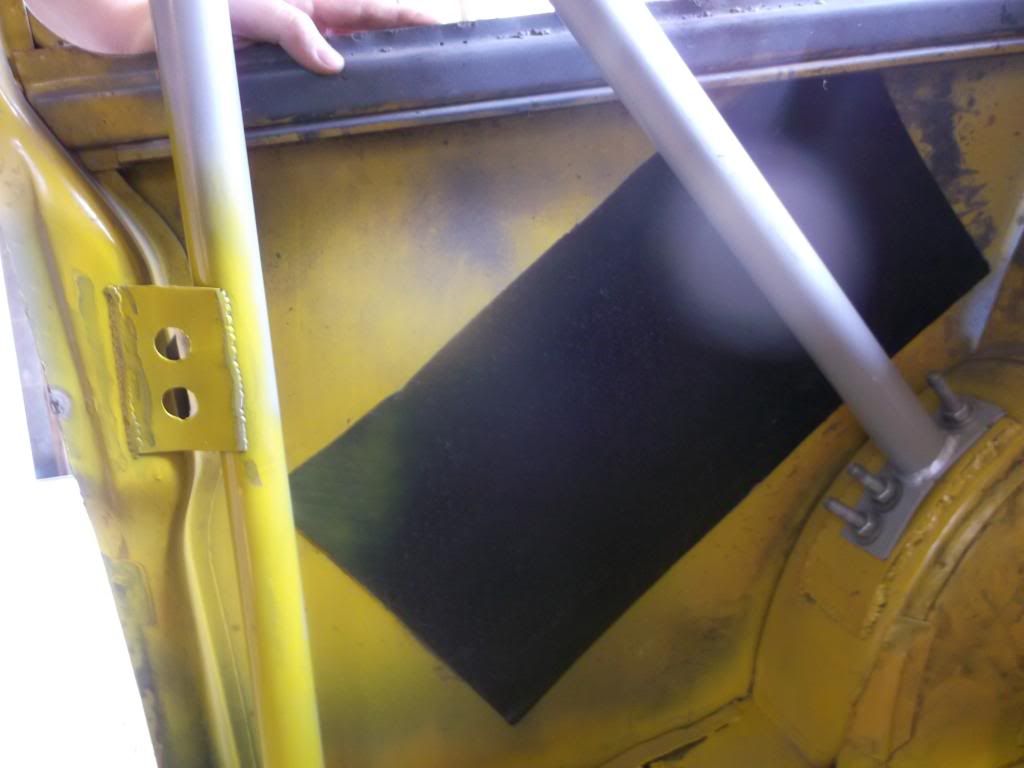
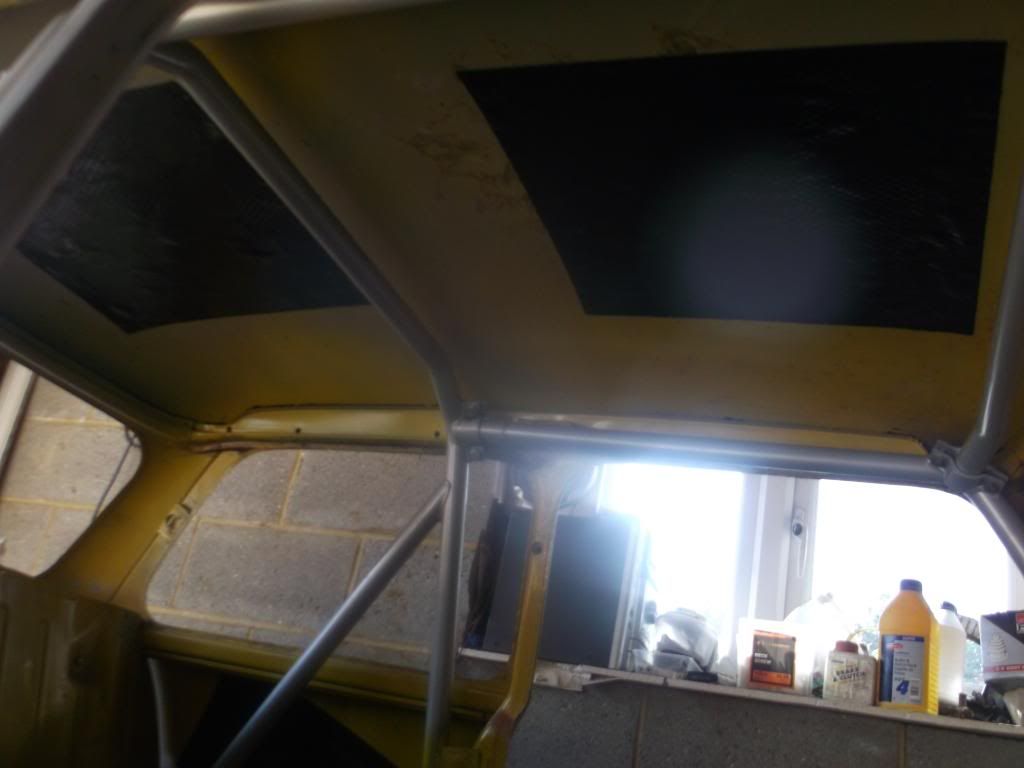
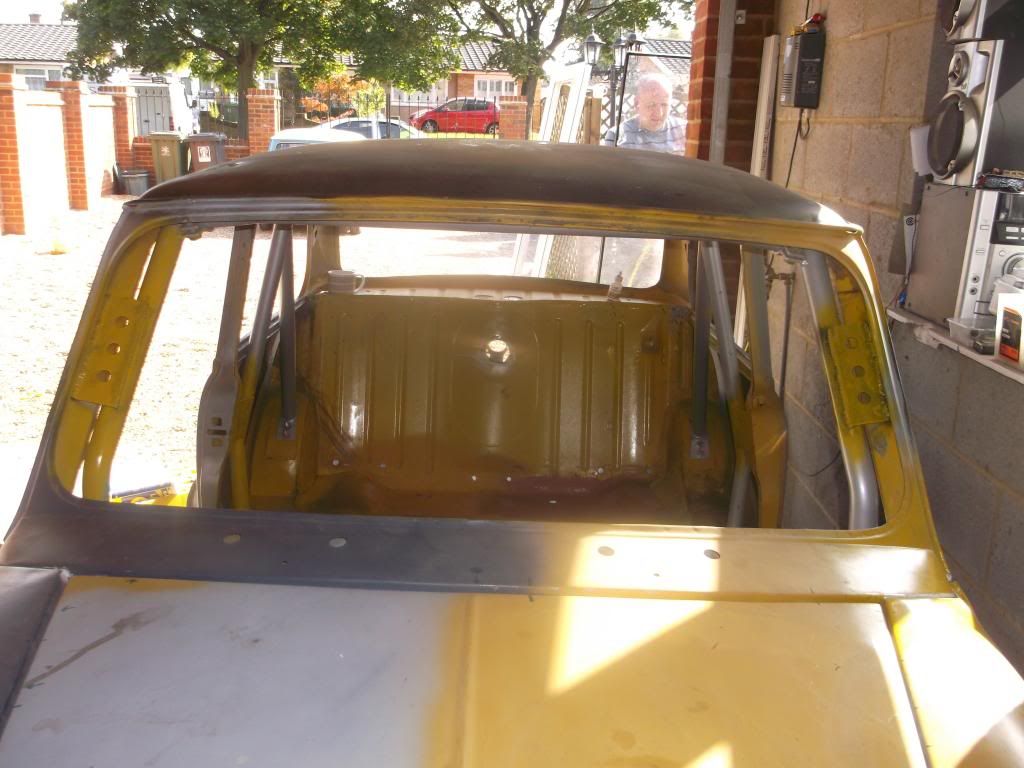
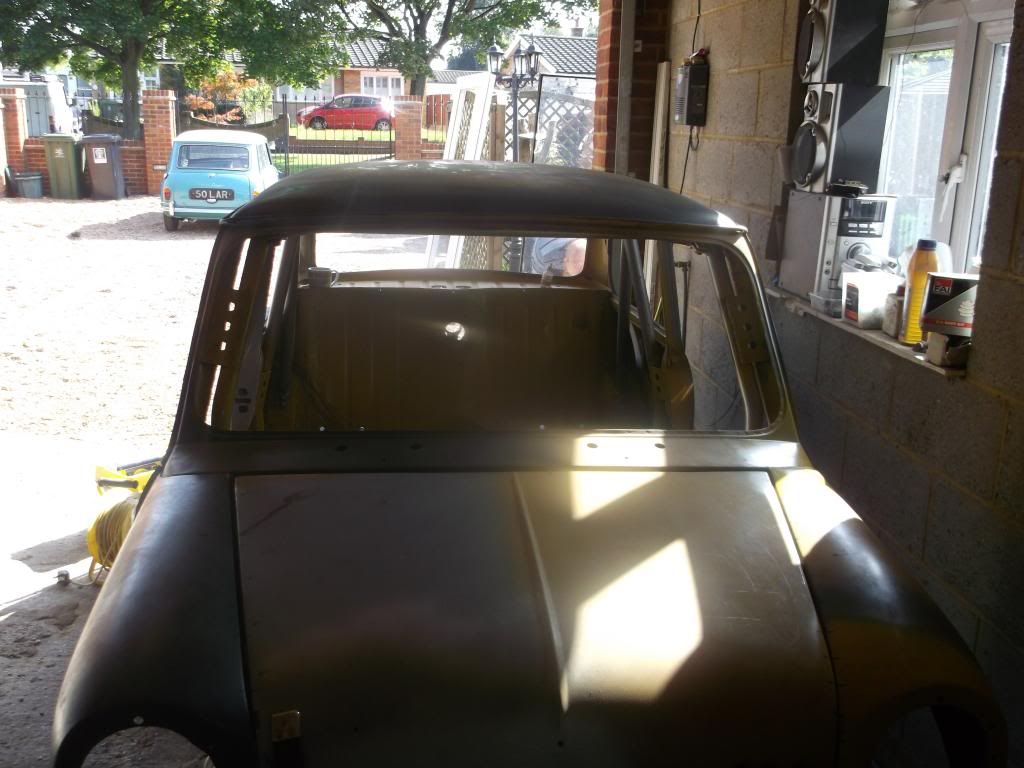
also i have now got forza horizon for my xbox and have designed my mini on there too difference is on the game my mini has 130bhp ![]()
#325

Posted 29 September 2013 - 07:53 PM
#326

Posted 29 September 2013 - 10:03 PM
#327

Posted 30 September 2013 - 08:35 PM
update as mr posty has been today he delivered:
trumpets
wire wool to clean up my welding torch
4 marker pens for my sheet metal
a monster of a wire wheel for my angle grinder to strip the crud off the floor
and most importantly my mum and dad picked up my subframes from the powdercoaters !!!!!!! so i shall be cracking on with getting the underneath done so i can get it rolling, off to minispares tomorrow as teachers are on strike at my school then i finish at 12:30 on wednesday! loving the time off at the moment anyway here are the pics, there will be more detailed pics of the subframes when i rebuild them but i don't want to take too much of the bubble wrap off as i will be keeping them on my shed for a little while
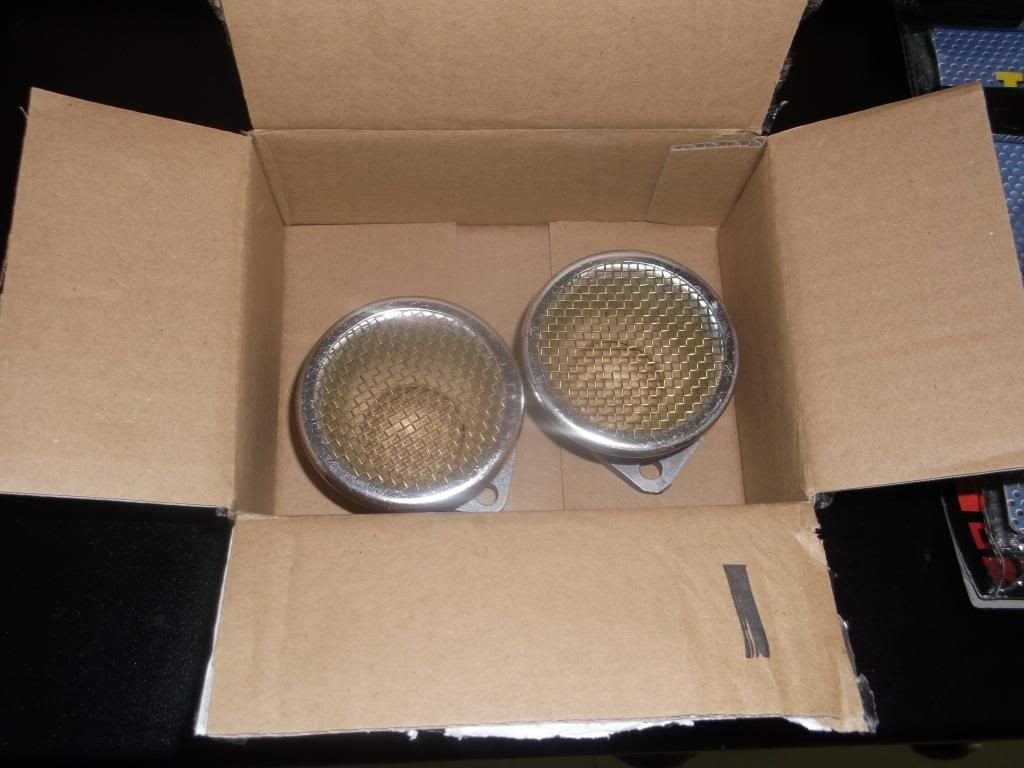
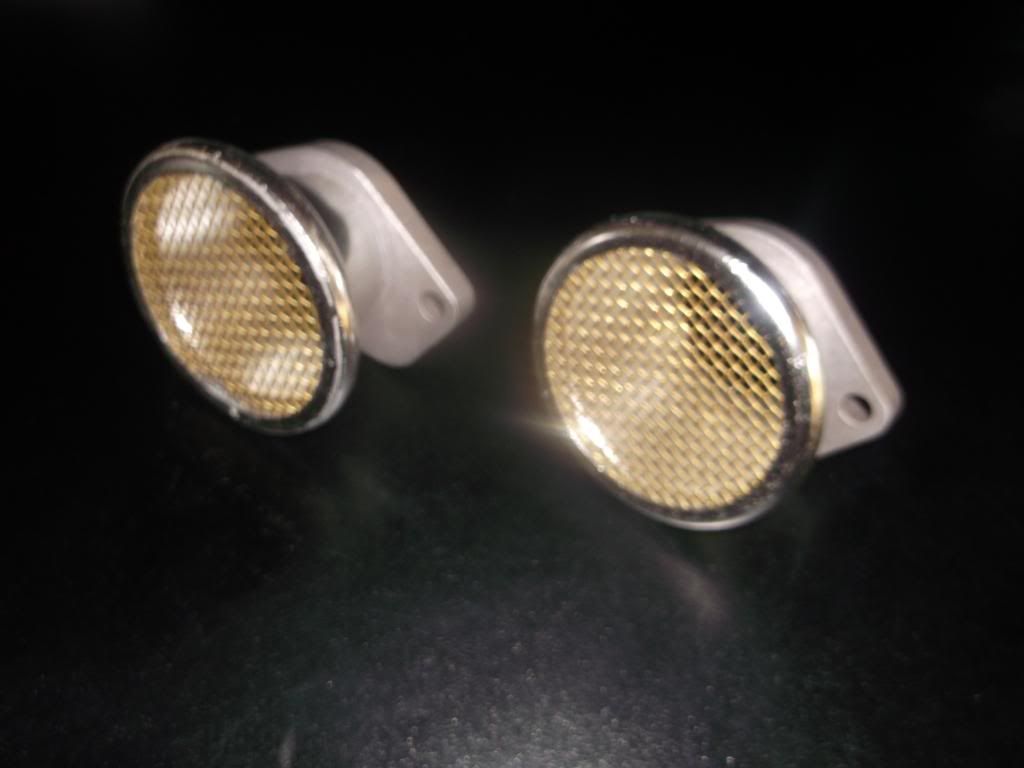
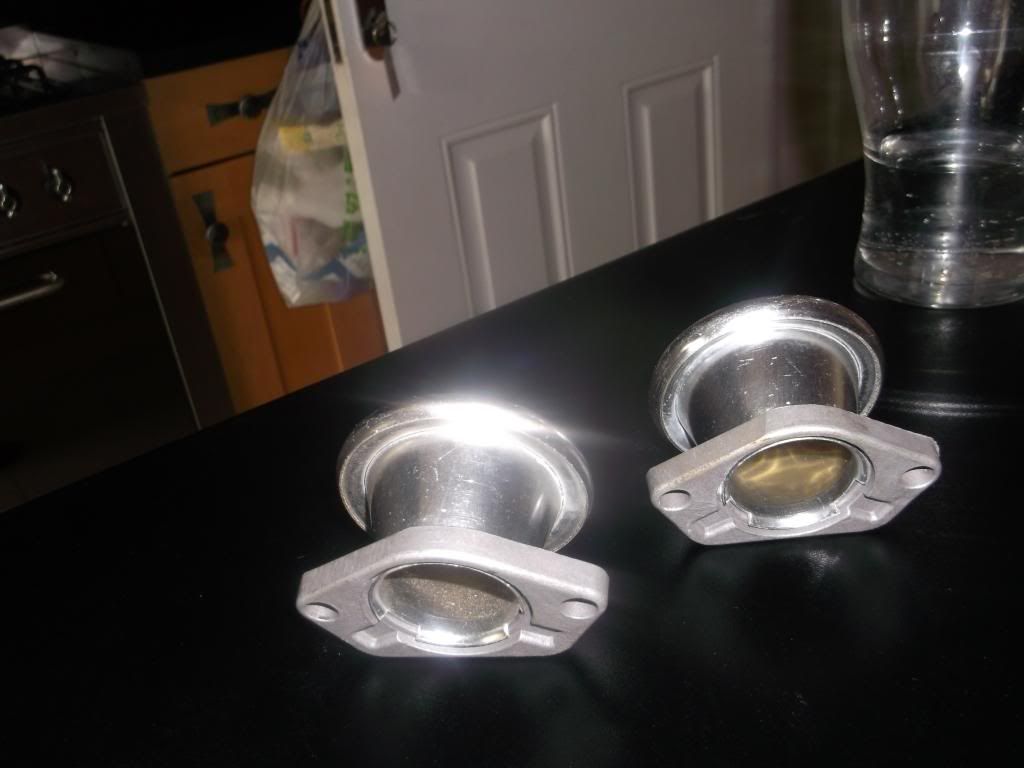
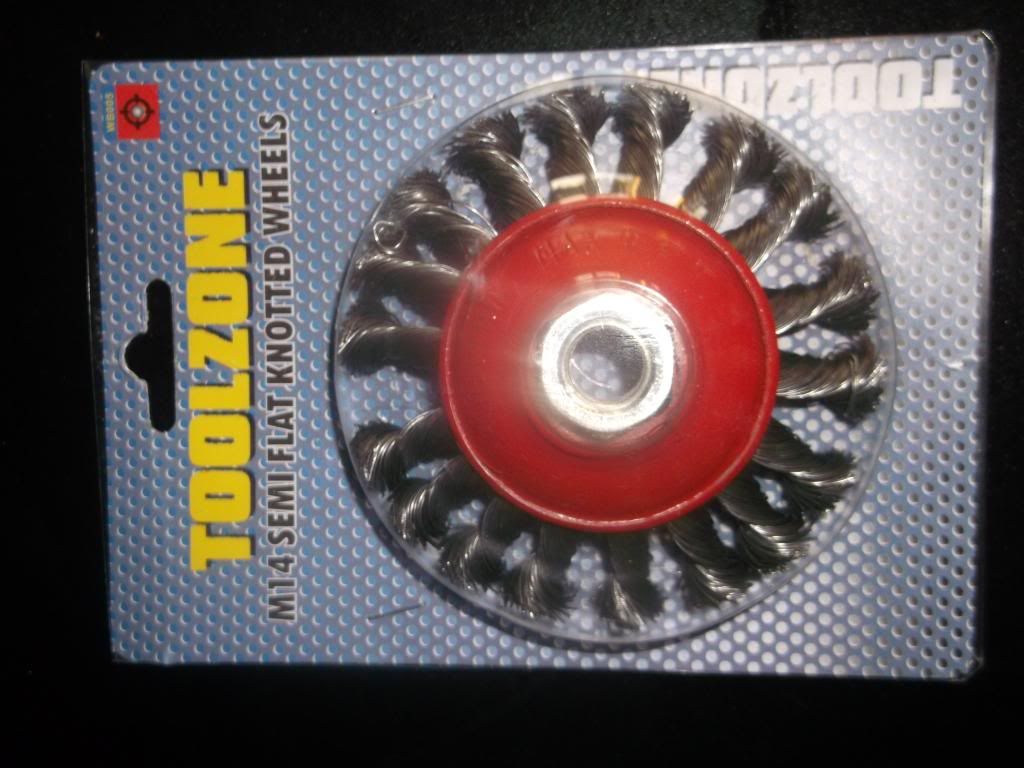
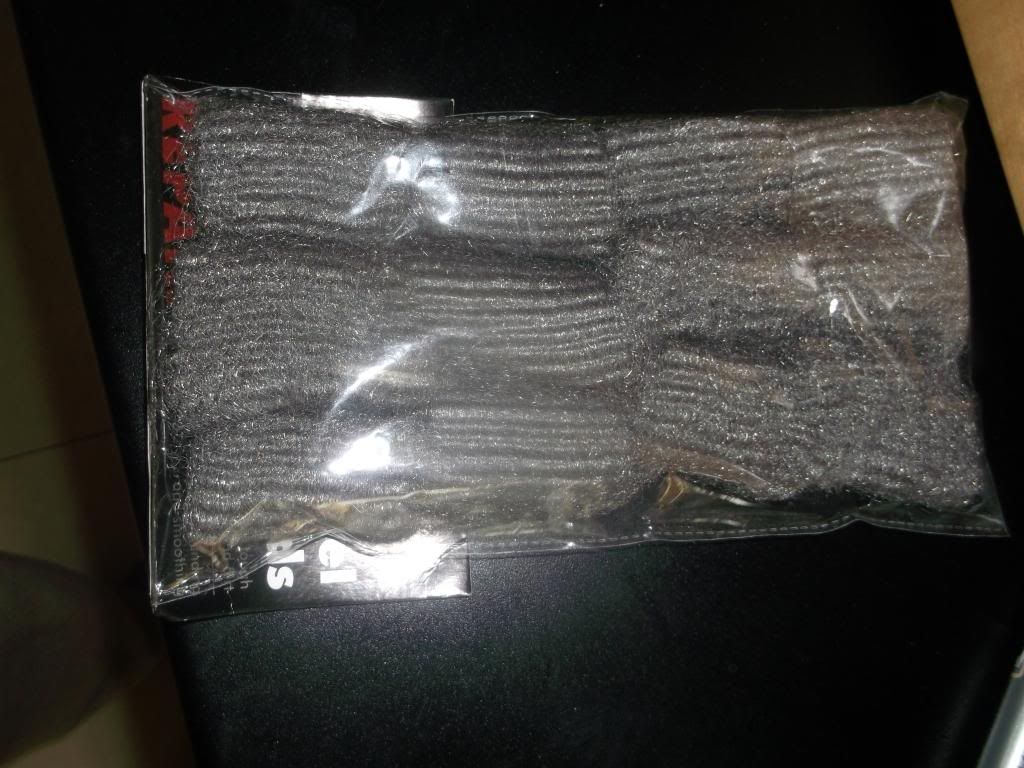
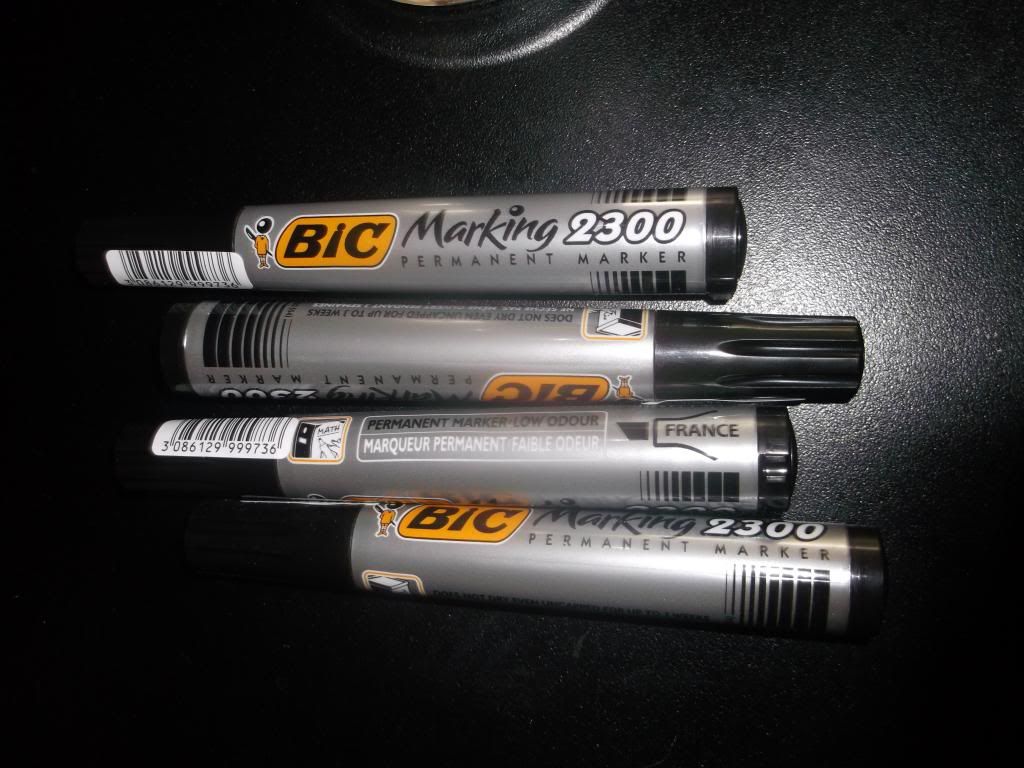
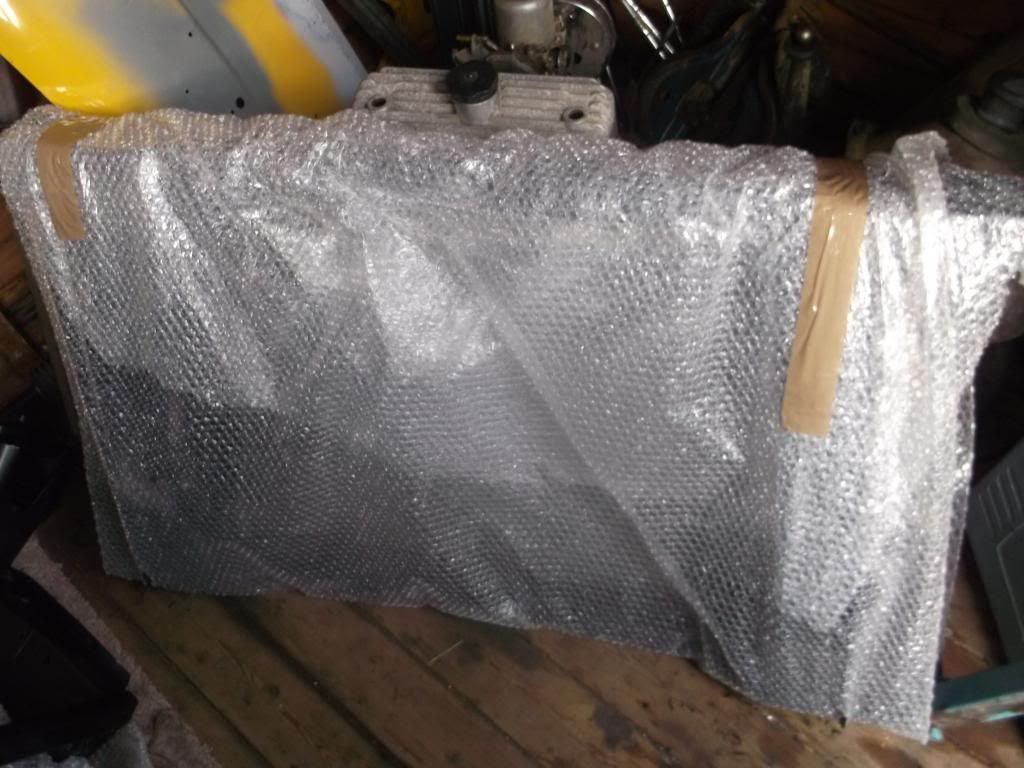
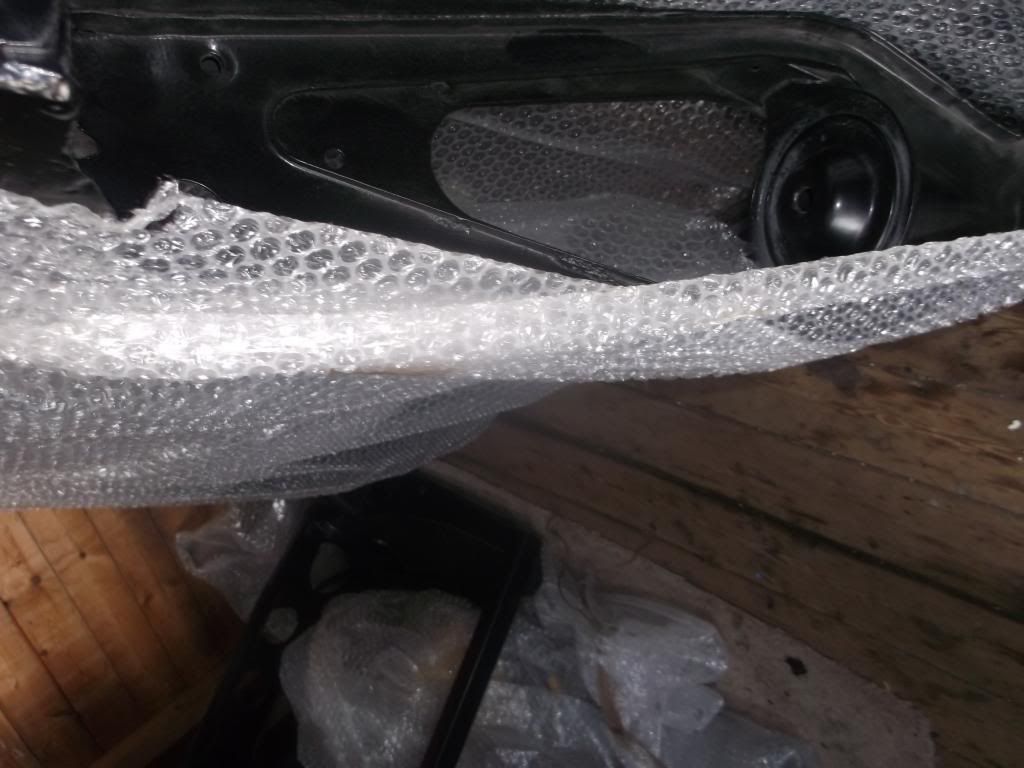
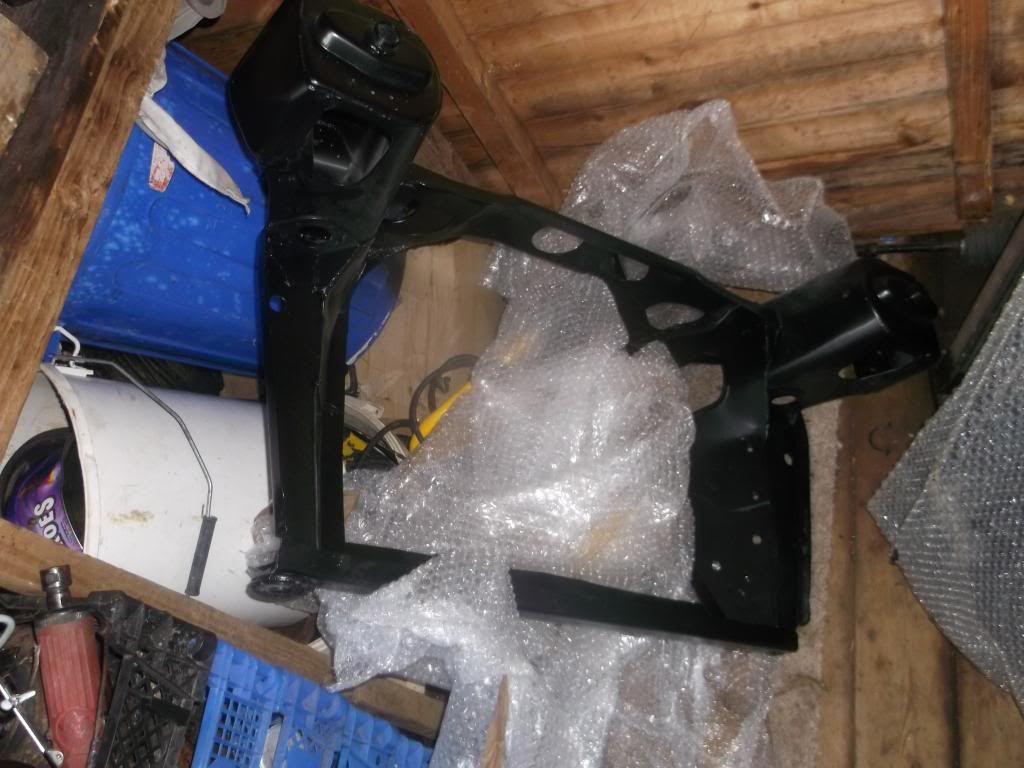
ignore the fitment of the trumpets they are upside down and the bolts are not correct but its just for a quick pic
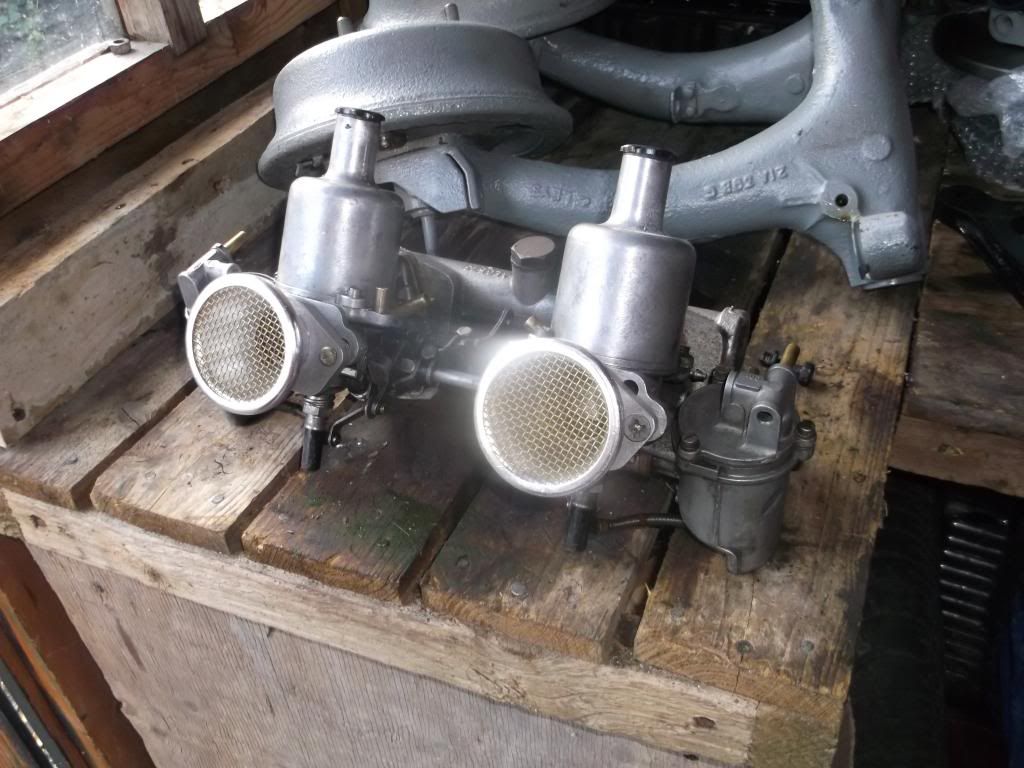
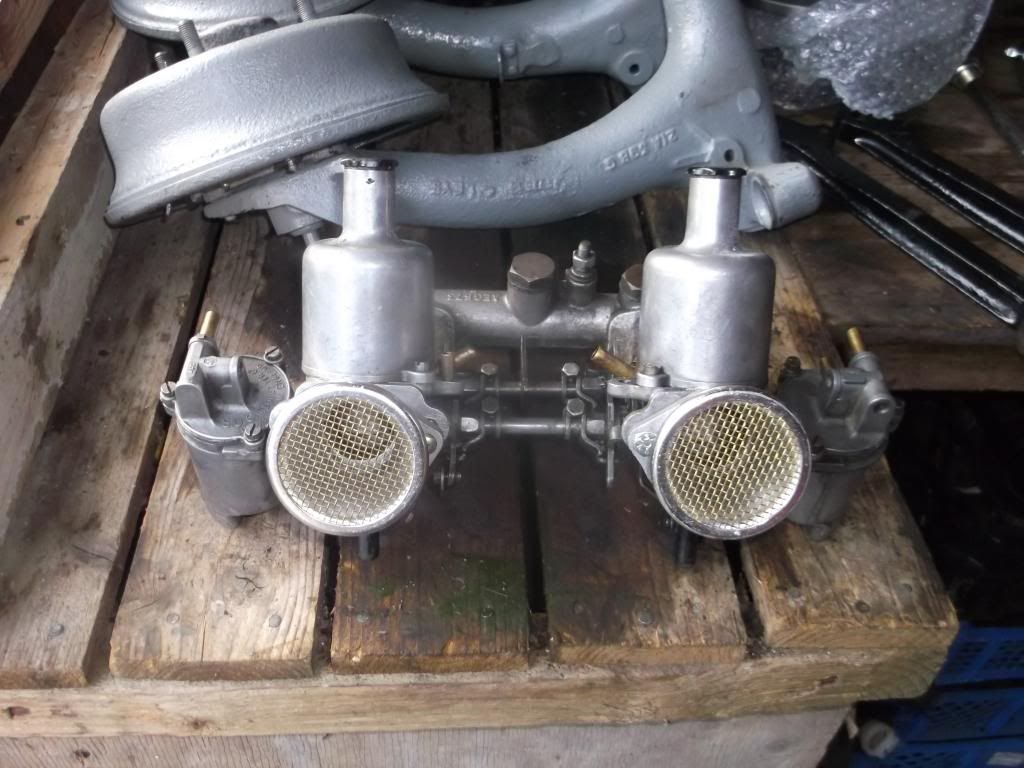
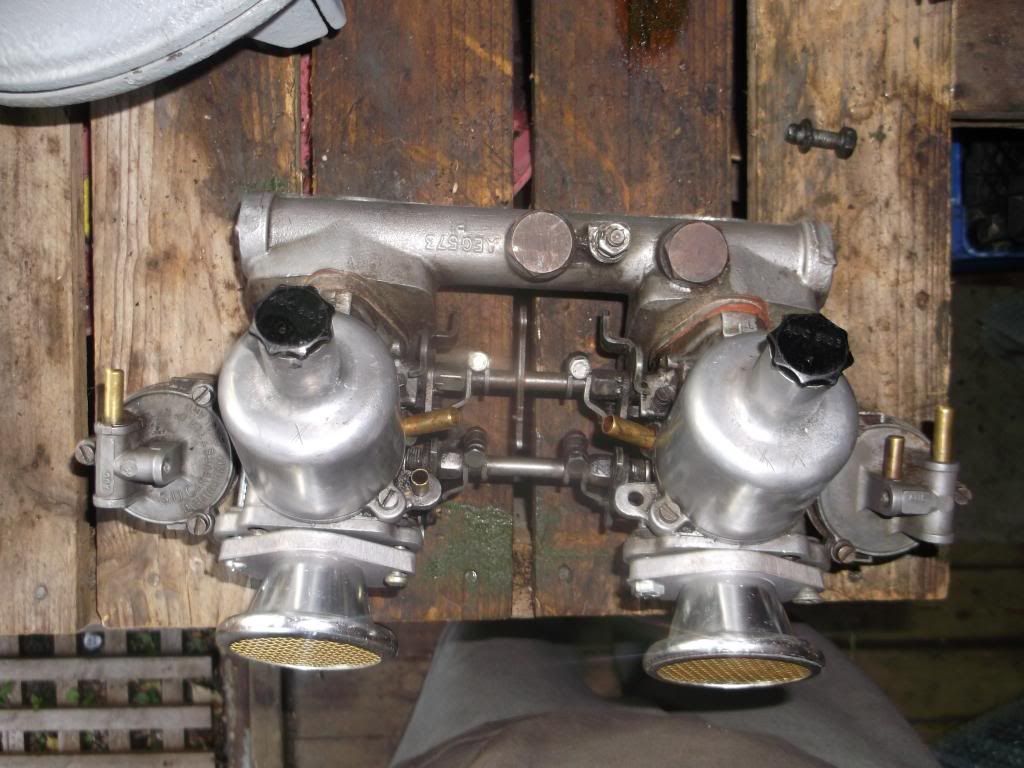
there lush ![]()
#328

Posted 30 September 2013 - 08:43 PM
subframes look great !
#329

Posted 01 October 2013 - 06:59 AM
Edited by minimk1, 01 October 2013 - 07:00 AM.
#330

Posted 01 October 2013 - 10:38 AM
done a little bit of work on my subframes so far today need to clean up my upper arms before i can put the rhs hub on.
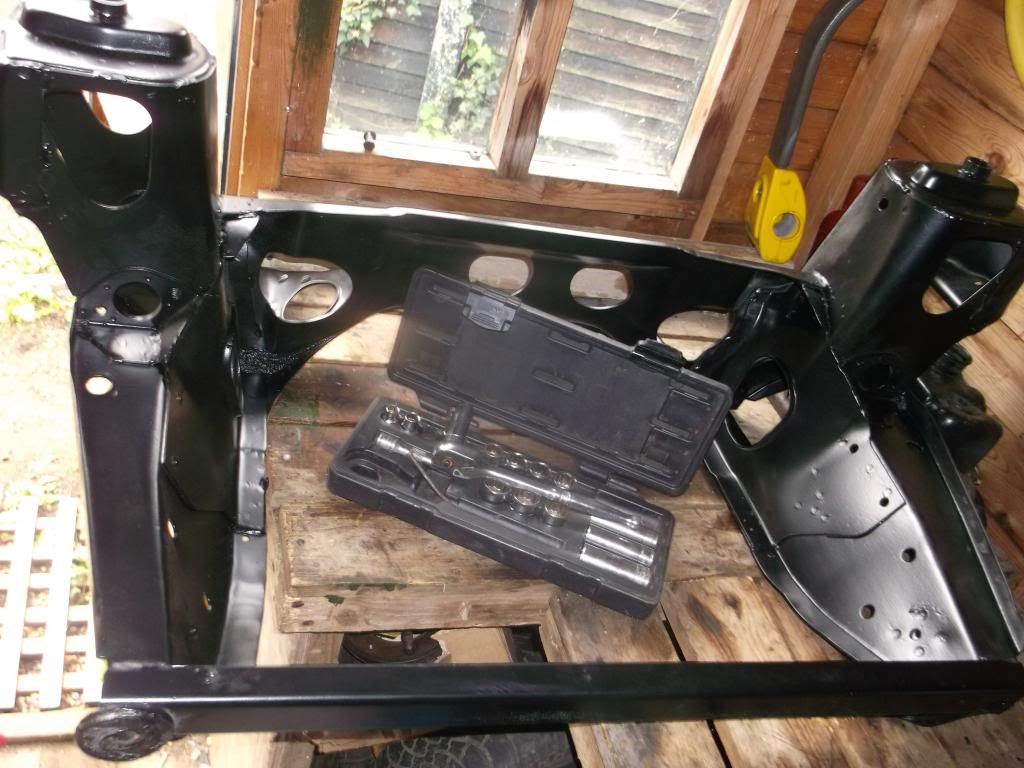
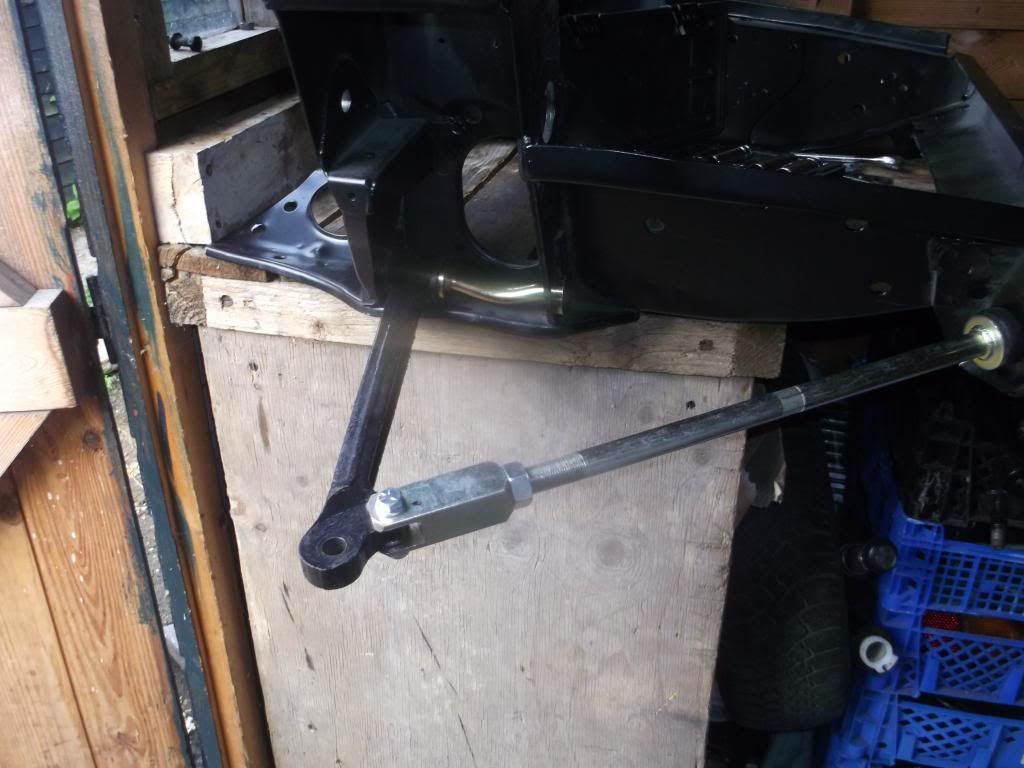
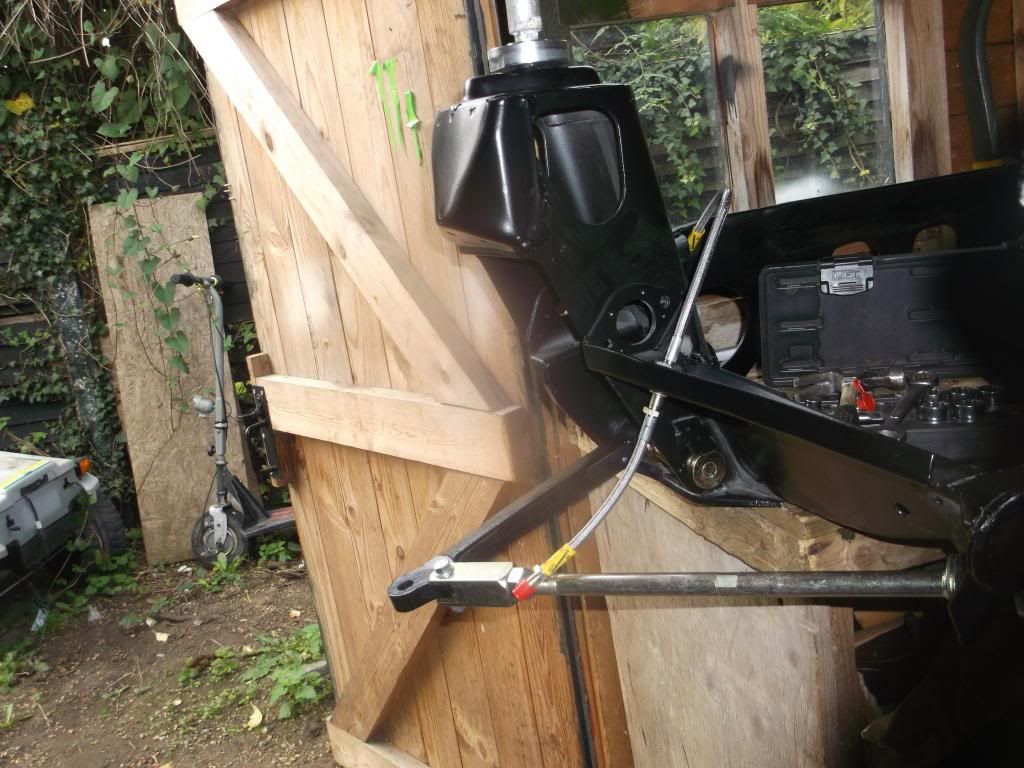
just mocking up the brake lines if i m able to go to halfords today i should be able to get some hammarite black so i can paint my upper arm and get that fitted.
1 user(s) are reading this topic
0 members, 1 guests, 0 anonymous users


