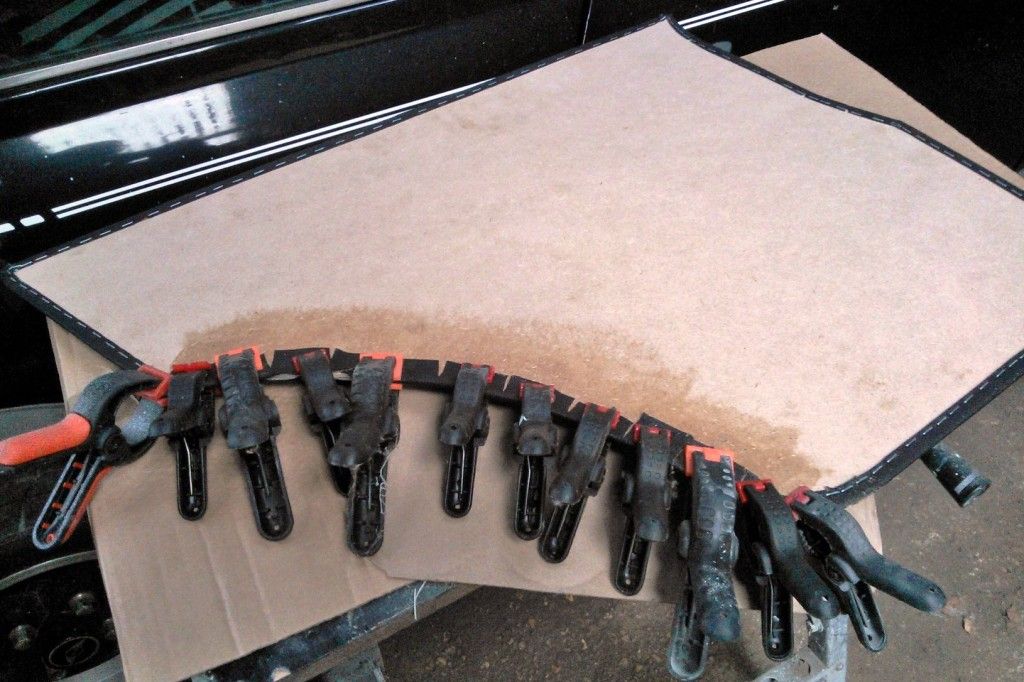
Thanks Hugh. It was starting to get the better of me. My main problem was I couldn't understand how I was going to get a 2 dimensional sheet of vynl to become a 3 dimensional shape. But the heat gun helped to mold it into shape. Also helped to get any creases out. The double sided tape was also so much cleaner than glue. Very glad I've finished it. Can really move on now. It would take alot of arm twisting to do another in a hurry though.That headlining looks great. Its a job I'm dreading. I wish you were up here in the Highlands - I'd be twisting your arm!!
Thanks for the detail and explanation - it all helps those following.
Best wishes, Hugh

Mk3 Saloon, Very Rusty Project
#556

Posted 28 August 2012 - 06:40 AM
#557

Posted 12 September 2012 - 11:57 AM
Edited by jagman.2003, 12 September 2012 - 12:02 PM.
#558

Posted 13 September 2012 - 07:45 PM
#559

Posted 13 September 2012 - 10:47 PM
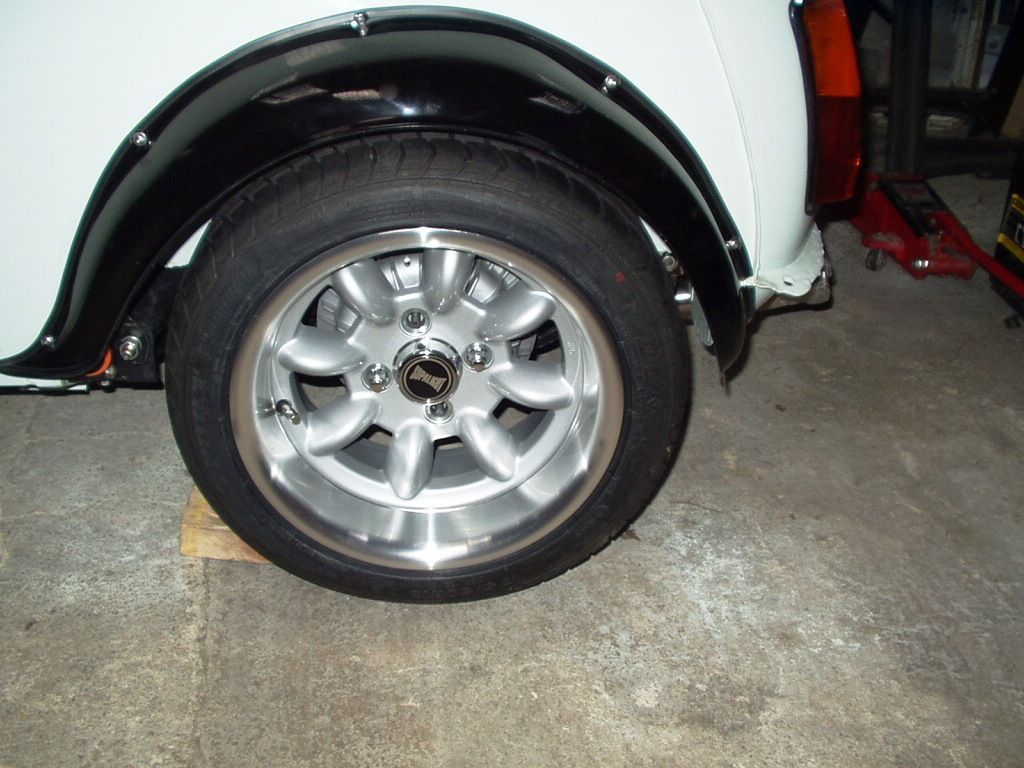
Quick shot of the rear wheel & arch fitted properly. Painted & polished compared to the last pic I put on. Polishing was assisted by my trusty helper. I've got the height reasonably low compared to standard. It probably could go lower yet but I'm sure it will drop some after I've put some weight in with interior, fuel, battery etc. I like the width of the arch. Covers the 13" wheel well but doesn't shadow it. Leaves enough tyre showing at the sides. Well I know what I mean.
would not drop it more till as you said all is on board,...gap is tight between tyre and rear arch lip and radious arm, hopre you keep that gap....
Edited by minimuk, 13 September 2012 - 10:48 PM.
#560

Posted 14 September 2012 - 01:41 PM
#561

Posted 18 September 2012 - 07:19 AM
#562

Posted 18 September 2012 - 06:26 PM
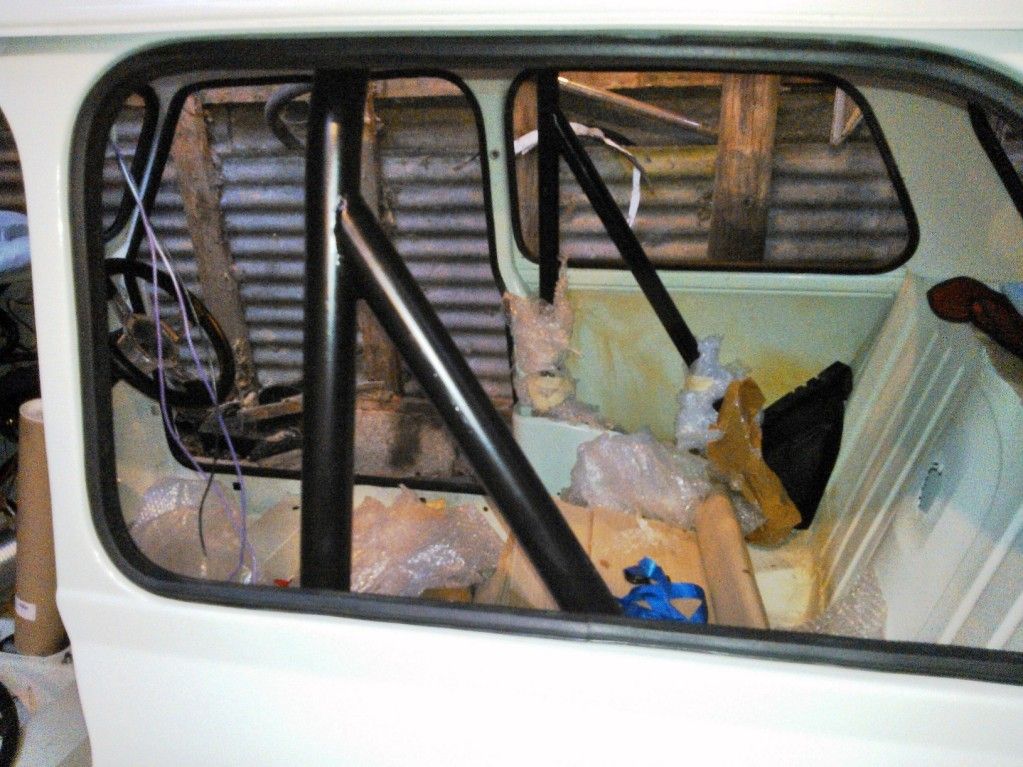
Nevermind there it goes, Cage looks good! Now only that nibbled hole in the seat backrest catches my eyes :)
Chris
Edited by CLM, 18 September 2012 - 11:28 PM.
#563

Posted 19 September 2012 - 06:46 AM
Hmm Photobucket is being flaky I am getting forbidden when trying to view that last picture.
Nevermind there it goes, Cage looks good! Now only that nibbled hole in the seat backrest catches my eyes :)
Chris
Yes, the hole. Thanks for pointing that out. I had to cut it out for the spit jig pole to go through. It wasn't very tidy but was quick. I have all good intentions of putting some plates over it. One of those five minute jobs I need to do before putting the rear seats in.
#564

Posted 02 November 2012 - 08:43 PM
Hugh
#565

Posted 09 November 2012 - 08:12 AM
#566

Posted 09 November 2012 - 11:02 AM
#567

Posted 10 November 2012 - 07:42 PM
Hugh
#568

Posted 10 November 2012 - 07:55 PM
#569

Posted 12 November 2012 - 08:29 AM
Thanks, getting there slowly.looks a good build
#570

Posted 12 November 2012 - 08:31 AM
1 user(s) are reading this topic
0 members, 1 guests, 0 anonymous users


