
Mk3 Saloon, Very Rusty Project
#346

Posted 09 December 2011 - 08:33 AM

#347

Posted 09 December 2011 - 08:01 PM
Edited by minifcd, 09 December 2011 - 08:01 PM.
#348

Posted 09 December 2011 - 09:46 PM
Excellent! Makes me feel better about mine
I must say you are doing a fantastic job and I hope that you will be seriously proud of it! Whats the lining look like now?
#349

Posted 09 December 2011 - 10:27 PM
#350

Posted 10 December 2011 - 06:43 AM
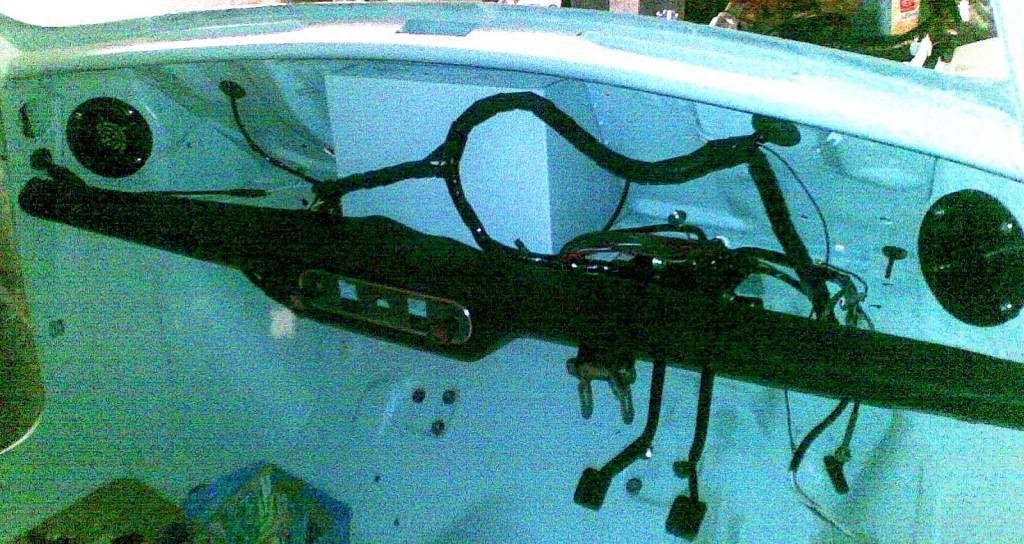
Thanks, much appreciated. Bolting everything on is very much the best side of the build. But nothing ever goes on as fast as I would like. It either needs fettling, reconditioning or painting or all of the avove. But it's getting there. There is officially light at the end of the tunnel now...!Stunning work there Jagman! I have followed your project for some time now and every now and then I have to go back to the start to remind myself how it used to be! I wish my project was at this point now, bolting everything back on to a freshly painted shell is the most satisfying part of all!
#351

Posted 10 December 2011 - 06:47 AM
Thanks, much appreciated. The lining is still pretty much where it was. I want to reinforce some of the stitching before I go any further. it's not a bad quality kit but I don't trust it's strength if I start tensioning it too much. Also need to pick a day when I have my most patience. Plenty of other jobs to do otherwise.wow! Well i have just spent the best part of 2 hours reading through all the pages
Excellent! Makes me feel better about mine
I must say you are doing a fantastic job and I hope that you will be seriously proud of it! Whats the lining look like now?
#352

Posted 10 December 2011 - 06:50 AM
Thanks for the comments. Well to be fair this has not been cheap nor quick. Another car would have been alot easier. I probabaly should have scrapped it in a sane world. But these are getting rarer & people might regret scrapping some of them in years to come if they carry on gaining value..Looking at this topic it makes me wonder why people scrap what they do. Your efforts havent been in vain at all! Very well done!!
Looking forward to it being finished
#353

Posted 10 December 2011 - 04:34 PM
Thanks for the comments. Well to be fair this has not been cheap nor quick. Another car would have been a lot easier. I probably should have scrapped it in a sane world. But these are getting rarer & people might regret scrapping some of them in years to come if they carry on gaining value..
Anyone can scrap a Mini. Not everyone can rebuild one. But you can.
And the idea of replacing any panel on a Mini is not a problem for you now.
I'd say you've passed your apprenticeship now, and I would call you a master Mini body restorer.
You paid for apprenticeship in time and money, and you have a beautiful mini too. Well done.
On another note, nothing on a Mini fits the first time.
Keep up the good work. You know you will be finished some day. As long as you keep working on it.
Then you will have finished your apprenticeship on Mini sub assembly refurbishing and assembly.
I love your work.
john
#354

Posted 10 December 2011 - 04:50 PM
Hugh
#355

Posted 10 December 2011 - 06:31 PM
"nothing on a Mini fits the first time.
Fresh air vents - rivets - cool solution. I was thinking of using Rivnuts but simple works best..............
Adam
#356

Posted 10 December 2011 - 06:39 PM
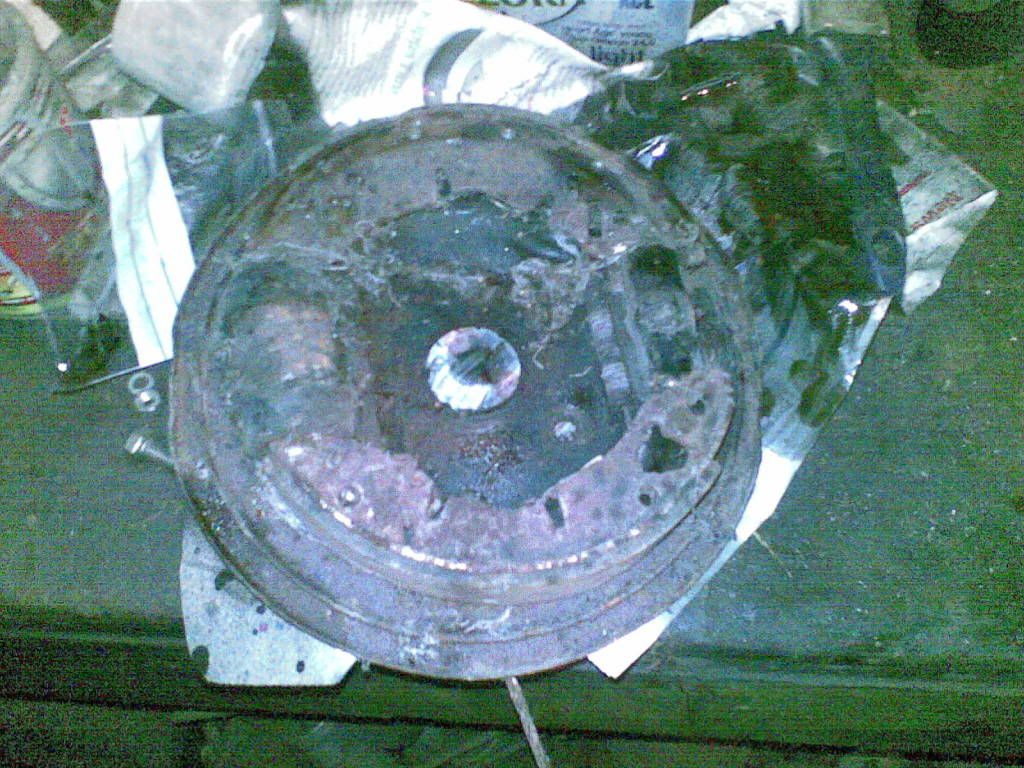
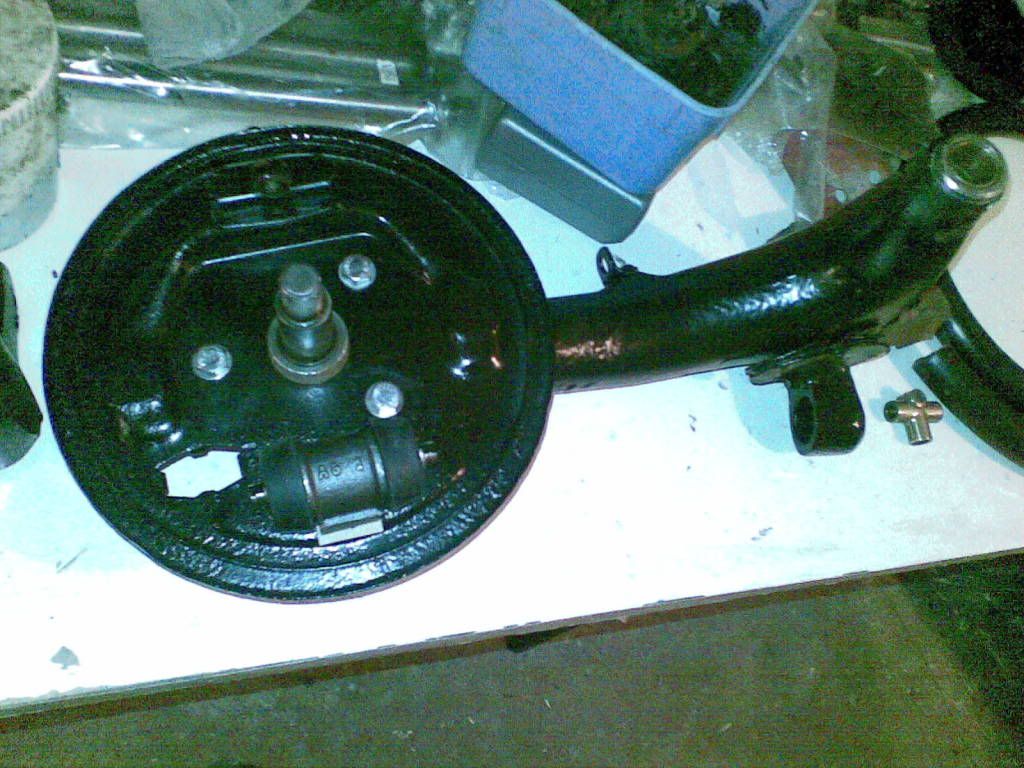
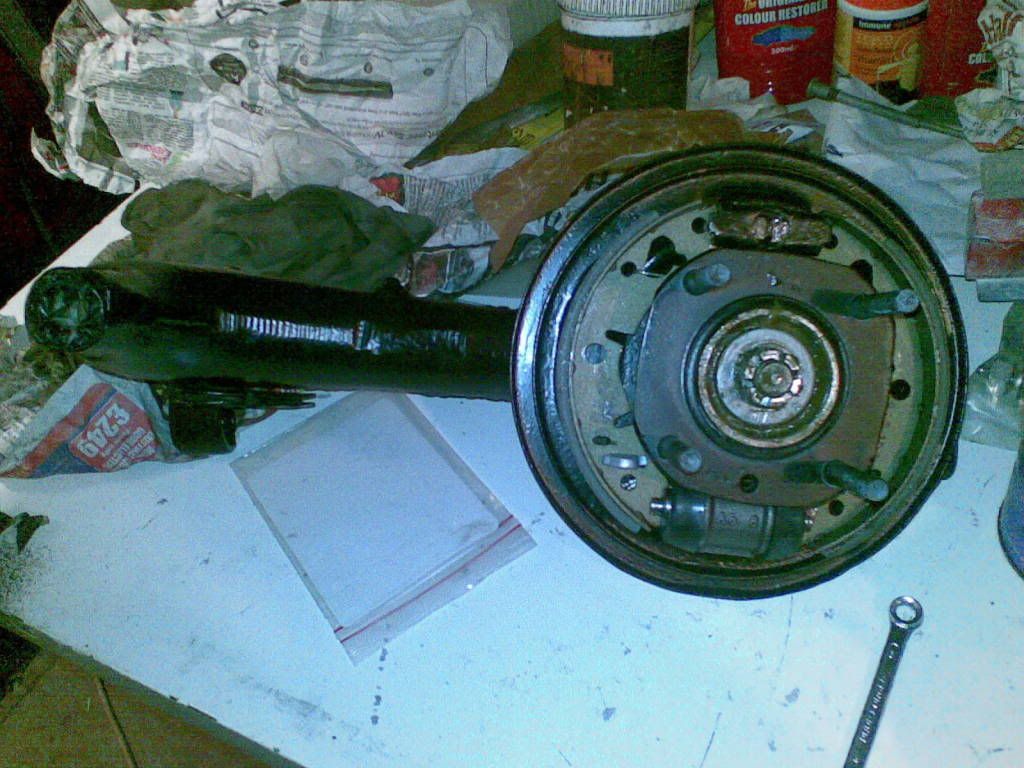
doing this bit now mate , tips plz thanks wayneRear suspension build this week. I pressed in the beaings & bushes. I was going to ream the bush myself, but couldn't get a satisfactory setup on the pillar drill. So both were done by a local machine shop/mini specialist. Arms painted in eastwood chassis black. Brakes before:
Part built:
Brakes & wheel bearings built:
#357

Posted 12 December 2011 - 08:29 AM
doing this bit now mate , tips plz thanks wayne
Rear suspension build this week. I pressed in the beaings & bushes. I was going to ream the bush myself, but couldn't get a satisfactory setup on the pillar drill. So both were done by a local machine shop/mini specialist. Arms painted in eastwood chassis black. Brakes before:
Part built:
Brakes & wheel bearings built:
Hello Wayne, not much to say. All fairly straight forward. The workshop manual is usually the best reference. Always worth checking the orientation of the brake shoes & the springs. I used an old setup & the manual to remind me. But also check my pics above. Back plate bolts on fairly obviously, but don't forget the handbrake cable brackets. Let me know if you have any other questions.
#358

Posted 12 December 2011 - 08:31 AM
LOL
"nothing on a Mini fits the first time.I swear, if you took a Mini apart and tried to put it back together, it wouldn't fit."
I thought about bolts or screws, but I'm unlikely to be taking them out again in a hurry. Just took me a while to get the right size rivets. 5mm diameter x 16mm long worked for me. Must get a better selection of rivets in stock.
Fresh air vents - rivets - cool solution. I was thinking of using Rivnuts but simple works best..............
Adam
#359

Posted 12 December 2011 - 08:34 AM
Thanks for the comments. Well to be fair this has not been cheap nor quick. Another car would have been a lot easier. I probably should have scrapped it in a sane world. But these are getting rarer & people might regret scrapping some of them in years to come if they carry on gaining value..
Anyone can scrap a Mini. Not everyone can rebuild one. But you can.
And the idea of replacing any panel on a Mini is not a problem for you now.
I'd say you've passed your apprenticeship now, and I would call you a master Mini body restorer.
You paid for apprenticeship in time and money, and you have a beautiful mini too. Well done.
On another note, nothing on a Mini fits the first time.I swear, if you took a Mini apart and tried to put it back together, it wouldn't fit. I think it's part of the design.
Keep up the good work. You know you will be finished some day. As long as you keep working on it.
Then you will have finished your apprenticeship on Mini sub assembly refurbishing and assembly.
I love your work.
john
Thanks for the comments much appreciated. I've learnt alot on the bodywork. Hopefully no mini panel will be a mystery to me now. Which will help on future projects. Thanks again.
Edited by jagman.2003, 12 December 2011 - 08:35 AM.
#360

Posted 12 December 2011 - 08:36 AM
Glad to be of help Hugh. Project Erm was very useful to me as well. Looks like your repairs are coming along well.I love his work too. It's also extremely helpful when following a bit behind. So a big thanks
Hugh
1 user(s) are reading this topic
0 members, 1 guests, 0 anonymous users


