Jump to content


Photo
- - - - -

Mini City E Rebuild


  • Please log in to reply
16 replies to this topic

#1 vtec_miniestate

vtec_miniestate

    Speeding Along Now

  • Members
  • PipPipPipPipPip
  • 356 posts
  • Local Club: Torbay Mini Club

Posted 28 August 2010 - 09:30 PM

Well here's my other project

Not quite as exciting as the estate but a nice little runner all the same :)

The basic idea is that it its my girlfriends old mini that she sold to her parents many moons ago. It was then transfered into a barn an left, every time we see a mini she regrets selling it and wishes she had it back. so, this gets me thinking, how amazing it'd be to give her her mini for christmas all shiny, mot'd and taxed all ready to roll. So step one, approach her parents and ask to buy the mini off them to start this project. I hoped it'd be a small amount as i have a limited budget, so when they said i could have it for nothing.... the plan was definitely on!

So here it is, after a year since the engine last turned all it took was a fresh drink of petrol and a jump start and we're in business :)

Posted Image

Posted Image

Posted Image

Posted Image

now after a jostle with the clutch slave and a window wipe the mini was driven to the lock up and parked up next to the estate, a cute pair.

The next plan is to take it to the local garage to do a pre mot check so that i've got a list to of work to refer to.... although first i'll hve to repair the leak on the fuel line... mini's you gotta love em eh :P

#2 vtec_miniestate

vtec_miniestate

    Speeding Along Now

  • Members
  • PipPipPipPipPip
  • 356 posts
  • Local Club: Torbay Mini Club

Posted 30 August 2010 - 12:35 PM

so then, today i made a list... a very long list of things to do before christmas

Front

- Change to clear indicators
- New number plate
- New bumper
- New grille
- Change/remove the bonnet badge
- Fit a new ariel
- Change the front screen seal

Sides

- Fix/replace rotted door
- New wheel arches
- Clean up the wheels
- Replace the back window seals
- Replace the door seals
- Replace an a panel

Roof

- Spray a new colour
- Replace black trim

Back

- Replace boot
- New bumper
- Remove crappy fog light
- Possible new exhaust
- New light seals
- Window seal
- New number plate
- Replace broken chrome light outer

Interior

- New door cards
- New dash cards
- New Black carpet
- New choke cable
- Fit some form of stereo
- Clean roof headliner
- Replace broken seats

And this is all before i get the mot list next week.... bitten off more than i can chew methinks :)

#3 myredmini

myredmini

    My Mummy Says It's OK

  • Members
  • PipPipPipPipPipPipPipPipPip
  • 3,211 posts
  • Name: Dan
  • Location: Teesside
  • Local Club: BOG MOG

Posted 30 August 2010 - 01:46 PM

looking great, will be an amazing suprise, will deffinatly keep an eye on this one :)

Dan

#4 vtec_miniestate

vtec_miniestate

    Speeding Along Now

  • Members
  • PipPipPipPipPip
  • 356 posts
  • Local Club: Torbay Mini Club

Posted 30 August 2010 - 07:19 PM

Cheers :)

#5 miniallsort

miniallsort

    Up Into Fourth

  • Members
  • PipPipPipPipPipPipPipPipPip
  • 4,723 posts

Posted 30 August 2010 - 08:15 PM

great project nice little mini

#6 vtec_miniestate

vtec_miniestate

    Speeding Along Now

  • Members
  • PipPipPipPipPip
  • 356 posts
  • Local Club: Torbay Mini Club

Posted 11 September 2010 - 12:26 PM

So then the project continues...

The custom numberplates turned up

Posted Image

Posted Image

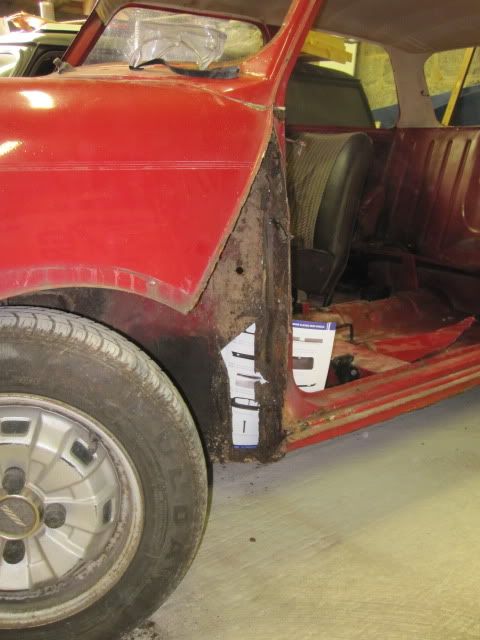
The car came back from a pre mot and basically rust was top of the list, so i plan to tackle that first on the list so far is...

Passenger A panel
Inner A panel
passenger front floor
drivers rear floor
repair to heelboard
both sills.... oooh errr

Posted Image

Posted Image

Posted Image

Posted Image

I've also started the stripdown of the car so that i can make a start of the panel replacement...

Posted Image

Posted Image

Posted Image

Posted Image

Posted Image

Posted Image

and so the grinding begins!

Posted Image

Posted Image

#7 vtec_miniestate

vtec_miniestate

    Speeding Along Now

  • Members
  • PipPipPipPipPip
  • 356 posts
  • Local Club: Torbay Mini Club

Posted 15 September 2010 - 10:43 PM

woah... what a lot of rust :P

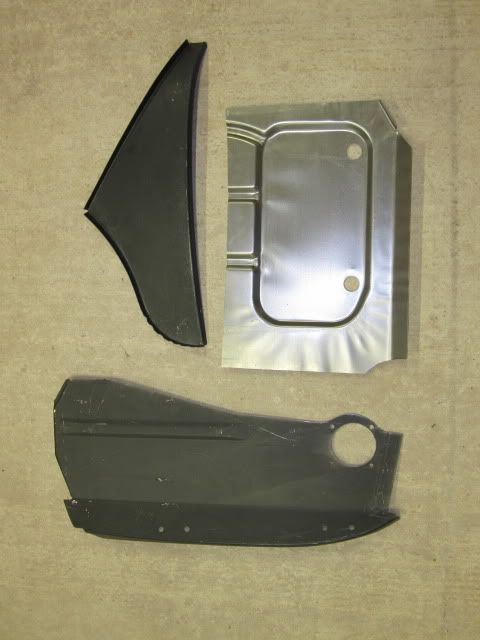
Some of the panels have started to arrive... although they sent the wrong floorpan

Posted Image

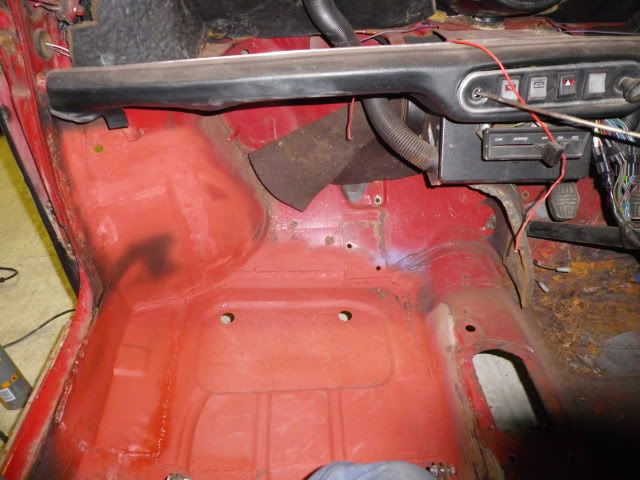
I've now cut away some more of the flooring and the inner A panel to be replaced by new metal

Posted Image

Posted Image

And thanks to Craig the motor and front subframe is now all clear to allow for some more rust repairs!

Posted Image

Posted Image

Posted Image

Oh and i now have the beginnings of a new grille for the car :huh:

Posted Image

#8 minimad01

minimad01

    Super Mini Mad

  • Members
  • PipPipPipPipPipPip
  • 563 posts

Posted 16 September 2010 - 10:06 AM

your clubby looks a bit sorry for its self :P good luck with the city e :huh:

#9 vtec_miniestate

vtec_miniestate

    Speeding Along Now

  • Members
  • PipPipPipPipPip
  • 356 posts
  • Local Club: Torbay Mini Club

Posted 30 September 2010 - 12:45 PM

The clubby may look sory for itself but its in way better condition than the city :lol:

#10 vtec_miniestate

vtec_miniestate

    Speeding Along Now

  • Members
  • PipPipPipPipPip
  • 356 posts
  • Local Club: Torbay Mini Club

Posted 30 September 2010 - 12:46 PM

Right, just a quick update of the progress so far...

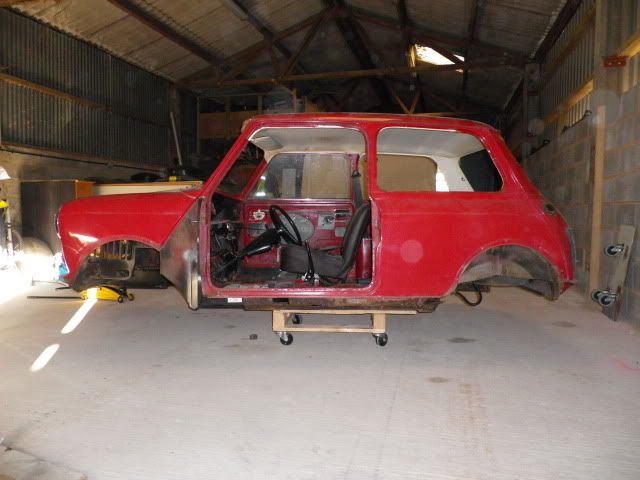
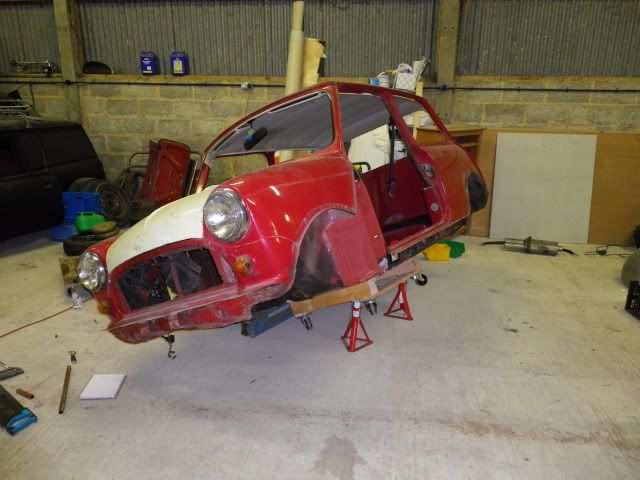
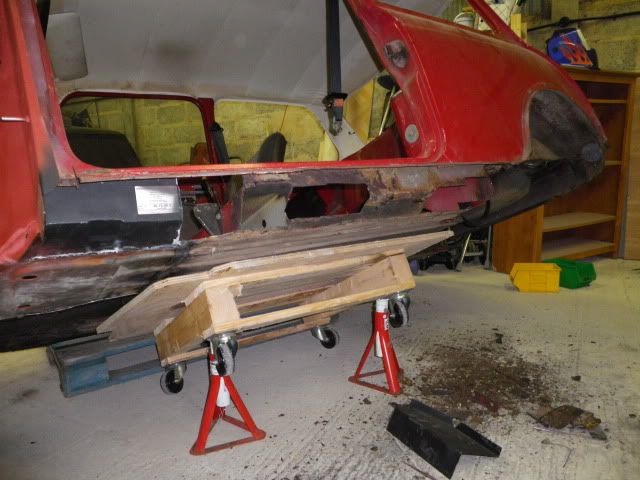
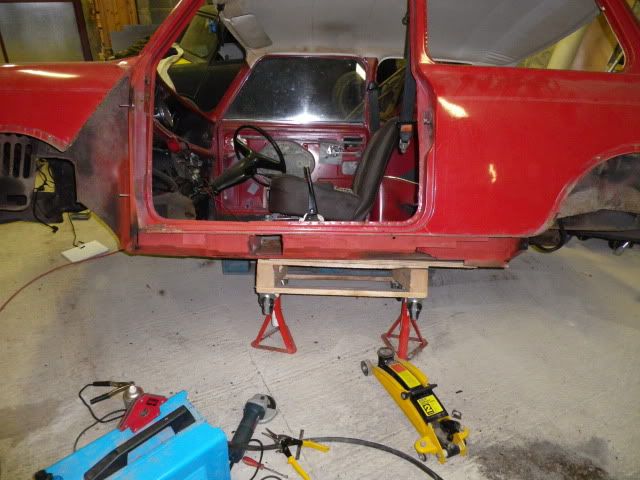
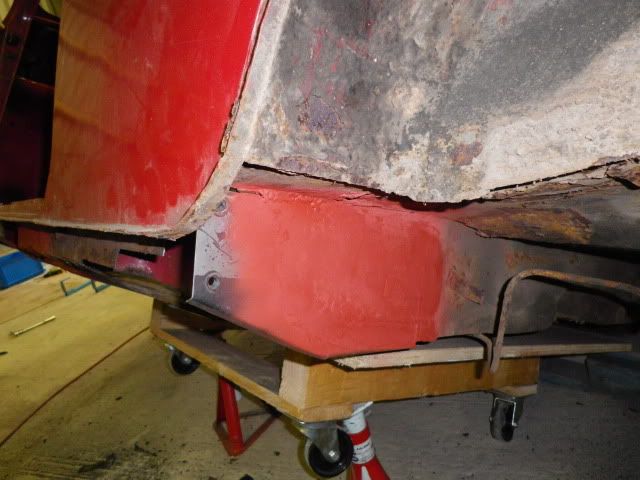
The rear subrame is now out and i've constructed a trolly so i can move the shell around the workshop :)

Posted Image

Ive also started to fit some panels, first the inner a panel... please excuse the messy welding i learnt 10 years ago and havent done any since :)

Posted Image

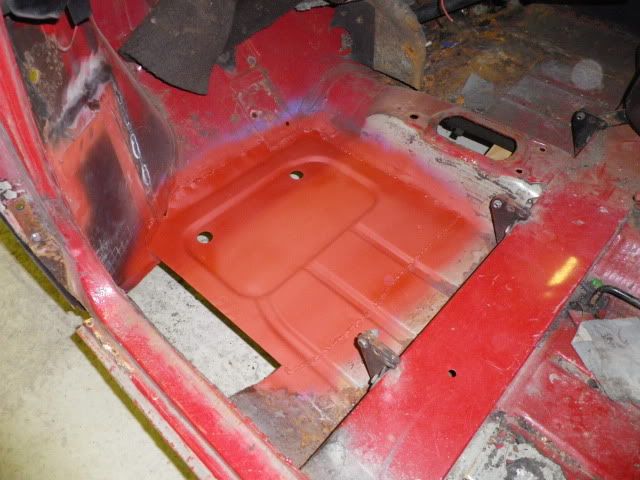
and then the footwell

Posted Image

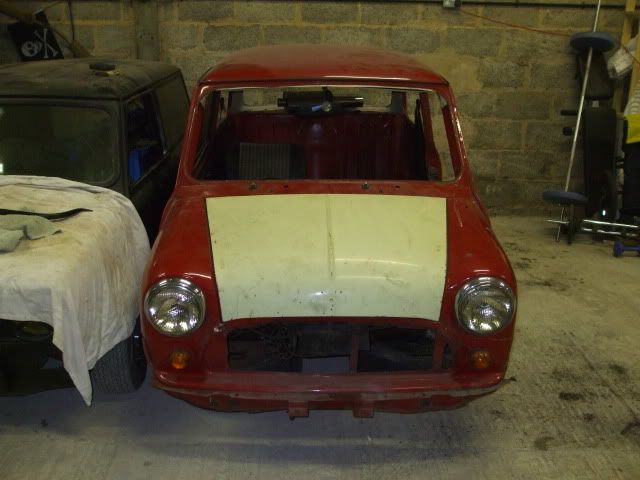
I now have a mk1 bonnet to fit which i think improves the look of the car massively

Posted Image

:lol:

#11 nrwilliams

nrwilliams

    Mini Mad

  • Noobies
  • PipPipPipPip
  • 133 posts
  • Location: Uckfield, East Sussex

Posted 30 September 2010 - 12:55 PM

Great project.

Where did you get your panels from? Just investigating new panels for mine and trying to decide best fit v price.

Thanks

Neil

#12 vtec_miniestate

vtec_miniestate

    Speeding Along Now

  • Members
  • PipPipPipPipPip
  • 356 posts
  • Local Club: Torbay Mini Club

Posted 30 September 2010 - 12:58 PM

I got them from m-machine, they aren't by any means 100% perfect fit but they are easy on the wallet :lol:

#13 vtec_miniestate

vtec_miniestate

    Speeding Along Now

  • Members
  • PipPipPipPipPip
  • 356 posts
  • Local Club: Torbay Mini Club

Posted 01 October 2010 - 07:36 PM

More work done this evening

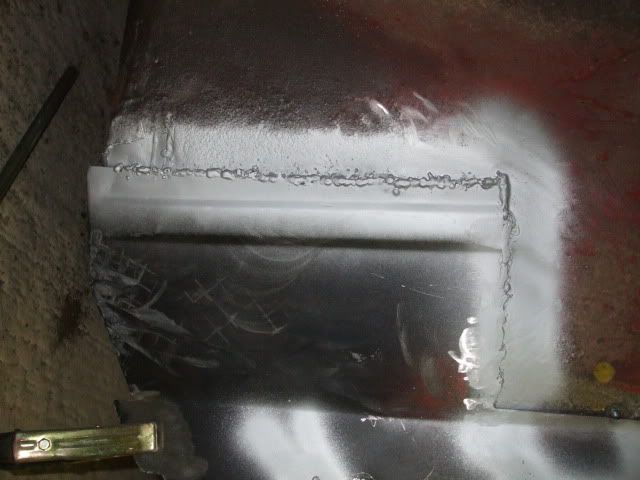
Fitted a section of inner sill and finished welding the inner a panel

Posted Image

welded over the battered ariel hole

Posted Image

With all this practice my welding seems to be getting a lot better (not blowing holes in things now), by the time i get to the other sill i might actually do a decent job :)

#14 vtec_miniestate

vtec_miniestate

    Speeding Along Now

  • Members
  • PipPipPipPipPip
  • 356 posts
  • Local Club: Torbay Mini Club

Posted 09 October 2010 - 08:18 PM

got a few bits and bobs done today...

Health and safety at work :D

Posted Image

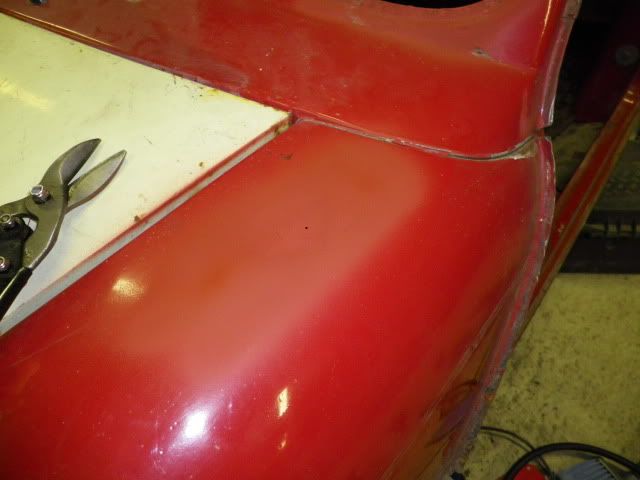
cut cut cuting more rust out

Posted Image

Fitted the rear subframe repair panel

Posted Image

and started to fill the holes left from the cutting exercise...

Posted Image

#15 minimuff

minimuff

    Stage One Kit Fitted

  • Noobies
  • PipPipPip
  • 70 posts

Posted 10 October 2010 - 04:11 PM

Nice looking project. Great idea aswell... Bet your can't wait till xmas now!!

Keep us posted especially with the finished item :))


1 user(s) are reading this topic

0 members, 1 guests, 0 anonymous users