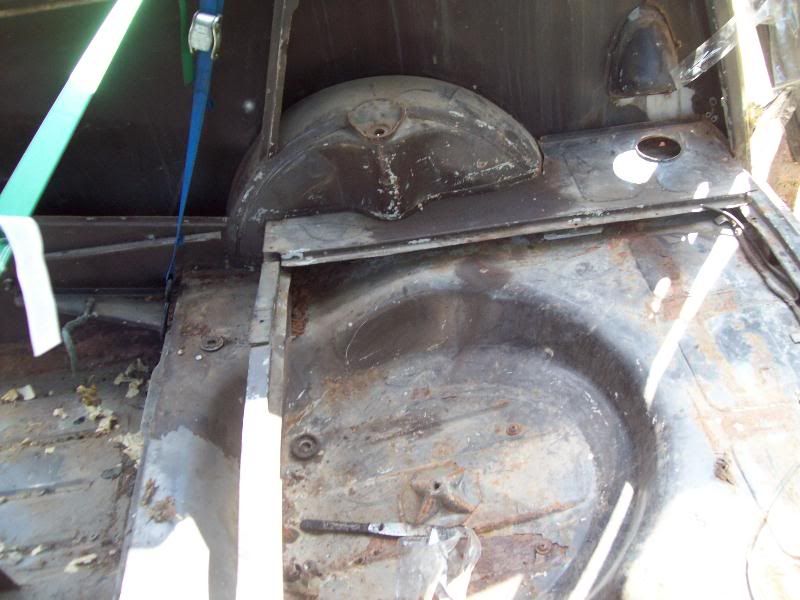
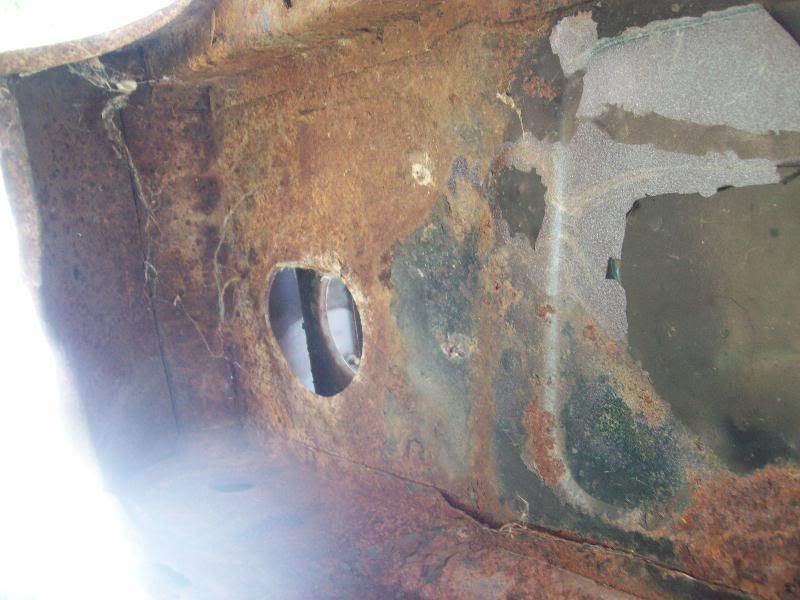
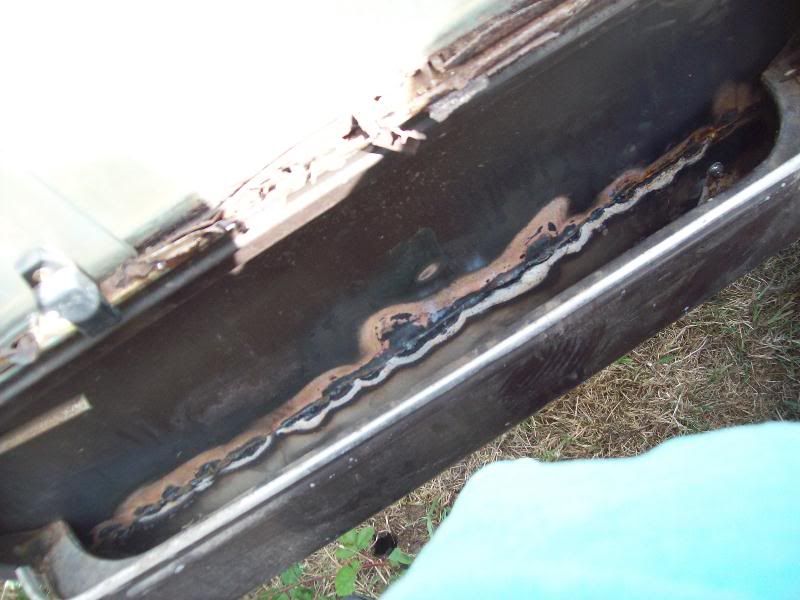
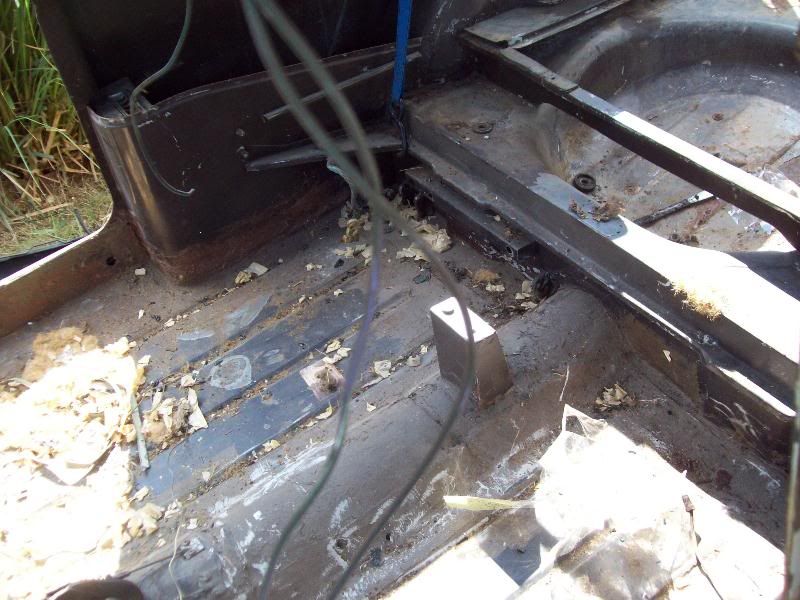
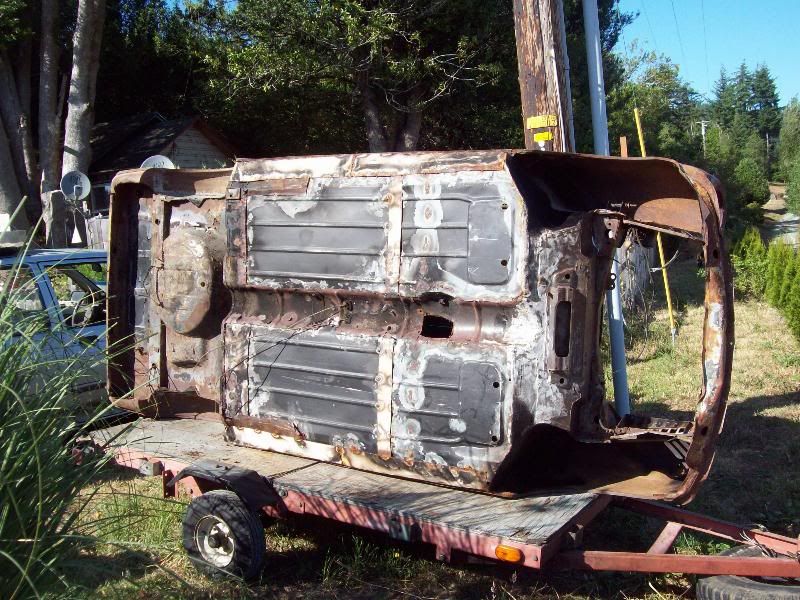
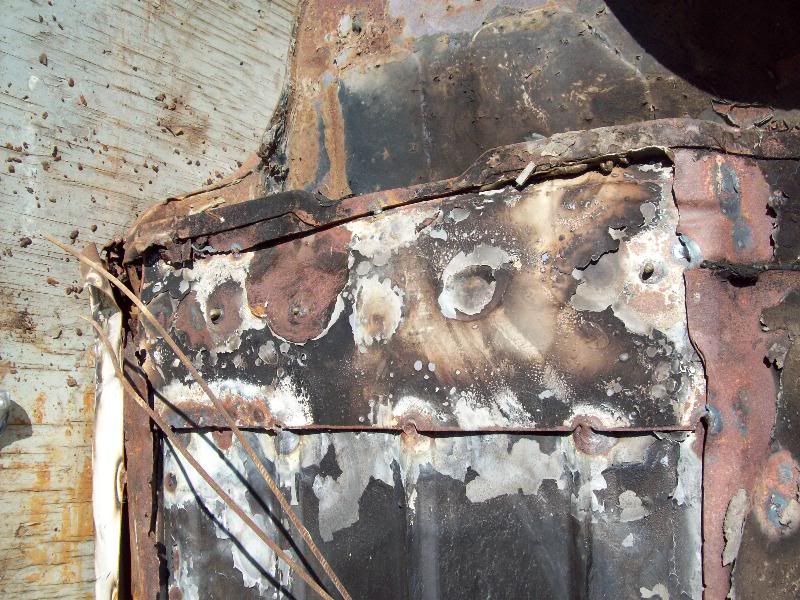
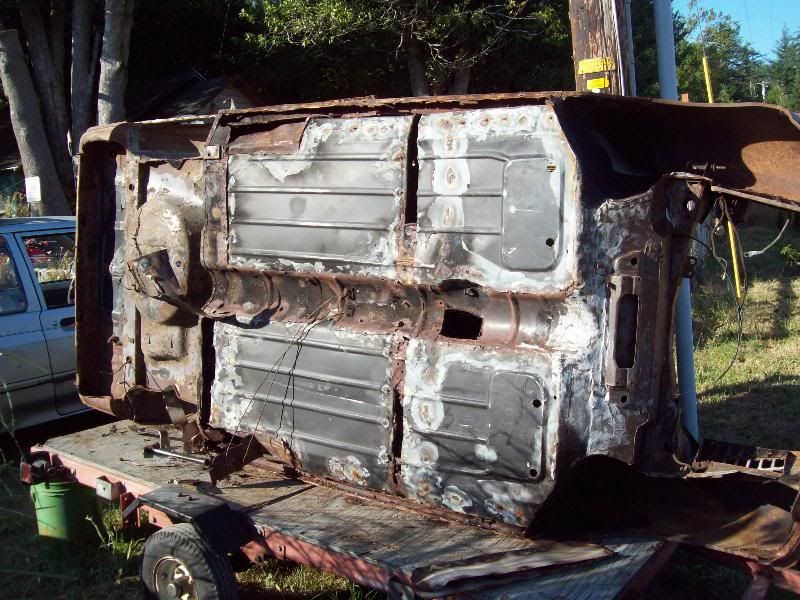
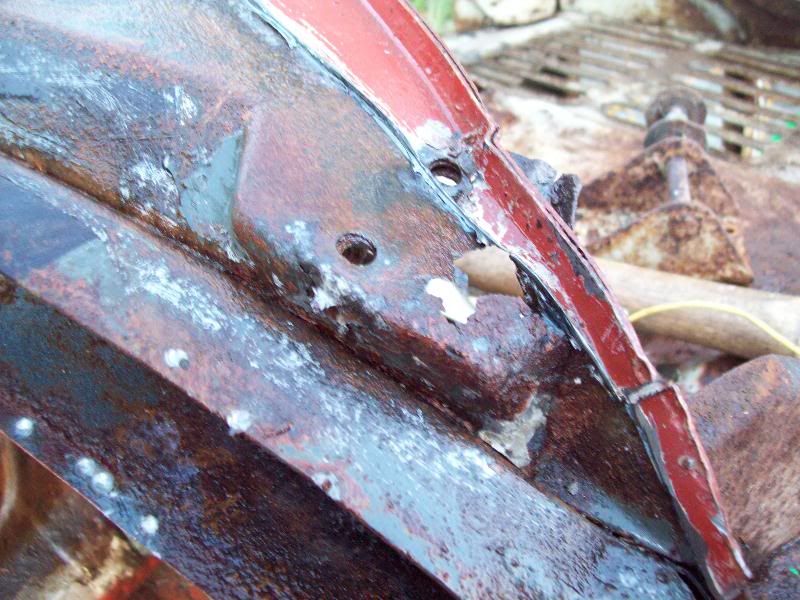
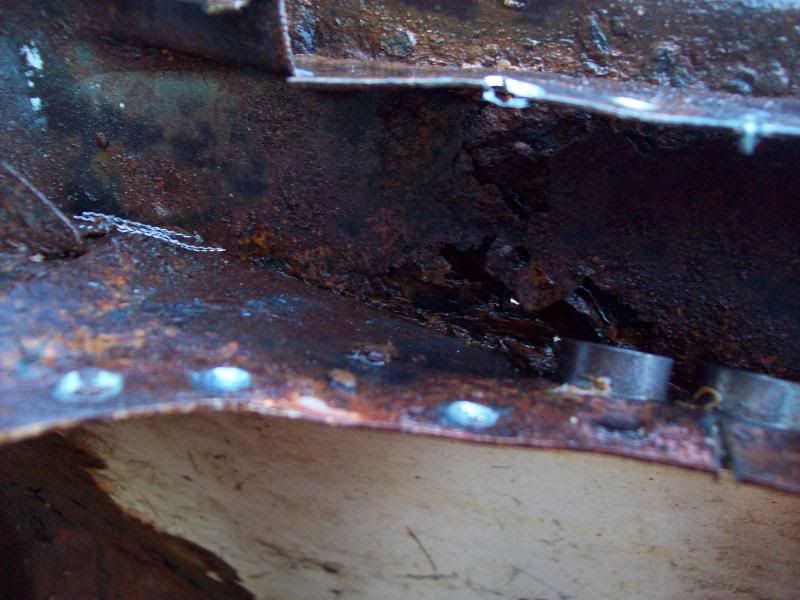
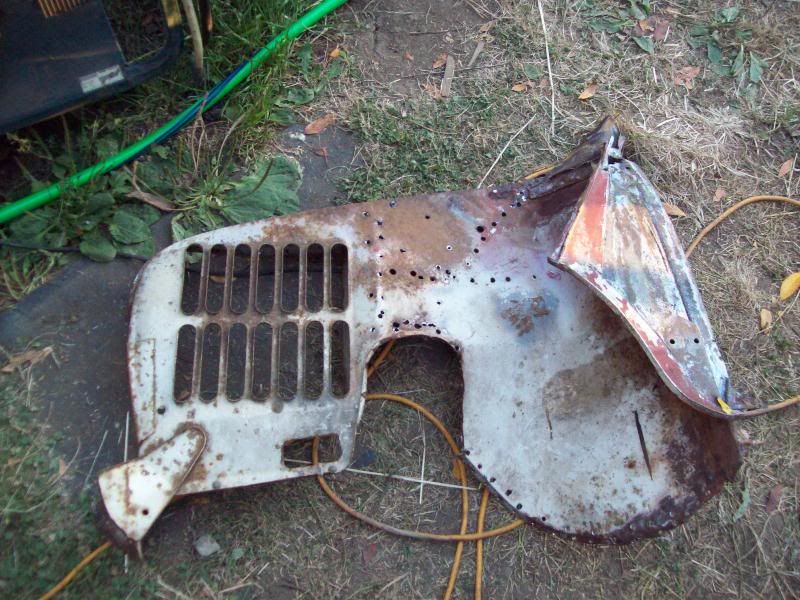
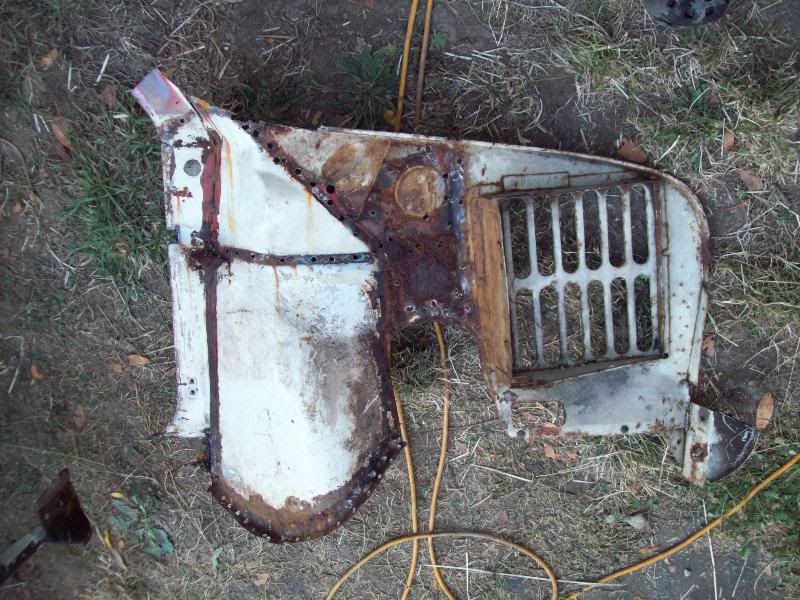
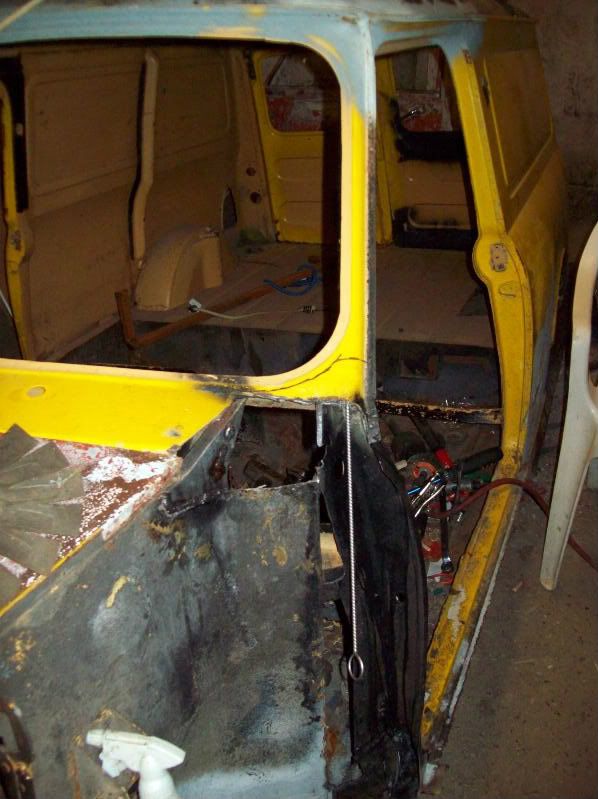
The van has been stalled for a bit because I didnt want to box up my only access to the windscreen post before I could do something about the surface rust inside it that was bugging me. I was at a loss as to what I would use to brush it out as I had very limited access to the inside of the box section. a couple weeks of brainstorming and browsing the web netted me something that I felt would work a treat to wirebrush it down.
http://www.mcmaster.com/nav/enter.asp?partnum=7353T29
Single-Spiral Single-Stem Loop-Handle Brush, 304 Stainless Steel, 1-1/2" Brush Diameter, 3" L Brush, 27" Overall $5.69
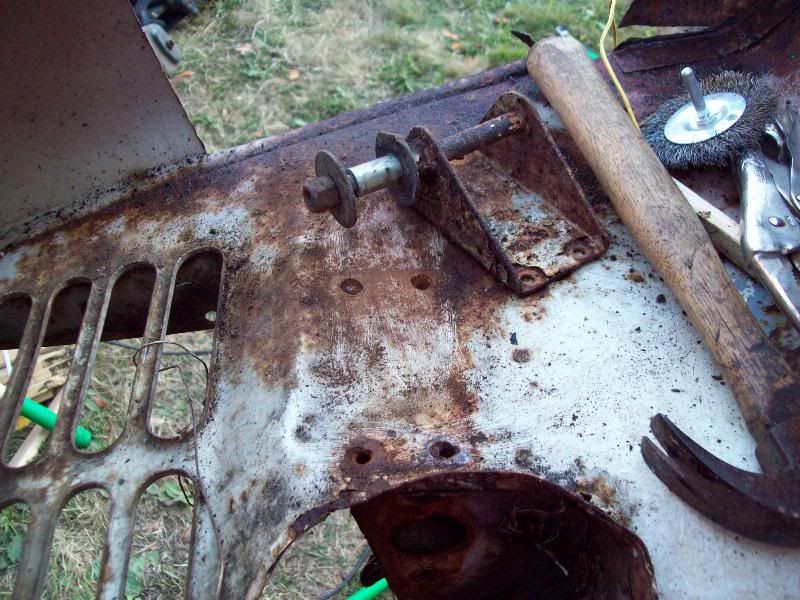
It took a while for it to arrive from Mcmaster-Carr but it looks the business, I was expecting a short handle on it but it had plenty of reach and just fit in snug enough to do the work I needed it to do, Sort of like a miniature chimney sweep. My one complaint though was the handle was not quite as stiff as I would have liked it as it bent and flexed as I was trying to brush it out.
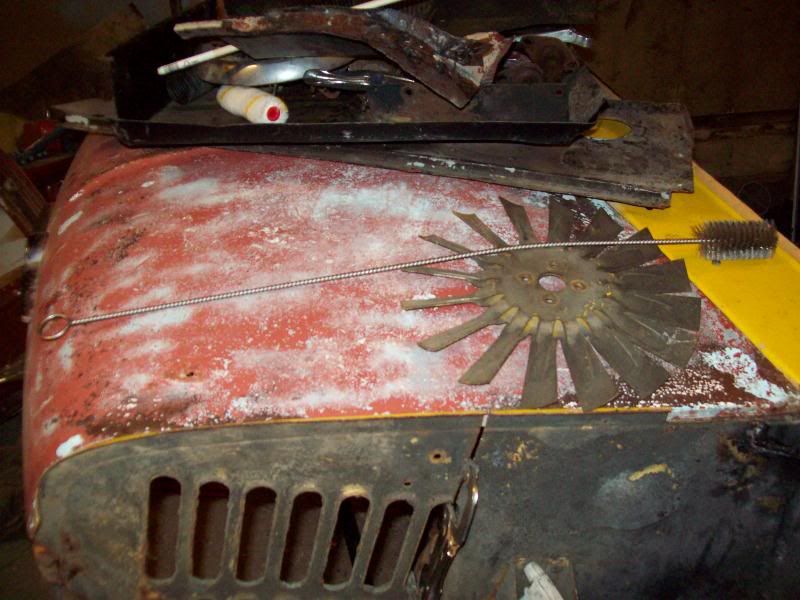
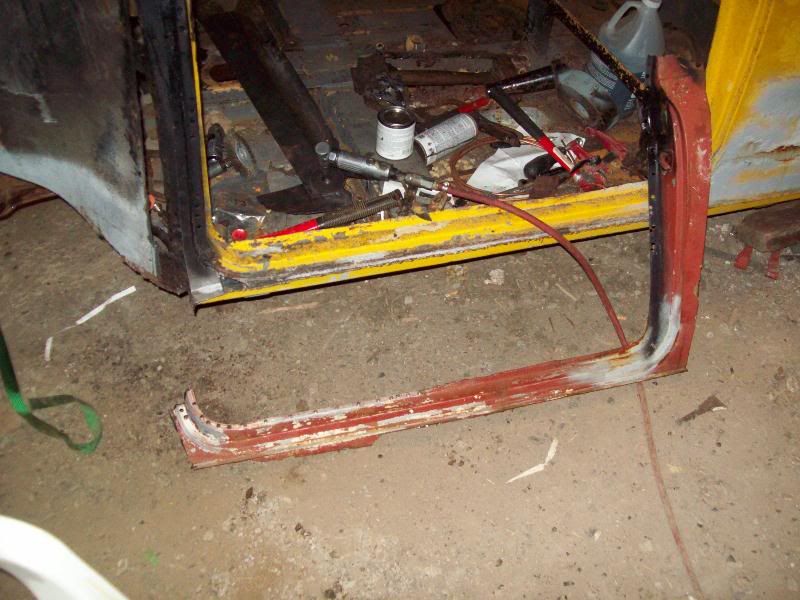
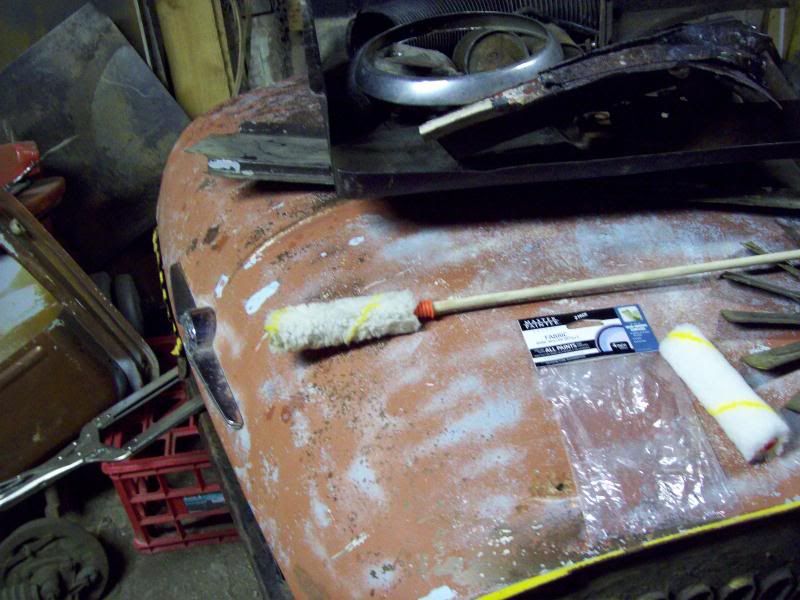
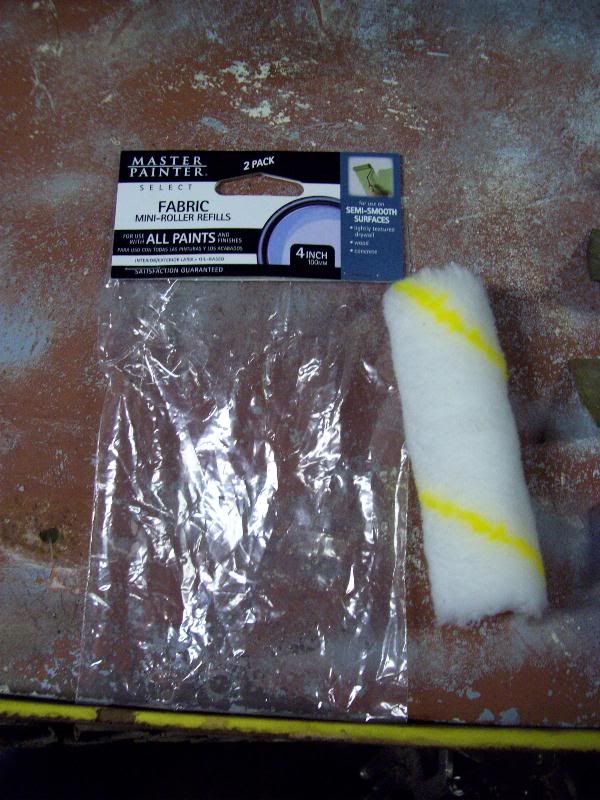
Having that handled to my satisfaction, the next task was getting the Ospho... phosphoric acid... and the paint up in this box section, but a trip to my hardware store answered that in short order when I was looking at the smallest roller brushes. They had some with a foam and some with the fiber heads and the 4 inch ones looked a treat, and first time I fit one in it proved correct. Instead of fitting them to the roller I chose a wooden dowel that just fit in the end of the roller so I could use them as a cavity brush.
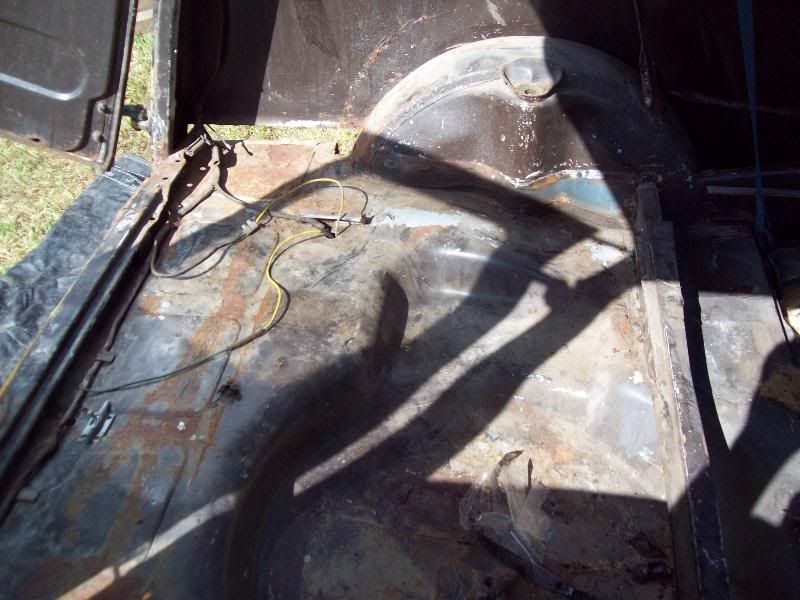
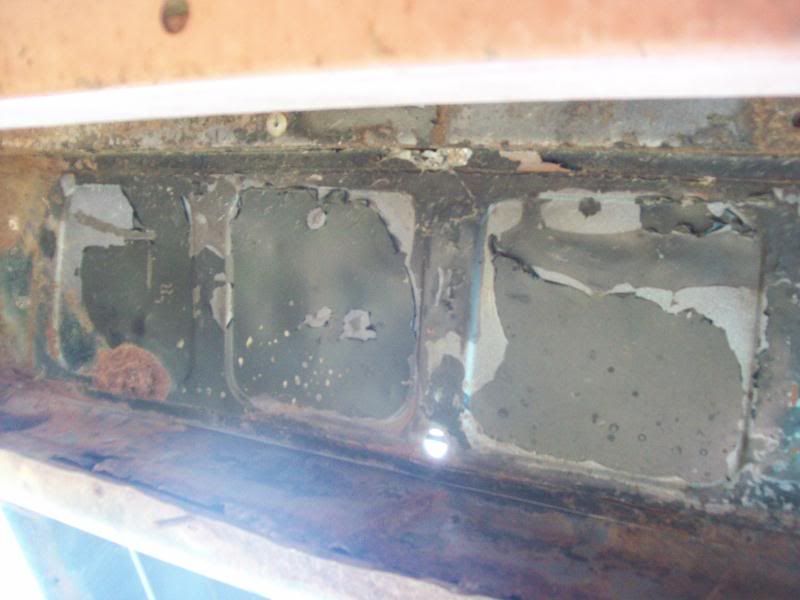
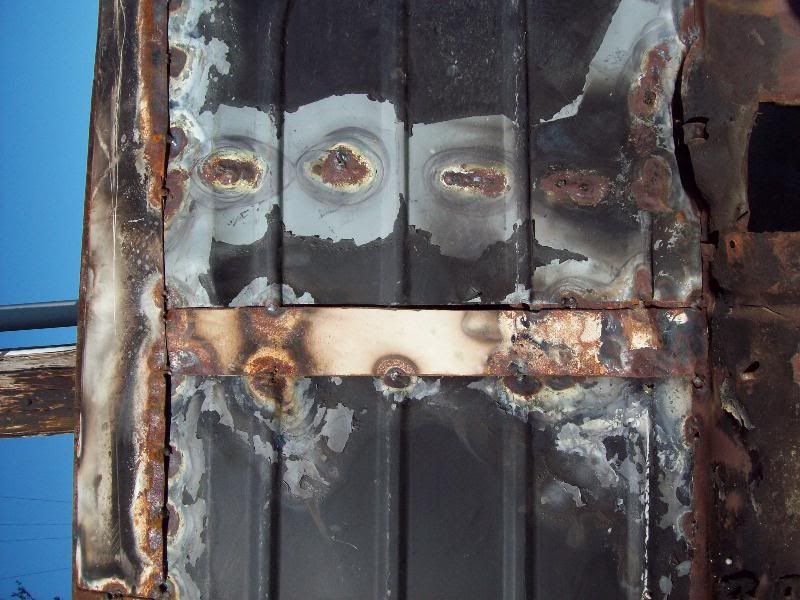
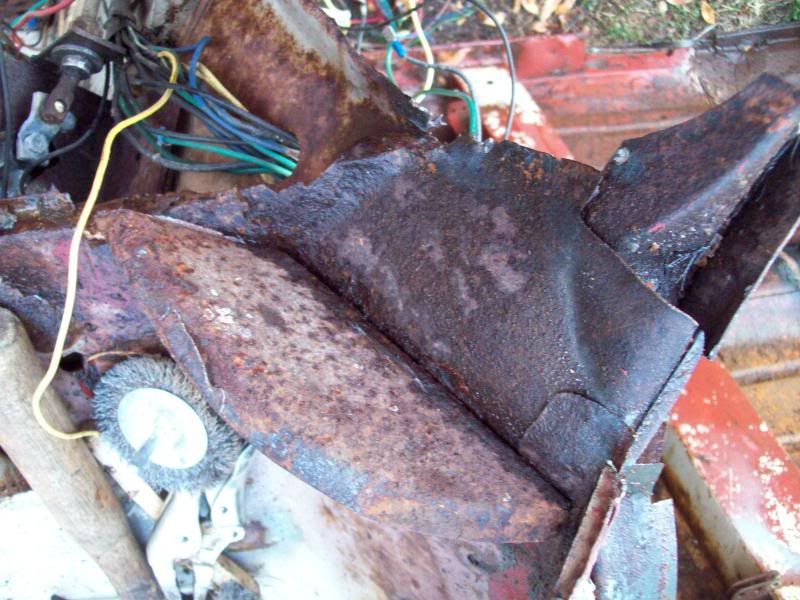
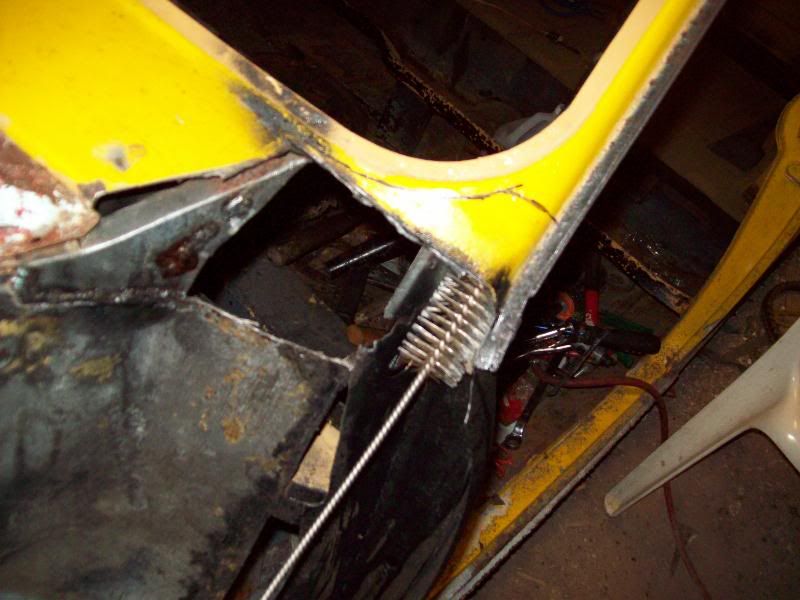
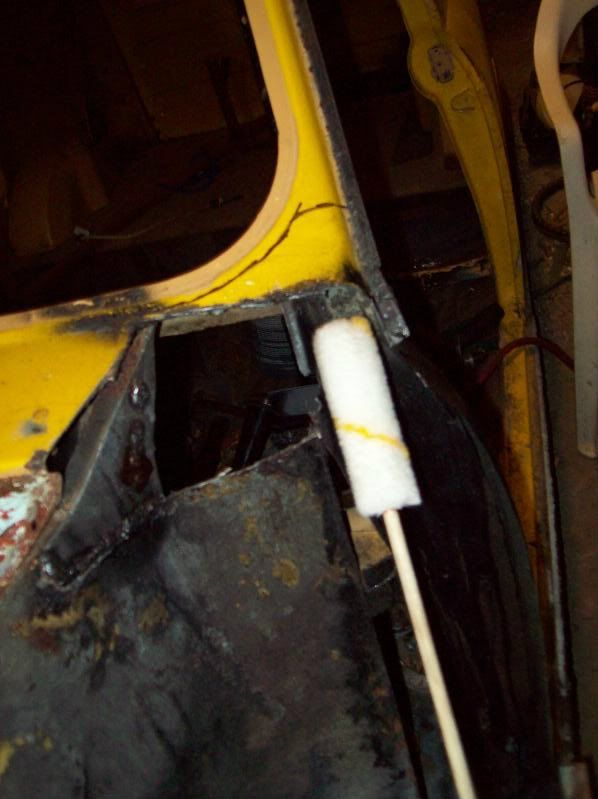
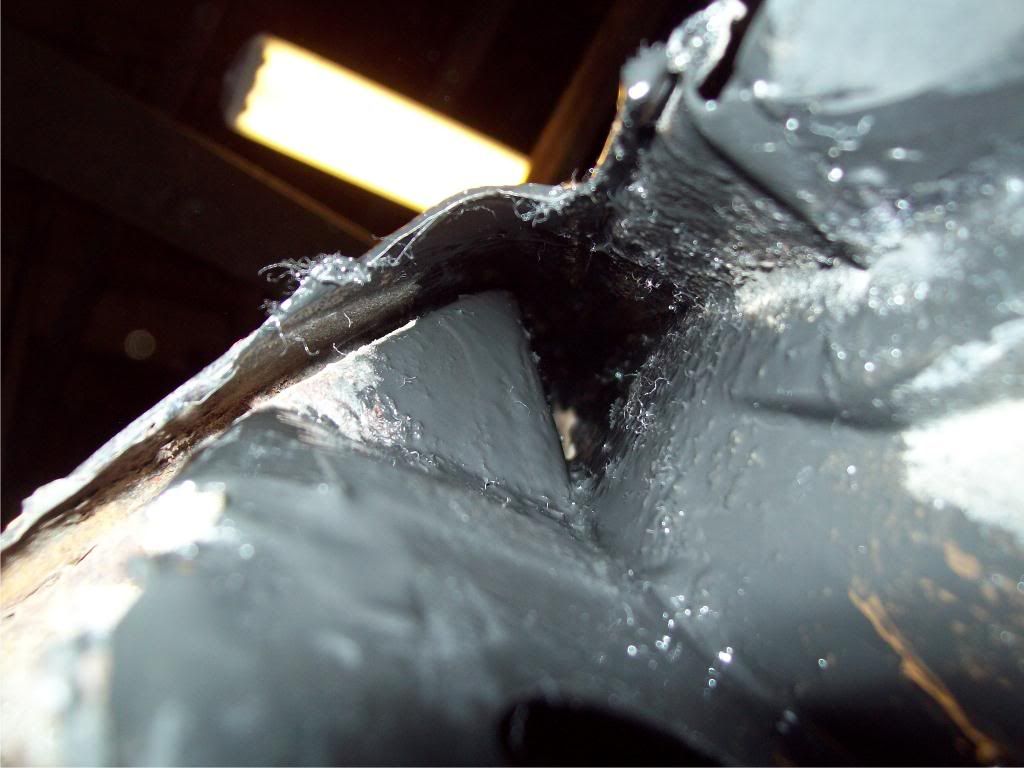
The Ospho was fairly easy and messy to get in there as it would be at the angle the van was sitting at. Basically I soaked the roller with the Oshpo and scrubbed up and down being carefull to not go so far up and break the dowel (again... the reason the red thing is sticking out of the one roller!) I alternated a few times, Ospho then rinced off the roller and scrubbed with clean water, then Ospho again. I find it helps remove the rust the acid has broken loose, see the van door episode a few pages prior for what I mean. The last coat I used Ospho and let it dry so it would etch the metal. I then ran the second brush up once dry to make sure all the dust was out.
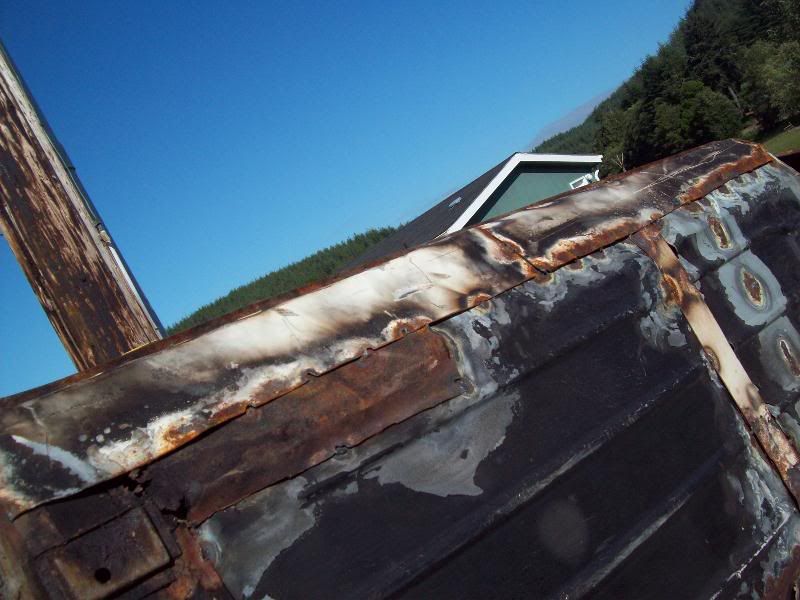
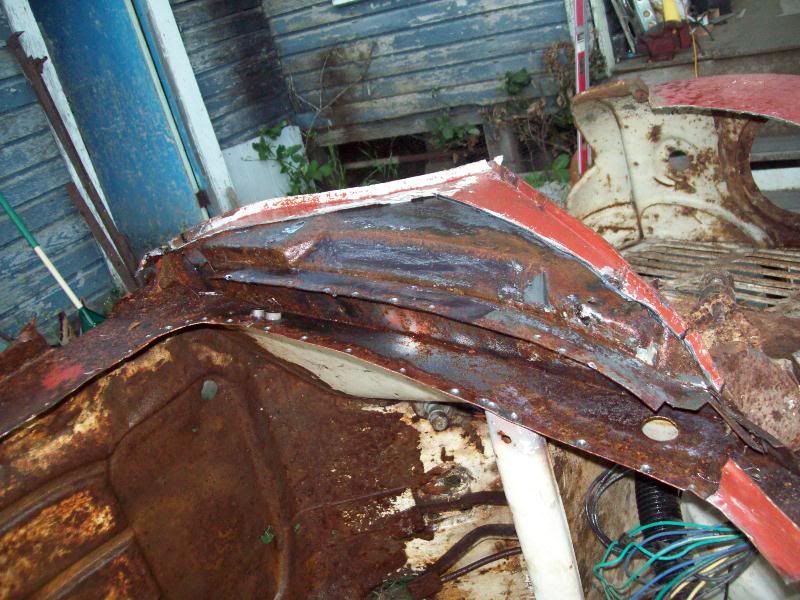
The paint was somewhat messy, I mixxed up the pain and dipped the clean roller in the pain to get a large ammount and then up the post it went. I cant really tell what the overall coverage is like but I am hoping for good coverage, I will waid for this first coat to dry and recoat it one or two more times.
I feel this is satisfactory in the effort to keep it from rusting out in the ensuing years, deffinatly better then just ignoring it and welding it up.
One coat.
Untill next time,
Way too many concurrent projects - Chris


 That's what the wife would do if I brought home another project
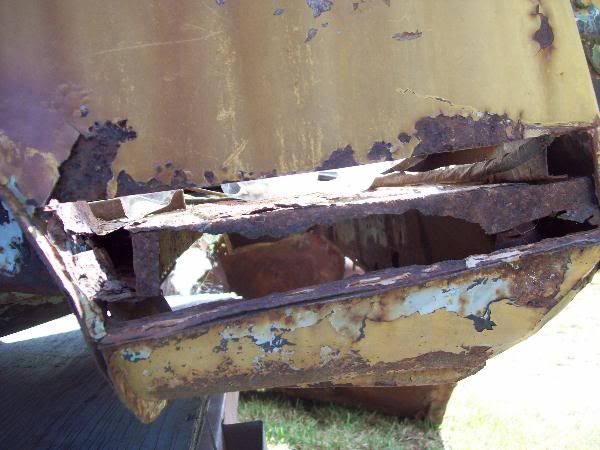
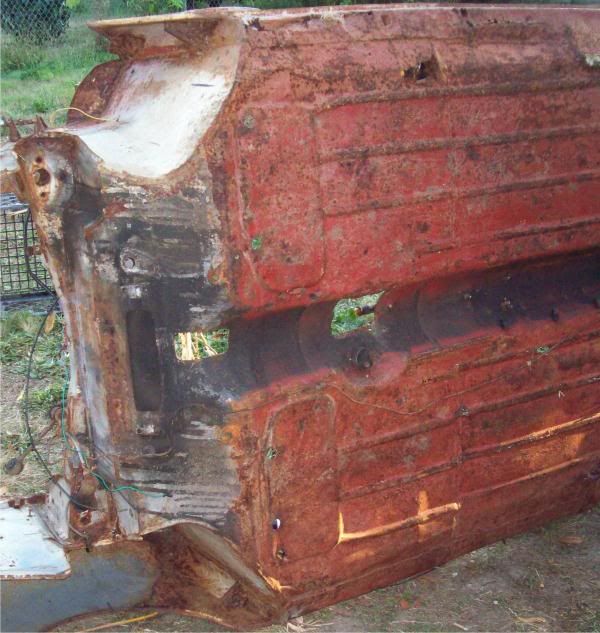
 Worse then I remember.