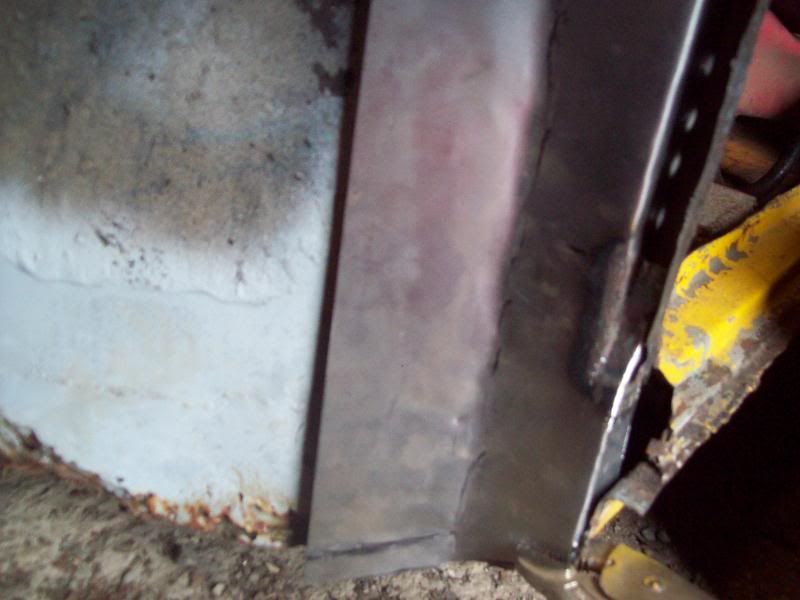
Now if I can just remember to turn the gas on when I am welding... then maybe the welds would turn out half decent

Chris


One Carb Or Two?

Posted 05 December 2010 - 12:54 PM
One Carb Or Two?
Posted 09 December 2010 - 09:32 AM
One Carb Or Two?
Posted 10 December 2010 - 04:32 AM


Edited by CLM, 10 December 2010 - 04:36 AM.
Soldiering Along

Posted 11 December 2010 - 08:42 PM
Twisted Paint Polisher!!!

Posted 11 December 2010 - 08:56 PM
Camshaft & Stage Two Head

Posted 11 December 2010 - 09:00 PM
One Carb Or Two?
Posted 12 December 2010 - 04:34 AM
Hello Chris
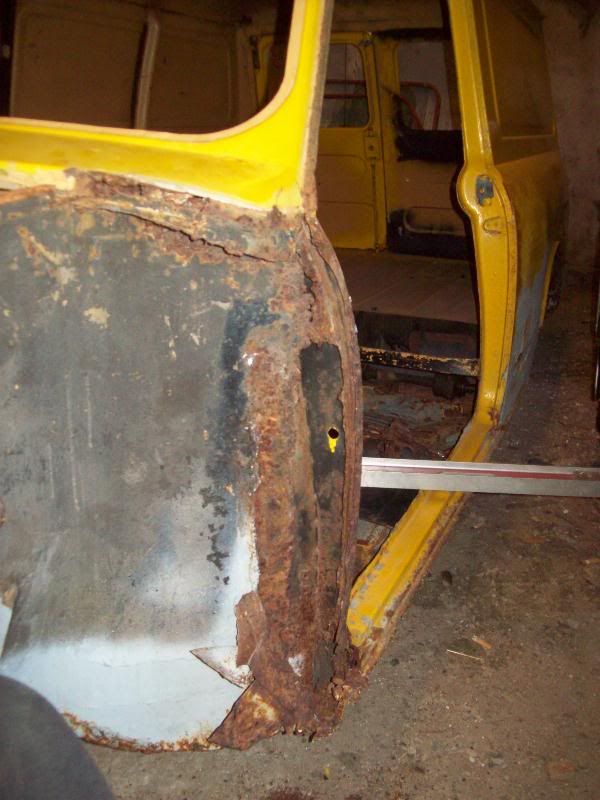
Took a look at this after your encouraging comment on my welding. You're making me feel even worse. My Mini is pristine compared to yours and you just get stuck in while I woose out! Your welding looks great. If, as you say, I should get to this standard I'll be delighted. All the best with this.
Hugh
 So I work with what I have... They are not the cheap cars they are over there unfortunatly. Someday I will have a nice shiny mini... untill then I just have to bust my knuckles.
Soldiering Along
Posted 18 December 2010 - 11:25 AM
One Carb Or Two?
Posted 19 December 2010 - 01:07 AM
Hi Chris
I'm not seeing your pictures, which is a pity, they were very good and helpful. Thanks for your reply on my own topic.
Hugh
One Carb Or Two?
Posted 11 January 2011 - 01:33 PM


Edited by CLM, 11 January 2011 - 01:40 PM.
One Carb Or Two?
Posted 11 January 2011 - 01:43 PM


Edited by CLM, 11 January 2011 - 01:44 PM.
One Carb Or Two?
Posted 11 January 2011 - 01:44 PM


Soldiering Along
Posted 12 January 2011 - 10:06 PM
One Carb Or Two?
Posted 14 January 2011 - 09:04 PM
One Carb Or Two?
Posted 18 July 2011 - 09:07 AM


0 members, 2 guests, 0 anonymous users


