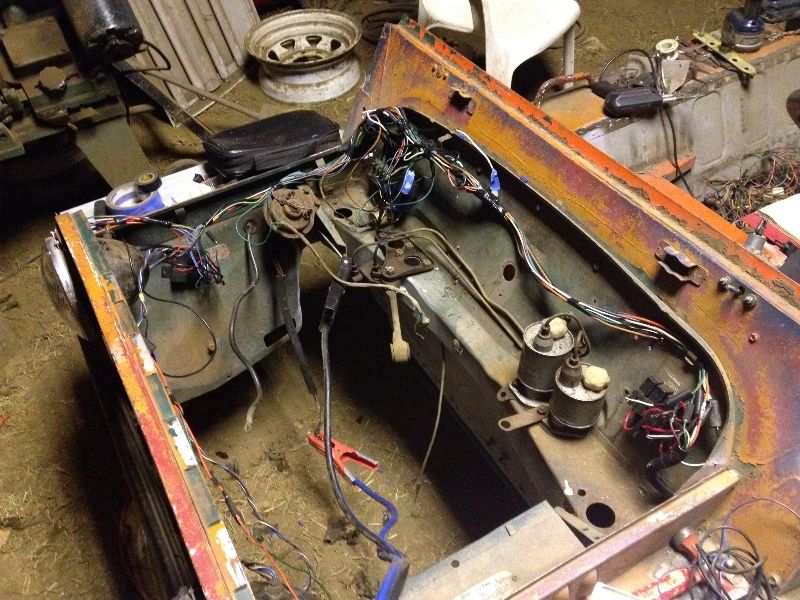
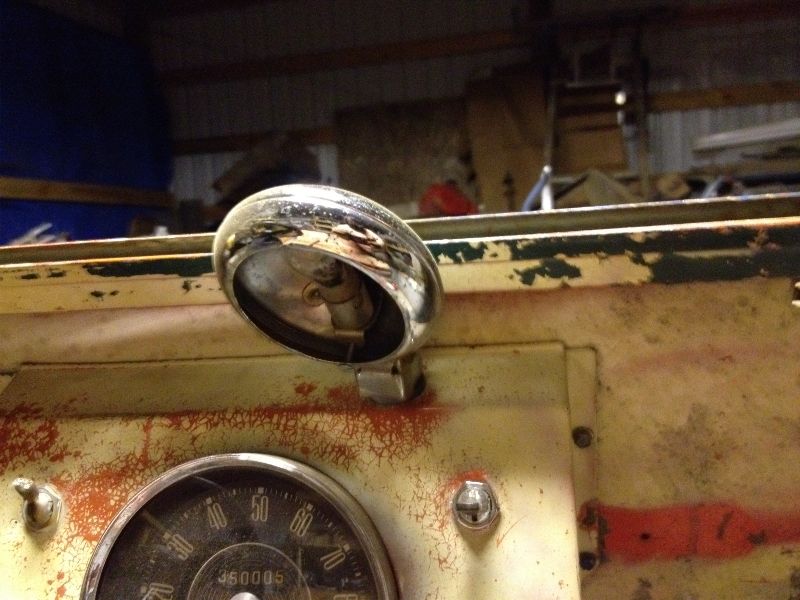
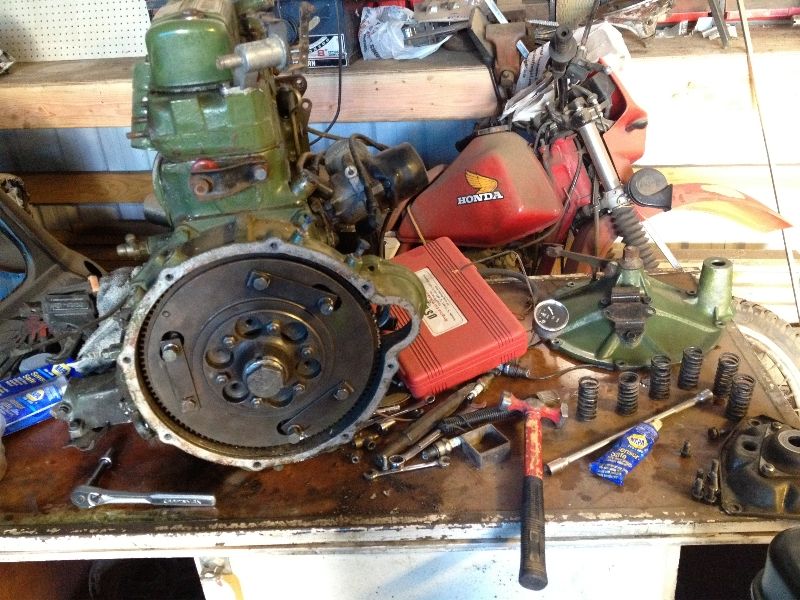
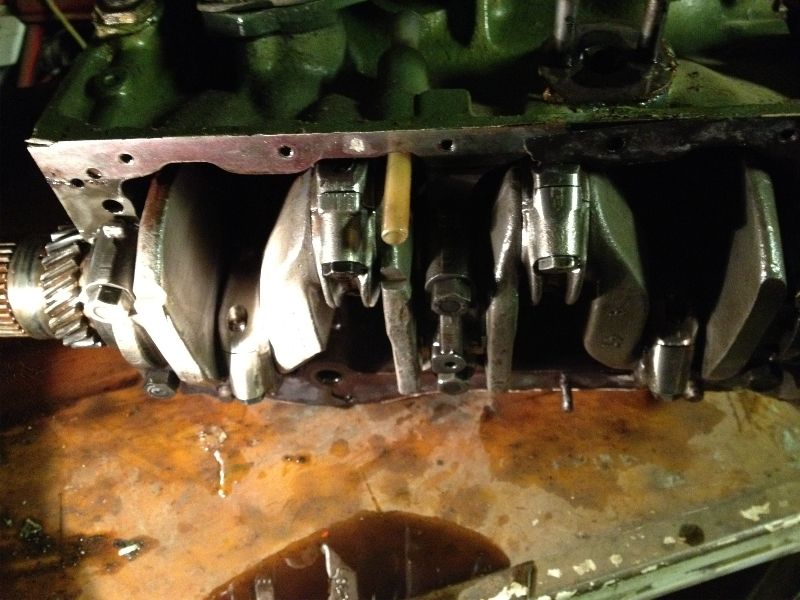
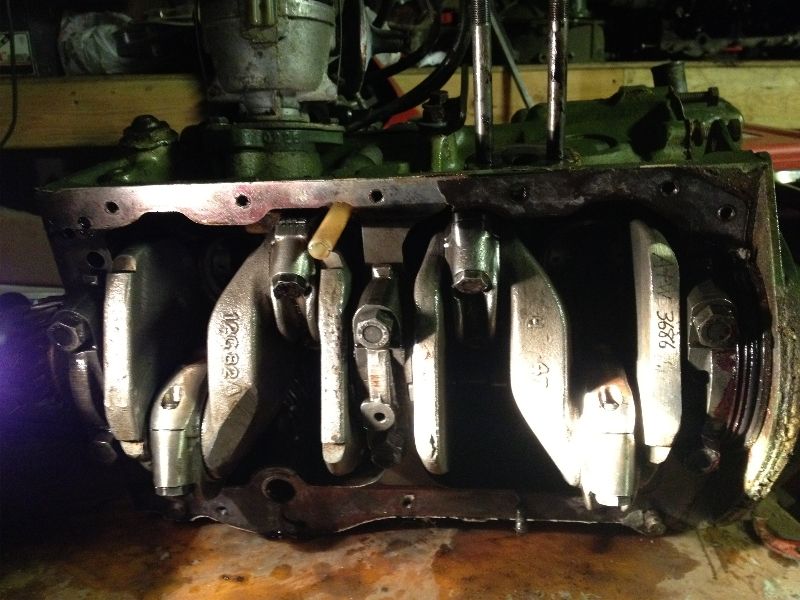
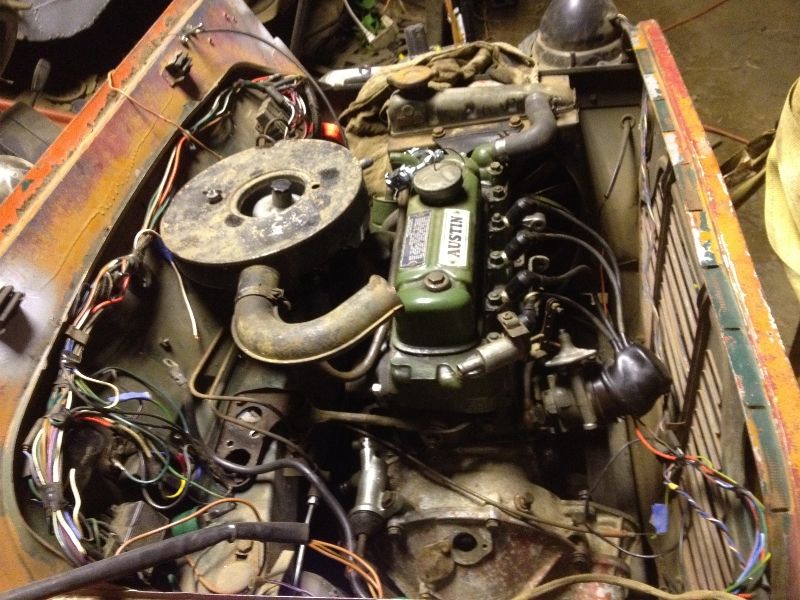
I have gotten my tires ordered and I am waiting for a clutch seal to allow me to finish assembling the 1100, I have however got some more jobs taken care of. Speaking of the 1100 I had a chance to glance in it's intake ports, they are nice and cleaned up :)

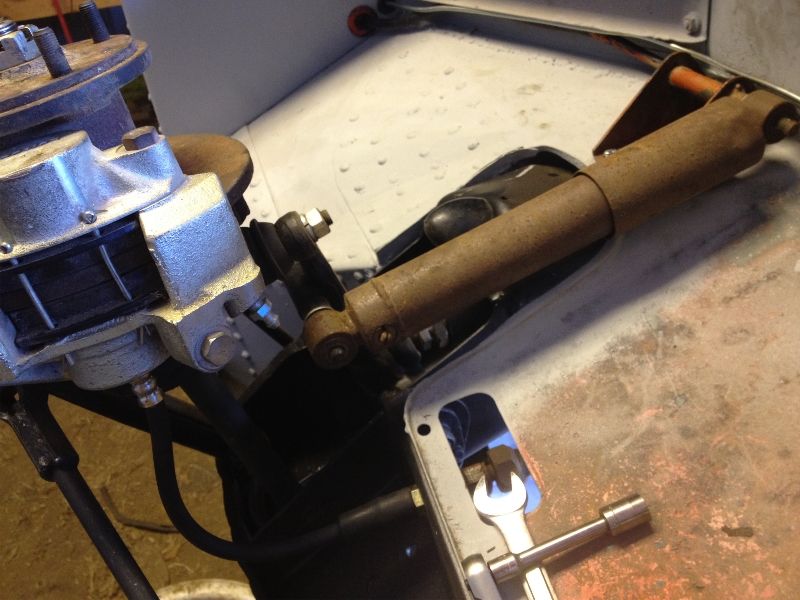
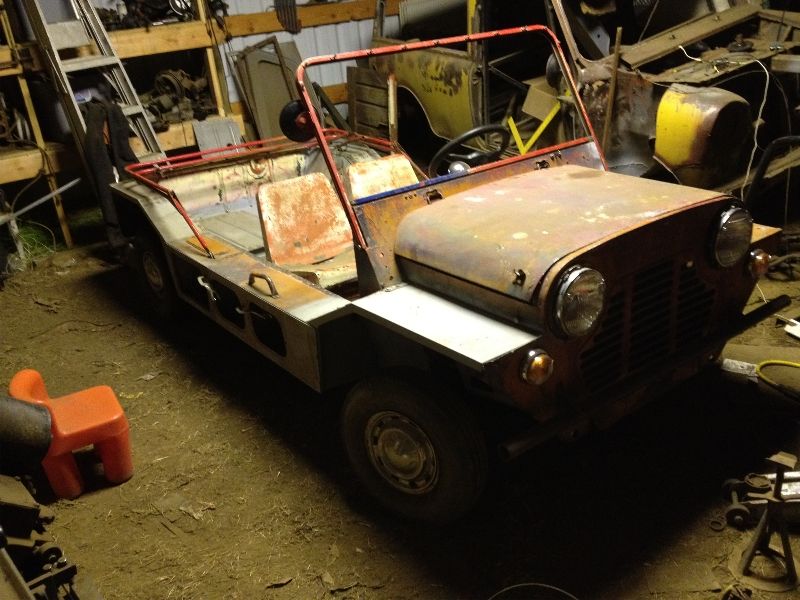
As for the jobs, I got my front shocks mounted, I have no idea what brand they are, they are some kind of adjustable ones and they seem rather long.. at least the back ones do. A friend said they might be spax "penny adjust" shocks.. but *shrug*
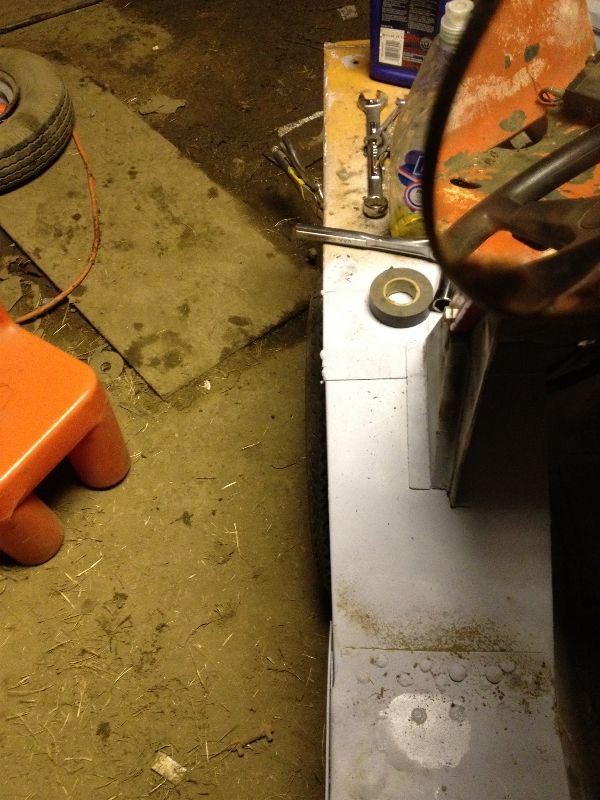
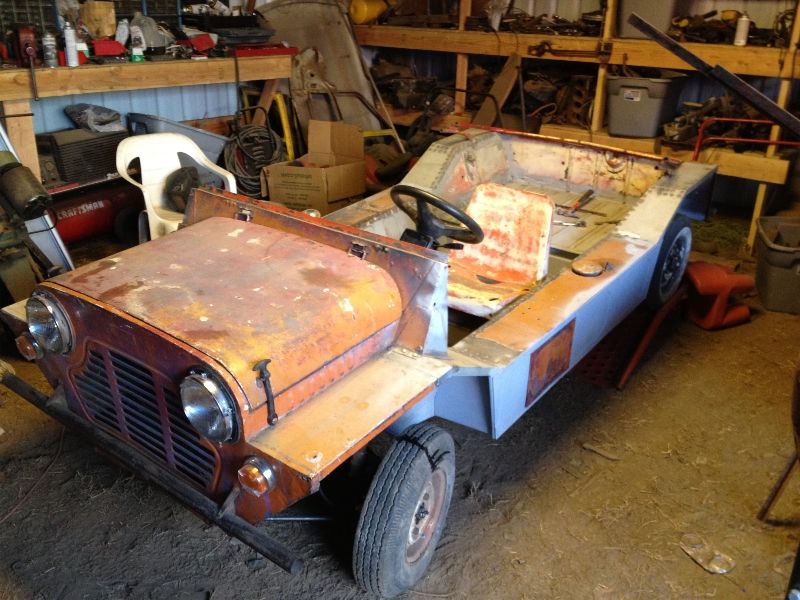
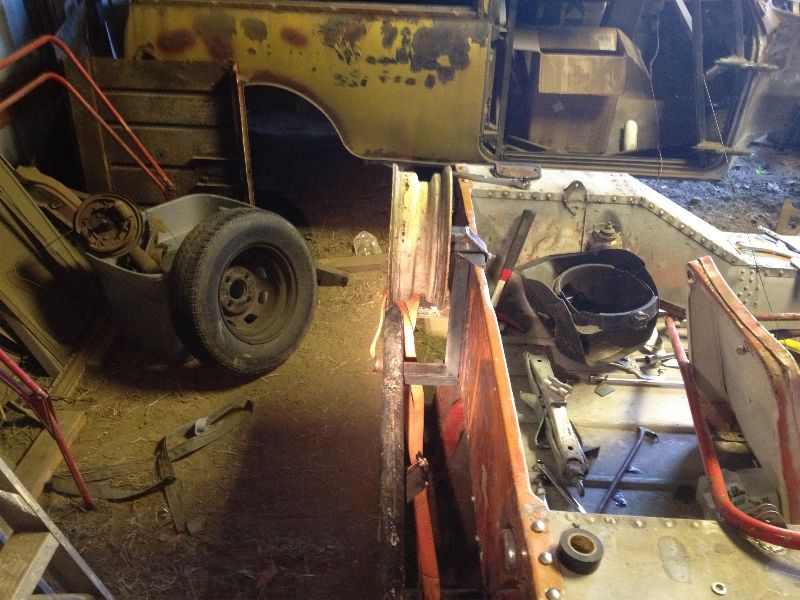
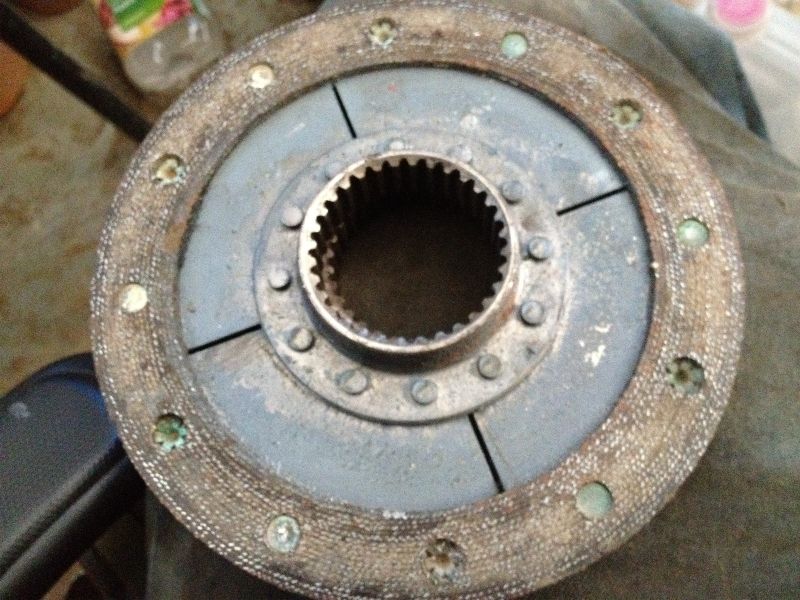
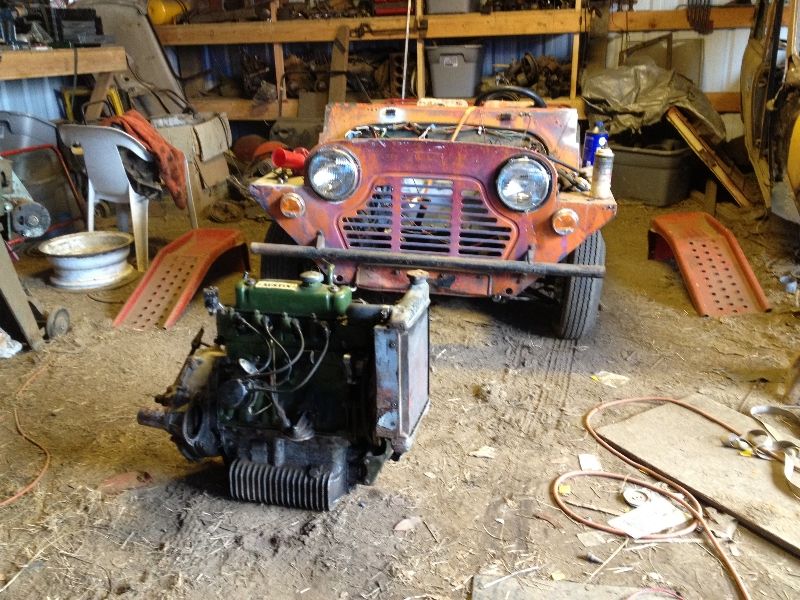
Oh and while I was in there.. I discovered a rather horrible issue. Apparently standard 3 1/2 inch wheels don't fit correctly with 'S' brakes! GAH! And I find this out AFTER I have tires ordered. Upon investigation they are hitting these lumps, you can just see the shiny spot.

So I have been forced to buy some thin spacers and get a little creative with the flap disk until I had no more interference. Now this might make some of you scream out in horror, but it will work out all right. Even modified slightly for clearance they are still by far better then rivet wheels! =)
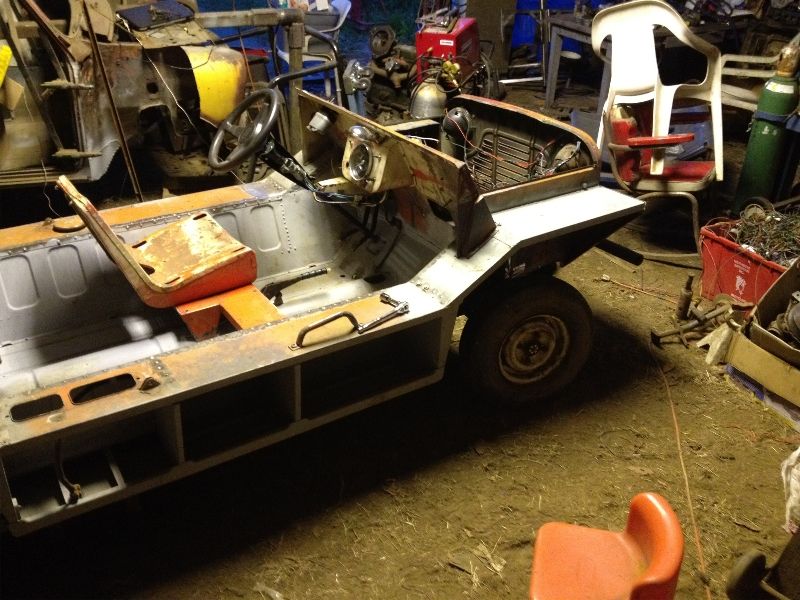
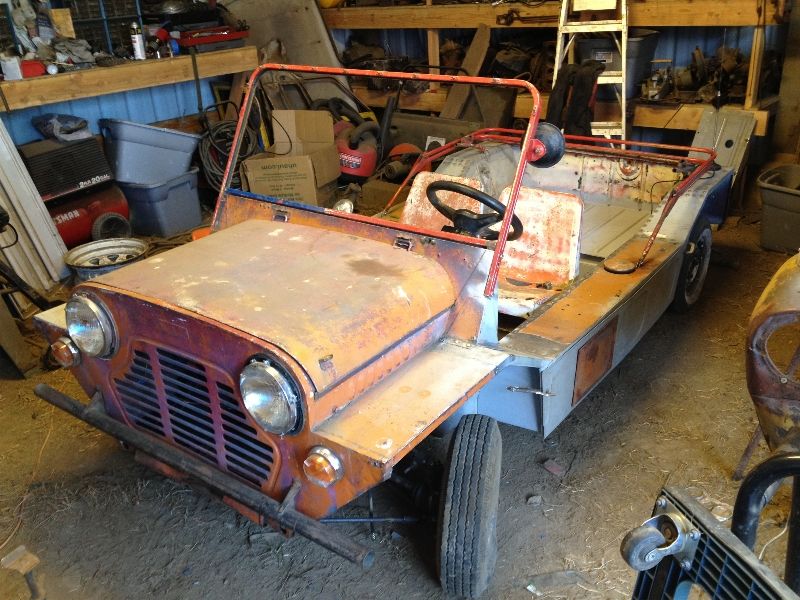
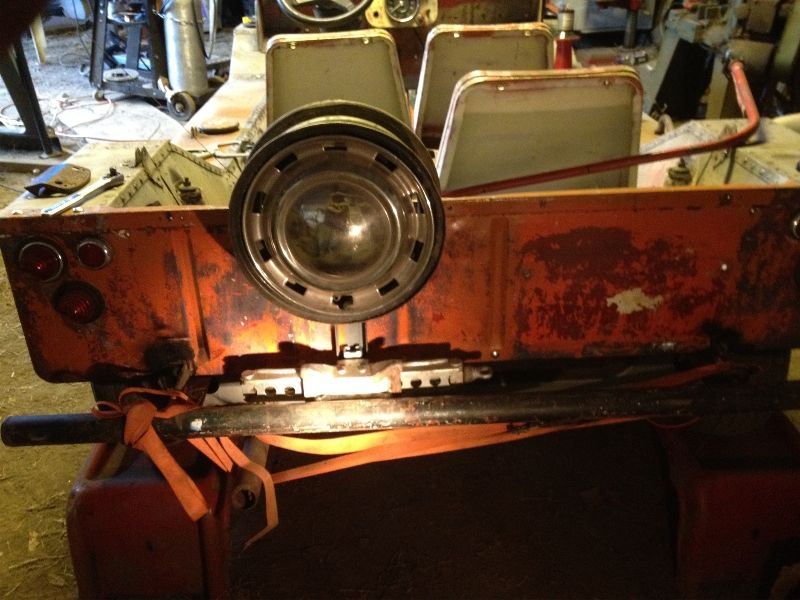
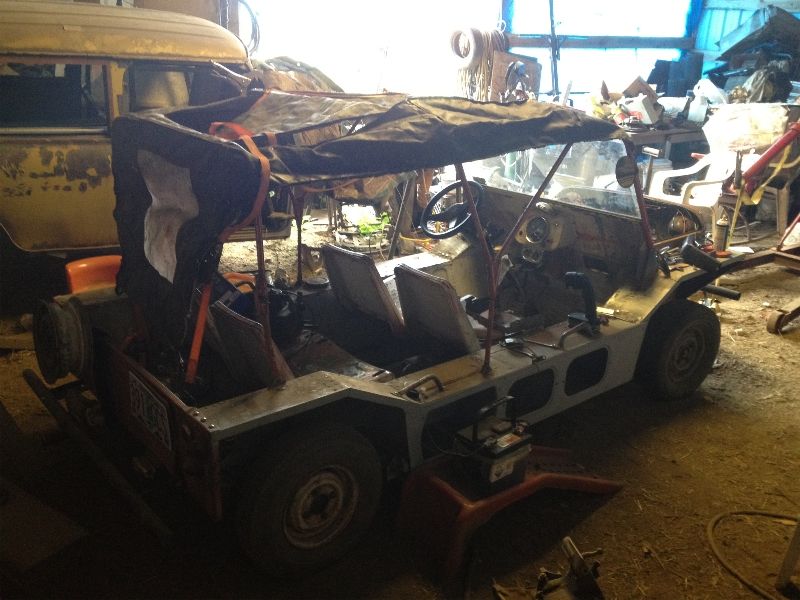
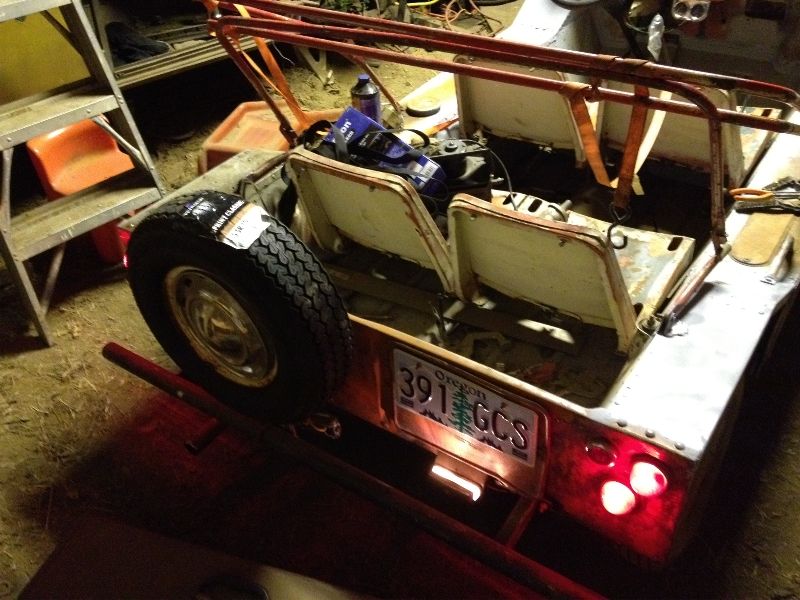
Another couple of projects I have been able to check off is rear bumper and pannier side plate mountings. Yeah yeah bolting them on and clearancing the wheels are somewhat bodgerific but it's just so I can get it on the road now and still get in there and clean up the side boxes later. The pannier sides will eventually be fully welded on!

Along with that I found some creative ways to bend more curve into the bonnet and have been able to get it where I can latch the hooks now... yay!
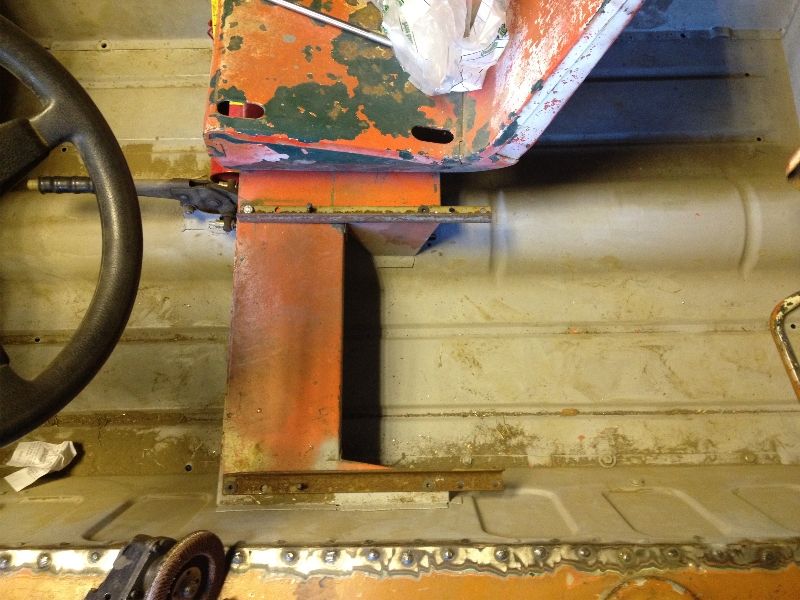
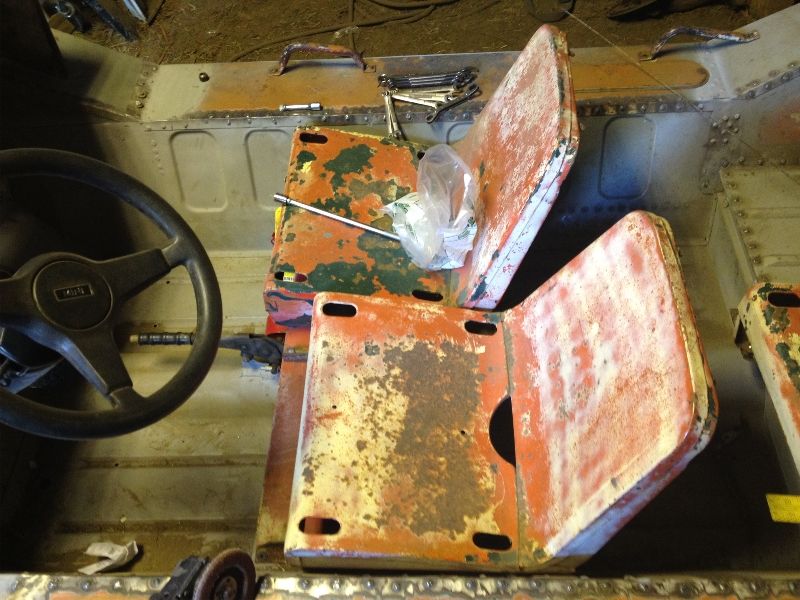
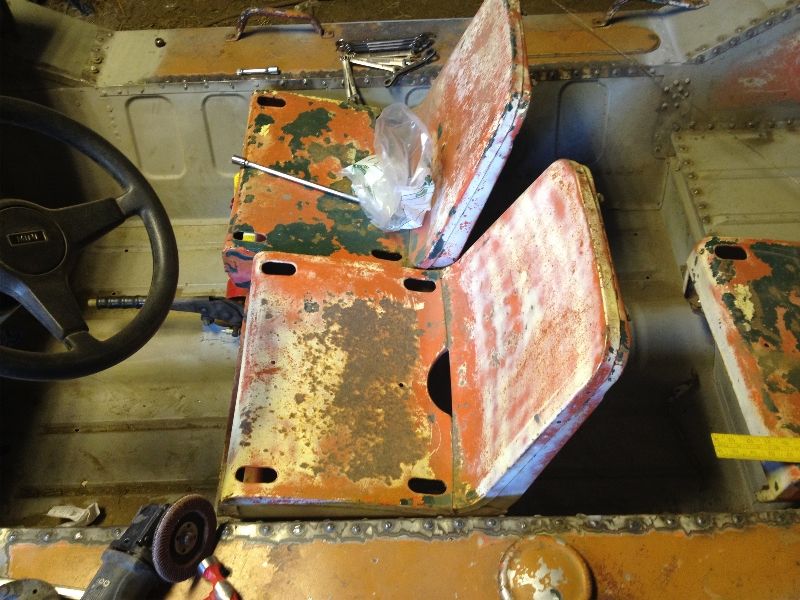
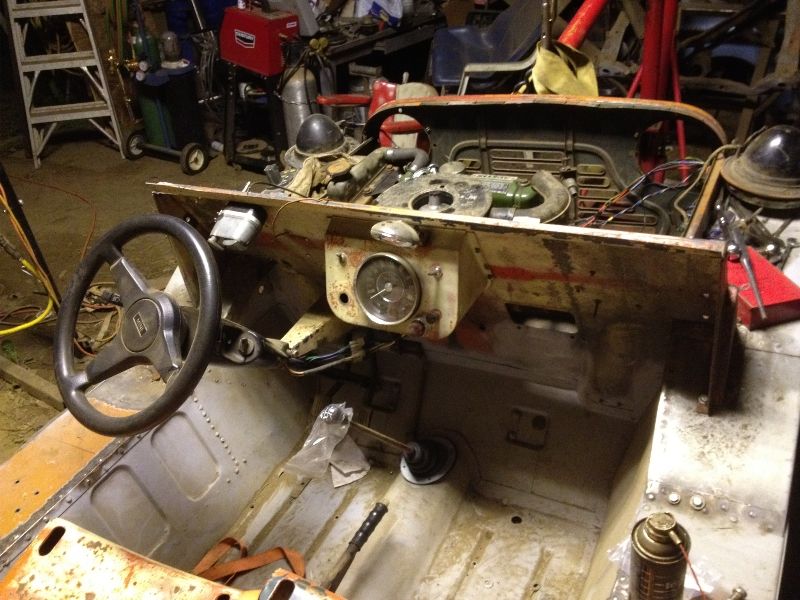
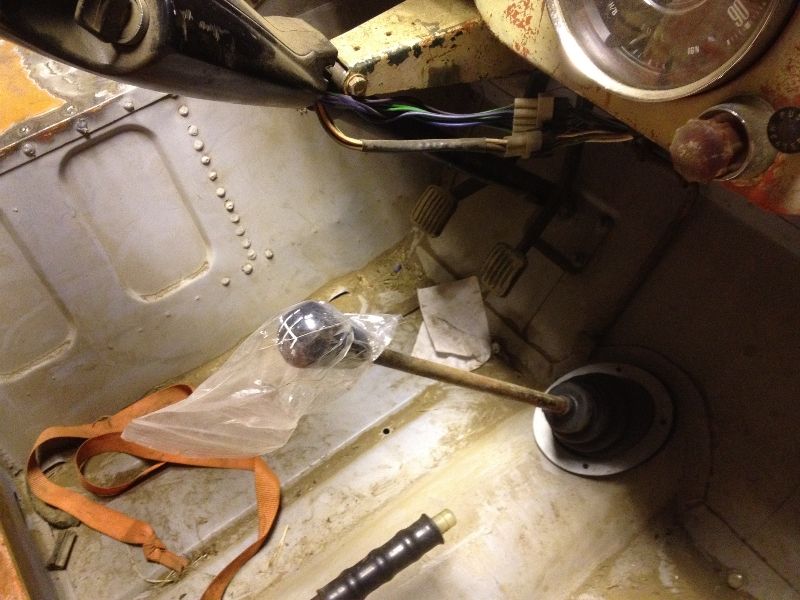
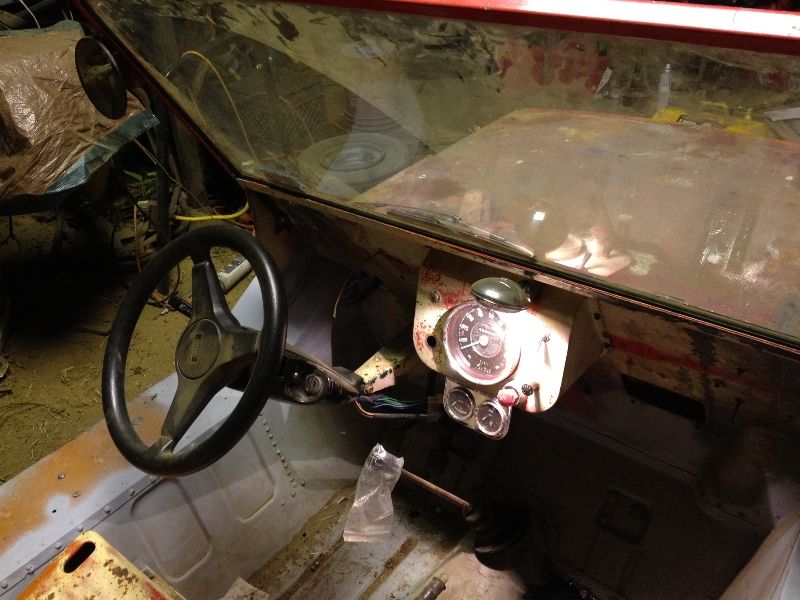
And the last bit for today.. another sort-of mod. Sort-of seeing as it actually doesn't mod the moke any and easily lets me move the seat back for a bit more adjustability. After thinking about it a bit I decided to use a couple pieces of angle iron a little over 13 inches long. I used angle iron as the 90 degree return strengthens the thin strip on the bottom which allows the strip to be thin so the seat is not raised by hardly any height compared to the passenger seat. It turned out quite well in the end, although I realized too late that I only needed 4-6 countersunk holes and not all of them countersunk :)
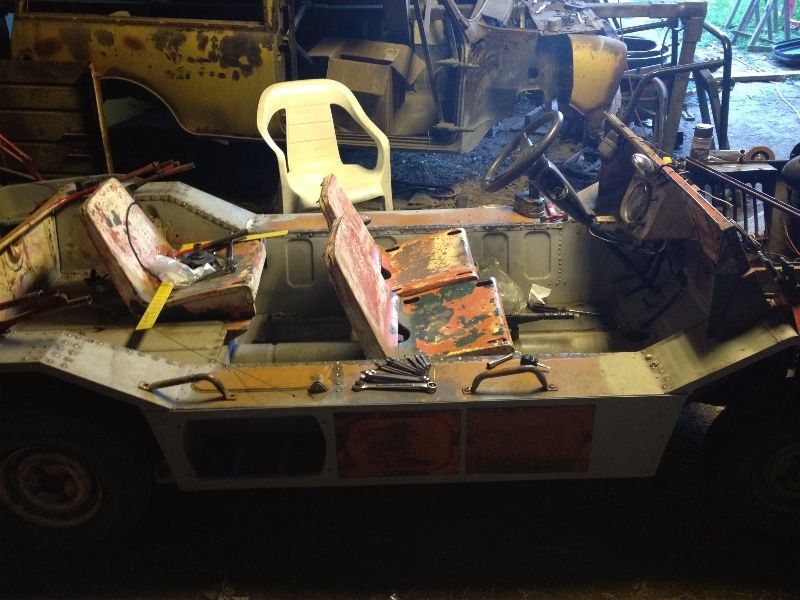
Driver seat set up in the rearmost adjustment point with both seats adjusted all the way back, rear passenger seat also all the way back.
Still at the rearmost adjustment point, but with the driver(LH) seat slid all the way forward, others are still slid back.
It works rather well and gives a ton of adjustability if I do say so myself :)
Here is one last view of it.. from the other side.
And with that I will call it a night... Tomorrow I plan to take my 5 bare rims up to be blasted and powder coated and likely pick up some steel for a spare tire mount, but that is later. :)
Chris


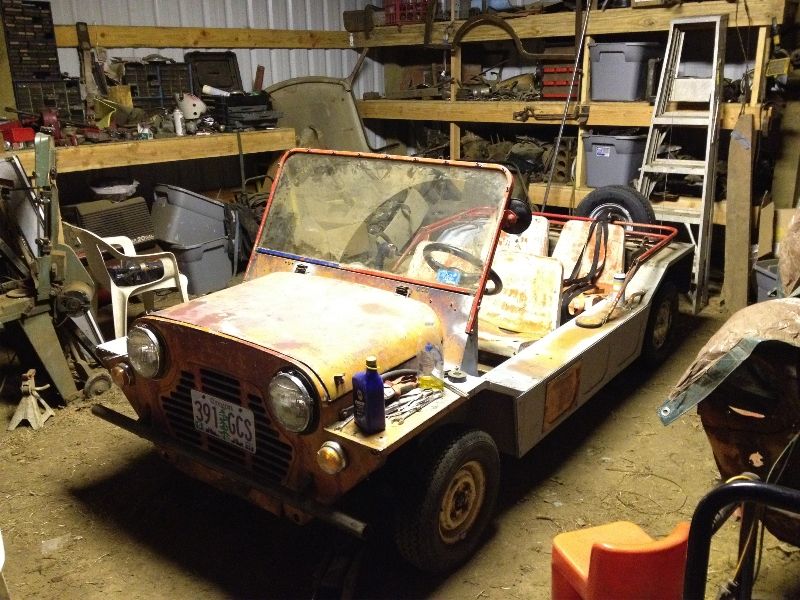
 But I have motivation.
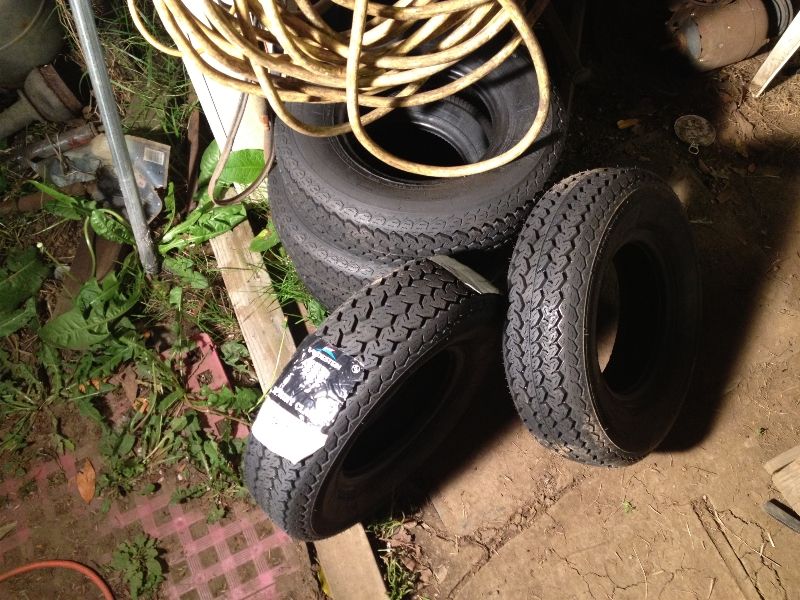


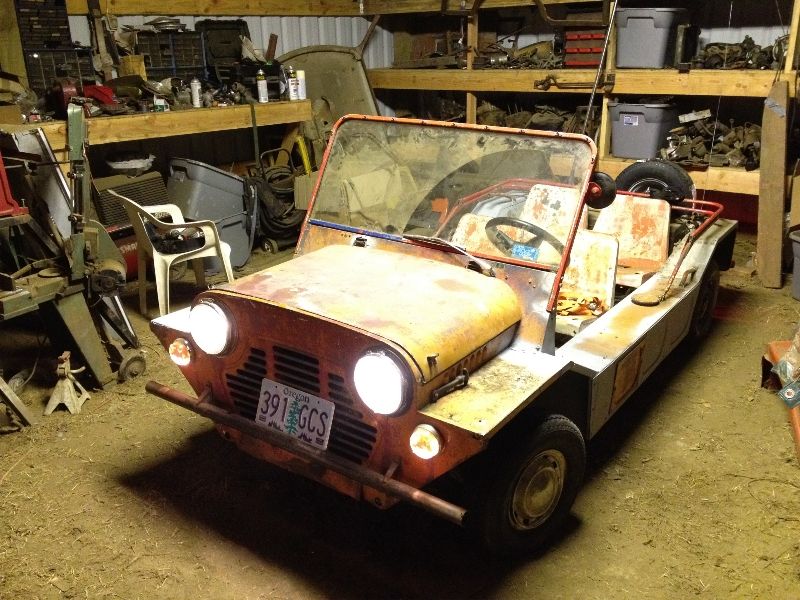
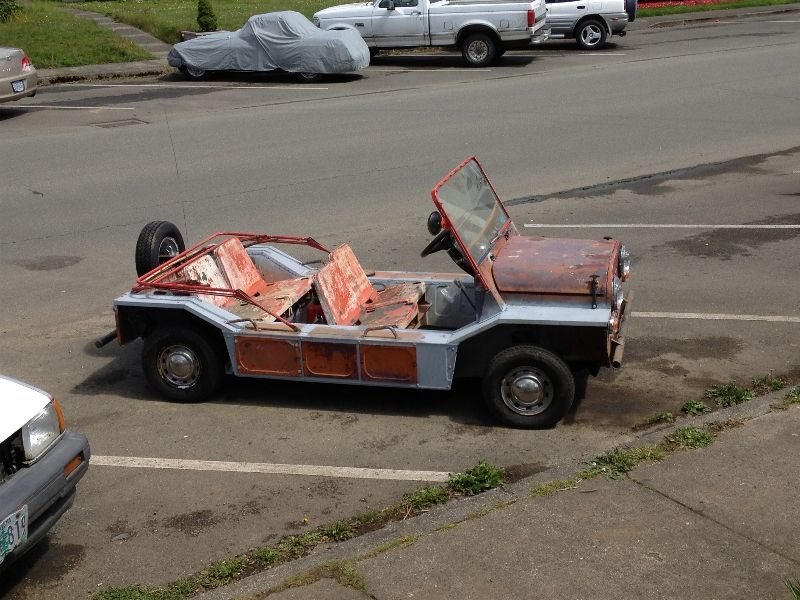
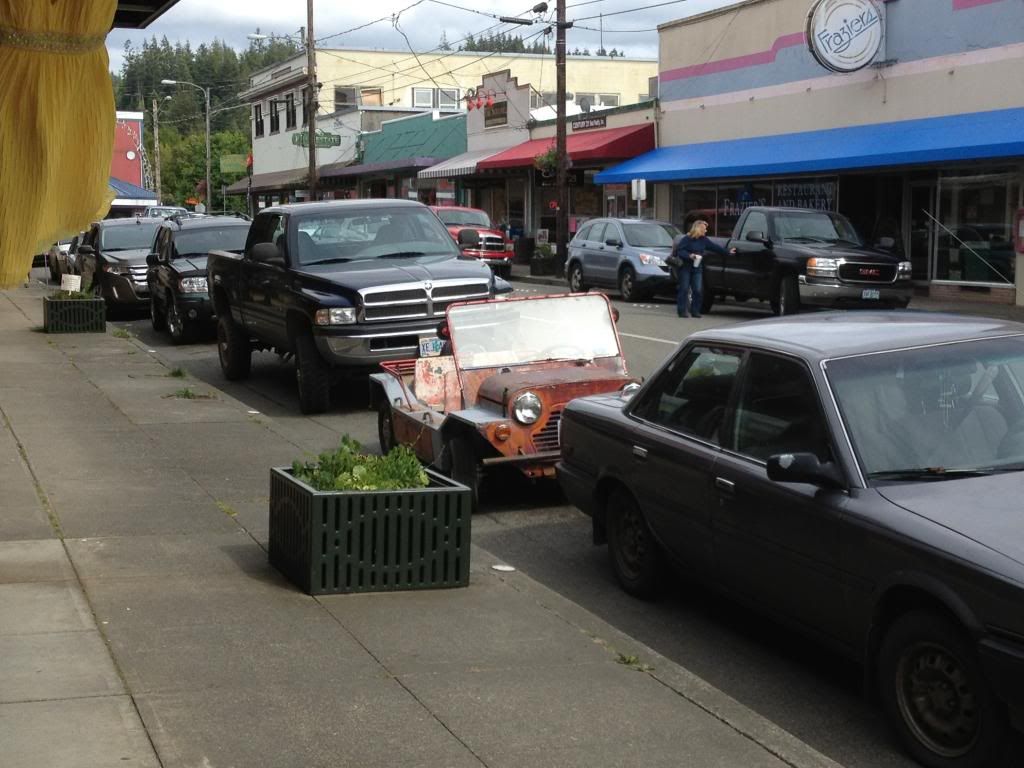
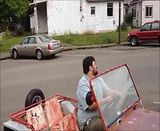
 ) I found it really easy to mount the 10 inch tires, easier then I had come to believe mounting car tires was. I have also... insured and registered it!! So I can make the test drives legally... minus the seat belts of course.. grandfathered cars are fun! lol