Jump to content


Photo
- - - - -

1960 Morris 850 And Friends


  • Please log in to reply
417 replies to this topic

#361 CLM

CLM

    One Carb Or Two?

  • Members
  • PipPipPipPipPipPipPip
  • 817 posts

Posted 07 April 2013 - 09:44 AM

Hey all, friendly neighborhood Rusty Moke Nut here!

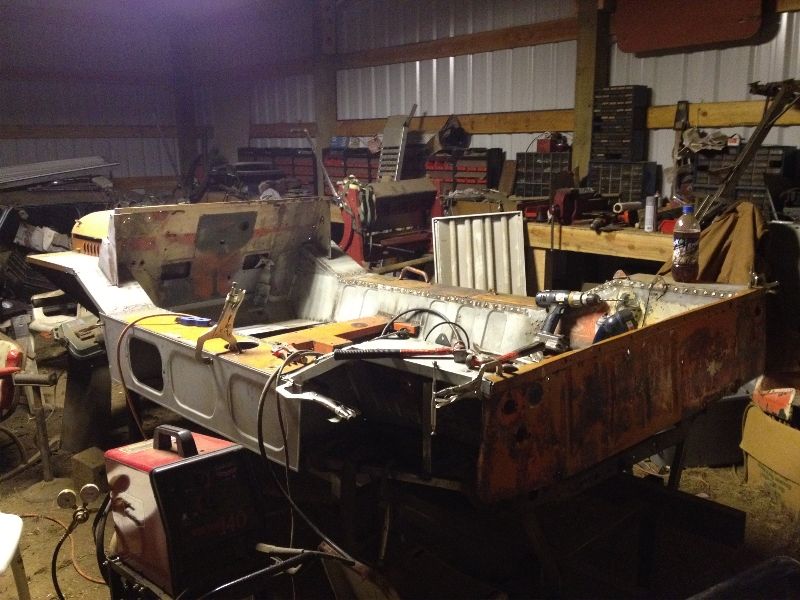
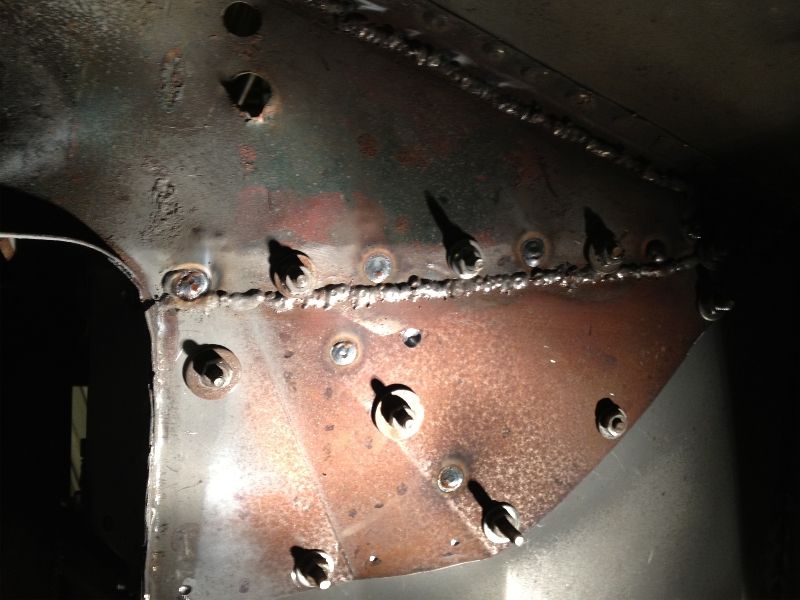
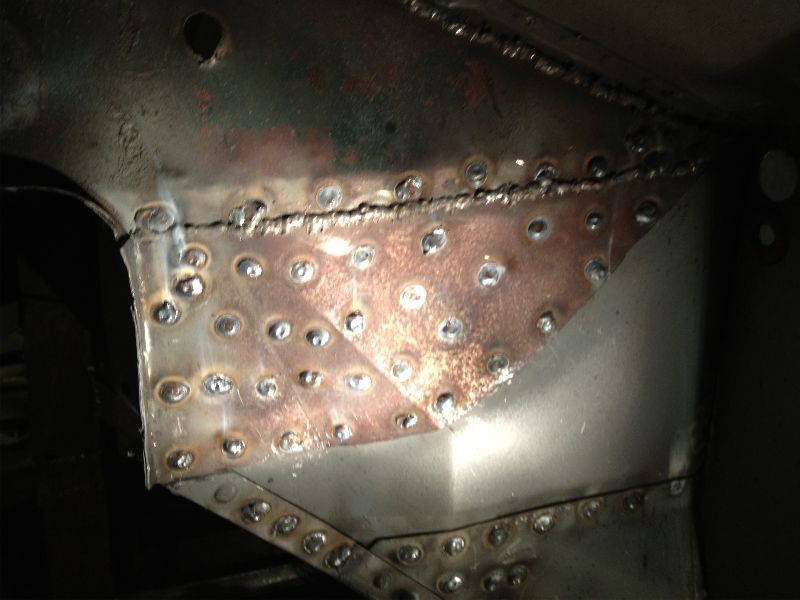
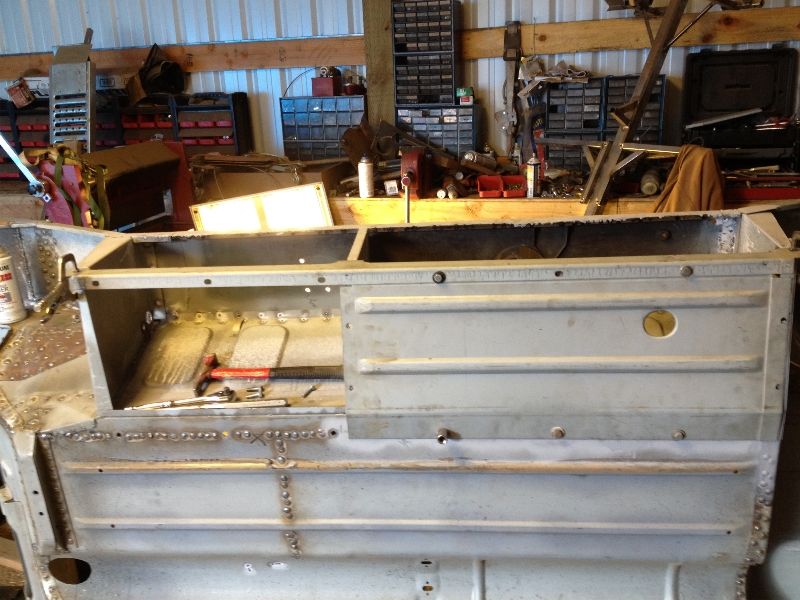
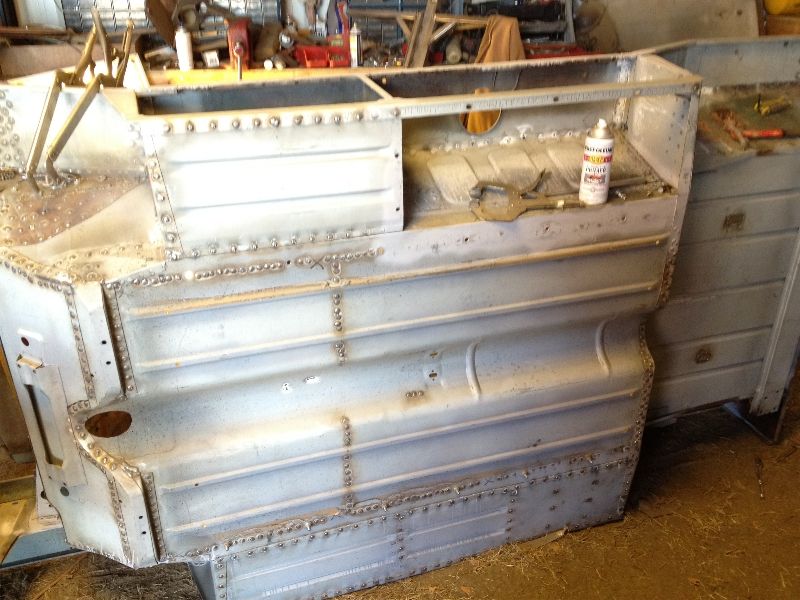
Like I mentioned last time I got both pannier tops welded in and then decided to seam weld the joint between the pannier top and the heelboard, It tuned out rather nice if I do say so myself... seeing as I had to cut out the seam weld massage panels around a bit more and then re-weld it. I didn't like how the pannier top was not lining up with the rear inner hull sides to my satisfaction.. And after fixing it and doing a bit of dress work I think it was work well spent!
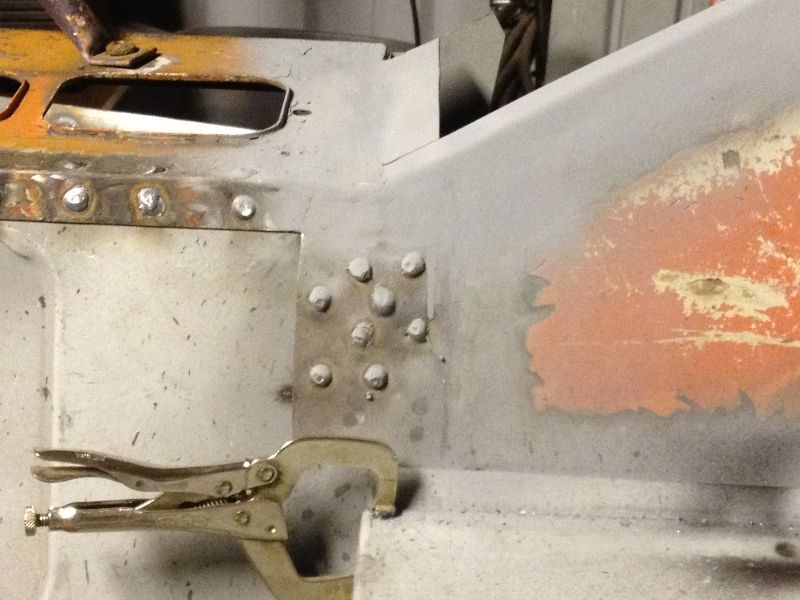
Posted Image

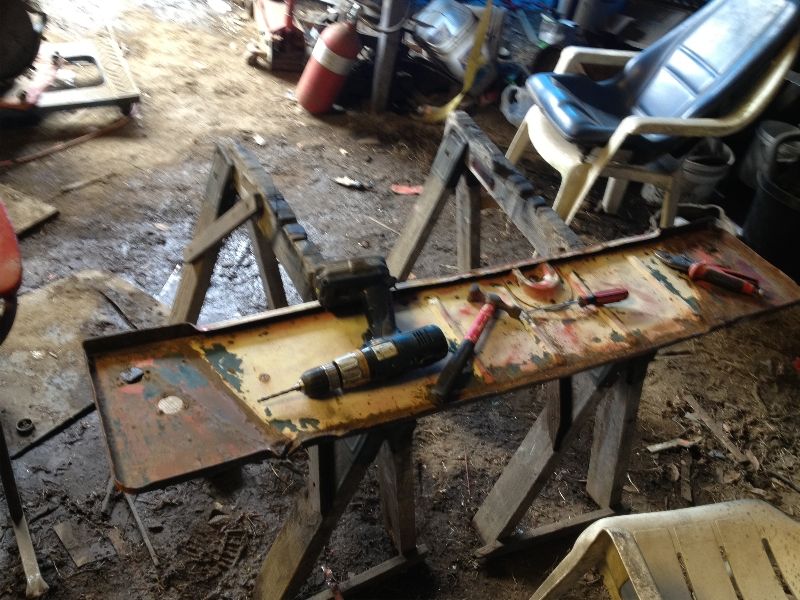
Along with that I was able to start tossing paint on the front subby as it has finally returned from the sand blaster and now is looking nice.
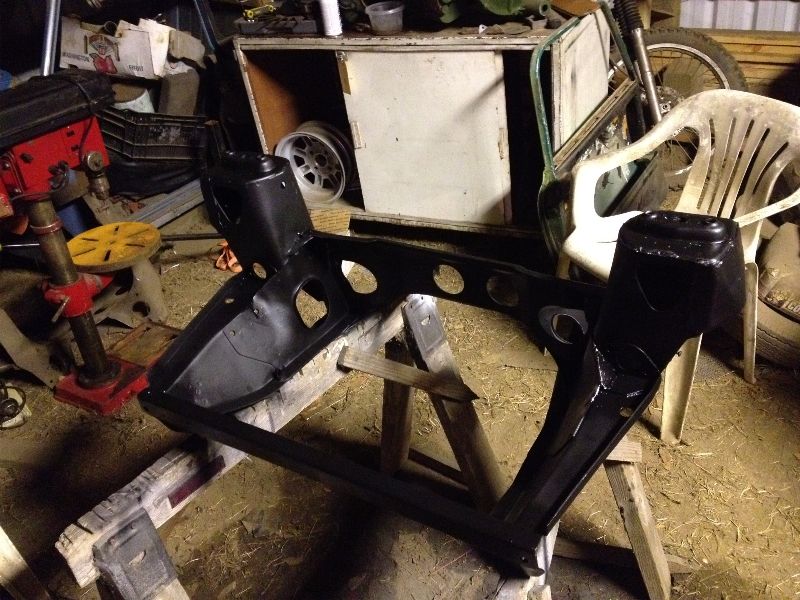
Posted Image

while digging around at moms house I found the seat I think I will use for a bit, it came from and is the only remaining part from a Honda FL400 Pilot. It's very comfortable but.. that blue is very loud!
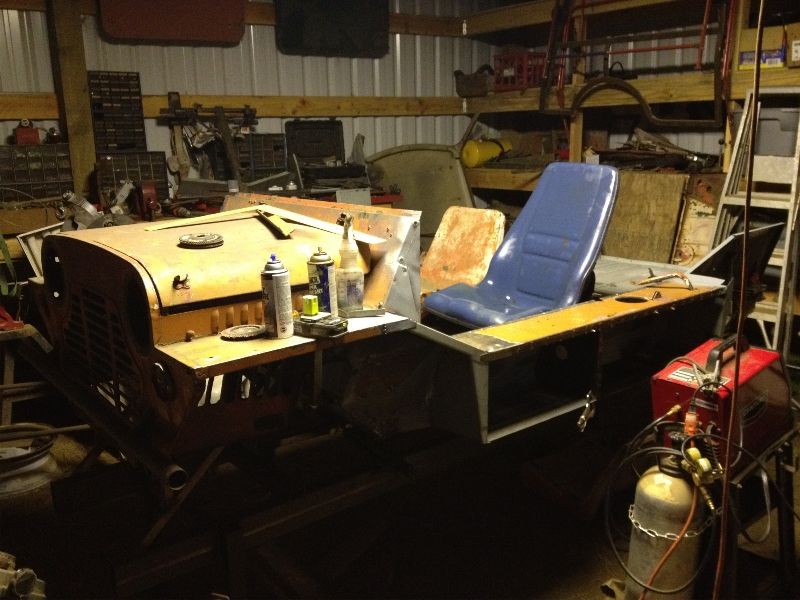
Posted Image

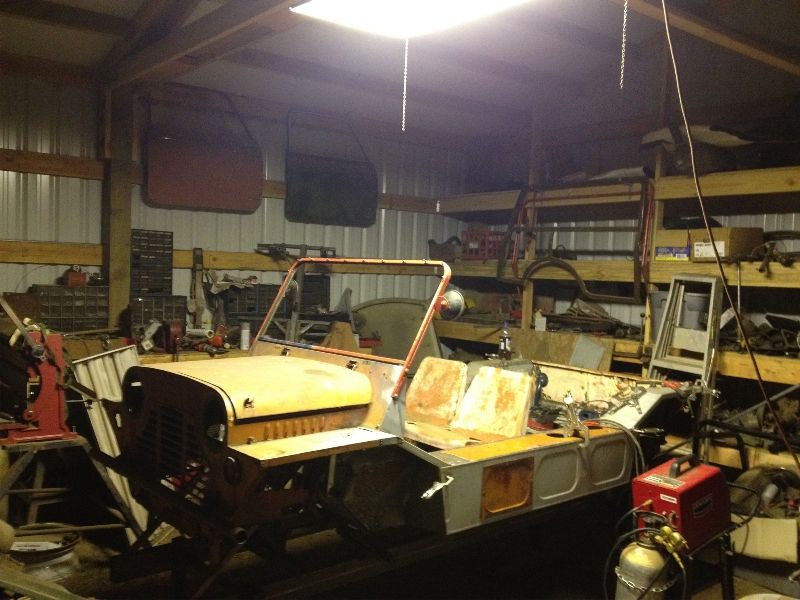
this morning when I got up I continued welding as I have been known to do lately and finished welding as much of the load floor in as I can reach from the top, more of the pannier tops, and fully welded on the LH rear wing after checking for true and square... Yes the little chair was what I used inside the moke to drill and weld the front of the load floor without having my legs go numb :P

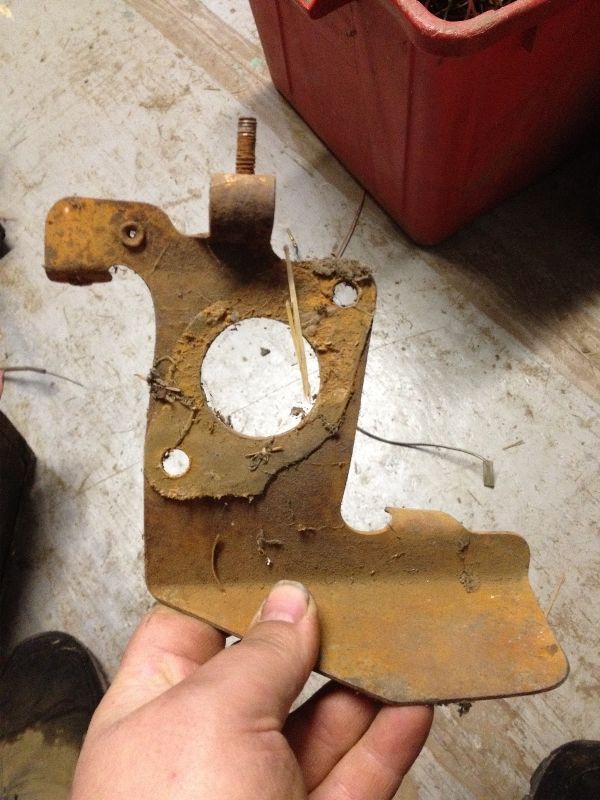
This thing seems closer and closer every day but yet further and further away, every job makes two more it seems. For example, I dug out my manifold and parts for the 1 1/2 SU I picked up recently.. and the only abutment plate I seem to have is this ugly thing... So now I need gaskets, spacer, and abutment plate before I can use this on the 1100... oh joy.
Posted Image

Until next time.
Friendly Neighborhood Rusty Moke Nut.
Chris

#362 CLM

CLM

    One Carb Or Two?

  • Members
  • PipPipPipPipPipPipPip
  • 817 posts

Posted 08 April 2013 - 04:23 AM

Well, just a quicky update this time, most of my work was fairly non-photogenic. I welded up the last rear wing and a portion of the RH pannier top, followed by cleaning up the edges of the pannier tops so I could Ospho them before priming. Once that was done I started cleaning up several bits that I will need to reuse like the rear seat outer front mounts, a reat top bow bracket and the rear panel. After doing some preliminary hammering on the rear panel I took and stuck it on the back of the moke as a test fit. It seems to look ok!

Posted Image

And then it hit me.. the urge to full blown mock-up... I couldn't help myself D:

Posted Image

It still needs a fair amount of welding under the front wings but it is ALMOST ready to leave the jig for the last time!

Woohoooo!

I might do more welding tonight >.<

The owner of a "rusty POS terd of moke" that is making a comeback
Chris
#363 jagman.2003

jagman.2003

    One Carb Or Two?

  • Members
  • PipPipPipPipPipPipPip
  • 1,307 posts
  • Location: In the shed.
  • Local Club: Owner of my own club of Minis

Posted 08 April 2013 - 07:13 AM

Excellent, looking like a Moke now. Nice to do the mock up just to remind yourself what your building, keep up the good work.

#364 CLM

CLM

    One Carb Or Two?

  • Members
  • PipPipPipPipPipPipPip
  • 817 posts

Posted 08 April 2013 - 09:50 AM

Thanks Jagman, I can't wait to get it off the jig!

Chris
#365 minifcd

minifcd

    Mini Mad

  • Members
  • PipPipPipPip
  • 246 posts
  • Location: Stamford

Posted 08 April 2013 - 11:01 PM

Stunning work and a really interesting read. This is one of my favourite projects at the moment and I look forward to reading more updates.

#366 CLM

CLM

    One Carb Or Two?

  • Members
  • PipPipPipPipPipPipPip
  • 817 posts

Posted 10 April 2013 - 08:22 AM

Thank you very much Scott!


Back with another update! The Jig has been discarded! Err.. But first...

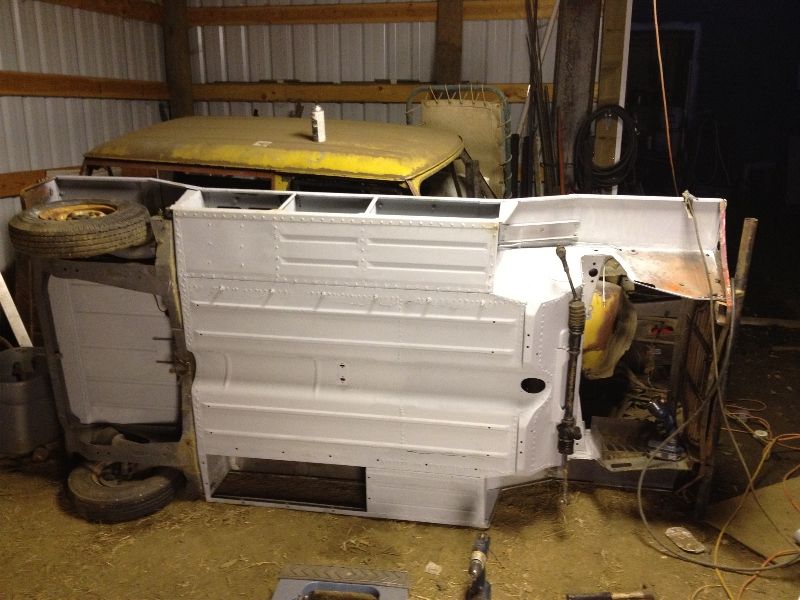
I had to work on the back panel so I could clean it up and bolt it on (yeah not weld, I plan to replace it in the future). Then last night I finished off my welding to the front flitch panels so the front was strong enough to be removed, I still need to weld along the front of the toeboard but had no access on the jig.

Posted Image

Posted Image

Posted Image

Let me just say... welding overhead under a fende... err.. wing is not fun! You tend to get hot burning sensations... often!

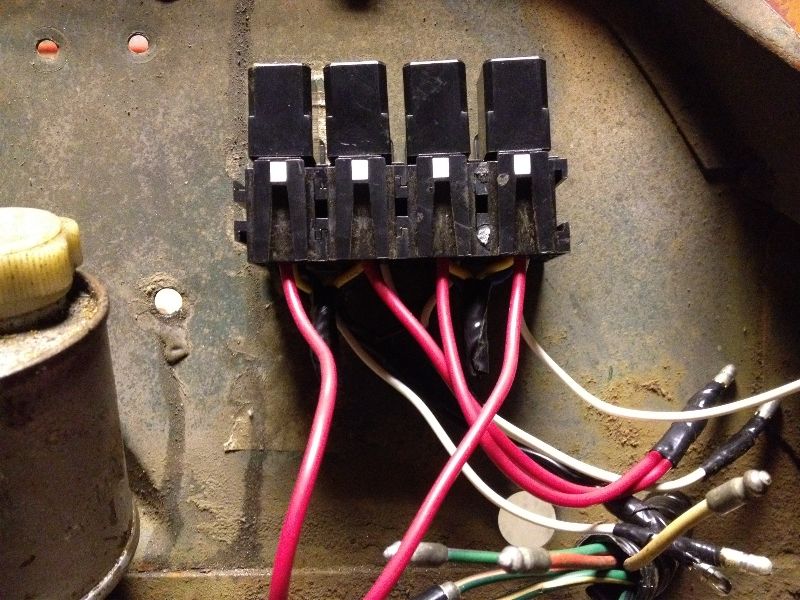
Oh I also received a bit to help out the wiring, my relays I had ordered and a bag of Lucas solder-less bullet connectors for my lights. Wheeee!

But where were we.. oh yeah...

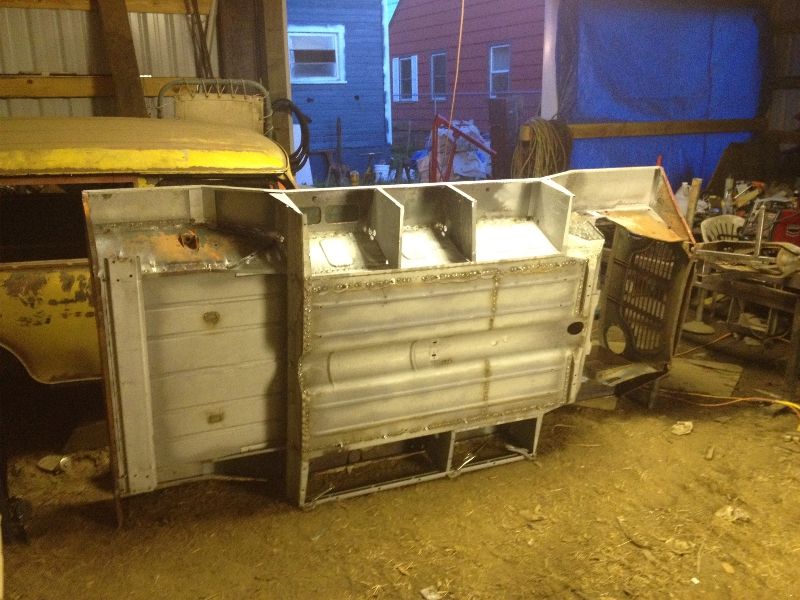
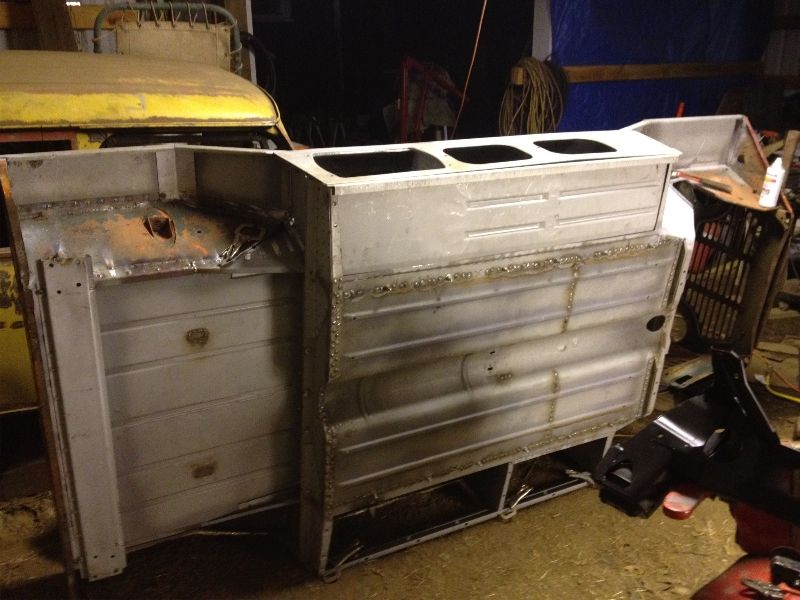
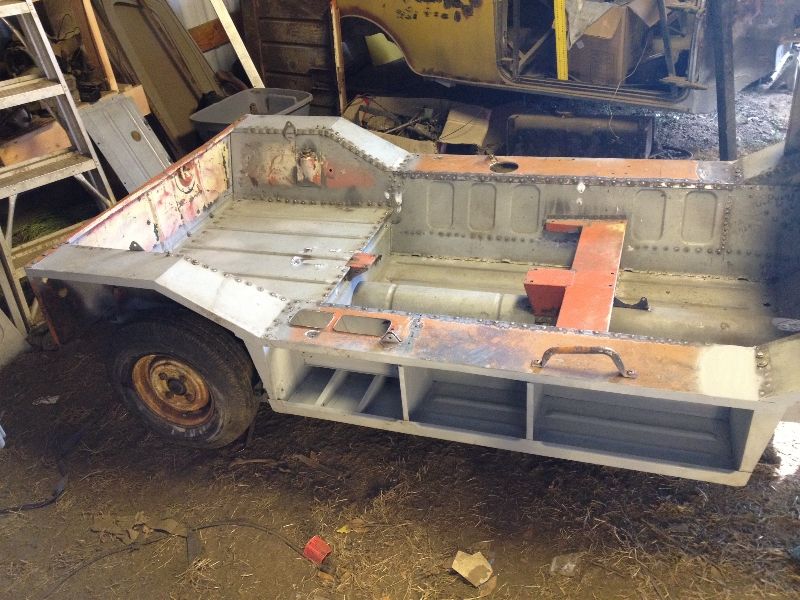
IT'S OFF THE JIG! Yay Woohoo *cough cough* Well now I can get to other spots that need work and assemble the side boxes :)

Posted Image

Posted Image

I will likely work on this side first and then move over to the other side to finish it off then drop it on subframes.

Until next time,
Chris
#367 CLM

CLM

    One Carb Or Two?

  • Members
  • PipPipPipPipPipPipPip
  • 817 posts

Posted 11 April 2013 - 06:55 AM


Minor update today... only because I forgot to take more pictures :D

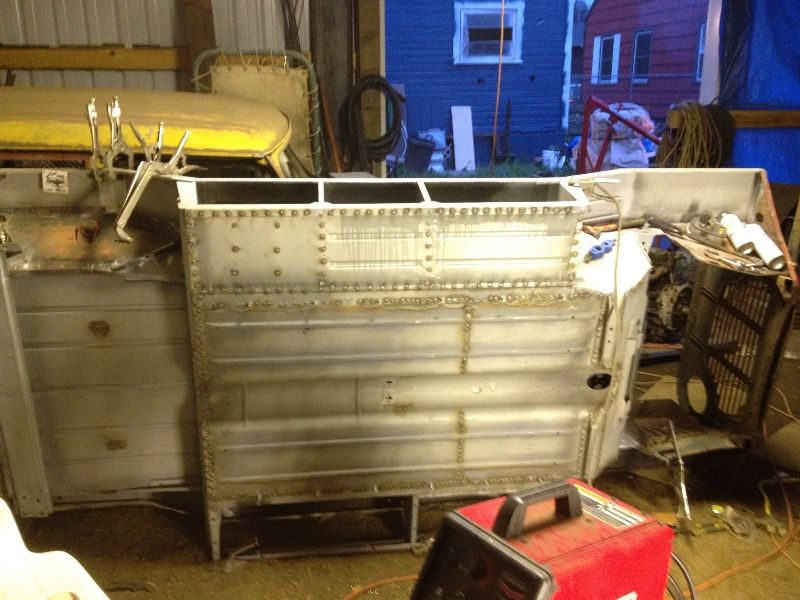
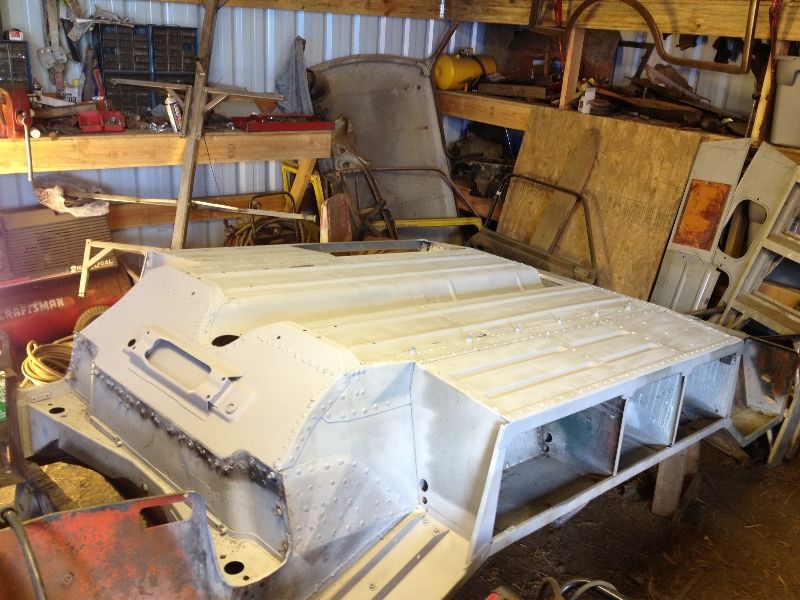
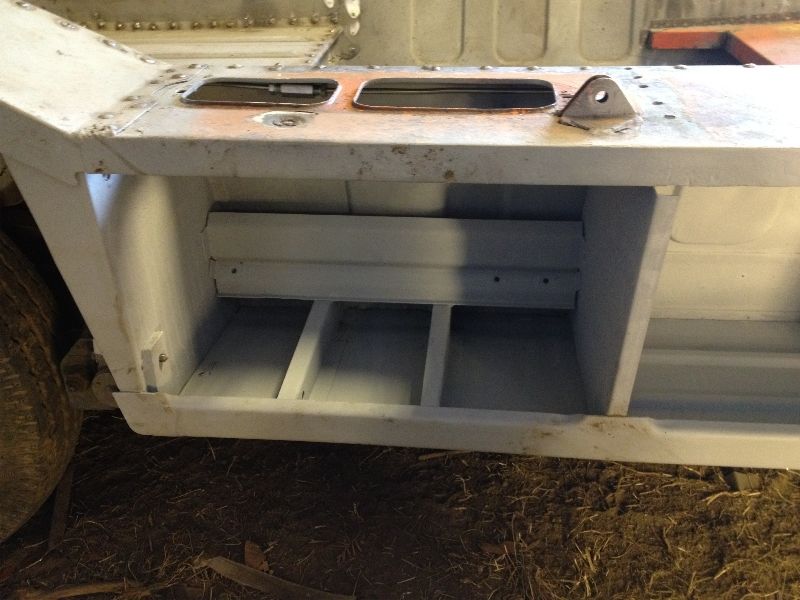
I did quite a bit of welding on the RH side of the moke today completely building up the battery box and rest of that pannier side with the exception of the side cover, that will only be bolted on for now.

Posted Image

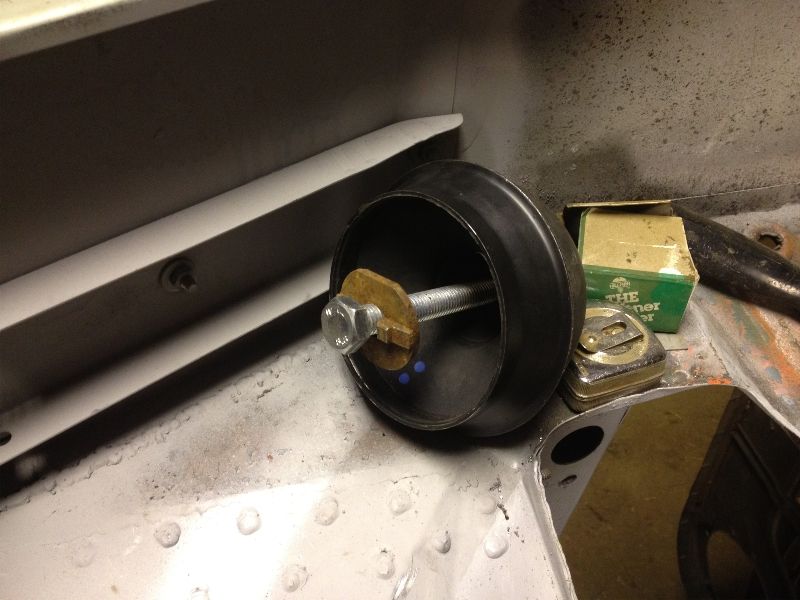
I also had to find a cone compressor to build up my front subframe, I managed to find a 14mm x 2mm pitch bolt long enough to install a cone in a subframe. $3.60 was MUCH cheaper then a real one :P

Posted Image

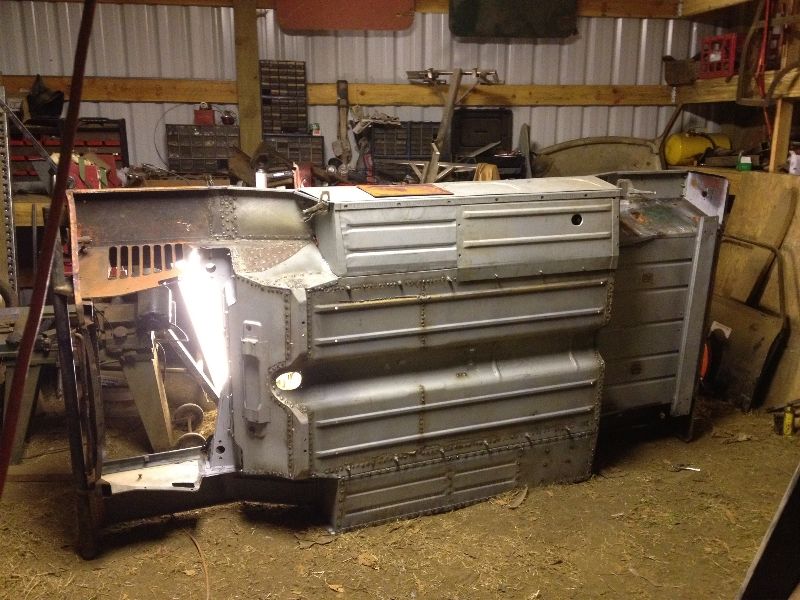
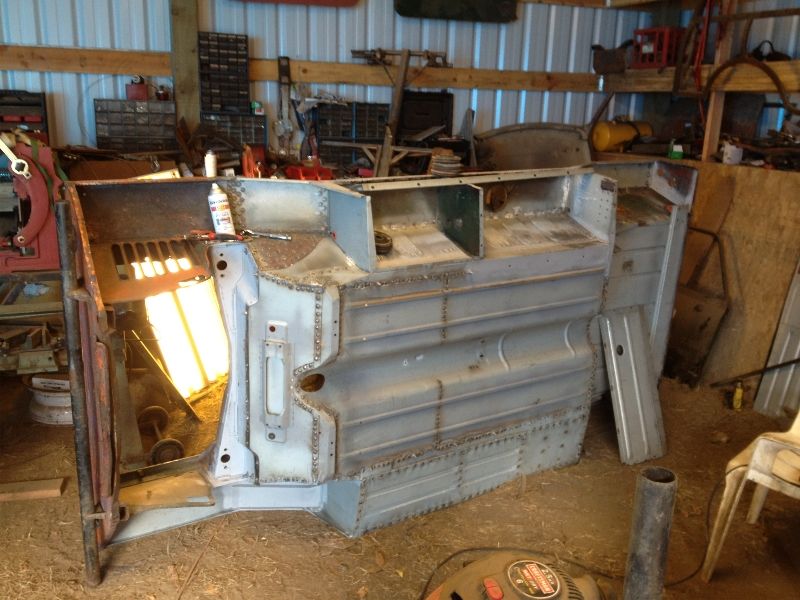
Tomorrow I plan to build up the pannier box on the LH side of the moke and several other projects including finishing the welding on the toeboard and heelboard, and it may even go so far as to building the panel I need to install the rear seats! Pfft who needs rear seats anyways ;)

Posted Image

Until next update
The Manic Moker
Chris
Edited by CLM, 11 April 2013 - 06:56 AM.


#368 jagman.2003

jagman.2003

    One Carb Or Two?

  • Members
  • PipPipPipPipPipPipPip
  • 1,307 posts
  • Location: In the shed.
  • Local Club: Owner of my own club of Minis
Posted 11 April 2013 - 07:38 AM

Excellent work, really coming together now.

#369 hughJ

hughJ

    Soldiering Along

  • Members
  • PipPipPipPipPipPipPip
  • 727 posts
  • Location: Highlands, Scotland

Posted 11 April 2013 - 06:26 PM

Chris you are blasting this one!! Great to see you not carefully removing panels from one Mini to use on another. My heart used to break for you. It is looking great. Going to be such a sweet car!

Hugh

#370 CLM

CLM

    One Carb Or Two?

  • Members
  • PipPipPipPipPipPipPip
  • 817 posts

Posted 11 April 2013 - 07:25 PM

Uh.. But I did exactly that Hugh! I saved as many as was financially feasible... I just don't have too many mokes laying around for donor parts lol

It costs more time then money to do it that way, but time I have. And the moke panels from m-parts were deceptively cheap compared to regular mini panels and I went a little... overboard!

Chris

Edited by CLM, 11 April 2013 - 07:27 PM.


#371 CLM

CLM

    One Carb Or Two?

  • Members
  • PipPipPipPipPipPipPip
  • 817 posts

Posted 14 April 2013 - 08:46 AM

It has been a few tiring days since my last post, as I stated I intended to build up the other pannier side. This required first grinding off all the welds where the tank cover bolts so I could bolt it on and square everything up.

Posted Image

Once the cover was in place I drilled out the heelboard for the fasteners and tack welded the divider in place in line with the cover. Once that was done I lined up the new floor so I could make matching holes in the new floor section and once everything was lined up it got welded into the dividers and the floor followed with the outer sill panel being welded on.

Posted Image

Posted Image

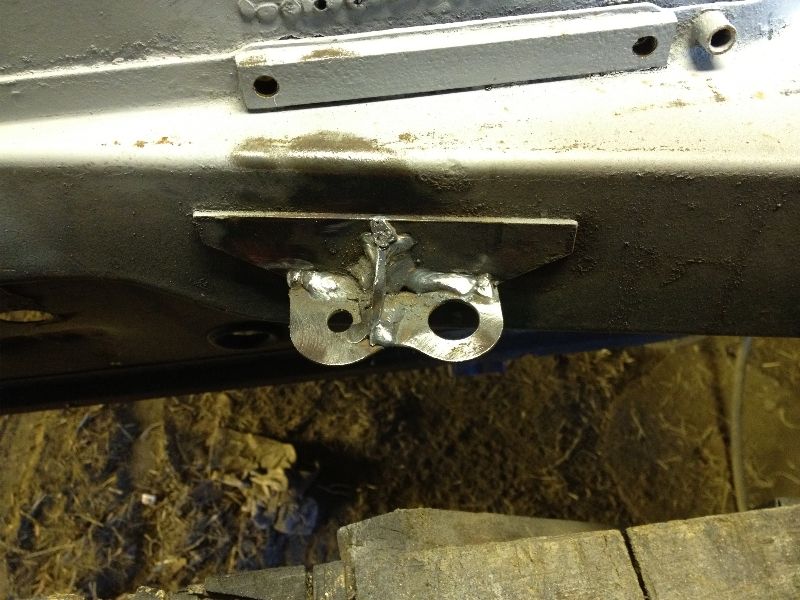
I also bodged the engine steady back together at that point... I used a section of 1/8 inch plate to form a triangular gusset and seam welded everything together, it was an awkward weld to do buried in the engine bay but it appears well strong enough.

Posted Image

And then proceeded to create a hole in the ozone layer putting Rustoleum automotive primer on the bottom of the moke.

Posted Image

This primer, while cheap seems to hold up well, I have some on the A post of my van which has been out in the weather for almost two years with no rust.

Posted Image

Next step is to do was start bolting things on... !!!

Posted Image

OMG It's on wheels (well two of them..)
Posted Image

Oh and the battery box looks good :)
Posted Image

Working on assembling the front end right now along with soo many other things... >.<

Chris

#372 ba-tat

ba-tat

    Stage One Kit Fitted

  • Noobies
  • PipPipPip
  • 53 posts

Posted 14 April 2013 - 06:44 PM

Love this thread (manic moker is the best name so far!)

#373 CLM

CLM

    One Carb Or Two?

  • Members
  • PipPipPipPipPipPipPip
  • 817 posts

Posted 14 April 2013 - 11:58 PM

Thank you! The Rust Phoenix should be rolling sometime in may in all of it's primered glory :)

Chris

#374 CLM

CLM

    One Carb Or Two?

  • Members
  • PipPipPipPipPipPipPip
  • 817 posts

Posted 18 April 2013 - 09:36 AM

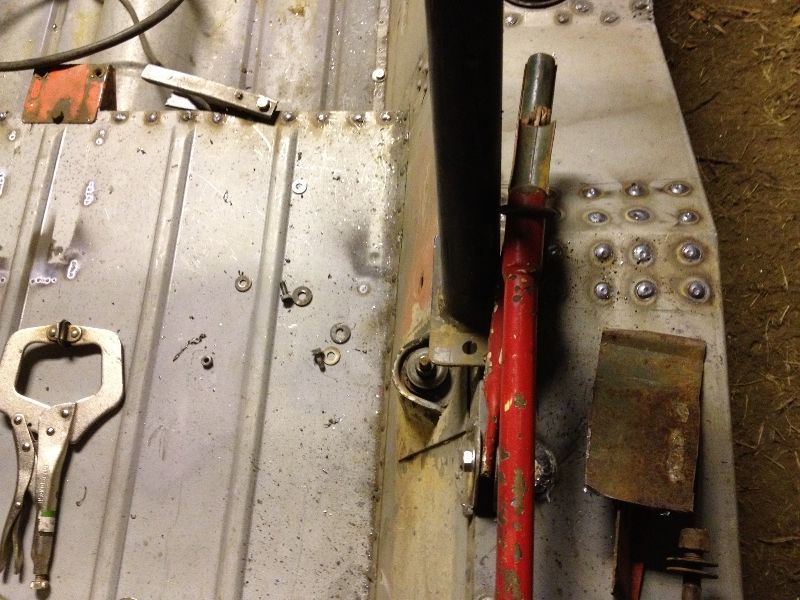
It's been kind of slow lately but things seem to be creeping along. I had an idea on how to mount the roll bar and use my top bows at the same time.

Posted Image

I have decided to pull the rear feet in towards the center and build some brackets that wrap around the edges of the wing so they both fit :)

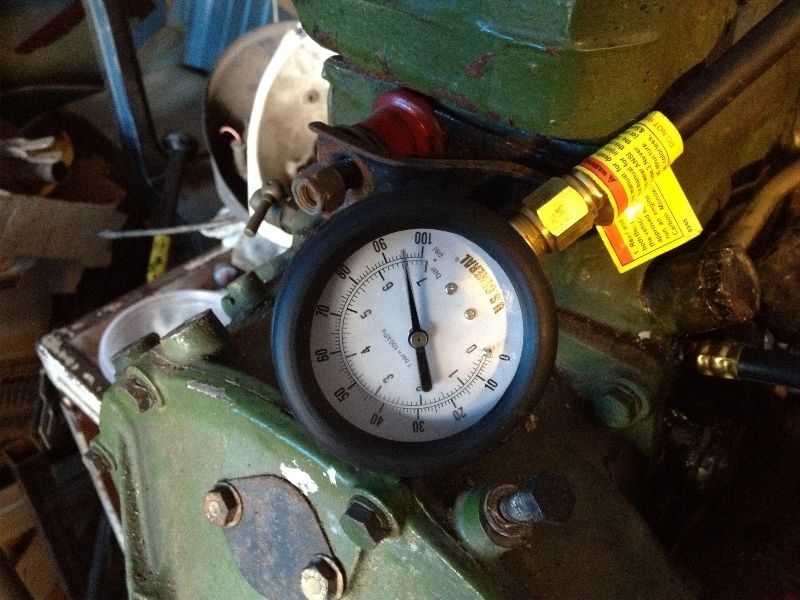
On some other news, I tested the oil pressure on the 1100... I will let the picture explain.

Posted Image

It seems to be a fair amount for cold oil but eh. I guess it will work for hopefully 500 miles :)

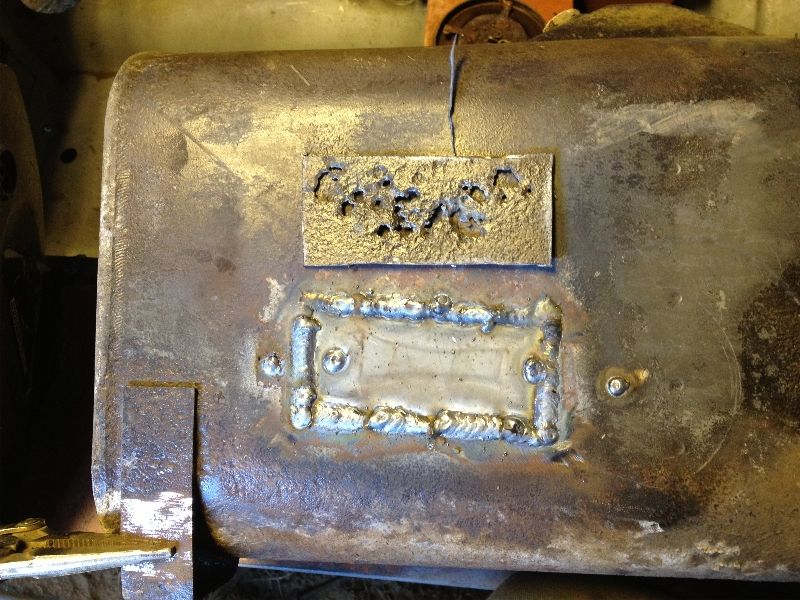
I also went ahead and welded up the fuel tank.. scary but seems to have worked although I need to rebuild one of the mounting feet now.

Posted Image

Following that I did a rough mod on the idea I have had for a while.. the "blow your mind/why hasn't someone done this before?" mod.

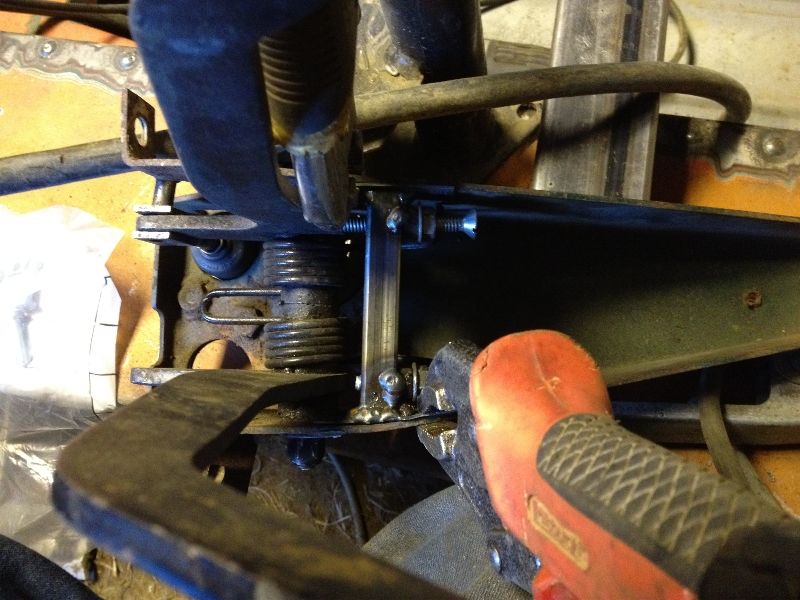
First, build a bar that can bridge across the front of the pedals.

Posted Image

Next add some screws that can adjust the stop point of pedals so they don't spring back too far.

Posted Image

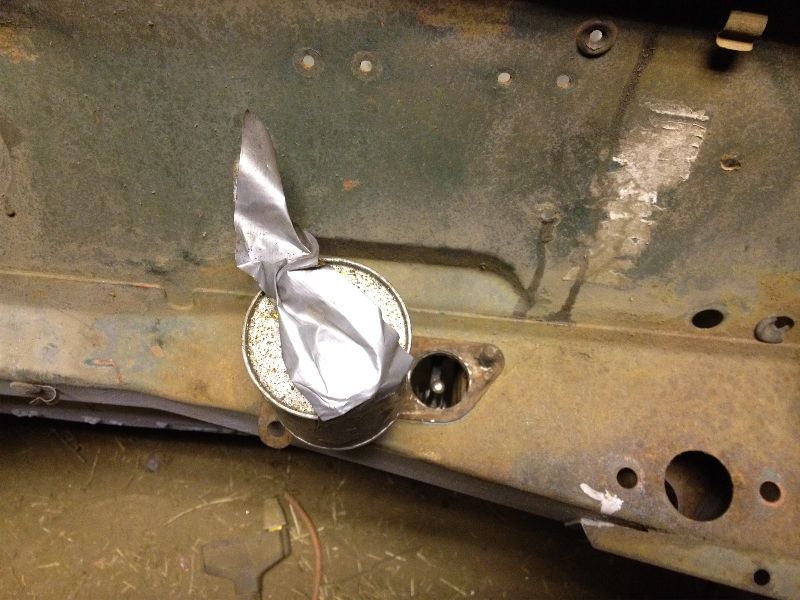
Then you take the push rod out of the master cylinder...

Posted Image

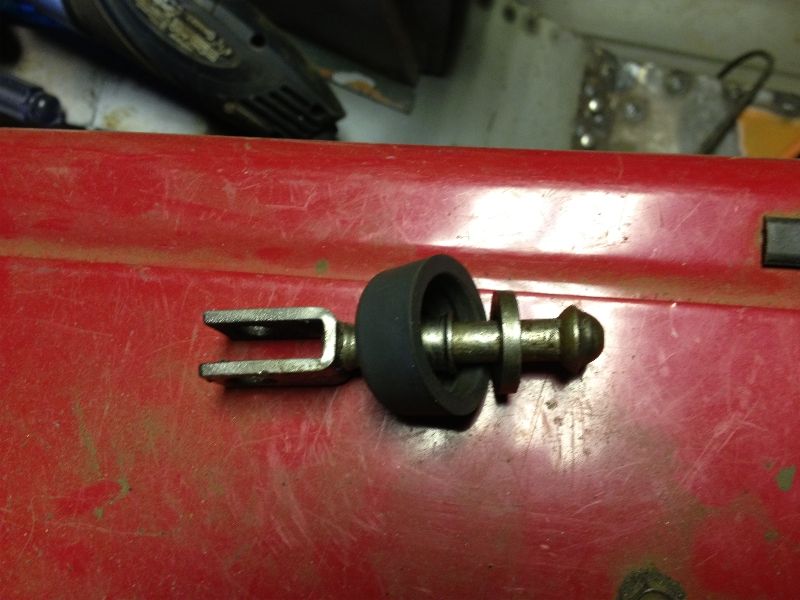
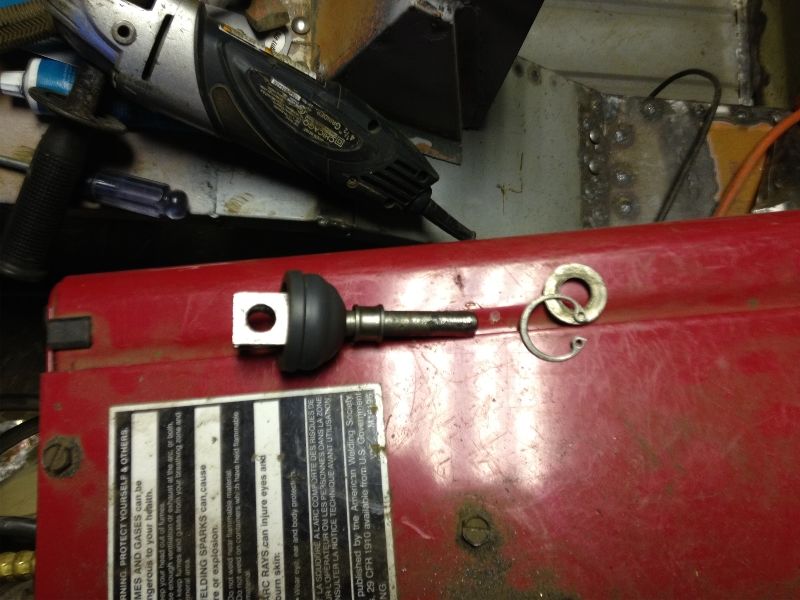
..And carefully grind the ball at the end smooth with the rest of the shaft.

Posted Image

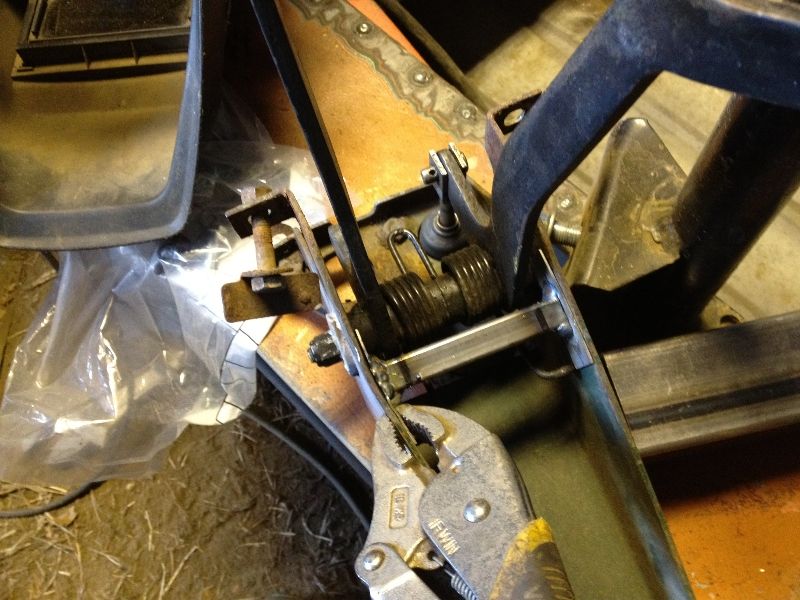
You will likely want to bolt the push rod to the pedal assembly so you can get slight friction so the pushrod stands straight up with the master cylinder body off.

Posted Image

You can now swap a master cylinder FROM the engine bay with ONLY two bolts. The screws under the pedal bod adjusts the free play.

And you get...

Posted Image

I will be doing this on all future minis I own without fail... :)

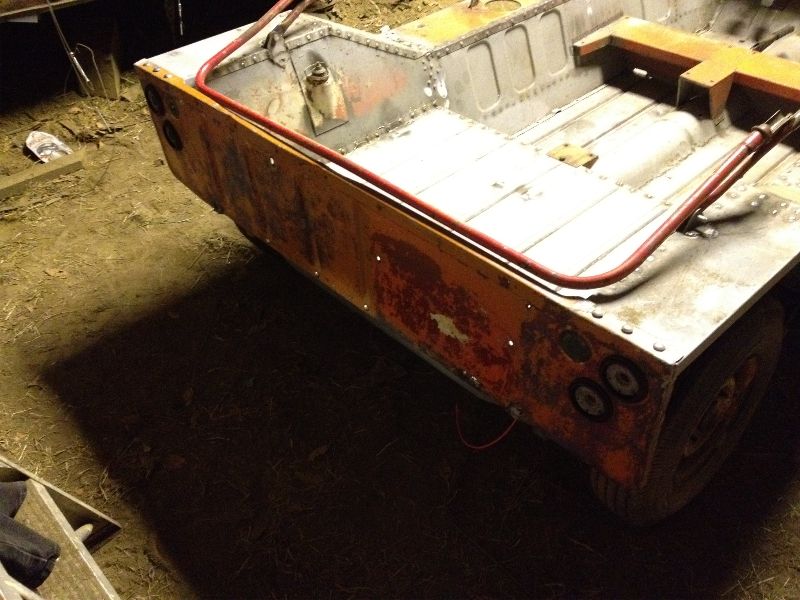
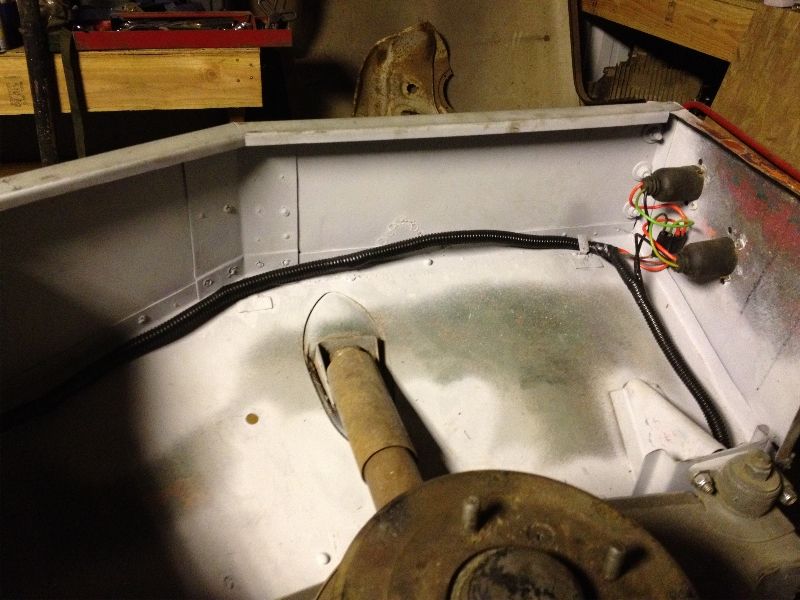
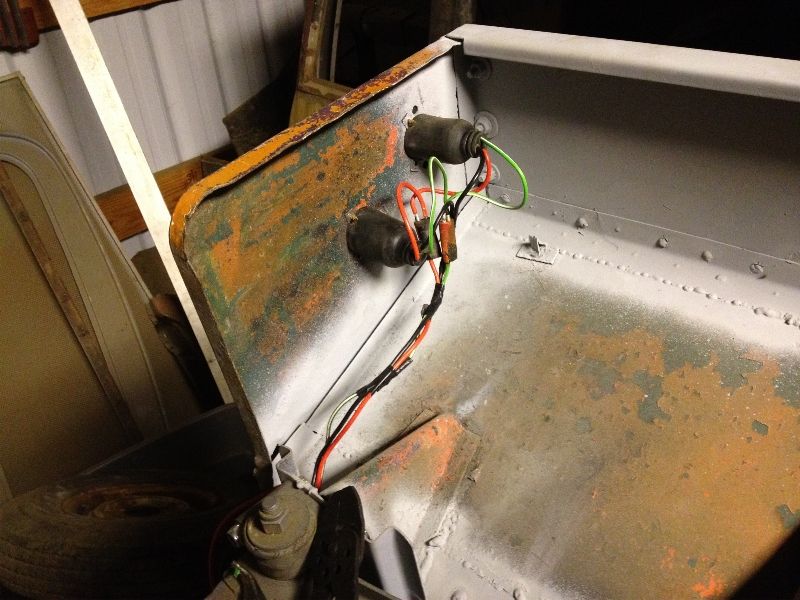
After that I decided before I can mount the fuel tank I needed to setup the wiring that goes behind it so had to diverge on a tangent putting together the three to two wiring for my rear tail lights.

Posted Image

Posted Image

Posted Image

If you noticed the pair of dual filament lamp holders on each side, that is because all 4 lights will act as the brake lights and both lights on each side will act as that sides turn signals. Along with that all 4 lights will be the normal tail lights which should give me twice the rear lights of a normal mk1 moke without actually having any more lights! :)

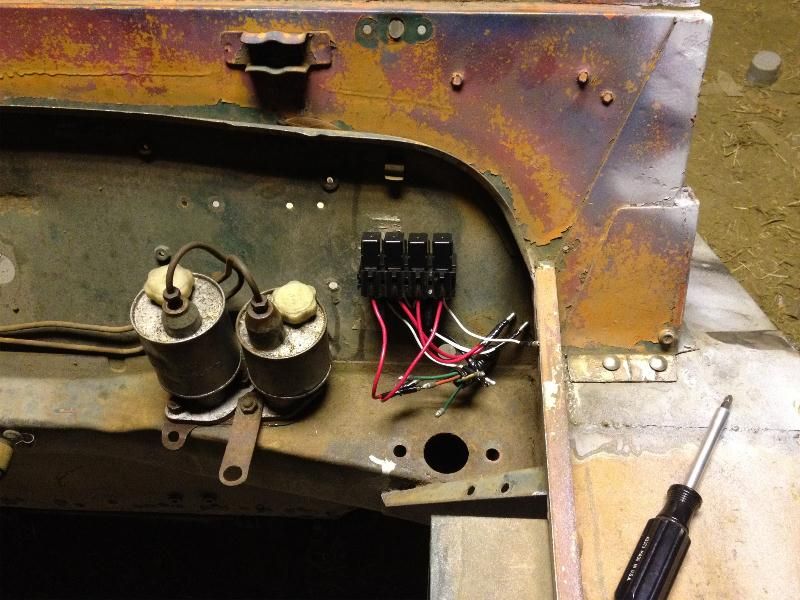
Oh and I built up and tested my relay pack before finding a place to mount it.

Posted Image

Posted Image

And that gets us up to the time I posted this. I now need to get the fuel tank mounted and ready for fuel next and then continue the wiring forward.

Moke Crazy Chris

#375 hughJ

hughJ

    Soldiering Along

  • Members
  • PipPipPipPipPipPipPip
  • 727 posts
  • Location: Highlands, Scotland

Posted 18 April 2013 - 06:45 PM

Wow Chris once you get moving you sure get moving! And an innovator as well as a renovator! Most impressed.

Hugh


1 user(s) are reading this topic

0 members, 1 guests, 0 anonymous users