Jump to content


Photo
- - - - -

1960 Morris 850 And Friends


  • Please log in to reply
417 replies to this topic

#211 CLM

CLM

    One Carb Or Two?

  • Members
  • PipPipPipPipPipPipPip
  • 817 posts

Posted 01 April 2012 - 02:20 AM

I managed to get the left side all stitched together so the floor is as welded in as it is possible to do at this current time, no pictures of that side.. just look at the above for ideas lol

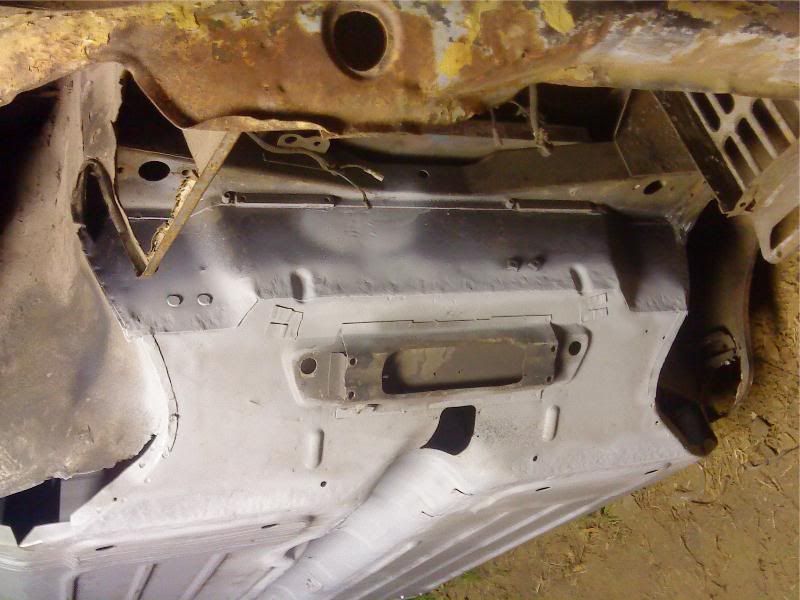
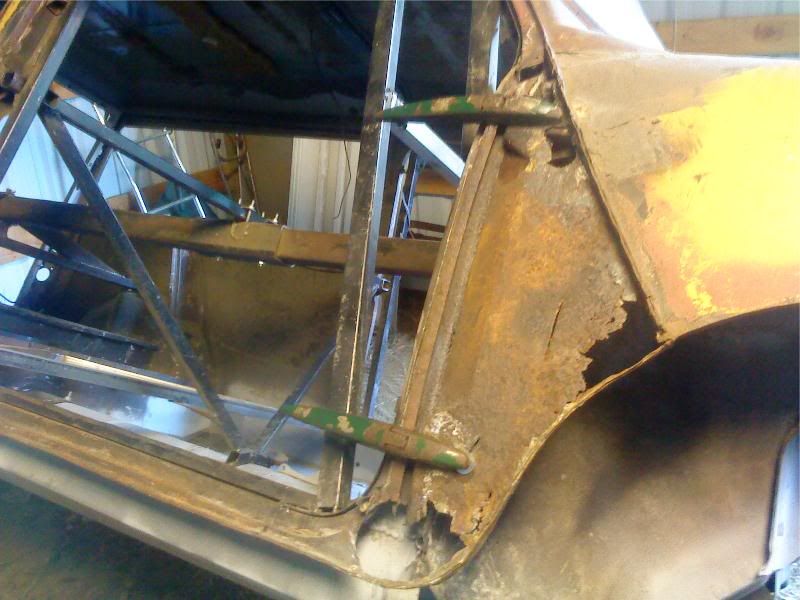
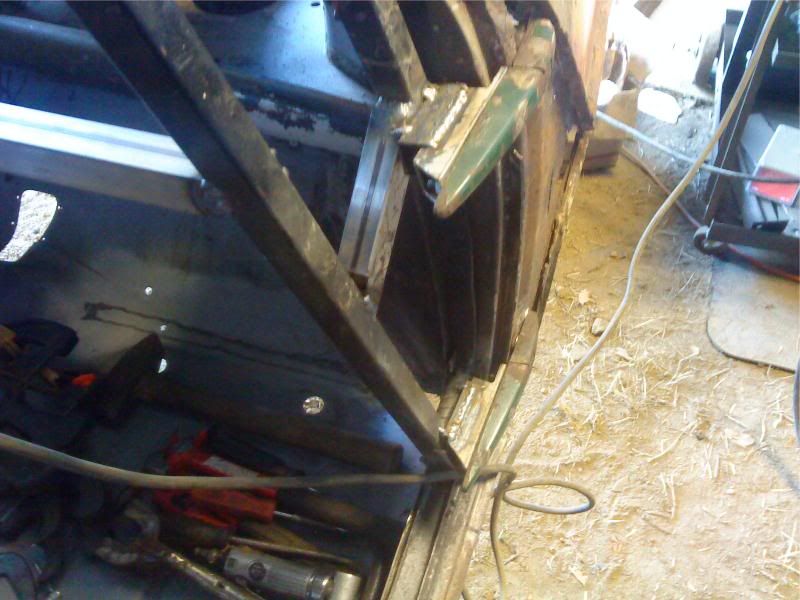
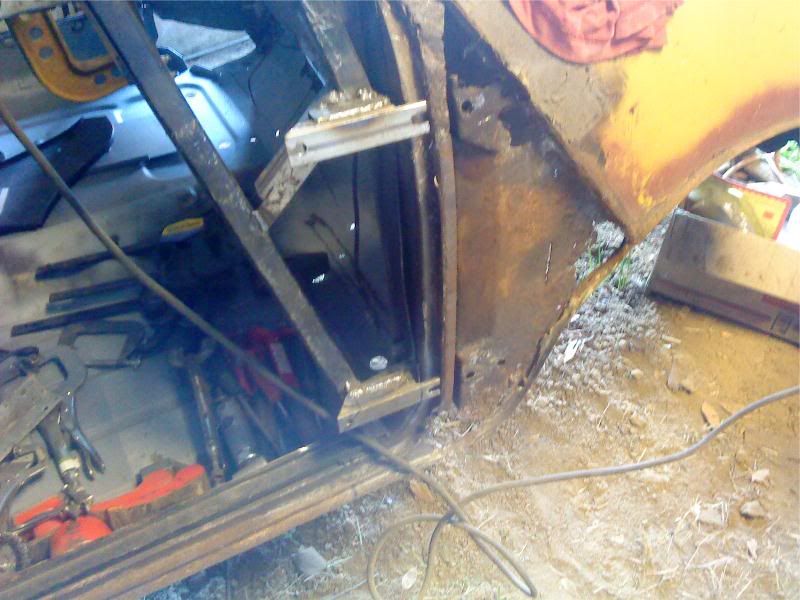
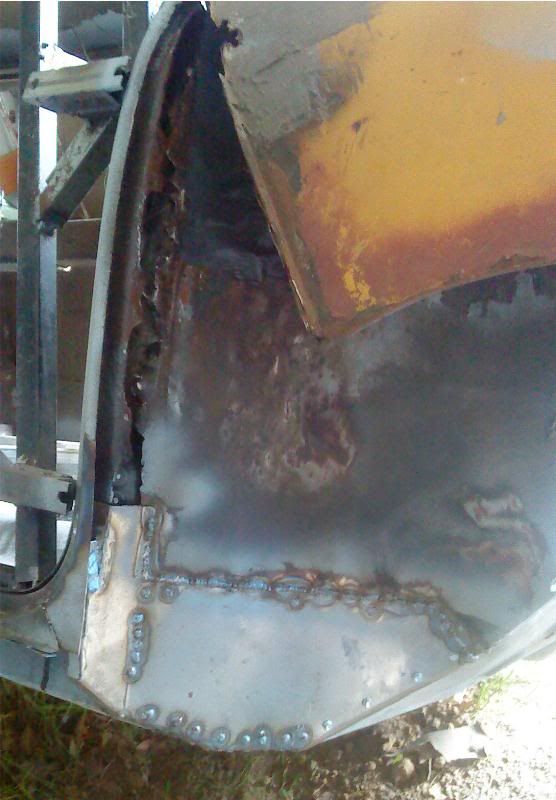
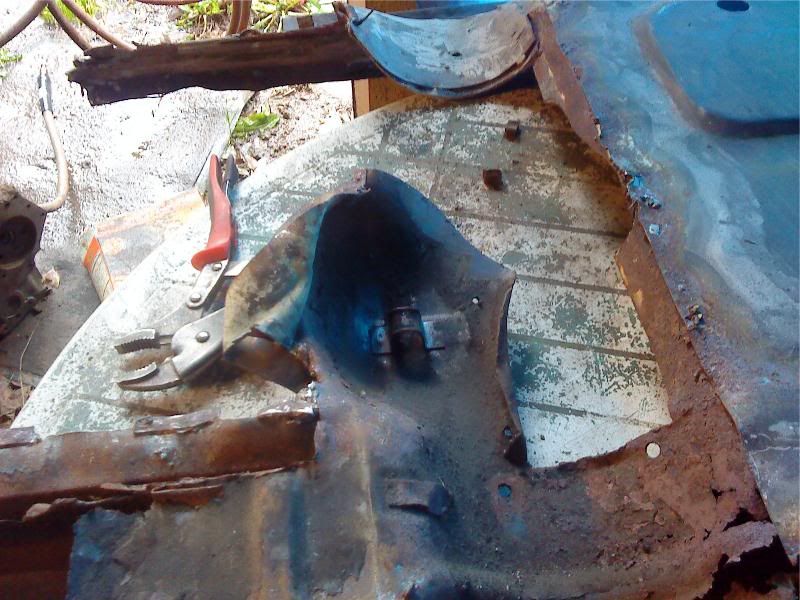
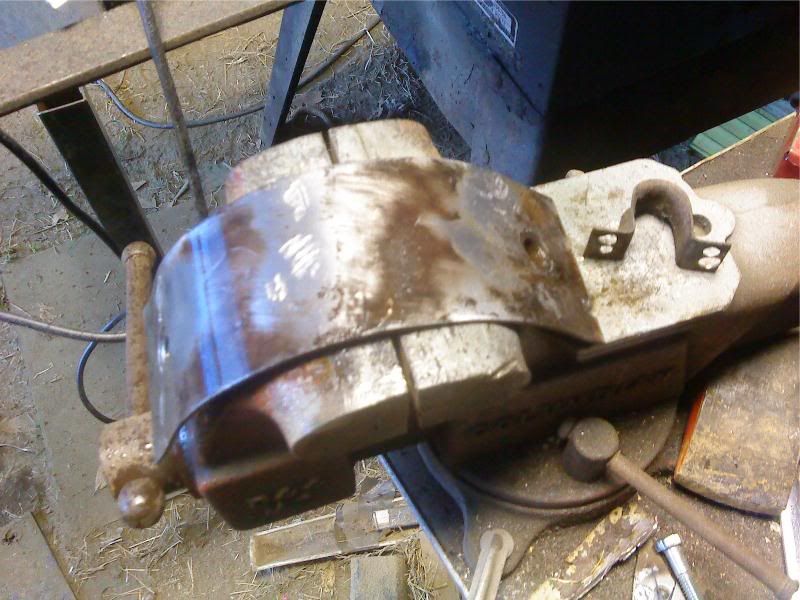
I then decided I should do something I had been putting off for some reason and I drug out the old rotten floor pan and removed the seat belt anchor and the battery cable guide from it and worked at cleaning them up.

Posted Image

Posted Image

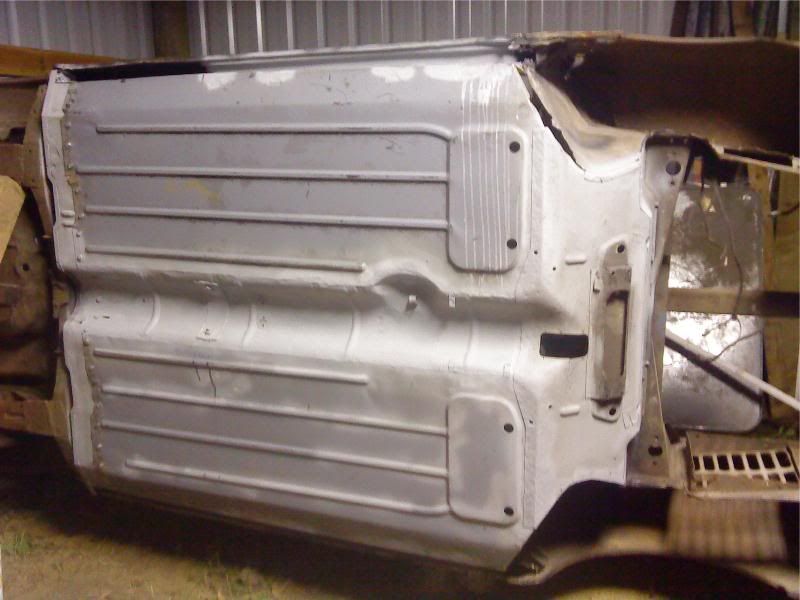
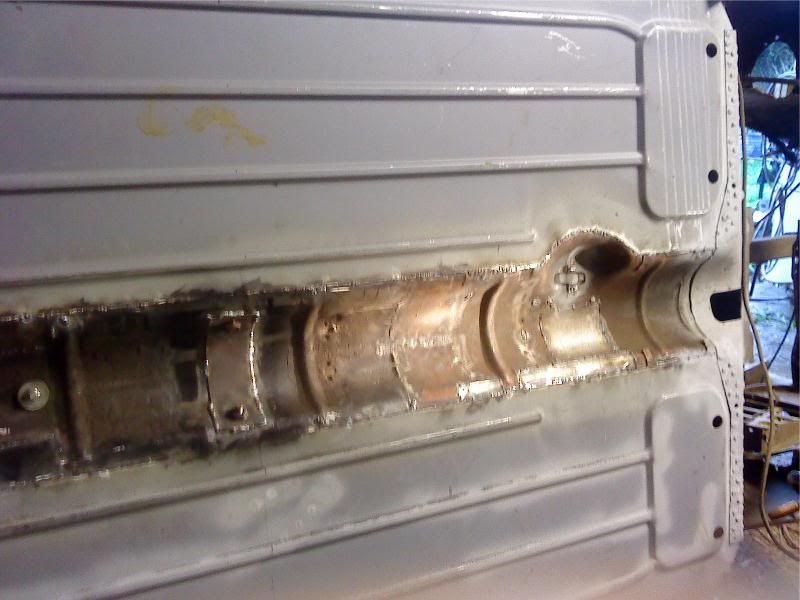
After putting a fair amount of paint and other protectants down I drilled the seat belt holes and welded the sucker on. It had been spot welded in the mk2 wagon floor but the original mk1 cooper floor pan section I have has it seam welded so I seam welded it.. maybe a bit more then the cooper was but I didn't want water to be able to get under it from the front. I also left sections of the back and bottom un welded for drainage if anything does get under it.

Posted Image

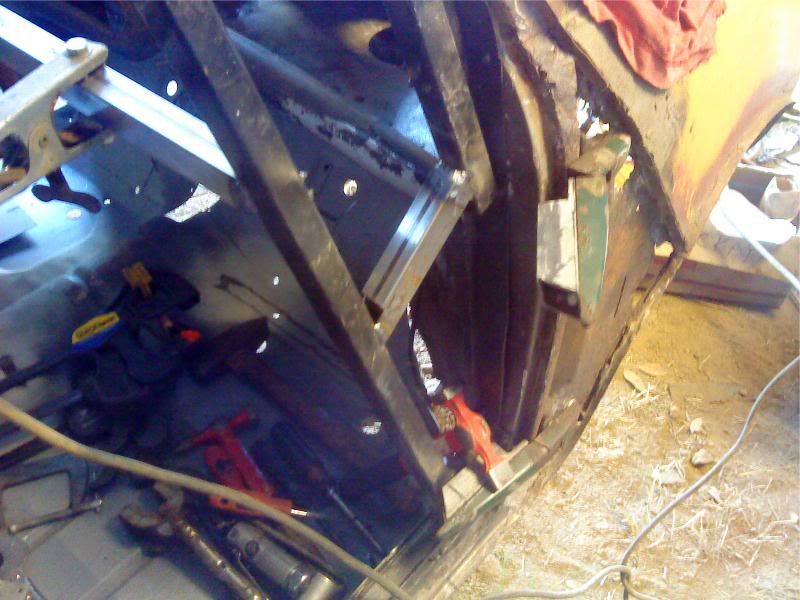
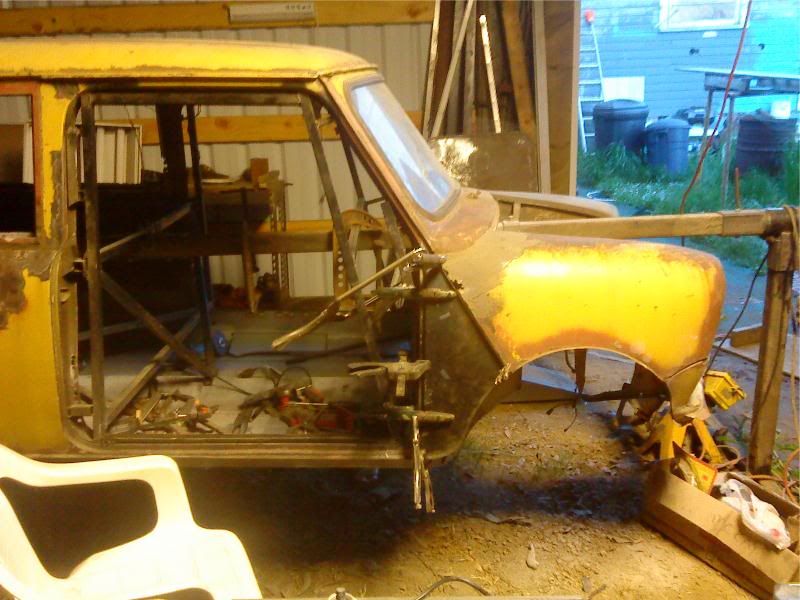
At this point I am grinding to a standstill on this project without acquiring some new panels. I will probably get the a panels and scuttle ends next with a battery cable and a couple multi-clips for the floor, maybe toss in some load floor shaped corners for good measure and a heritage closing plate or two if I can get the coin together.

We'll see where we go from here, maybe pictures of the subframe next!

Chris

#212 grahama

grahama

    Up Into Fourth

  • Members
  • PipPipPipPipPipPipPipPipPip
  • 2,442 posts
  • Location: Warrington
  • Local Club: None in my area !!

Posted 01 April 2012 - 07:41 AM

Chris, I see your problem, but I was only messing about the jig sorry !! With your mini and the amount of work going on, I would also have a jig your size attached. As you say, you can always re weld places when the jig is removed following structural work finished.

#213 johnsn

johnsn

    Stage One Kit Fitted

  • Just Joined
  • PipPipPip
  • 69 posts
  • Local Club: OMS

Posted 01 April 2012 - 03:10 PM

Chris,
I finaly found the description fo you that's been rattling around the back of my head, or sitting on the tip of my toung. :P
Mad Genius!
I mean that in a good way.
john :D

#214 CLM

CLM

    One Carb Or Two?

  • Members
  • PipPipPipPipPipPipPip
  • 817 posts

Posted 01 April 2012 - 06:53 PM

Thanks Grahama, I'm pretty sure most people would have more bracing in the car then I have in it but it's a delicate balancing act between bracing and access right now, I didn't X brace a lot of the things because that would have killed any access inside the shell That door jig is about as minimal as I was able to get away with lol.

Nonono! Not mad... Frustrated is more like it! I figured out one thing more I can do to the shell, devise some way the front of the rear subframe mounts attach to the floor so I can pull the heelboard off eventually and still have the mount there. Hmm...

Oh and I will be up in Portland in a couple days if you want that inner toeboard brace I made :)

Chris

#215 hughJ

hughJ

    Soldiering Along

  • Members
  • PipPipPipPipPipPipPip
  • 727 posts
  • Location: Highlands, Scotland

Posted 02 April 2012 - 07:36 PM

More jobs done Chris - its all moving on on the brave restoration. I'm sorry panels are so hard (or expensive) to come by out with you. I get annoyed at being hit with extra delivery costs living in the north of Scotland! It's looking good.

Hugh

#216 CLM

CLM

    One Carb Or Two?

  • Members
  • PipPipPipPipPipPipPip
  • 817 posts

Posted 08 April 2012 - 07:00 AM

Did a bit of grinding today and I feel absolutely covered in metal filings... Yay now I can rust along with the mini! :P

I ground down the drill and fill welds along the toeboard as well as dressed the bottom of the floor.

Posted Image

I just used a stone on the grinder so they are not 100% smooth, but it is on the bottom of the car so it doesn't matter that much.

Posted Image

This thing will never be a show car but having a nice solid daily driver is what I hope to achieve someday...

I have requested a small shipping quote for some parts from m-machine and if it goes as I think I will likely be working on the a-panels next so that I can get the inner wings repaired so the floor is supported at the fronts.

I will try to keep you updated.

Chris

#217 minimuk

minimuk

    Camshaft & Stage Two Head

  • Members
  • PipPipPipPipPipPipPipPip
  • 1,946 posts
  • Location: Midlands

Posted 08 April 2012 - 02:17 PM

nice to be at this stage,.. looks great,...well done Chris ;D

#218 buddylove

buddylove

    Camshaft & Stage Two Head

  • TMF+ Member
  • PipPipPipPipPipPipPipPip
  • 1,639 posts
  • Location: North America
  • Local Club: SAMOA

Posted 09 April 2012 - 12:45 PM

nice progress, Chris!

#219 CLM

CLM

    One Carb Or Two?

  • Members
  • PipPipPipPipPipPipPip
  • 817 posts

Posted 25 April 2012 - 03:48 AM

I am still despirately in need of panels but have done some work anyways, I had to figure out some way to insure I got the new panel in the correct location when I get it before I could cut out the inner a panel to work on the horrors it uncovered. Only way I could think of doing that was by making mounts on the door jigs so I could bolt the hinges too it, so that's what I did.

First thing is I had to get a pair of hinges without too much slop and repair/replace the studs on it so it could be bolted on, and once done.. bolt them on.

Posted Image

I made up some brackets but found out there was not enough frame in the location the upper hinge swung to so had to add an angled brace to the frame to fit it.

Posted Image

I then had to insure they were being welded in the right spot so I took and made a pattern off of one of my doors so I could make sure the door would fit right with decent gaps.. looks kind of iffy but it worked and allowed me to mark the places...

Posted Image

That done I was able to tack and weld them in in an acceptable location.

Posted Image

Posted Image

With that taken care of I proceeded to cut out the inner a panel.. and for laughs test fit a Hadrian outer a panel I had laying around, doesn'ty look all together bad if I say so myself

Posted Image

...too bad what I found under the a panel I couldn't say the same for... Major bodging, they hammered in the metal in some places and coated it in a fiber glass filled filler material, I still have tiny glass fibers sticking in my arms after that heh...

Posted Image

Today I went and started fabbing up a repair panel for the inner wing, I am only going to repair the inner wing in sections instead of one piece so I can keep things lined up. But this is about how far I got today, with a bit of cleaning and prep after I took the pictures.

Posted Image

Posted Image

Oh well, until next time.

Chris

#220 johnsn

johnsn

    Stage One Kit Fitted

  • Just Joined
  • PipPipPip
  • 69 posts
  • Local Club: OMS

Posted 26 April 2012 - 05:43 PM

MMM, Red Baron. You're mking me hungry.
Clever work. :-)
john

#221 grahama

grahama

    Up Into Fourth

  • Members
  • PipPipPipPipPipPipPipPipPip
  • 2,442 posts
  • Location: Warrington
  • Local Club: None in my area !!

Posted 26 April 2012 - 08:17 PM

Excellent Blue Peter skills going on !!

Making a nice job of this, keep it up.

Graham

#222 CLM

CLM

    One Carb Or Two?

  • Members
  • PipPipPipPipPipPipPip
  • 817 posts

Posted 27 April 2012 - 06:48 AM

Thanks John and Grahama,

Well I welded it up, I welded the top first so I could form the bottom around the floor. I was afraid there wouldn't be enough overlap but I am happy with how it wrapped around the bottom.

Posted Image

Leaving the rest of the welding, it's not totally welded in yet but almost, life intervened before I finished but oh well :)

Posted Image

Now, in other news....I am about to trade off a somewhat nice body.. for a.. bent one? You remember the saloon shell I have worked on a bit some time in the past and beginning of this topic... for... this!

Posted Image

Well not including the suspension units or front interior bits he plans to put in the saloon. It is an early smooth roof internal tank traveller shell and a very worth while thing to try and fix heh. 'TRY'
.
Chris

#223 Thorpsta

Thorpsta

    Speeding Along Now

  • Members
  • PipPipPipPipPip
  • 327 posts
  • Location: Wisbech
  • Local Club: Kings Lynn Mini Owners Club

Posted 28 April 2012 - 08:46 PM

Is the barbie car included?

#224 CLM

CLM

    One Carb Or Two?

  • Members
  • PipPipPipPipPipPipPip
  • 817 posts

Posted 28 April 2012 - 08:55 PM

Sadly I don't think it is, it is a bit too small for my liking, I need a nice BIG car like a Mini myself :)

Chris

#225 L. Brown

L. Brown

    Learner Driver

  • Noobies
  • PipPip
  • 22 posts

Posted 28 April 2012 - 08:57 PM

Its only worth it if the jeep is included


1 user(s) are reading this topic

0 members, 1 guests, 0 anonymous users