Jump to content


Photo
- - - - -

1960 Morris 850 And Friends


  • Please log in to reply
417 replies to this topic

#196 CLM

CLM

    One Carb Or Two?

  • Members
  • PipPipPipPipPipPipPip
  • 817 posts

Posted 18 March 2012 - 03:25 AM

Hiho thanks, I am pretty sure I know how I am going to fix the subby, it's grungy and badly repaired in places, I am likely going to replace the plates top and bottom of it I would love to take a look at the pictures you have of your repair though :) And as for posting pictures I just use photo bucket as my personal web space ran out of room :P

myredmini, grahama, and buddy Sure I have some more progress just look below.. though I say again I am soooo sloooow!

Hugh, I would love nothing better then to use new parts and panels... but $$$! I am working on it within my non existant budget lol!


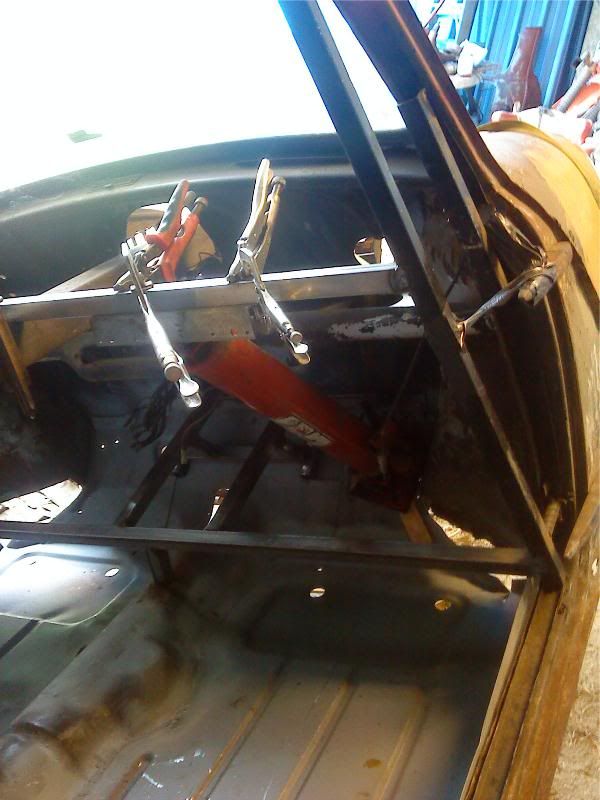
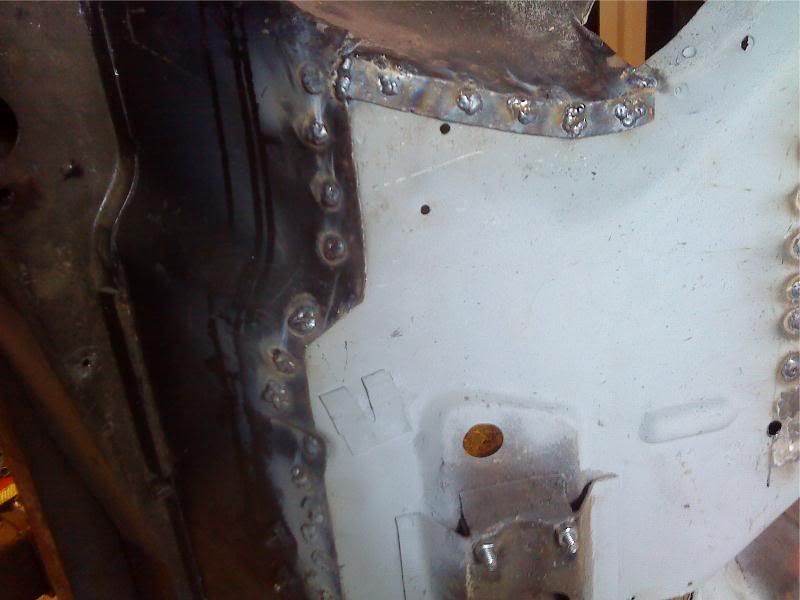
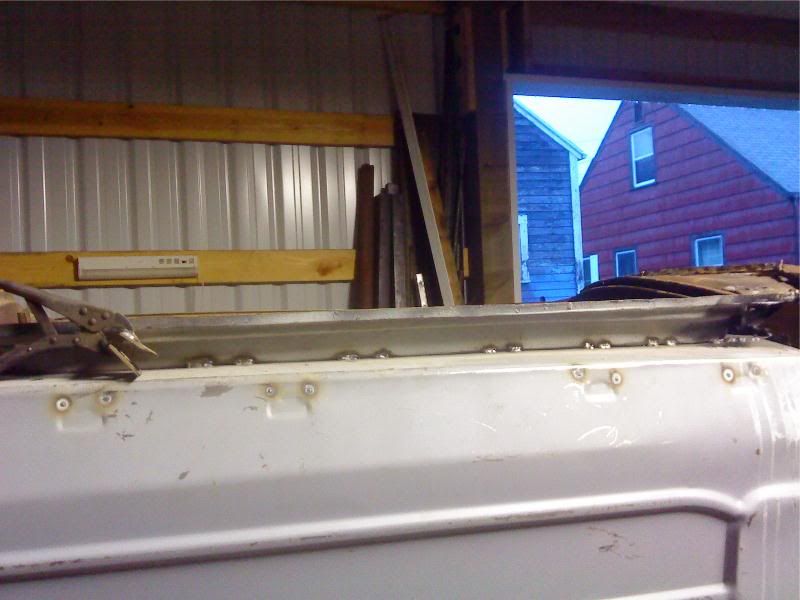
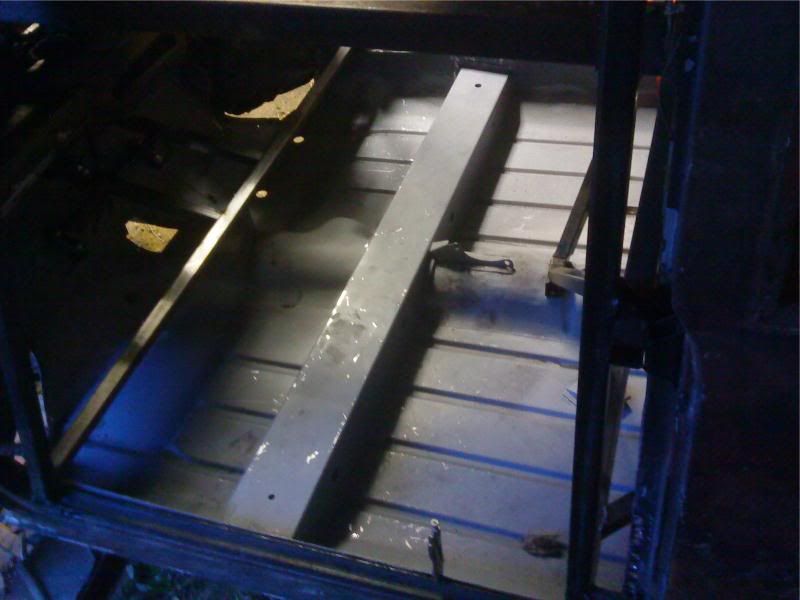
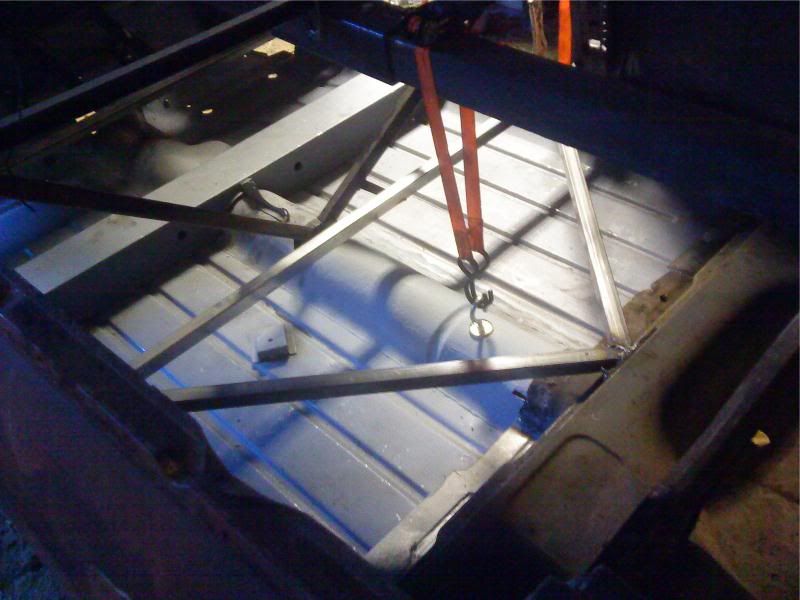
Well the floor is being fit to the shell now, I ground down the penetration bubbles in the footwell and primed it then ground down enough on the outside so I could bolt it to the jigs and now have the jigs all bolted in.

Posted Image

I am going to have to find something that I can use to push at the corners of the toeboard however as the corners have a bit of a gap

Posted Image

Posted Image

It wont require much though, maybe a small bottle jack or something to nudge them into place then I can go along the bulkhead and weld it in... FINALLY! :D

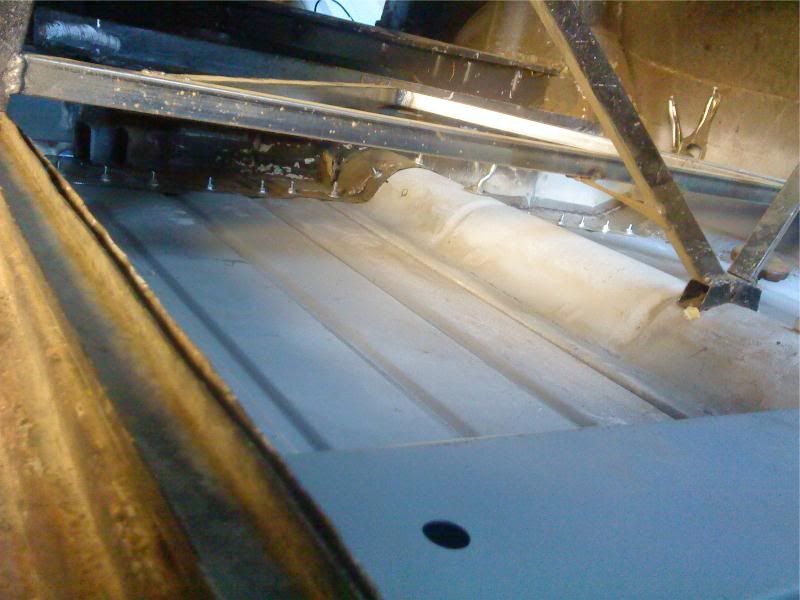
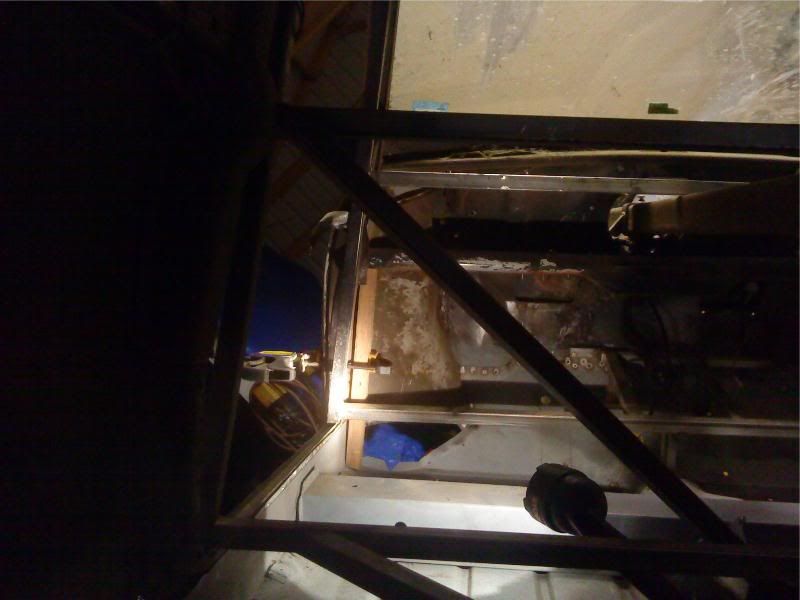
I did have to take some interior pictures so I tossed the crossmember in and rolled the car over... god I love that spit lol.

Posted Image

Posted Image

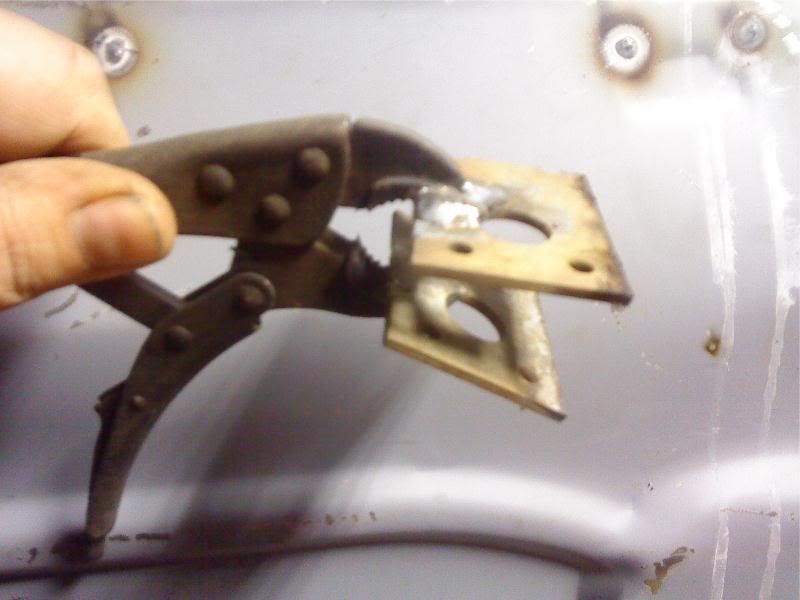
I need to wait until Monday and get a bolt that will thread into my puller so I can pull the stuck rear brake drums and rear hubs off my original arms, don't leave your mini parked with the parking brake on for years at a time! Bad Juju! I need to pull them off so I can use the hubs on my other rear arms, I really need to pick up another set of hubs >.<

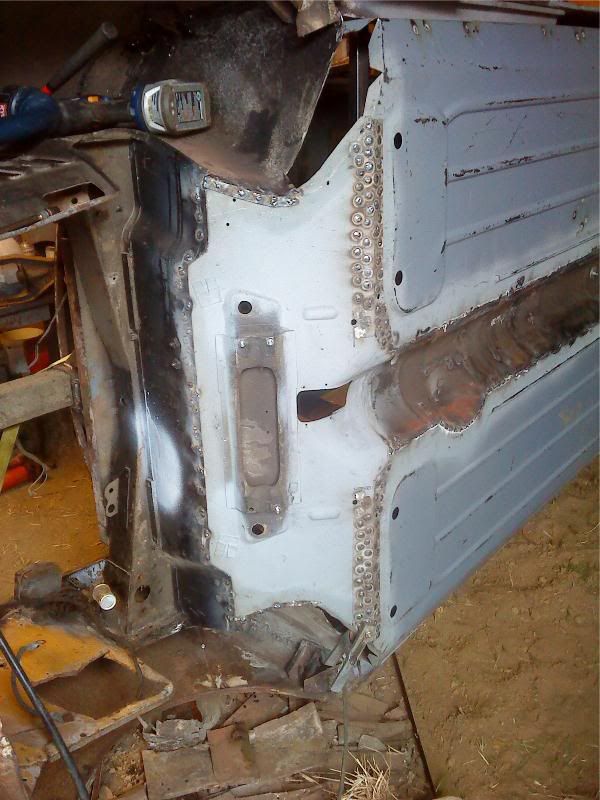
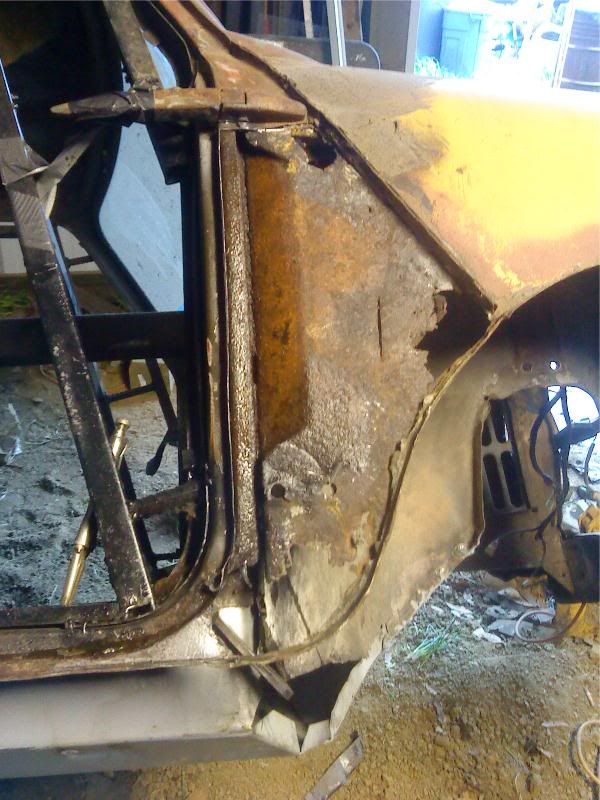
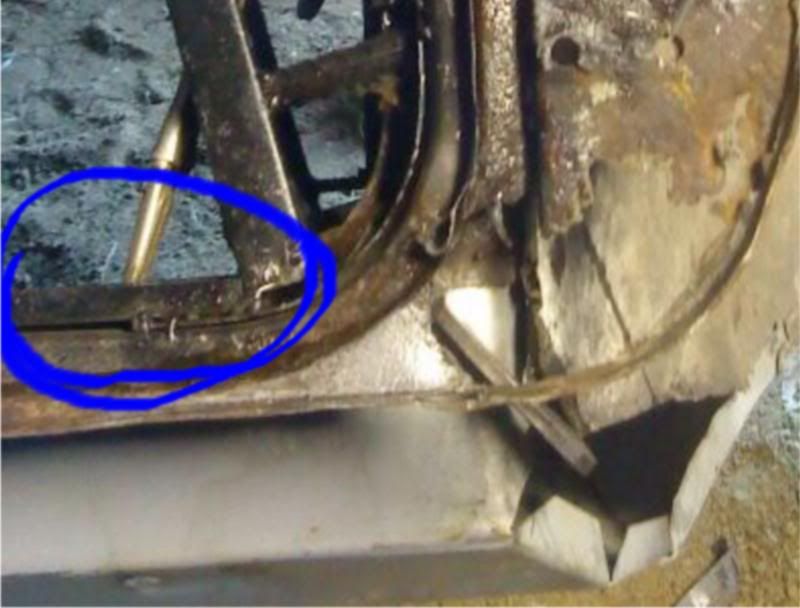
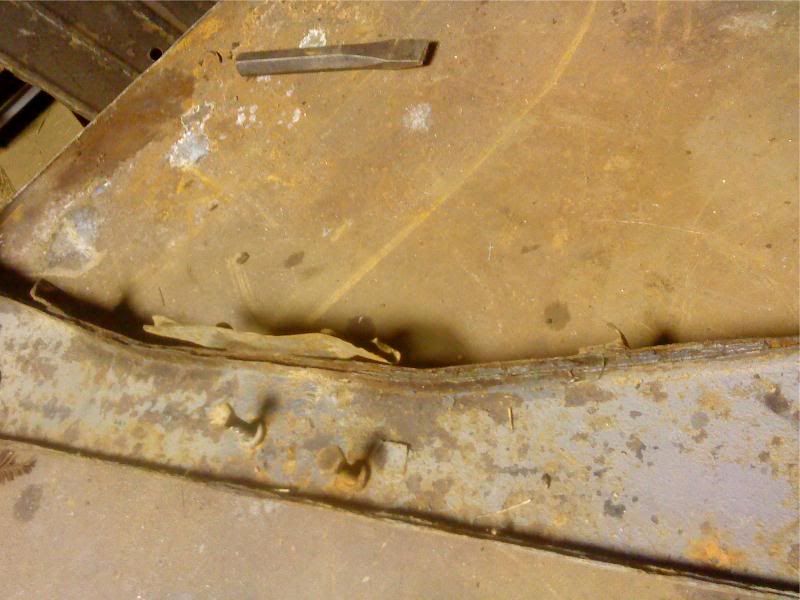
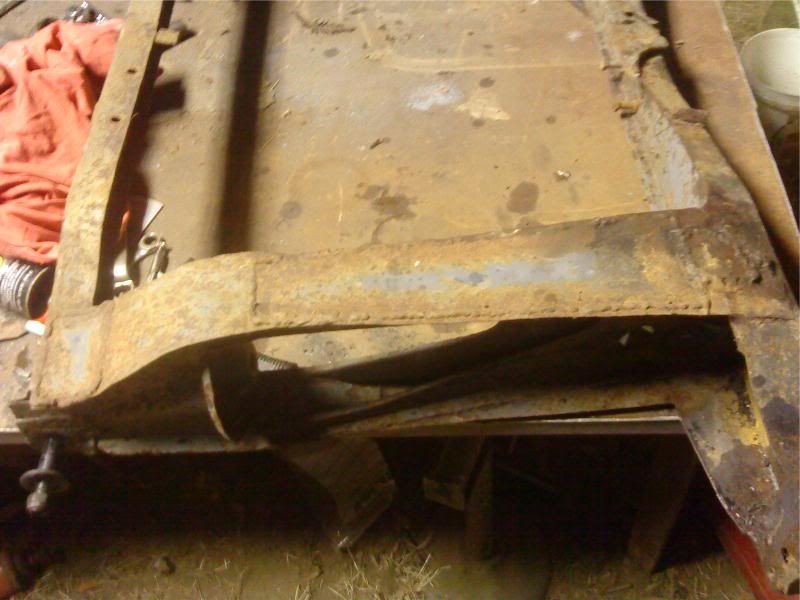
But managed to get some pics of the rear subby I am repairing, it is in worse shape then my 1960 subby oddly... Though I was able to remove all the bolts without any breaking.

Posted Image

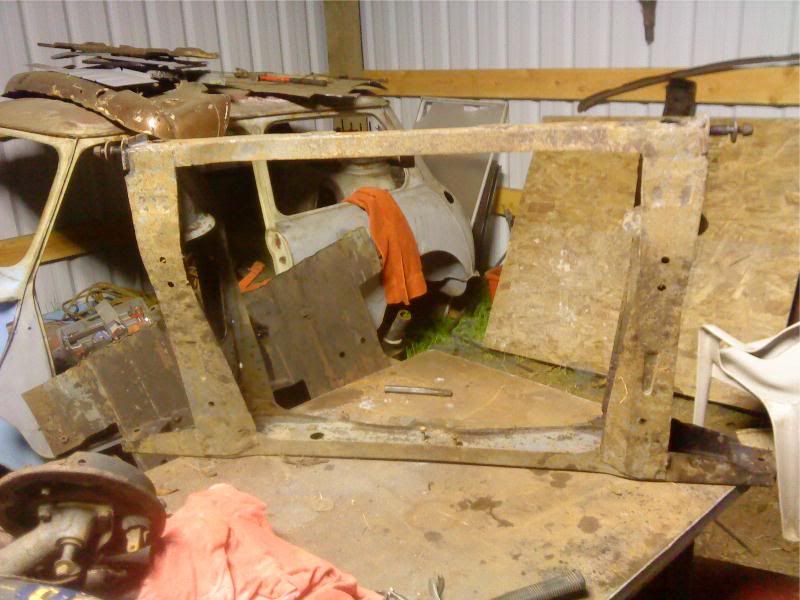
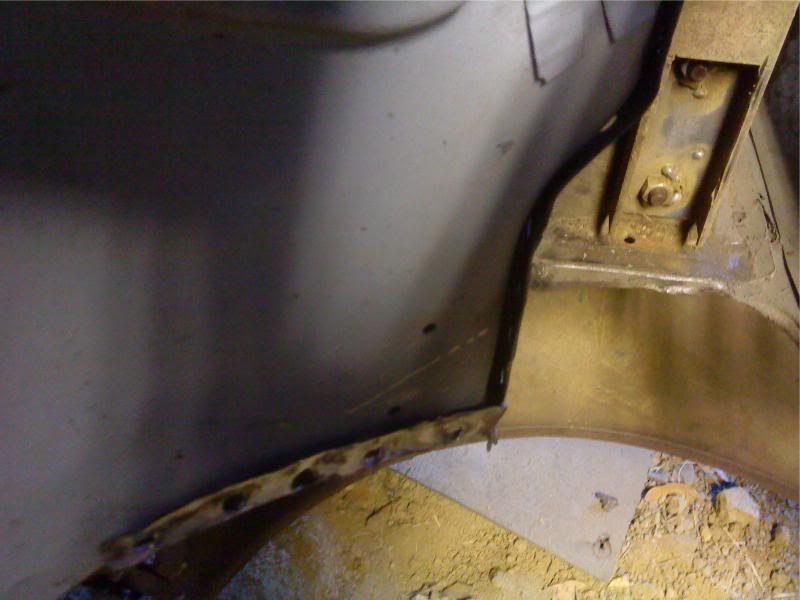
Here is some of the spreading seams along the bottom where the hand brake bracket goes

Posted Image

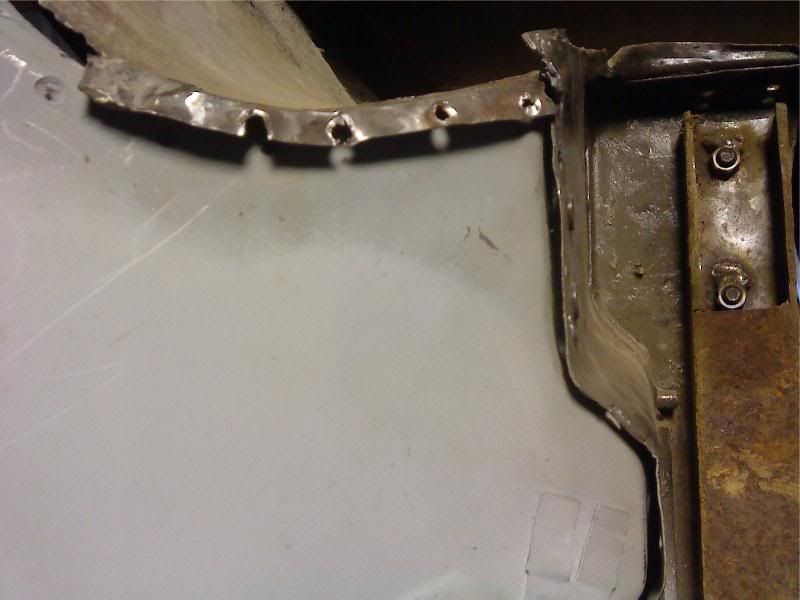
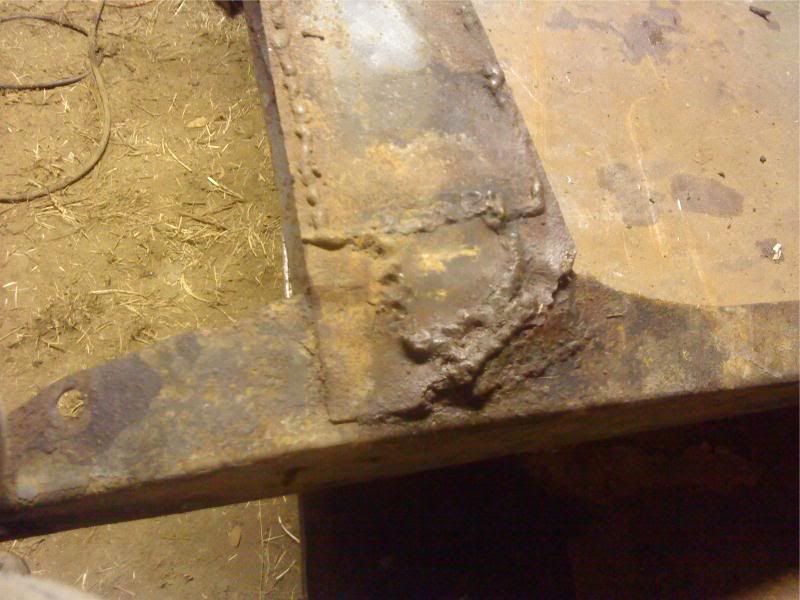
And a couple showing nasty repairs someone had done in the past, they will get removed and redone...

Posted Image

Posted Image

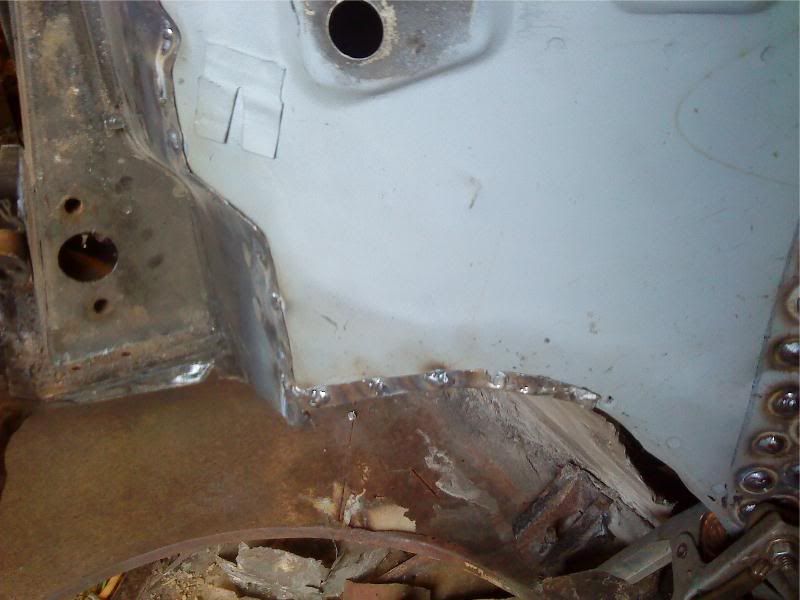
Also a blurry shot inside the area where the trumpet goes I was trying to show the rotten skin, oh well.

Posted Image

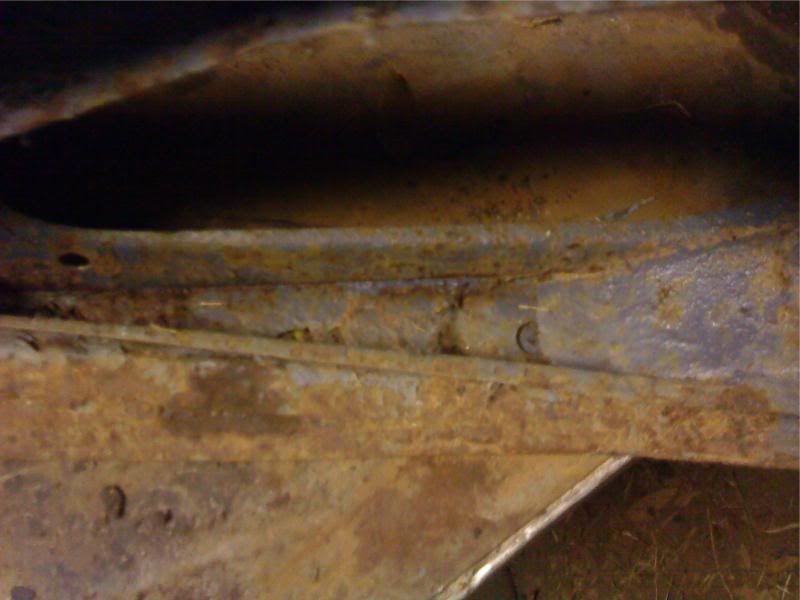
I will repair it eventually,

Until next time

Chris

#197 myredmini

myredmini

    My Mummy Says It's OK

  • Members
  • PipPipPipPipPipPipPipPipPip
  • 3,211 posts
  • Name: Dan
  • Location: Teesside
  • Local Club: BOG MOG

Posted 18 March 2012 - 03:30 AM

Looking good:)

#198 minimuk

minimuk

    Camshaft & Stage Two Head

  • Members
  • PipPipPipPipPipPipPipPip
  • 1,946 posts
  • Location: Midlands

Posted 18 March 2012 - 06:52 PM

bit of hammer and dolly and floor will fit perfectly,... :shifty:

#199 HiHo

HiHo

    Passed Test

  • Noobies
  • PipPip
  • 27 posts
  • Location: London - kew

Posted 19 March 2012 - 10:52 PM

OK, here goes, The rear subframe as it came off the car. Not previously repaired, but it was in a pretty tatty state:


Posted ImagePosted Image

#200 HiHo

HiHo

    Passed Test

  • Noobies
  • PipPip
  • 27 posts
  • Location: London - kew

Posted 19 March 2012 - 10:54 PM

And the repairs went something like the following (just plated in new metal where it was needed):

Posted Image
Posted Image
Posted Image
Posted Image
Posted Image

Posted Image

Posted Image

And so on!!! It doesn't show, but I did prep the remaining bits I was welding to with weld through primer. There were lots of holes and pieces that had to be cut out and dressed back, but I got it cracked in the afternoon.

I was working slowly repairing little bits at a time because I knew I needed to keep the shape - the subframes are vital to jig-to for my project! The hard part was welding outside (it was windy and I had to grab my moments between gusts). The days I paint it rains, weld - it's windy and mechanicals well usually horizontal sleet!

Edited by HiHo, 19 March 2012 - 11:05 PM.


#201 Mini-Mad-Craig

Mini-Mad-Craig

    Crazy About Metro's

  • Members
  • PipPipPipPipPipPipPipPipPipPip
  • 9,298 posts
  • Location: Travelling in a fried out Kombi

Posted 20 March 2012 - 02:25 AM

Making real progress since i last visited... very nice indeed. Keep it coming!!!!!

#202 CLM

CLM

    One Carb Or Two?

  • Members
  • PipPipPipPipPipPipPip
  • 817 posts

Posted 29 March 2012 - 01:08 AM

Well after much head scratching and feet dragging I cut my last section of inch square and welded it in so I could get my jack in there to push the corners, the jack coming from an engine hoist of course.

Posted Image

I had to do this on both corners as they both were off by a little over 1/8 of an inch. I jacked one corner and welded it then moved the jack to the other corner and welded it. Then once both sides were done I had to remove my subframe jig so I could get to the section along the firewall. All the welds are a bit large and all still need ground down but the toe is now welded in.

Posted Image

The corners have a much better fit then before as well :)

Posted Image

Posted Image

Next I need to bolt the floor to the floor extension and weld the sections along the bottom of the doors, of which is going to be a royal pain I think :unsure:

Until next time,

Chris

#203 CLM

CLM

    One Carb Or Two?

  • Members
  • PipPipPipPipPipPipPip
  • 817 posts

Posted 29 March 2012 - 01:10 AM

Hiho, dang, your subframe manages to make the ones I have look good! lol Good job :)

Chris

#204 CLM

CLM

    One Carb Or Two?

  • Members
  • PipPipPipPipPipPipPip
  • 817 posts

Posted 30 March 2012 - 01:45 AM

I managed to get the rear of the floor bolted down, it looks rather bodgerific, but it's only that way to add strength until I change the extension and heelboard to a pup specific parts. It's amazing how much less flex the shell has in it now lol!

Posted Image

Chris

#205 grahama

grahama

    Up Into Fourth

  • Members
  • PipPipPipPipPipPipPipPipPip
  • 2,442 posts
  • Location: Warrington
  • Local Club: None in my area !!

Posted 30 March 2012 - 06:43 AM

comming along great, it will all look non bodged soon I'm sure lol.

#206 CLM

CLM

    One Carb Or Two?

  • Members
  • PipPipPipPipPipPipPip
  • 817 posts

Posted 31 March 2012 - 05:30 AM

Thanks Grahama, I couldn't make it any MORE bodged then it was when I got it! I just have to keep the bodgery down to a minimum lol!

Baby steps forward, I pulled the outer a pillar off the right side today and it looks as bad as I had guessed it would but it gave me room to weld along the bottom of the inner boxing plate.

Posted Image

I also figured out how to attach the floor without being able to access the seam along the bottom of the door due to my door frame jig being in the way, I decided to stitch along the bottom at the seam. I could only go about 3/4 of the way back as I will still need to put the stiffener in but I can't do that until I have the load floor to line it up with.

Posted Image

I had to make a wedge for the front of the floor to space it as well, I ended up using the mk4 to get the measurement then tested it in the early shell and it was close enough so I was fine using it. This picture shows how it fits and works basically wedged between the parcel shelf and the floor.

Posted Image

When I was stitching the floor seam I needed a set of duckbills to hold it together tightly but I have not been able to get any of them so finally gave up and butchered a cheap pair of vice grips, it ended up working perfectly for my needs I may have to make another set :)

Posted Image

Tomorrow I plan to weld up the left hand floor in the same fashion as the right hand, I will then need to focus on something that isn't floor !?!? Maybe I will work on the subframe until I get some new panels in :P

Chris - Bodging today for a better tomorrow.

#207 olds_kool_lews

olds_kool_lews

    Up Into Fourth

  • Traders
  • PipPipPipPipPipPipPipPipPip
  • 3,601 posts

Posted 31 March 2012 - 10:48 AM

looking great! its good to see things being recycled/saved/modified to suit, and having virtually no budget... i take my hat off to you as your doing a cracking job!

#208 hughJ

hughJ

    Soldiering Along

  • Members
  • PipPipPipPipPipPipPip
  • 727 posts
  • Location: Highlands, Scotland

Posted 31 March 2012 - 07:24 PM

Chris more brave repairs! Always interested to see what you are up to. All the best

Hugh

#209 grahama

grahama

    Up Into Fourth

  • Members
  • PipPipPipPipPipPipPipPipPip
  • 2,442 posts
  • Location: Warrington
  • Local Club: None in my area !!

Posted 31 March 2012 - 08:18 PM

Indeed Hugh. Great thorough repairs, but then again when there is so little left you have to be thorough I suppose, lol. I don't see why the bracing jig gets in the way though, it's not as though there is much of it !!!

Liking your work, keep the pics comming.

Graham

#210 CLM

CLM

    One Carb Or Two?

  • Members
  • PipPipPipPipPipPipPip
  • 817 posts

Posted 31 March 2012 - 10:02 PM

Thanks guys, doing the best I can with what I have. As for the jig, well here is a picture that will show you why it gets in the way.

Posted Image

That bar circled goes right over the joint making it hard to drill and fill from the outside, impossible to spot weld, and the inner seam isn't quite the same height as the door frame any ways so the stitch welding works well. It will additionally be spot welded when the door jig is removed.

Another thing I could do is clean up and take care of the center seat belt mount that would be an option. But I am going to need to get some more panels to continue much further on the shell.

Chris


2 user(s) are reading this topic

0 members, 2 guests, 0 anonymous users