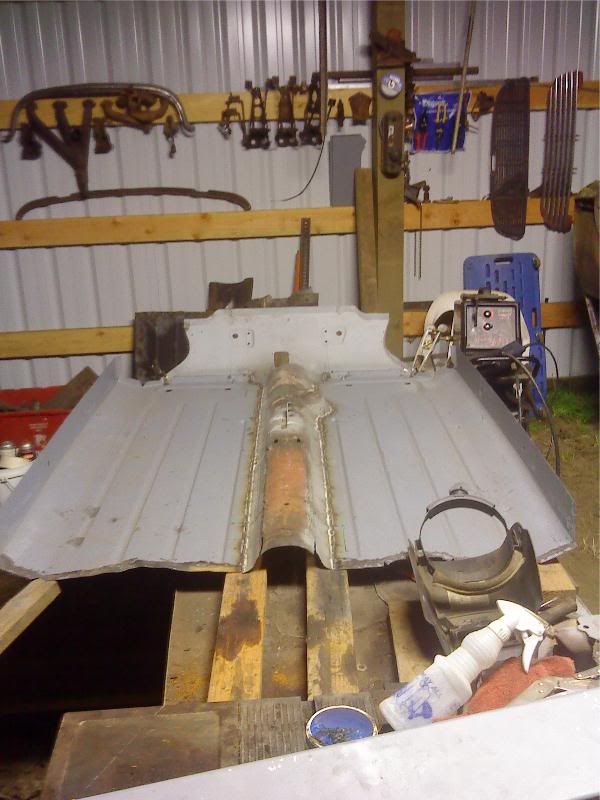
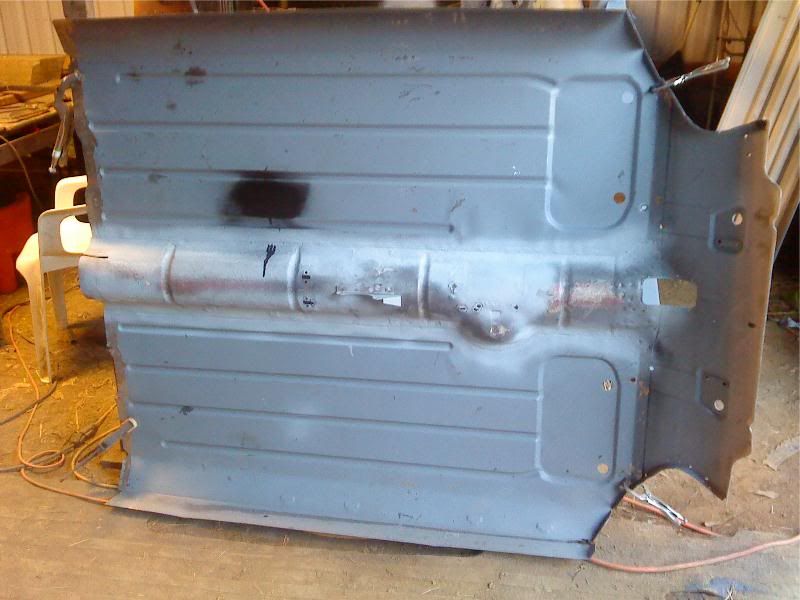
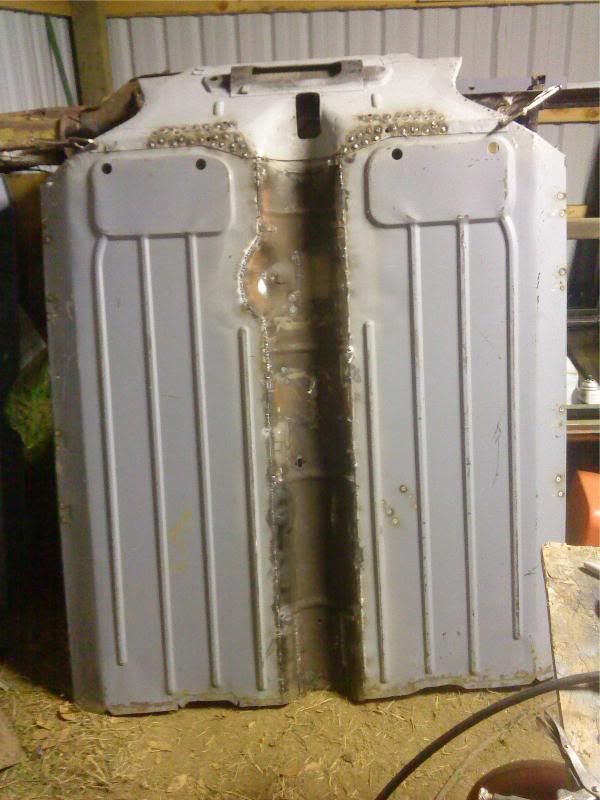
 I should be able to start actually weld the floor into the shell, Oh joy!
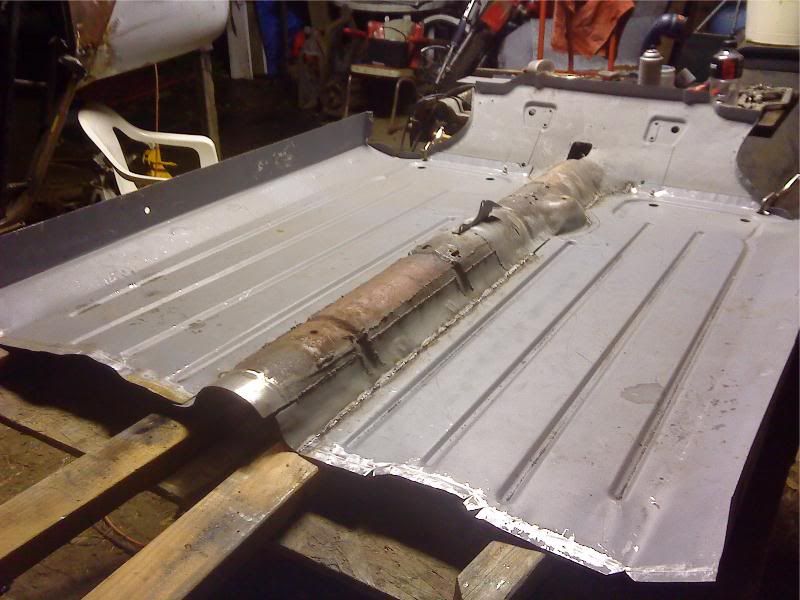
Chris


One Carb Or Two?

Posted 29 February 2012 - 03:09 AM
I should be able to start actually weld the floor into the shell, Oh joy!One Carb Or Two?
Posted 01 March 2012 - 03:31 AM
Soldiering Along

Posted 01 March 2012 - 08:40 PM
One Carb Or Two?
Posted 02 March 2012 - 03:20 AM
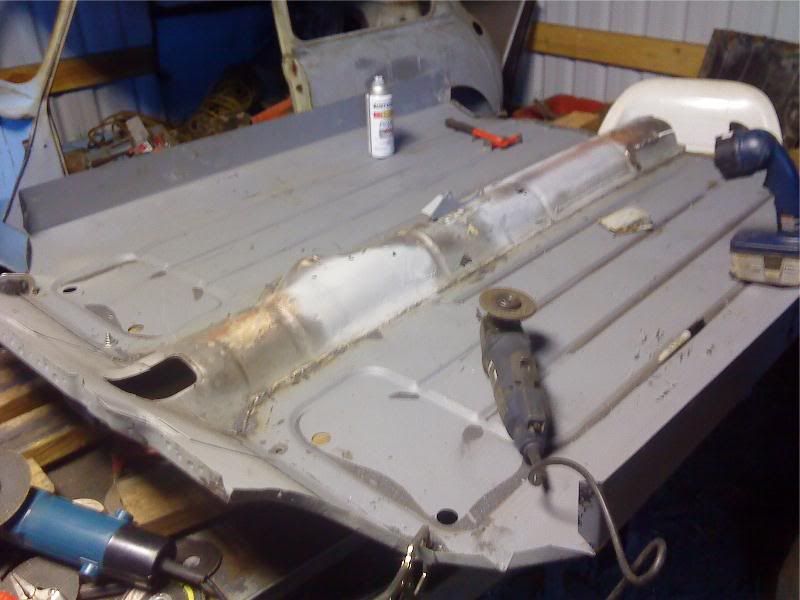
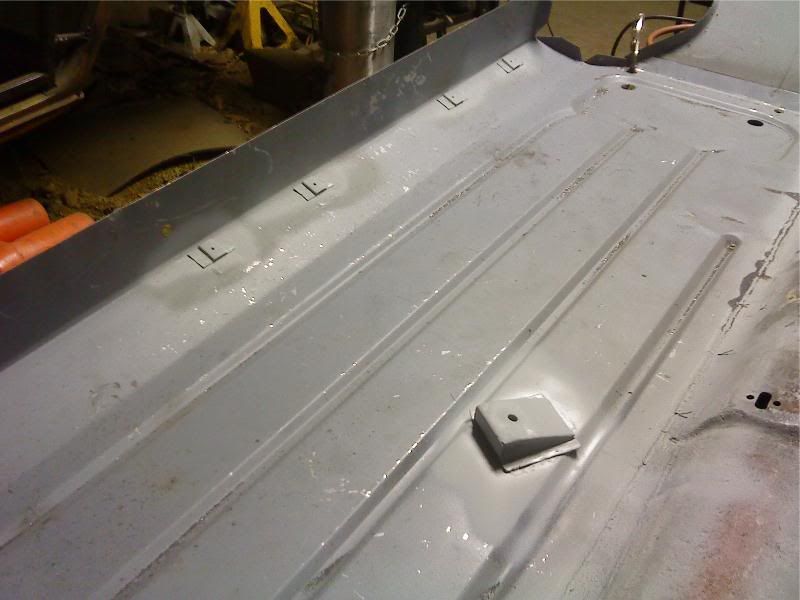
 there is still some holes in front of where the crossmember will go where the auto lever was mounted and where my remote mounted, I will fill those in eventually.
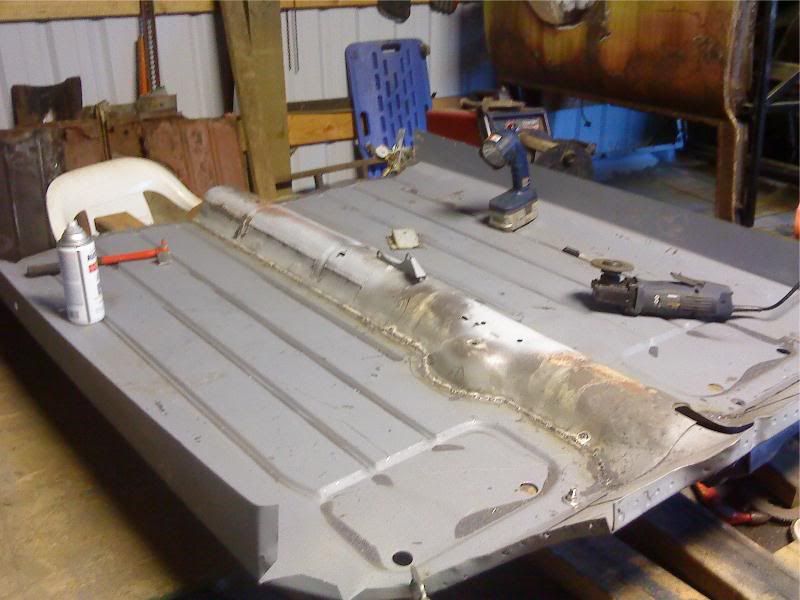
Stage One Kit Fitted

Posted 06 March 2012 - 10:42 PM
Not like me. 
One Carb Or Two?
Posted 07 March 2012 - 05:02 AM
One Carb Or Two?
Posted 15 March 2012 - 12:48 PM
Passed Test
Posted 15 March 2012 - 02:45 PM
My Mummy Says It's OK

Posted 15 March 2012 - 04:02 PM
Soldiering Along
Posted 15 March 2012 - 09:38 PM
Up Into Fourth

Posted 15 March 2012 - 09:38 PM
Camshaft & Stage Two Head

Posted 15 March 2012 - 11:43 PM
Stage One Kit Fitted

Posted 17 March 2012 - 07:31 PM
One Carb Or Two?
Posted 17 March 2012 - 11:45 PM


0 members, 2 guests, 0 anonymous users


