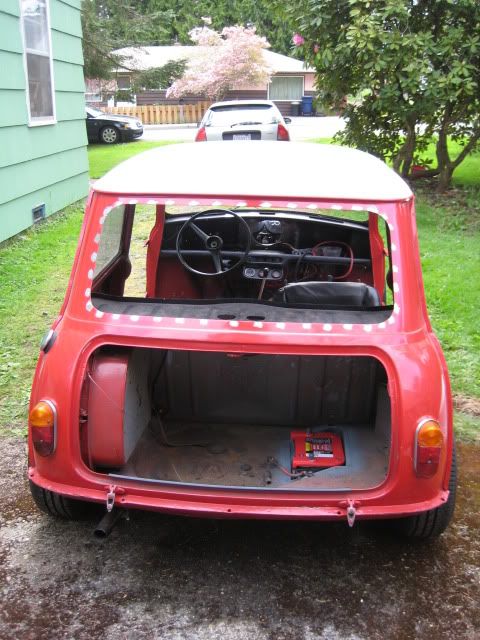
Mk1 Austin Mini
#61
Posted 14 February 2011 - 03:39 PM
The alternator on it was a Hitachi model and had never been wired up or setup correctly. It didn't even line up with the other pulleys well. We replaced it with a new correct unit and used the correct bracket to adapt it from a generator setup to an alternator setup. After some phone calls and running wires to where we could find power, we got it charging correctly. In the process, I by mistake disconnected the power to the fuel pump. We sorted it out pretty quick though.
Next issue was the carbs not being choked enough when the choke cable was pulled. We ended up pulling the carbs off the car and bending the bracket that the jets use to attach to the carb choke linkage. After this, it allowed the jets to have much more movement and the Mini is easier to start.
The final issue was the plug wires not seating into the cap properly, Chuck had this sorted before I was able to show up though.
After all this it started down pouring really hard so I wasn't able to take it home, but I did take it for a quick test drive. It drove a lot better and there was a night and day difference between the last test drive. On the 13th, I went to pick it up after work and it was a rather fun drive home. It seemed pretty quick to me even with the low compression in cylinder 1, but you can really feel it take off once it gets on the cam. I just wish it was more road legal so I could take it on a nice long drive.
#62
Posted 24 February 2011 - 05:01 AM
Here are some new items I have been collecting:
The original metal front end for the car, pretty excited about it.
Another passenger side replacement door, the one that came with the Mini was in pretty bad shape. This one is nice and solid.
Mk1 metal demister vents, hard to find.
Original Group 2 arches, never been used. They even have the recess to fit mk1/2 exterior hinges.
Mk1 Center Binnacle
Mk1 Speedo
Huge thanks to Chuck for all the hard to find bits.
#63
Posted 24 February 2011 - 01:47 PM
personally i LOVE the crazy front on it now:P
#64
Posted 24 February 2011 - 03:03 PM
Thanks for the response!
#65
Posted 20 March 2011 - 02:31 PM
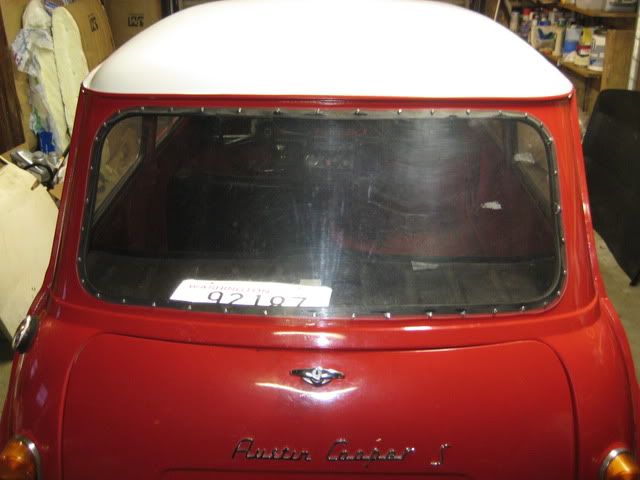
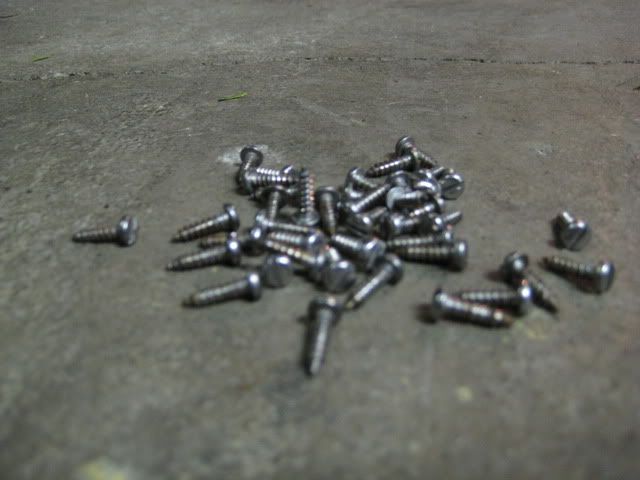
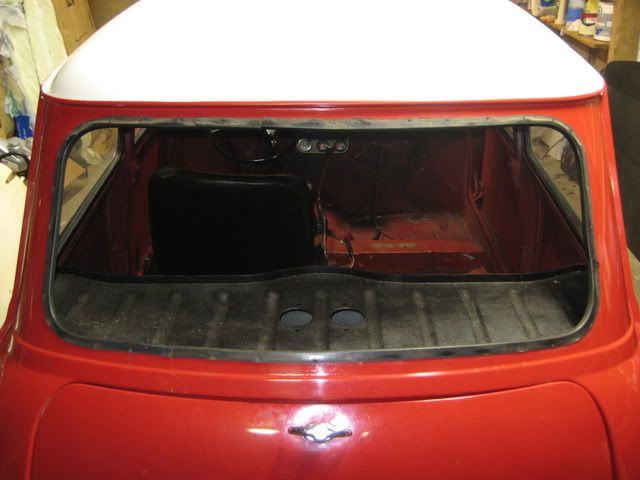
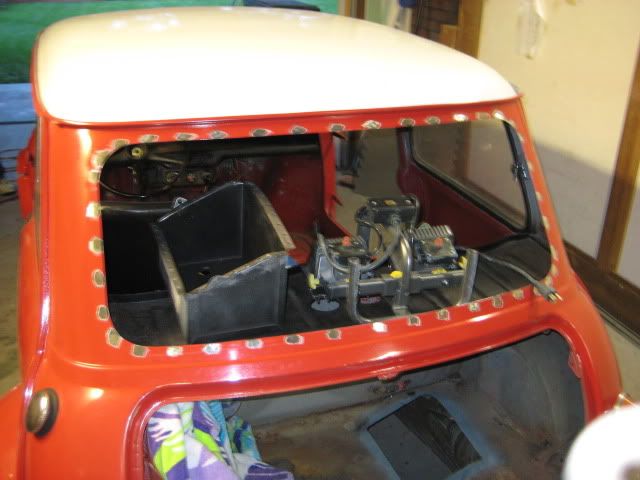
I removed the rear lexan window, and now have tons of screw holes in the body. I was expecting them, but I was really hoping they didn't exist.
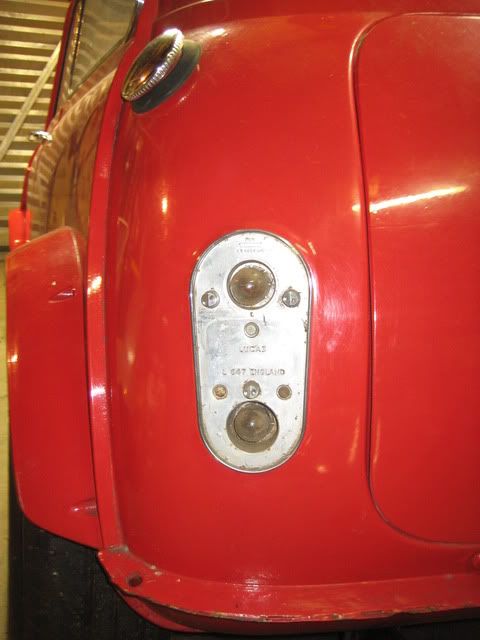
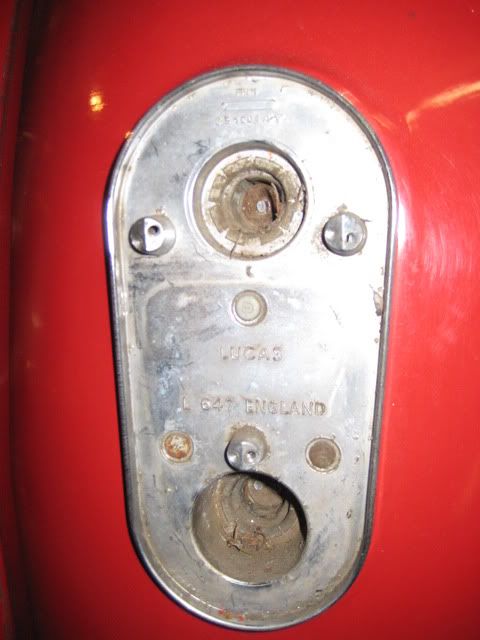
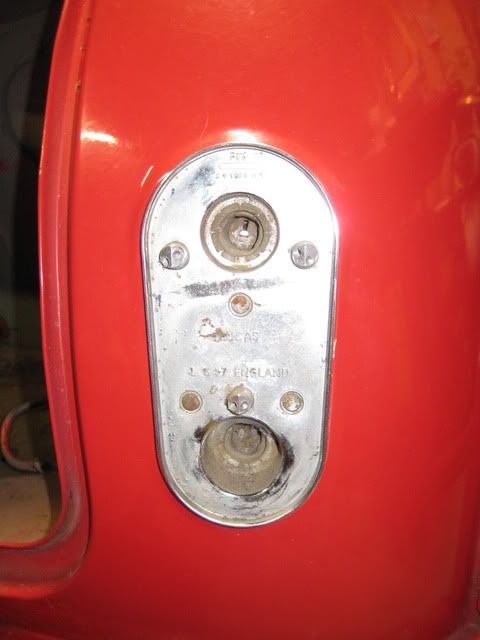
Next, I inspected the rear tail light assemblies. Considering the car has been off road for close to 35 years, I don't think they are that bad. They could just use a wire brush and a little bit of sand paper. They still had bulbs in them that came out pretty easy, I just left them out for now. The bulbs themselves still looked ok with no corrosion, they were just a bit dusty.
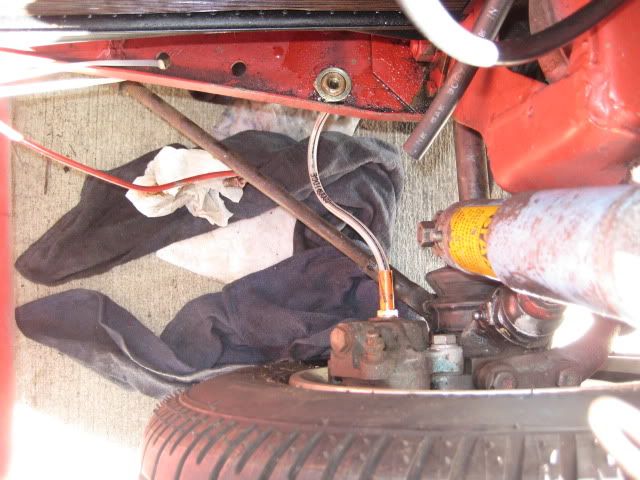
A couple of weeks ago, on my weekly start up and run of the motor. It didn't want to idle at all. I replaced the spark plugs and it still did it. I also checked over everything that I could think of, with no progress. I am going to run it down to Chuck's next Friday to look into the issue. I am also planning on greasing up the rest of the suspension and installing the new studs in the rear for the new drums.
#66
Posted 20 March 2011 - 02:55 PM
#67
Posted 20 March 2011 - 03:14 PM
#68
Posted 23 March 2011 - 05:36 PM
This week, I plummed in a new fuel regulator. This one seems to be operating correctly. I also switched the plugs back to the original ones after buying a set to test with. The Mini is running a bit better, but not that great. I am hoping Chuck's magic touch will get it running decent again.
#69
Posted 27 March 2011 - 03:03 PM
Today was going to be a quick 2-3 hour job... Ya, that didn't happen. The Mini is over 50 years old, and much of the braking system seems to be original.
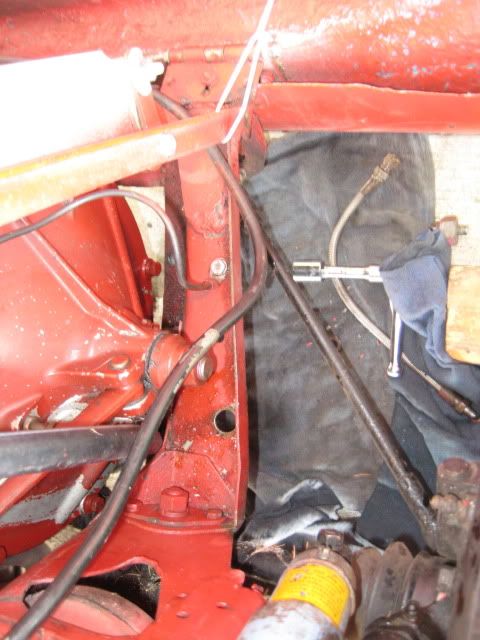
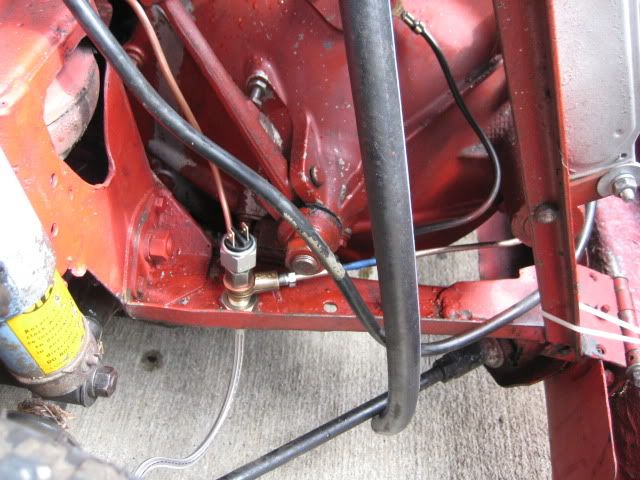
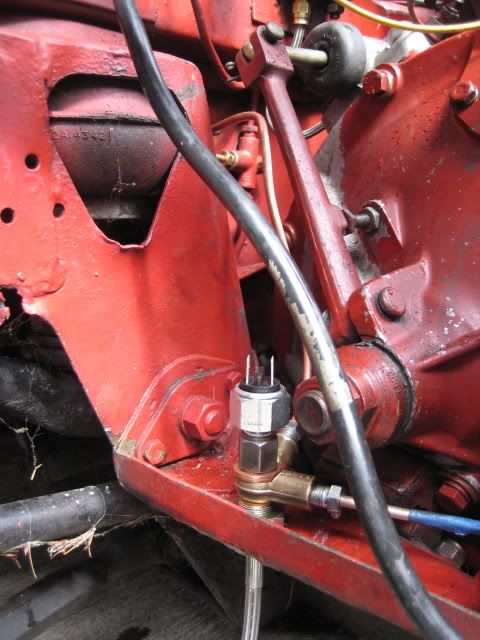
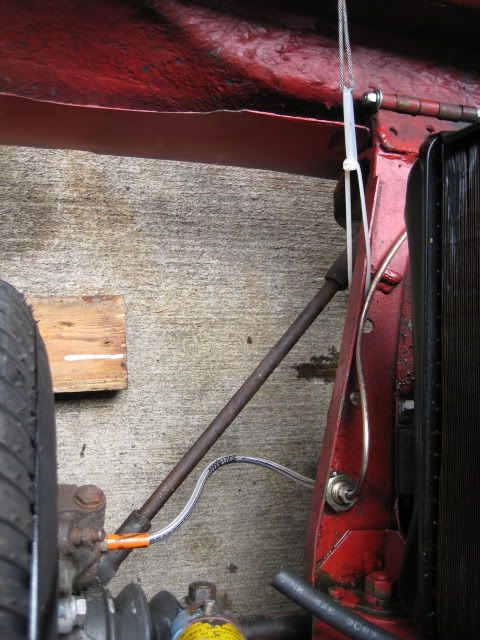
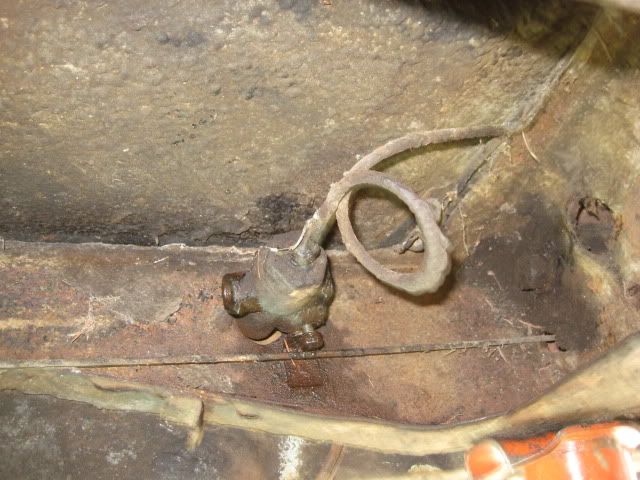
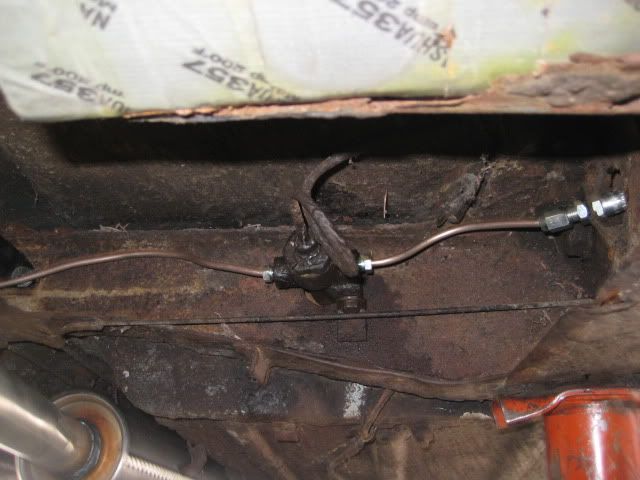
The plan was to replace the front braided lines with correct Mini ones, and install the brake light switch in the line. The hard lines ended up breaking up front, so we had to run a new front cross hard line as well as a hard line from the T fitting to the brake switch area.
Brake line switch area, minus hard lines.
Everything in.
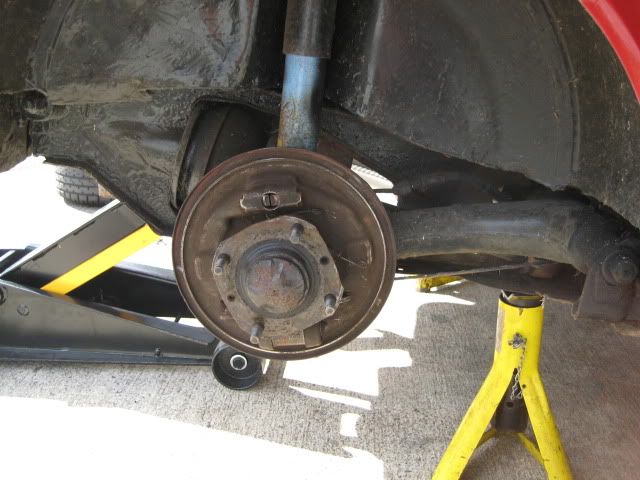
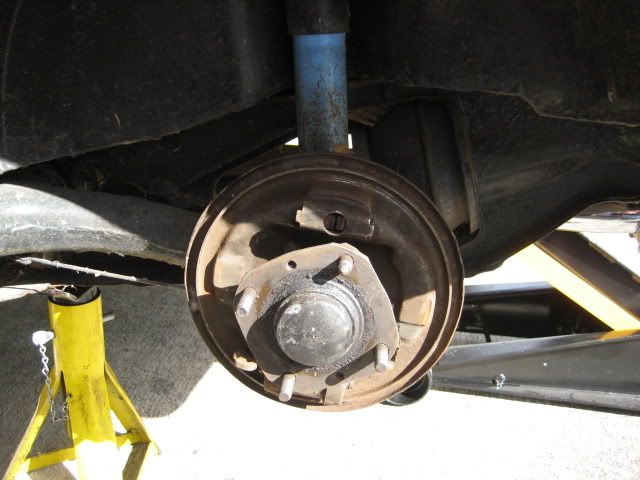
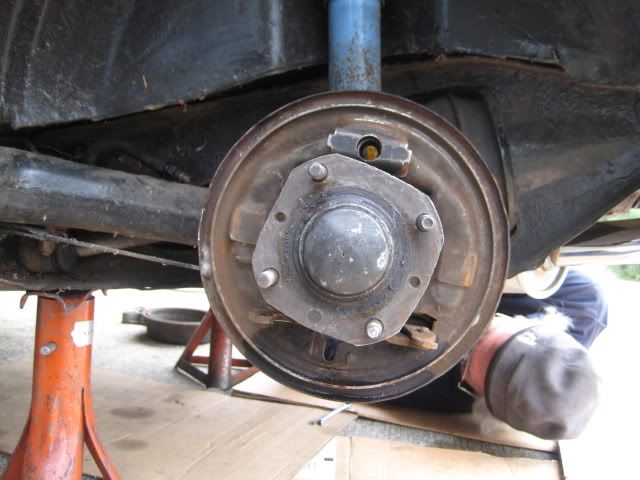
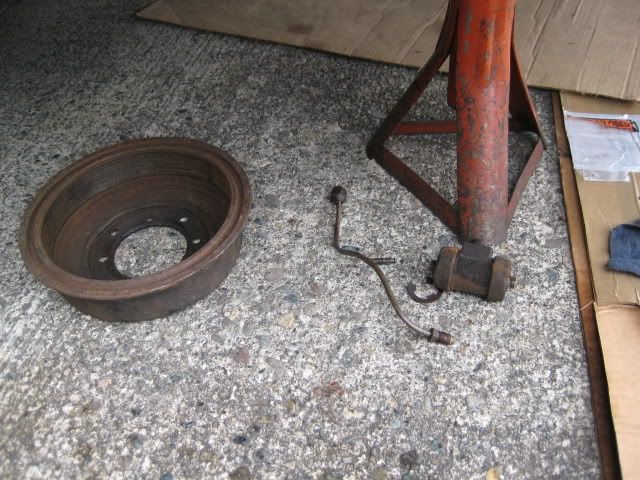
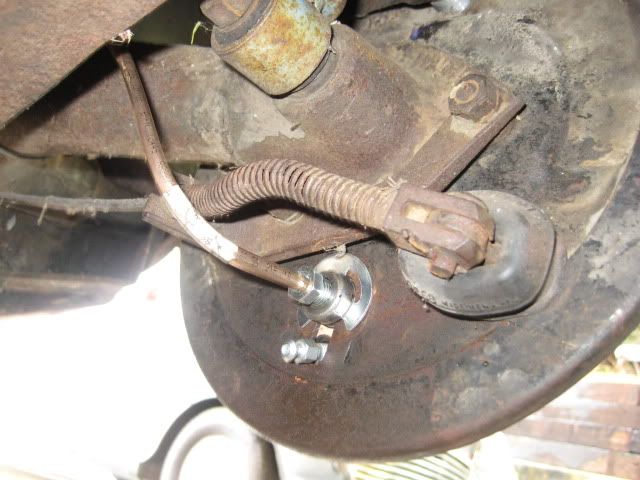
We then moved onto the back where we found very ancient soft lines and wheel cylinders that were frozen solid. Once again, Chuck found brake shoes that were installed incorrectly. The hard lines were replaced along with new soft lines in the rear, as well as new wheel cylinders and brake adjust kits. The original wheel cylinders are very ancient units, and could have been original to the car. The regulator valve is also a very early item, and we are hoping it is still functional.
A bad picture of the old wheel cylinder and soft line in the back ground.
Removed.
Regulator Valve.
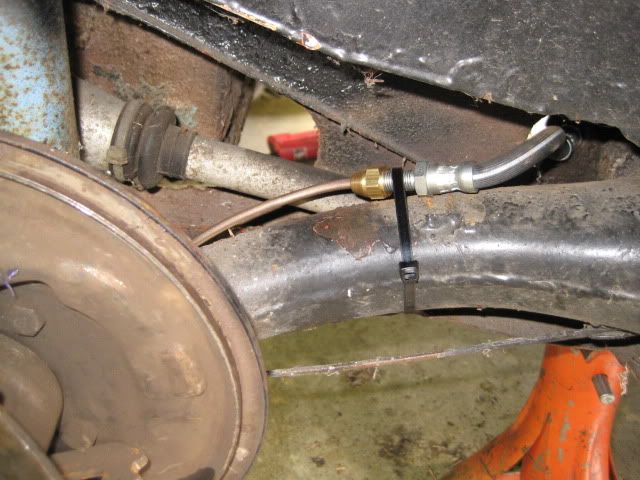
New hard line and soft line, the locating bracket on the trailing arm has been long gone. Zip ties to the rescue!
New hard lines into the regulator valve.
New hard lines into the wheel cylinders.
A lot more work then originally anticipated, but hopefully it will be a fully operational braking system now. There were no back brakes before, but its hard to tell in such a light car.
Still left to do:
Studs in the rear hubs, for the new drums.
Test braking system for leaks / bleed whole system.
Lube up suspention, one of the trailing arms has a broken nipple. Hopefully we can extract it.
#70
Posted 04 April 2011 - 03:30 PM
Sorry, no new pictures. They wouldn't have been that exciting anyways. We took the rear hubs out and put in the new studs for the spacered drums. Re-assembled the shoes and springs and put them on the correct way this time. We then bled the whole brake system, there were a few leaks, but we got them sorted out pretty quick thankfully. Finally, we were able to extract the broken nipple for the rear trailing arm thankfully and got the rest of the suspension lubed up.
The idle issue was also sorted out thanks to Chuck, its was a combination of the the right or rear carb not being choked enough on start up. Then it didn't always go all the way back in once the choke was taken off. After helping the engine warm up with keeping the revs up, the Mini idles pretty nicely.
Between the cam and the salisbury lsd, it really doesn't like low speeds all that much.
#71
Posted 24 April 2011 - 03:00 PM
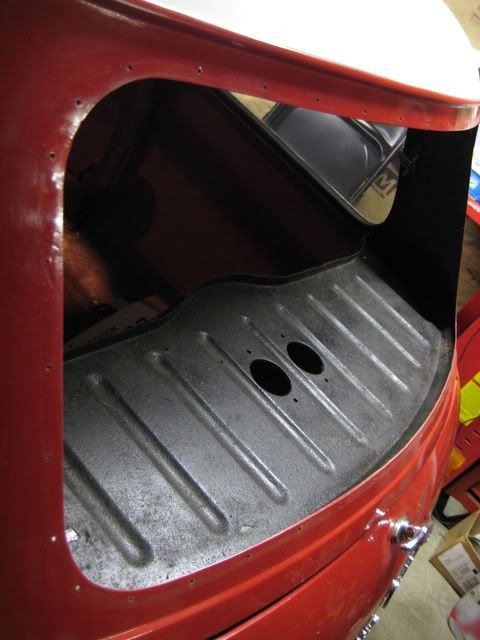
The Mini needs new floors from the front to about 12" behind the cross member. The cross member needs to be replaced as well. In the future it will need a new rear valance and metal taken care of toward the rear boot floor. It also needs all 4 seam finishers. When we saw it friday night, Gunnar had already welded up the holes around the rear windscreen and taken out the dents in the panel below the front windscreen. He had also removed the battery box.
I picked up a door from Chuck awhile back that was nice and solid, but had a crease in the lower section. Gunnar did a nice job of removing it and then shrinking it to put strength back into it. I am very happy with his work and highly recommend him. I will try to get some pics the next time I am at the body shop.
Thanks for reading!
#72
Posted 26 April 2011 - 03:03 PM
Battery box removed:
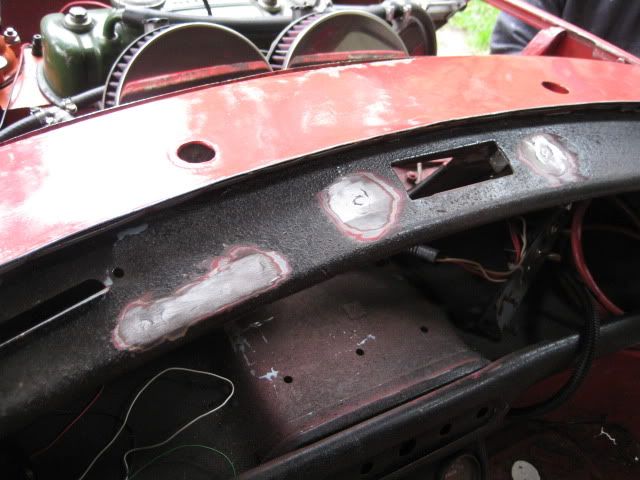
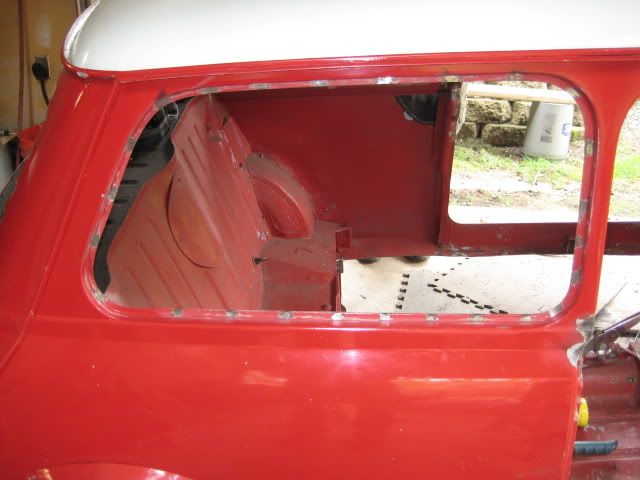
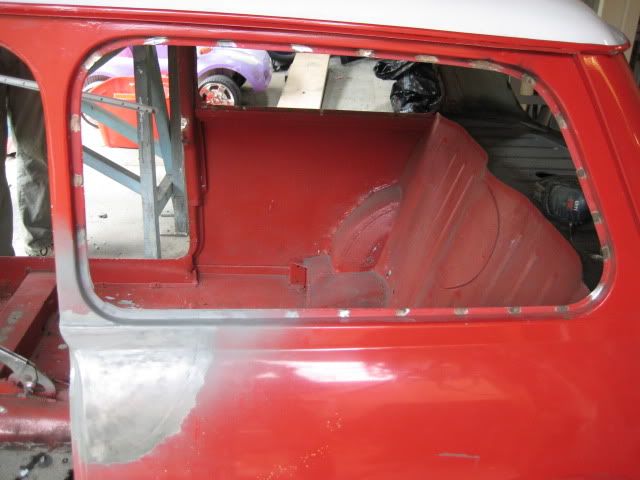
Holes welded up from the lexan window that used to be in it. You can also see Gunnar's modified late model battery box. He made it closer to what a Mk1 box should be, its details like this that let me know the Mini is in good hands with him.
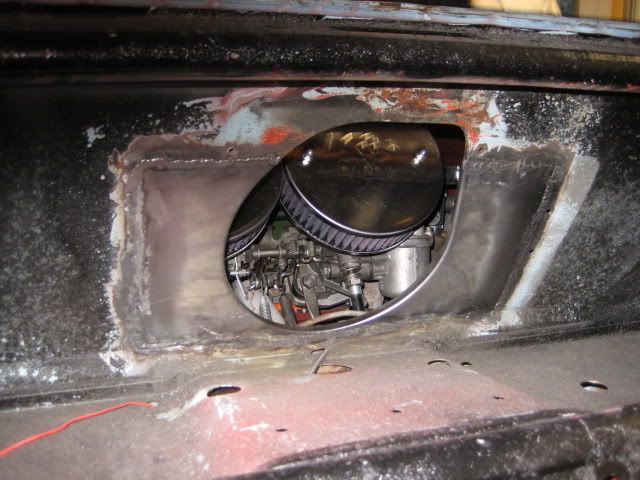
The dents in the panel below the windscreen have been pulled out, they were quite massive. You might be able to see them in some previous photos. Also, he has butt welded the roto dip panel in place. I really don't know how he welded behind the clutch and master cylinders.
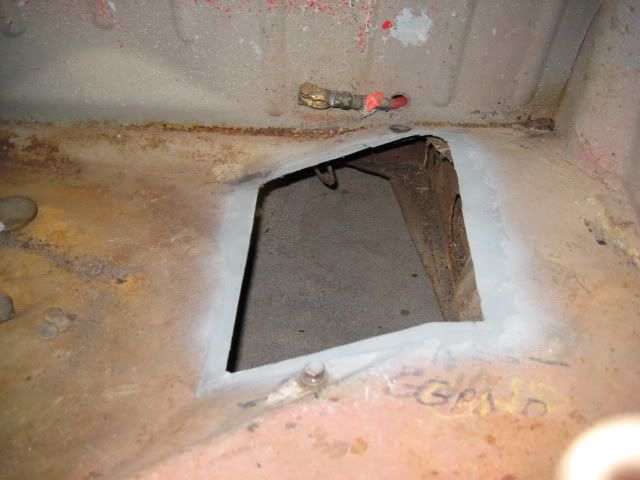
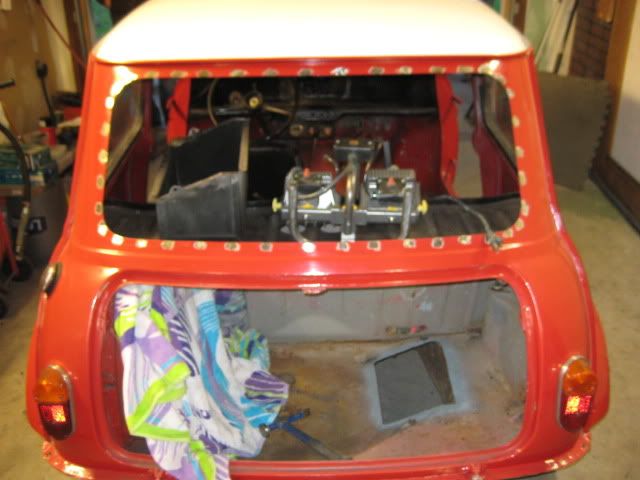
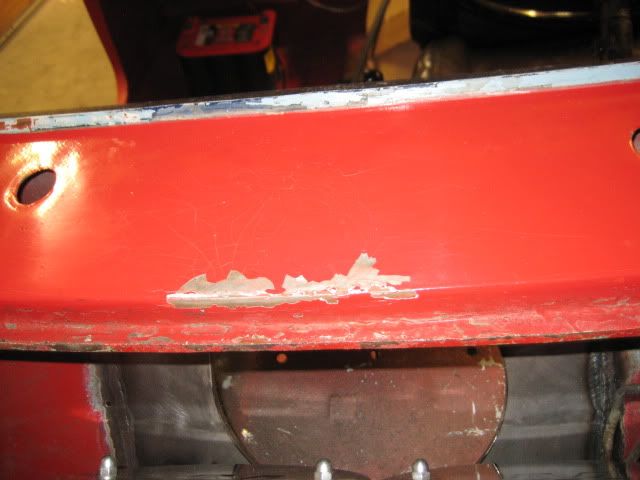
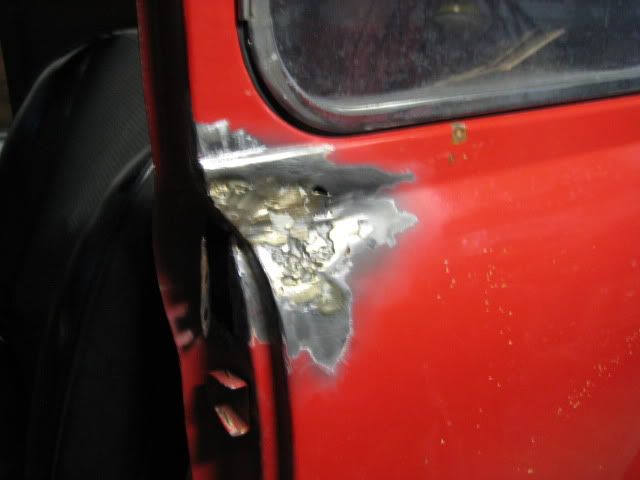
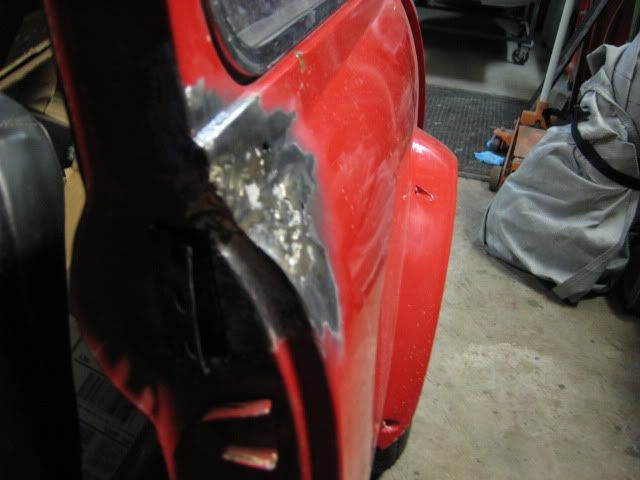
The "interesting" repair work by the previous owner. It has been brazed... Ya, I am pretty sure you don't repair / fill like that... I know you can lead fill... but, brazing really? We are going to have to cut it out and use a donor panel from another car.
That's it for now, thanks for reading!
#73
Posted 26 April 2011 - 09:43 PM
#74
Posted 28 April 2011 - 03:16 PM
#75
Posted 25 May 2011 - 11:15 AM
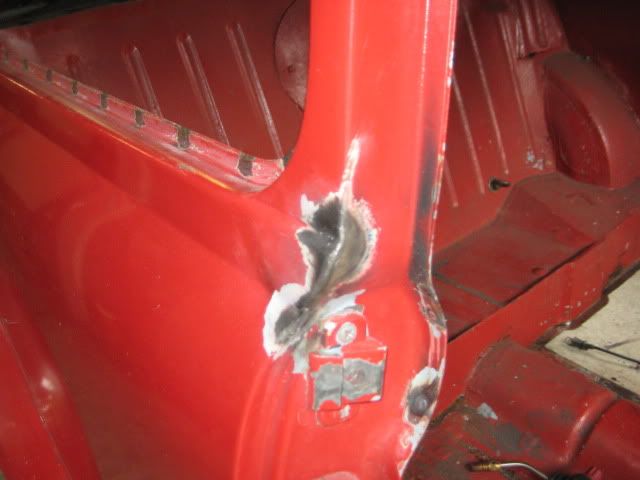
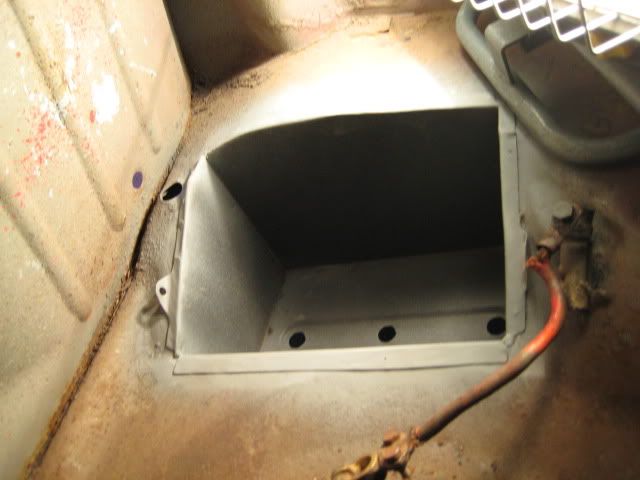
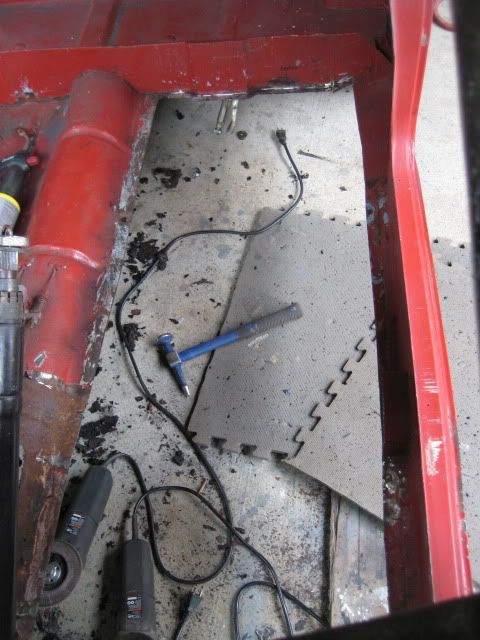
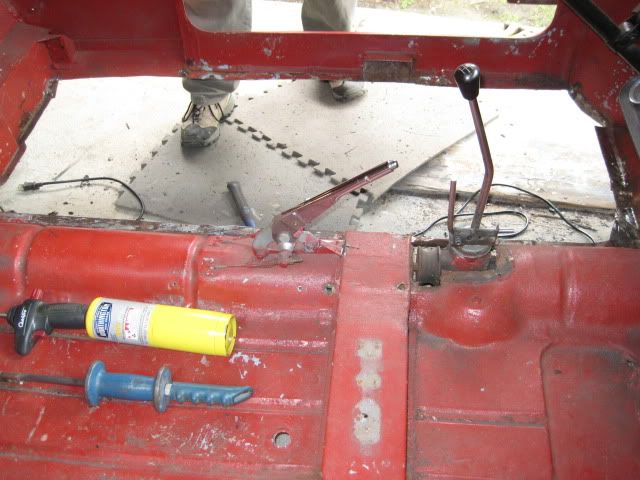
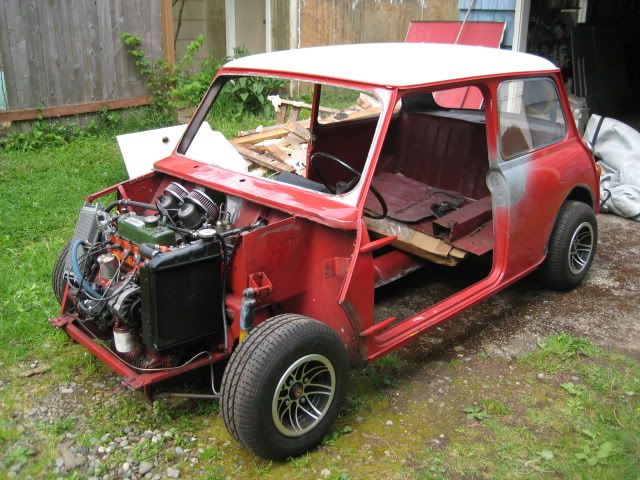
Here are some photos of the work that Gunnar completed on it as of 5/6.
Repaired passenger side B pillar.
Battery box in, though this is for not as we will be doing a completely new boot floor.
Flintstones style for the driver side floor pan.
Dash all welded up like it should be.
20 + holes welded up on each side. They were hidden by the window seal.
How it sits now.
2 user(s) are reading this topic
0 members, 2 guests, 0 anonymous users