1979 Rust Heap Clubman Rebuild
#121

Posted 28 May 2011 - 10:45 PM
#122

Posted 29 May 2011 - 06:31 AM
This thread look like that from a seasoned pro...
Got to take my hat off to you mate, this is excellent work!
#123

Posted 30 May 2011 - 05:30 PM
#124

Posted 30 May 2011 - 06:11 PM
Despite my little injury, I managed to get the stuff done that I wanted to do this weekend. Here is the new inner wing with all holes drilled, clamped up and 'carefully' hammered into place ready for welding.
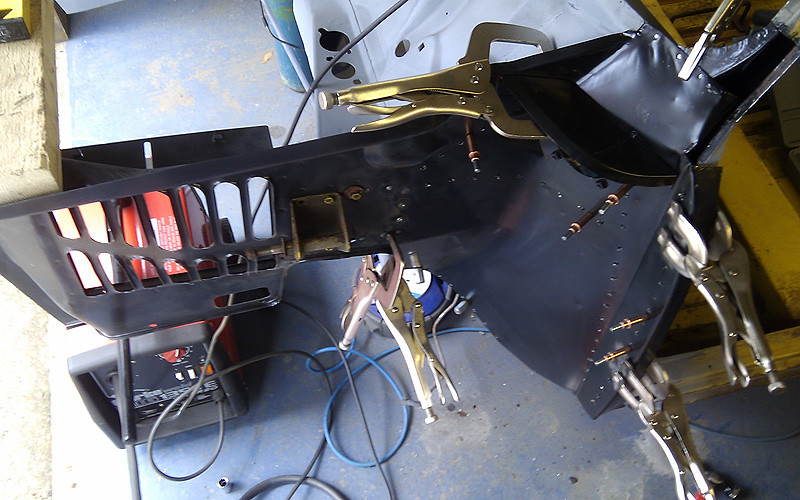
A few plug welds later:

Looking OK from the inside:

Grinding: DONE.

A dusting of etch primer on the bare bits.

Then, just as a precaution, I roughly welded a few more steels across the shell. I'm planning to keep all the bits these are welded to, so they can stay in place while most of the stuff around them gets replaced or repaired.

Hopefully the triangular structure will hold some rigidity when I remove the old heel board. I think thats probably the next job on the list. I'll mull it over this week and see if there is anything else I need to do first.
#125

Posted 30 May 2011 - 06:52 PM
#126

Posted 30 May 2011 - 08:00 PM
Are you sure you are an amateur?
This thread look like that from a seasoned pro...
Got to take my hat off to you mate, this is excellent work!
+1. This is gonna be a very nice solid Mini, your not afraid to get stuck in. keep it up. Top work.
#127

Posted 05 July 2011 - 11:04 PM
#128

Posted 09 July 2011 - 08:24 PM
The mini has been on the back burner lately as I'm getting married in 8 weeks and the wedding is sucking up all of my money! I don't think any serious panel purchases are going to happen now until after september. My drill and my grinder also gave up the ghost recently, (on the same day!) and I have only just picked up a new grinder. ANYWAY... enough with the excuses. Today I got back in the garage and tackled the heel board removal.
After much head scratching over best approach, I decided to keep as much floor as possible until I can get the car upside-down. I therefore resolved to get rid of all the rotten bits in this area (almost everything) and rebuild from the sound part of the floor outwards. First of all, I butchered the companion bins as they were rusty and patched anyway, and too difficult to remove cleanly.
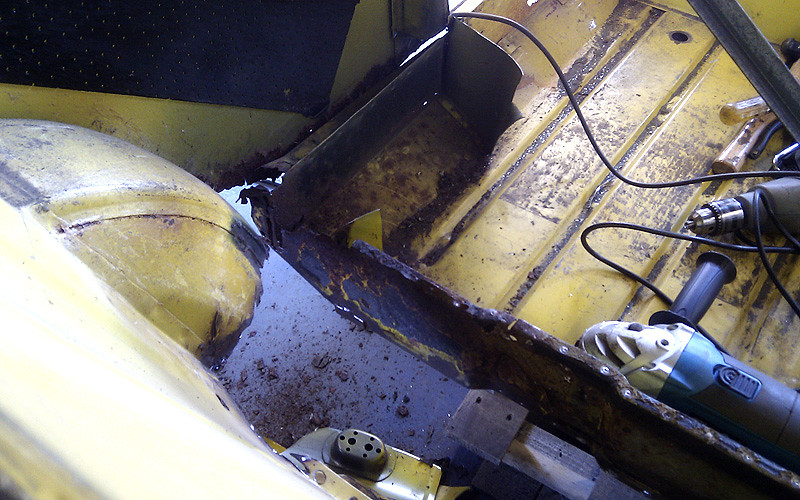
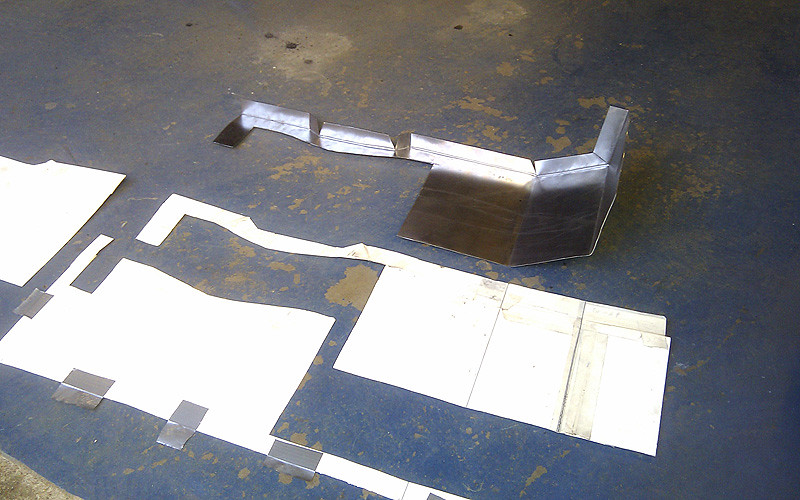
Then, with access to the whole floor, I made a couple of card templates to record the shape of the floor in its intact state.
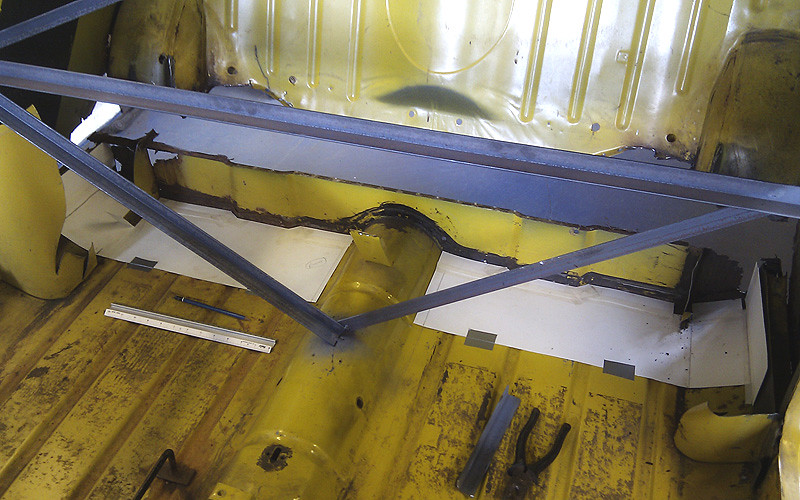
I marked out the areas of rusty floor to be removed, and cut the whole end of the floor off in one piece including the heel board.
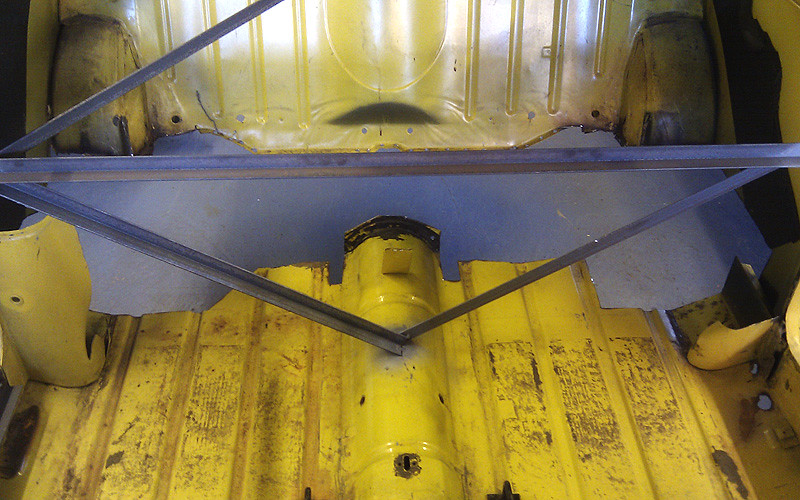
Bosh.
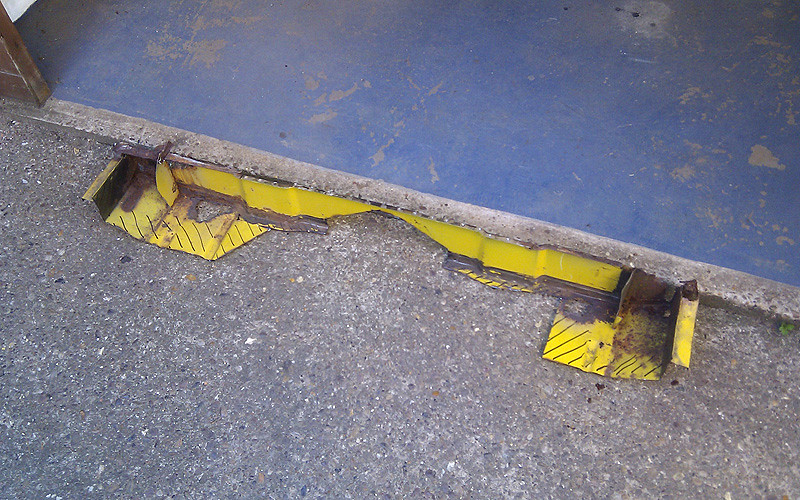
I know this looks drastic, but the whole discarded portion is cheese, and the various parts would have had to come out sooner or later. I'm not worried about losing rigidity as the joins to the quarter panels were non-existent anyway, and the temporary bracing I put in is doing a good job.
I could now tape in the templates I made earlier and trace the shape of the cut, and make up an accurately fitting floor repair:
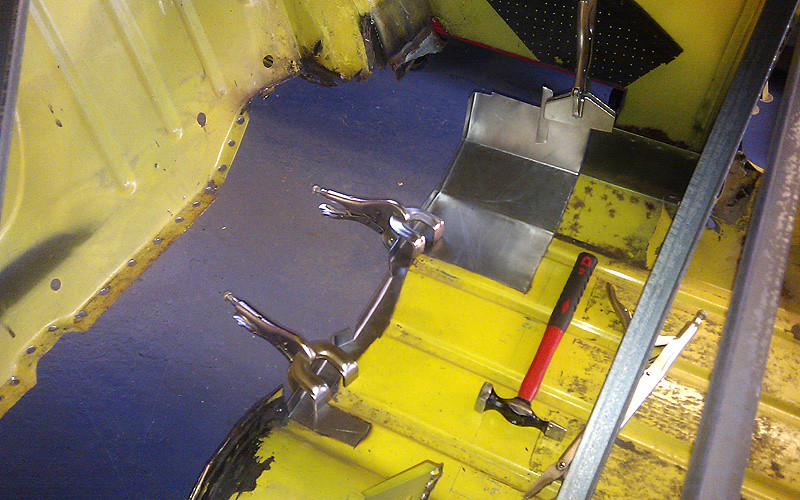
Here is the N/S repair roughly clamped in as a test. Annoyingly, I forgot to account for the one flute that intersects the join, but I will make sure that is welded up neatly at the final fitting. The inner sills will be replaced up to this repair so I won't fully seam weld that part in. I'm not going to have the holes in the new floor that were there previously (presumably for drainage?) as they seem to have been the first areas to rust.
Next job is to form the repair for the other side. I've got a piece of old heel board stuck to the tunnel still to remove, and then I should be able to weld this lot in and eventually get a new heel board fitted.
#129

Posted 09 July 2011 - 08:54 PM
#130

Posted 09 July 2011 - 08:58 PM
nice fabrication work. Wish my panels came out so neat fitting !! Glad you have braced it up, saves such alot of heartache long term. Keep it up, and see how near the wedding you can get while still welding things up, just for a laugh !!!
Graham
#131

Posted 09 July 2011 - 09:06 PM
Hugh
#132

Posted 16 July 2011 - 09:09 PM
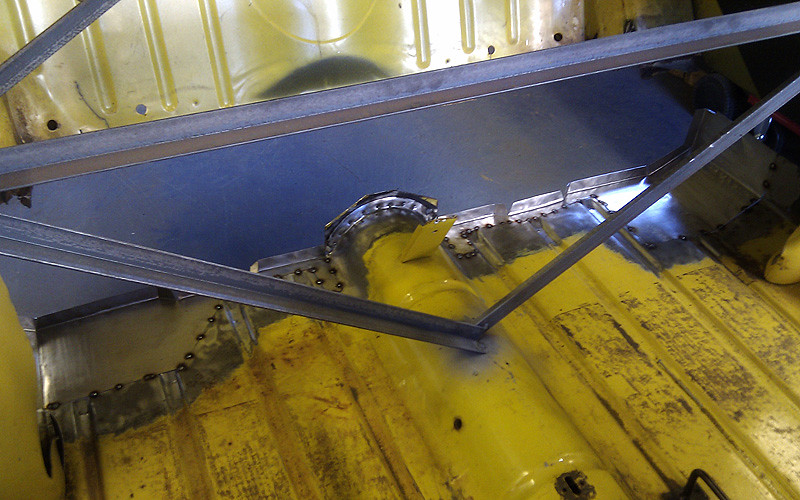
Just a quick one today. Starting getting a bit of floor in place.
#133

Posted 18 July 2011 - 12:47 AM
#134

Posted 18 July 2011 - 01:43 PM
awesome fab works too
#135

Posted 18 July 2011 - 07:04 PM
1 user(s) are reading this topic
0 members, 1 guests, 0 anonymous users


