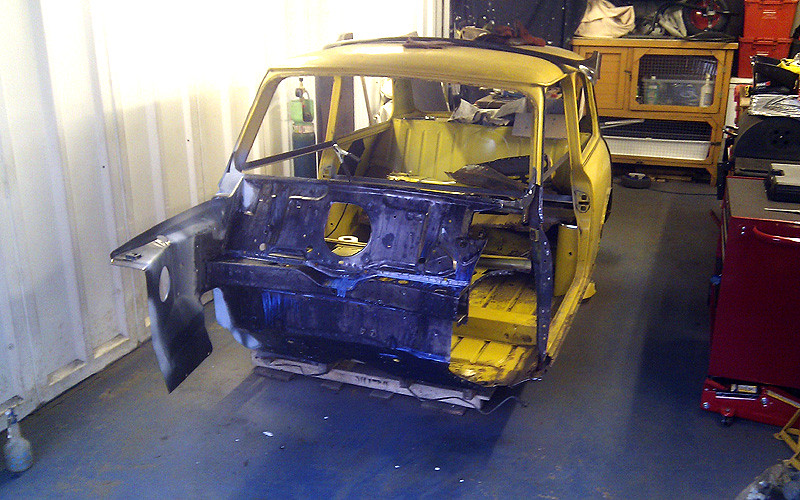
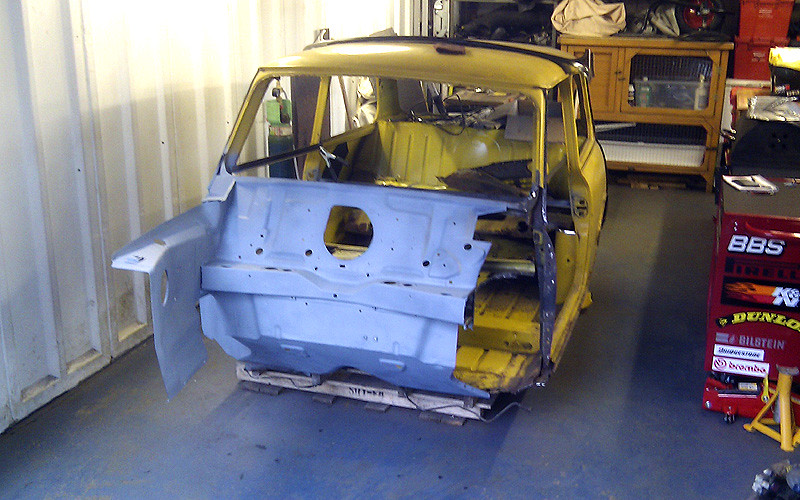
1979 Rust Heap Clubman Rebuild
#76
Posted 18 March 2011 - 08:56 PM
Miniman92: Ah-ha! Ok that seals it. I love that colour!
Sonikk4: now that you mention it, that makes perfect sense. Oh well, I'm a sucker for punishment! I'll know for when I do the other side.
Miniclubmangt: still undecided! Concentrating on building a solid shell first. One step at a time
#77
Posted 26 March 2011 - 09:07 PM
First of all, I ended up deciding the best treatment for the boxed in bits would be POR15.
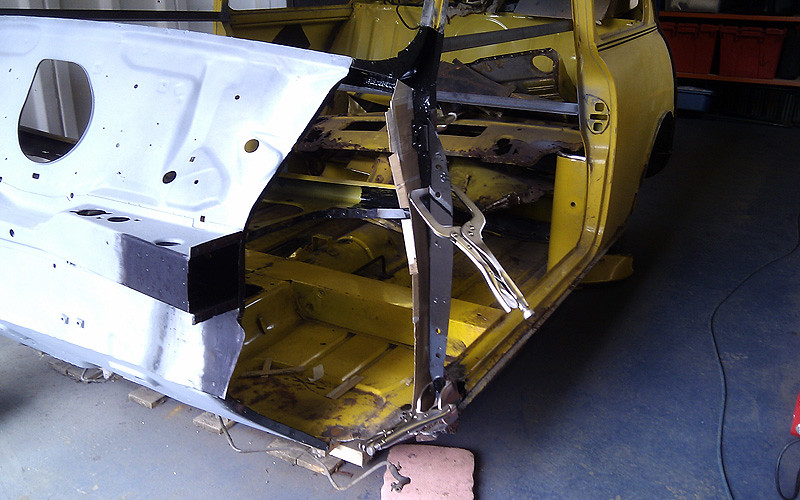
Final clamp up before welding. Invested in some skin pins, which made life much easier!
Lots of plug welds.
Panel: IN! It took me all day to get this far, so I'll finish the grinding tomorrow.
Really glad this bit is fitted at last. Hopefully now I know a bit more about what I'm doing, the other side will be more straight-forward.
Now for something a bit more exciting - for those people who are wondering what I'm going to do with this car, I got a bit inspired this week looking at these classic skylines... I really like the way this car has a few modern sports touches like the rays wheels and the decals, but its still an awesome piece of history, and doesn't look 'molested'. I'm aiming for something like that, I think.
#78
Posted 26 March 2011 - 09:11 PM
#79
Posted 26 March 2011 - 09:17 PM
That looks good and so does the Nissan, before you go any further try temp fitting your door and A panel to make sure all is well.
Yeah the lip where the A panel bends around isn't perfectly flush to the door step but its as close as I could make it. Worst case scenario is I'll have to section it, but i decided it would be easier to do once the inner wing was solidly in place, so I went ahead. Will try the door tho.
#80
Posted 26 March 2011 - 09:55 PM
First of all, I ended up deciding the best treatment for the boxed in bits would be POR15.
Final clamp up before welding. Invested in some skin pins, which made life much easier!
Lots of plug welds.
Panel: IN! It took me all day to get this far, so I'll finish the grinding tomorrow.
Really glad this bit is fitted at last. Hopefully now I know a bit more about what I'm doing, the other side will be more straight-forward.
looking realy good mate keep up the good work
#81
Posted 03 April 2011 - 10:43 AM
#82
Posted 03 April 2011 - 04:48 PM
Edited by minimuk, 03 April 2011 - 04:49 PM.
#83
Posted 03 April 2011 - 07:03 PM
...i was just wondering what you are using to cut your sheet metal?
I use tin snips if its a straight cut that I can get to easily. These are the ones I have below. If I was going to buy some more though, I'd probably get some with angled blades as they cut more easily into the middle of the sheet. I make all other cuts with a 1mm cutting disc on the angle grinder.
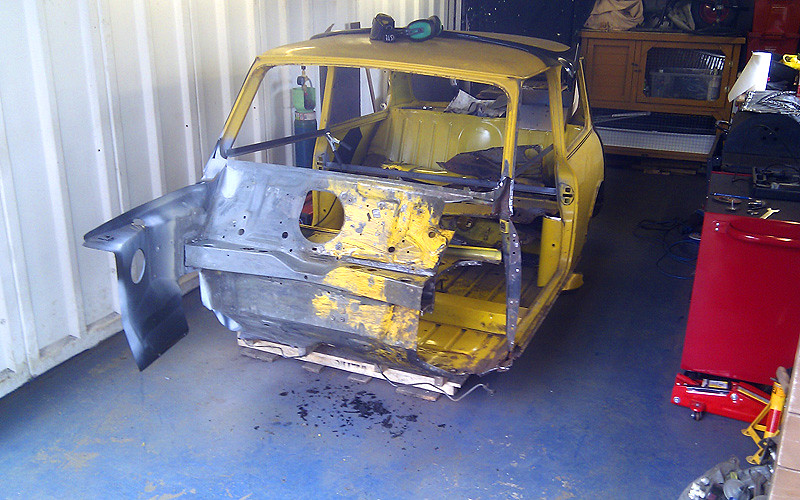
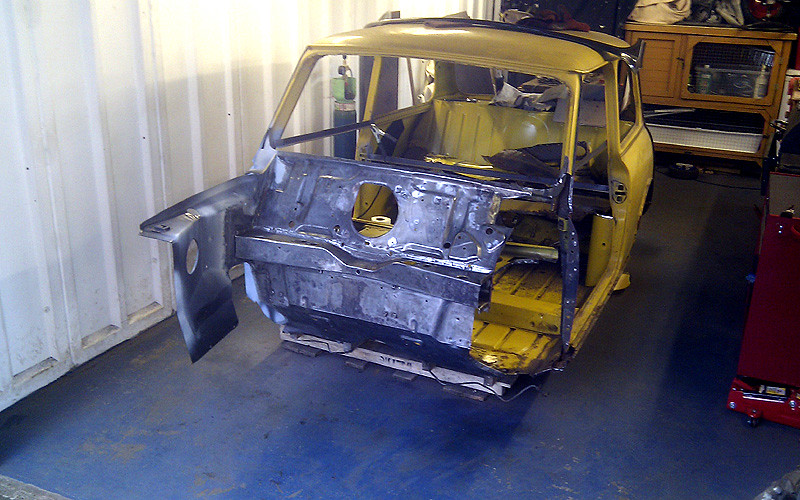
So I finished grinding down the welds on the inner wing. Cursed my lack of forward planning numerous times while trying to get my grinder inside the dash without chopping my fingers off. Will definitely make sure all the welds are on the outside next time. Also going to look into an air-powered grinding thing. Apparently they are smaller and easier to handle than the electric counterpart...? Anyway, I made this repair to the rotten end of the dash rail that I had cut off earlier. Quite proud of this because it was a pain in the arse to shape!
With the off-side looking much more healthy, I turned my attention to the near-side inner wing and flitch:
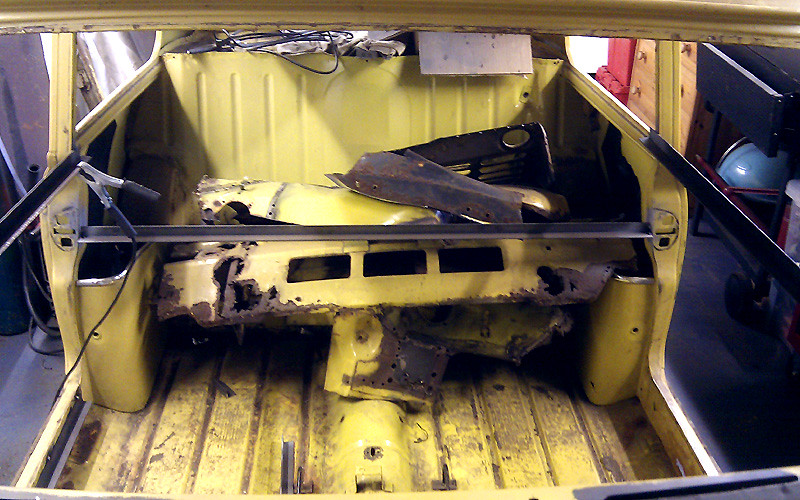
It came away much quicker than the other side, now that I have a better idea of what i'm doing. The pile of amputated panels inside the car is getting quite big now!
I cut out the dodgy areas of the bulkhead as I was going. This is the queue of knackered bits waiting to be fabricated/replaced.
Much to my dismay I've noticed lately that tiny specs of rust were appearing through the primer in the areas of the bulkhead that I'd already treated. I decided the only thing for it was to strip the whole thing and do it again. This time I tried to get rid of as much of the badness as possible with a wire cup and flap disc. Also chopped off all those little flaps of metal that hold pipes and wires in place as they all seemed to be harbouring rust. Will replace later with a more elegant solution.
MOAR kurust:
Grey primer X 2:
Phew! Thats all for now! Loving the light evenings though - makes such a difference to mini progress!
#84
Posted 03 April 2011 - 07:49 PM
#85
Posted 24 April 2011 - 11:34 PM
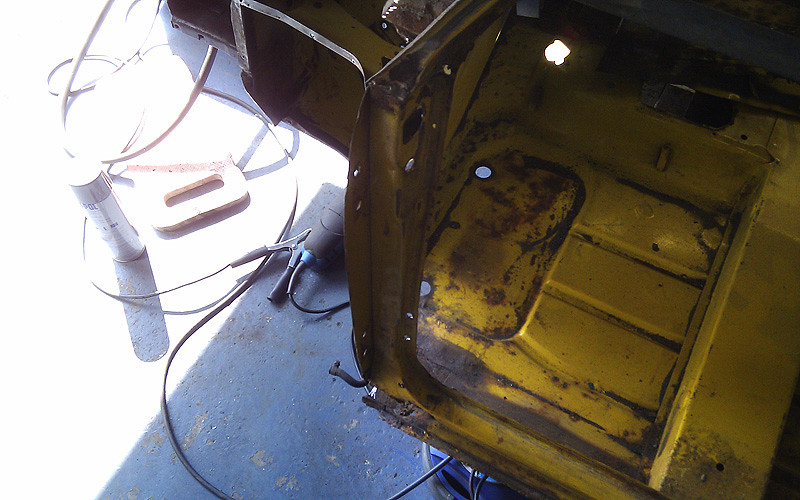
Its pretty much rusty all over.
..and the bottom has totally disintegrated.
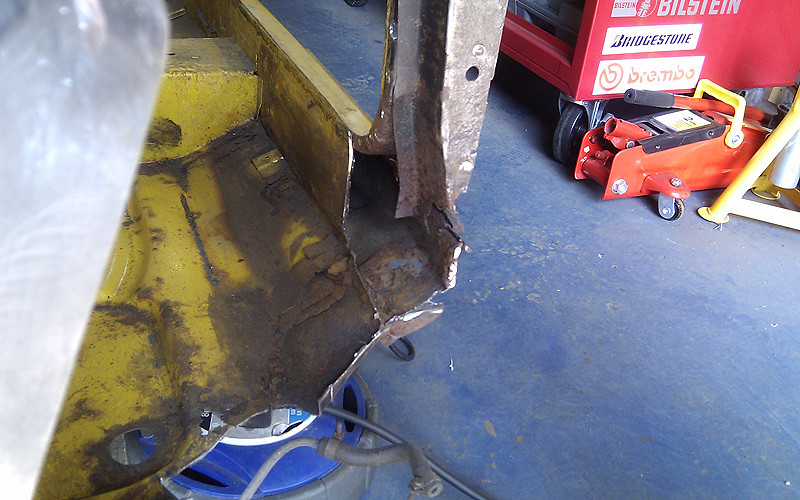
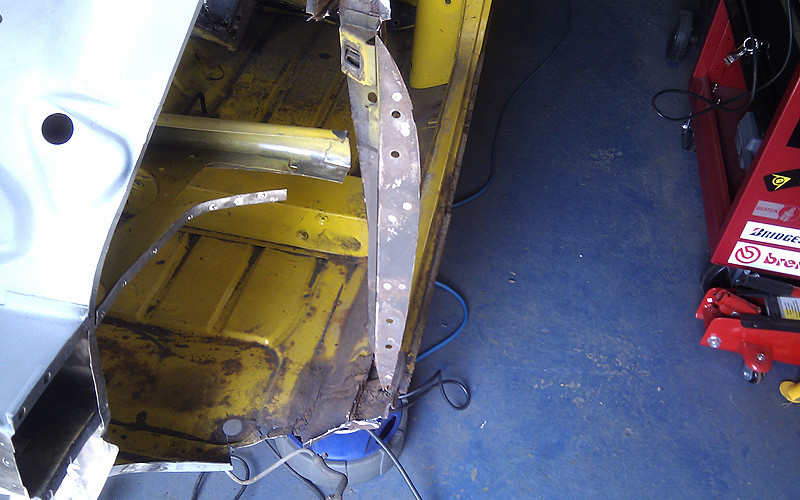
I suspected a rust sandwich between the post and the hinge panel, so I decided the hinge panel had to come off. I started drilling out the spot welds, but it was soon clear that I would end up with more holes than metal so I cut the whole thing out.
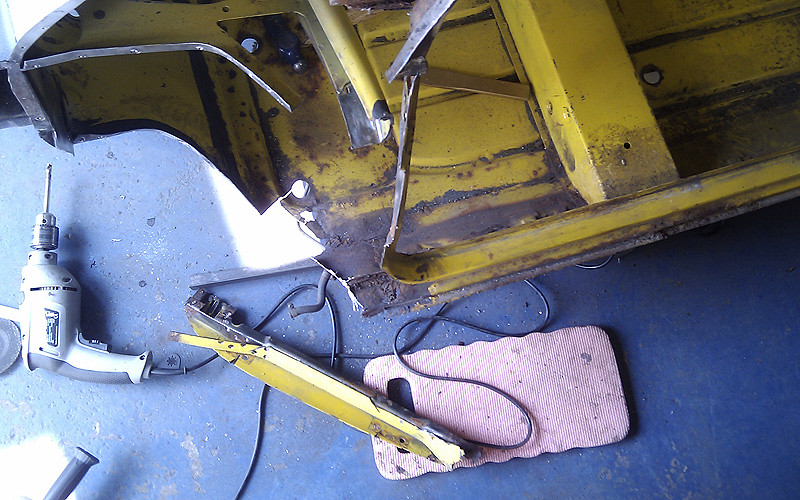
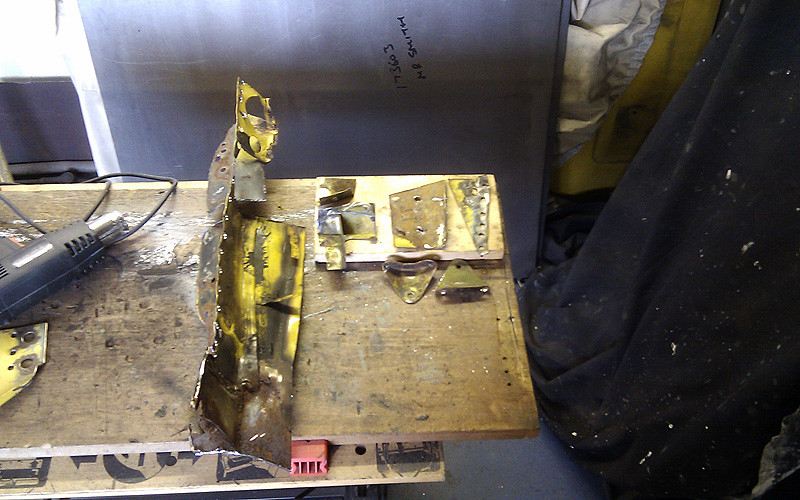
It was much easier to deal with the hinge panel on the workbench.
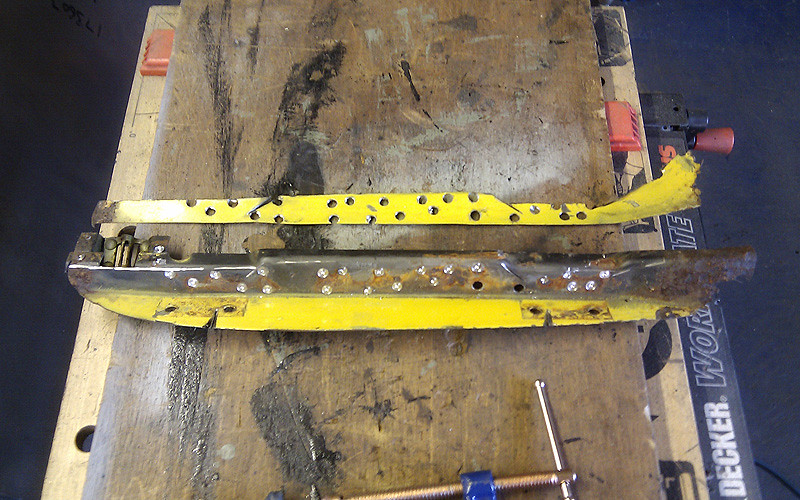
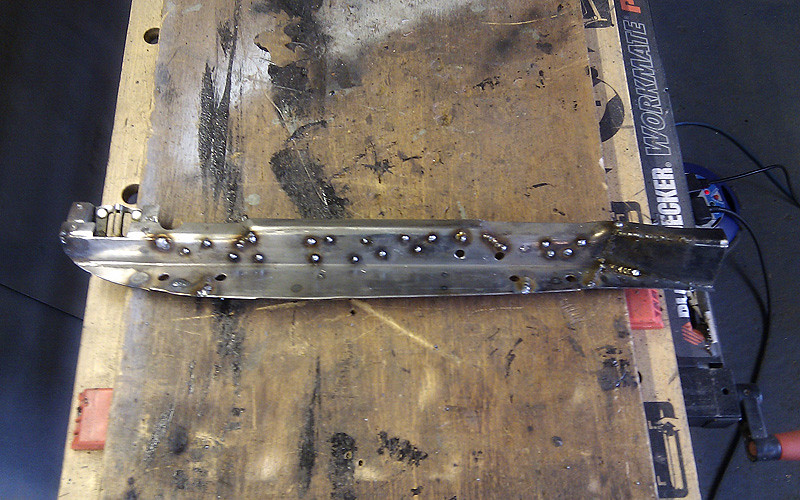
After a bit of paint stripping, cleaning and rebuilding...
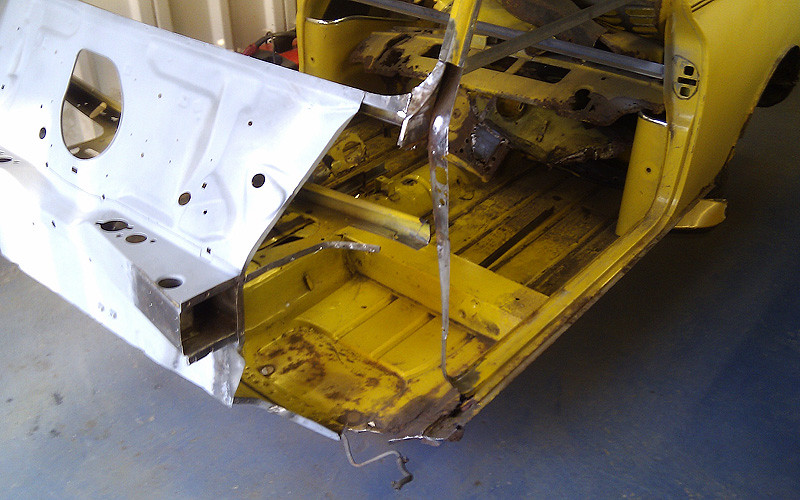
In the meantime, I paint stripped and wire brushed the rust off what was left of this area on the car. Its literally hanging by a thread! I really didn't want to remove it completely and risk losing the shape of the car in this area. (Also, I'd run out of lengths of angle to brace the shell with!)
Rebuilding the part I'd made into swiss cheese with new metal:
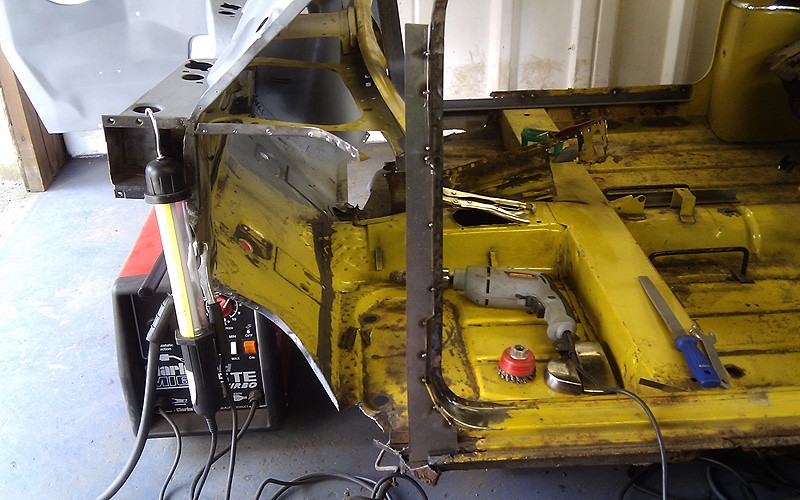
I'd also cut out a section of the windscreen pillar to scuttle, so I'm replacing that bit here - trying to keep it all lined up as much as possible!
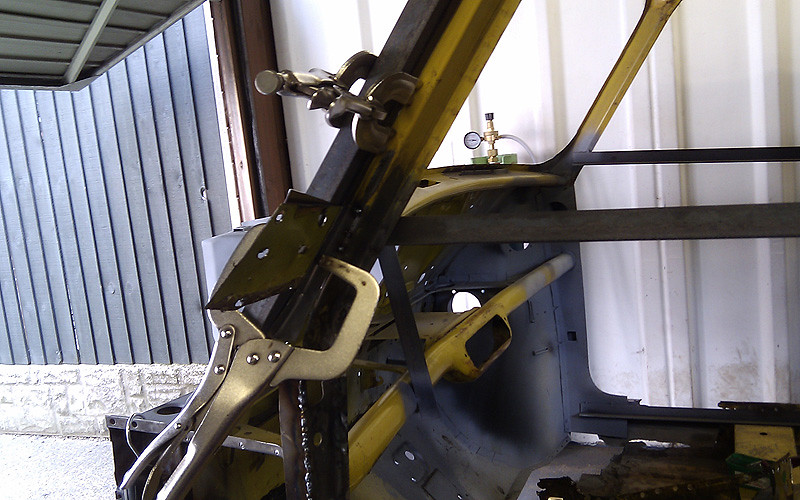
Not a great shot as it was getting dark by this point, but this is the area welded up and ground down. I'd sprayed on some Metal Prep and Ready as a preparation for POR15.
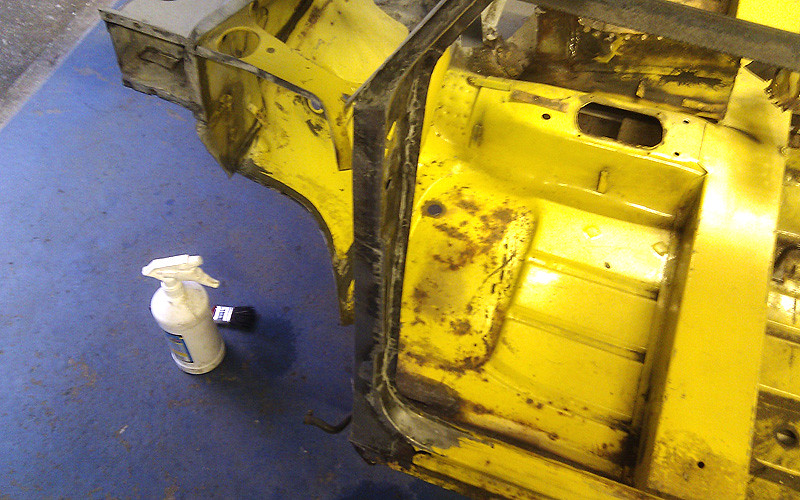
All enclosed areas thoroughly POR15'd, and I'm sizing up the inner panel to flitch with a card template. Luckily, I'd kept the template I'd used for the other side.
Then I cut out the new panel and applied POR15 to the inner surface. I've decided this is the best way to go as it seems to be the most indestructible and rust proof treatment I have found so I am sticking it everywhere I can that is enclosed and out of sight.
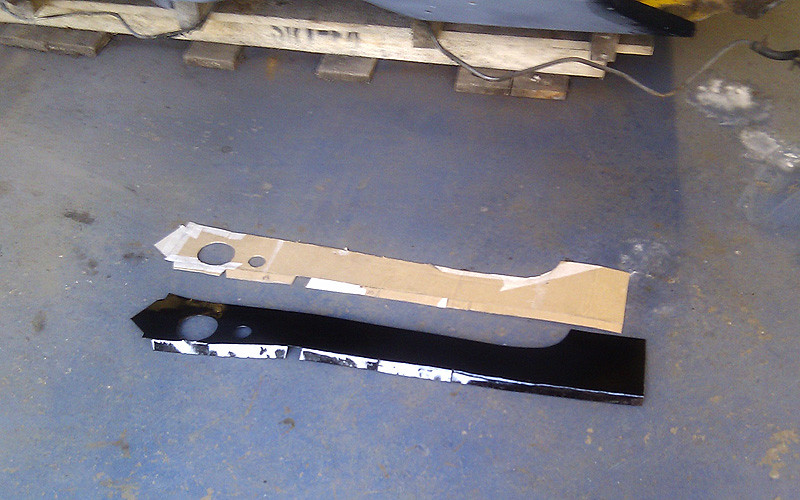
This little lot took me from friday to sunday (today). I then made the tragic error of going to the cinema to watch the fast and the furious 5. Oh dear. Far too much 'plot' and not nearly enough car porn. Do avoid.
Next, I guess I really need to spend some money and get a heritage NS inner wing panel. Not ideal when you're supposed to be saving up for a wedding! As a cheaper course of action in the short term I also want to paint strip and rust-treat the bulkhead and firewall inside the car. I've got quite a few bits and bobs like bonnet hinges that I have made which also need to go back on.
Thats all for now! Sorry its been quite boring but the fiddly bits take ages!
#86
Posted 25 April 2011 - 07:14 AM
While the other side is (relatively!) intact, keep going round with your measure just to make sure things are ok. Although it's worth remembering Minis are rarely the same both sides, even from new...
This is going to be a very nice car when you're done
#87
Posted 02 May 2011 - 07:24 PM
Then, with the help of a bucket load of nitromors, I cleaned just about all of the old paint off the inside of the firewall and dash area. Just need to nip to screwfix to pick up some more wire brush bits for another quick pass, and it should be ready for kurust and primer.
Thats all! I know it doesn't look like much, but this little lot took me ages!
#88
Posted 02 May 2011 - 08:26 PM
Keep it up.
Graham
#89
Posted 02 May 2011 - 09:09 PM
Hugh
#90
Posted 03 May 2011 - 08:04 AM
...did you use something to stop the stripper working...
I squirt on plenty of degreaser and thoroughly wipe over with a rag, then wash off with water before doing any painting or rust treatment. I think after all the wire brushing the vast majority of paint stripper has already been taken away.
1 user(s) are reading this topic
0 members, 1 guests, 0 anonymous users