Excellent work and thanks for detailing all the odd corners, repair approaches and problems encountered!

1979 Rust Heap Clubman Rebuild
#526

Posted 16 March 2017 - 10:54 AM
#527

Posted 09 April 2017 - 08:40 PM
Hi!
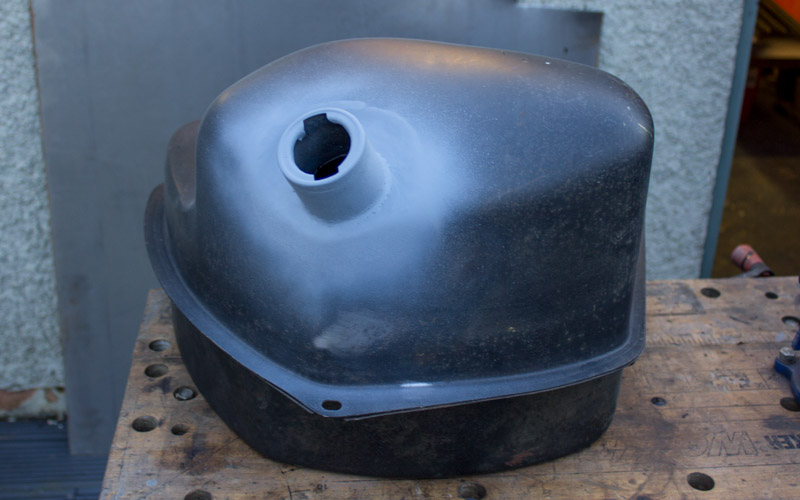
Started looking at smartening up the fuel tank. I've been storing this in the loft waiting to get the chance to repaint it. It definitely needs a bit of surface rust removal first.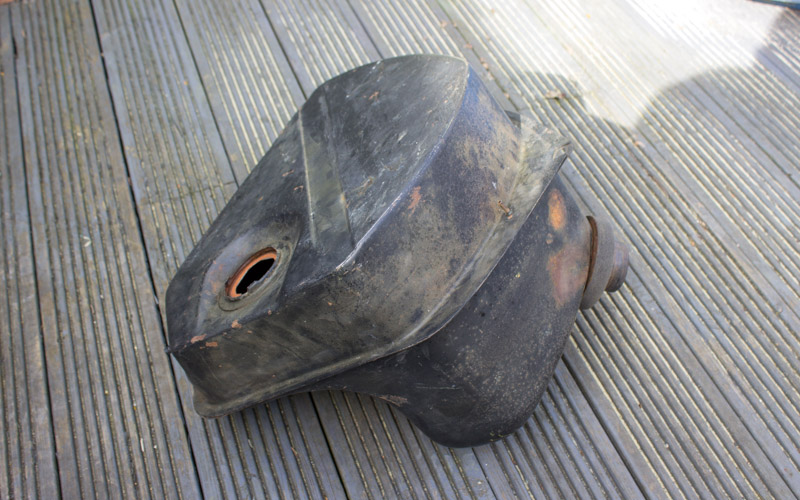
Aaaarrrgh! Scrubbed around the filler neck with the wire wheel and found it had rusted through. Not good.
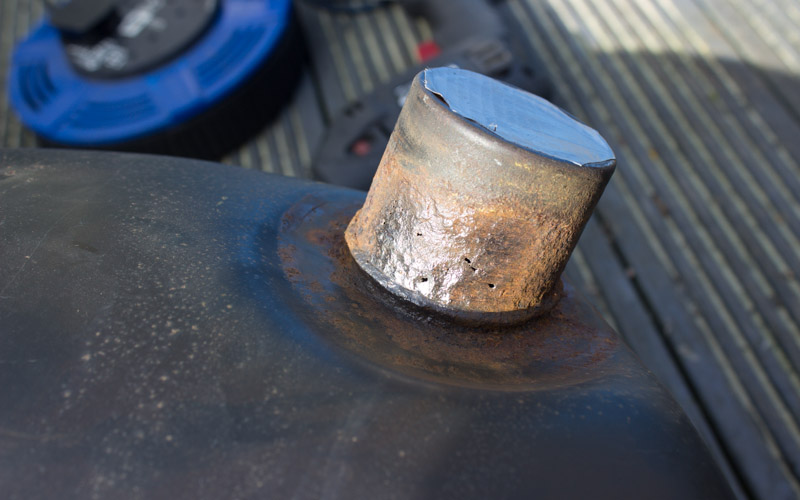
Didn't want to scrap it as it seems to be OK everywhere else and new fuel tanks seem to be eye-wateringly expensive. Thought I'd attempt a repair. First thing, cut out the offending area.
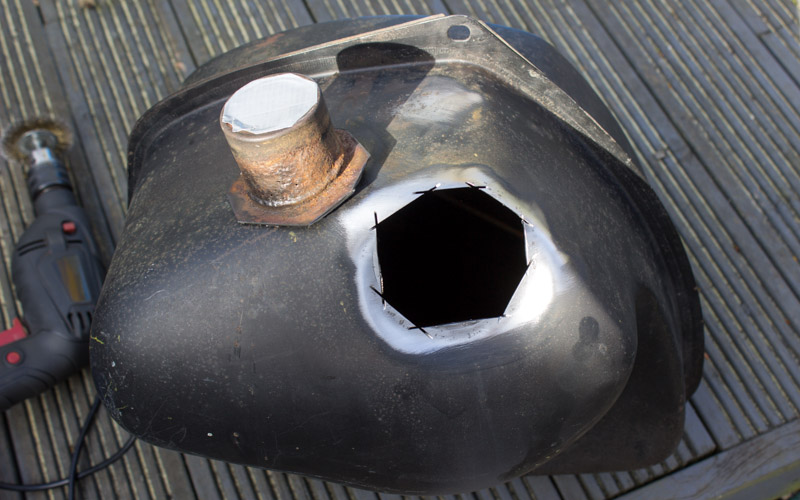
Cut a piece out to fill the hole, and then chopped out the hole in the middle where the neck will go.
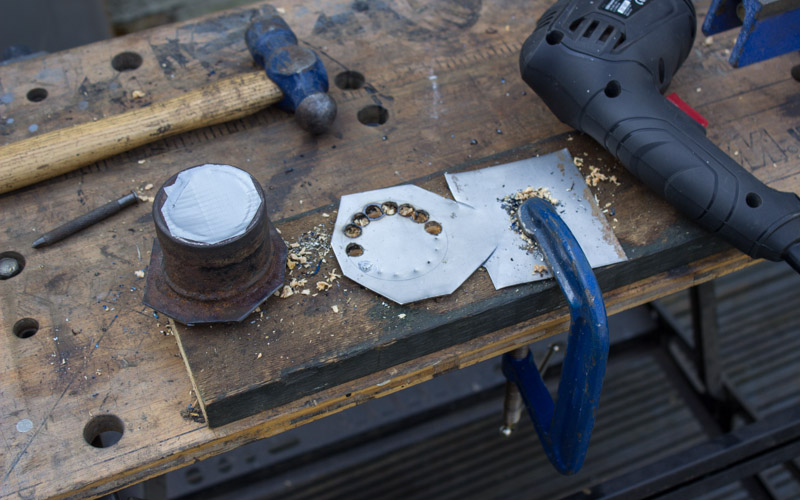
So far so good.
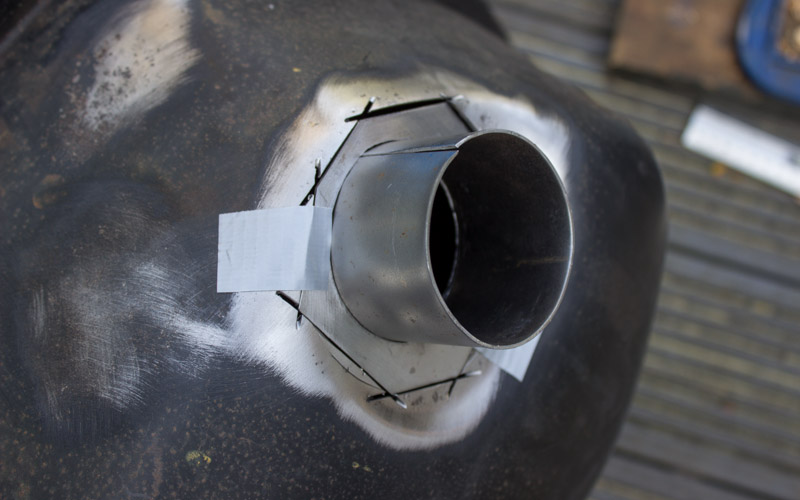
The end piece (nozzle?) was actually OK, so I cut this off the old one and welded it on top of my homemade version.
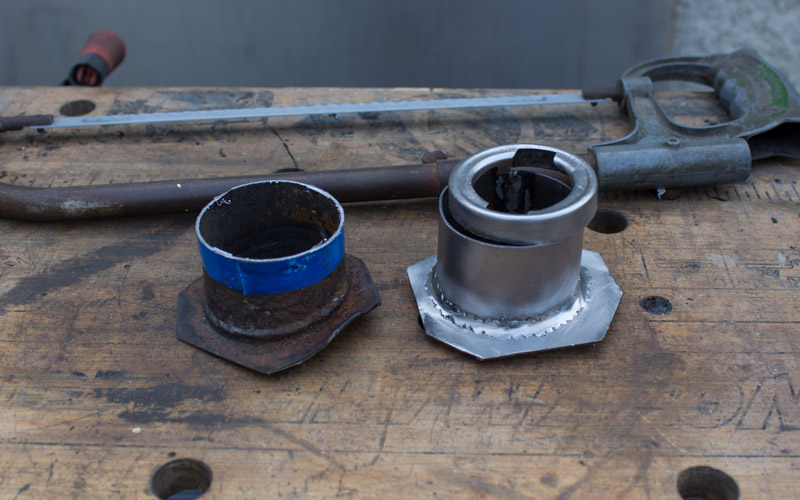
Then welded my little creation back onto the fuel tank. Now I can rub the rest of the tank down and paint it. Hopefully thats a few quid saved.
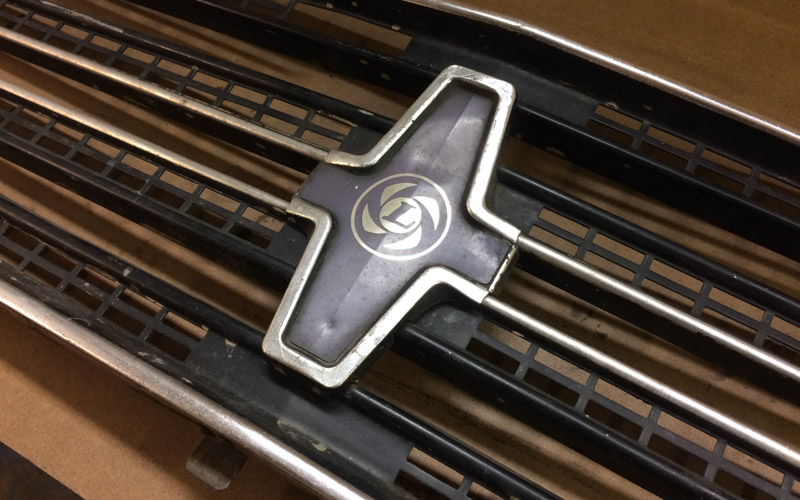
Meanwhile, I have had this clubman grille knocking around the garage since the very beginning of the project. Picked it up from an autojumble, and it was a bit tatty to say the least.
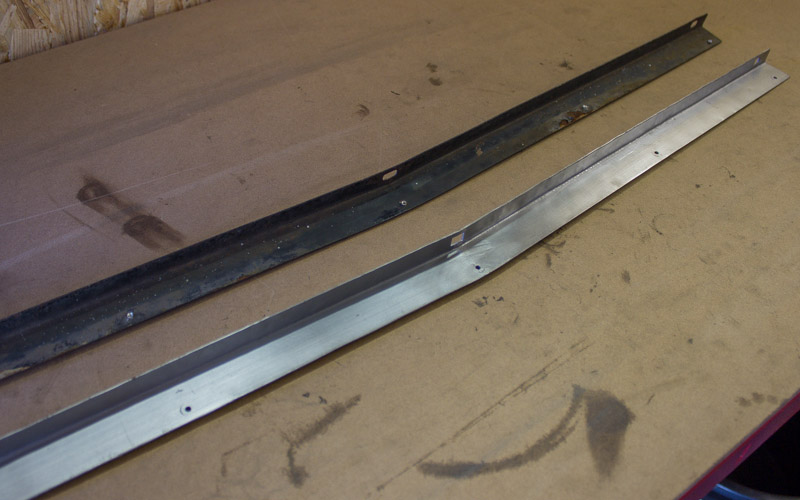
The top rail was well crusty, so I made up a new one.
And then after much sanding, polishing, masking and painting, I ended up with a slightly more presentable grille.
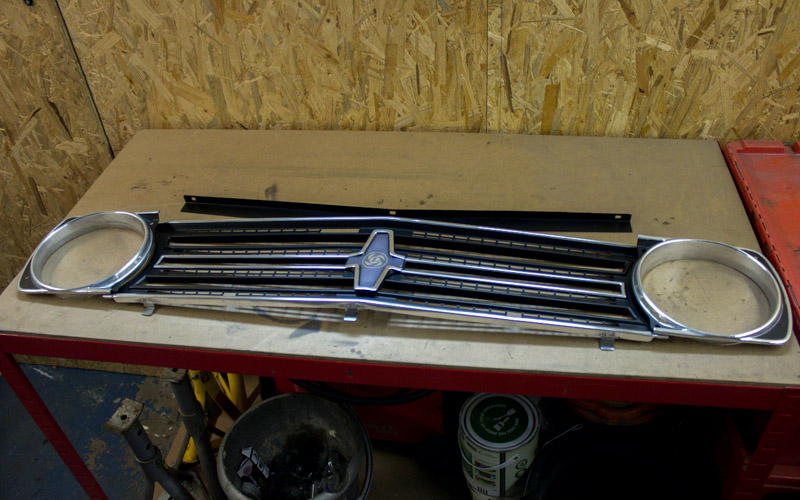
It would definitely have been much easier to just spray the whole thing black as I have seen a few people do, but I really wanted to keep the original look, so I think the extra effort was worth it. The black on the central leyland badge is quite faded and can't very easily be painted, so I've left that alone, but hey - patina!
So this is where I am now. Hi-Los are on, and the back is much lower. The front is turned right down, but still quite high - almost like it needs and engine to weigh it down a bit :)
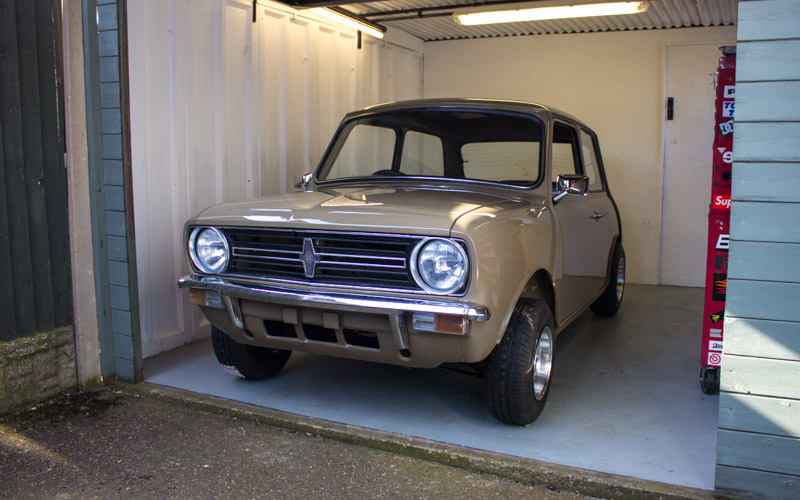
Bumpers and lights are also on now, but everything needs tweaking a bit to get the correct alignment and close up some gaps. Quite happy with the progress on the front end though!
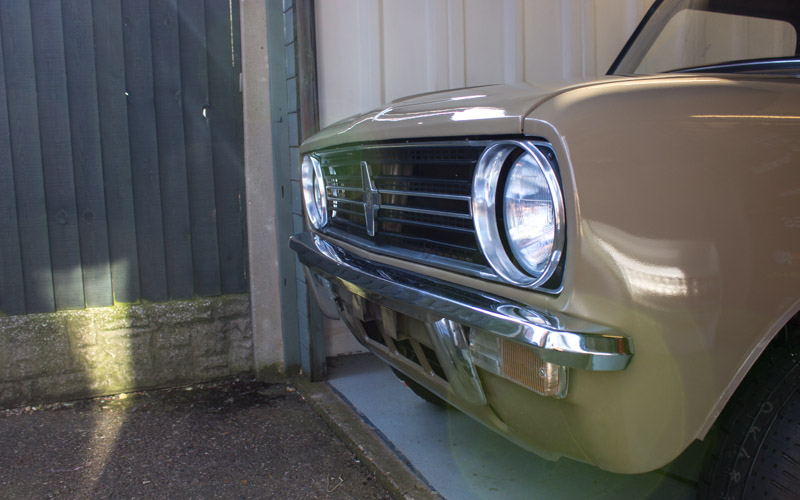
#528

Posted 09 April 2017 - 08:48 PM
Very nice Rich, i have that little tedious job to do in the future.
#529

Posted 11 April 2017 - 07:25 PM
#530

Posted 11 April 2017 - 07:32 PM
Looks great, You can get the grille badges from sticky fingers if you wanted a new one. http://martincull.cr...lle-Badges.html
#531

Posted 12 April 2017 - 01:03 PM
This clubby is looking awesome love it!
#532

Posted 13 April 2017 - 07:21 AM
#533

Posted 14 April 2017 - 05:06 PM
Great job on the tank filler pipe. How's the inside of the tank? the one on my Triumph rusted from the inside out. After discovering a pinhole I went looking for others and after prodding with a screwdriver, the bottom looked like a cobweb, replacement was the only option.
Edited by BusheyTrader, 14 April 2017 - 05:53 PM.
#534

Posted 15 April 2017 - 10:45 AM
Fantastic bit of work Rich. Love reading your updates ![]()
#535

Posted 15 April 2017 - 04:20 PM
alex-95: thanks, good shout, but I'm not too sure about the accuracy of those decals from the pictures on thei website, and I'd like this to look like the original item.
BusheyTrader: yeah it is a concern, and it's hard to tell for sure because even with the sender unit out of the way it's hard to inspect the whole inside. I've closely checked out the outer surface though and there is no evidence of it having rusted through. External surface looks decent though, and I'm going to brush it down properly for painting, so that might show issues up.
#536

Posted 15 April 2017 - 04:46 PM
#537

Posted 15 April 2017 - 06:00 PM
Taking a leaf out of your book Rich by stripping out the bonnet bracing as its not looking that sports under there.
#538

Posted 15 April 2017 - 10:23 PM
Good effort there mate. i really hope i don't have to go that far with my replacement bonnet for Paddy.
And how wrong was i. I will be leaving mine in one piece though rather than splitting it down.
#539

Posted 17 May 2017 - 02:55 PM
Hi! Moving along slowly with cleaning manky stuff up and putting back on the car. Glad to finally be tackling these minging drive shafts which have been cluttering up the garage for literally years.
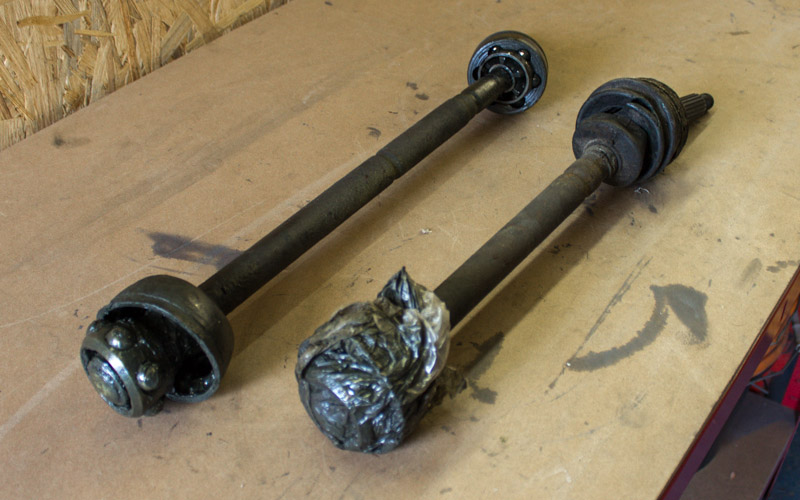
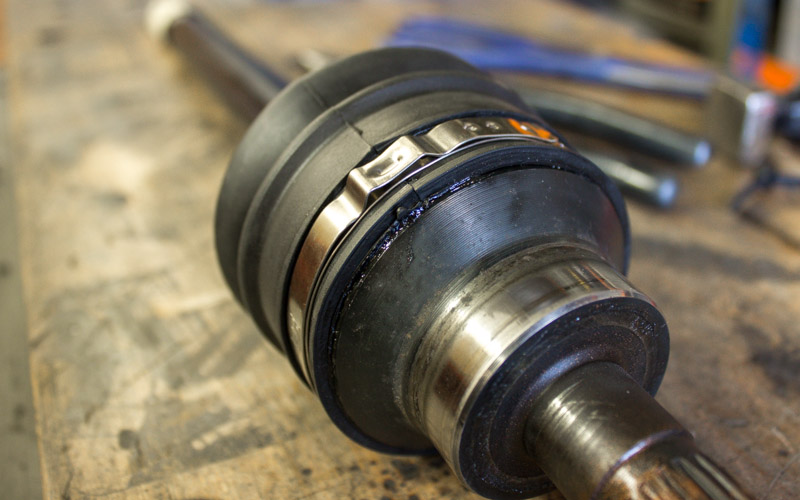
Degreased and hosed down, dried, new cv grease and new boots fitted, shafts painted. Photobomb by haynes manual which is my bible lately.
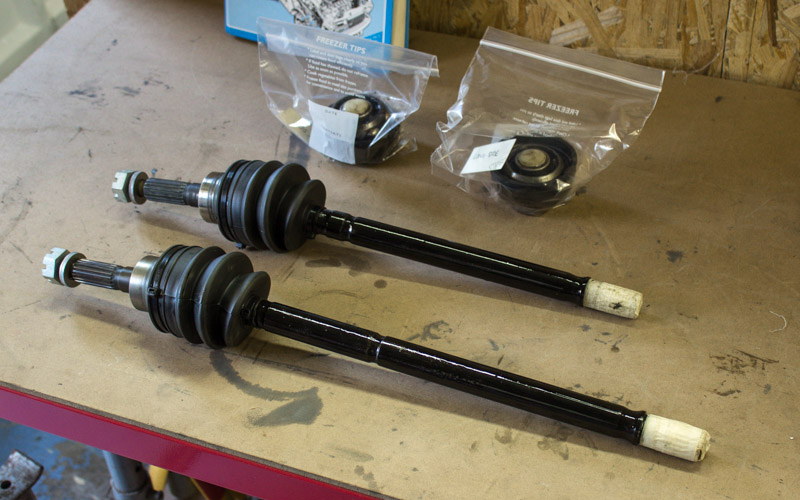
Unfortunately the plastic tie wraps supplied with the boots are No Bloody Good because they foul the hub. lolwut. Yes it is annoying how rusty that brake pipe thingy has gotten just sitting there in the garage ![]()
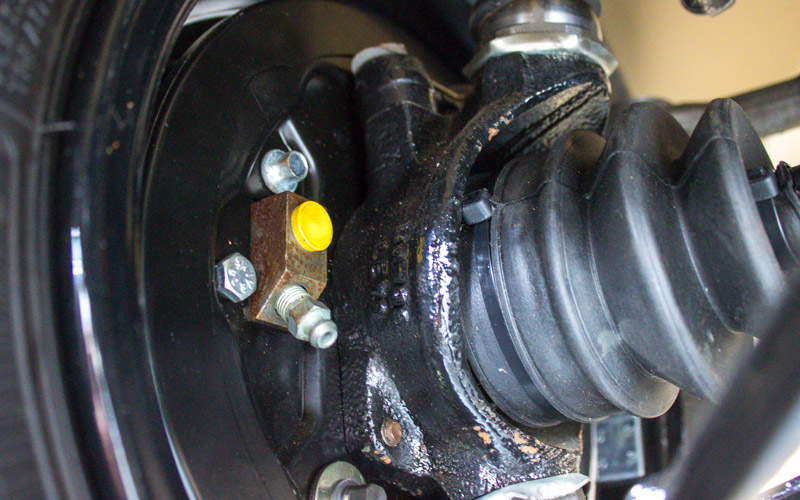
Ordered up some of these stainless jobbies, but still had to hammer the raised thingy flat for them to fit.
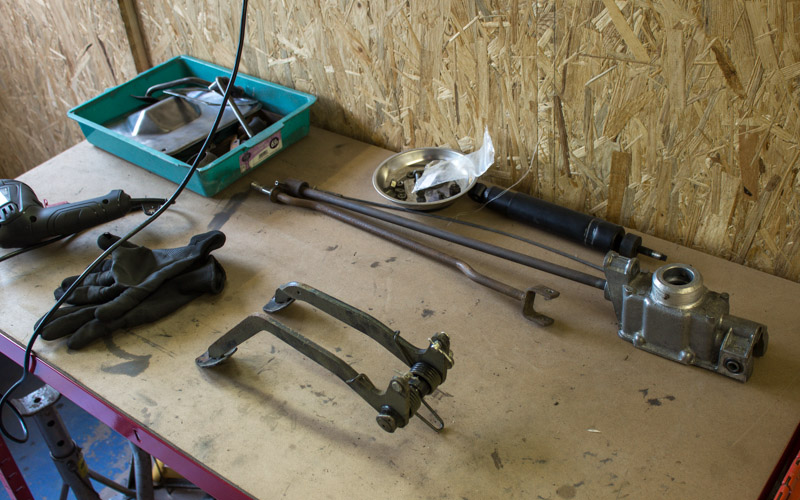
I also stripped down the gear linkage, pedals and pedal box, and some other bits. The steel bits are now soaking in a vinegar bath to remove rust, then I'll kurust and repaint.
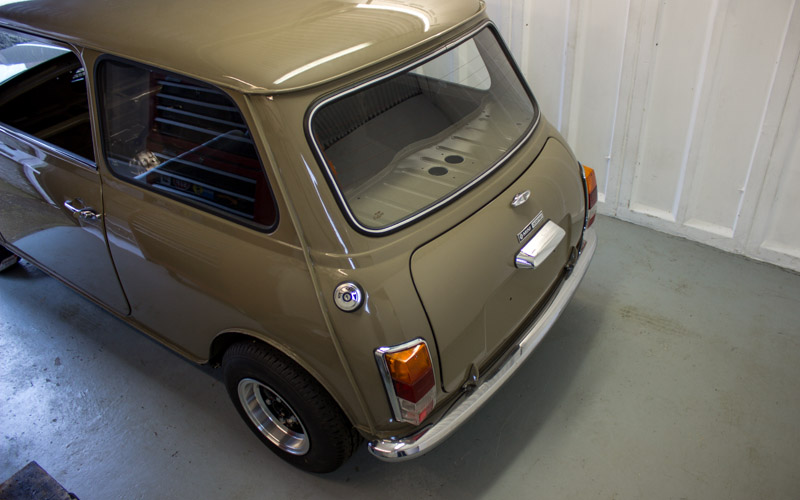
Fitted up a few more bits to the back end of the car. Here is my new petrol cap picked up at Himley Hall the other week. :) Its just resting in place as the fuel tank still isn't fitted because I'm waiting for some new nuts for the rear dampers.
Gear stick and handbrake lever are just visible in the background, part way through the refurb process.
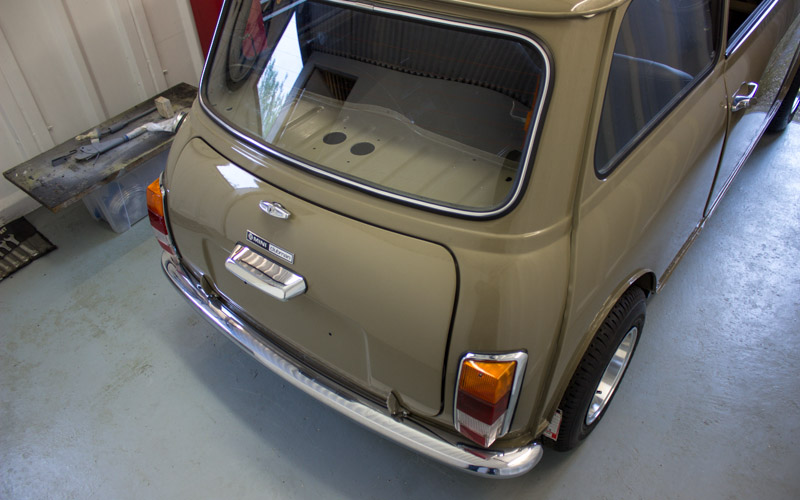
I've also started thinking about the electrics. I cleaned up the loom which thankfully seems to be mostly intact, although I haven't tested it yet. I put a new Lucas fuse box in place and soldered bullet connectors to the head lamps as they had a much later unknown plug on them.
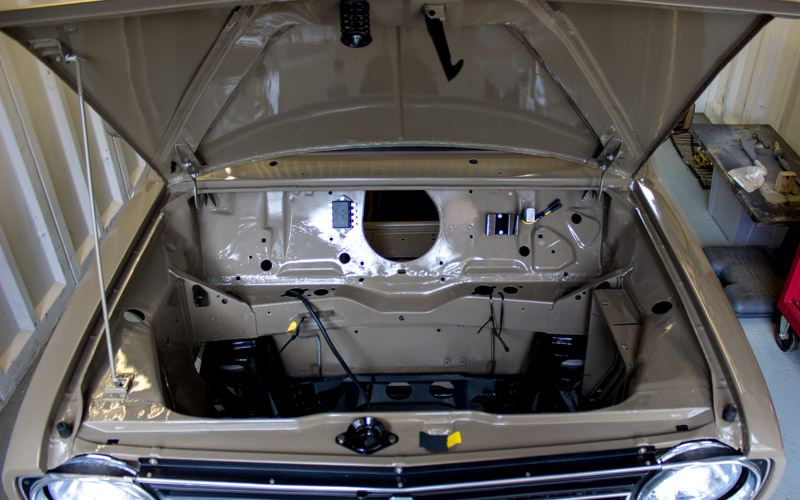
Thats all for now!
#540

Posted 17 May 2017 - 05:27 PM
John
1 user(s) are reading this topic
0 members, 1 guests, 0 anonymous users


