1979 Rust Heap Clubman Rebuild
#481

Posted 11 September 2016 - 08:41 AM
#482

Posted 04 October 2016 - 11:58 AM
Not a lot to report as progress has been delayed while I deal with the bent radius arm issue. The main problem is I'm too tight to fork out for the unplanned expense of a new one, so I've opted to recon an old one myself. Could well turn out to be false economy if this one is also bent in some way! Anyway, dropped it off at SurfBlue Mini Garage last night to have the bush reamed out. Time will tell.
In the meantime, I have started considering the delicate process of reintroducing the front subframe to the car...
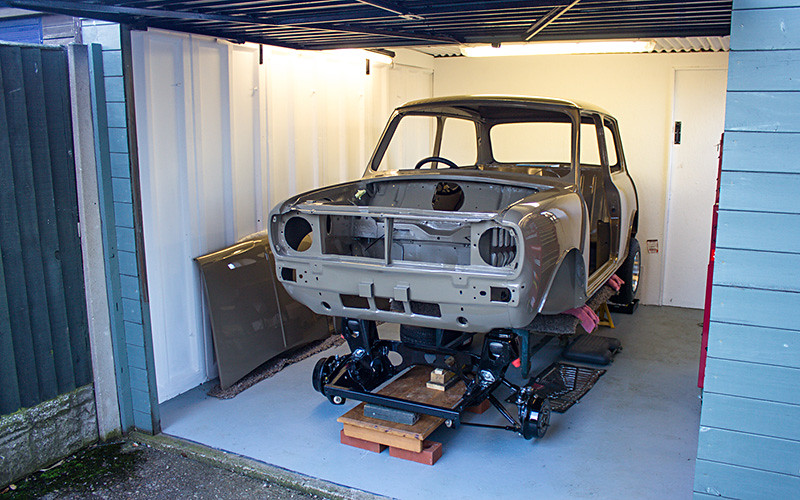
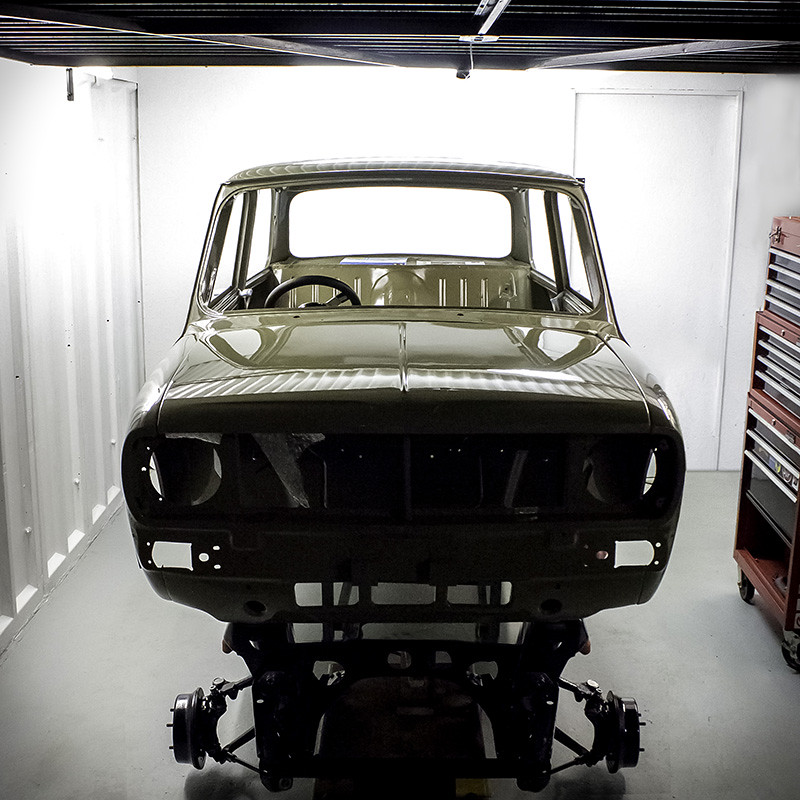
I also put the doors, bootlid and bonnet back on. Was dreading this because I was certain there would be fitting issues, but all went on OK. Was too dark for a clear photo by the time I'd finished, but here is the shell looking sexy under the garage lights. :)
#483

Posted 04 October 2016 - 06:52 PM
Your garage is far too tidy and clean haha!
Looking good
#484

Posted 04 October 2016 - 06:58 PM
Thats looking very good Rich.
#485

Posted 05 October 2016 - 05:50 AM
This is looking great, cant wait to see it done :)
#486

Posted 05 October 2016 - 06:25 AM
...thé car is nice too! 😜
#487

Posted 07 October 2016 - 03:35 PM
Stumbled across this looking for Clubby inspiration and then read all 33 pages to date - fabulous job and well done for documenting for others to learn from. Ironically, we're in almost the exact same position now with our build ups - so will be checking yours for how it should be done!
Cheers,
Stu
#488

Posted 07 October 2016 - 05:03 PM
Fantastic job you're doing, but that workshop?? Too clean man!!
#489

Posted 12 October 2016 - 11:37 AM
That looks fantastic. Nice to see your sticking with drums up front!
#490

Posted 12 October 2016 - 02:01 PM
Considering your lack of experience you now have a very fine example of a solid mini built right.
High quality pictures really make a thread.
Good luck with the reassembly, I'm sure you will have lots of us willing you along!
Ps. Great shout with the wall, giving yourself a 'clean room' as well as the workshop area, it looks great with the mini in there.
#491

Posted 13 November 2016 - 10:06 PM
Thanks for the comments everyone!
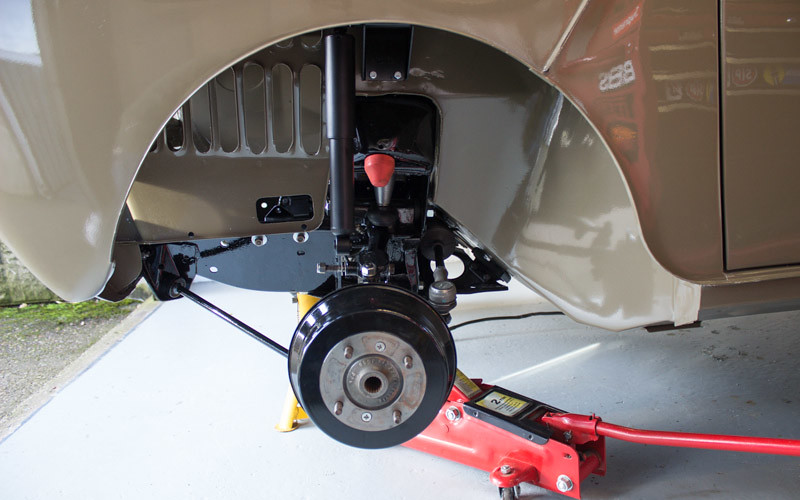
The car is finally down on its wheels! Its sitting really high at the moment on the new rubber cones.
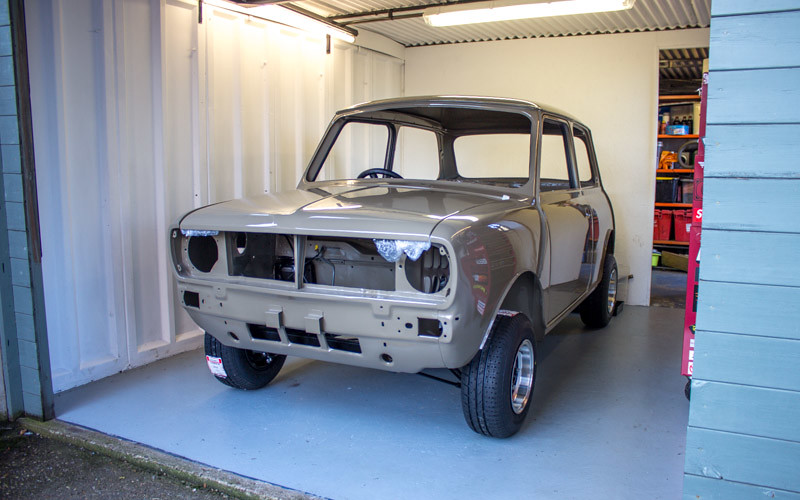
I haven't fitted the rubber bump stops yet, and the suspension is holding the car up so high I can't attach the dampers. Will wait until the engine is in to compress the cones a little.
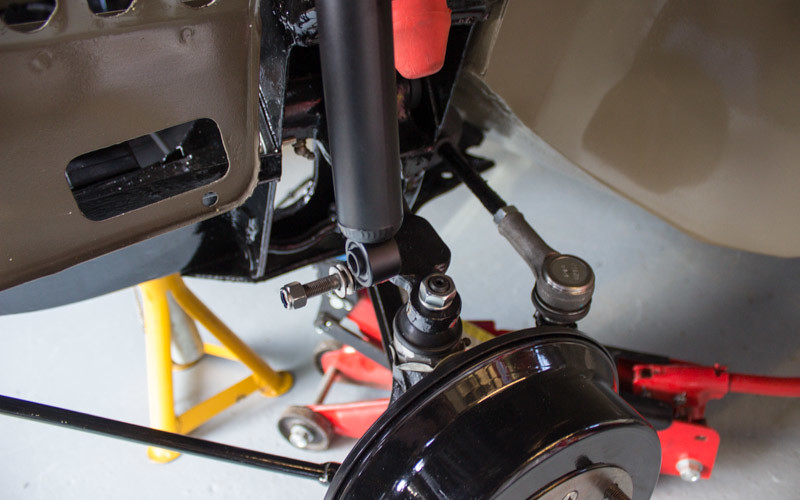
I'll be looking at the drive shafts next, but I need to buy new washers as I cut the old ones off when they were removed.
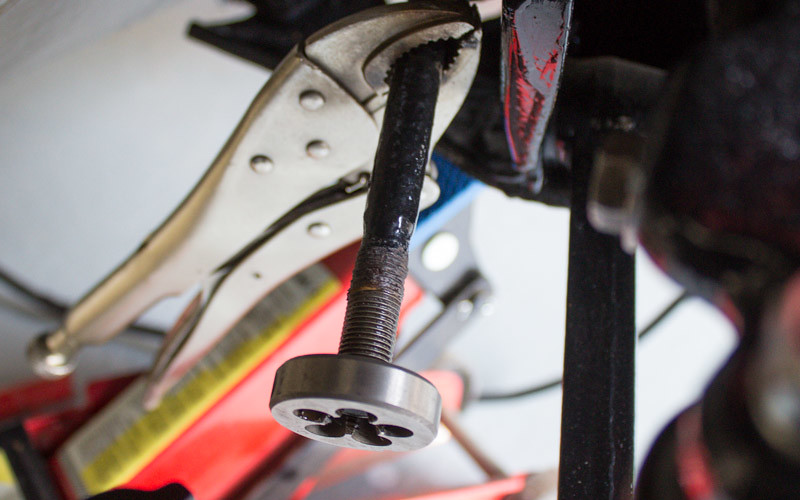
The screw threads on the track rods were corroded where they had been exposed (see pic below), so I ran a die through them to clean them up. This allowed the track rod ends to be screwed further in to straighten up the front wheels.
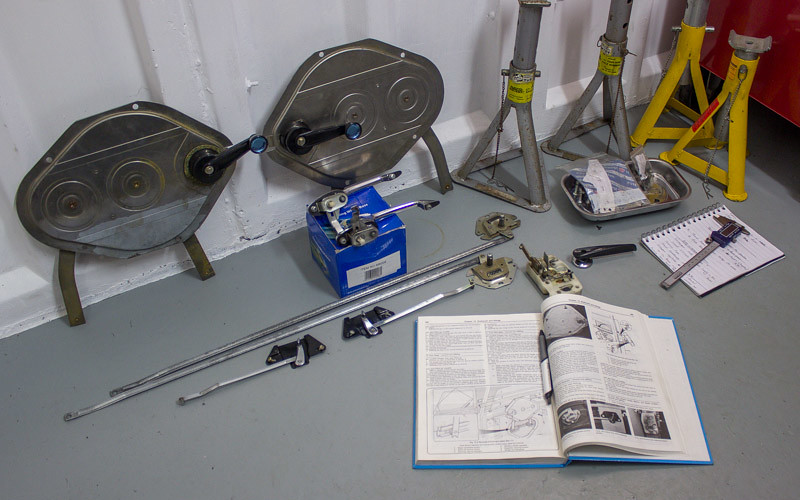
Current job is to work out how all of these door bits and pieces go back together. I've also been preparing the glass to go back in, and realised one front window is has got some fine paint spray all over it, so may have to source another.
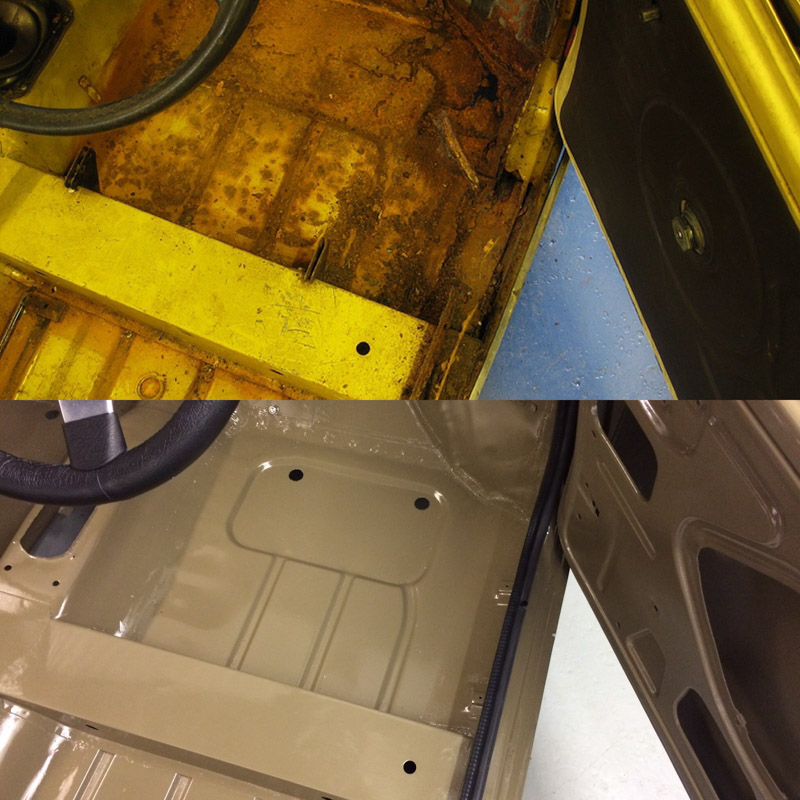
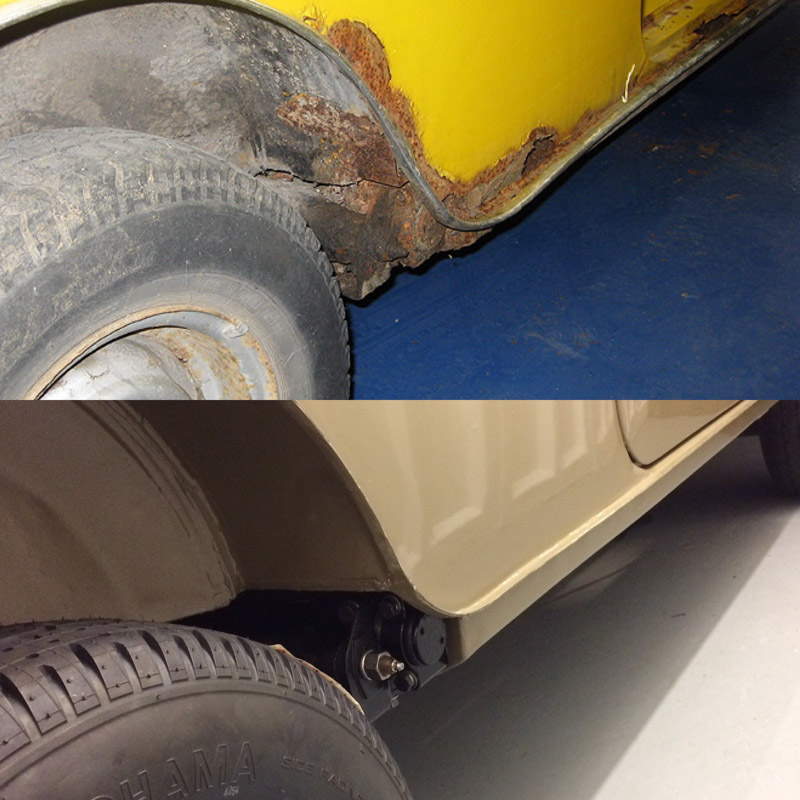
Also, here are some 'before and after' pics I put together for fun to compare with the state it was in before. The top ones are from when I first got the car in 2010.
Subframe mounts:
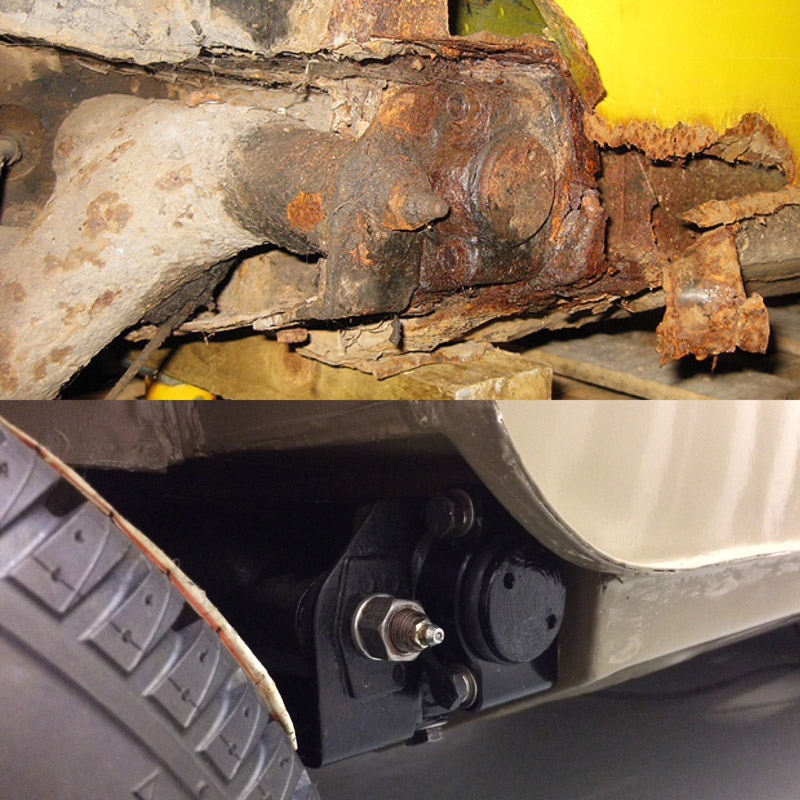
Drivers side floor and sills:
Rear quarter:
Thanks for looking!
#493

Posted 14 November 2016 - 12:34 AM
#494

Posted 14 November 2016 - 10:24 AM
Love the before and after pictures
#495

Posted 14 November 2016 - 10:56 AM
Great work, I'm loving following your thread, wish I had ½ as much ability.
1 user(s) are reading this topic
0 members, 1 guests, 0 anonymous users


