Brake pipe, fuel pipe and battery cable then go for the subframes and do a plum bob check on the suspension mount holes in case a little shimming is required. It's a great stage to be at, putting everything back together. If it's going to be anything like my rebuild then you'll now find that all the old bits you've kept for re-using are in fact only good for the bin!

1979 Rust Heap Clubman Rebuild
#466

Posted 06 July 2016 - 12:28 PM
#467

Posted 06 July 2016 - 09:47 PM
Stunning, I was also expecting yellow but very impressed with the new colour. Looks fantastic.
#468

Posted 20 July 2016 - 10:32 PM
Each to there own withz the colour mate looks great but should of kept it yellow as its a gt lol not a purist by any means but you just can't eat a yellow gt lol
#469

Posted 21 July 2016 - 05:45 AM
Wow this is looking awesome. I love the colour think its perfect and a great choice, i am not a yellow car fan, cant wait to see it going back together.
I would start with fuel and brake lines and battery cable etc and then onto your subframes. :)
#470

Posted 27 July 2016 - 08:08 PM
Thanks all!
Fuel and brake lines are cleaned up and ready to reattach. Replacement battery cable has been acquired. Steering rack has been repainted. Pics coming soon :)
hoody99: its not a gt!
#471

Posted 27 July 2016 - 08:19 PM
Wow that's a nice garage!! Great car too ![]()
#472

Posted 27 July 2016 - 08:22 PM
Brake pipe, fuel pipe and battery cable then go for the subframes and do a plum bob check on the suspension mount holes in case a little shimming is required. It's a great stage to be at, putting everything back together. If it's going to be anything like my rebuild then you'll now find that all the old bits you've kept for re-using are in fact only good for the bin!
I am just into the rebuild process. I have bags full of bits - many of which (nuts and bolts) I cannot remember what they were for ![]() I also spent an hour the other day looking for 8 bolts for the front seat brackets!!
I also spent an hour the other day looking for 8 bolts for the front seat brackets!!
I am also going to have to spend hours cleaning some of the gear I took off and boxed up without cleaning!!
#473

Posted 04 September 2016 - 08:47 PM
I put some bits on the car!
The original fuel pipe and battery cable turned out to be unusable so new ones were sourced and fitted. Salvaged the original brake pipe though! Then the rear subframe went on...
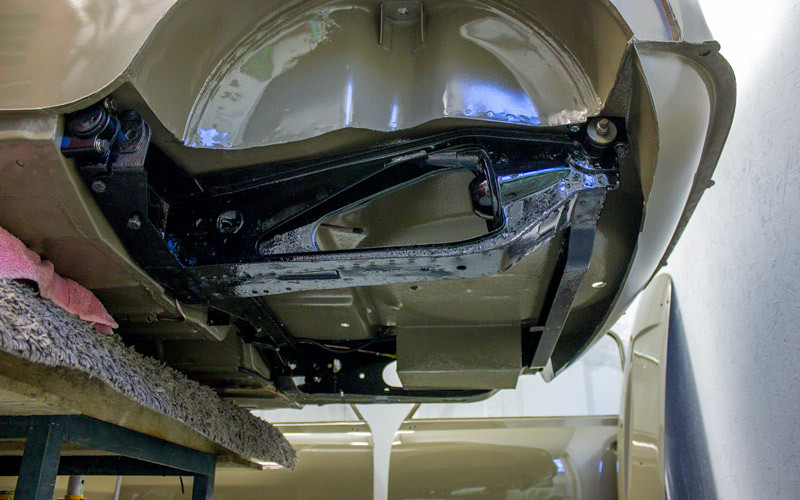
The recon radius arms I bought a couple of years ago were starting to show rust through the paint (AARRGH!) so I repainted them again just in hammerite straight-to-rust because its easy and basically OK in my opinion for bits like this.
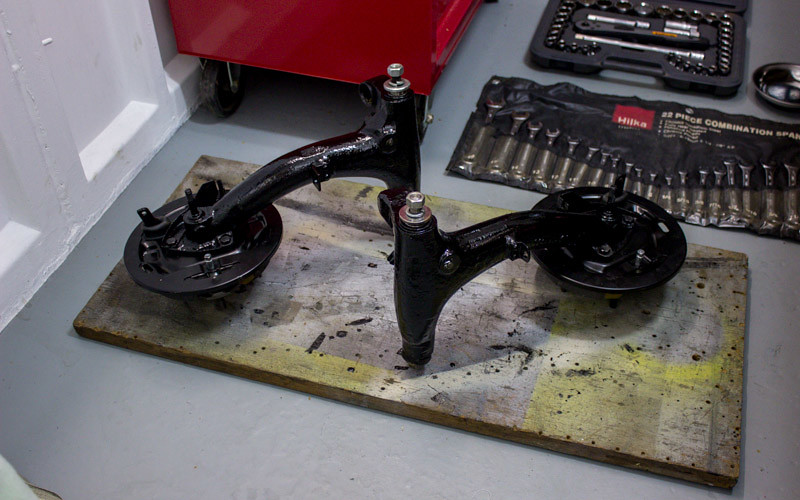
Feels like progress! At this photo the top of the damper is nowhere near mounted in the rear arch because rubber cone is so stiff it win't reach any higher. I guess when the weight of the car is on it, it will compress down a bit more easily?
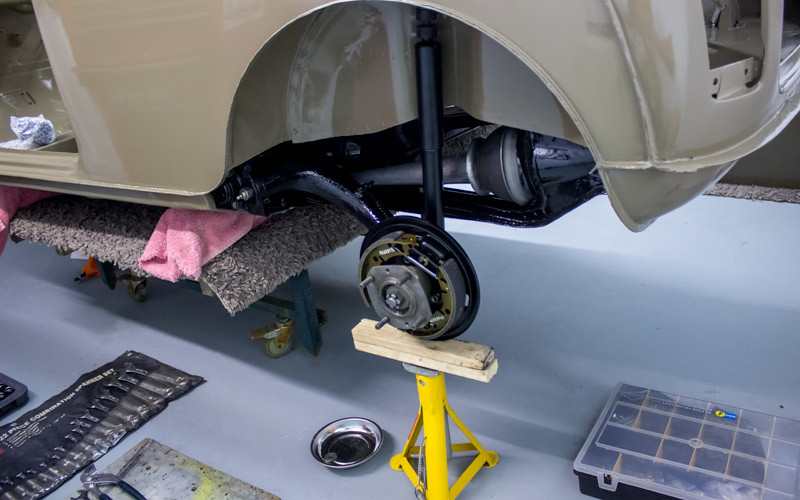
Drums painted, hub cap fitted, ready to actually put a wheel on my mini...
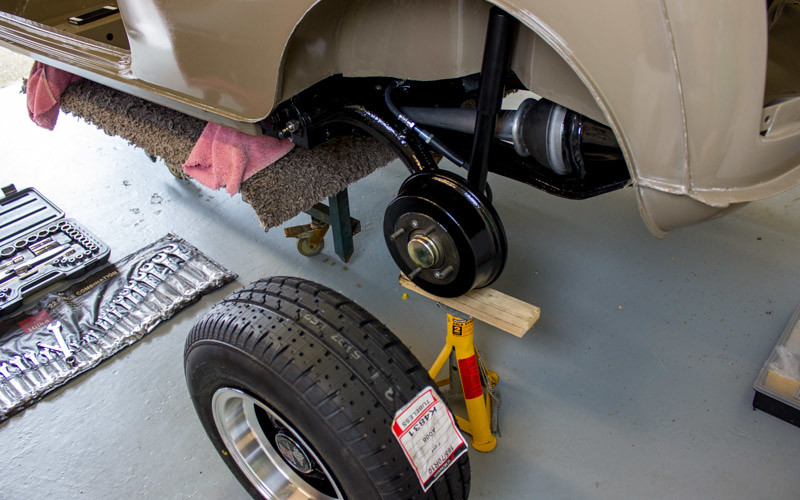
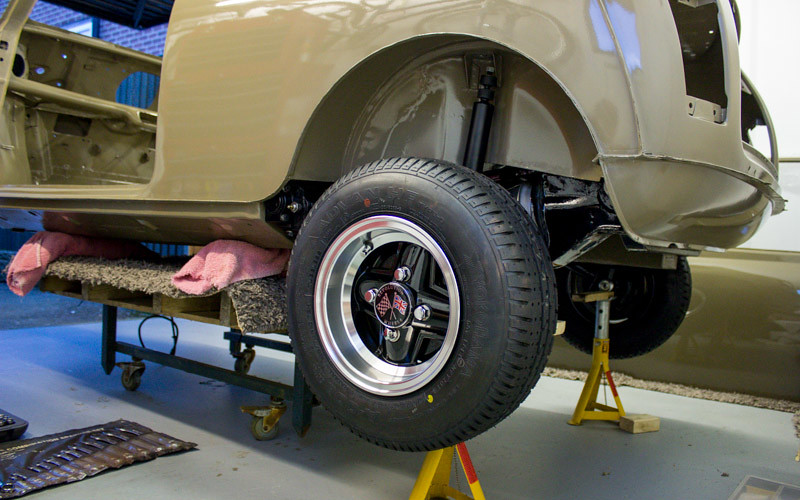
...*hyperventilation*...
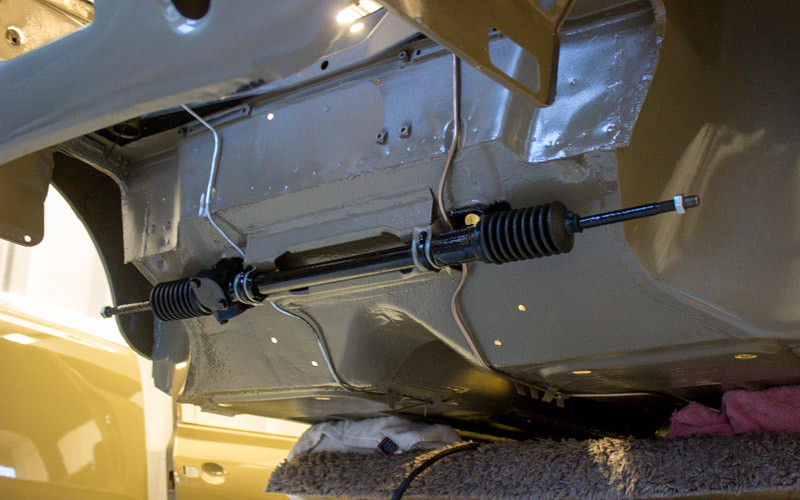
At the same time as sorting out the rear end, I have also been getting ready to mount the front subframe. The steering rack has been cleaned, repainted and refitted with new boots added.
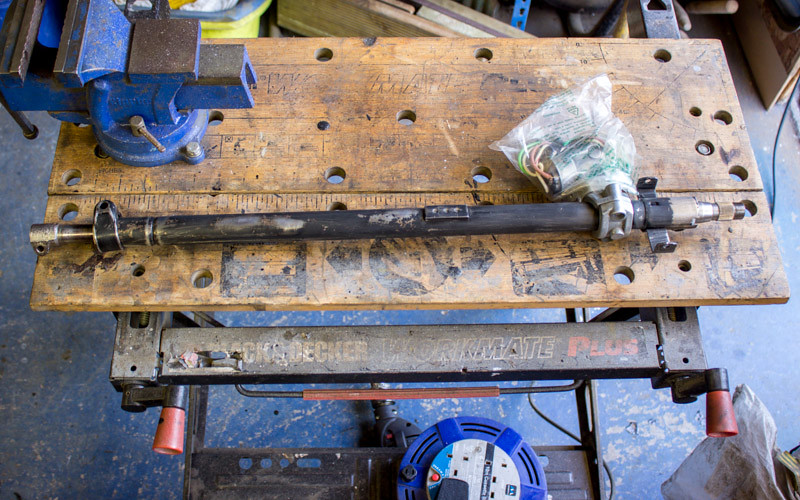
I also tidied up the original steering column. Here it is after a rub down ready for repainting.
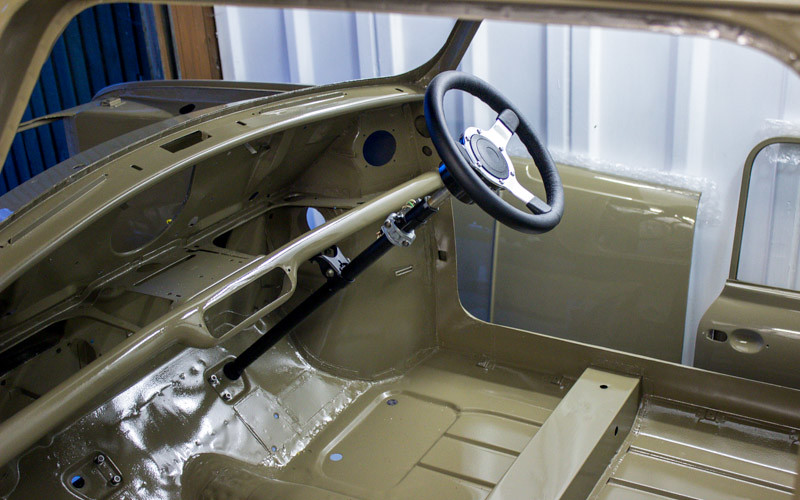
And here it is looking a bit nicer fitted in the car with the new steering wheel. I bought a minispares drop bracket, but my tiny mind cannot work out how to fit it. Suspect it may be for a later model...
Really eager to get the front subframe on next because its taking up precious space in the garage! Also cannot wait to get the doors on, but I'm currently in-progress rebuilding the hinges for the bazillionth time because of stripped thread on the bolts. Baby steps!
#474

Posted 04 September 2016 - 08:57 PM
#475

Posted 04 September 2016 - 09:34 PM
Great to see an update on this, as I am currently going through the pain of fitting M-Machine half floors with outer sill and jacking points, just like you did. I don't think I would buy them again, probably go for ones without the outer sills and build them up as I go, which I think would be easier to get around the companion box at the rear. Car is looking stunning though, keep up the good work.
#476

Posted 04 September 2016 - 09:53 PM
Slidehammer: I wouldn't buy that panel again either. The thought of that unpainted steel between the out sill and the floor still keeps me awake at night.
#477

Posted 05 September 2016 - 08:16 PM
#478

Posted 07 September 2016 - 06:24 AM
Superb!
#479

Posted 07 September 2016 - 08:43 PM
Hi Neil! Yeah I think it's in ok because it's the same on both sides but I'll check again. I've also got a worrying amount of toe-in on the drivers side rear wheel with no obvious cause. I hope something isn't bent...
Slidehammer: I wouldn't buy that panel again either. The thought of that unpainted steel between the out sill and the floor still keeps me awake at night.
I think the only answer is plenty of cavity wax warmed up so it is like water to really penetrate the join. I also didn't think the fit or pressing around the groves in the floor were as good as they could be, from a well respected supplier. But we live and learn. Your mini is looking so good in paint and what a fantastic colour choice.
#480

Posted 11 September 2016 - 06:42 AM
Realised one of the radius arms is actually bent beyond repair. I took it off, then managed to chip the paint on the wing with it as I carried it around the front of the car. AAARGHH! Quite angry with myself, but it had to happen sooner or later I suppose.
6 user(s) are reading this topic
0 members, 2 guests, 0 anonymous users
-
Bing (4)


