The top of the door skin just below the window frame looks to be to far recessed. That wont help either.
hmmmm, mine is like that too

Posted 12 July 2015 - 08:50 PM
The top of the door skin just below the window frame looks to be to far recessed. That wont help either.
hmmmm, mine is like that too
Posted 12 July 2015 - 08:53 PM
Project Erms
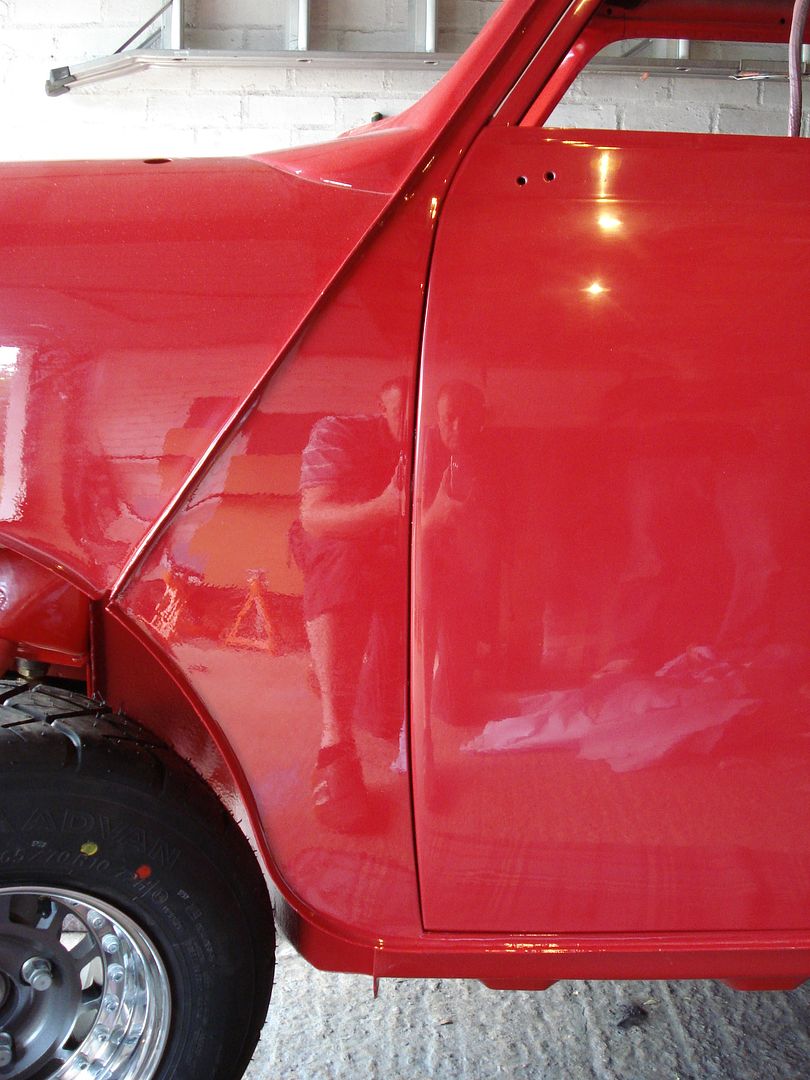
Posted 12 July 2015 - 09:02 PM
Just comparing Paddys l/h A panel fit to yours before you added metal Rich
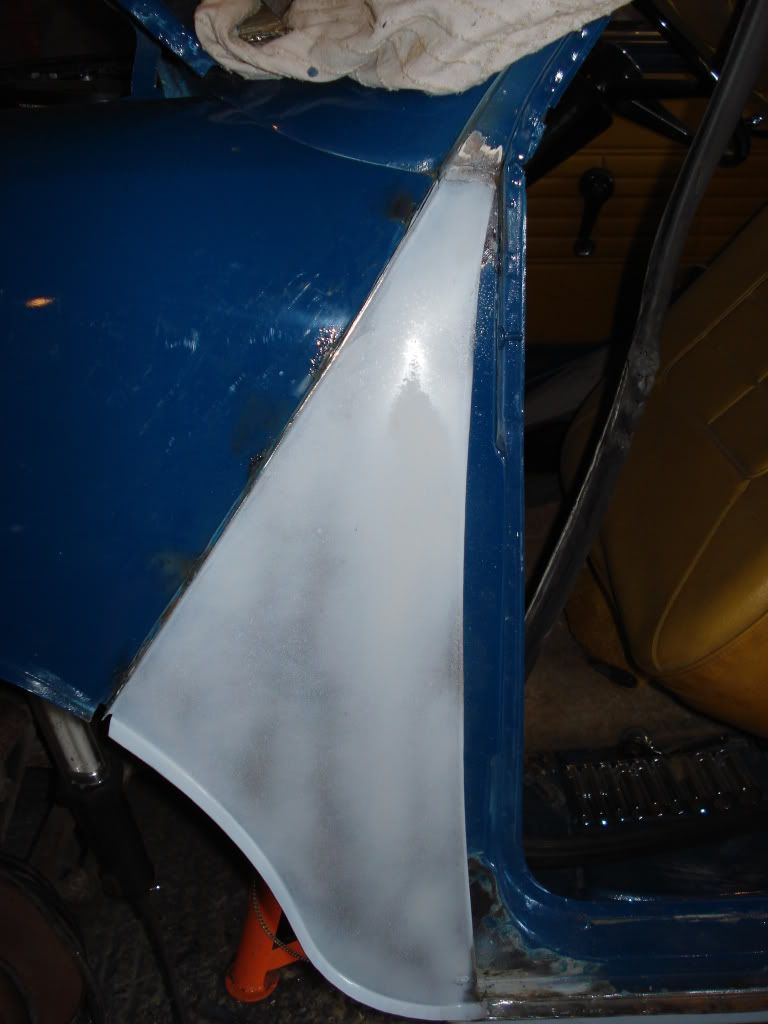
there is quite a difference in width of metal at the top of the A panel on yours. Almost like the wing to a panel flange is too far fwd. Paddys door sits flush with the top of the A panel as well on both sides.
Posted 18 July 2015 - 04:30 PM
Posted 19 July 2015 - 08:06 PM
Another day spent trying to improve the door gap situation :)
First of all, I decided to solve the root cause of a lot of the problems I am having by slotting the hinge panel. Then the A panel could flex outwards in the middle and match the profile of the door skin. The door was now free to open with a bit more room to manoeuvre without the door skin catching the A panel, and I was then able to work on closing the gap a bit more. Joys!
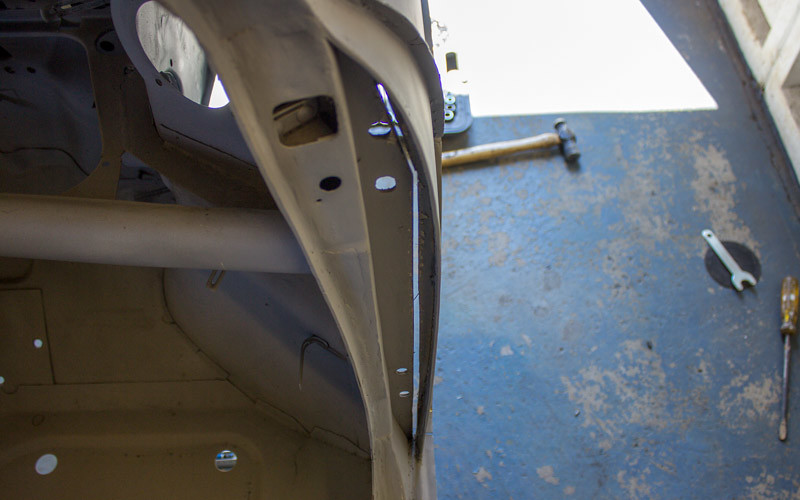
Taking Ben and Neil's advice, I ran a filler rod down the front door edge.
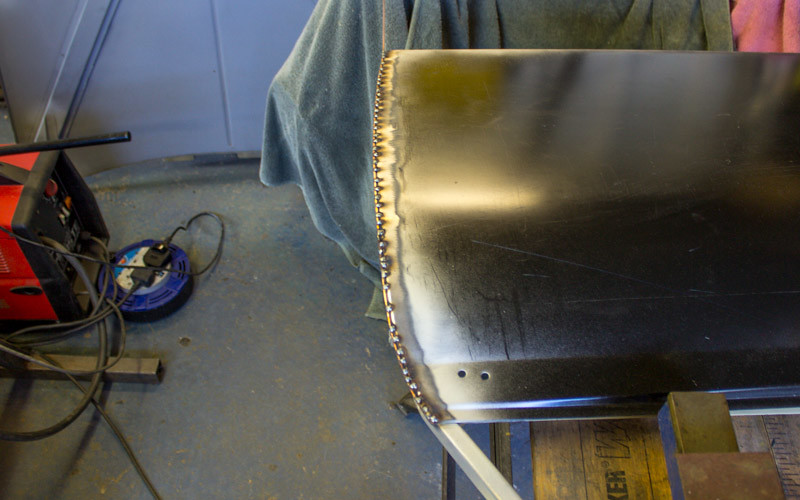
The top bit needed a double thickness to close the gap.
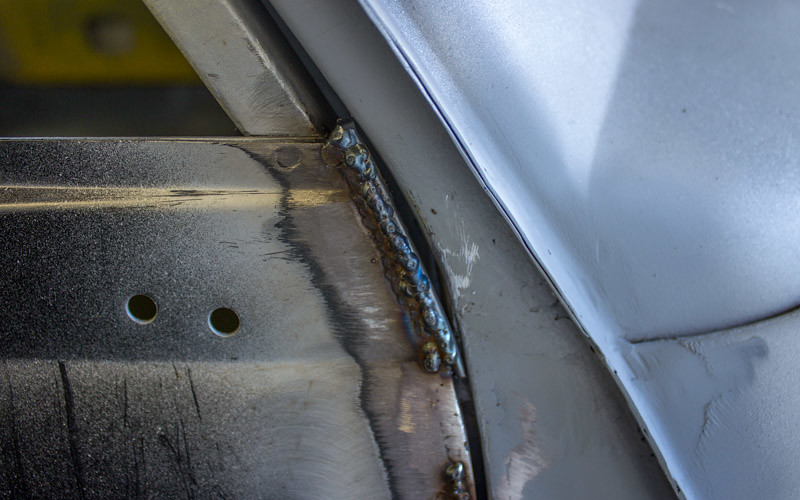
Much faffing around later, I am getting a much nicer gap. Still some tidy up to do but I'm pleased with the improvement so far.
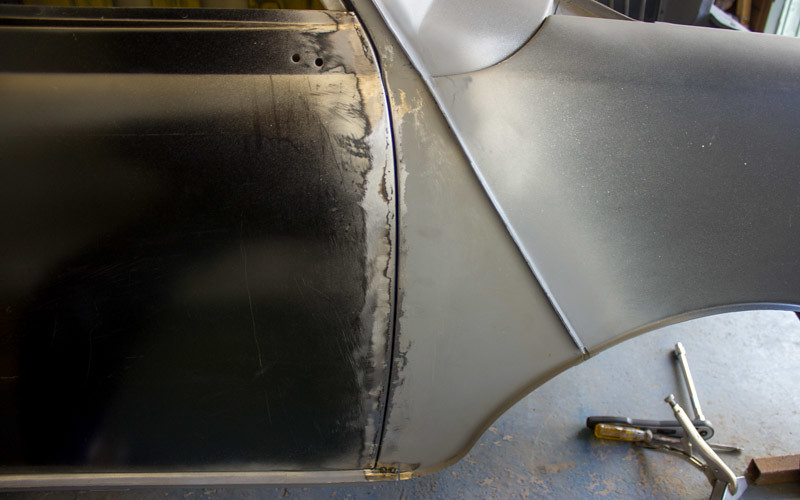
The big turning point was realising I could adjust the gap in-situ. I added more than enough filler rod to the door, then with the door mounted in position, cut the gap I wanted by carefully running a 1mm cutting disc between the panels. Felt dangerous, but gave me quite an even result.
Posted 19 July 2015 - 08:10 PM
Another day spent trying to improve the door gap situation :)
First of all, I decided to solve the root cause of a lot of the problems I am having by slotting the hinge panel. Then the A panel could flex outwards in the middle and match the profile of the door skin. The door was now free to open with a bit more room to manoeuvre without the door skin catching the A panel, and I was then able to work on closing the gap a bit more. Joys!
Taking Ben and Neil's advice, I ran a filler rod down the front door edge.
The top bit needed a double thickness to close the gap.
Much faffing around later, I am getting a much nicer gap. Still some tidy up to do but I'm pleased with the improvement so far.
The big turning point was realising I could adjust the gap in-situ. I added more than enough filler rod to the door, then with the door mounted in position, cut the gap I wanted by carefully running a 1mm cutting disc between the panels. Felt dangerous, but gave me quite an even result.
That looks a whole lot better Rich. Does the door open and close ok now??
Posted 19 July 2015 - 08:15 PM
Posted 19 July 2015 - 08:45 PM
Looking much better Rich
Posted 21 July 2015 - 12:56 PM
Been a little while since i looked at this build its coming along nicely, like the attention to detail with the door gaps...
Posted 21 July 2015 - 04:43 PM
Looking good rich, I did the same with some metal rod but I added it to the a-panel as I didn't want any heat on the door skin in case of warping. It's good to get decent panel gaps!
Posted 29 July 2015 - 03:45 AM
Wow the door gaps are amazing
Posted 30 August 2015 - 07:15 PM
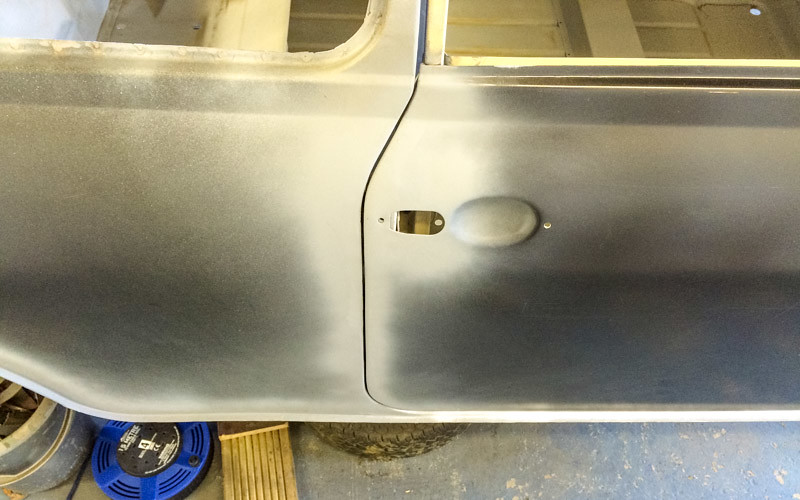
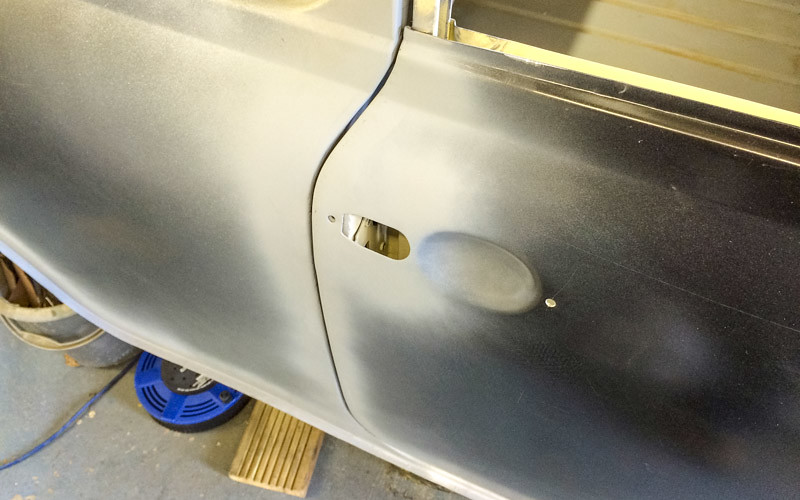
Managed to get a few hours in working on the drivers door gaps. I know this is taking an unreasonably long time, but I hardly ever get a chance to work on the car at the moment.
Tweaked the upper back edge and inserted a length of filler rod.
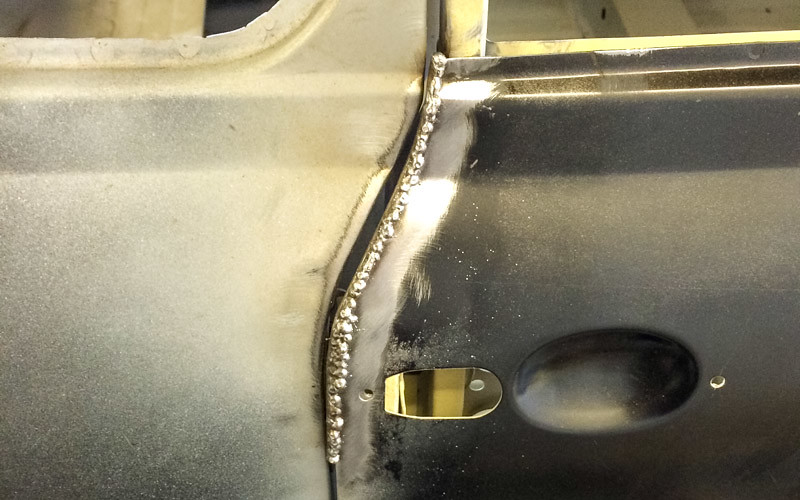
Some grinding and filing later...
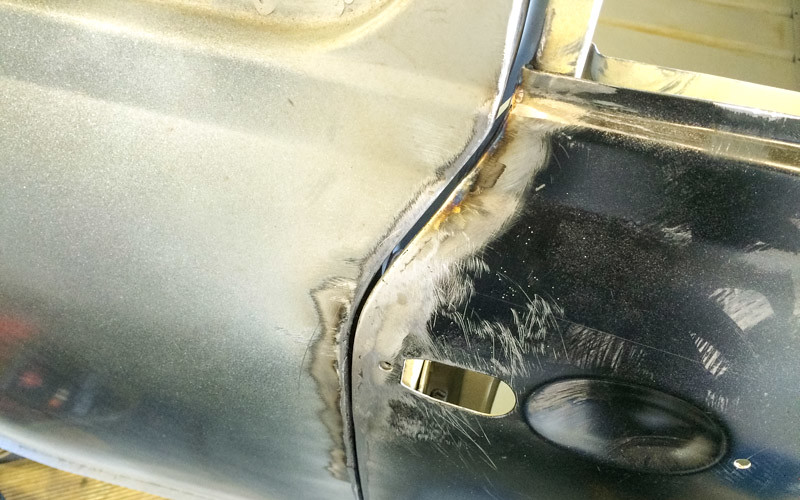
Getting quite pleased with this now. Just about finished on the driver's side. Good god the door gaps are painful. :)
Posted 30 August 2015 - 07:42 PM
Looks good Rich, before you call it quits on the door gaps load some weight into the door to simulate the glass and regulator and check to make sure all is good.
Scott is fitting perspex to Erm so not a big deal with his doors but i will be adding weight to Paddy's doors when i skin and gap them.
Posted 01 September 2015 - 06:48 PM
Posted 23 November 2015 - 04:21 PM
0 members, 1 guests, 0 anonymous users