Jump to content


Photo
- - - - -

1979 Rust Heap Clubman Rebuild


  • Please log in to reply
625 replies to this topic

#391 rich2

rich2

    Speeding Along Now

  • Members
  • PipPipPipPipPip
  • 351 posts

Posted 05 May 2014 - 06:38 PM

It's a bank holiday so fingers crossed we might get an update :)


Nope! Still no progress! Babies eh!?!


Really wanted to go to Thoresby Classic Car show today to see the minis, but ended up at a baby sign language class instead! (It was quite good though).


I haven't given up! The mini is sitting patiently in the garage!


#392 ger

ger

    Mini Mad

  • Just Joined
  • PipPipPipPip
  • 233 posts
  • Location: The Land Of Song
  • Local Club: M4 Minis

Posted 30 May 2014 - 06:41 AM

Great rebuild. I've been planning the resto of my 1980 GT which I'm going to start in  October and your thread has given me help as I've not tackled anything like this before.


#393 BusheyTrader

BusheyTrader

    Speeding Along Now

  • TMF+ Member
  • PipPipPipPipPip
  • 481 posts
  • Location: Bushey
  • Local Club: Nope

Posted 01 June 2014 - 08:06 PM

Hi Rich,


Life can get in the way of a restoration, not just new arrivals.............  As long as there's nothing lying around unprotected (bare steel panels or parts etc) it'll be there waiting for you when you get back to it.


It'll be good to see your pages when things get going again.


Adam


#394 josh.goddard

josh.goddard

    Speeding Along Now

  • Members
  • PipPipPipPipPip
  • 398 posts
  • Local Club: Derbyshire Classic Mini Club

Posted 04 June 2014 - 10:29 PM

Can i ask what you use to paint the black bits up (hubs etc) be great to see the car done !
Josh

#395 rich2

rich2

    Speeding Along Now

  • Members
  • PipPipPipPipPip
  • 351 posts

Posted 17 May 2015 - 08:24 PM

Hello Mini Lovers! It feels like I've been away forever, but I'm back on the project! 

That is - my wife has permitted me to spend a couple of hours a week in the garage. Whoop!

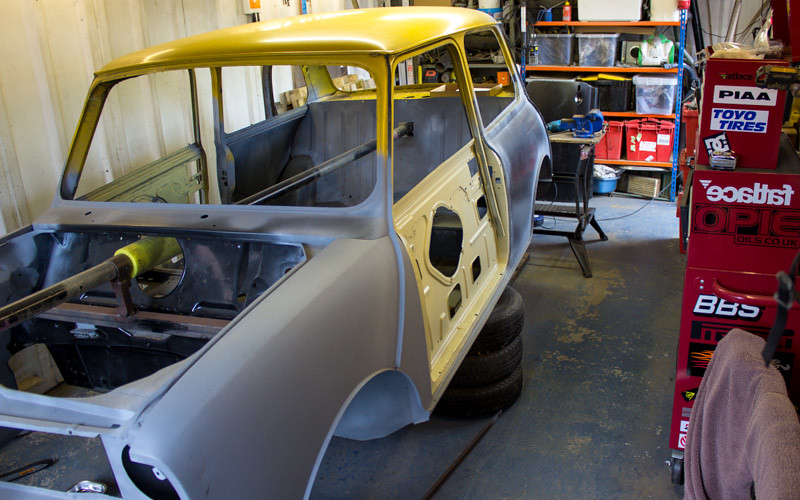
So, to pick up where I left off (over 18 months ago)... I started having a look at fitting up the doors.
 
17762266036_f335a64f48_b.jpg

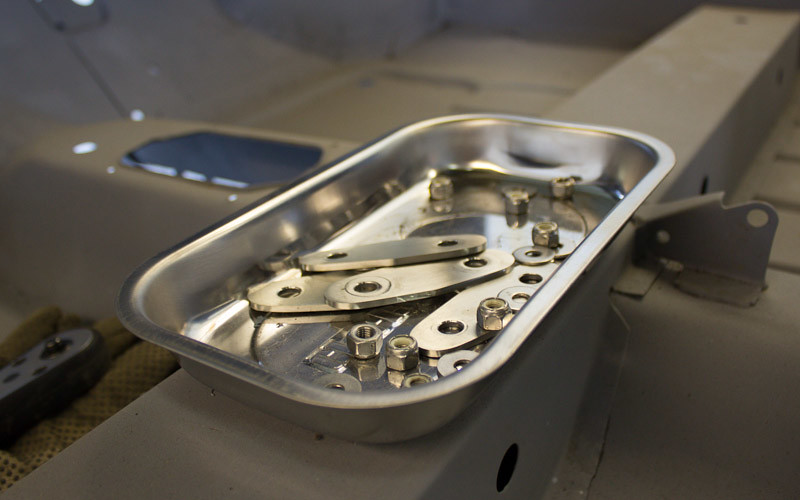
Passenger side not too bad. I dug out the smiffy's bits door mounting gear I bought which is very nice to work with when you have to take the door off and on again 100 times.
17602309529_e46b0029b2_b.jpg

Bottom edge needs a little trim.

17789013831_850354771a_b.jpg

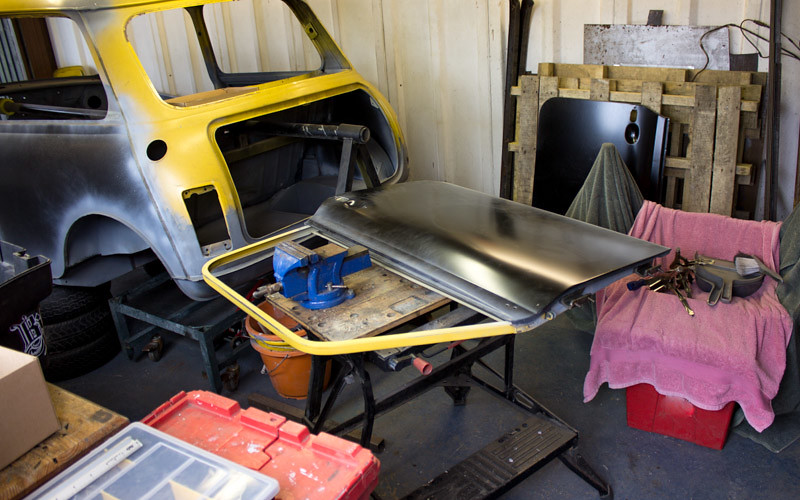
Then laid the skin on but didn't want to embark on such a scary job on day 1, so left it there for now. :)
17166079564_2a62722446_b.jpg

Will put the skin on this door as my next job. Have been looking around for tips but I guess its just a case of gently hammering the edges around the frame? Any words of wisdom much appreciated. :)

#396 sonikk4

sonikk4

    Twisted Paint Polisher!!!

  • Admin
  • PipPipPipPipPipPipPipPipPipPipPip
  • 15,970 posts
  • Name: Neil
  • Location: Oxfordshire

Posted 17 May 2015 - 08:26 PM

Rich your back. You can use a lip folder which i did try once but ti marked the metal so resorted to just using a hammer and block.


#397 rich2

rich2

    Speeding Along Now

  • Members
  • PipPipPipPipPip
  • 351 posts

Posted 17 May 2015 - 08:31 PM

Neil! That was quick off the blocks! Almost like you've been waiting here all this time for me to post something ;)

Yes I may just try tapping it over very carefully and see where that gets me.

Paddy is looking great by the way! :D

#398 rally515

rally515

    Up Into Fourth

  • Members
  • PipPipPipPipPipPipPipPipPip
  • 3,848 posts
  • Location: ask!

Posted 17 May 2015 - 08:39 PM

My god has it really been this long O_O  I remembered the front panel rust and rot you've dealt with as soon as I saw the title :lol: .


Glad to see you're back at it Rich and quite a nice little clean job to get going at full tilt poker.com again :)


P.S. Don't listen to those wife people, they only slow progress down ;)


Cliff


#399 sonikk4

sonikk4

    Twisted Paint Polisher!!!

  • Admin
  • PipPipPipPipPipPipPipPipPipPipPip
  • 15,970 posts
  • Name: Neil
  • Location: Oxfordshire

Posted 17 May 2015 - 08:43 PM

Neil! That was quick off the blocks! Almost like you've been waiting here all this time for me to post something ;)

Yes I may just try tapping it over very carefully and see where that gets me.

Paddy is looking great by the way! :D


Nah not lurking but it pinged up you posted. There is a tool you can buy that is used with a rivet gun, i'm waiting for one after being told about it by a chap called Dave at Rutland mini's.

http://www.eastwood....nning-tool.html


#400 Ben_O

Ben_O

    Mill Road Garage

  • Paint Doctor
  • PipPipPipPipPipPipPipPipPipPip
  • 9,785 posts
  • Location: Isle of Wight

Posted 17 May 2015 - 09:03 PM

Good to see you back Rich.


Best method for skinning the door in my opinion is to lay the frame onto the skin so you have the whole lot skin side down on your bench (use blankets to cushion it) and then hold a large flat dolly tightly against the front edge of the skin with one hand and then tap the edge over with a panel hammer with the other hand.

You need to turn the edge over about halfway to start with moving  your dolly along as you go obviously and then once one side is half over, repeat to fold the rest of the way.


What i like to do is fold the corners first then you can pop the door back on and check for alignment whilst you still have some movement and then you can adjust the skin if you need to before fully folding it.


The skinning tools are better used to squeeze up the edges nice and tight once the initial folding has been done with the hammer and dolly.

I don't believe they are designed to fold the skin completely on their own as they will just give you a ripply edge.


Ben 


#401 Daviewonder

Daviewonder

    Needs an extra inch!!

  • Members
  • PipPipPipPipPipPipPip
  • 1,015 posts
  • Location: England

Posted 17 May 2015 - 09:30 PM

Good to see you're back at it Rich. I only thought about this project yesterday and wondered if you still had it.


How has it held up over the months, any rust starting to show through or is it all ok?


Looking forward to more updates   :-)


#402 Jase

Jase

    One Carb Or Two?

  • Traders
  • PipPipPipPipPipPipPip
  • 1,164 posts
  • Location: Wales

Posted 18 May 2015 - 07:26 AM

Seconded, good to see some progress. I'm in the same boat, trying to find the time is difficult.


#403 skoughi

skoughi

    One Carb Or Two?

  • Members
  • PipPipPipPipPipPipPip
  • 1,199 posts
  • Location: Lerwick
  • Local Club: Shetland classic car club

Posted 18 May 2015 - 09:07 PM

Good to see you back at the coal face rich! It's not easy balancing family life with a project that needs all your time just to move ahead slowly! Another slight variation on fitting a door skin ( I only used this because I nearly destroyed every skin I used to try and fit!), I bend the lip over about two thirds the way with dolly and hammer then use the largest pair of vice grips I have that have big wide jaws, place a bit of about 10mm ply on the outside of the skin so that it's between the skin and vice grip jaw and close over the lip bit by bit with the grips. Bend it a little and move along a jaw width and bend again. The vice grip will bend the lip the exact same amount each time so reducing any streaching and the ply on the outside of the skin will minimise damage. Keep tightening up the vice grip each time you go the whole way around the skin until it nips up the lip nice and tight. I also laid on a bead of adhesive in the fold to seal and glue the join and felt it was enough so didn't do any spot welds as this will burn any paint in the lap join.


#404 rich2

rich2

    Speeding Along Now

  • Members
  • PipPipPipPipPip
  • 351 posts

Posted 19 May 2015 - 12:17 PM

Thanks for the advice everyone! All being well I'll be able to give it a shot this weekend.


How has it held up over the months, any rust starting to show through or is it all ok?


The floors are definitely showing some surface rust through the primer. Worrying. And thats just the bit you can see clearly. I'm giving serious thought to chemical dipping before paint.


vice grips... 10mm ply ...


Yeah I like the sound of this because its the same way I got the A Panel on, and that didn't go too badly. Personally I'll probably prefer to steer clear of adhesives though because if it does end up needing a bit of welding I don't want to risk welding anywhere near that nasty stuff.


#405 skoughi

skoughi

    One Carb Or Two?

  • Members
  • PipPipPipPipPipPipPip
  • 1,199 posts
  • Location: Lerwick
  • Local Club: Shetland classic car club

Posted 19 May 2015 - 12:31 PM

I know what you mean regarding burning adhesive, I used pro stick which I felt would be more than enough to keep the skin in position and the only spot that needs a weld is at the top of the skin at the window frames are where there is no adhesive . Slowly bending the lip with the wide jawed grips meant it was very controlled and minimised any hassle with the door moving about whilst knocking over the lip with a hammer. Those with the skill earned through practice can do it no problem but since it's been over twenty years since I did it for a job, and I wasn't very good at it then as well, I felt more confident doing it this way.


1 user(s) are reading this topic

0 members, 1 guests, 0 anonymous users