Jump to content


Photo
- - - - -

1979 Rust Heap Clubman Rebuild


  • Please log in to reply
625 replies to this topic

#376 rich2

rich2

    Speeding Along Now

  • Members
  • PipPipPipPipPip
  • 351 posts

Posted 22 September 2013 - 05:46 PM

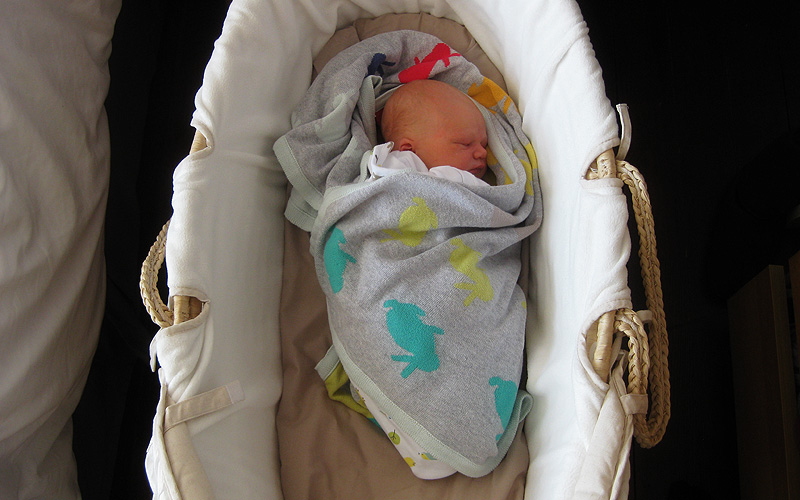
Long time no post again. The mini has been firmly on the back burner of late because of the arrival of this guy...


9876547773_057cf01bf0_o.jpg


...our awesome son Sebastian, born on 8/9/13!


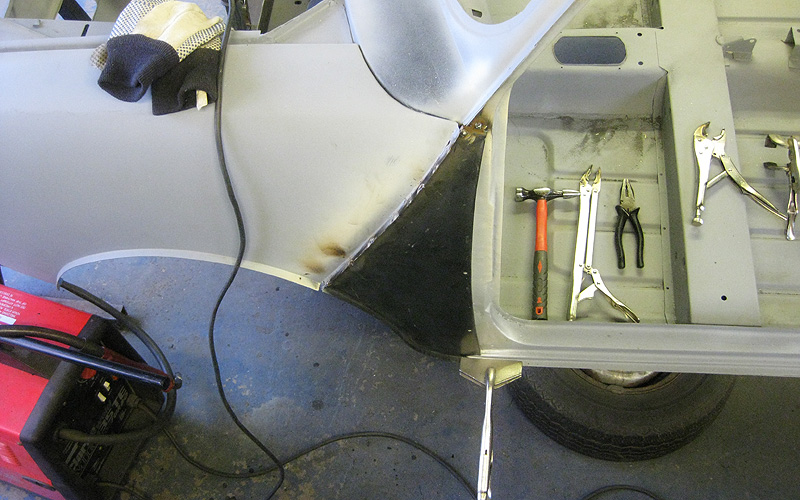
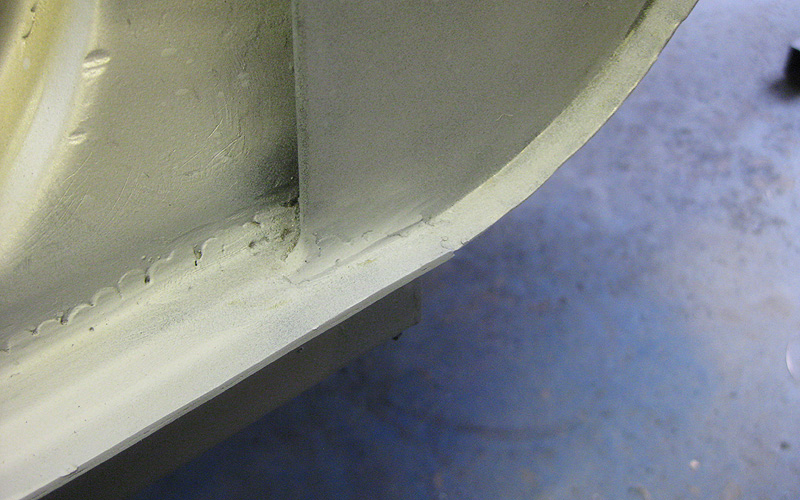
Before Seb was born though, I managed to get the A panels on. Lip was bent around using mole grips, a rag and a block of wood.


9871531384_69f1bf78e1_o.jpg


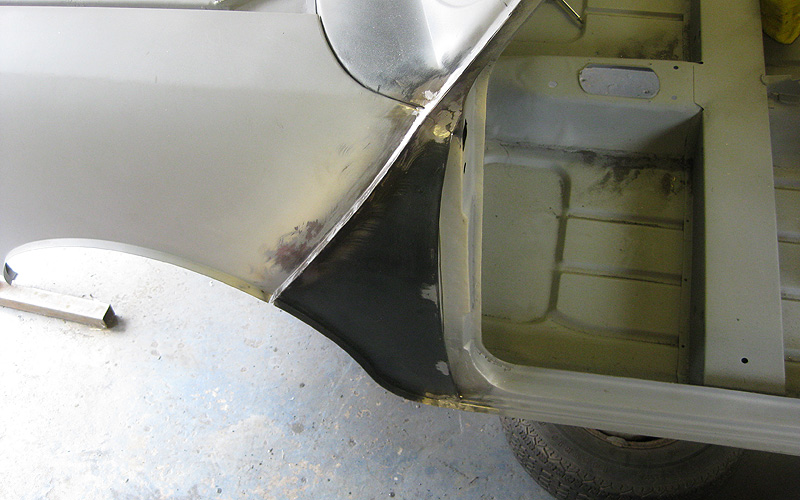
All welded up.


9871531424_bb798ea409_o.jpg


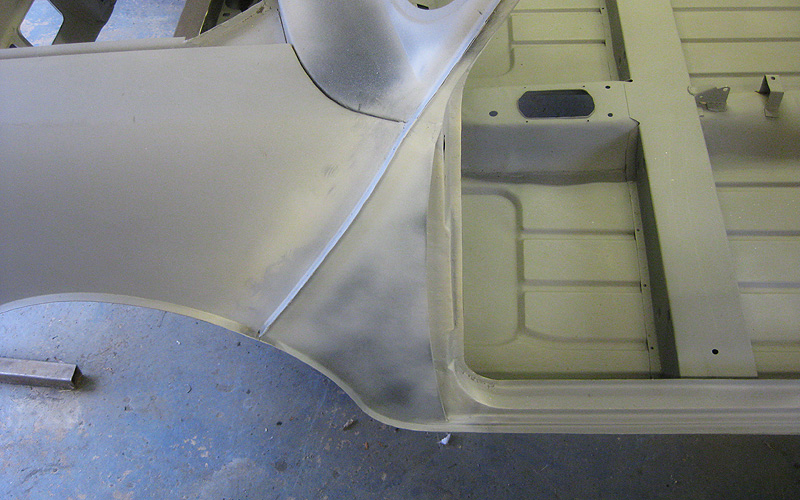
Primer on.


9871636233_049302db2b_o.jpg


Other side!


9871532836_bf367610fb_o.jpg


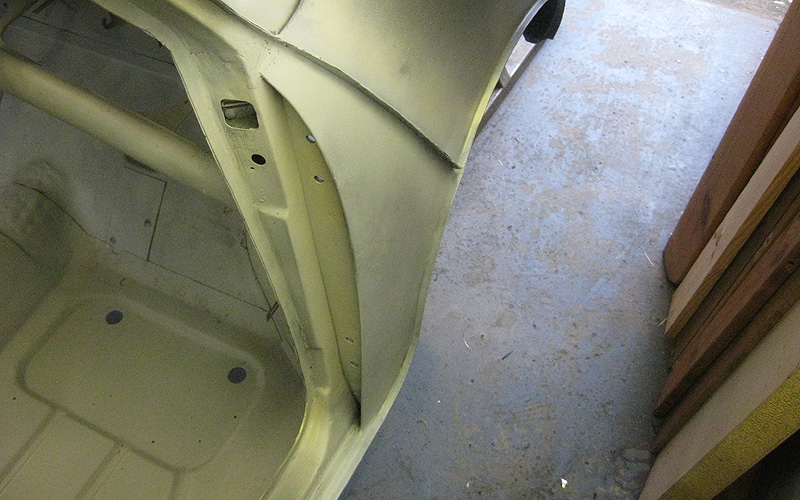
DETAILS!


9871517735_bbd13fee95_o.jpg


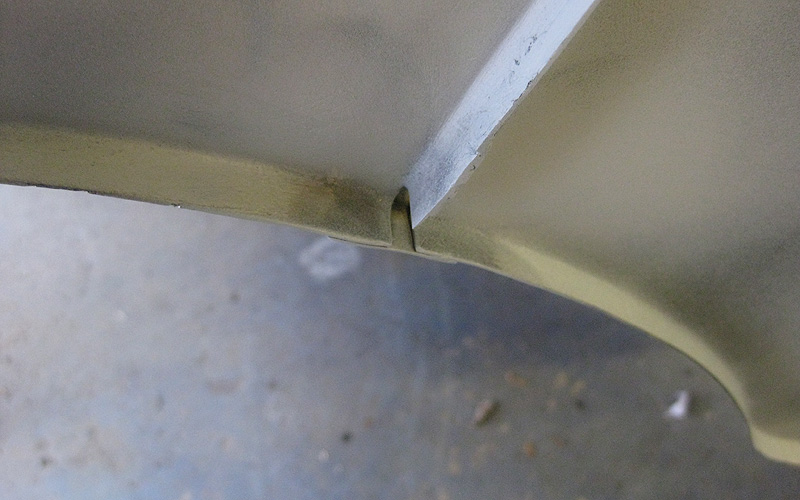
Unfortunately, I may have made a boo boo on the drivers side. I cut out a section of the flitch lip early on in the project because I thought I needed to. I realised just recently (after fitting the A panel) that I think I was wrong to do that because the door hinges now won't fit in the gap. AAARGGH. The A panel may well have to come off again to fix the problem.


I also added some factory-style finishing pieces to connect the A panel to the wings.


9871636263_3cc52a74c7_o.jpg


#377 rich2

rich2

    Speeding Along Now

  • Members
  • PipPipPipPipPip
  • 351 posts

Posted 22 September 2013 - 06:03 PM

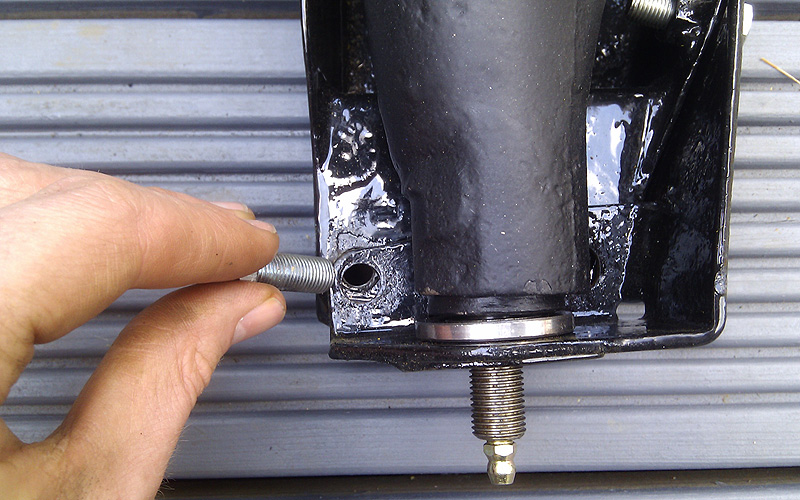
While I was working on the A panels, I also tried to put the rear subby together. Everything was gravy until I came to bolt the radius arm brackets on. OH DEAR.


9878861206_1dcb18c44f_o.jpg


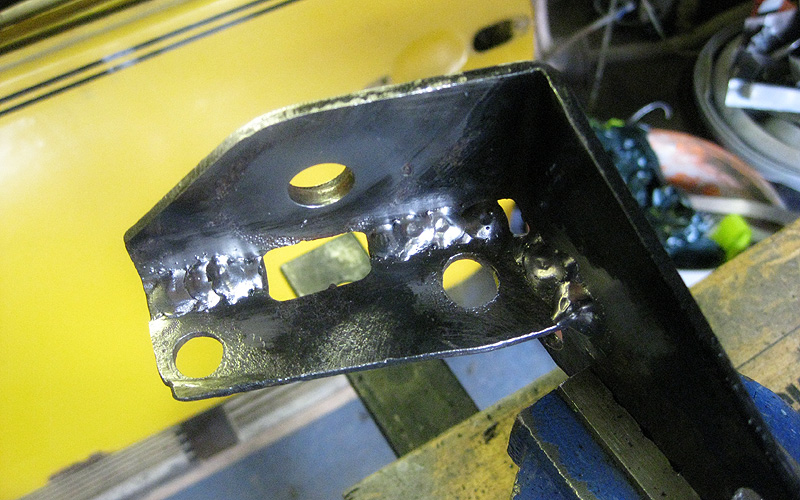
So basically, when I had welded new captive nuts into the subby earlier in the project, I did so assuming the mounting face of the bracket should be flush with the end of the subframe. WRONG! That meant that when the radius arm was fitted the bracket is misaligned. Le sigh.


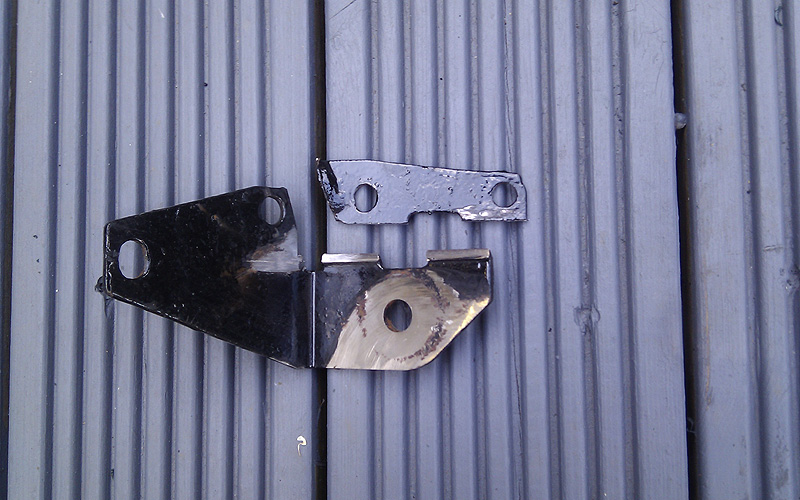
I didn't want to cut the subby apart again, so I opted for modifying the brackets slightly. This will be a pain if I ever upgrade to cambered brackets because I will have the same problem again. All told though, the subby isn't in the greatest nick anyway, so if I end up doing major suspension upgrades, I might as well just get a new subby.


SO. Cutting disc out...


9878861686_bd44a181d6_o.jpg


Weld up again.


9879277743_28029a7efb_o.jpg


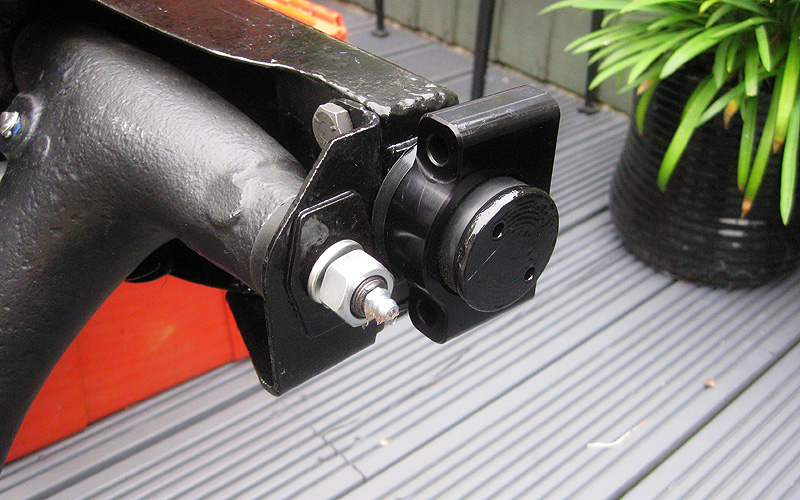
Sorted. I did this on both sides. Pictured here with my new-old recon radius arms and retrosport billet subframe mounts.


9871530264_044e02482a_o.jpg


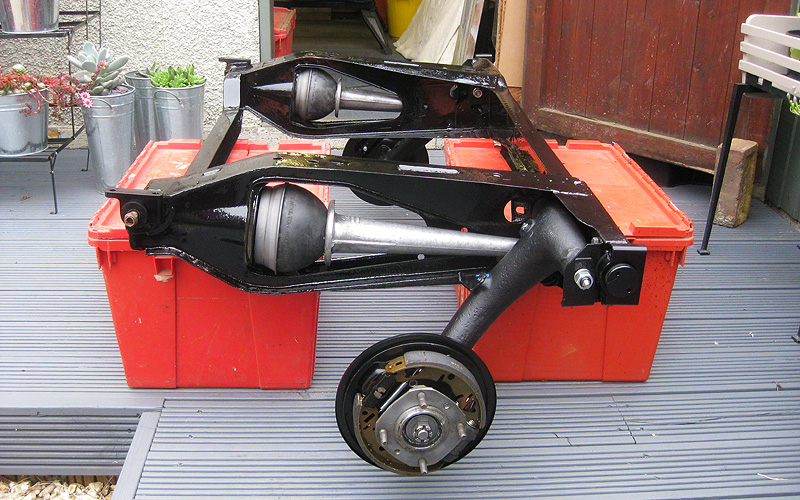
Bling! New cones and cleaned up trumpets in place, and brand new brakes and bearings fitted. I cleaned up the old hubs as they were fine.


9871534516_ac36a65f91_o.jpg


#378 rich2

rich2

    Speeding Along Now

  • Members
  • PipPipPipPipPip
  • 351 posts

Posted 22 September 2013 - 06:34 PM

So with most of the body work on the car sort-of finished, I started thinking about the doors.


Didn't take pics because there wasn't much to see, but I dismantled and de-skinned both doors. Then I could see what kind of rust situation I was dealing with. Both door frames needed similar treatment, so here is the worst one...


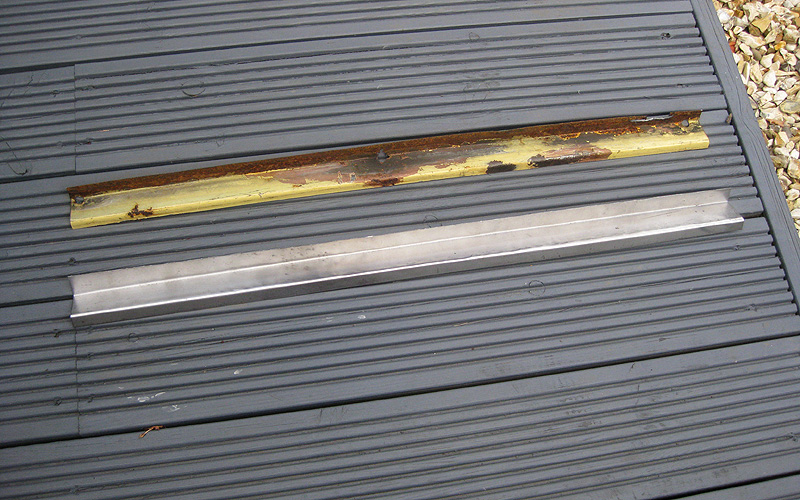
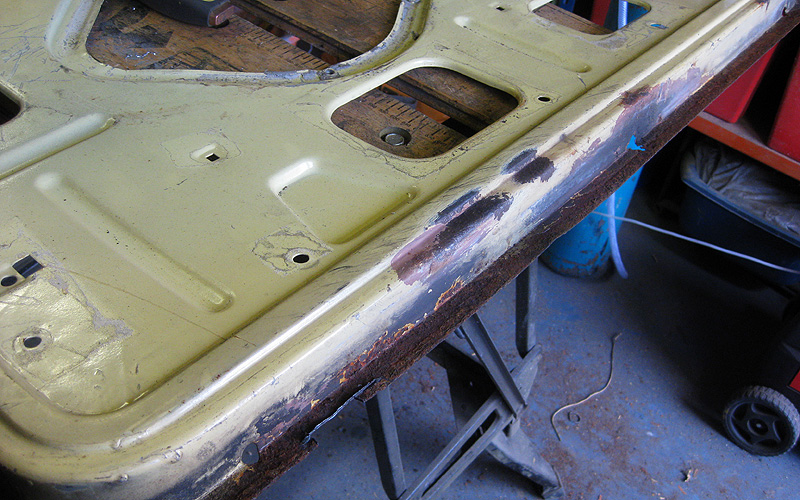
Bottom edge: FRIED!
 

9871516475_435217c9ff_o.jpg


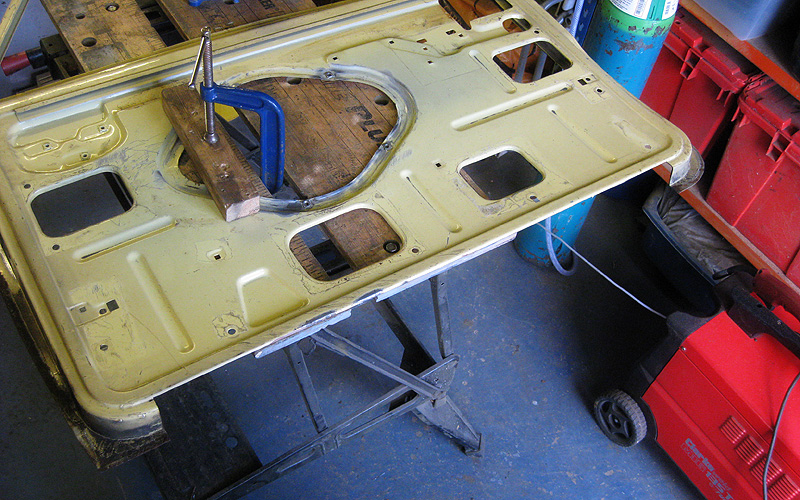
Removal to good metal. Kept the corners on for now to keep things simple. One step at a time.
 

9871530756_e70e148a0c_o.jpg


Made up a little repair.


9871515555_989fe536f2_o.jpg


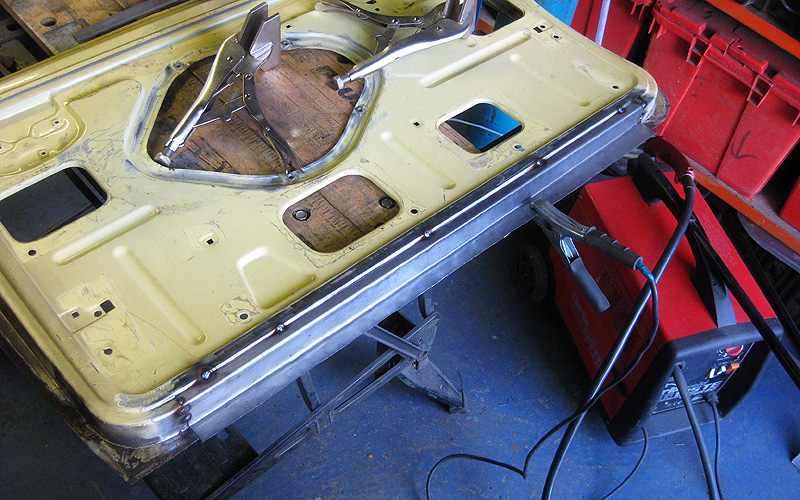
Tacked repair into panel.


9871632553_dc1a842599_o.jpg


Fully welded up.


9871628703_158d4c8719_o.jpg


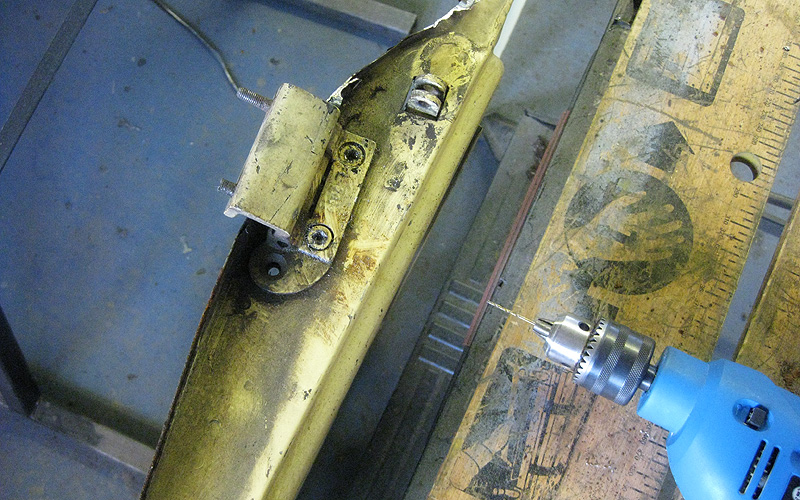
Had to drill out the hinge bolts as they were rusted solid.
 

9871527934_80ebcc45aa_o.jpg


Hmmmm... questionable integrity of metal. Decided to make an exploratory incision.


9871631513_7002dbecb5_o.jpg


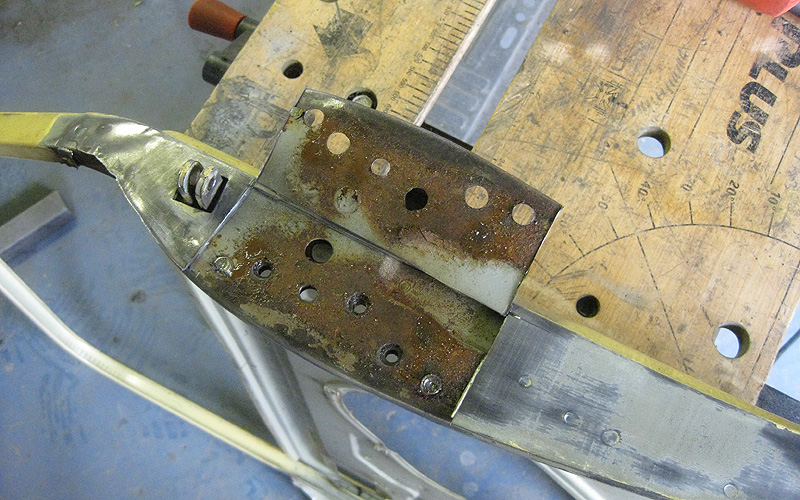
Oh dear. Decided the only thing to do was to whip the whole thing off.
 

9871631173_c594db6dd1_o.jpg


Yuk.


9871527786_e09db4ce50_o.jpg


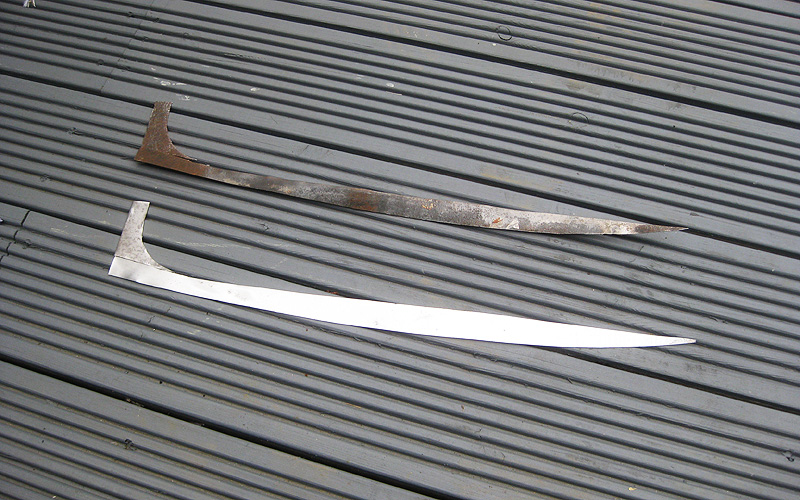
Made up a suitable repair for the hinge panel...


9871526816_6d863d98e4_o.jpg


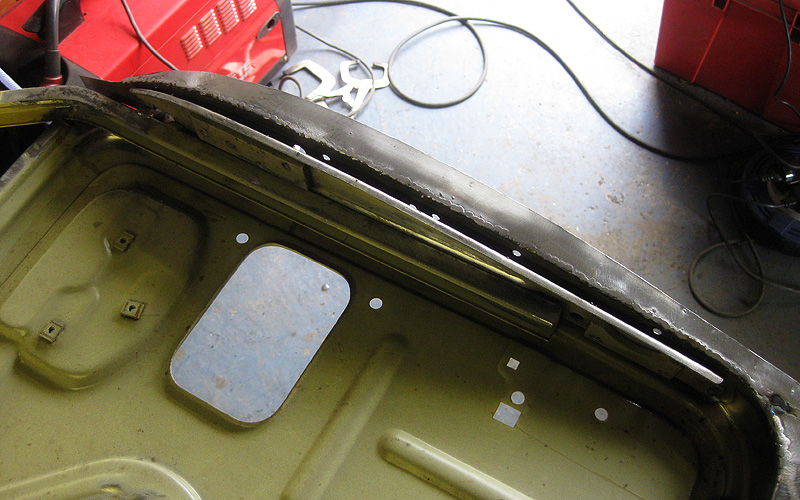
...and the lip to the door skin.


9871629553_441a9741d9_o.jpg


Welded in.


9871521194_d1a53a8c94_o.jpg


Other side...


9871510465_092b6d0692_o.jpg


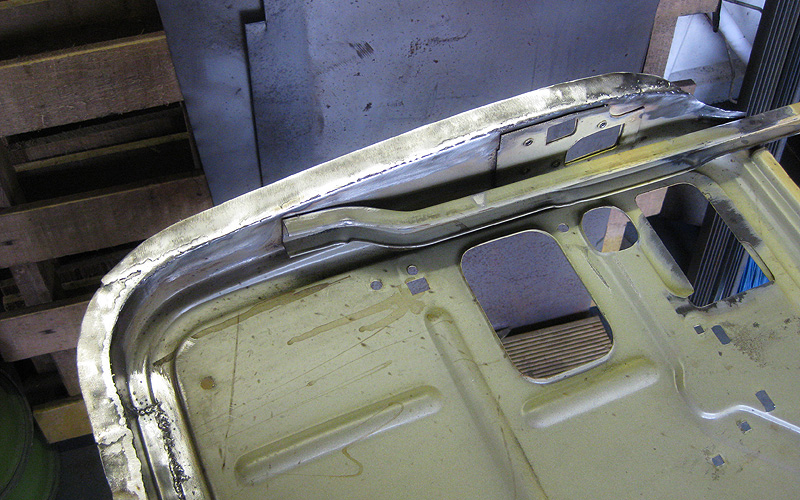
And repeated the process on the lip at the slam end.
 

9871627003_e2133ecc75_o.jpg


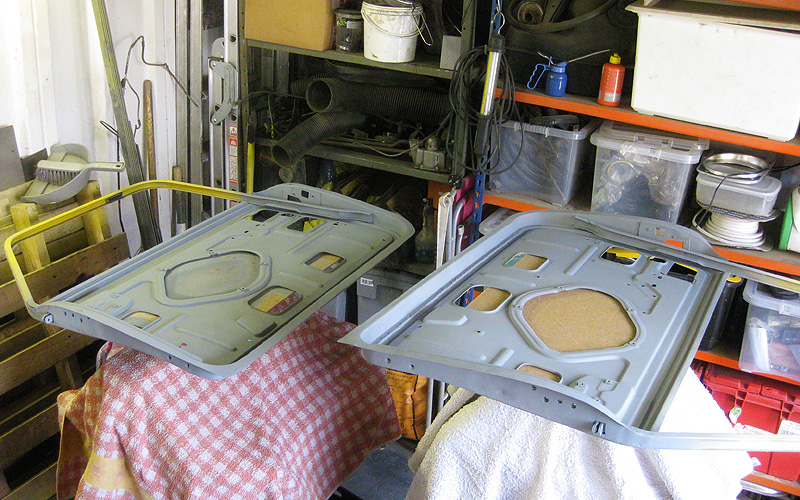
Finally, when both frames had been completely rust repaired, I applied rust protection, primed and top-coated the insides. (Shown here in primer.)
 

9871518684_5a7507c1eb_o.jpg


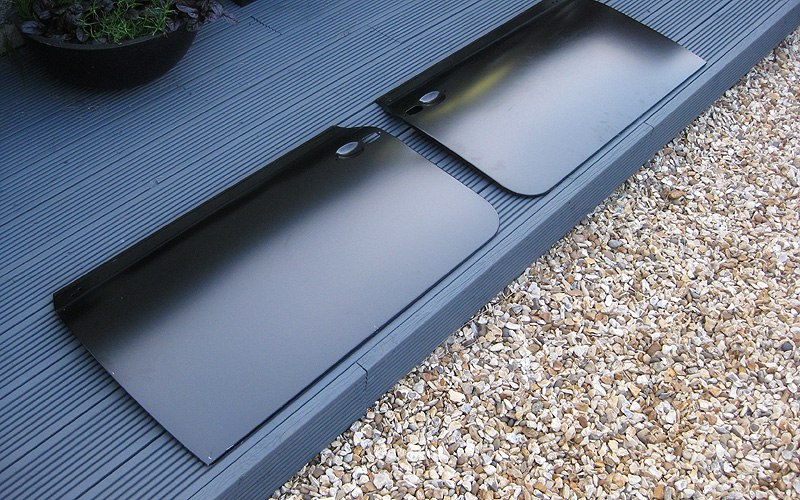
Meanwhile, I had ordered up a pair of new heritage door skins.
 

9871635353_237c8d068d_o.jpg


The insides were roughed up a bit, primed and top-coated. I thought it was best to get some top coat on the insides of the doors at this stage because when the skins go on it will be difficult to get paint into them.


9871514665_1ba6244e2c_o.jpg


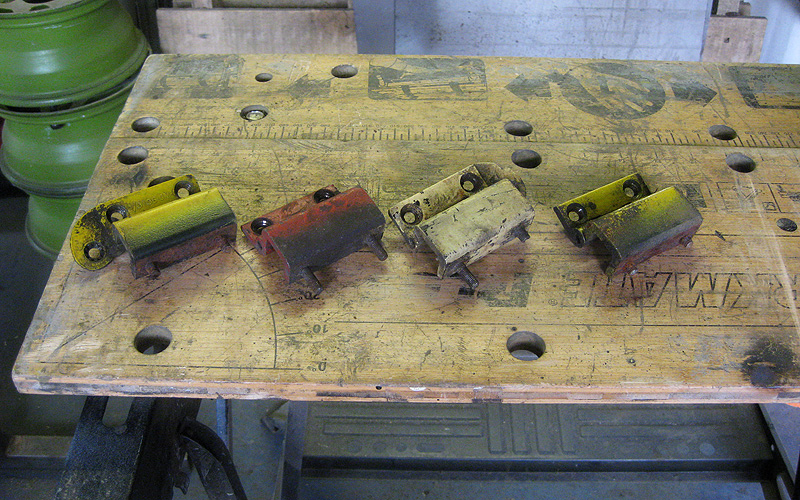
I had considered the idea of purchasing a set of Retrosport billet door hinges because the are trés sexy, and the old hinges from my car look like a dog's breakfast:
 

9871523346_4394376a3c_o.jpg


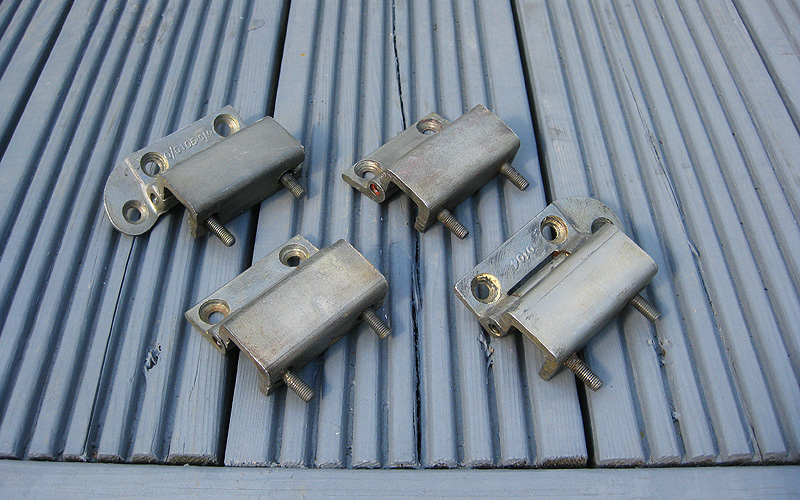
However, in the interest of saving cash, and on closer inspection I decided they could be rescued. I stripped the paint and put them in vinegar for a week, then drilled out the broken bolts and welded in new ones. The restored hinges should hopefully be quite serviceable, and I will have saved over £100 :)
 

9871522796_3c9d774dba_o.jpg


#379 sonikk4

sonikk4

    Twisted Paint Polisher!!!

  • Admin
  • PipPipPipPipPipPipPipPipPipPipPip
  • 15,970 posts
  • Name: Neil
  • Location: Oxfordshire

Posted 22 September 2013 - 06:48 PM

Mate many congratulations to you and the boss with the safe arrival of little Seb. Now the dilemma you have a few years to sort the clubby and get building another for your lad.  :D  :D  :D


Nice work with the door and highlights where rust lurks. 


#380 skoughi

skoughi

    One Carb Or Two?

  • Members
  • PipPipPipPipPipPipPip
  • 1,199 posts
  • Location: Lerwick
  • Local Club: Shetland classic car club

Posted 23 September 2013 - 12:23 PM

Congratulations on your new arrival, he looks the bees knees! From the mouth of a father with two sons, the man cave with the mini will be a god send at times! Good work on the clubman by the way. With all the work you've done then there will always be one or two backward steps that have to be taken, as I'm finding out now and then!

#381 hoody99

hoody99

    Super Mini Mad

  • Members
  • PipPipPipPipPipPip
  • 699 posts
  • Location: fife, Scotland

Posted 24 September 2013 - 11:52 AM

Congrats on the wee one buddy will be a mini nut soon enough lol . With your radius arm brackets did you not try bolting that side on first and then see how the ones underneath lined up mine are a pig to fit with it all being standard and un modified lol but the way you've sorted it looks great lol

#382 hoody99

hoody99

    Super Mini Mad

  • Members
  • PipPipPipPipPipPip
  • 699 posts
  • Location: fife, Scotland

Posted 25 September 2013 - 06:20 PM

Also the bushes on your trunion bolts are the wrong way bud fat end goes to the outside according to the diagram on mini spares

#383 jakub.cr

jakub.cr

    Stage One Kit Fitted

  • Noobies
  • PipPipPip
  • 50 posts
  • Location: Czech Rep.

Posted 09 January 2014 - 08:09 PM

Hello.. any news?


#384 Jase

Jase

    One Carb Or Two?

  • Traders
  • PipPipPipPipPipPipPip
  • 1,164 posts
  • Location: Wales

Posted 09 January 2014 - 08:23 PM

I was wondering how you were progressing as wel.


#385 rich2

rich2

    Speeding Along Now

  • Members
  • PipPipPipPipPip
  • 351 posts

Posted 11 January 2014 - 07:57 PM

Hi!

I actually haven't touched the mini for months now. It turns out this fatherhood lark is quite time consuming!

Really looking forward to eventually getting back to work on it, but there are just not enough hours in the day at the moment. I did have a quick look in the garage last week and noticed some surface rust forming on the primed floors. Painful to see but not unexpected. There will be more work to do by the time I get back to it, but worst case scenario is I just get the shelled dipped and go from there.

I haven't given up! Watch this space!

#386 RossKnight

RossKnight

    One heck of a member

  • Members
  • PipPipPipPipPipPipPipPipPip
  • 2,539 posts
  • Location: Hampshire or Surrey
  • Local Club: JKSA MOC

Posted 11 January 2014 - 11:05 PM

Just spent about 2 hours reading through 26 pages to find it not even finished... disappointing :P


But honestly, this was a great read and you certainly progressed from never welding before to fabricating your own repair patches, but now, get it finished :P


#387 minimuk

minimuk

    Camshaft & Stage Two Head

  • Members
  • PipPipPipPipPipPipPipPip
  • 1,946 posts
  • Location: Midlands

Posted 12 January 2014 - 08:55 PM

Congratts Rich, you been excused and hope yr wife and Seb are doing well, good to have you back, what ever pace ...... ;D


#388 Footloose

Footloose

    Learner Driver

  • Noobies
  • PipPip
  • 15 posts
  • Location: sussex

Posted 14 February 2014 - 09:16 PM

Wow nice work. Any more been done to this?


#389 hoody99

hoody99

    Super Mini Mad

  • Members
  • PipPipPipPipPipPip
  • 699 posts
  • Location: fife, Scotland

Posted 14 February 2014 - 10:34 PM

Been watching this space ???? Still nothing ? Lol

#390 Daviewonder

Daviewonder

    Needs an extra inch!!

  • Members
  • PipPipPipPipPipPipPip
  • 1,015 posts
  • Location: England

Posted 04 May 2014 - 06:34 PM

It's a bank holiday so fingers crossed we might get an update :)


1 user(s) are reading this topic
0 members, 1 guests, 0 anonymous users