It can work no problem rich. Have a look on my build for how to work the scaffold tube. Two back to back swivel clamps to join the two pipes at the front. This means the pole that will join onto the front stand sneaks underneath the slam panel and lowers the point on the shell where it swivels around and you can turn the shell easily.Cheers guys!
Minimuk: 2 big ones on the subbys, and then i bought a 6 pack of little ones as they dry up really quickly once opened if you're not careful. I've got 2 of those left.
F1L8EY: well maybe soon, but i was just looking around the forum and saw a photo of a full clubman shell on a spit the same as mine. I wasn't sure the front panel would fit, but apparently it can be done if your scaffolding pole is long enough!

1979 Rust Heap Clubman Rebuild
#301

Posted 02 March 2013 - 10:04 AM
#302

Posted 02 March 2013 - 06:56 PM
Skoughi: Just had a look at your thread. Thats good thinking with the clamps - I can see how it would be easier to turn the shell with the lower pivot, too. After some head scratching I realised my pole is just long enough to accomodate the front end. If I extend the box section joining the pole to the front bulkhead mount, the pole will run just above the slam. Your mini is looking awesome, by the way. Not far to go!.
#303

Posted 02 March 2013 - 07:28 PM
#304

Posted 02 March 2013 - 07:39 PM
#305

Posted 03 March 2013 - 08:42 PM
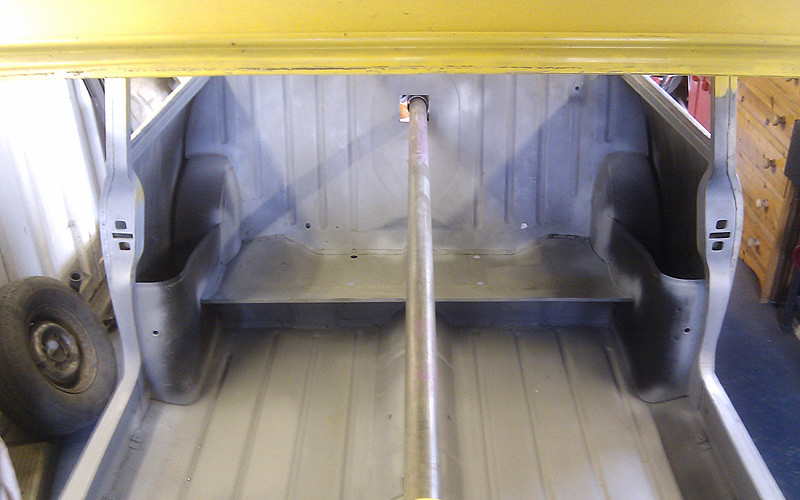
Fitting was all standard stuff so I didn't take any photos of the process. Now, onto rebuilding the front end.
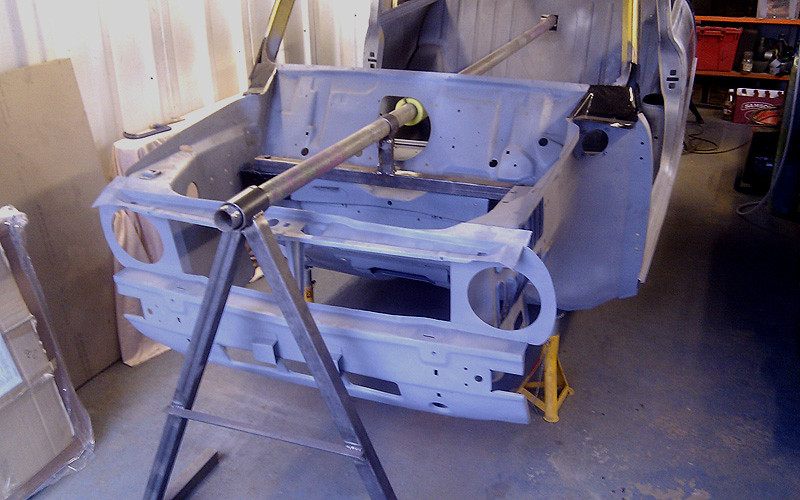
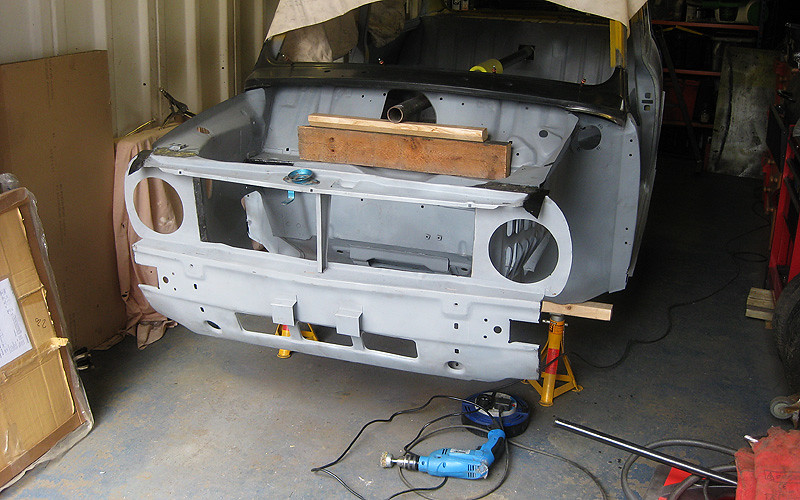
First things first: a small modification to the roll over jig front bulkhead mount was required to prevent the scaffolding pole from fouling the slam panel. Here is the thing beforehand...
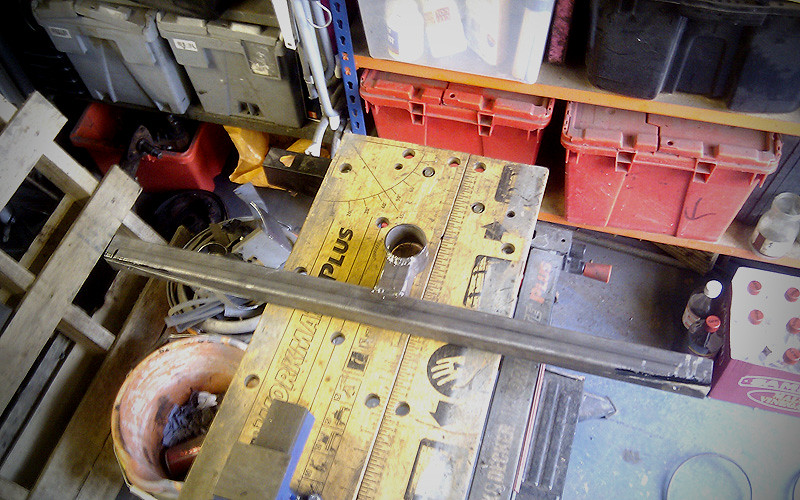
...and here it is with some extra height welded into the joint.
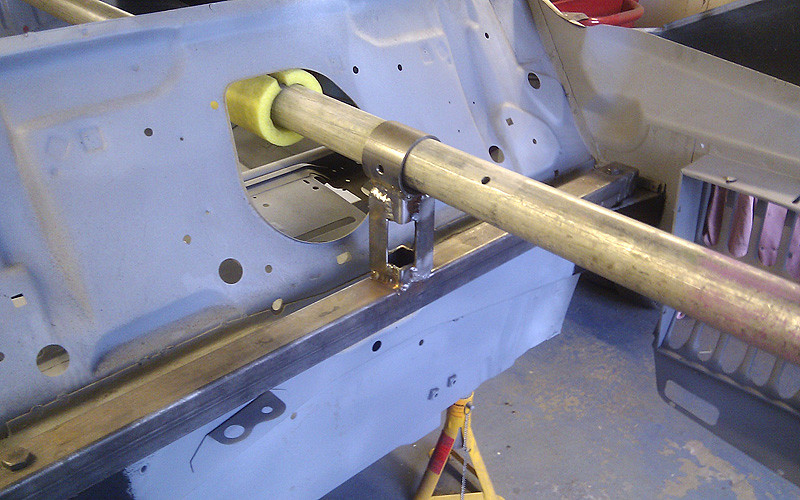
This means I can fit the front end with the car still on the jig. Hooray.
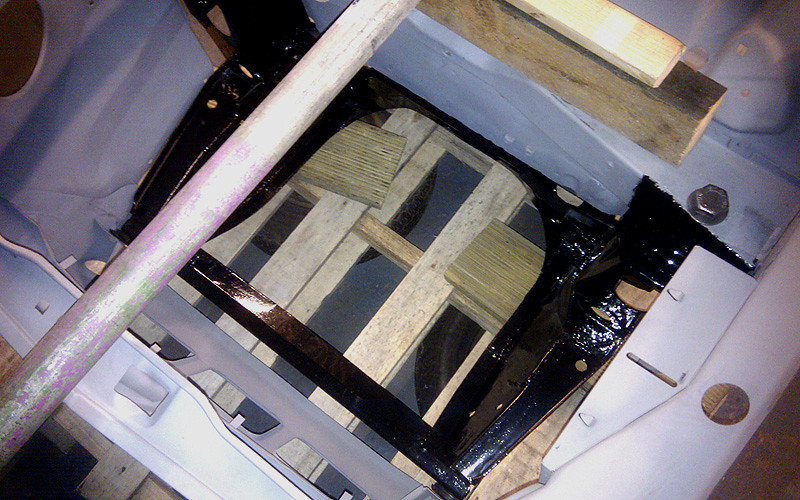
I brought the front subby down to check the alignment of the mounting points on the front panel. So far so good. I think I will leave the subframe in place while I fettle the front end panels together to make sure things line up nicely.
In other news, I've been cleaning and de-rusting the rest of the front suspension components. Not much to see yet as everything is soaking in bucket-fulls of malt vinegar, (thanks to minifcd for the tip!) but hopefully a decent amount of bits and bobs will be worth saving. :)
#306

Posted 04 March 2013 - 08:25 PM
#307

Posted 04 March 2013 - 09:06 PM
#308

Posted 04 March 2013 - 09:48 PM
#309

Posted 04 March 2013 - 11:59 PM
Yes I was just thinking that last night! Yes you're right. Oops. Its not a problem though as I can whip the jig out completely if needed and rest the shell on palettes again while I'm doing that. The main reason I wanted to keep the car on the jig is so that I can apply stone chip later on if I end up doing that myself.
always good to have a plan B, It will be easyer to do all sorts of finishing with that jig
#310

Posted 05 March 2013 - 11:39 AM
I only mentioned this as I know what a pain they are to get out...
My clubman is also on the spit at the moment but isnt getting any where near the quality of work you are putting in!! Well done
#311

Posted 06 March 2013 - 07:43 PM
#312

Posted 07 March 2013 - 07:57 PM
#313

Posted 11 March 2013 - 09:32 PM
AndyMiniMad: I'm just about to do that job, so I'll keep what you said in mind!
Cracked on with the front panel work this weekend. Started out by propping the car up on axle stands to get the scaffolding pole out of the way as recommended above by minimuk. Then I clamped up all the front end panels and test fitted the bonnet to see what kind of situation I had on my hands...
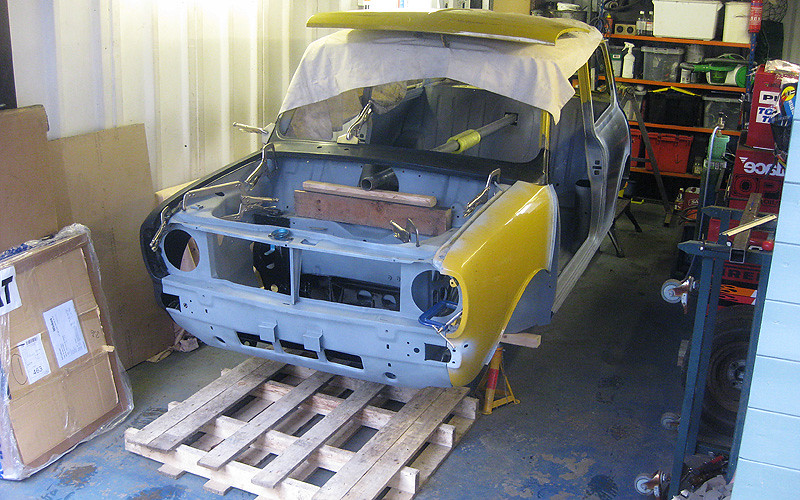
I found it was really worth putting the subby back in and bolting it up properly with bushes. This way I knew I was putting the panels in the right places and I (hopefully) wont have any nasty surprises further down the line. Thats the plan, anyway!
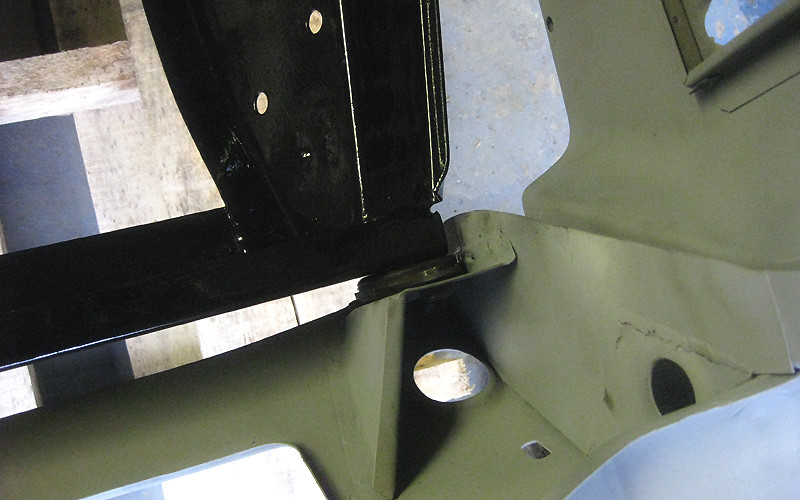
Front panel to wing situation on the off-side not looking too bad.
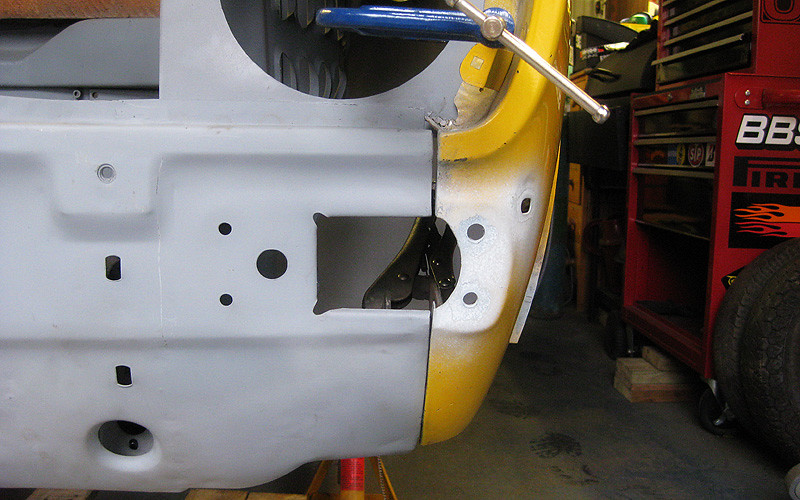
Not so impressed with this train-wreck of panel alignment though. That is supposed to be a heritage wing too. Surgery will have to commence here soon.
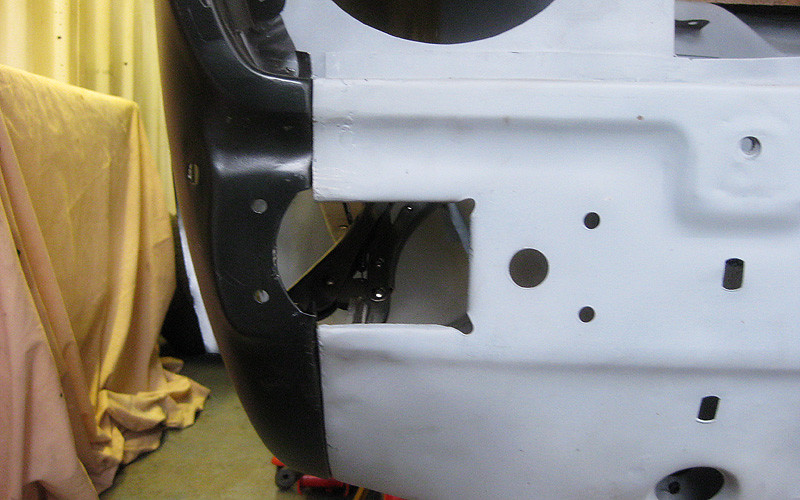
This area looks OK I think for this stage of the fitting. The wing can be hammered down over the slam when I come to fit it properly.
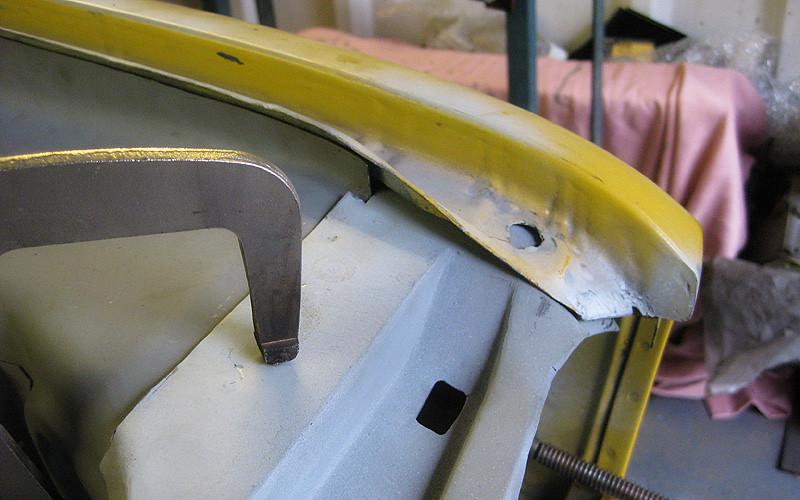
Same on the nearside.
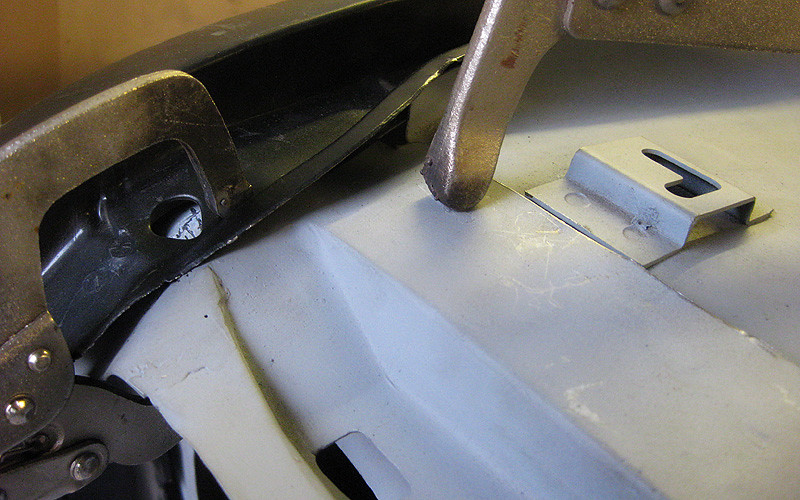
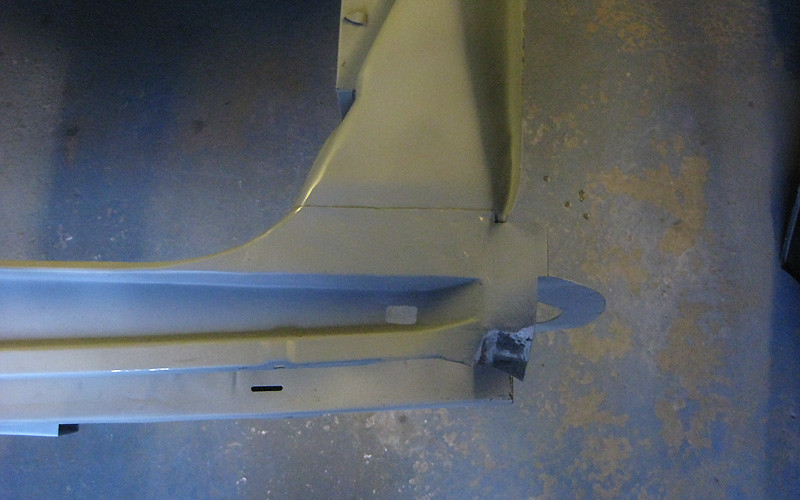
When I was happy that I'd got the front end panels in the best possible place, I drilled some holes for clecos so that I could get them all back in position again easily. Then I took the whole lot apart. All mating surfaces to be sandwiched together were double coated with POR15 and left overnight. A double row of holes was then made for plug welding. (I looked back through my old photos of taking the old front panel off to remind myself about the amount of weld needed here.)
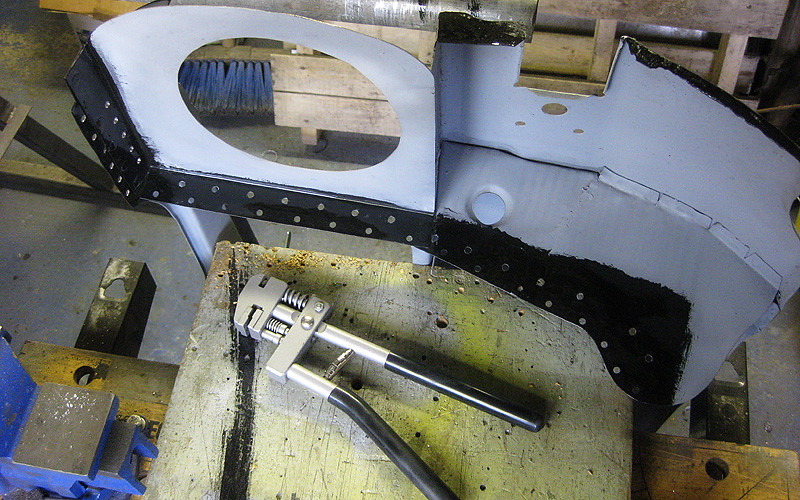
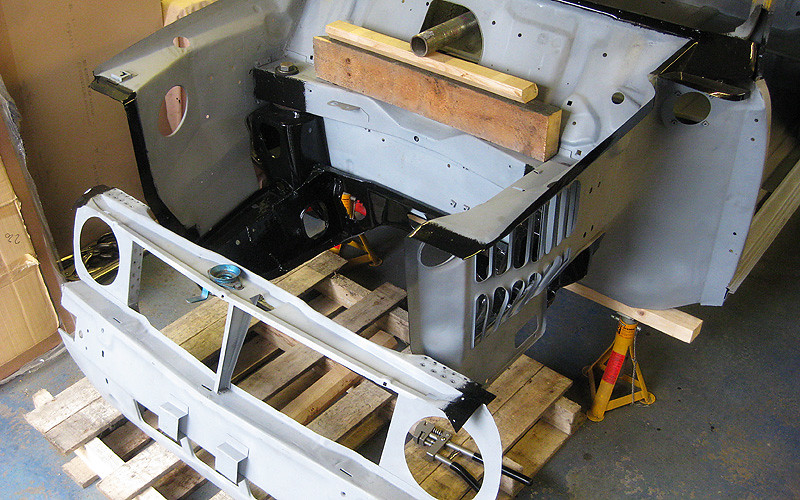
With the panel clamped and bolted in place, the small area of paint through each plug hole was removed with a nail to bare the metal. I put an old sheet over the subframe to prevent any flying weld from burning the paint.
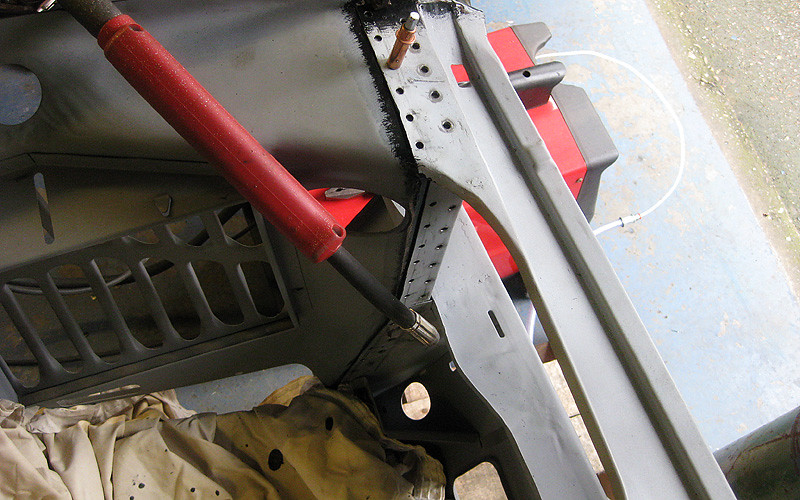
Get yer weld on.
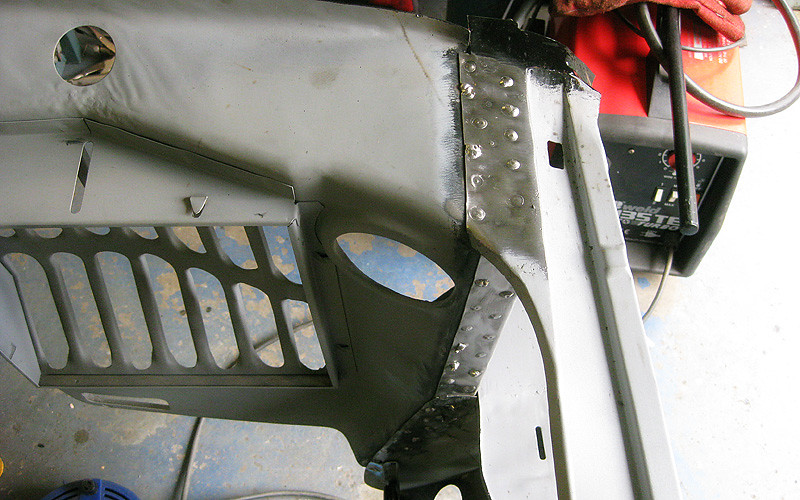
Bosh.
By this point it was starting to get dark, but here are some grainy photos of the finished product after some grinding and primer.
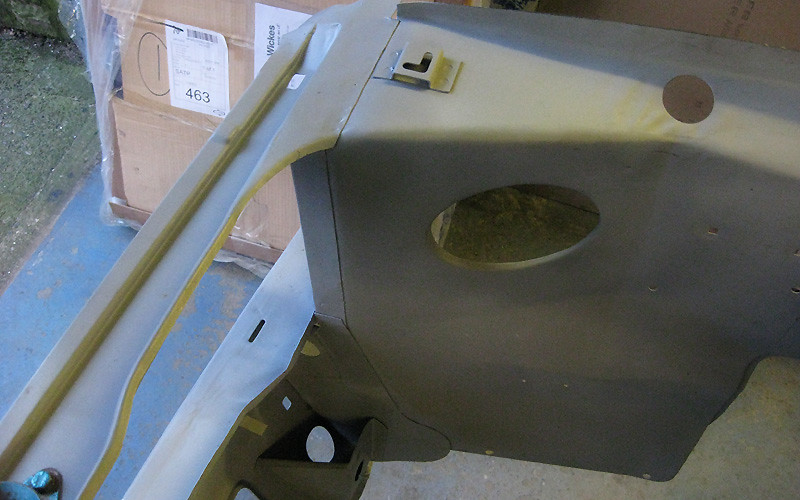
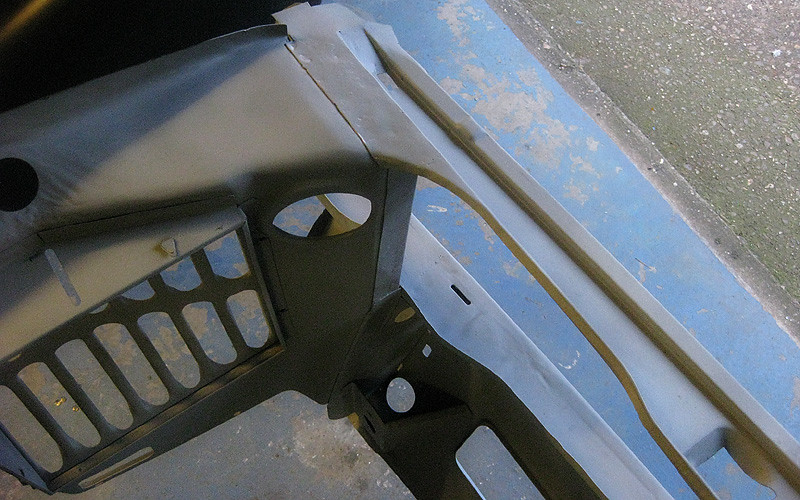
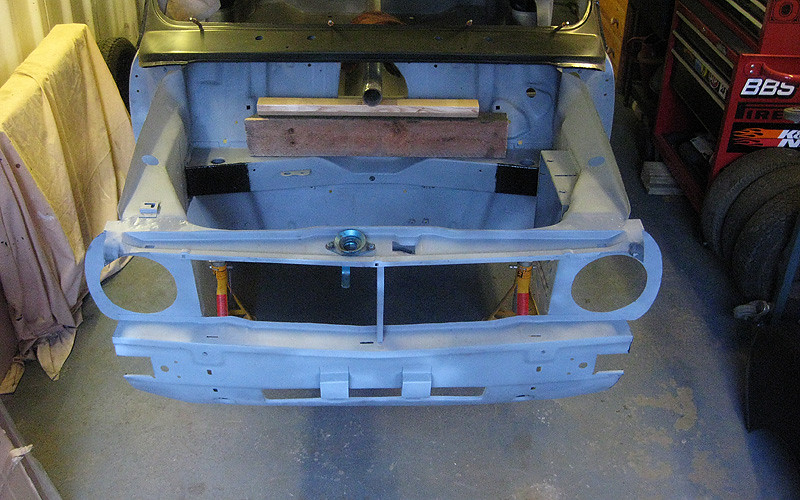
Next job! (Yes it was a busy weekend.)
This is the one good wing I managed to save from the car. It obviously isn't original because: A) its in quite good condition, and B) because it looked like it had been welded on by a 5 year old. Anyway, I wanted to strip it to bare metal before putting it back on.

Much Nitromors and strip & clean disk action later, and this was the result.
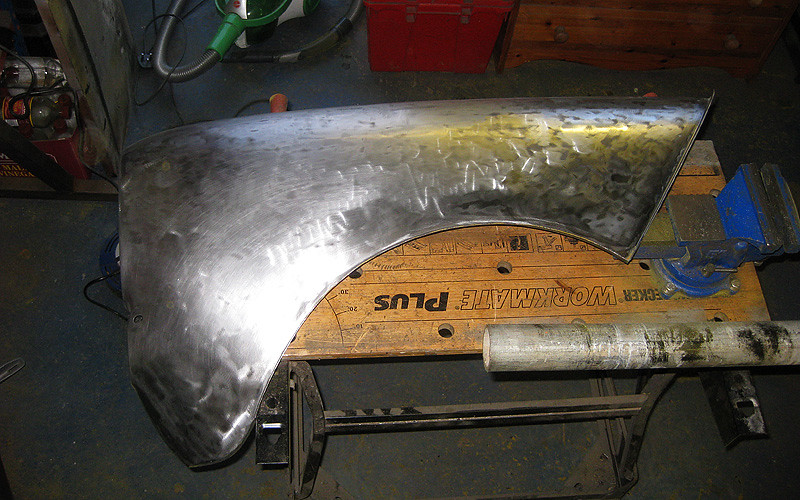
On the back, there was a small area where the underseal was peeling off because it hadn't bonded to the metal properly. Heritage sticker! At least I know its genuine :)
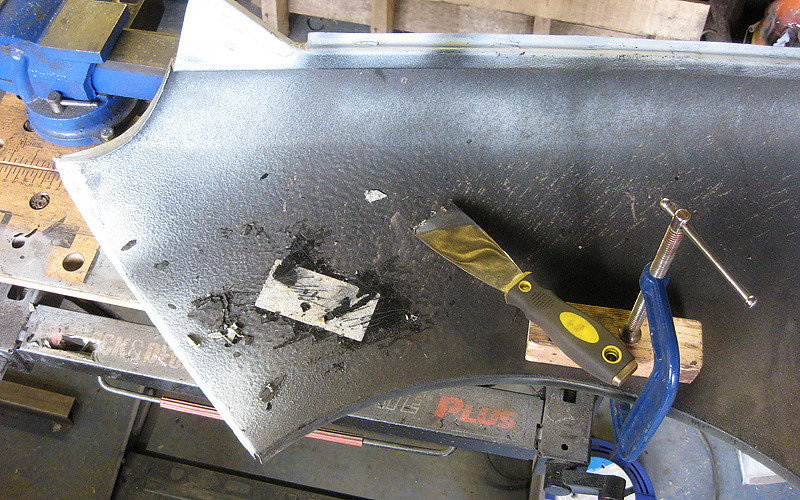
Much turps sub and wire twist cup action later...
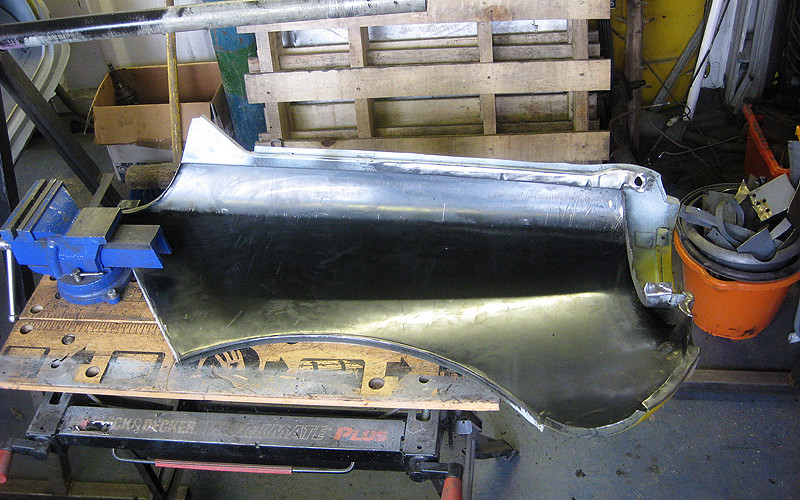
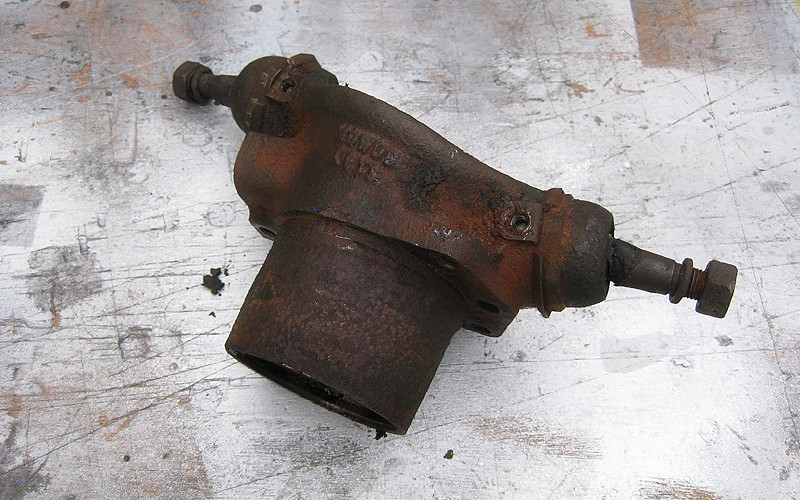
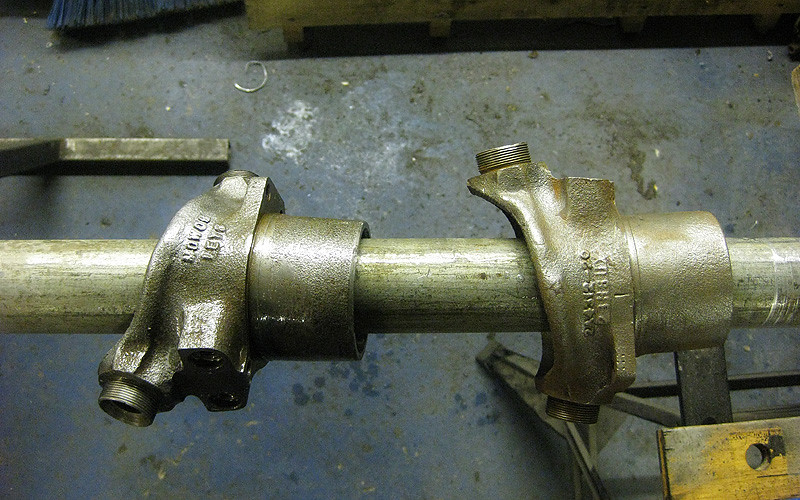
In other news, the great suspension parts rescue operation continues. This week, the swivel hubs emerge from a 9 day spell in a bucket of malt vinegar.
Before:
After. I DO LOVE lidl 22p malt vinegar!
And thats all!
Phew.
#314

Posted 11 March 2013 - 09:37 PM
#315

Posted 11 March 2013 - 09:38 PM
1 user(s) are reading this topic
0 members, 1 guests, 0 anonymous users


