1979 Rust Heap Clubman Rebuild
#241

Posted 13 September 2012 - 05:16 PM
#242

Posted 13 September 2012 - 08:24 PM
You are wasted in an office.
Good work and thanks for a great read
#243

Posted 30 September 2012 - 07:58 PM
Neil: I fear you might be right about the front panel, and I always suspected that eventually I might have to cut my losses and just fork out for a new one. For the time being though (perhaps stupidly) I'm refusing to give up!!! At least I can tell myself its good rust repair practise... ;)
So anyway, I finally got all the bits ready to weld back together. A collection of (I think) 100% rust-free parts. It took about 10 times longer than I expected to get to this point. *sigh*!
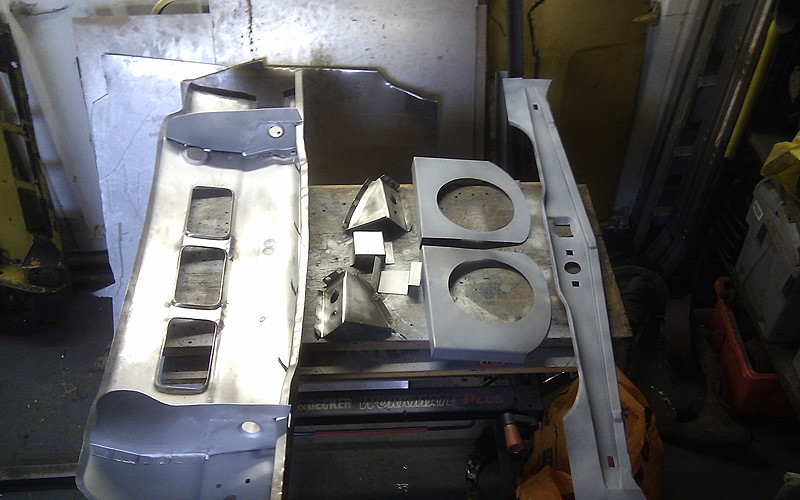
Subframe mounting points going in - taking care to keep them flat and straight. I still had the marks in the metal from where I cut the old spot welds out, so it was easy to get them back in the same place.
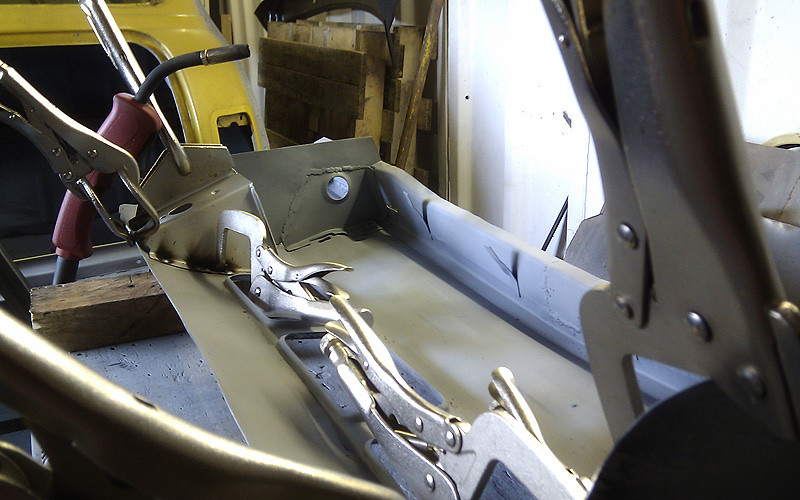
I temporarily fitted the grille I picked up at an autojumble ages ago to make sure I was lining up the slam and headlight surrounds properly.
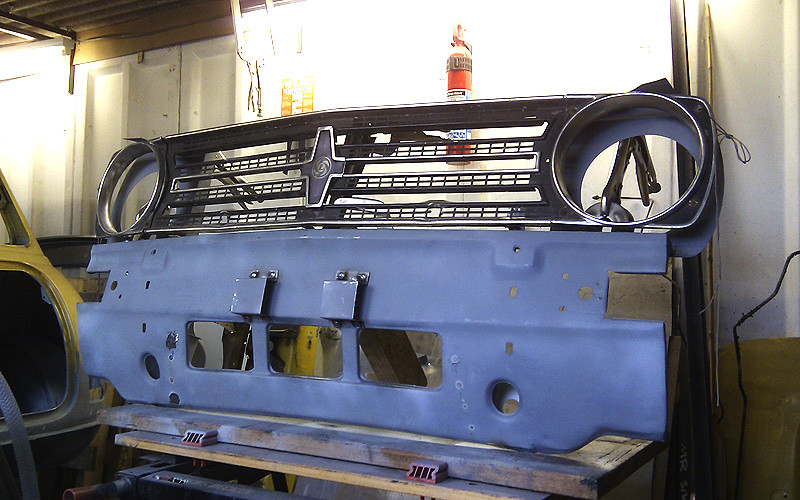
Much clampling, measuring, and test fitting against the inner wings on the front end of the car. I also checked the fit of the one original wing I have left against the slam and lower panel to make sure the separation was correct. All good, I think.
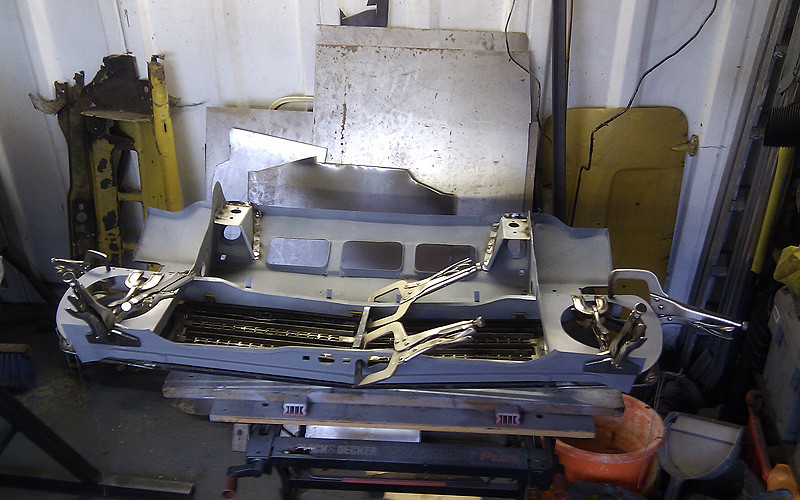
Finally, with everything dressed down, etch primed over the new welds, and a coat of grey primer over everything.
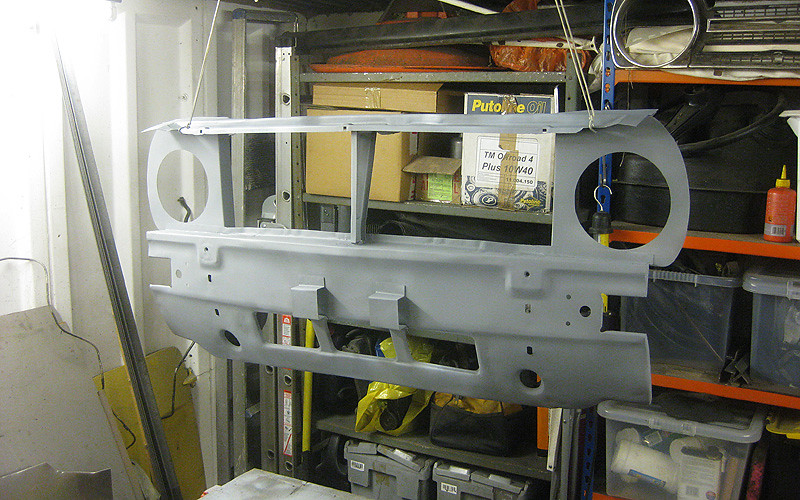
For better or worse I'm calling the front panel done now. It can be put to one side while I concentrate on the floors, and I'll decide whether or not its good enough to keep when I come to putting the front end together.
Sorry for the long silence! I'll try to get in the garage a bit more over the next few weeks.
#244

Posted 30 September 2012 - 08:29 PM
#245

Posted 01 October 2012 - 07:08 AM
Hugh
#246

Posted 05 October 2012 - 09:17 AM
#247

Posted 08 October 2012 - 08:45 PM
#248

Posted 09 October 2012 - 07:28 AM
#249

Posted 10 October 2012 - 01:32 AM
#250

Posted 14 October 2012 - 07:40 PM
With the front panel resto out of the way I ordered up these beauties from M-Machine...
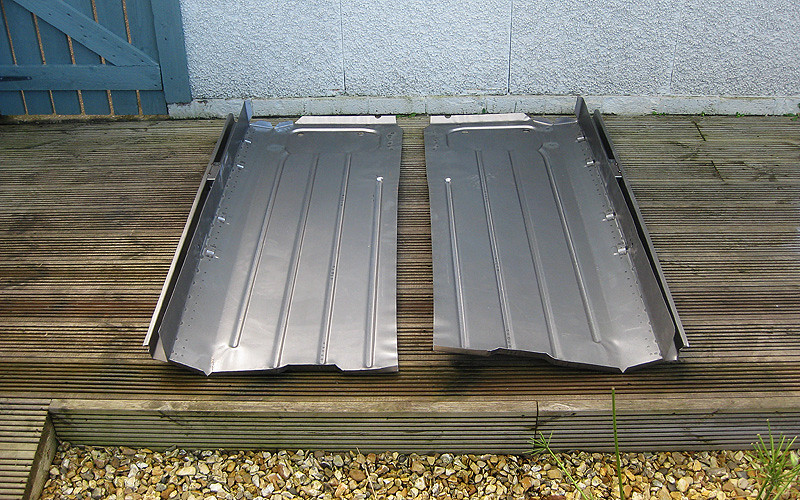
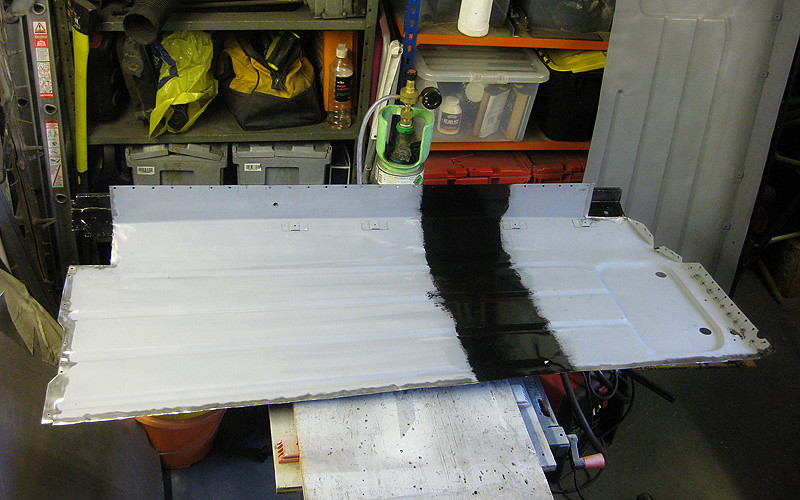
Not too shabby for pattern panels. The inner and outer sills are both long gone on my car, and enough of the floor is rotten to justify whole floor halves. With all that to think about, these m-machine floor halves with pre-built-in sills seemed like a good idea. Definitely a lot cheaper than all the heritage parts added together. They look pretty good on first inspection. I hope they fit!
I though I'd put the following pics in to show how I have braced the car because its working quite well so far for floor and sill removal. There is a length of angle running along each old inner sill (just visible at top and bottom of this photo), but it is only welded to the A post, the cross-member and a bit of inner sill near the heelboard.
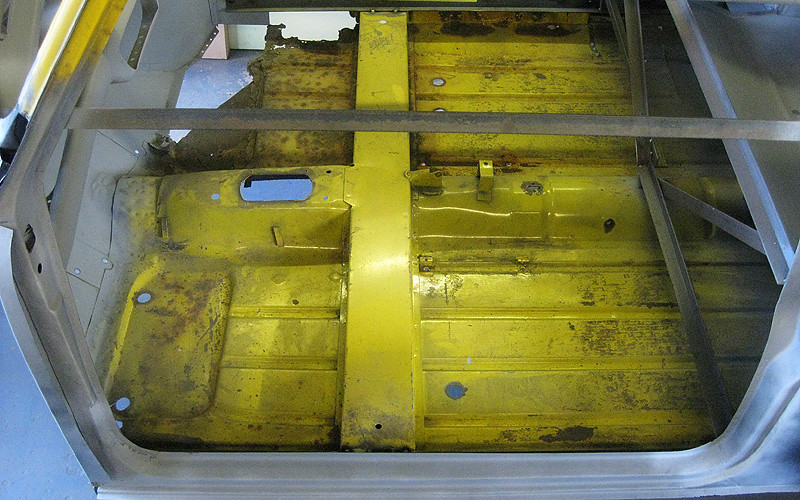
This length of angle is then tied into the B post, and another length of angle which holds the width of the car steady against the tunnel. With all this in place, I can remove the floor and sills without the side of the car flapping outwards or the cross member getting out of place. I'm keeping the cross-member in-situ even though the floor and sills will be removed from underneath it.
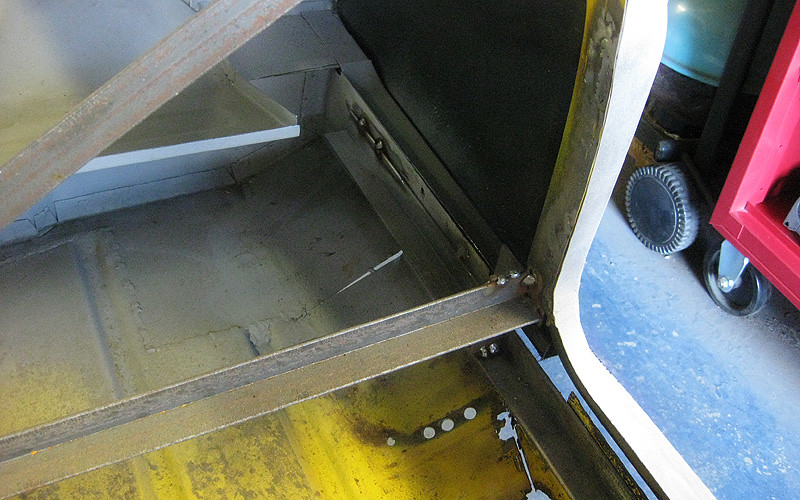
I located the spot welds to be cut out on the cross-member by wire-brushing the underseal from the bottom of the car.
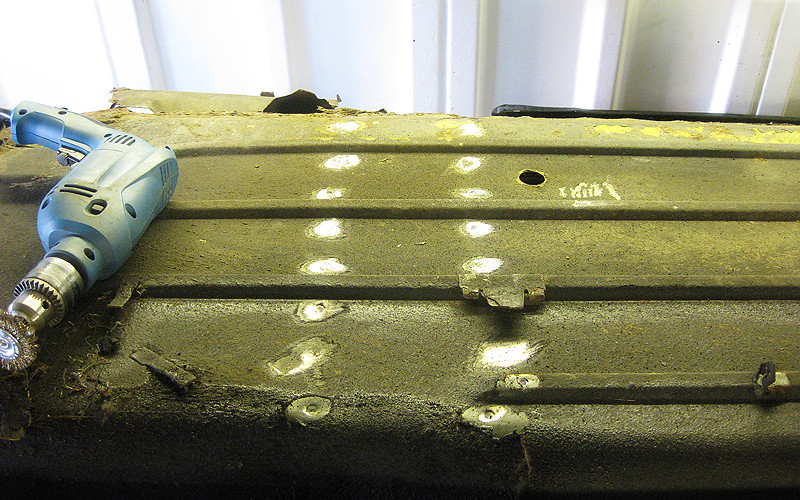
It was easiest to chop out sections of the floor rather than try to extract the whole lot in one go.
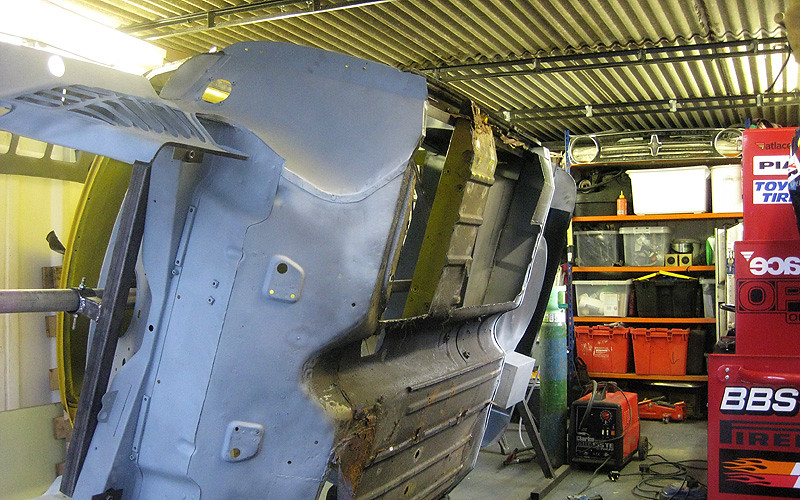
The inside of the cross-member turned out to be in OK nick which was a nice surprise. I've got quite a lot of cleaning up and a bit of rebuilding to do on this whole area now before the new floor can go in.
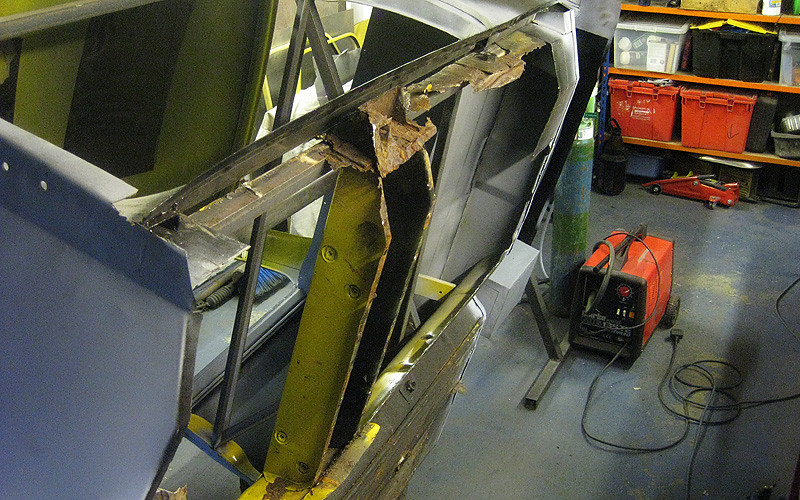
In the meantime, I'm going to get the new floor panels in primer ASAP as they were supplied as bare metal. Not good at this time of year! The only downside I've found so far is the components have been welded together without any protection on the enclosed surfaces. This is a bit of a bummer, bit I'm not going to take it all apart now. Will just try to make sure I can get as much paint on as possible. :)
#251

Posted 14 October 2012 - 08:00 PM
Awesome work, makes mine look like a walk in the park.
Good luck with the project.
Tony
#252

Posted 15 October 2012 - 10:02 AM
Some of the zinc rich primers are quite thick but can also be thinned down.
Could you dirty or mess your garage up a bit please, it's making me feel bad.
Adam
#253

Posted 15 October 2012 - 11:43 AM
#254

Posted 28 October 2012 - 06:03 PM
#255

Posted 18 November 2012 - 09:39 PM
BusheyTrader: yeah the untreated metal has been really bugging me. I've shoved as much por15 as possible down inside the outer sill, it looks like its run through the gap in a lot of places. I've primed over the top of it and made sure the flutes are covered. Not really ideal but there's no way I'm ripping the sill off to paint it properly. I should really have thought about it before ordering the panels. Oh well.
Anyway, with most of the NS floor out of the way, I needed to clean up all the bits that had been left behind - like this piece of floor which was welded to the toe board like a tank.
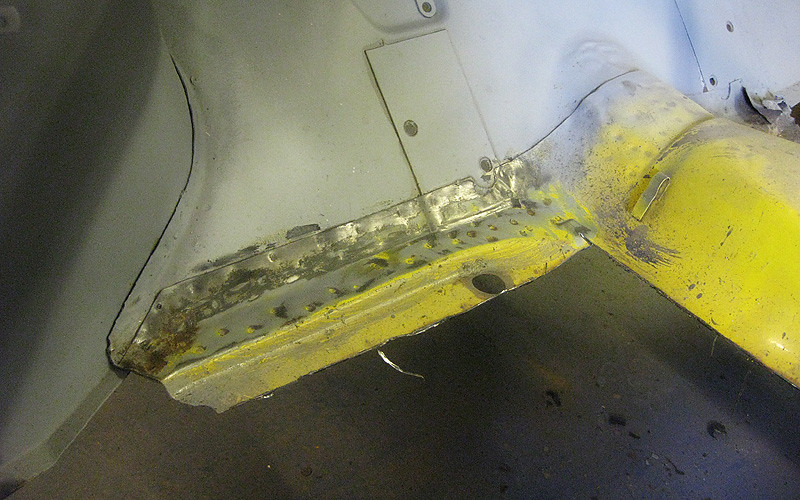
Not too rusty underneath, after a quick going-over with a wire cup brush.
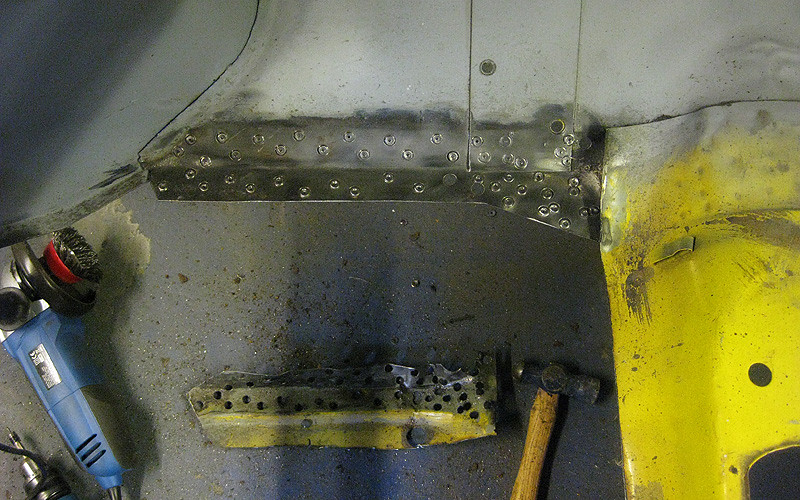
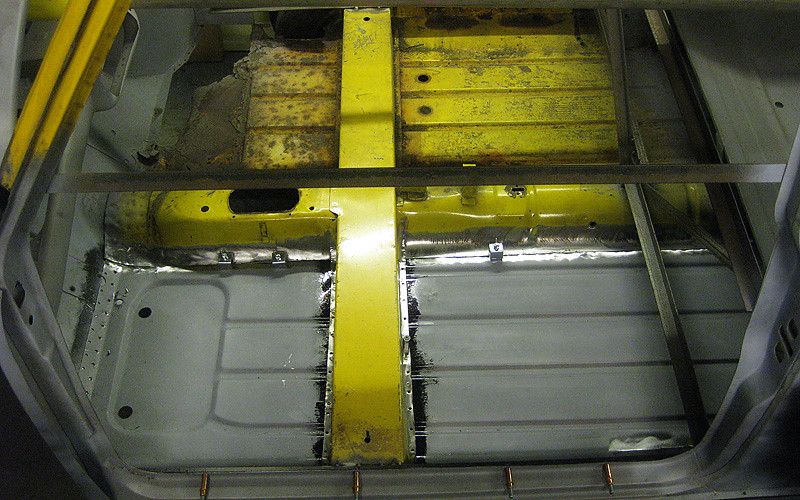
Much drilling, grinding and hole punching later, the floor-hole looked like this. I also paint stripped and POR15'd the inside of the cross member...
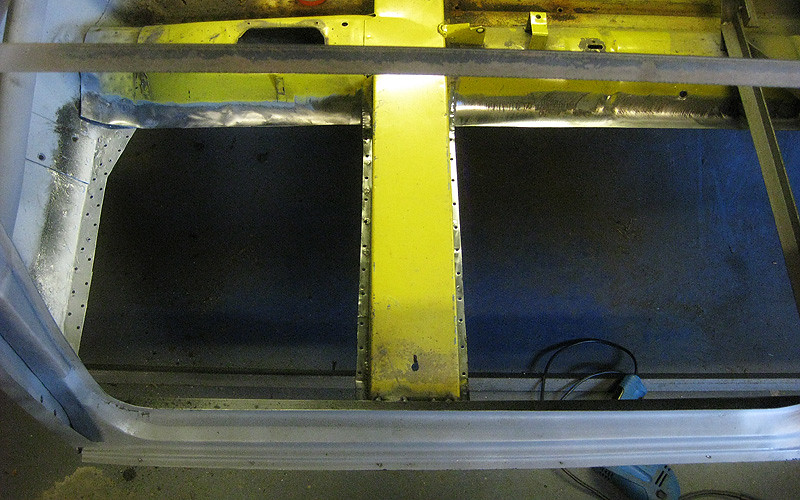
...and the area of floor that it covers. Also dumped numerous coats of POR15 into the inside of the outer sill, trying to work it in between the surfaces as much as possible.
It dawned on me when I tried to test-fit the floor that its impossible to fit this panel properly with the heelbaord already in place. It is supposed to sit inside the toeboard and heelboard, so there is no way to get it in without folding it in half. Balls! Therefore decided the best thing to do was cut off the heelboard end so that I can weld it flat to the outside, rather than tucking it inside. I intend to seam weld this join anyway, so it should be strong enough.
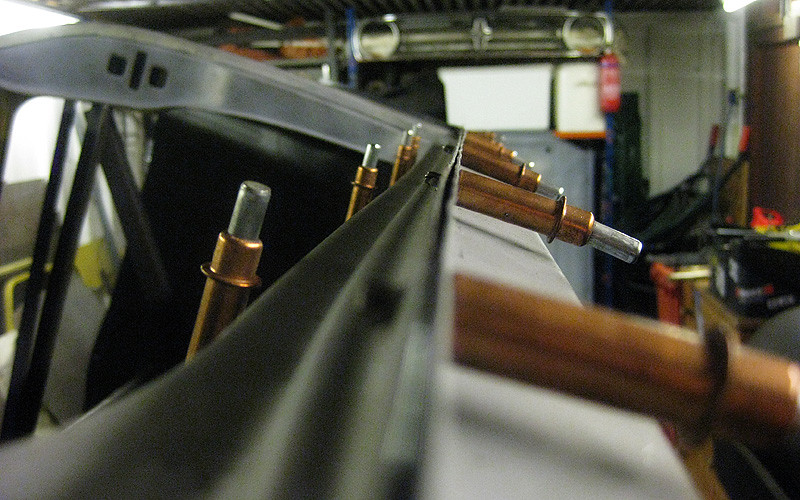
With everything clamped up, the dodgy NS doorstep I fitted earlier in the year finally pulled into a straight(ish) line. This is good because it has been warped out of shape since it went in and I thought I might have to replace it. :)
The biggest problem now was a really crap fit at the heelboard end. For some reason I expected a floor panel to be quite easy to fit because its long and flat. No such luck!

Decided after much stressing that the situation could only really be resolved via surgery. The lines are correct now, but it will need some substantial welding.
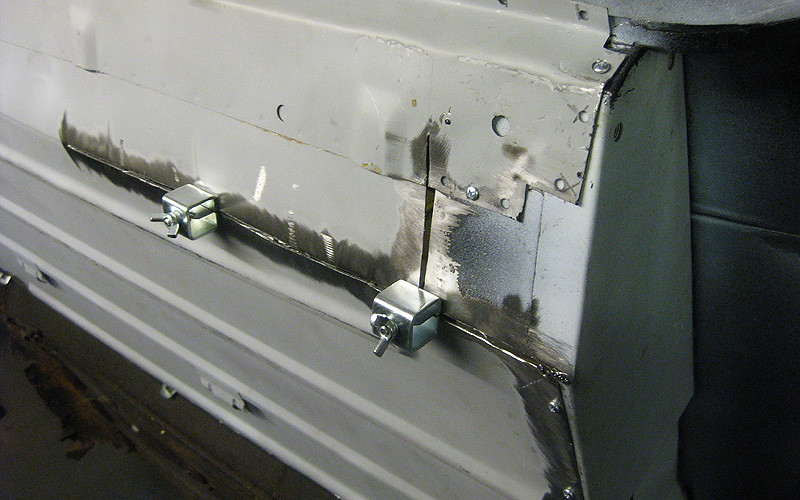
All clamped up ready to weld!
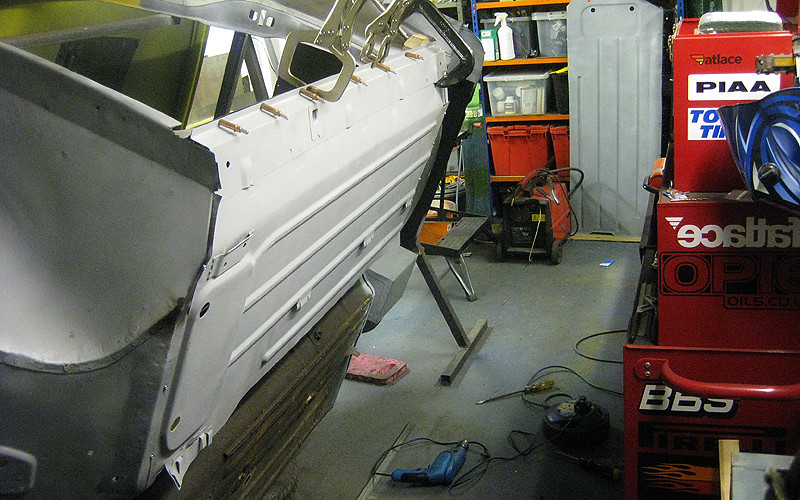
This is where I left it today. I'm mostly happy with the fit at this point, and should be able to start welding it up next weekend. At least I will know a few things to look out for when I do the driver's side next!
5 user(s) are reading this topic
0 members, 1 guests, 0 anonymous users
-
Bing (4)


