Jump to content


Photo
- - - - -

1979 Rust Heap Clubman Rebuild


  • Please log in to reply
625 replies to this topic

#226 minifcd

minifcd

    Mini Mad

  • Members
  • PipPipPipPip
  • 246 posts
  • Location: Stamford

Posted 16 July 2012 - 10:34 PM

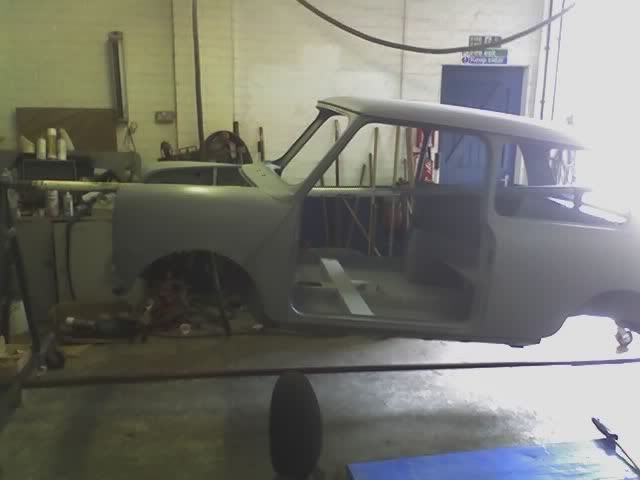
Hi rich, great work as usual. I enjoy reading your updates. If you want an alternative to having to cut a hole in the rear seat, then this is how we did my first mini if you can make it out. Pictures aren't that clear as they were taken on a poor camera phone 3 years ago.
Posted Image

Posted Image

#227 hughJ

hughJ

    Soldiering Along

  • Members
  • PipPipPipPipPipPipPip
  • 727 posts
  • Location: Highlands, Scotland

Posted 18 July 2012 - 03:02 PM

Lovely clean repair on that quarter. Looks great.

Hugh

#228 rich2

rich2

    Speeding Along Now

  • Members
  • PipPipPipPipPip
  • 351 posts

Posted 05 August 2012 - 09:26 PM

minimuk: I'm trying my best!

madboy: believe it or not, the rabbit lives in the house and lives a life of luxury, so there is no chance of any arc eye :)

grahama: Cheers - yeah its already been invaluable!

minifcd: thanks for the tip. In the end I just went for it and cut a hole as neatly as possible. :)

hughJ: Cheers!


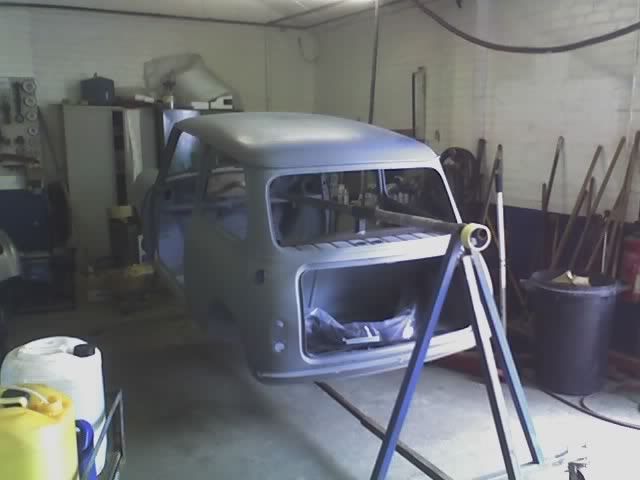
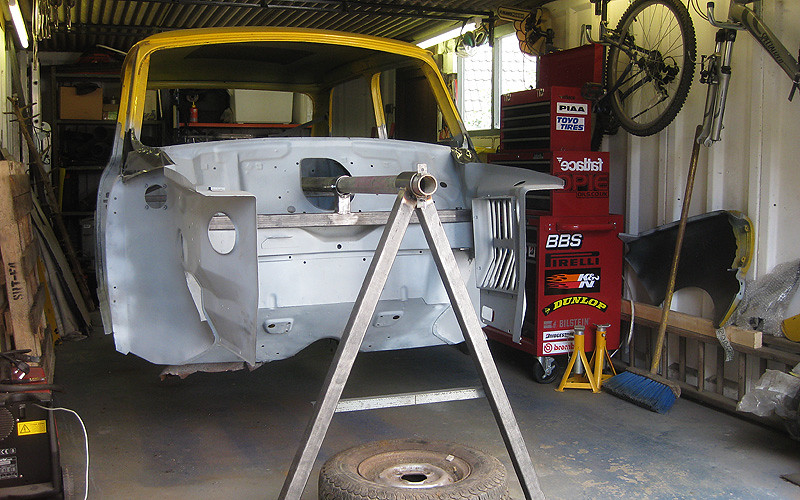
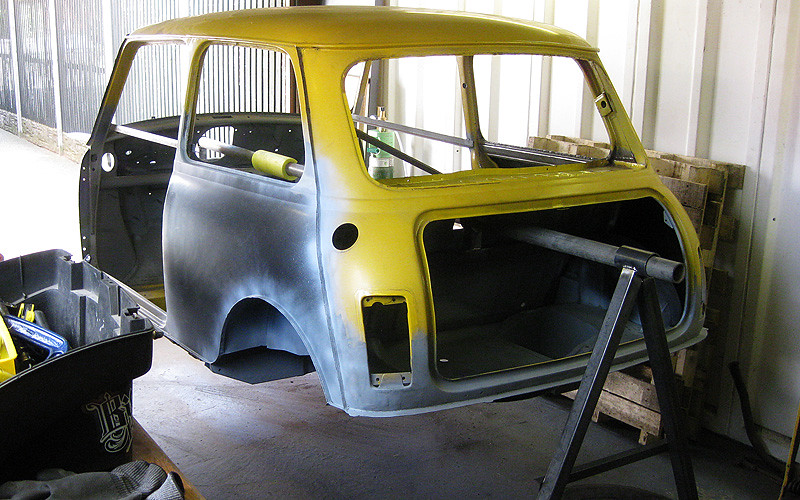
Finished building the spit and got the car off the ground. Whoop! Surprisingly, the shell isn't that heavy and I managed to lift it into place by myself.
Posted Image


Posted Image

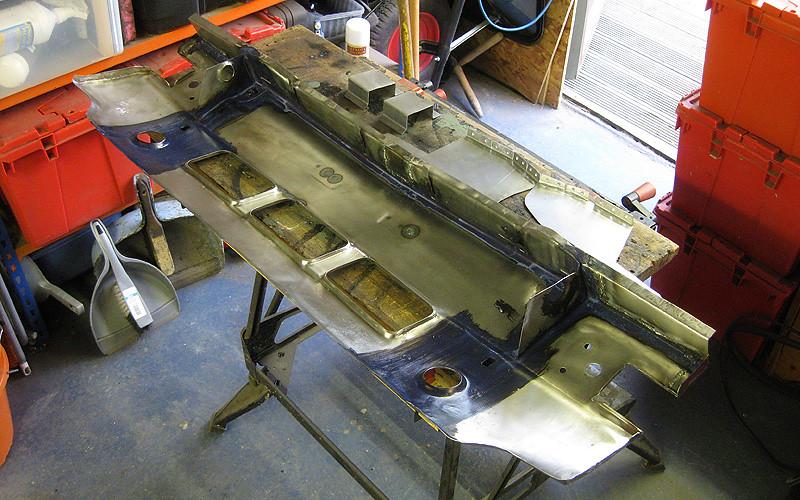
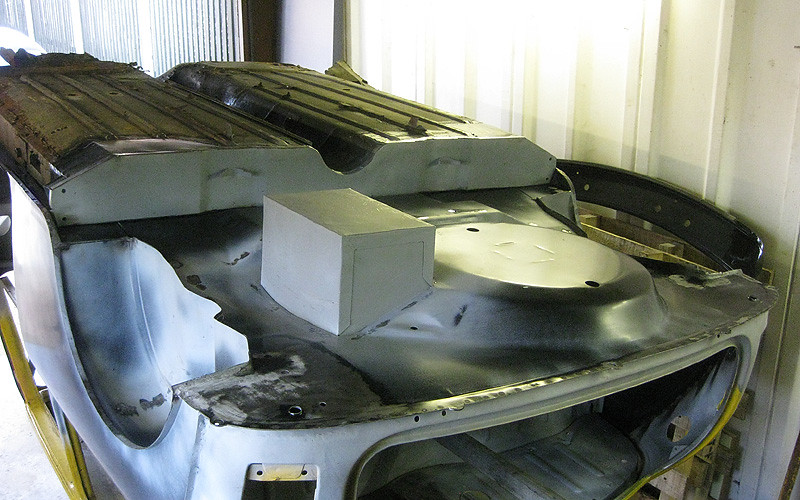
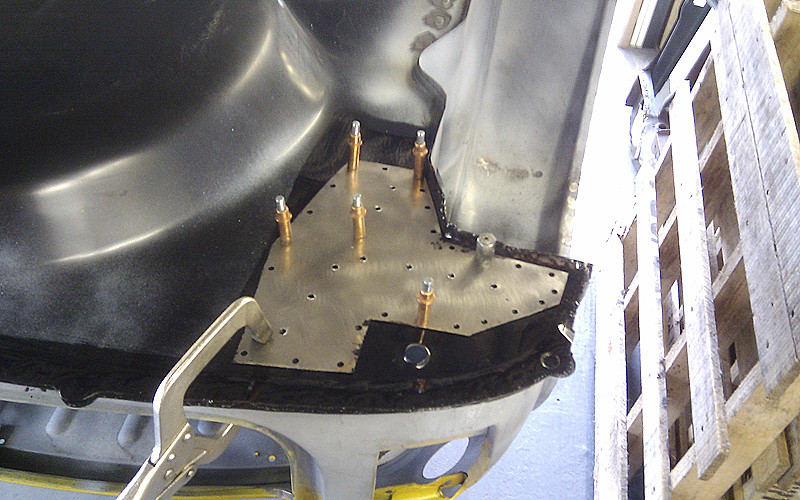
With the car upside down, I finished all the little jobs on the boot floor that I couldn't reach before. Lots of little holes were welded shut, and old welds from the inside were tidied up. As I went for the budget option boot floor skin panel, (as opposed to boot floor complete) my boot floor is missing the reinforcing plates where the subframe is bolted in. Oh dear.
Posted Image

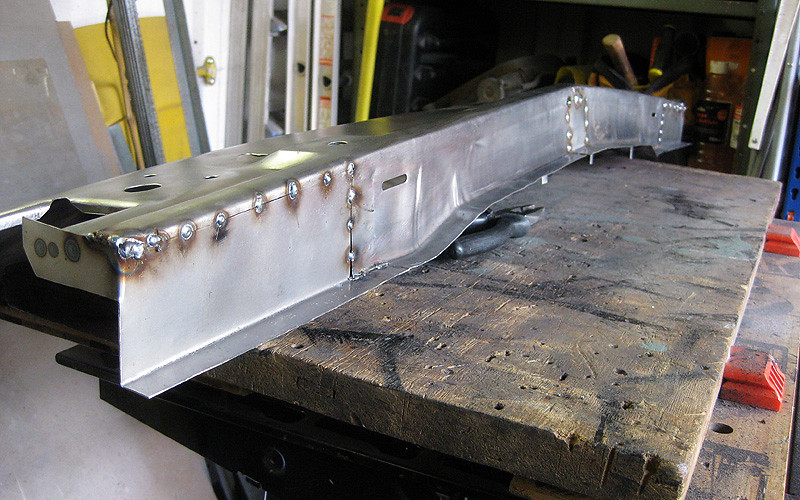
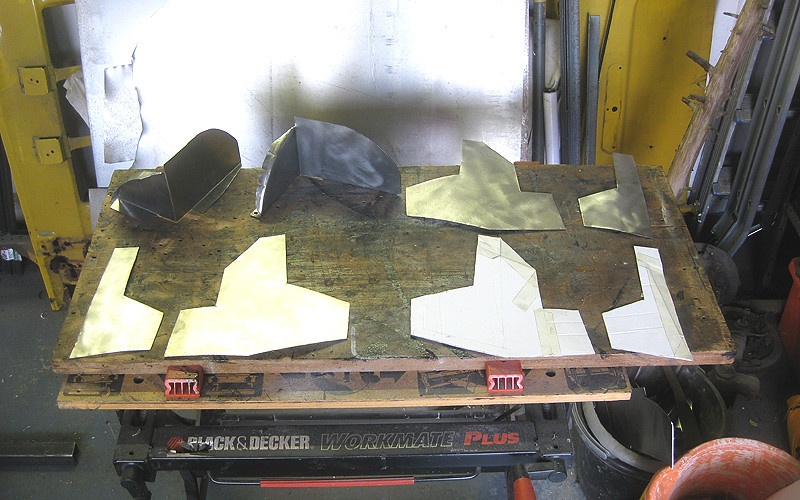
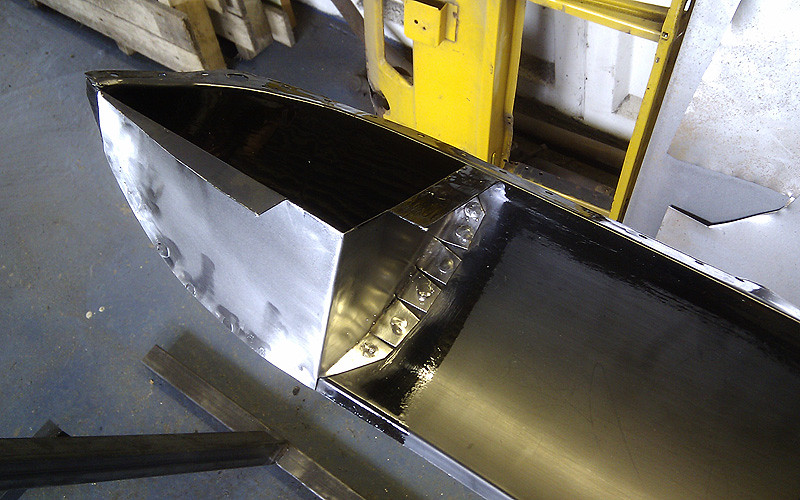
I looked at a few other projects on the mini forum to find out roughly what shape they should be. This area on my car had entirely disintegrated so I had no idea what they should look like. Then I made some card templates and cut the bits out of steel. While I was at it, I knocked up a rear valance closing panel, copying the one pattern panel I already had.

Posted Image

Welding my home made floor reinforcements in place...
Posted Image

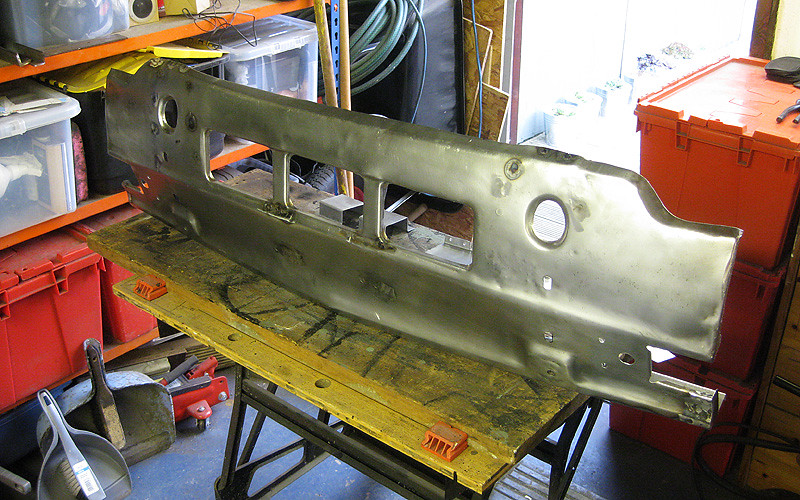
I decided it would be easier to build up the rear valance while it was off the car, and then fit the whole thing in one go. As usual, all boxed in bits received liberal POR 15. Do people usually leave drainage holes in the valance corners, or weld the whole thing up so no water can get in at all?
Posted Image

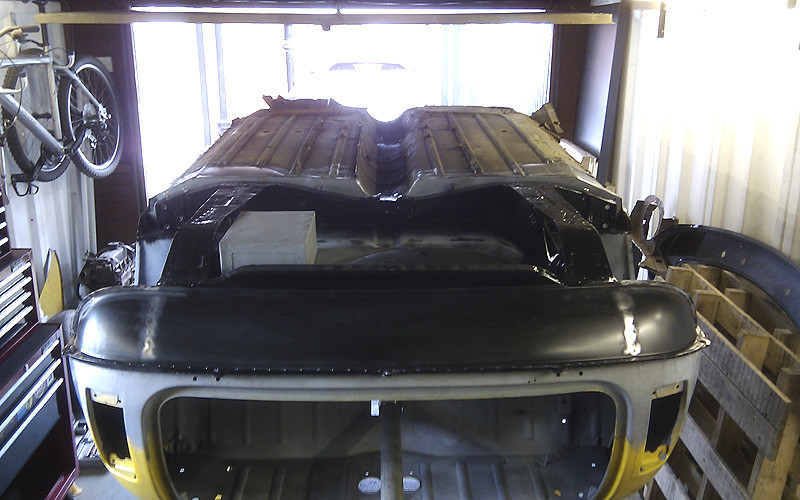
I dug the rear subframe out of storage to check the fitting against the floor reinforcements and the new valance. Everything looks SWEEEET!
Posted Image

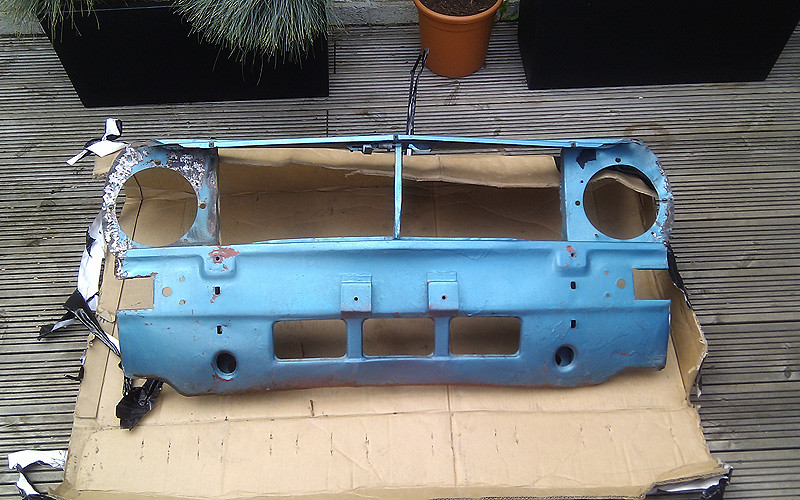
In the meantime, I had scooped this bargain from the TMF classifieds...
Posted Image

Its not exactly in ideal nick, but its a massive improvement on the panel I removed from my car, and its a massive saving over buying a new clubman front panel complete.
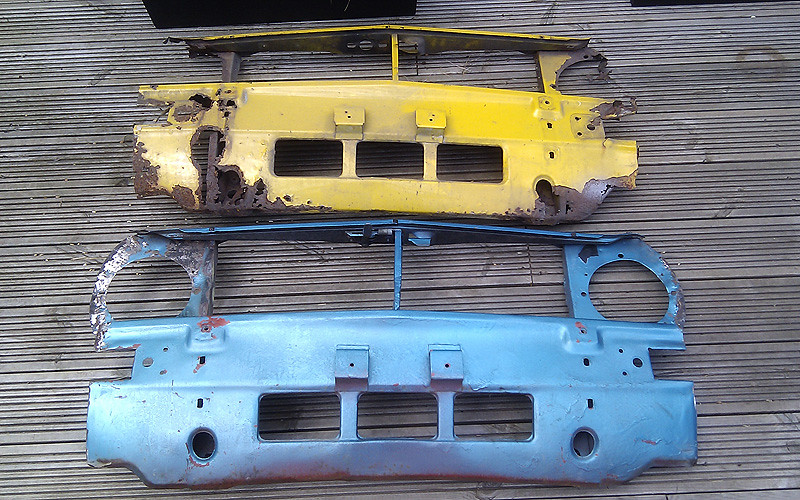
Posted Image

I started by separating the lower panel and the slam as these are the only bits worth keeping, and new light surrounds are cheap as chips. Then I set about stripping back to bare metal. It will take some work, but I think (hope) I can restore it to a decent standard.
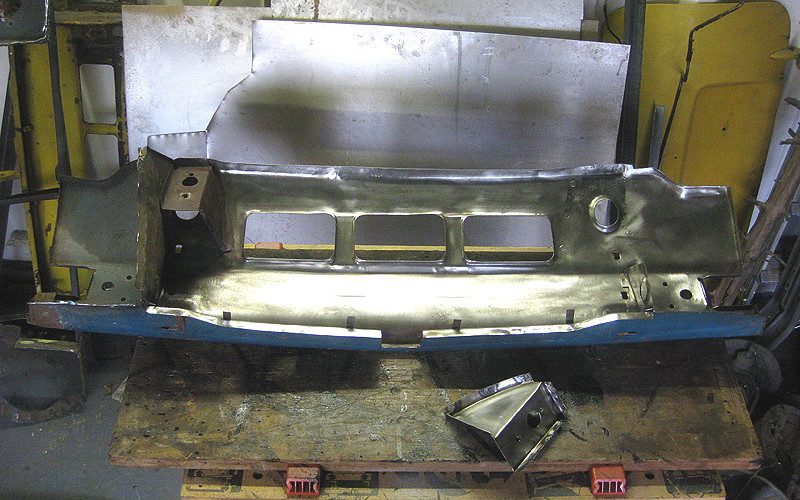
Posted Image

#229 miniBrain

miniBrain

    Mini Mad

  • Members
  • PipPipPipPip
  • 192 posts
  • Location: Preston

Posted 05 August 2012 - 10:04 PM

Hi Rich, some excellent craftsmanship on show here!

Very brave recovering that front panel. Sorry if I'm stating the obvious here but the only thing to watch with a Clubby front panel is that early ones (pre-76) are for solid mounts (ie bolts straight on to the subby) and the later ones are designed for rubber mounts. I had simply ordered a Clubman front panel not knowing the difference and got the wrong one!

On the valance drain holes, I've left mine open. Moisture can always creep in and if you seal up the drain holes......well, you know. My valance had a hole just under lip where it joins the boot floor on each side that let into the valance closers. Not sure what the hole is for (fog/reversing lamps?) but I used this to squirt in lots of cavity wax.

Great work!
Bob

#230 rich2

rich2

    Speeding Along Now

  • Members
  • PipPipPipPipPip
  • 351 posts

Posted 05 August 2012 - 10:17 PM

Thanks for the info bob! The front panel looks to be exactly the same as the one I cut off, so I think I'm ok. Will also make sure I've got drainage in the valance. Makes sense to avoid as many rust traps as possible.

#231 rich2

rich2

    Speeding Along Now

  • Members
  • PipPipPipPipPip
  • 351 posts

Posted 26 August 2012 - 07:57 PM

Quick update but nothing very exciting to report. Just continuing with the resto of my second hand lower front panel. More rust repairs were needed than I first thought, but its starting to come together now. I have removed just about every spot welded fitting for de-rusting, and also chopped out the bits with bad pitting. New metal has gone in where needed.

Posted Image

The whole thing will be coated with Ku-Rust, but I did these bits first so I can start welding the parts back on over the top.

Posted Image

I've made up new number plate brackets and new bits where the front panel joins the inner wings.

Posted Image

It will also need a bit of attention with the panel hammer to smooth out some dents. Should be worth the effort though because the money I have saved on this will pay for the floor panels I need. :)

#232 skoughi

skoughi

    One Carb Or Two?

  • Members
  • PipPipPipPipPipPipPip
  • 1,199 posts
  • Location: Lerwick
  • Local Club: Shetland classic car club

Posted 26 August 2012 - 08:20 PM

Good work there! Sooo wished I'd fitted a new boot floor and heel board like you! Would've saved many hours. On my rear valance closers I drilled two 25mm holes, same size as the floor drain holes, on both faces so when I'd finished welding them on I could spray in lots of zinc primer then waxoyl at a later date, then simply seal a couple of the same bungs that fit the floor drain holes. Keep up the good work!!

#233 joezone2001

joezone2001

    Speeding Along Now

  • Members
  • PipPipPipPipPip
  • 332 posts
  • Location: kirkby in ashfield

Posted 26 August 2012 - 11:45 PM

Hi rich.
I have just read your thread from the start and can I just say.... You're fabrication skills are amazing! You're doing such a good job! Also good to see someone else in the Mansfield area doing a Mini up. (I live in Kirkby) we seem to be at similar stages too. You're work is much better than mine though. Keep up the good work. I hope to see your little Clubby bombing round soon. If you see a Cherry Red mini 30 flashing insanely in your direction it's probably me! Haha
I will be following this thread. Seriously great work mate.
Joe

#234 Daviewonder

Daviewonder

    Needs an extra inch!!

  • Members
  • PipPipPipPipPipPipPip
  • 1,015 posts
  • Location: England

Posted 09 September 2012 - 12:35 PM

Any updates?

:-)

#235 rich2

rich2

    Speeding Along Now

  • Members
  • PipPipPipPipPip
  • 351 posts

Posted 09 September 2012 - 08:05 PM

Yes I've got an update! Its only a little one though. Whose idea was it to try to restore this bloody front panel? Its taking forever! I've been doing a bit of work on the slam panel. The ends had mostly rotted away where it had been welded to the other car, so I chopped them off and made up new bits to fit. Also paint stripped the whole lot with nitromors and a wire brush.


Posted Image

All welded on and etch primed. Seriously, this is some of the neatest welding I have ever done. Do not know how I managed it.

Posted Image

The headlight surrounds I had were not worth saving. As its quite a simple design I made a card template and cut some new ones out of sheet steel. A saving of 27 whole english pounds + delivery compared to buying the heritage panels! Will drill the holes when I've got it all together with the grille in place.

Posted Image

The lower front panel is also edging closer to completion. I welded on the repairs I had made previously, so now I just need to refit the brackets I and number plate mounts.

Posted Image

I've still got the original front panel from my car to use for reference when I come to put all this lot together. Hopefully it should all be OK!

#236 kcchan

kcchan

    One Carb Or Two?

  • Members
  • PipPipPipPipPipPipPip
  • 874 posts

Posted 09 September 2012 - 08:31 PM

Wow, the work you have done is inspirational!

#237 StuaR32t

StuaR32t

    Starting My Mini Up

  • Noobies
  • Pip
  • 1 posts

Posted 10 September 2012 - 05:31 PM

I've been lurking on tmf checking this thread out for a while, this is a brilliant project, and it's Psyching me out to get going with mine. Believe it or not, mine is in a worse state than yours was!!

Love the way you're going about it!

#238 sonikk4

sonikk4

    Twisted Paint Polisher!!!

  • Admin
  • PipPipPipPipPipPipPipPipPipPipPip
  • 15,970 posts
  • Name: Neil
  • Location: Oxfordshire

Posted 10 September 2012 - 06:09 PM

Rich nice fab work there mate, i'm going to be stripping a clubbie shell very shortly (not Paddy) so i'm hoping to glean some bits of it although unfortunately i think the front panel is a bit to far gone.

#239 minifcd

minifcd

    Mini Mad

  • Members
  • PipPipPipPip
  • 246 posts
  • Location: Stamford

Posted 10 September 2012 - 08:05 PM

Absolutely stunning work there Rich. If there's one thing I really like to see, its old panels being repaired and reborn to be used again and you have done an amazing job of those repairs. This is one of my favourite projects and I look forward to seeing more repairs soon.

#240 minimikej

minimikej

    Speeding Along Now

  • Members
  • PipPipPipPipPip
  • 347 posts
  • Location: Derbyshire

Posted 11 September 2012 - 06:12 PM

Top workmanship!


1 user(s) are reading this topic

0 members, 1 guests, 0 anonymous users